Gears of War 2 Guide ACT IV: Hive
Chapter 5: The Best-Laid Plans
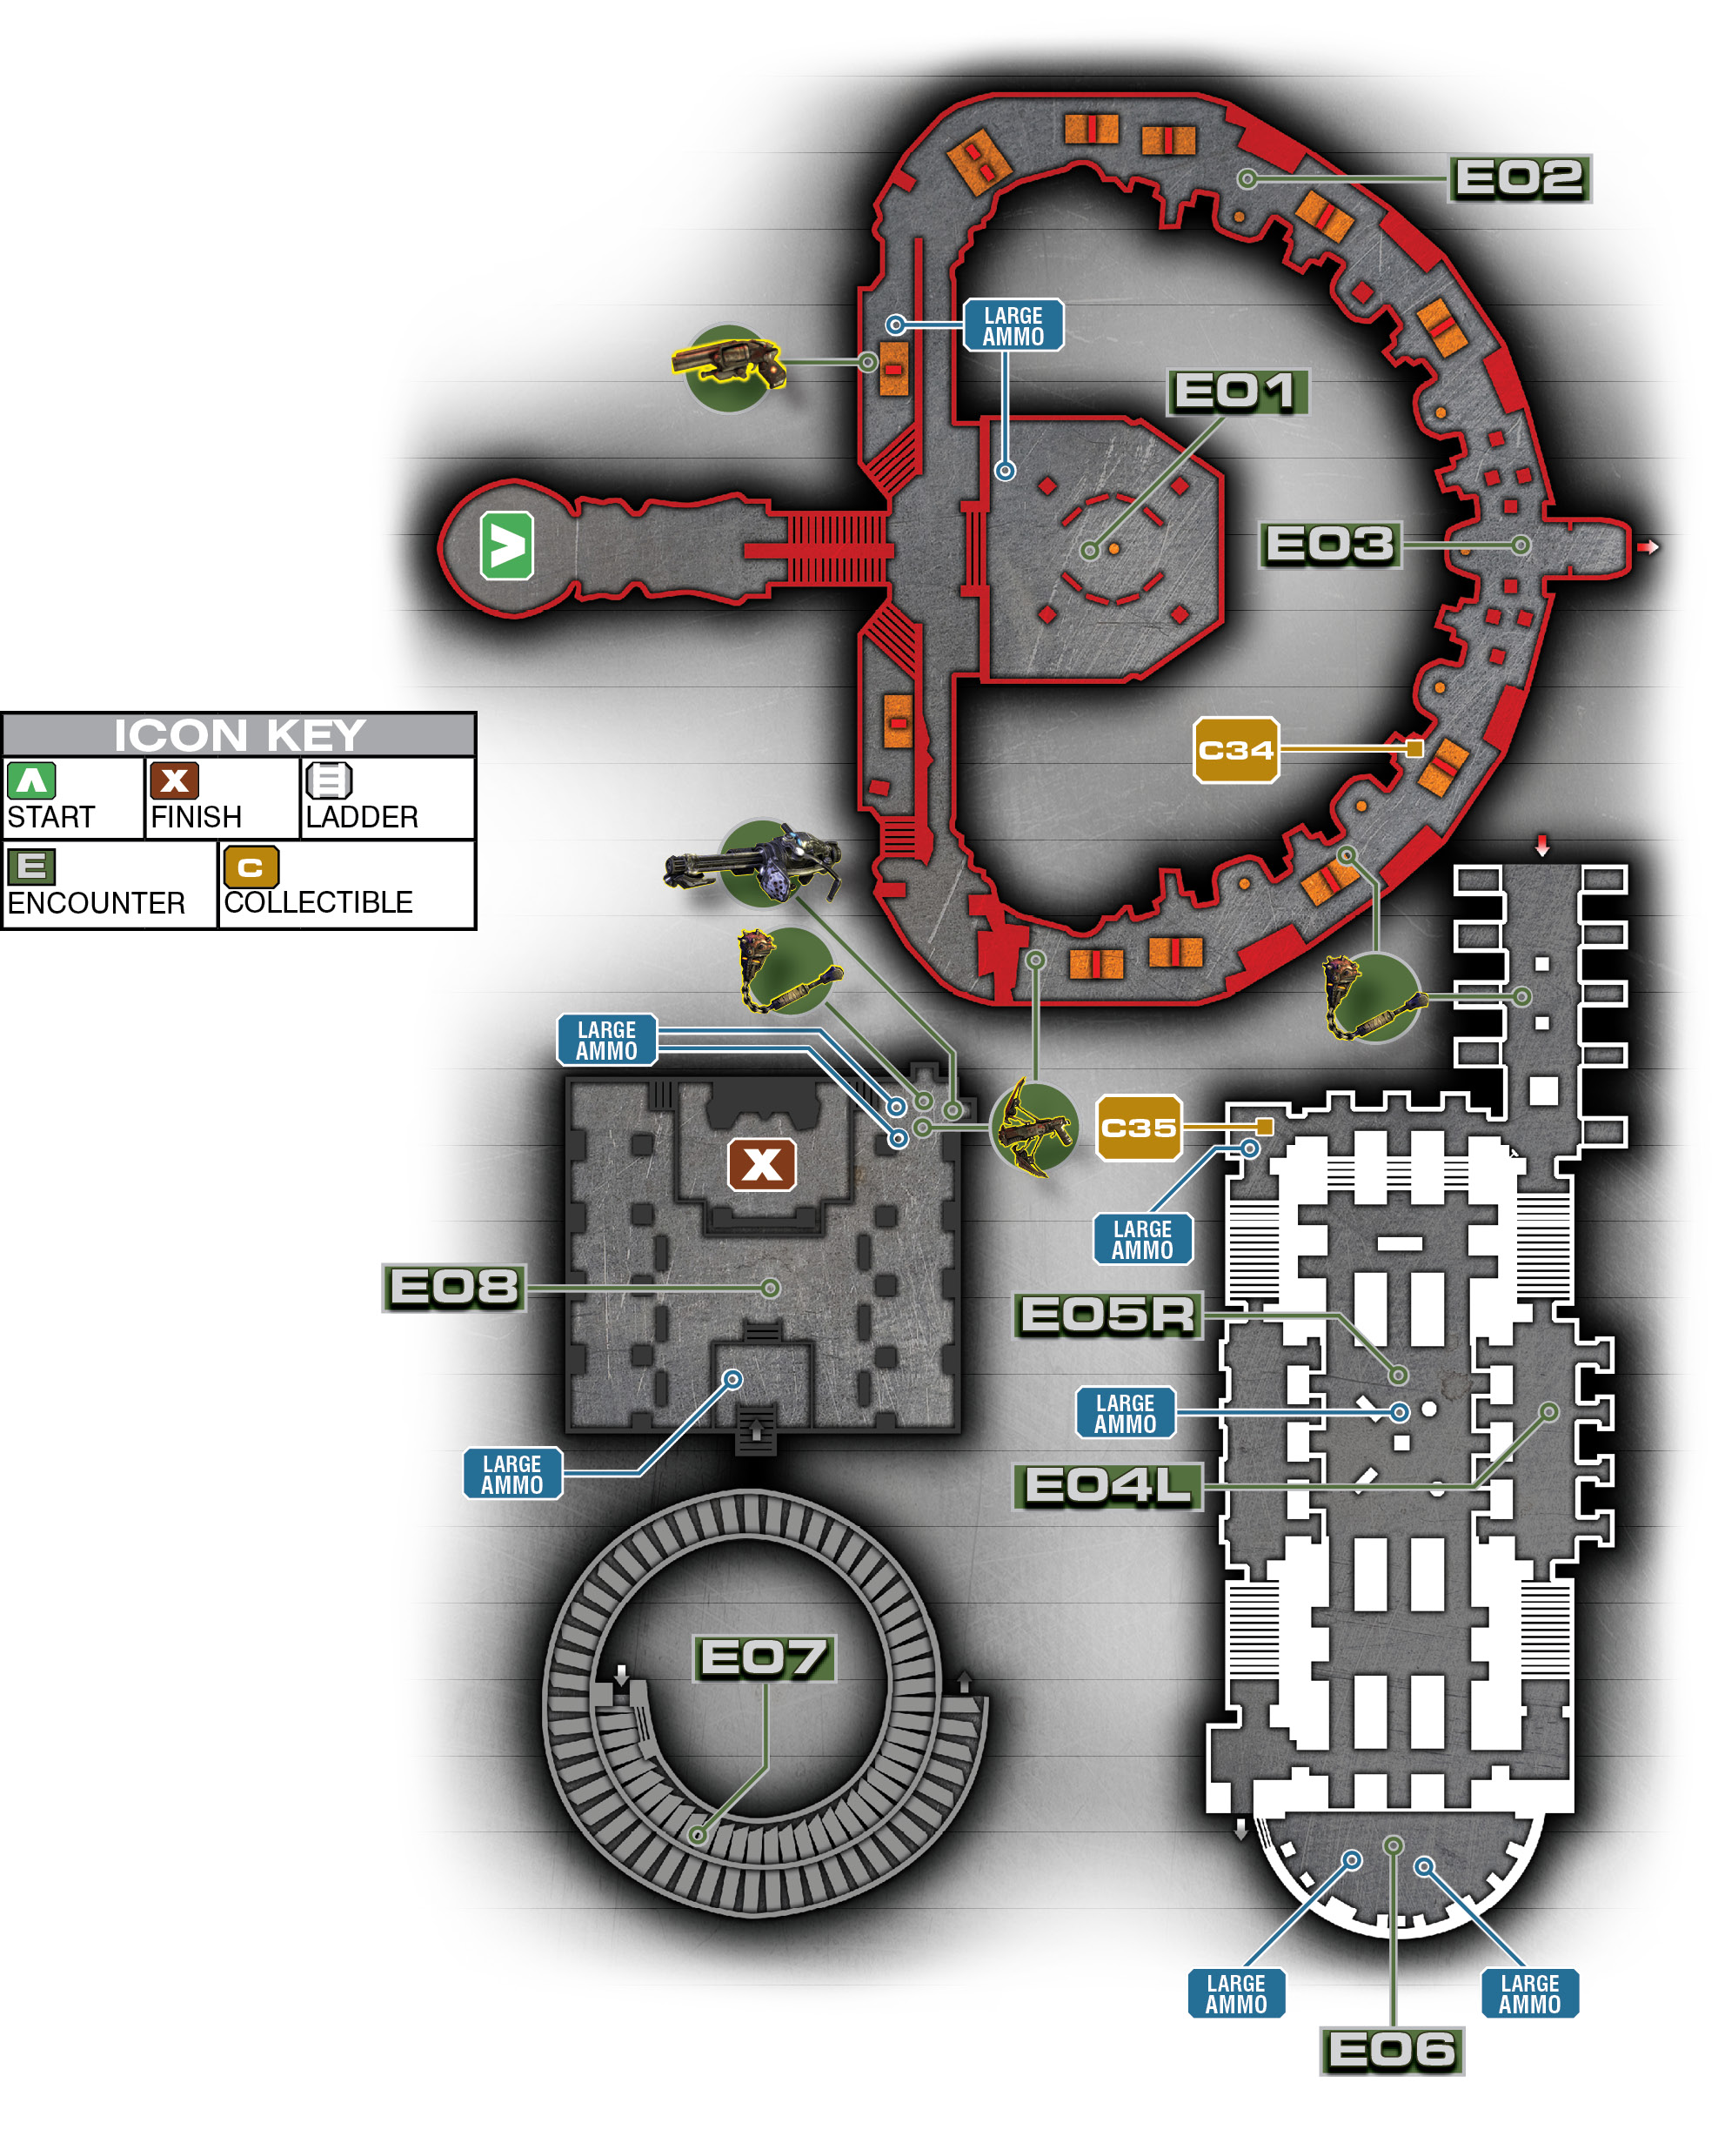
Encounter 01
ENEMY PRESENCE: Palace Guards
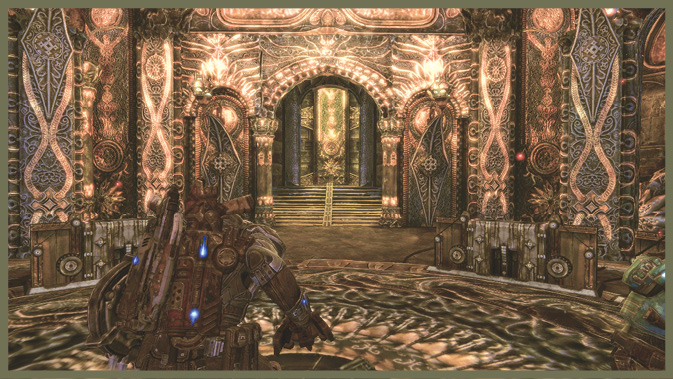
As you approach the main gate to the palace, a trap springs. The gates close and the windows above the yard open up, revealing Drones in elevated positions surrounding your squad.
If you still have a Boomshield from the last encounter in Chapter 4, you may have an easier time here. If not, use the available cover in the middle of the yard, and quickly change sides when more Drones emerge from the opposite windows.
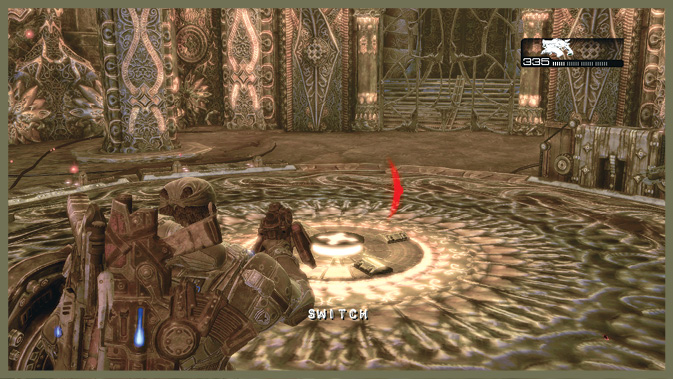
A switch in the center of the floor raises the cover again when the Locust retract it midway through the battle.
Once you dispatch the Locust, you have to back off and find an alternate entrance.
Encounter 02
ENEMY PRESENCE: Bloodmount, Palace Guards, Tickers
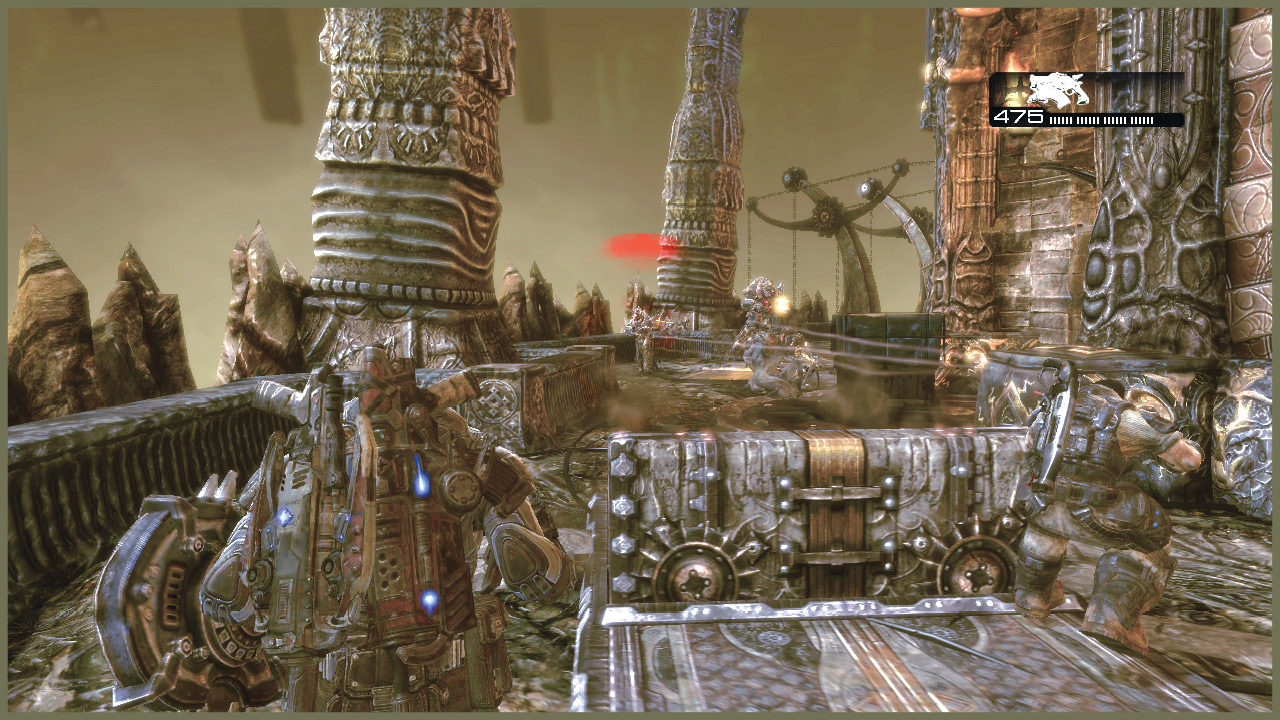
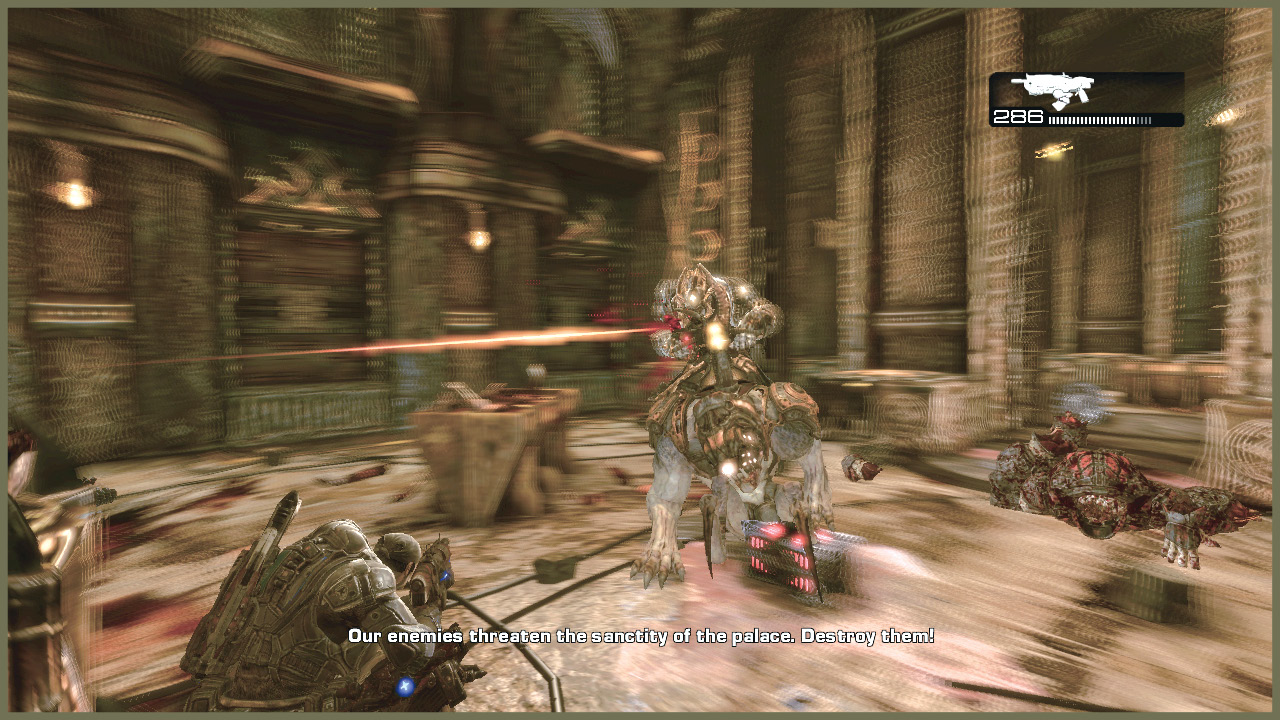
Once you leave the entrance, you have to walk around the palace’s outskirts to the left side of the entrance. As you round the first corner, a Locust force of a Bloodmount (with a mounted Palace Guard!), more Palace Guard Drones, and some Tickers are your first opposition.
Use the pop-up cover to your advantage. When you step on the glowing platforms, barriers rise. You can use them as temporary cover as long as you stay put.
Just about everything here is nasty, but make the Bloodmount your priority target. You don’t need it chewing on you while you deal with the other targets.
Encounter 03
ENEMY PRESENCE: Kantus ,Palace Guards
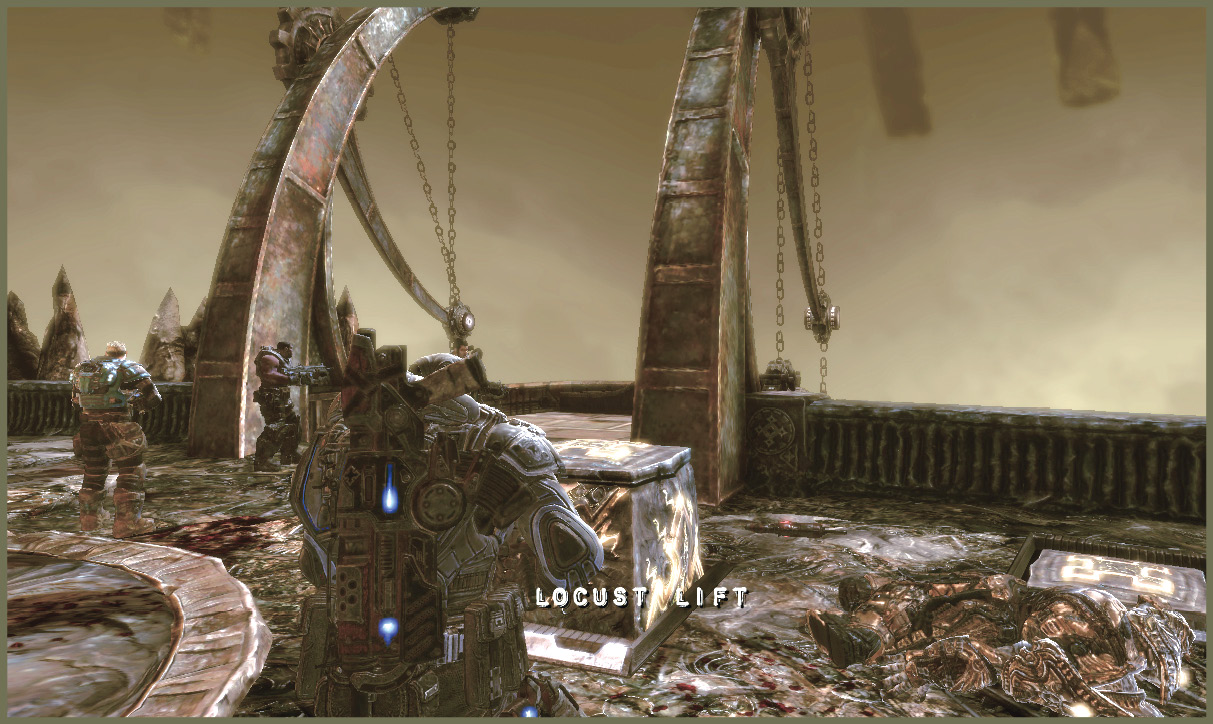
A short ways around the palace, you encounter a Locust lift that leads to a back entrance—exactly what you need. Of course, first you have to deal with the Guard and the Kantus that ride up on the lift.
Take both of them out. Before you hop on the lift, continue around the palace’s outskirts to pick up the collectible. An additional Torque Bow is at the end of the path if you need it.
Encounter 04
LEFT PATH
ENEMY PRESENCE: Mauler, Flame Grenadier, Grinder, Bloodmount
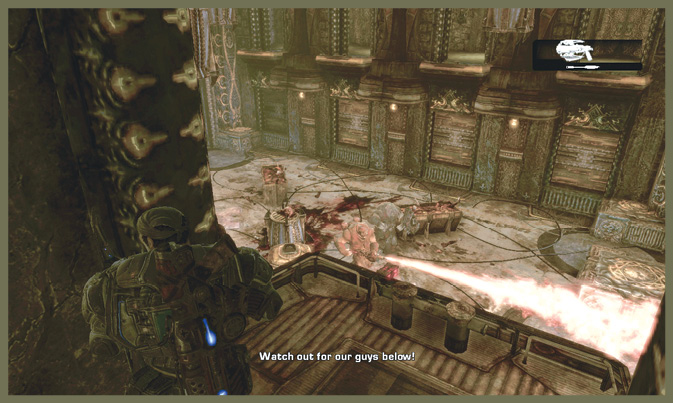
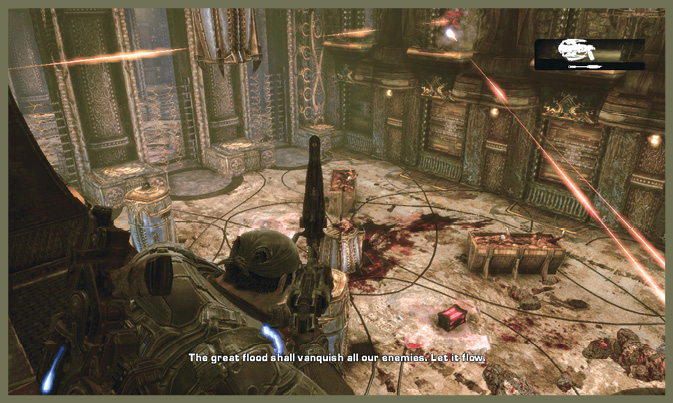
Following the left path is a little safer. You end up on the upper level after you climb a staircase, giving you clean line of sight on the enemies below.
The only substantial threat to you is the Grinder on the room’s opposite side, on the same level as you. Take him out quickly, as he’s a threat to you and your squad mates on the floor below. On this path, you have to hit a floor switch to let others join the group.
Encounter 05
RIGHT PATH
ENEMY PRESENCE: Mauler, Flame Grenadier, Grinder, Bloodmount
The lower route is a bit tougher, as you have to deal with the enemies face-to-face. However, there’s only one of each, so if you have grenades of any sort or any power weapon, you can down them quickly.
Encounter 06
ENEMY PRESENCE: None
The two branches quickly meet up at the same location on the room’s opposite side, near the palace’s outer edge. From here, you can start down a spiral staircase that leads into the palace’s interior.
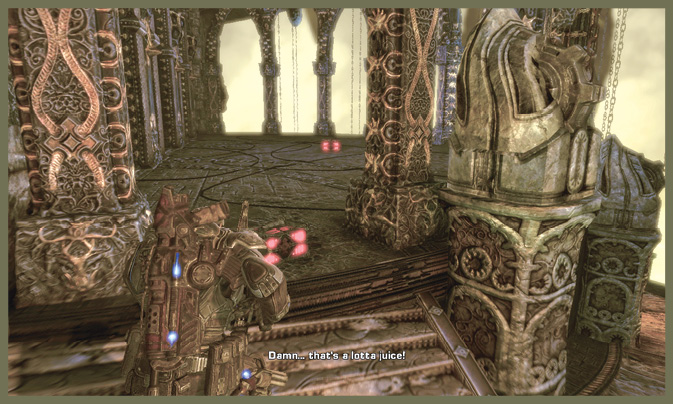
Before you do, be sure to climb the right staircase. This is the area from which the Grinder fired. If you followed the right branch, it’s where the grating slammed shut in your face. You can pick up the collectible and some ammo before you continue deeper into the palace.
Don’t forget to pick up the Mulcher or Boomshield here. Either item makes the next area considerably easier.
Encounter 07
ENEMY PRESENCE: Palace Guards, Tickers
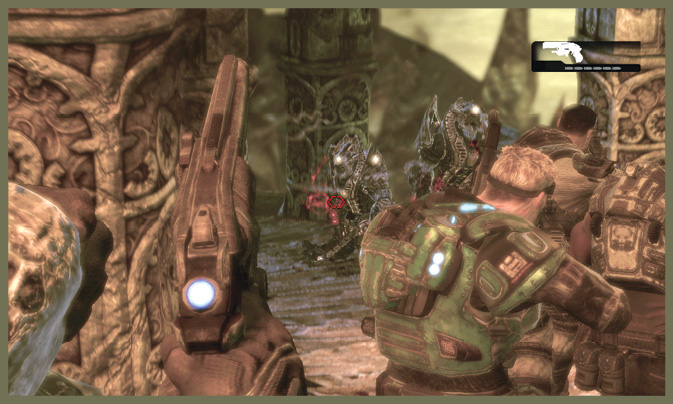
The long, spiral staircase down into the heart of the palace is positively infested with Palace Guards. Many of them wield the deadly Torque Bow.
Use the abundant cover provided by the columns on the staircase’s edges. Stay out of sight when you see the burning glow of the charged Torque Bow.
The Ticker assault midway down may throw off your rhythm. Be ready to beat them back, or roll away when they’re ready to detonate.
Encounter 08
ENEMY PRESENCE: Palace Guards, Kantus
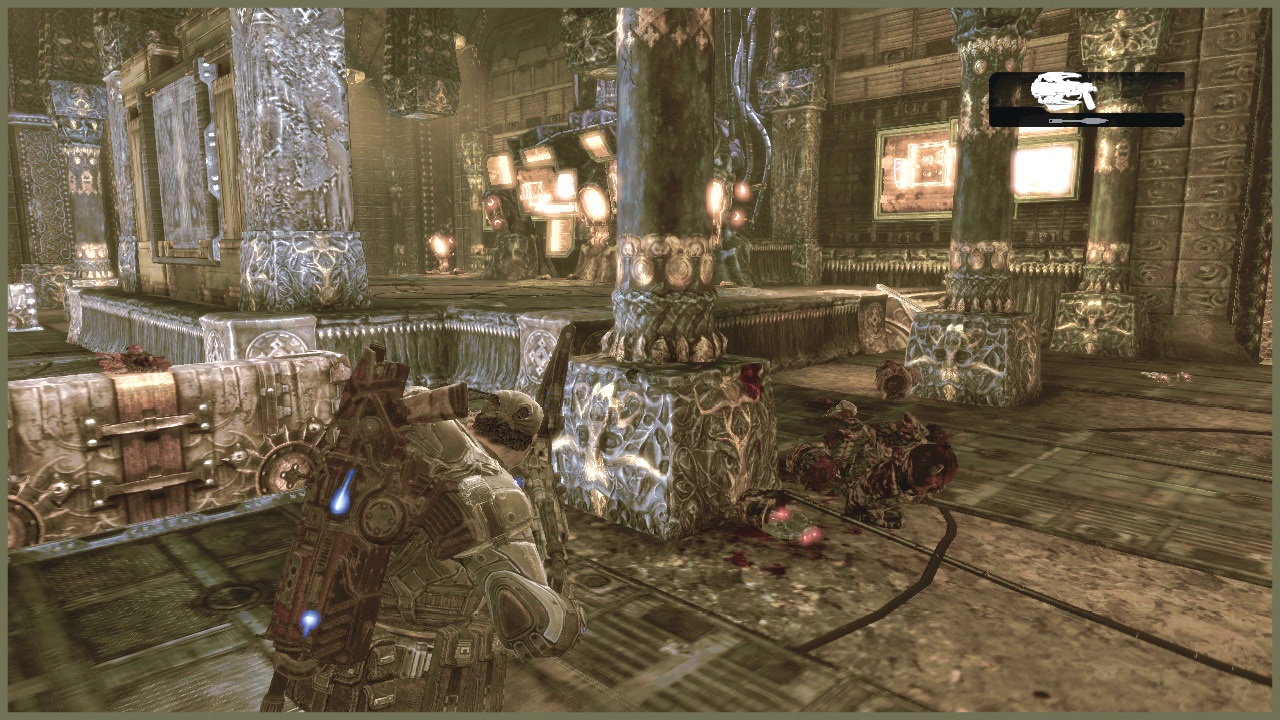
The chapter’s final encounter takes place in a strangely high-tech chamber filled with terminals and computer displays. Hang back at the opening doorway to give yourself some time to size up the opposition and hit them from a distance.
Once you clear out the entryway, you can move in and eliminate any guards that are reluctant to show their faces. Be sure to take down the Kantus quickly. You don’t want it hanging back and repeatedly summoning Tickers, or worse, raising downed Guards.