
Gears of War 2 Guide ACT II: Denizens
Chapter 6: Intestinal Fortitude
When you wake up from your forced crash landing, it’s apparent that your whole team is in the belly of the beast!
Most of the team favors getting out as quickly as possible, but Marcus has other plans. He wants their accidental host dead before they escape, so you set off to find the heart of the monster and rip it out directly.
There is nothing conventional about the Intestinal Fortitude level. There’s relatively little fighting, but you must deal with…other challenges to make it through in one piece.
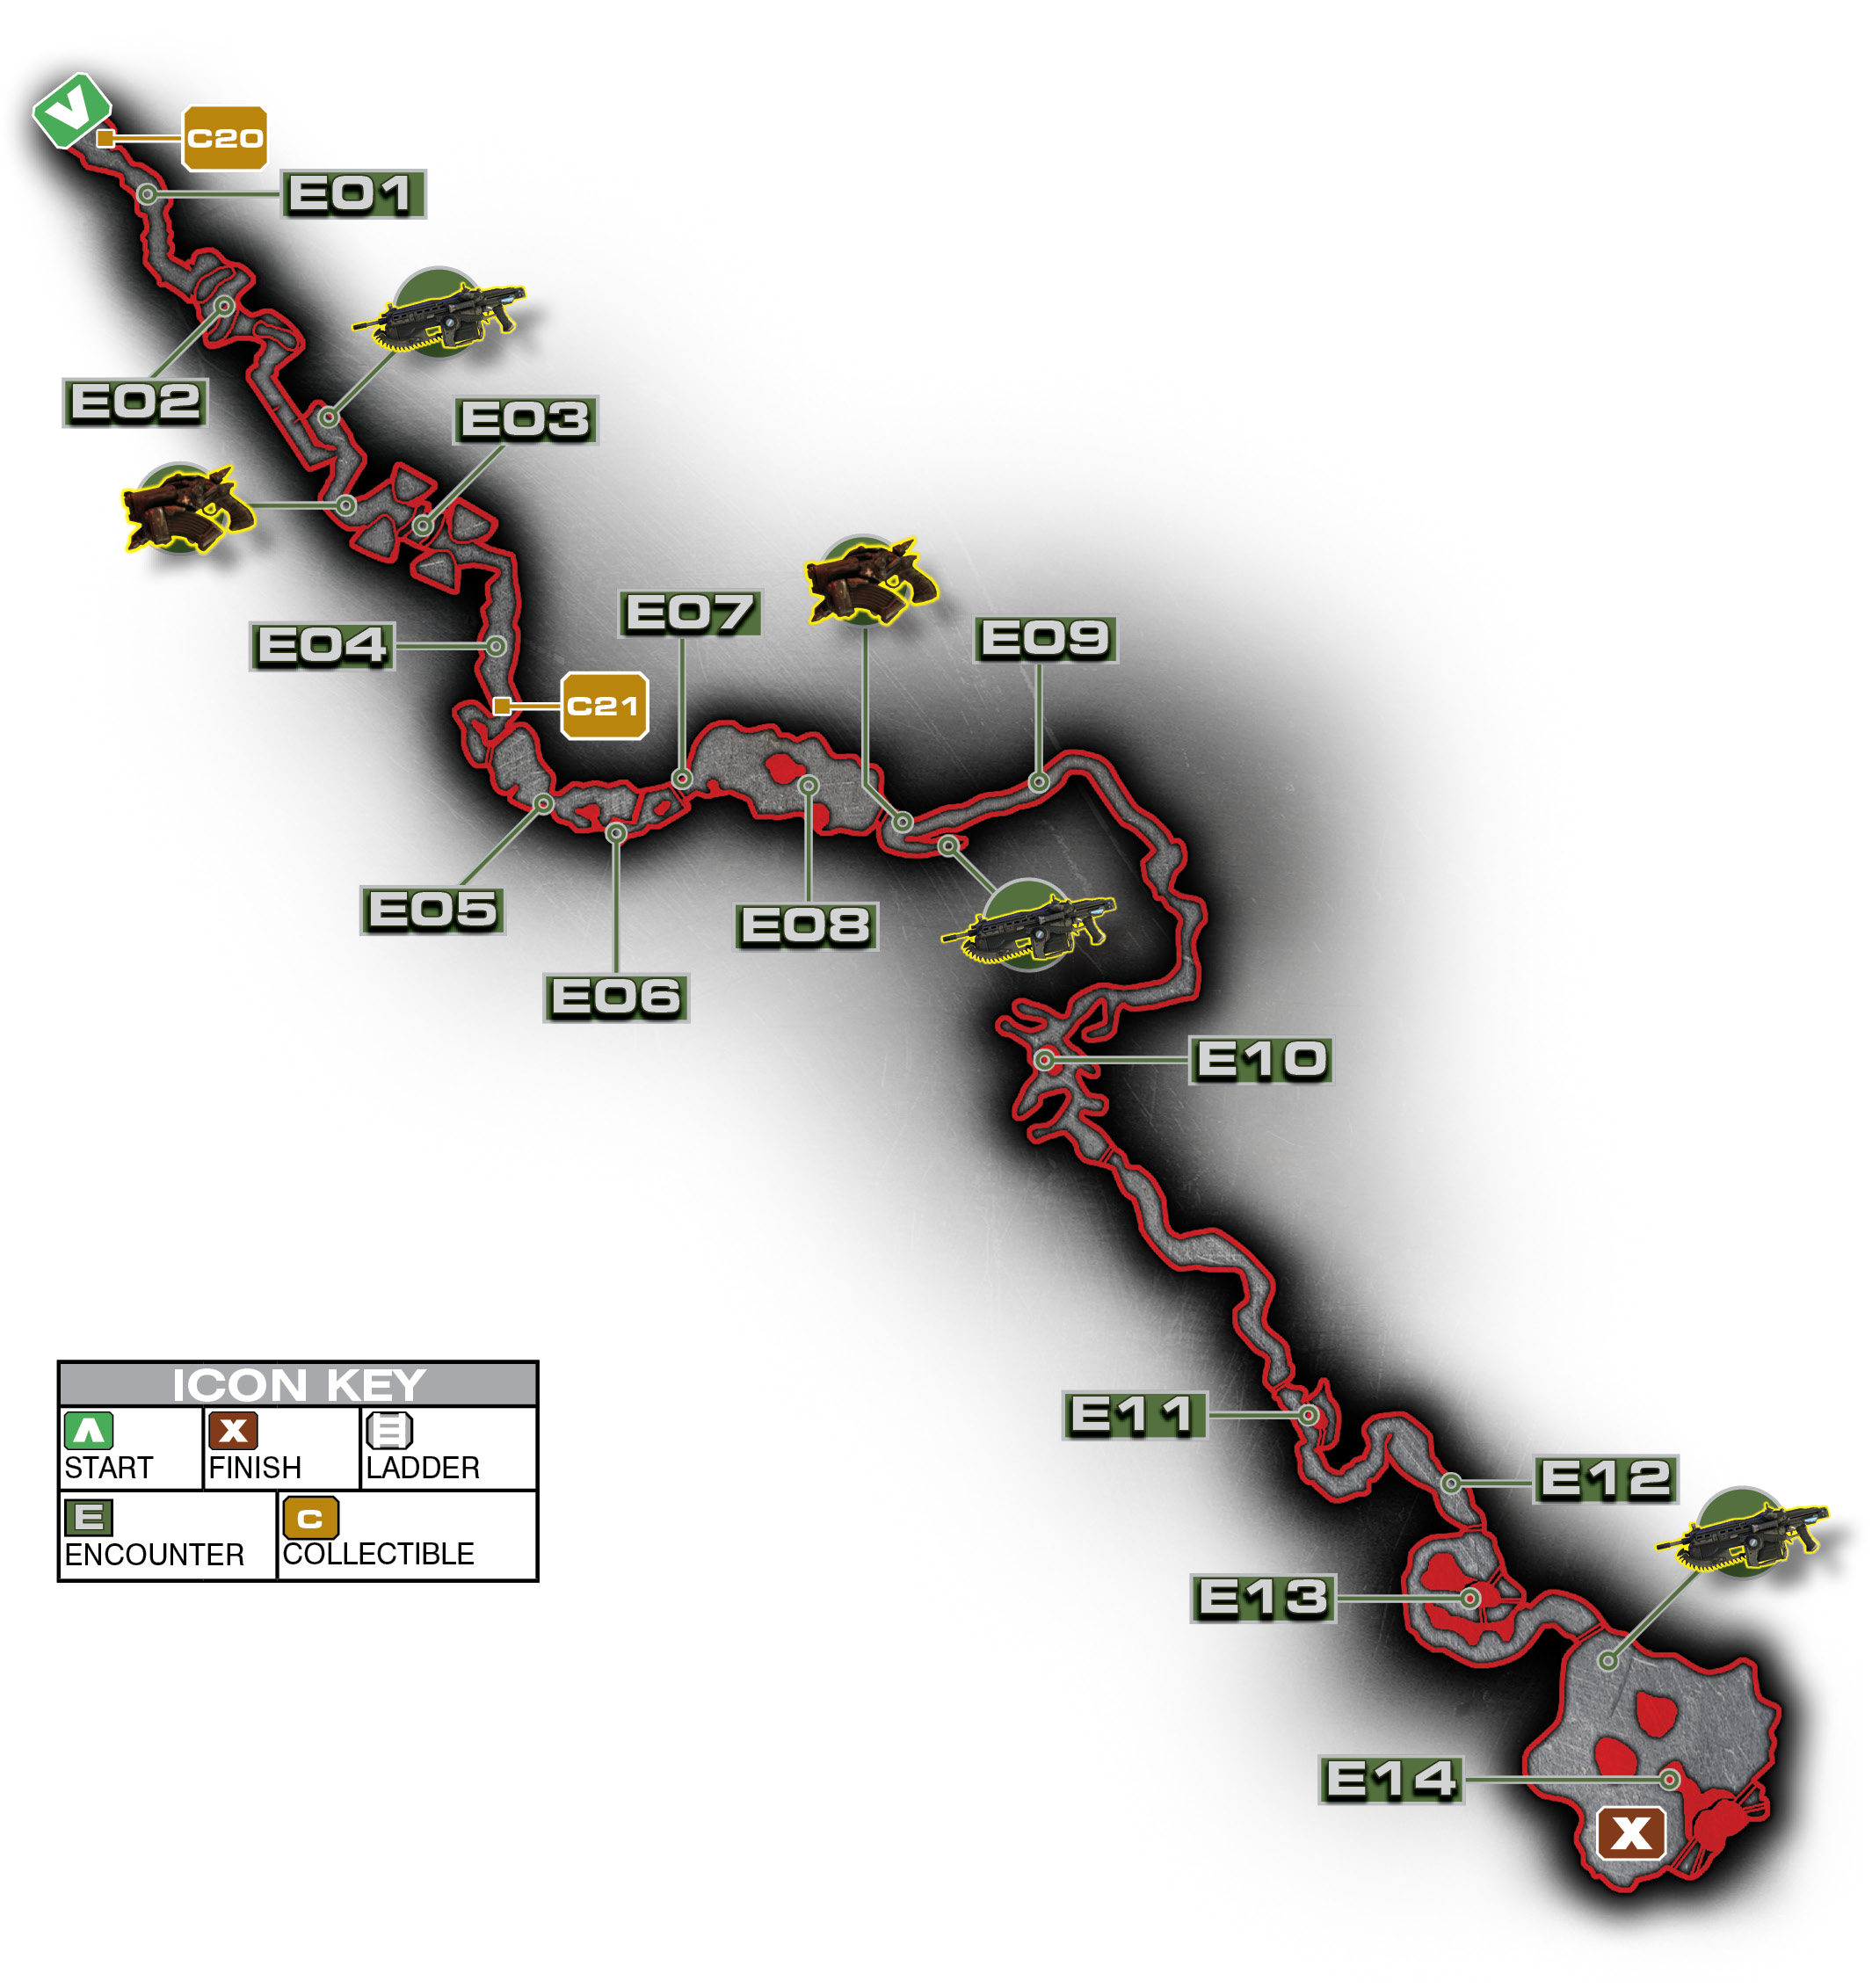
Encounter 01
ENEMY PRESENCE: None
As the groggy Delta Squad reassembles, it becomes apparent that Carmine is nowhere to be seen. There’s nowhere to go except forward in the strange environment you now occupy.
Before you set off, look off to the left of the path to find a collectible. Then make your way through the nasty fluids ahead.
Encounter 02
ENEMY PRESENCE: None
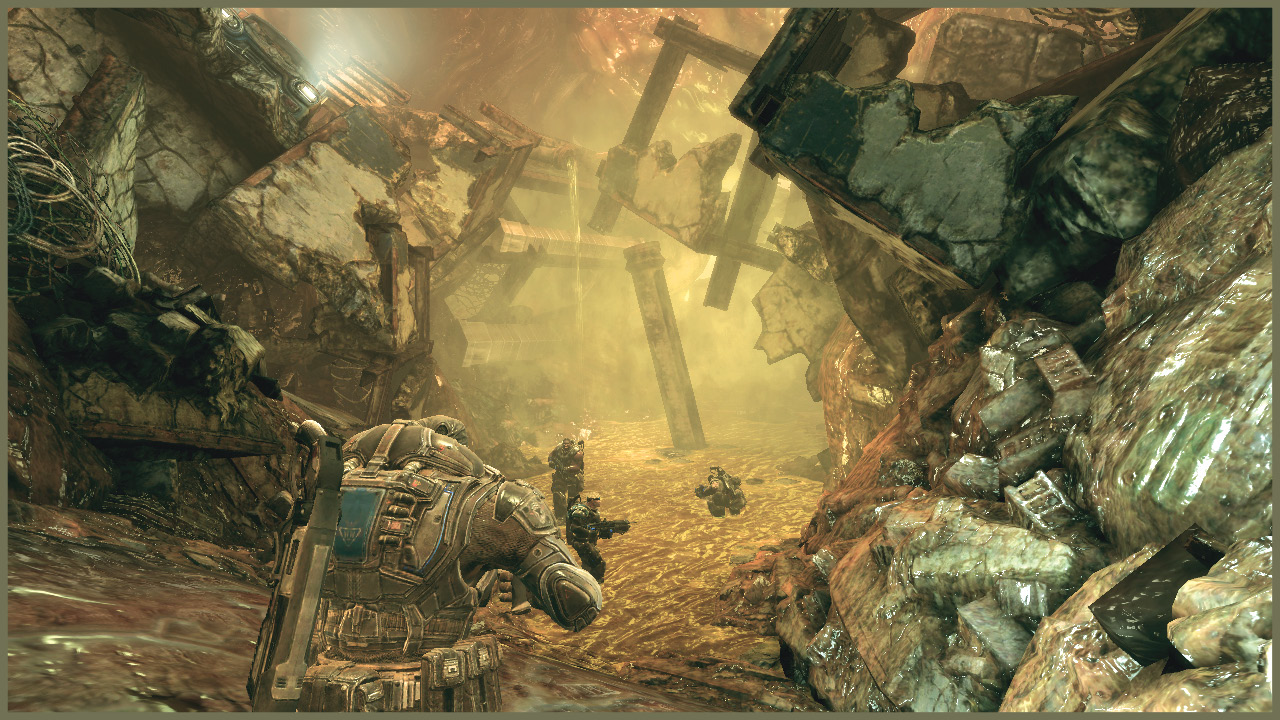
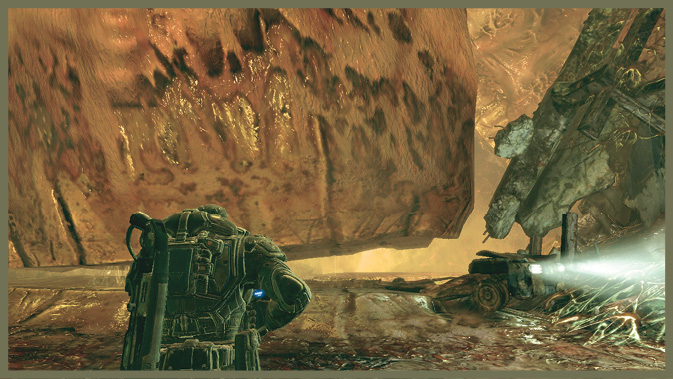
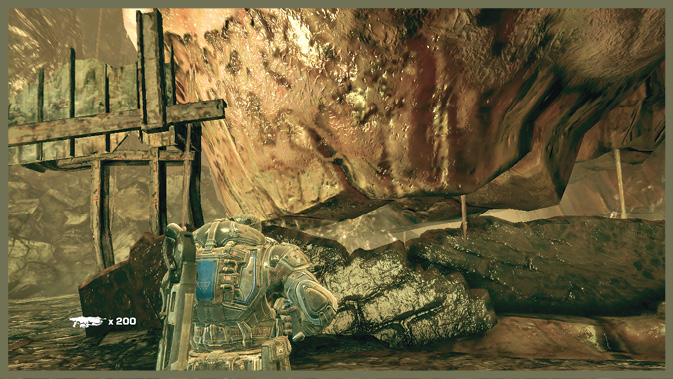
Your first real obstacles are massive, crushing digestive teeth. Time your running to skirt past them. Once you’re past the first three, the next set is much lower, which prevents you from walking past them safely. You must Roadie Run to get under them safely.
Encounter 03
ENEMY PRESENCE: Nemacites
After the short teeth, one final set of grinding teeth obstructs your path. Again, time your movements to slip between them.
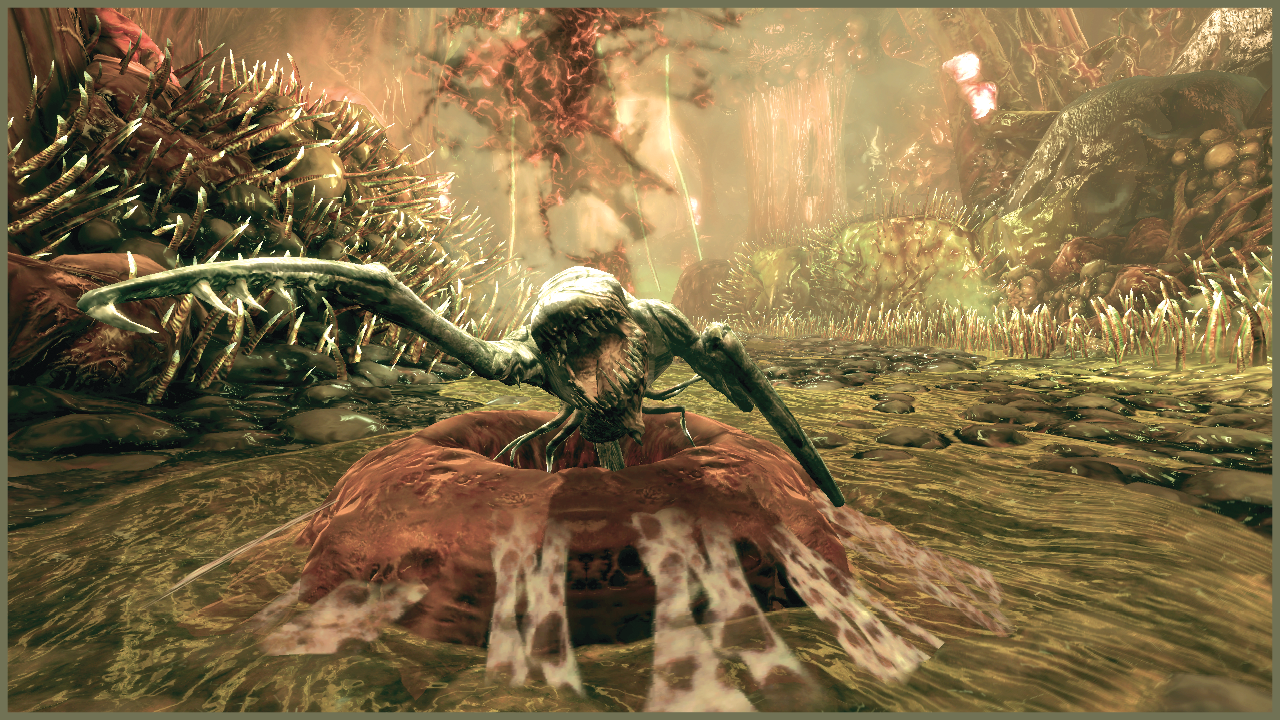
As you pass the teeth, your first enemy appears. Nemacites are strange and parasitic creatures, all claws and teeth. Thankfully, they’re not especially resistant to gunfire. Take them out on the move, as you would Wretches. Then continue down the ‘path.’
Encounter 04
ENEMY PRESENCE: Nemacites
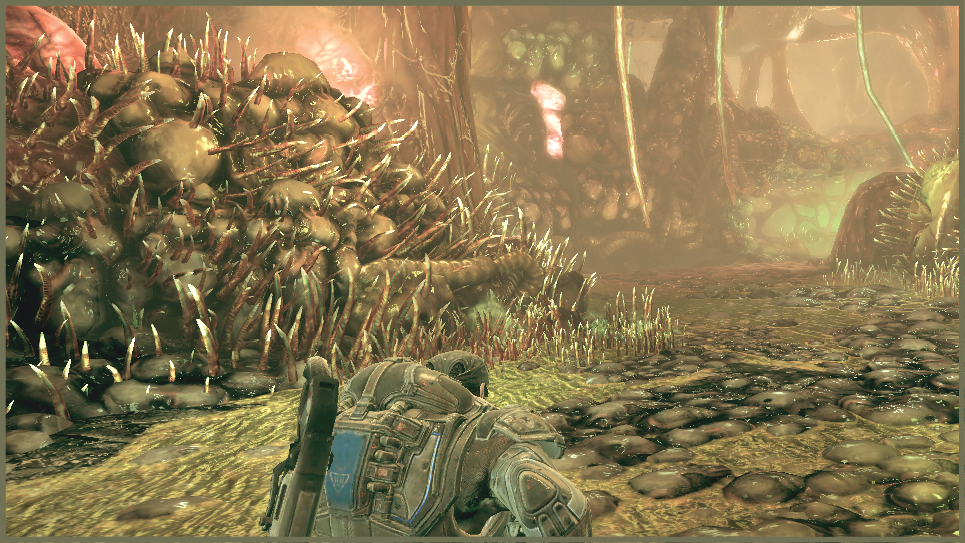
More Nemacites oppose your entry to this foul chamber. Once you clear them out, you are reunited with Carmine.
After you speak with him, you have more pressing matters at hand. A massive wall of debris comes crashing down the tunnel behind you. If you don’t start running, it can easily crush you—get moving!
As you run, you quickly reach an ascending ramp. Just before the ramp, check on the ground to the left to find a collectible.
Encounter 05
ENEMY PRESENCE: None
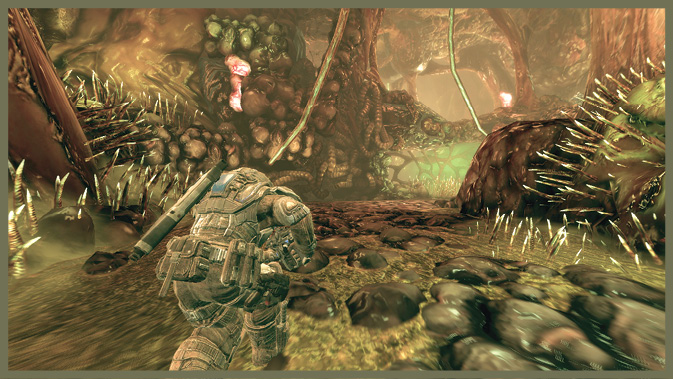
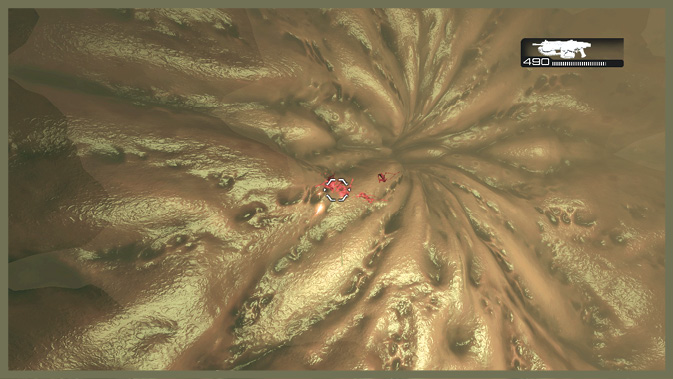
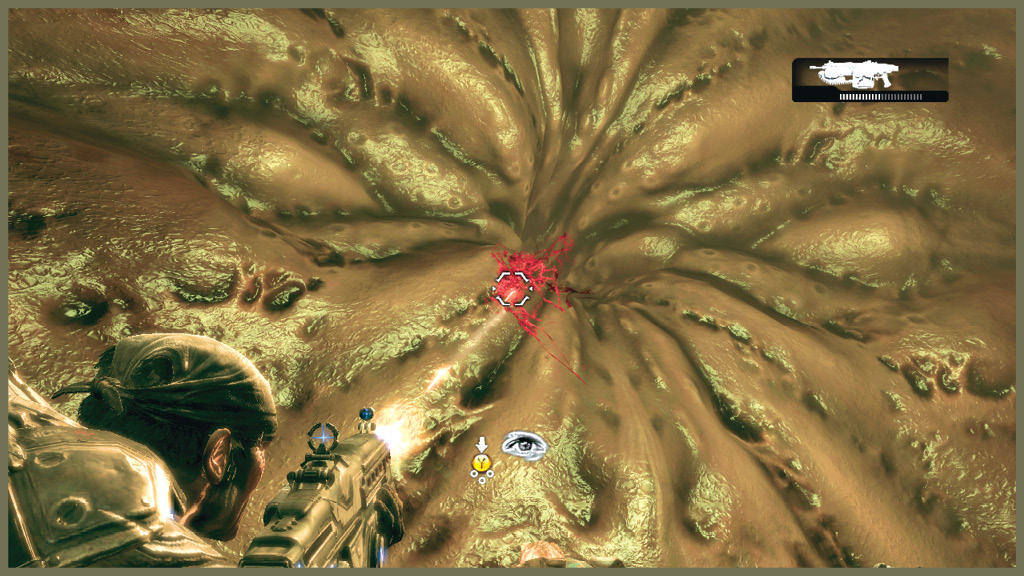
As you flee from the rolling wall of debris, your first obstacle presents itself. A thick sphincter of muscle blocks the path. Fire at the center to cause the wall to retract, opening a route through it.
Encounter 06
ENEMY PRESENCE: None
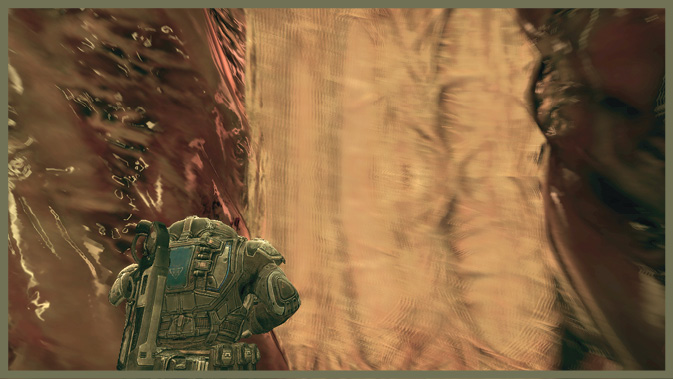
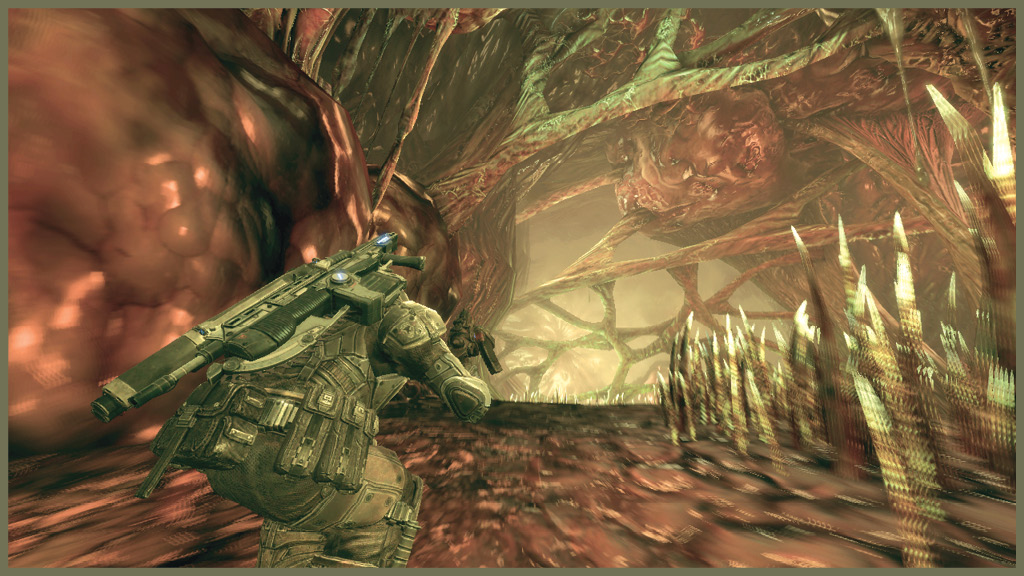
The next obstruction in your path is a membranous wall. You can’t pass through the nearby cilia safely, so you must cut your way through this wall. Use the Lancer’s chainsaw to carve a bloody hole, and then keep moving.
Encounter 07
ENEMY PRESENCE: None
Another sphincter wall bars the path here. Again, quickly shoot it in the center to keep moving.
Encounter 08
ENEMY PRESENCE: None
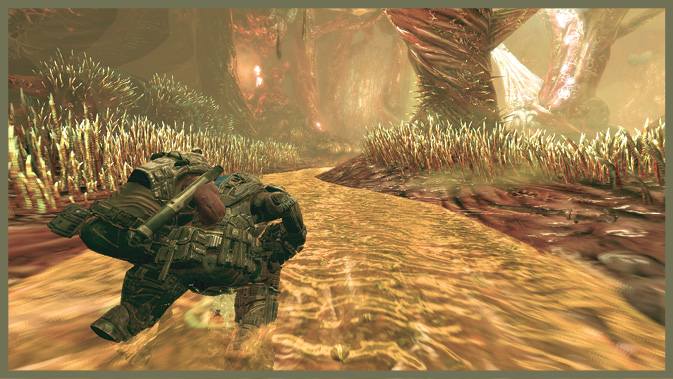
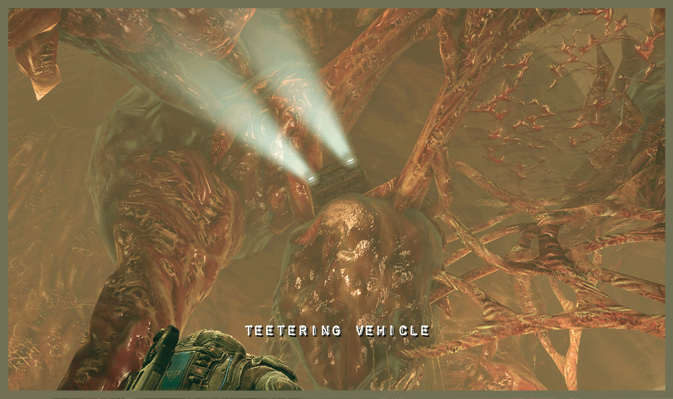
As you approach the end of your run, a few pools of nasty saliva block your path. Only the cilia can hurt you here. To get across one of the deeper pools, fire at a hanging car to knock it down. The car slams down and creates a makeshift bridge for your team to cross.
After you pass over the bridge, quickly run to the final membrane just ahead. Slice your way through, and you’re safely away from the wall of debris crushing everything in its path.
Encounter 09
ENEMY PRESENCE: None
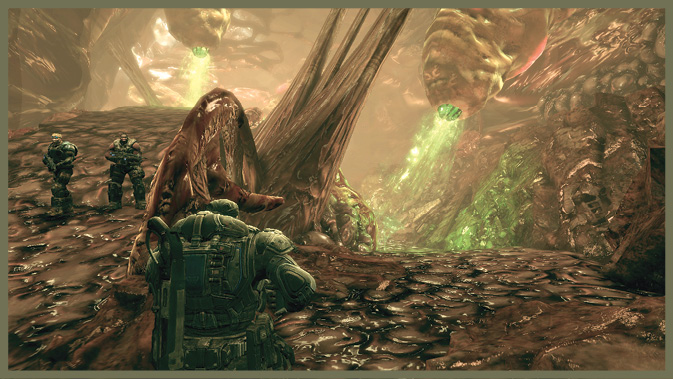
Once you escape the immediate danger of the pursuing debris, you can relax for a moment and take stock of your situation. Your next obstacle is a pathway blocked by fleshy acid spitters.
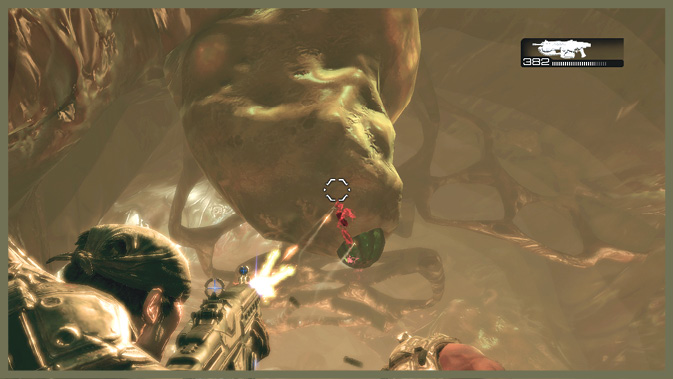
To get past them, you must shoot the gleaming green orbs that are spraying the acid. When you fire at them, they retract momentarily, just long enough for you to sprint past. Continue in this fashion until you get past the walkway.
Encounter 10
ENEMY PRESENCE: None
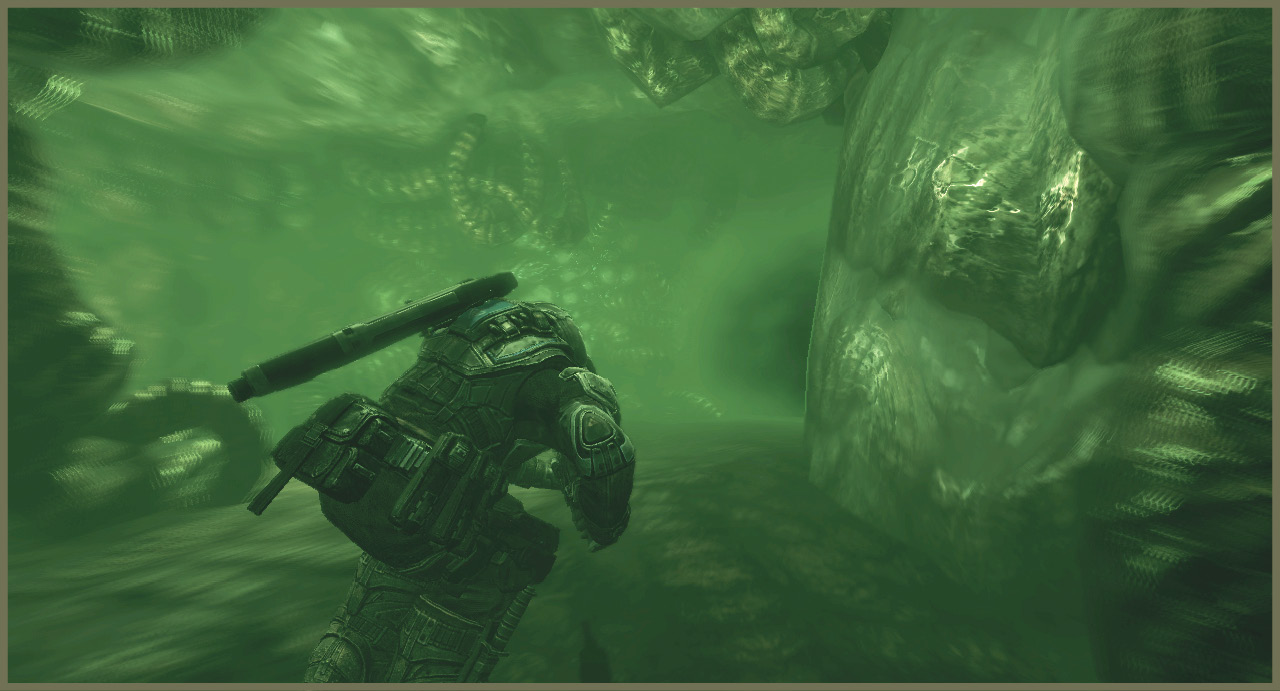
Beyond the acid spitters, you penetrate deeper into the creature’s dank internals, and you must pass through a small mini-maze.
Avoid darkened passages. They’re easily discernable as you move through the tunnels, even if you’re not using the map for this chapter. As long as you skip the tunnels filled with what looks like a black haze, you won’t waste any time here. If you take too long, your screen begins to blur. Eventually, you can suffocate and die—don’t let that happen!
Encounter 11
ENEMY PRESENCE: Nemacites
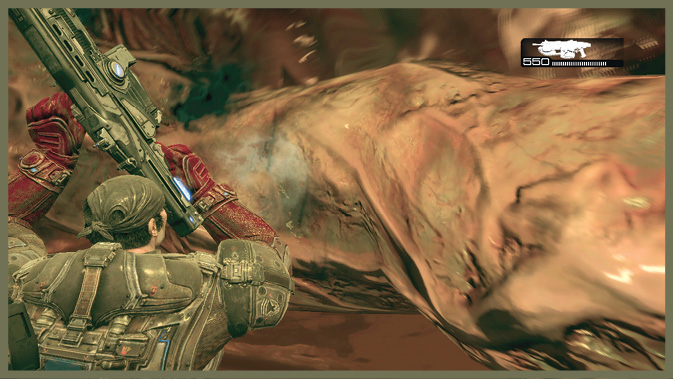
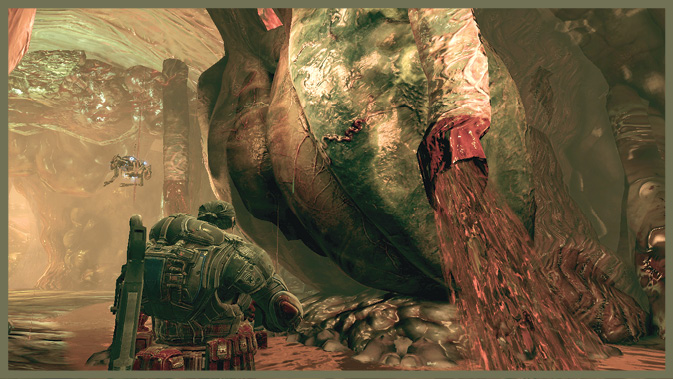
You’ve finally emerged at the heart of the beast—literally. Kill the Nemacites in the room. Then approach the heart and slice open the two arteries connected to it.
Completing this bloody work reveals that, while you have inflicted grievous injuries, there is still more grim cutting to do. You can hear the distant echo of another strong heartbeat in the distance, and you must follow it to its source.
Encounter 12
ENEMY PRESENCE: Nemacites
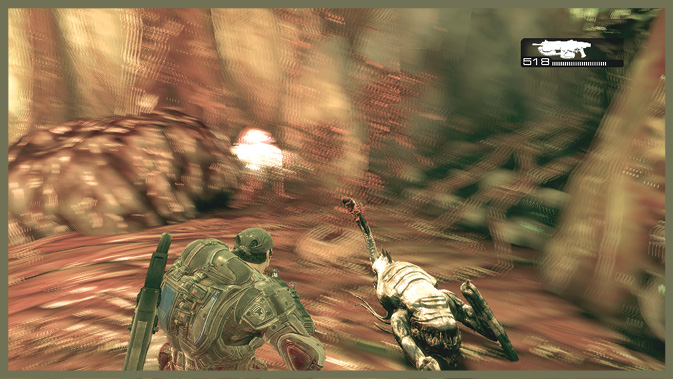
On your way to the second heart, an ambush of more Nemacites threatens your advance. Eliminate them before you move on to the next chamber.
Encounter 13
ENEMY PRESENCE: None
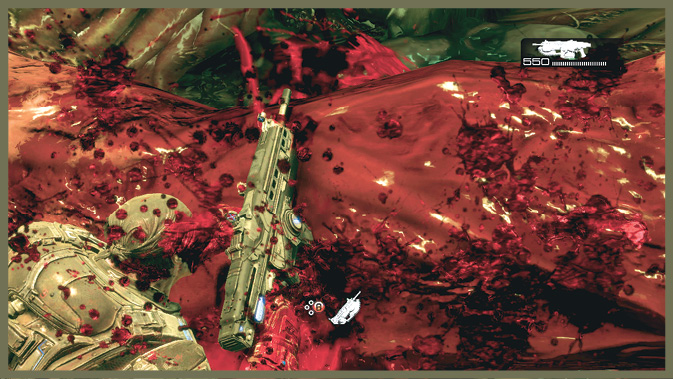
There aren’t any threats in this room, but you do have to slice open three arteries to sever the connections to this heart.
You’re still not done! Keep moving to reach the final chamber.
Encounter 14
ENEMY PRESENCE: Nemacites
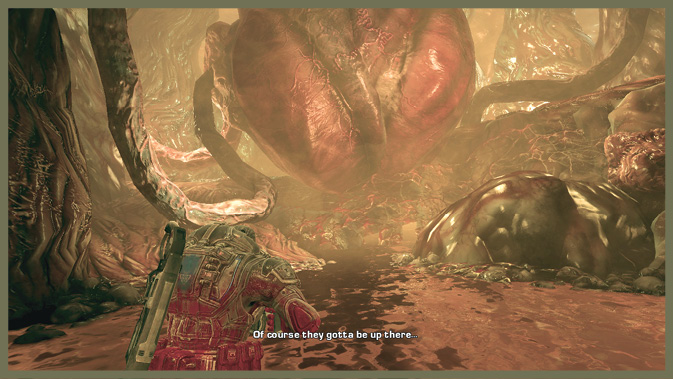
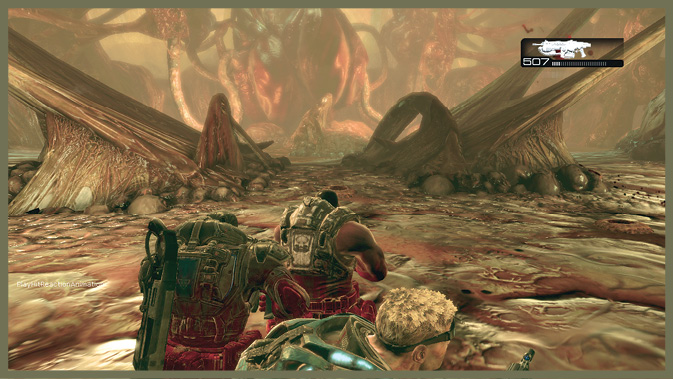
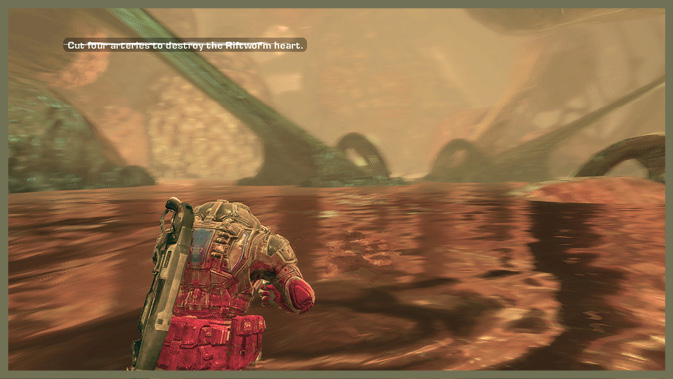
In this strange level’s final battle, you must fend off waves of Nemacites while you attempt to cut four arteries connected to the largest and final heart.
Try to avoid wasting too much time fighting the Nemacites. As you cut the arteries, the room begins to fill with blood. When the level of the blood rises high enough, the Nemacites automatically begin to drown.
Once you sever all four arteries, your gruesome mission in this strange chapter comes to a close.
|
 Heartbroken