
Gears of War 2 Guide ACT I: Tip of the Spear
Chapter 2: Desperation
A Locust raid on the hospital and its surroundings changes a search for Dom’s wife into the first conflict of the game.
Use this chapter to get comfortable with basic combat against Locust Drones. There’s plenty of cover available, as well as ample ammunition and a few Frag Grenades here and there throughout the level.
There isn’t much in the way of heavy-duty firepower, but you don’t really need it.
Just after the mission begins, you are introduced to Tai Kaliso, a burly Gear who makes a welcome addition to your squad.
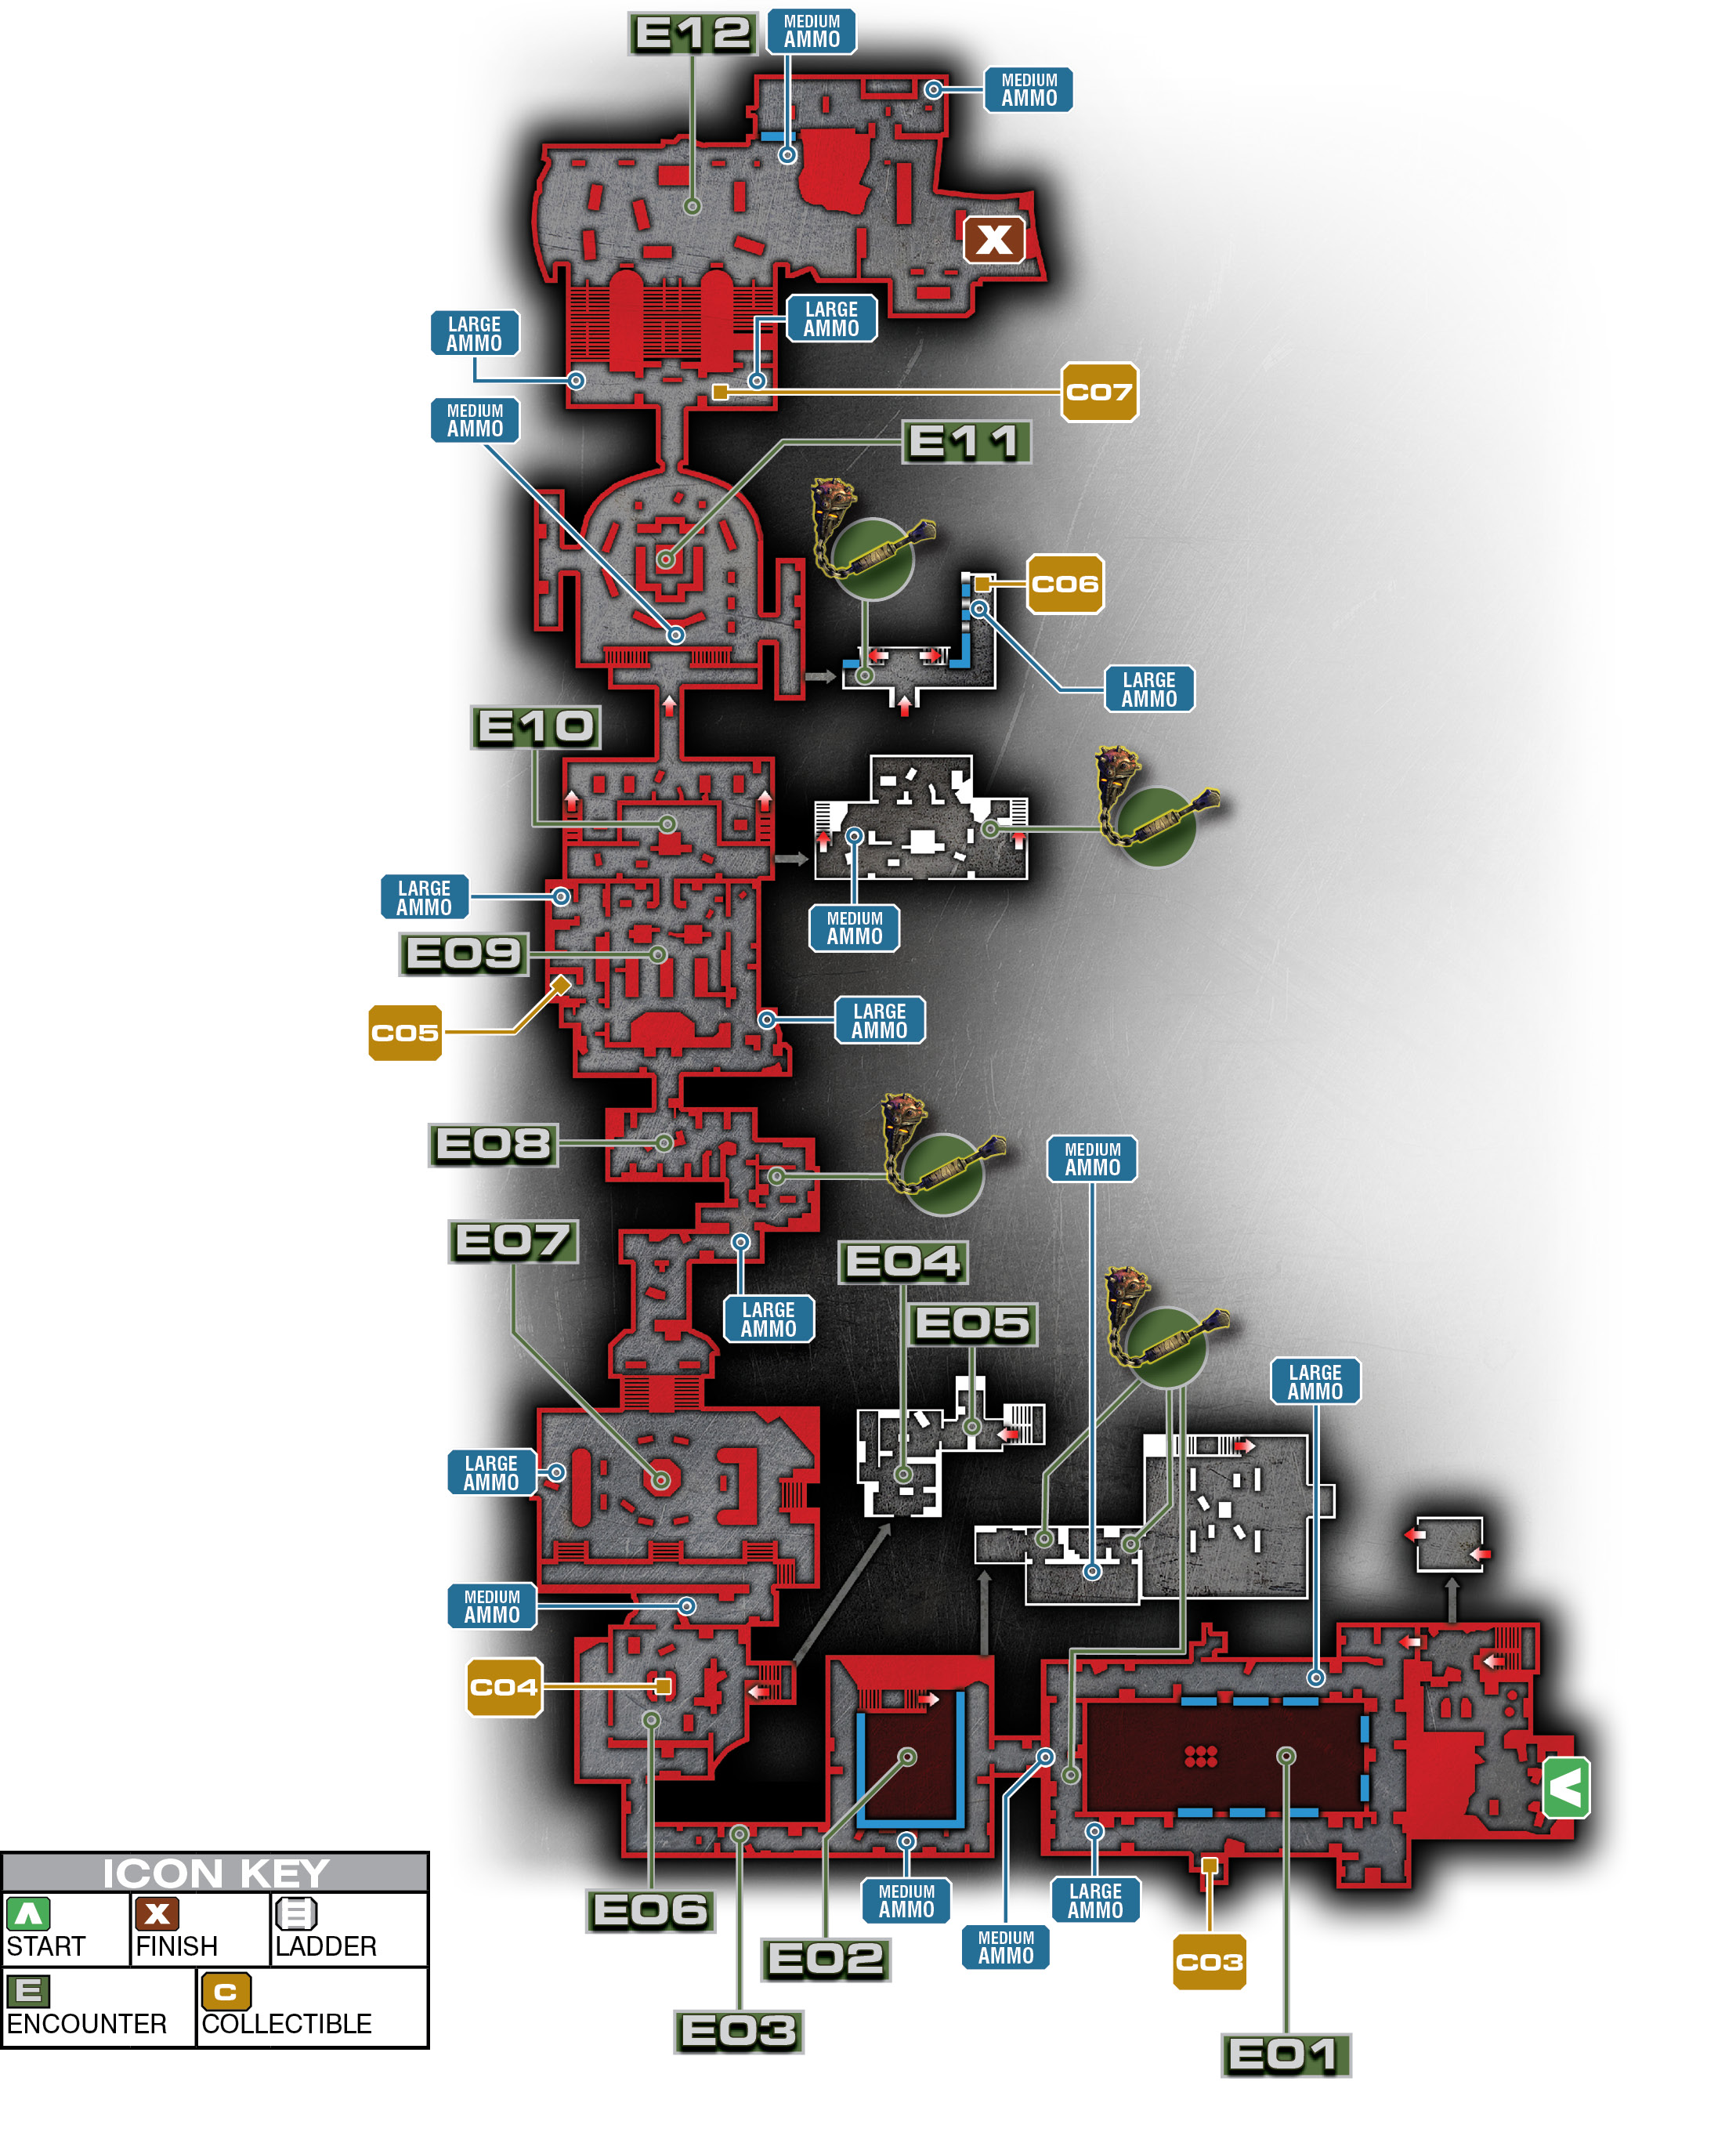
Encounter 01
ENEMY PRESENCE: Drones
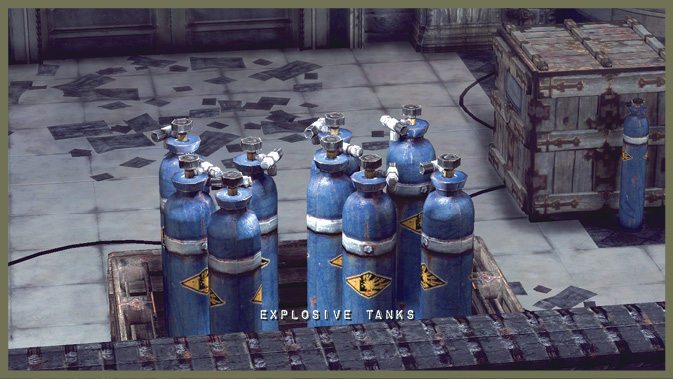
You have the elevation advantage in this encounter, and the opposition occupies a ground floor littered with explosive tanks. Wait for the Drones to get close to the explosives, and then shoot them. The resulting explosion should decimate the entire Locust wave. If there are any survivors, use your superior vantage point to eliminate them.
Encounter 02
ENEMY PRESENCE: Drones
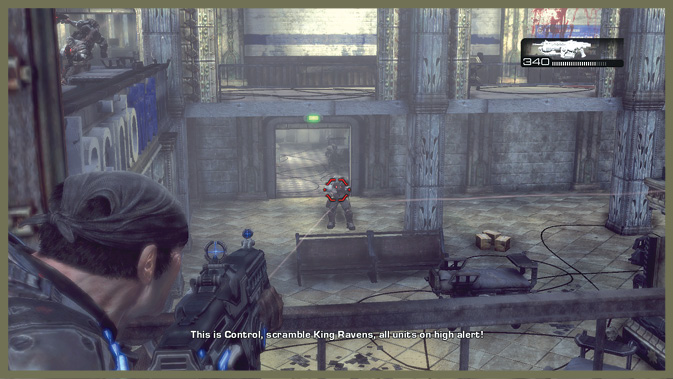
A few drones in the hospital’s upper floor don’t present a serious threat. Your teammates may take out a few more on the bottom floor before you even spot them. If not, use the available cover and pick them off from a distance.
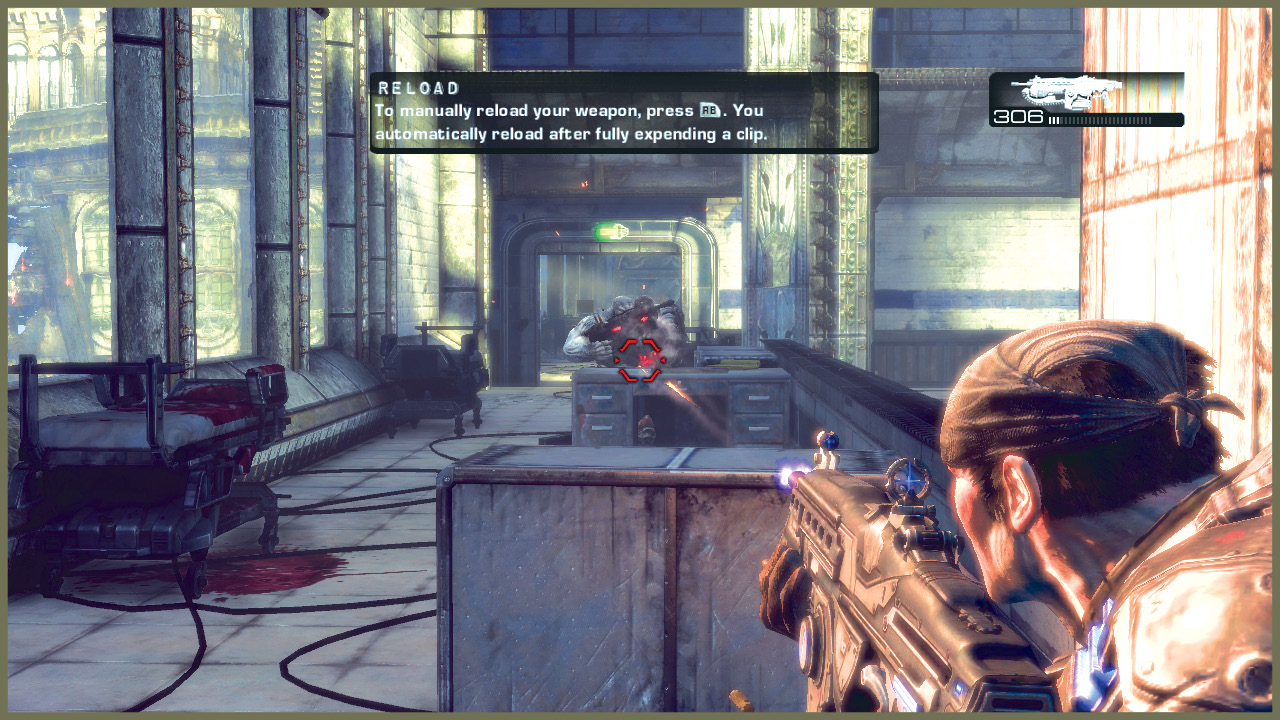
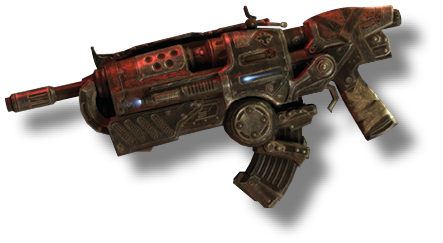 Hammerburst
Taking out these Drones gives you your first opportunity to pick up the Hammerburst. A good complement to the Lancer, it has slightly higher damage and a lower rate of fire than the Lancer.
It can also be fired in semi-automatic mode, offering a potentially increased rate of fire over simply holding the trigger. The tradeoff is considerably worse recoil.
You do lose access to the Lancer’s chainsaw, but the Hammerburst is slightly better at a distance due to its zoom capability. Plus, you almost always have access to it, as it is standard Locust weaponry.
Encounter 03
ENEMY PRESENCE: Drones
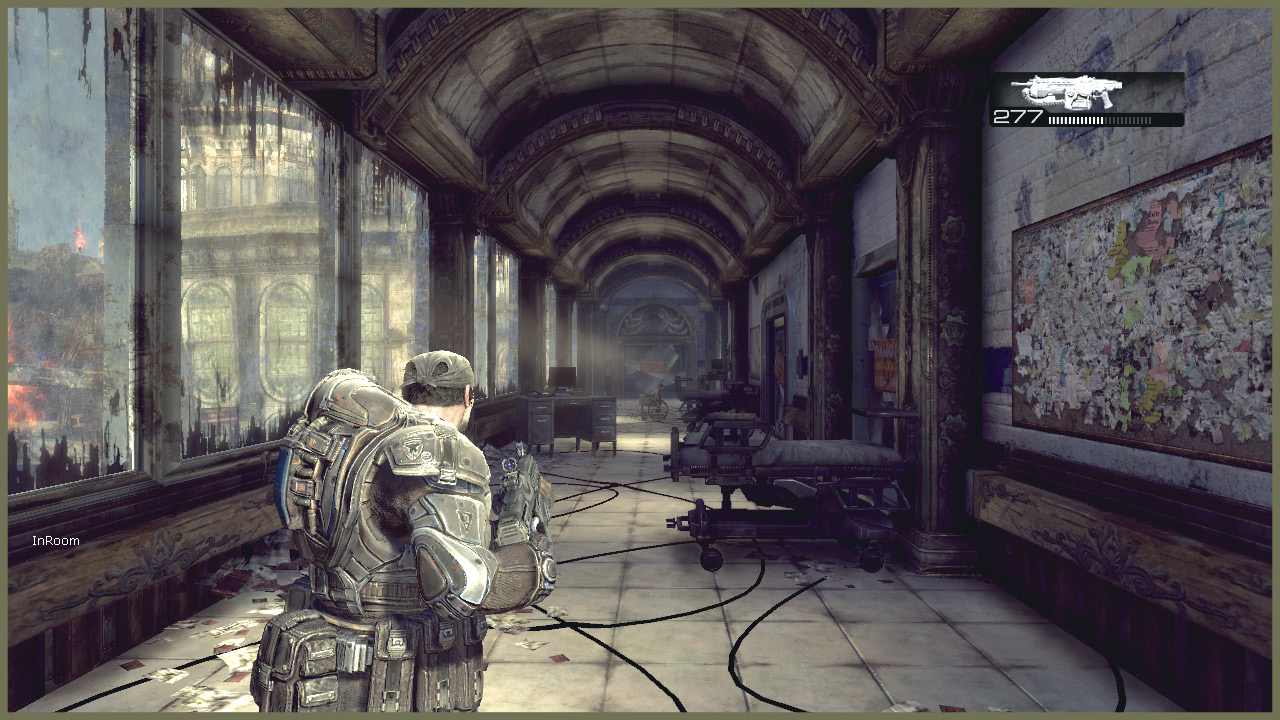
A couple of Drones emerge from the end of the hallway as you enter it from the hospital’s upper gallery, but they are quickly mowed down by a Raven hovering outside the hospital.
Note that it is possible to take the lower route through this area, skipping the Raven encounter entirely. Instead of going through the upper hall, descend the stairs to where you saw the Drones on the first floor, and you can follow Dom. This actually skips the next two encounters on the upper floor, but you wind up fighting the same number of Drones in the lower hall. Both paths end up in the same area at Encounter 6 in this walkthrough.
Encounter 04
ENEMY PRESENCE: Drones
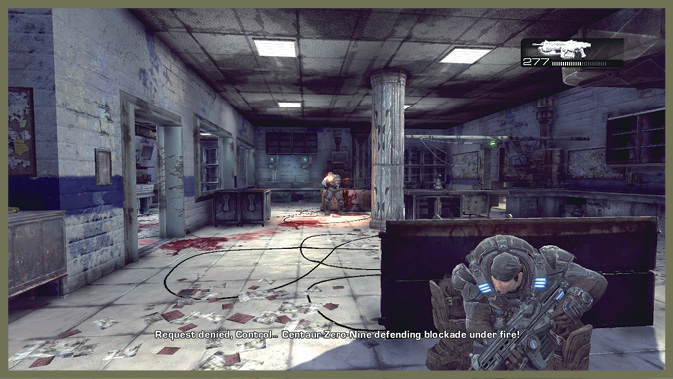
You find the first movable cover in this room. Slam into cover behind the table here, and you automatically flip over the table to use it as makeshift cover.
Encounter 05
ENEMY PRESENCE: Drones
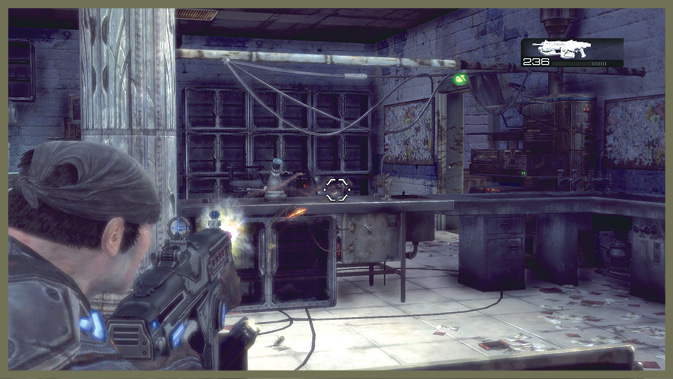
The Drone you encounter here is armed with a Boltok Pistol. This Locust weapon is stronger than the Gears’ own Snub Pistol, though it’s a bit slower and less accurate.
Take note of this Drone’s unusual helmet. He’s a bit faster and weaker than the usual Drone variety, and he always comes equipped with a Boltok.
Encounter 06
ENEMY PRESENCE: Drones
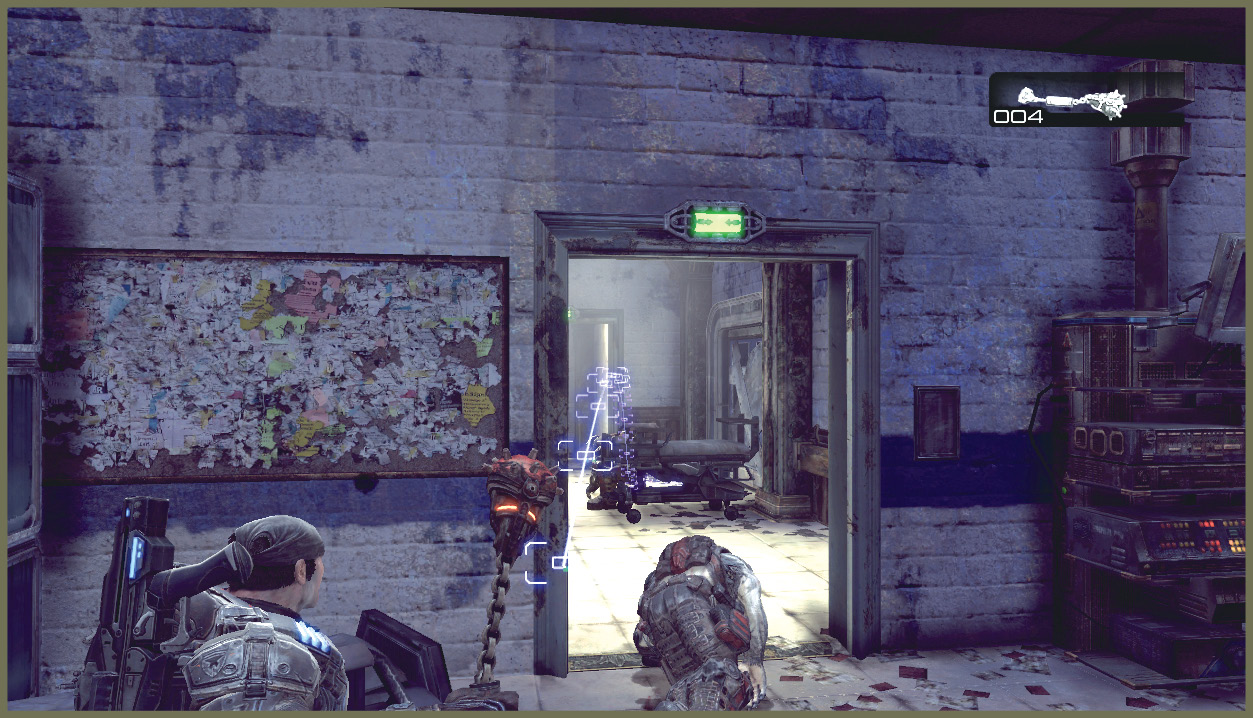
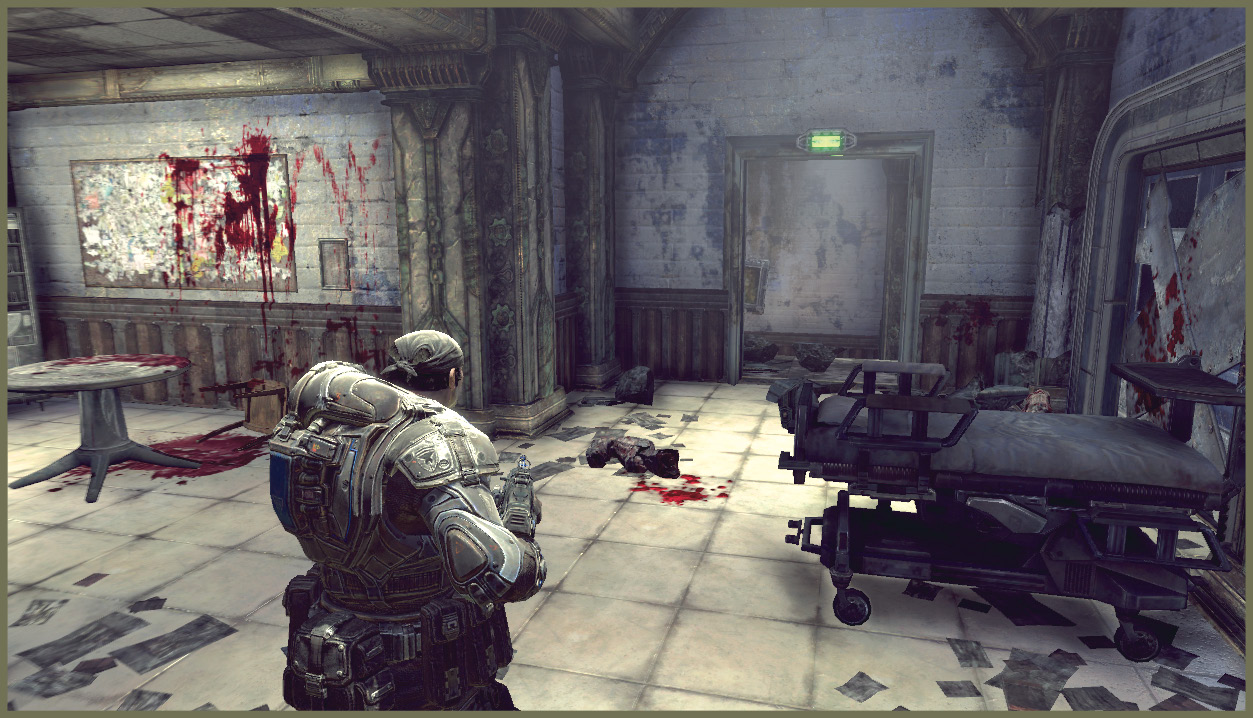
The pair of Drones in this room isn’t a serious threat, but you may have an opportunity to test out a meat shield. If one of the Locust is downed, approach it and tap the Cover button to pick it up as a body shield. While you are carrying your fleshy barrier, you move more slowly, and you can only use pistol-class weaponry, but you are protected from most frontal fire…for a short, messy time at least.
Encounter 07
ENEMY PRESENCE: Drones, Reaver
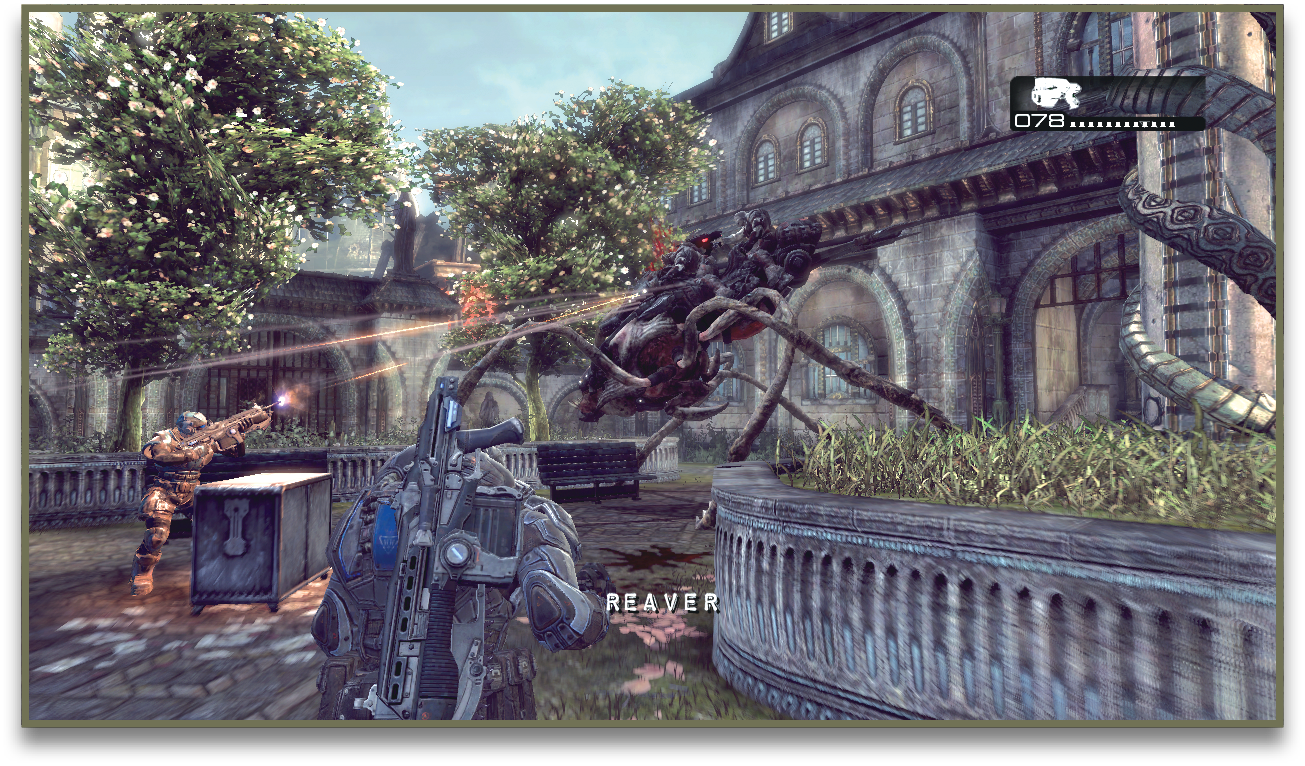
There’s a small pack of Drones out in the courtyard, but there are also COG reinforcements nearby. Take cover up on the walkway above the courtyard, or behind one of the planters in the courtyard itself.
Once you finish the battle, a Reaver drops in from the sky. Don’t worry, though; it sticks around for only a moment. Stay in cover and take some potshots. It’s safe to move on once it departs.
Encounter 08
ENEMY PRESENCE: Drones
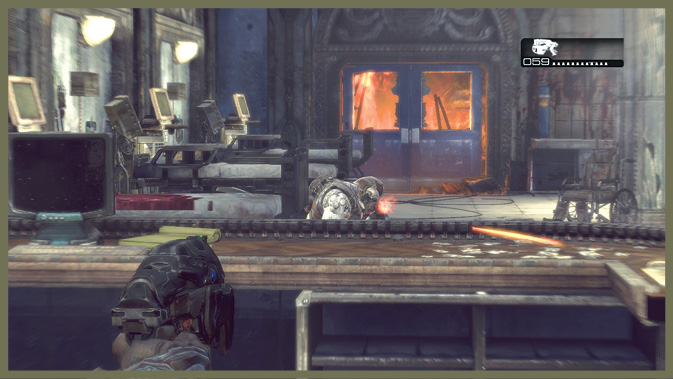
Two Drones are roaming around the hospital in this lobby area—it’s a brief fight.
Encounter 09
ENEMY PRESENCE: Drones
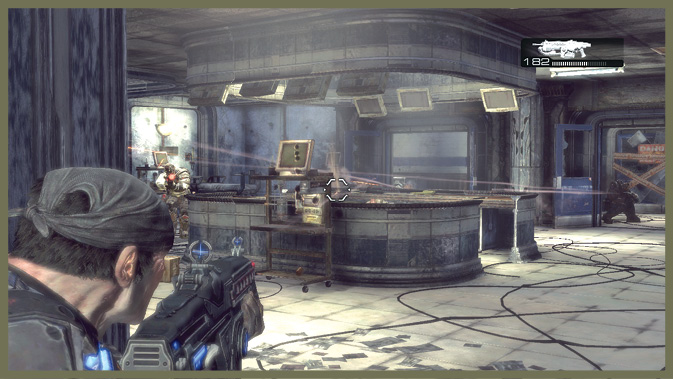
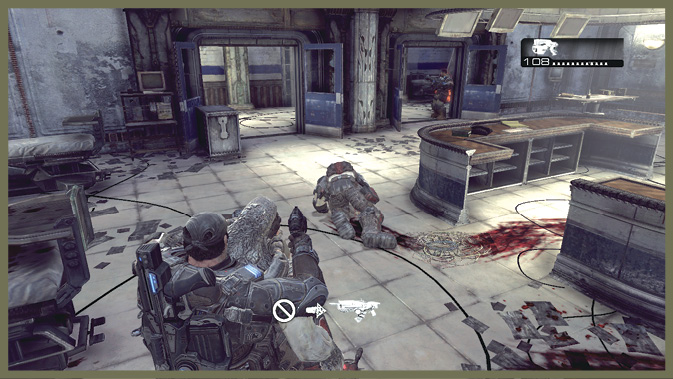
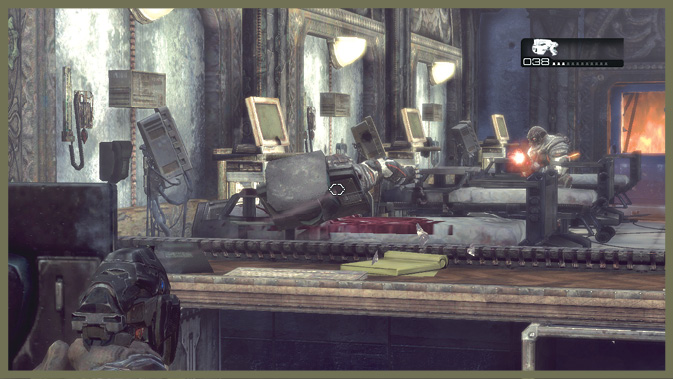
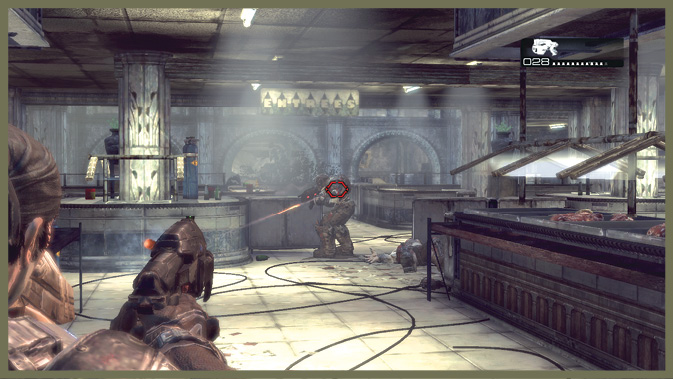
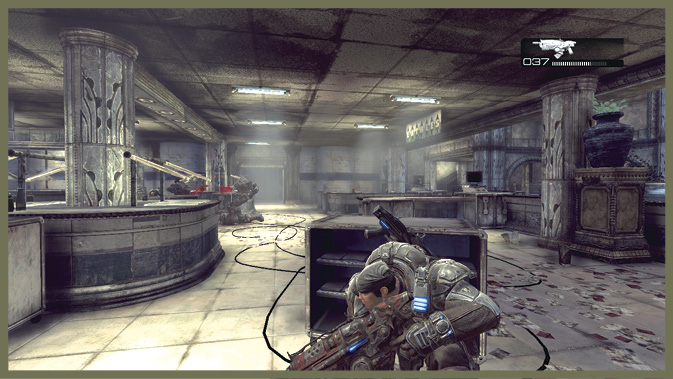
A pack of Drones at the opposite side of the cafeteria make for a small firefight. Because there are several Drones present at a decent distance behind cover, you might get a chance to see injured Drones helped up by their buddies. Just like Gears, Locust can assist their downed teammates!
If you want to make a basic flank attack, head down the hallway beside the cafeteria—you can come in facing the Locust flank.
Encounter 10
ENEMY PRESENCE: Drones
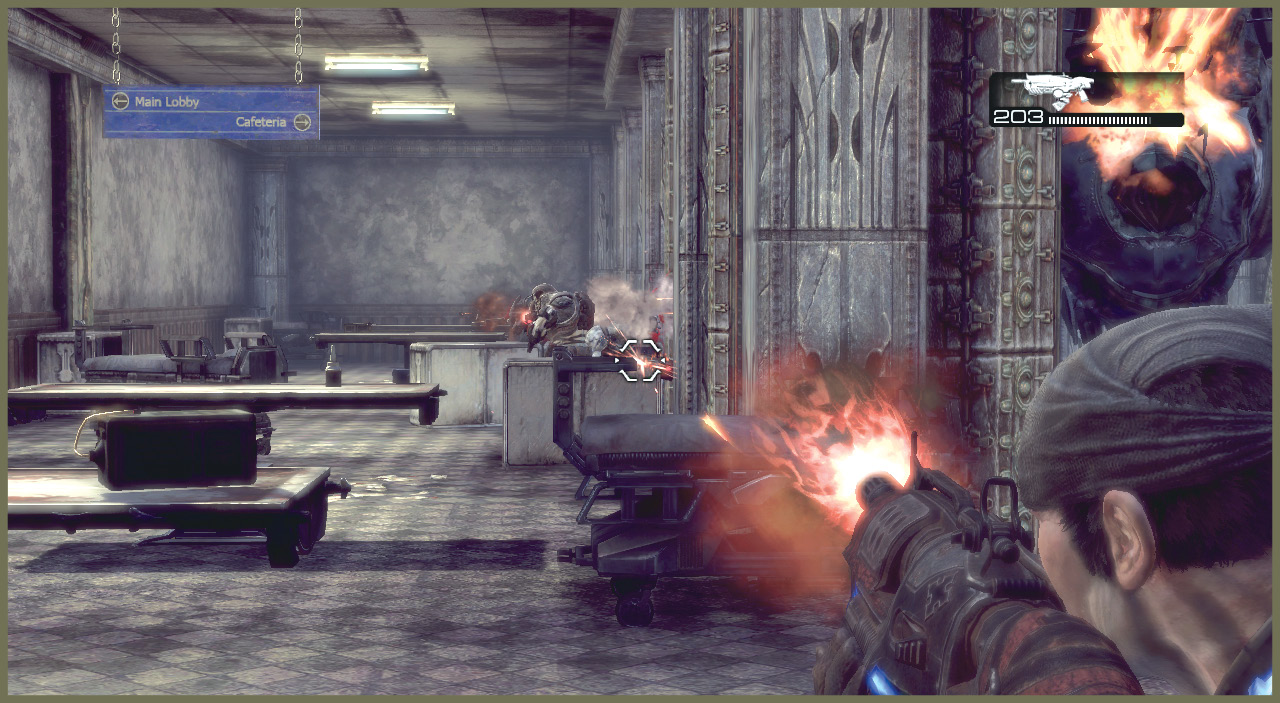
When you emerge into this courtyard area, a massive King Raven comes crashing through the glass ceiling, and a trio of Drones attacks from the gallery above the ground level.
You can either stay put on the ground, remaining behind cover, or you can make your way over to the stairs on either end of the courtyard and flank the Locust on the second floor.
Encounter 11
ENEMY PRESENCE: Drones
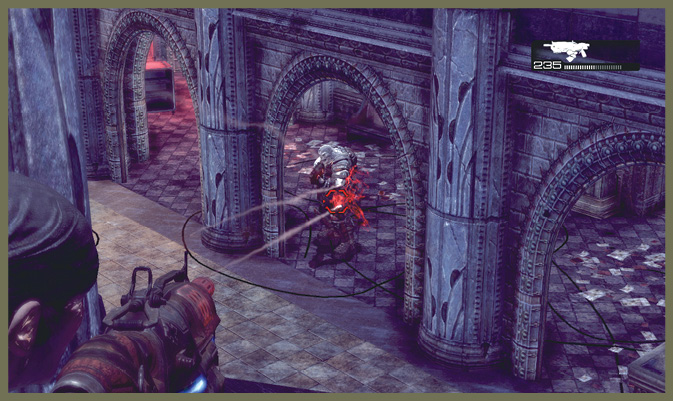
Several Drones assault the hospital lobby as you enter the room. Given your elevation advantage, this is an easy battle if you stay above once you step down the stairs to trigger their attack.
After you take down the first wave, a few more Drones come in through the door that flashes with an emergency light. You can either stay up top or use the abundant cover in the middle of the room to engage them at medium range.
Encounter 12
ENEMY PRESENCE: Drones, Reavers
As you exit the hospital, you’re put into a siege situation with the largest Locust assault yet, located out in the street below the hospital. At the landing above the street, make a sharp right turn and check behind the pillar to find a COG Tag collectible. However, you have both Tai and Carmine assisting, so there’s plenty of friendly firepower on your side.
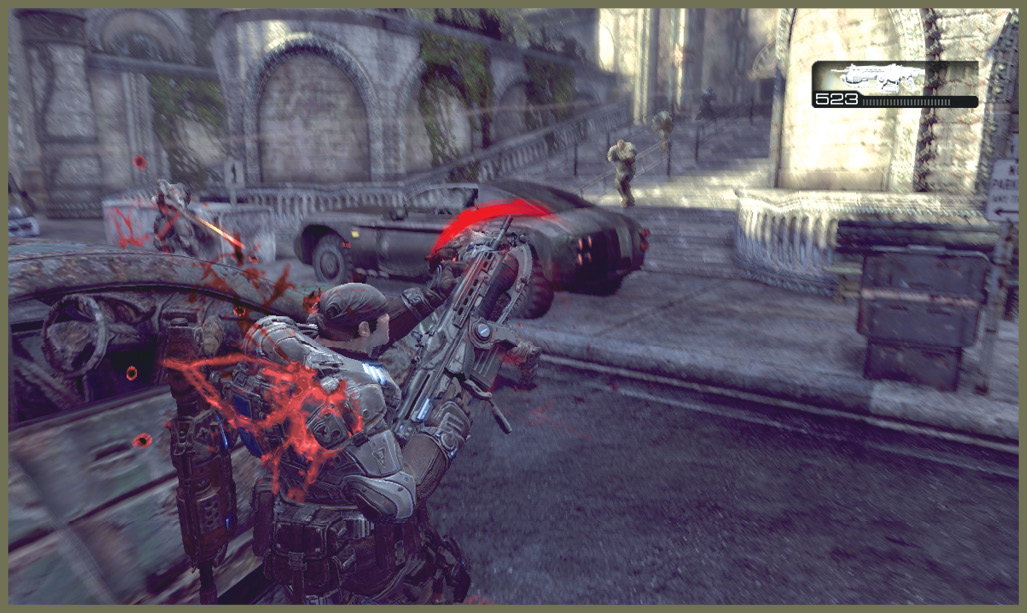
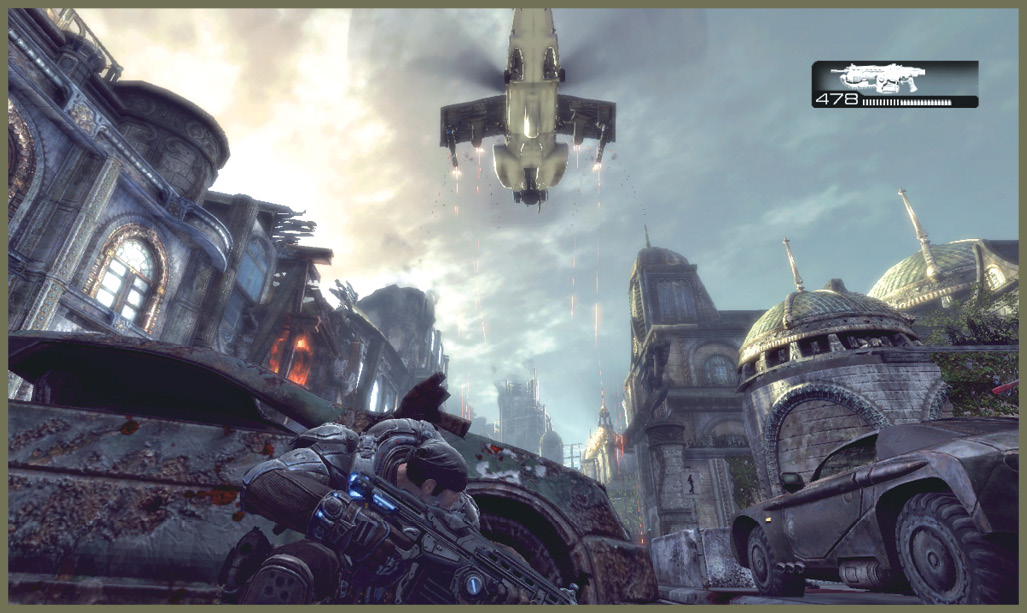
Use the available sandbag cover on the upper level above the street to clear out the first pack of Drones. A Reaver shows up briefly—just avoid getting caught out in the street with it, and it flies off after a few moments.
Once you neutralize the first wave, a King Raven shows up and hoses down the street with its superior firepower, clearing a path before it flies away.
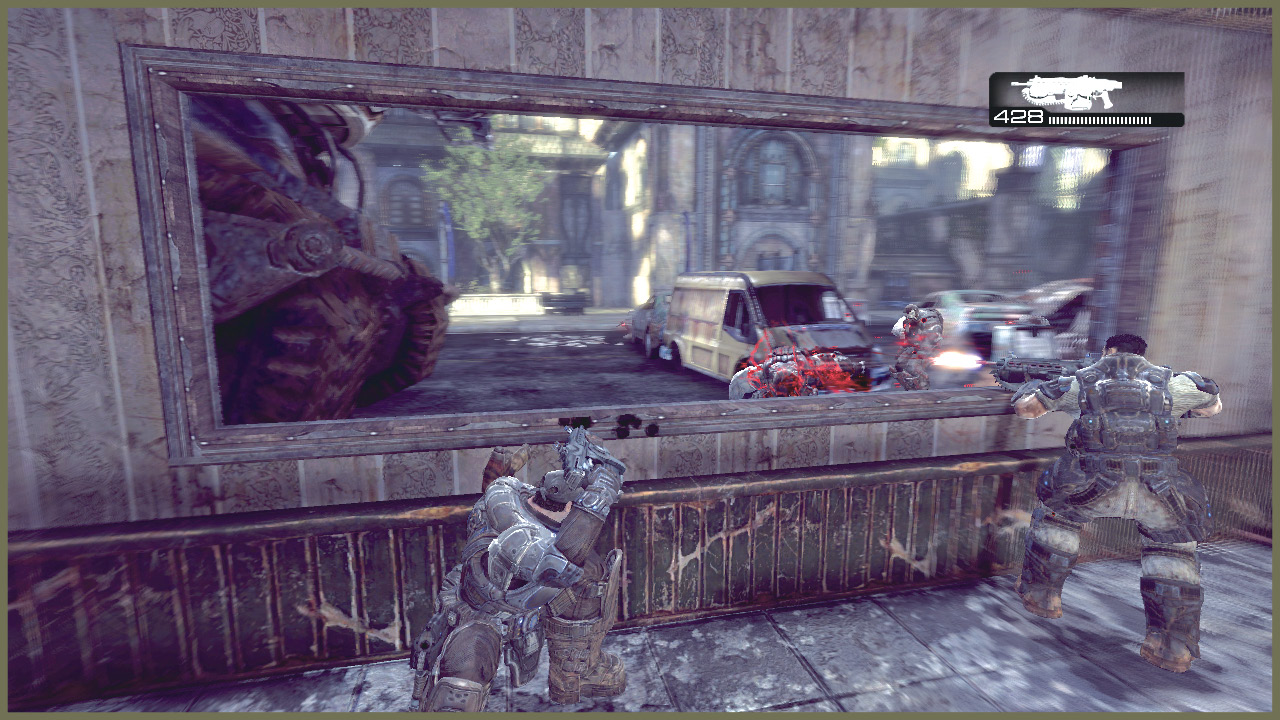
Make your way down onto the street and move forward until another group of Drones sets up a blockade down the street. When they do, you can go through a shop on the left side of the street to flank the Drones at the blockade.
Once you’re past the blockade, there’s one last pack of Drones at the end of the street, just past a ruined Rig off to the side.
Reavers shoot guns at you, but not rockets.
|
 Achievement: It’s a Trap!
The Locust forces retreat after the Gears push them from the hospital, behavior very uncharacteristic of the Locust Horde.
Dom has a chance to speak with Anya again after the fighting cools down, but it appears that Maria has been checked out of the hospital and is no longer present. Dom is furious, but there is nothing that can be done, as a major offensive effort by the COG to strike back against the Locust is beginning.
A huge force of COG troops, including Rigs equipped with Grindlifts to send infantry down into the Hollow sets out in a convoy toward the city of Landown, setting the stage for the next Chapter.