Gears of War 2 Guide ACT III: Gathering Storm
Chapter 1: Dirty Little Secret
After the unsettling conclusion to Chapter 2, you are given time to catch a breather, as Hoffman sends Delta on a mission to an isolated and abandoned research laboratory.
Command wants you to track down some information they believe is sealed within this crumbling wreck of a building, but they’re not giving many details freely.
This facility is one of the largest areas in the game—its contents span three whole chapters! However, you don’t have to worry about continuous conflict for most of the mission—you are mostly exploring the facility and learning its secrets.
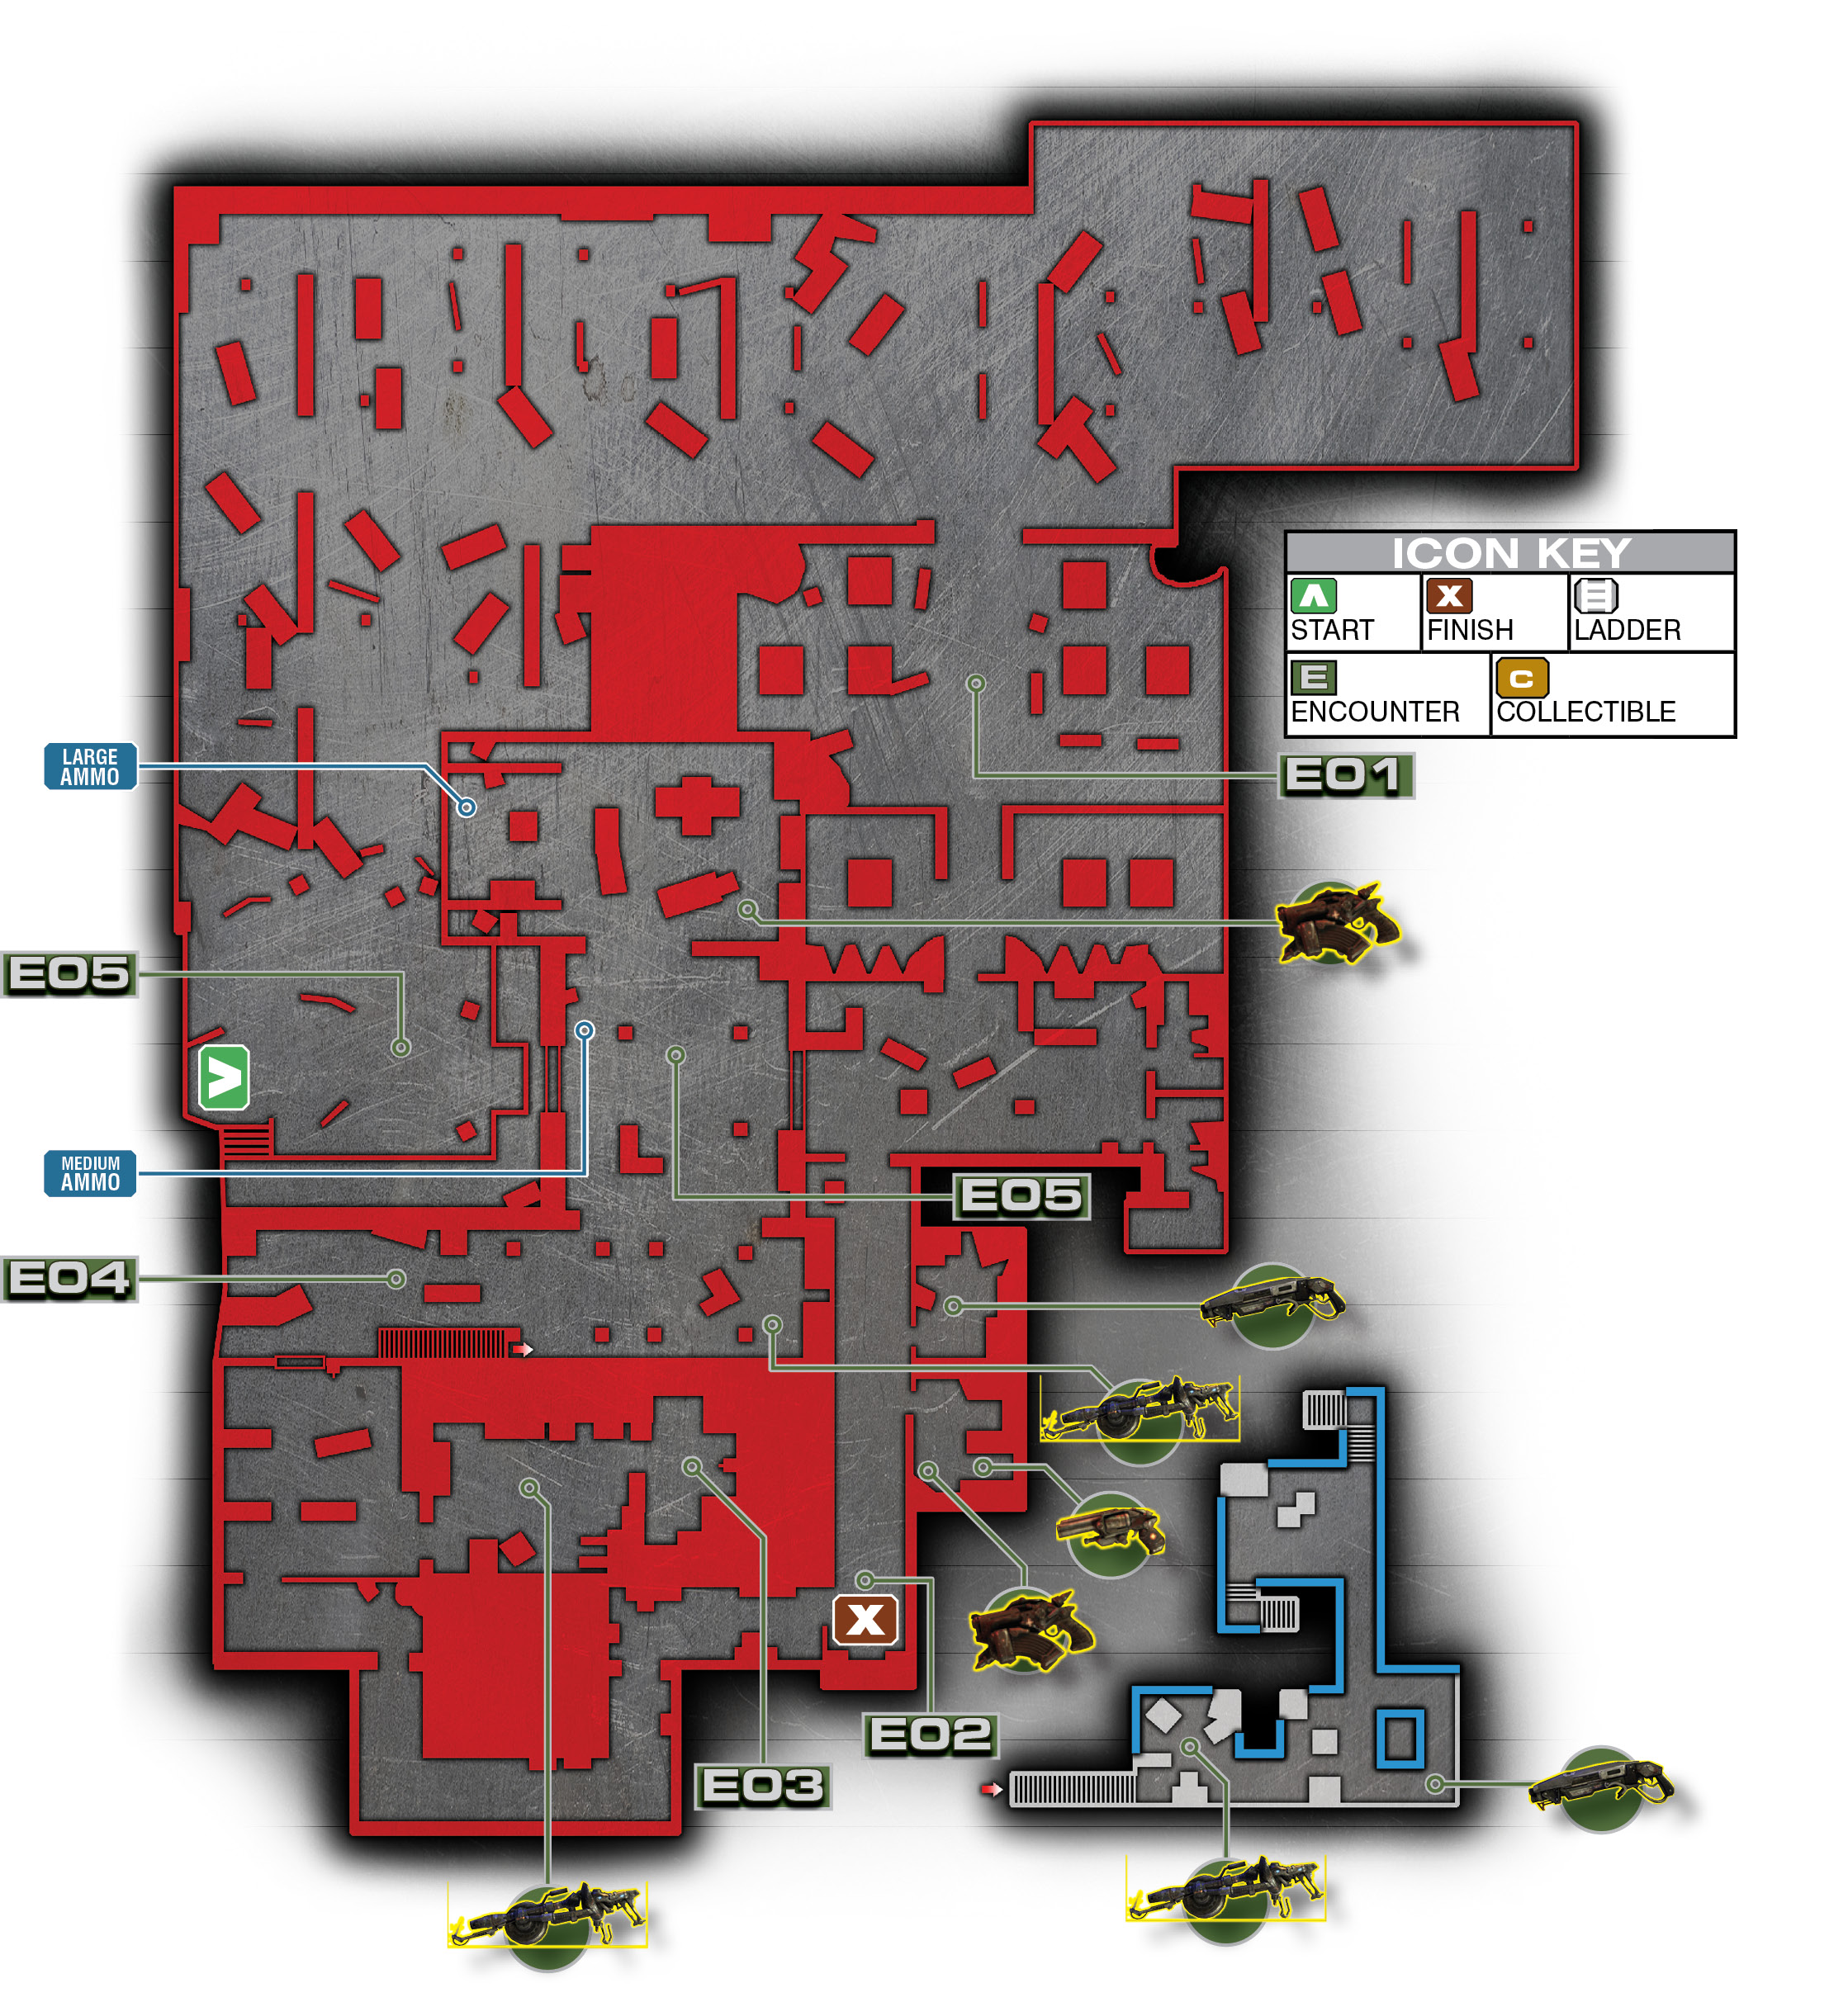
Encounter 01
ENEMY PRESENCE: None
Delta arrives at the facility in a Centaur, and Marcus quickly orders Cole and Baird to secure their arrival point. Marcus and Dom enter the facility to investigate.
As you work your way around to the front of the facility, you spot a few Wretches running in the distance but no overt Locust activity—the place looks abandoned. Head inside.
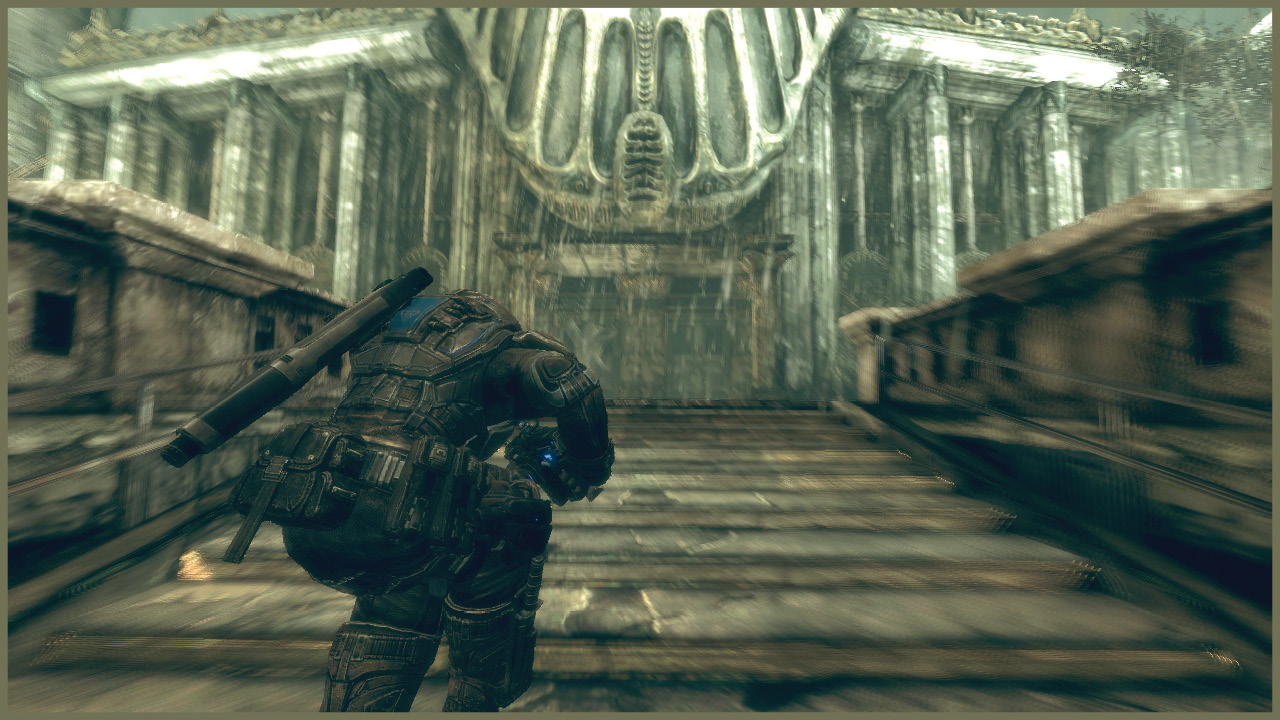
Encounter 02
ENEMY PRESENCE: None
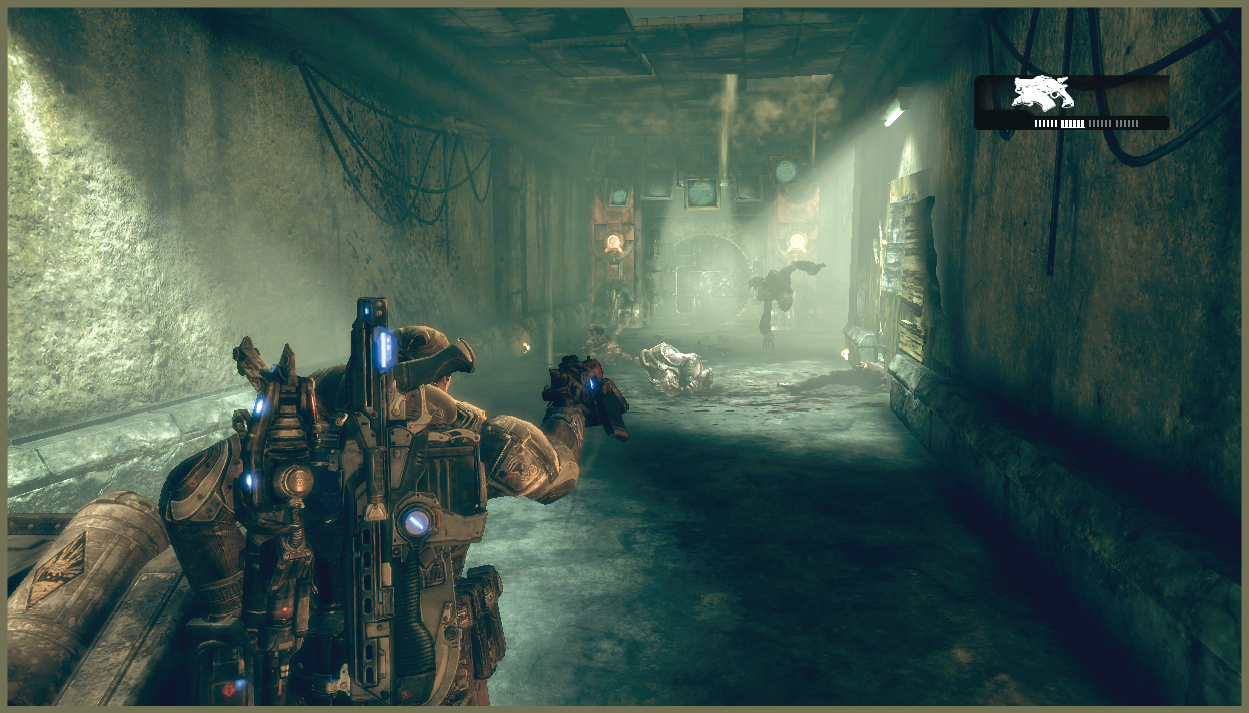
Inside the decaying building, there is little evidence of what took place here. Mostly, the place is simply run-down and there’s no power. Work your way toward the end of the hall, grabbing any weaponry along the way that catches your eye. Pay particular attention to your choice of pistol—all three are present. Choose the one you’re most comfortable with, as you’ll need it in a moment.
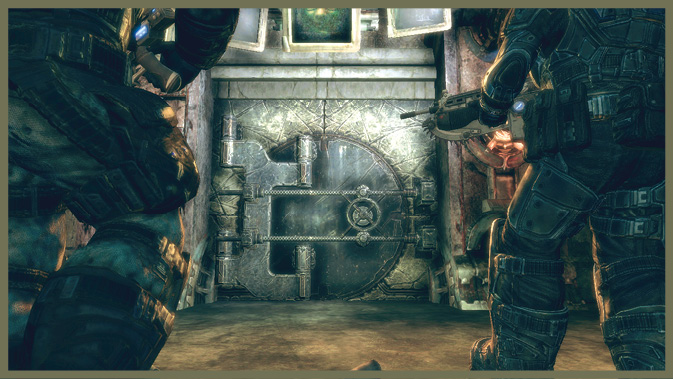
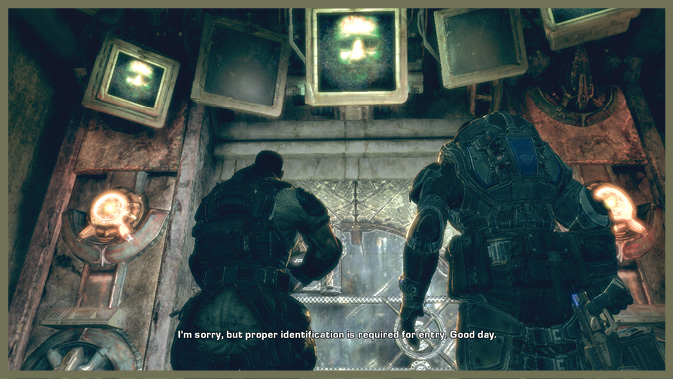
When you reach the hallway’s end, a massive, sealed vault door provides the first evidence that everything here is not as it seems. Your presence triggers a reaction from the monitors surrounding the vault door. An AI springs to life and requests your security codes for access to the facility.
Lacking such codes, you must improvise. Baird has precisely the improvised explosives you need to get inside. But first you have to restore the power…
Encounter 03
ENEMY PRESENCE: None
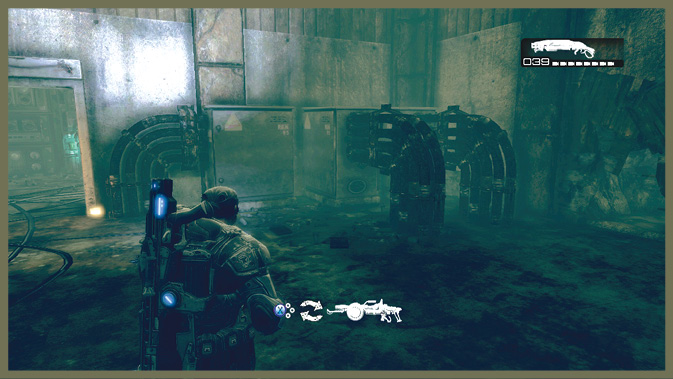
The switch that reactivates the generators that power the facility is just past the Scorcher on the ground in this room. Pull the switch to get the juice flowing. Then return to the previous room and proceed through the now unlocked doorway. It leads to a loading bay, a room you must reach to get the explosives up from the Centaur.
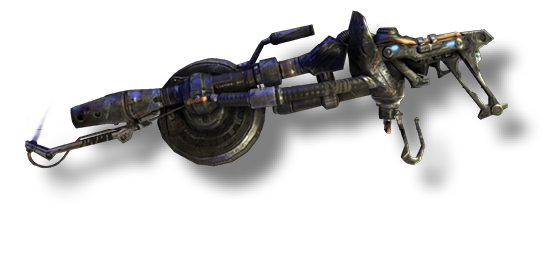 Scorcher
This powerful flamethrower is an ideal weapon for close- and close/mid-range combat. It is extremely easy to hit targets with it, and decimates a number of weaker enemies, notably Wretches…
Encounter 04
ENEMY PRESENCE: Wretches
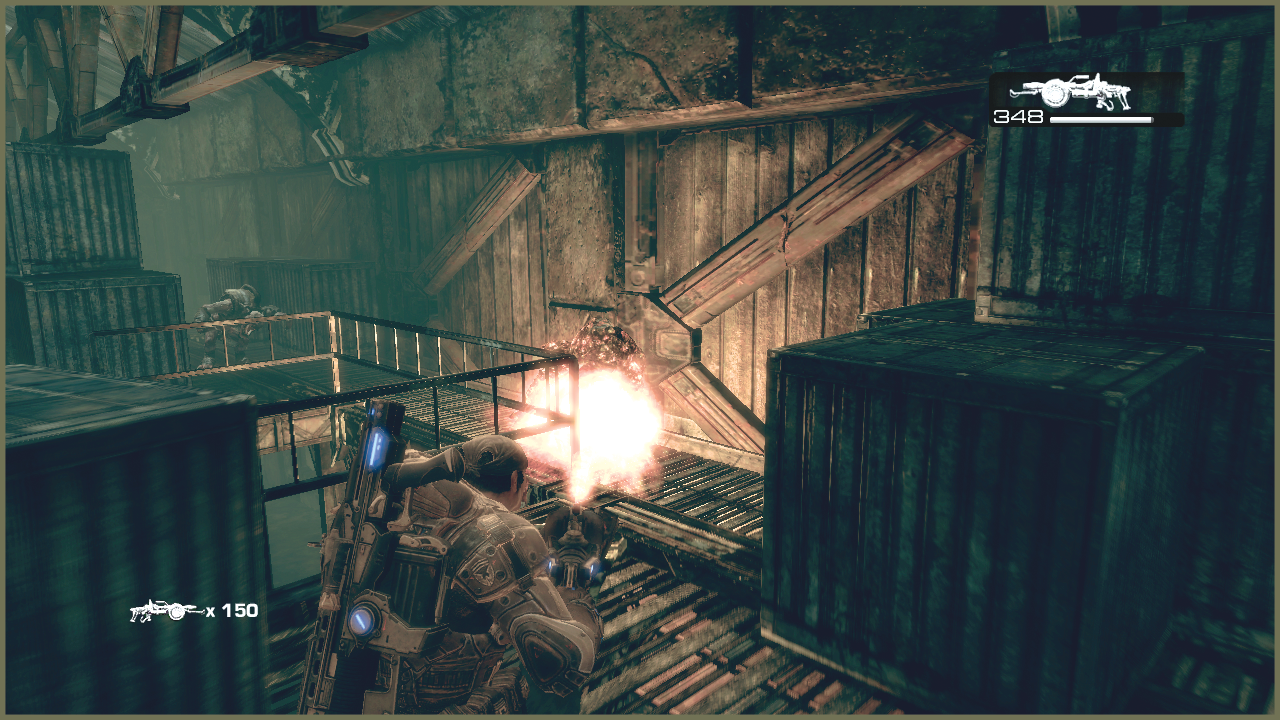
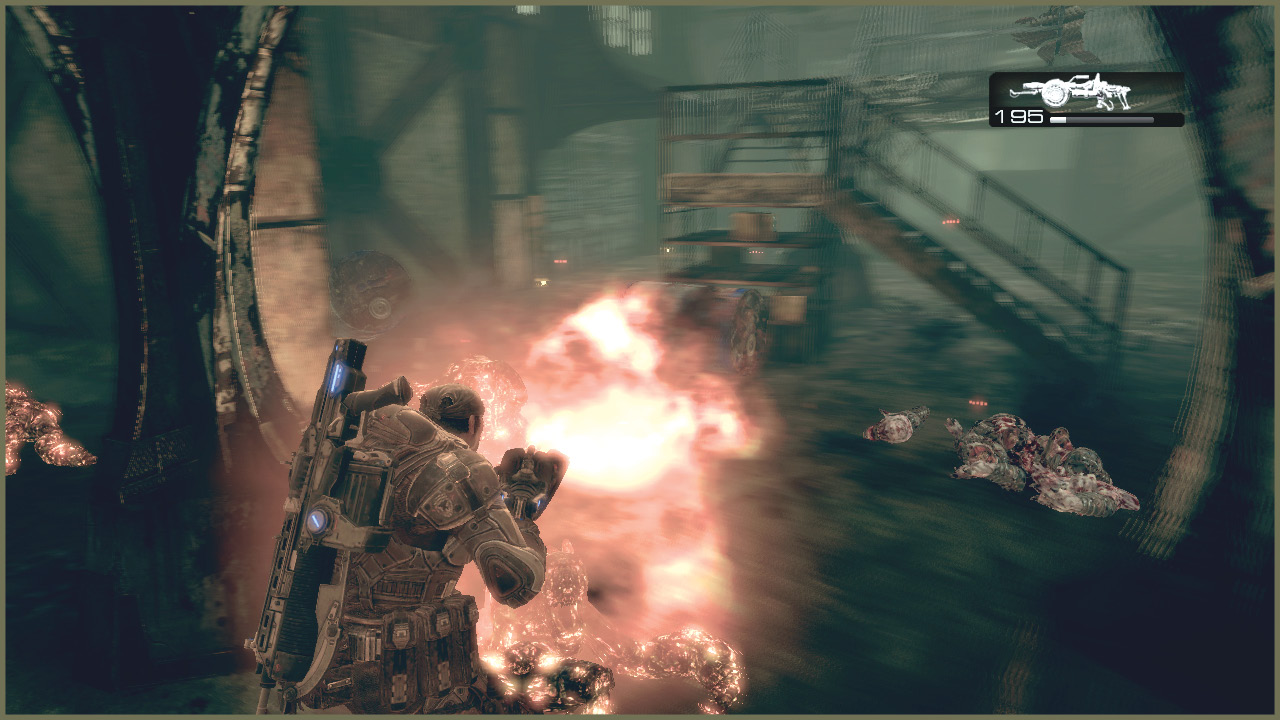
As you make your way out to the loading bay, your first real opposition appears: Wretches, and a lot of them.
Put your shiny new Scorcher to good use here. You can incinerate the charging hordes with ease. If you need more ammo, there’s another Scorcher up on the catwalk above the floor, along with a Shotgun. Both are ideal for dealing with the swarm of Wretches.
Encounter 05
ENEMY PRESENCE: Wretches
You must turn a wheel here to open the gate leading back to the yard where the Centaur is parked. But you can’t turn the wheel safely until you take out the Wretches, unless you’re playing co-op.
Finish off the remaining Wretches, and then open up the gate and drop down to meet up with Cole and Baird.
Encounter 06
ENEMY PRESENCE: Wretches
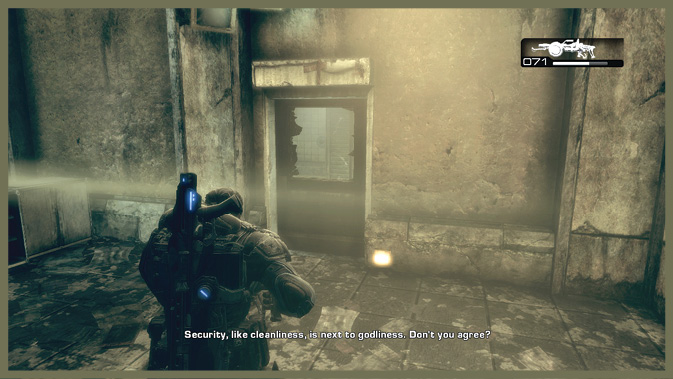
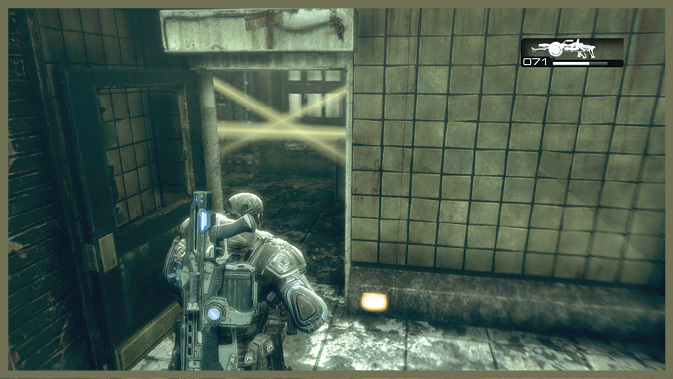
Baird provides you with your custom made bomb, but it’s a heavy, bulky, and unwieldy piece of equipment. And you really don’t want to drop it. Dom picks up one side and Marcus gets the other, beginning a very unusual challenge.
You have to walk back over to the loading bay lift to get into the facility again (where you just came through), and the lift is raised to get you back inside.
From where you come into the loading bay, you just have to go straight forward, then right and up the hall (directly toward Encounter 2) to reach the door.
Of course, you’re carrying the bomb with one hand, leaving only one hand for a pistol… Oh, and your maneuverability is severely limited, making it very awkward to turn.
Take your time making your way to your target. You don’t want to get overwhelmed by the packs of Wretches that attack while you’re burdened with the bomb.
Once you reach the door, Marcus sets the timer, and the path is cleared into the next chapter!