Gears of War 2 Guide Downloadable Content
Canals
What’s New?
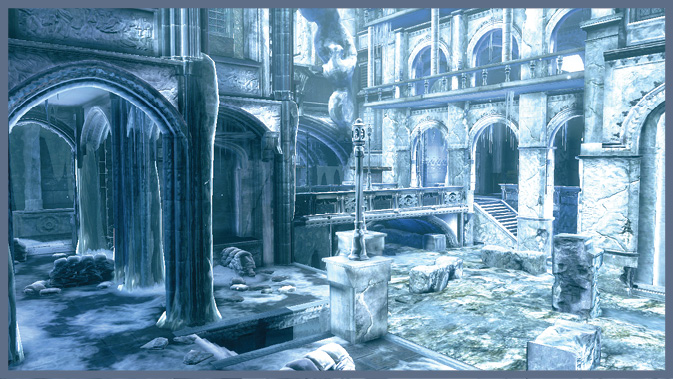
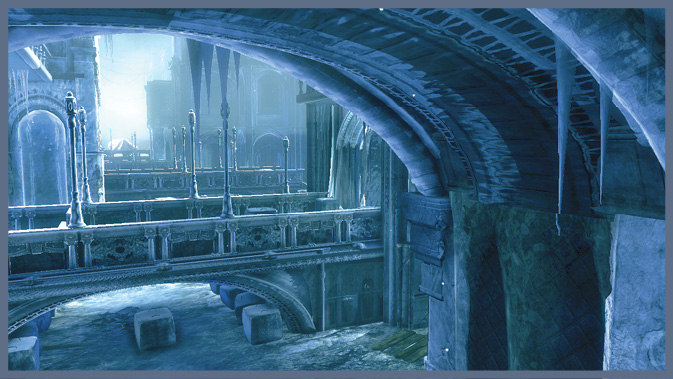
- The water is now ice.
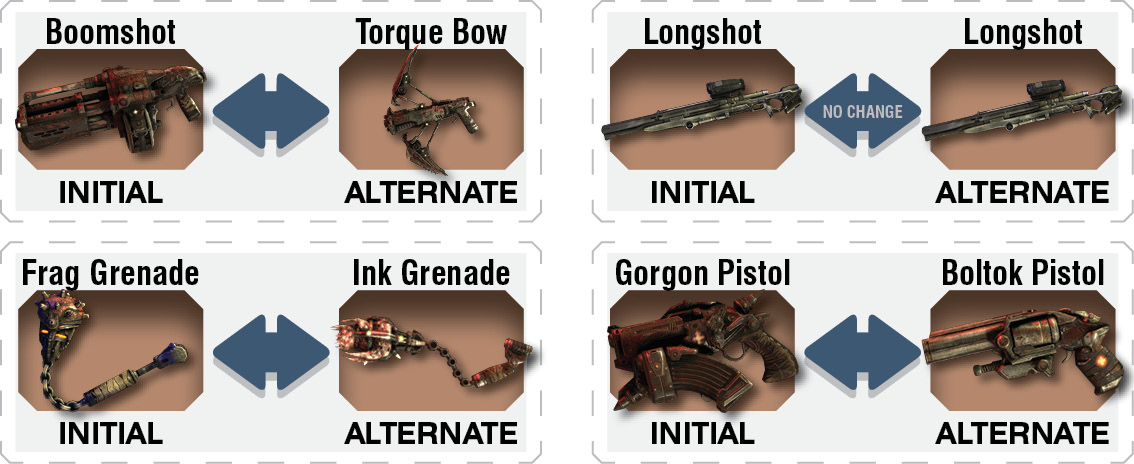
- The initial placement of the Torque Bow is now a Boomshot, but it alternates with the Torque Bow.
- The Boltok Pistol weapon drop now has a Gorgon Pistol at that location, but it alternates with the Boltok.
Basic Strategy
The addition of a fifth player on each team makes the initial rush for the Boomshot beneath the central bridge a much harder fight. Take at least two teammates with you when you make the rush for the Boomshot, while the other two teammates secure your team’s Longshot. Don’t risk getting into a sniper duel with the enemy on the far side of the map. Instead, crouch down and make your way to the side of the bridge. Enemies are almost guaranteed to advance from pillar to pillar along the sides of the map. Plant your Smoke Grenades to serve as a warning system on one side, and focus your fire on the other. Coordinate at the start of the round which side the Boomshot squad should move to once they secure it.
Surviving the Horde
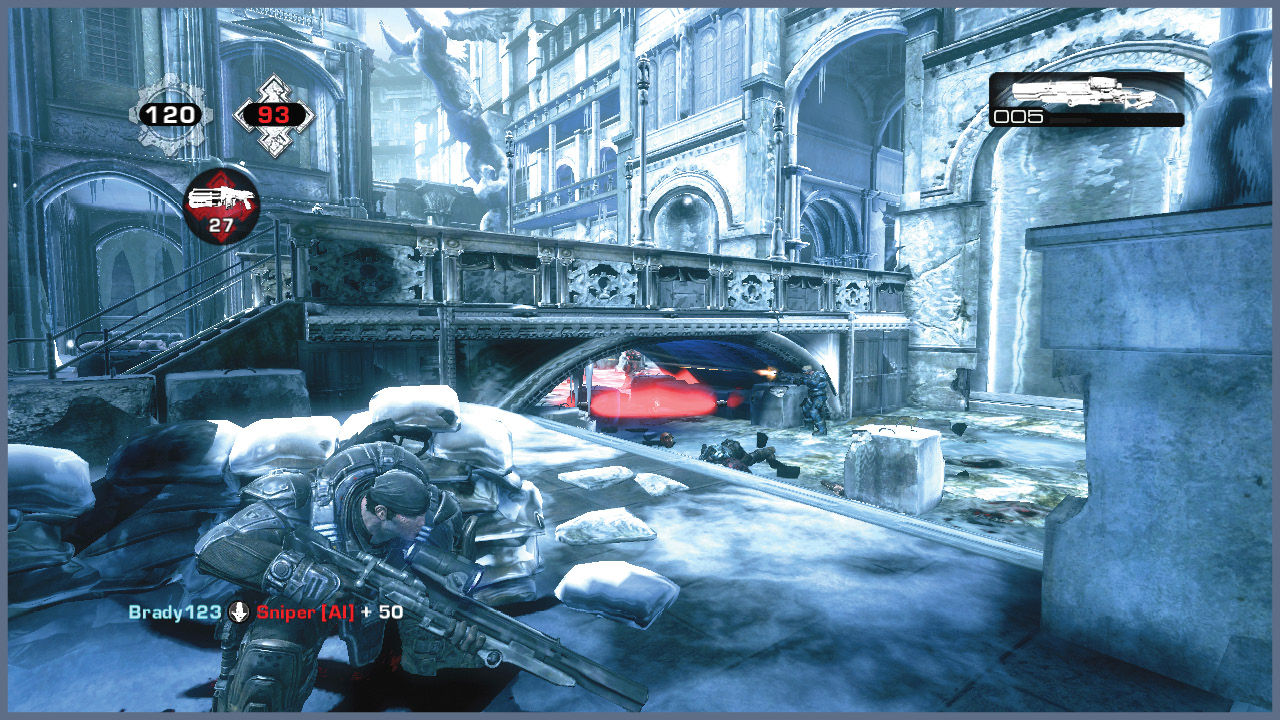
This is a really fun map for Horde, and it actually plays similarly to Ruins, given the need to dig in on a bridge. The team should take advantage of the first wave’s low-level enemies to secure all of the weapons on the map, including both Longshots and the Frag Grenades. Regroup on the center bridge where the Frag Grenades spawn, and set up your defense there. Have one sniper cover the map’s north side while the other snipes to the south. Instruct one player to watch the eastern staircase while another monitors the western one. The fifth player should freelance back and forth, lending fire support where necessary. This player should also use the respawning Frag Grenades to lay a series of proximity mines on the pillars and stone blocks away from the stairs leading onto the bridge. Note that teammates may need to assist in this effort, as each player can have only two mines planted at any given time. Once a player places a third mine, the first one explodes.
Should the team have to flee the scene and relocate, either of the other bridges will suffice. Just try to get back to the center bridge as soon as possible. Taking a position on either of the end bridges does not preclude Locust from spawning behind you near the team spawn. Being on the center bridge puts you furthest from the Locust spawn points and provides the most time for you to react.
Weapon Cycles