Gears of War 2 Guide ACT II: Denizens
Chapter 2: Indigenous Creatures
Reunited with Carmine, you set off into the Locust underworld. Resistance becomes stronger here as you encounter more fortified defensive areas and a larger Locust presence.
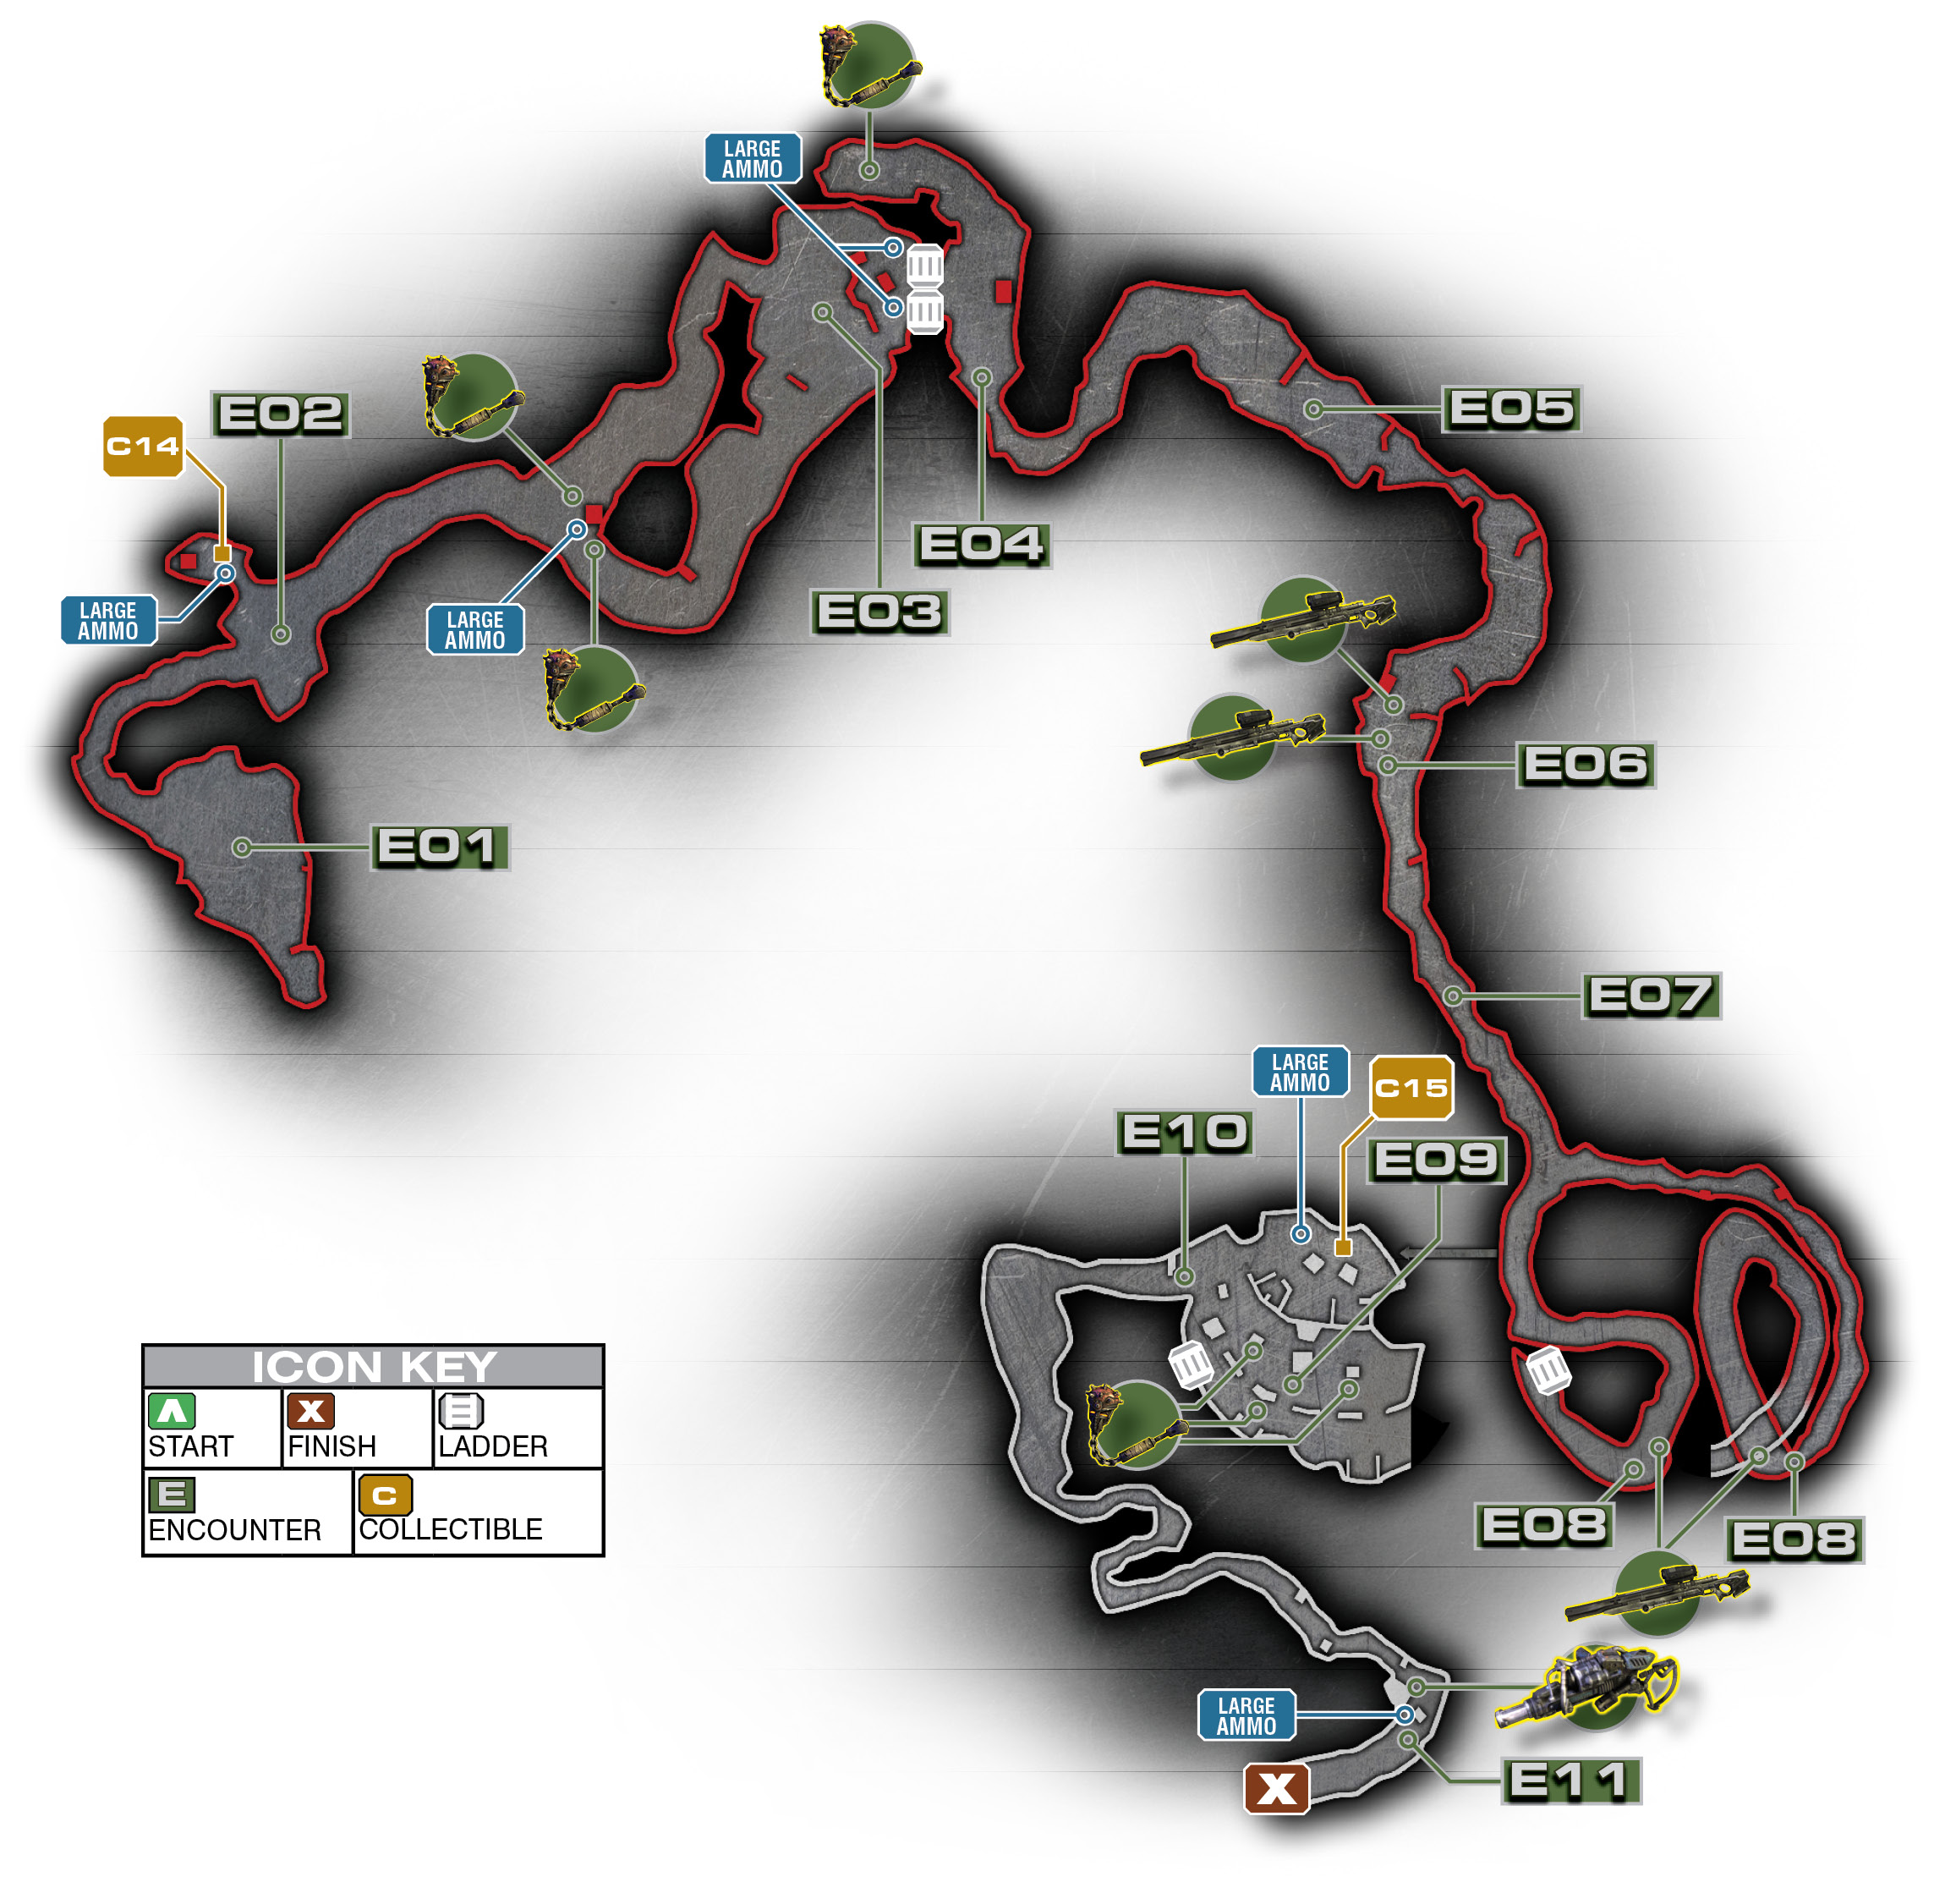
Encounter 01
ENEMY PRESENCE: None
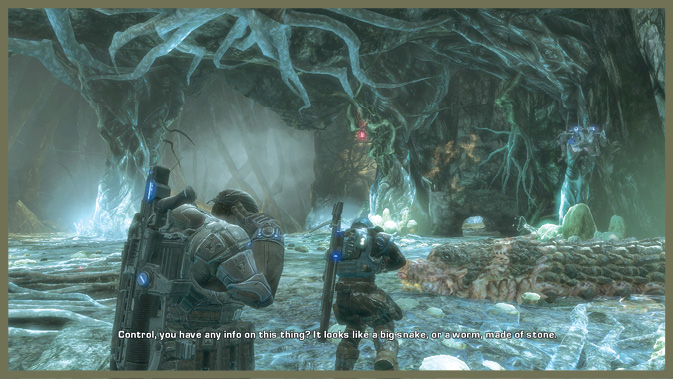
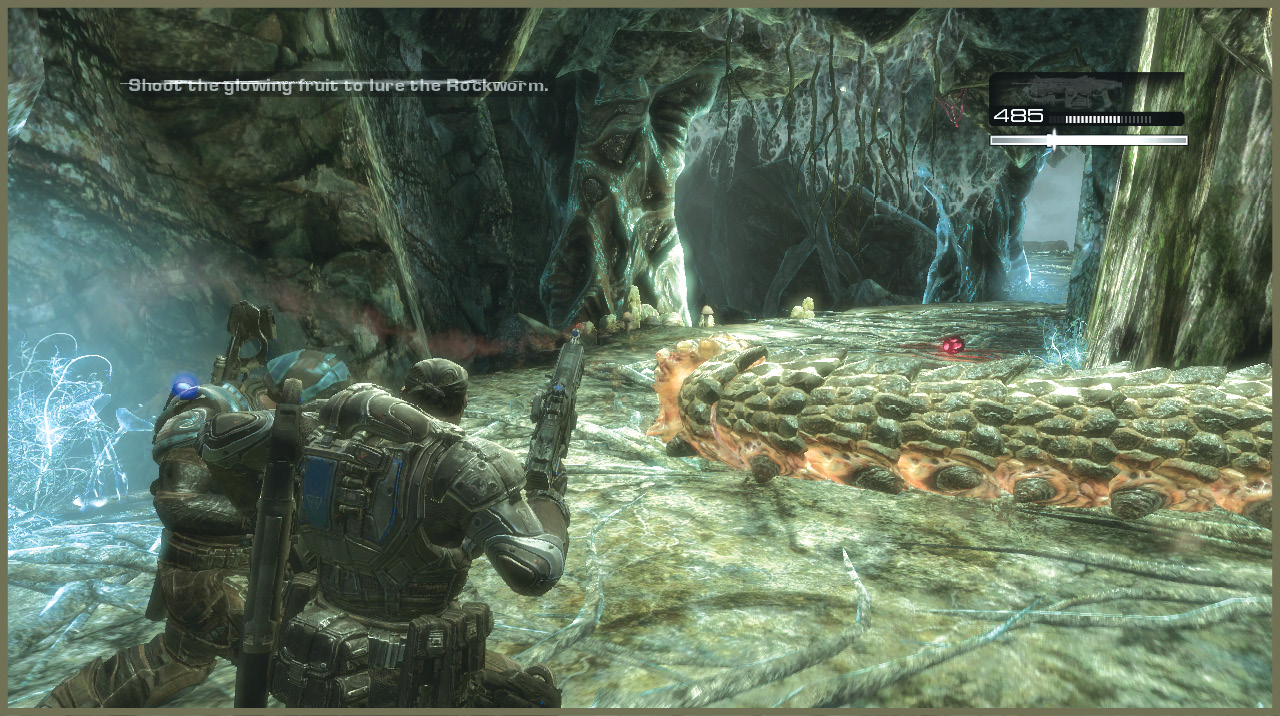
As you emerge from the darkened, Wretch-infested pathway to this area, your first encounter is a curious creature. It’s a large Rockworm with an impenetrable hide and a taste for the glowing fruits that guided your steps only moments ago.
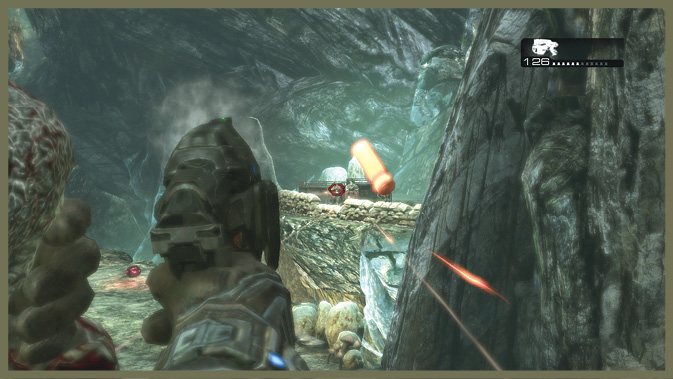
Shoot down the hanging fruit on the ceiling above to make the Rockworm move. The Rockworm’s stony exterior actually makes for great cover!
Encounter 02
ENEMY PRESENCE: None
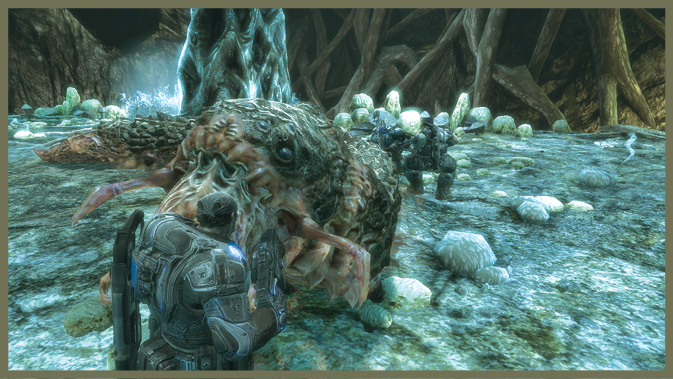
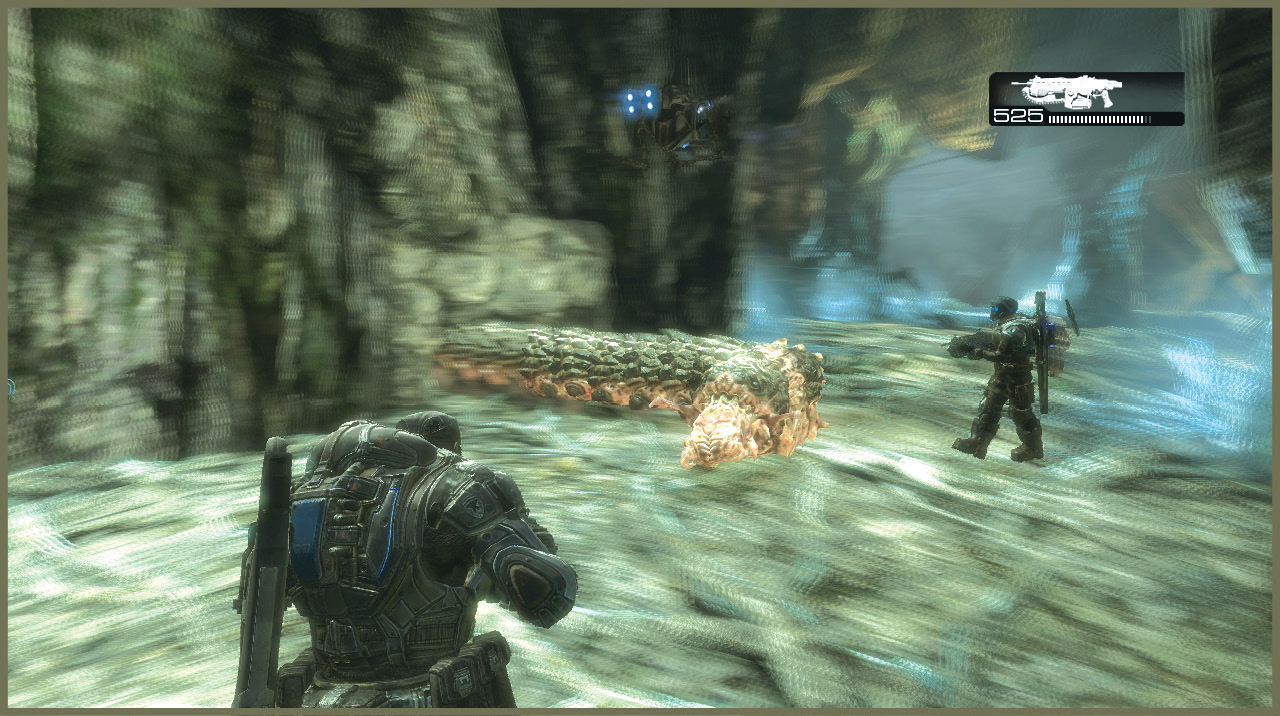
A second Rockworm is located here. Again, you can shoot the hanging fruit to make it move. Practice moving around behind the Rockworm or even mantling over it as it crawls around. You can use the Rockworms as mobile cover.
Before you leave this area, don’t forget to pick up Collectible #14, through the vines in a small side chamber.
Encounter 03
ENEMY PRESENCE: Drones, Grenadiers, Troika
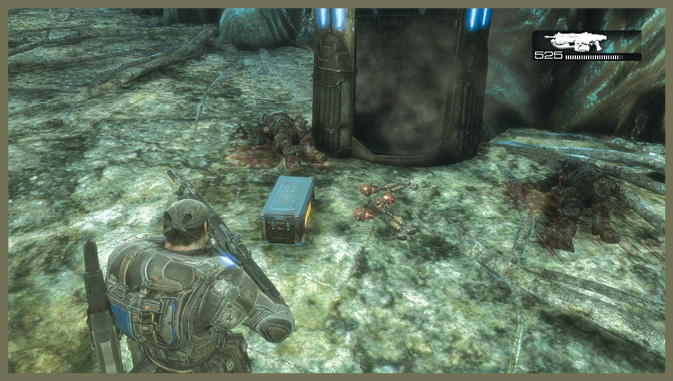
As the first organized Locust defense you’ve found in the Hollow so far, this small outpost presents a formidable challenge. A branching path leads to it. Grab the ammo crate and four Frag Grenades at the split.
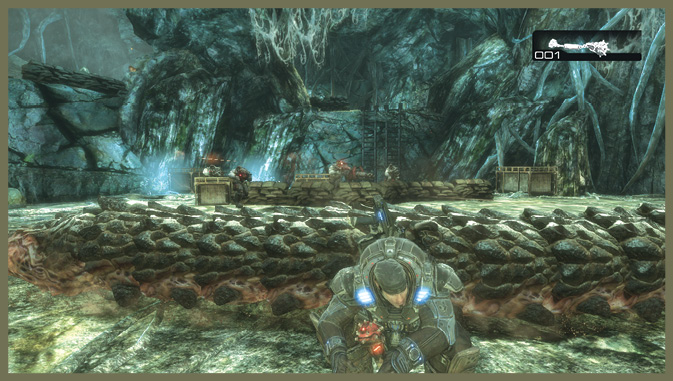
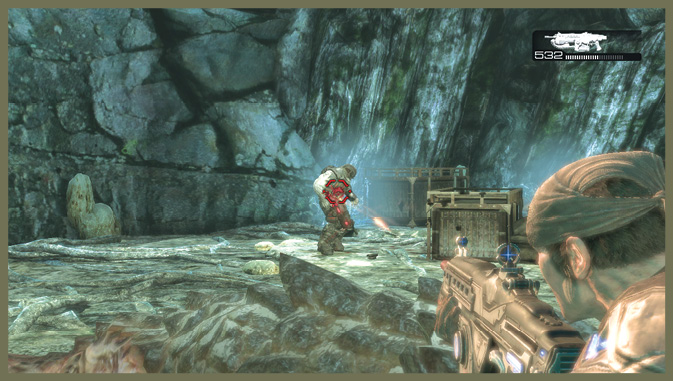
If you follow the left path, you gain a slight elevation advantage and a few pieces of cover. As you move to the second low rock wall, a Rockworm crawls out of a hole on the left wall, making a convenient barricade just in front of the Troika at the sandbags.
Use this cover to close in, and fling Frag Grenades behind the sandbags at the Drones.
If you go right, a Rockworm crawling out of a hole in the wall provides a bit of mobile cover.
Shoot down the hanging fruit to make the Rockworm crawl forward far enough for you to Roadie Run into the bit of solid cover facing the outpost.
Once you’re in position on the left or the right, toss the Frag Grenades behind the sandbags at the Troika gunner. There are too many grubs to suppress or kill them entirely, but you might get lucky and take out a few.
Continue to hang back and pick off the Drones as they expose themselves. When you clear the area of most opposition, you can then rush from cover and quickly get behind the Troika gunner. It’s ideal to gut him with your chainsaw, but just getting close behind him is enough to make him hop off the turret.
The left path is definitely the easier of the two. While the right path lets Carmine and his Longshot take the high ground, it’s more effective to have the Rockworm on the left path provide close cover for Frag Grenade tossing. If you go left and then double back, the second Rockworm won’t come out, and vice versa.
Once you clear out the Drones, loot the area. There are three ammo crates lying about: two on the ground and another one on the second level. Plus, you’ll find some Frag Grenades on the second level. Climb up the ladder and go left to reach them.
Encounter 04
ENEMY PRESENCE: Tickers
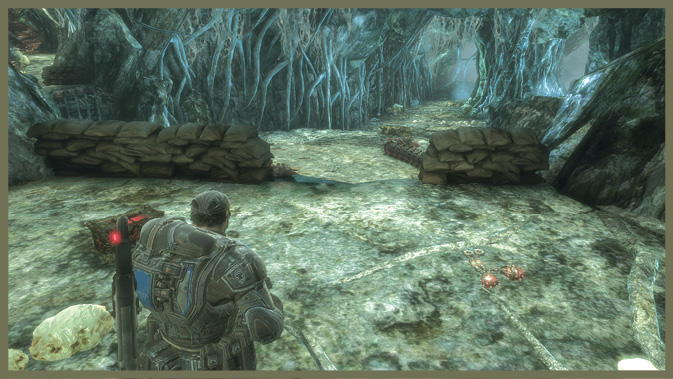
As you climb up to the higher tunnel via the ladder at the outpost, a small pack of Tickers rushes you. Also, an accidental detonation blasts open a path deeper into the cavern.
Encounter 05
ENEMY PRESENCE: Drones, Grenadiers
Just down the tunnel, another Rockworm crawls across your path. This provides some needed cover against an Emergence Hole that opens a bit further down the tunnel.
You can hang back behind the Rockworm and toss a Frag Grenade at the hole to close it. Then finish off the Drones and Grenadiers.
Encounter 06
ENEMY PRESENCE: Snipers, Troika
As you come around the corner, Marcus warns Carmine to watch for snipers. His fears are justified, as a Locust Sniper ambush awaits around the next bend.
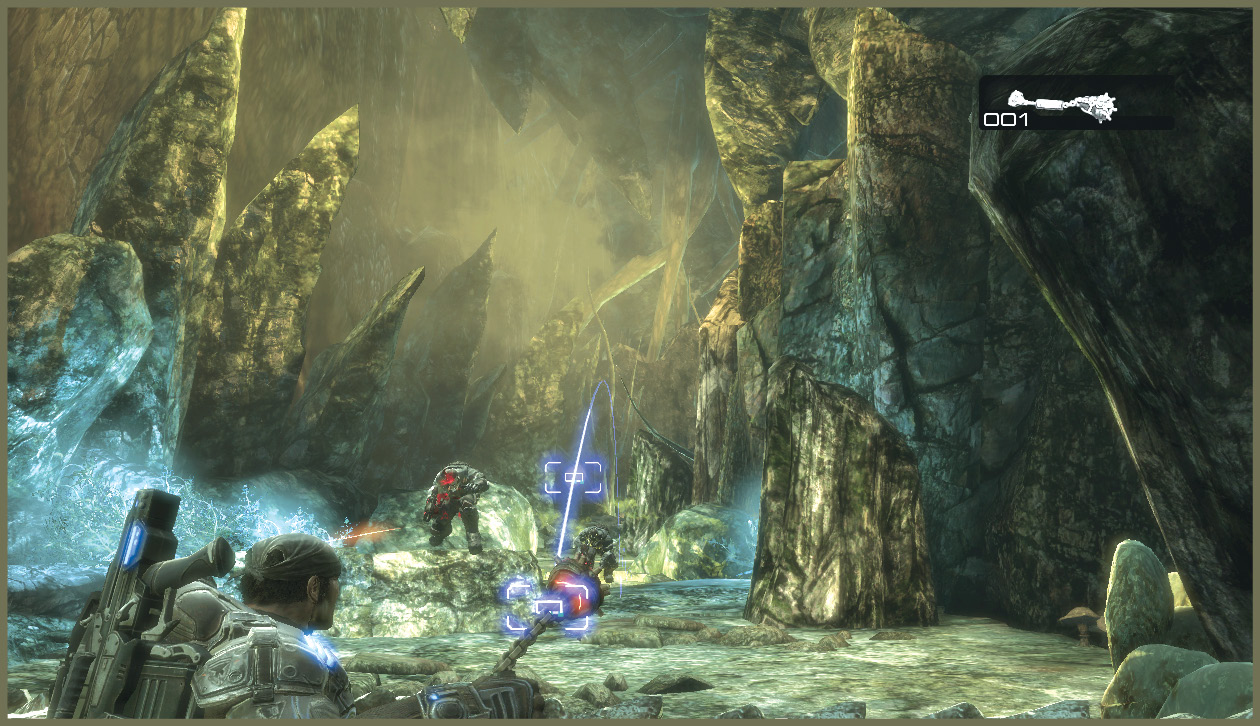
Fortunately, your first chance to use the Longshot is also here. Grab the Longshot from the Grindlift. Then hit the cover and start picking off the Snipers on the distant platform. They’re to the right of a narrow rock bridge that crosses the gap.
Once you clear off the first wave of Snipers, work your way down to the bridge. A Rockworm emerges, and you need to use it as cover to cross the bridge.
As soon as the Rockworm emerges, if the platform is clear, you can move down the trail to get behind it
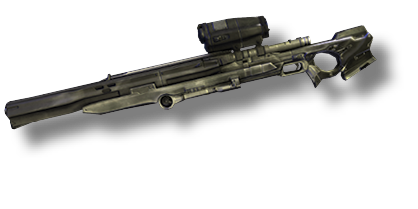 Longshot
This potent rifle is an ideal long-range weapon. It’s perfect for picking off distant Locust and for scoring instant kills with headshots.
Because you need only a few shots to down most Locust (sometimes only one if you’re accurate), the Longshot can be a useful weapon to hold onto. It’s not hard to reach more ammunition crates to refill before you run dry, unlike some of the other more powerful weapons.
Encounter 07
ENEMY PRESENCE: Snipers, Troika
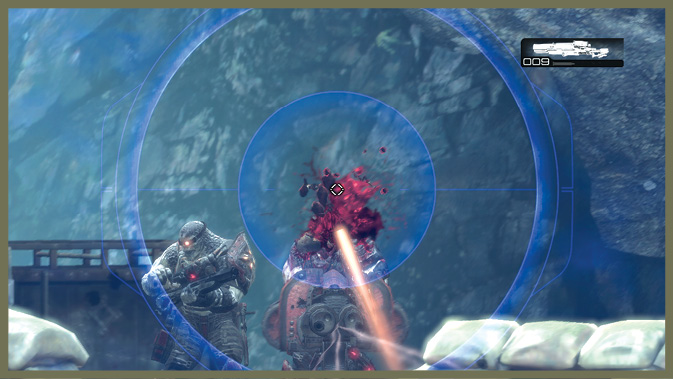
Follow the Rockworm across the bridge to avoid sniper fire. When you reach the opposite end of the bridge, a Locust Explosive comes into view on the platform where the Locust forces have been tormenting you.
One well-placed shot deals with that threat…permanently.
Encounter 08
ENEMY PRESENCE: Drones
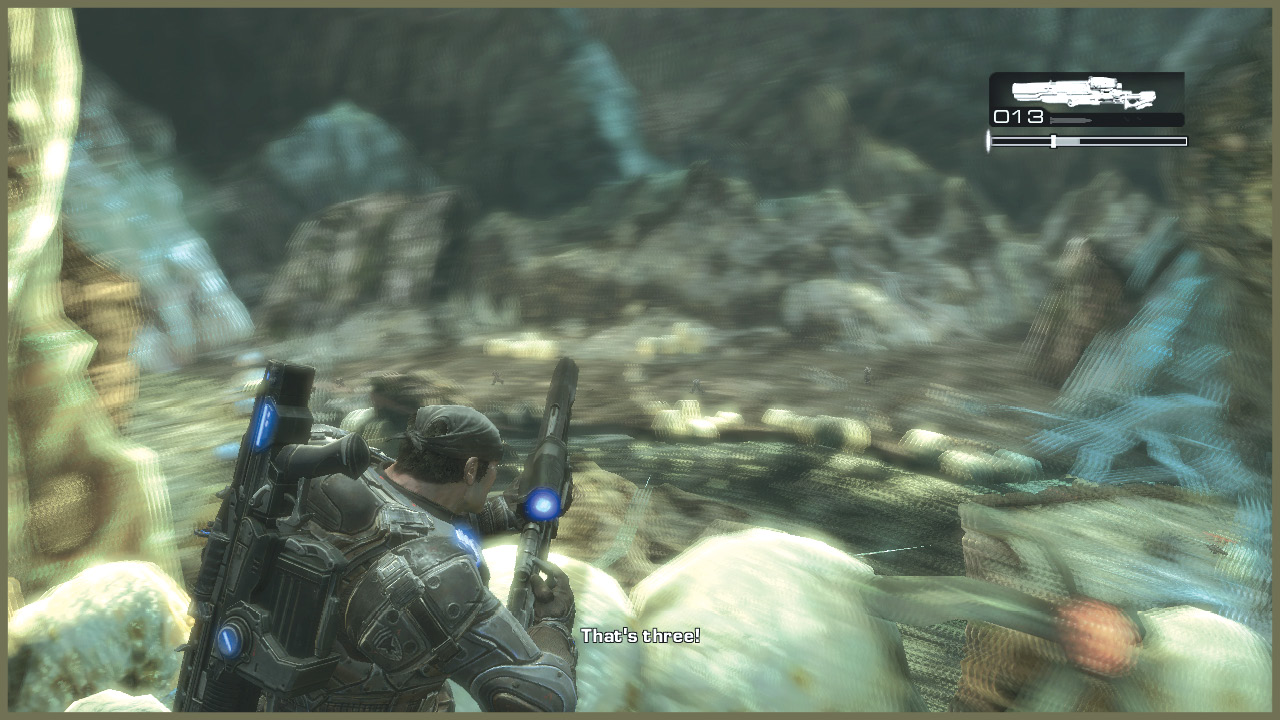
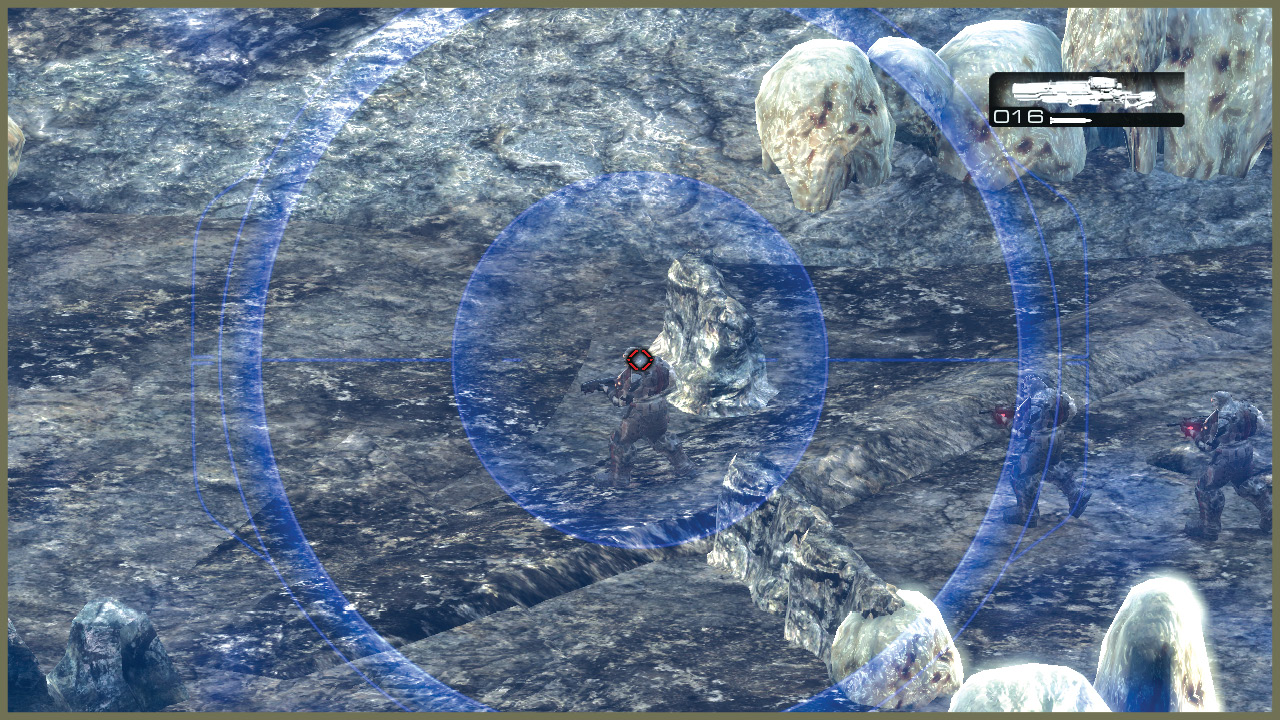
After the rock bridge, you need to climb up the rock spiral tower to the top. No matter which path you choose (there’s a branch at the bottom of the spire), you end up on a ledge overlooking a Locust patrol passing below.
Knock off five Locust Drones to hear a pleasant exclamation from Marcus.
On the higher difficulty settings, you need to hit headshots to score kills, and nail your active reloads.
Encounter 09
ENEMY PRESENCE: Drones, Troika, Reaver
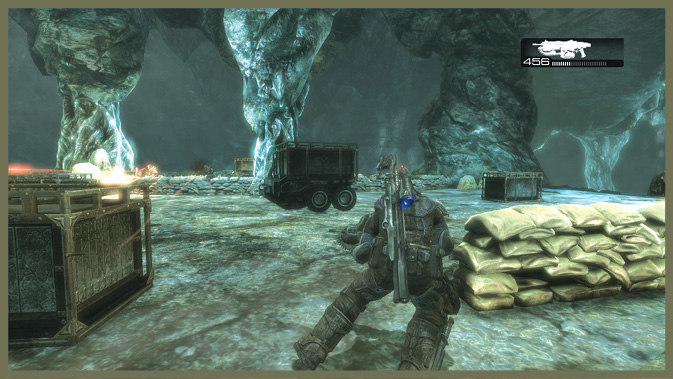
Once you reach the top of the spire, you’re let out onto an open platform with a nasty Locust presence: several Drones and a pair of manned Troika.
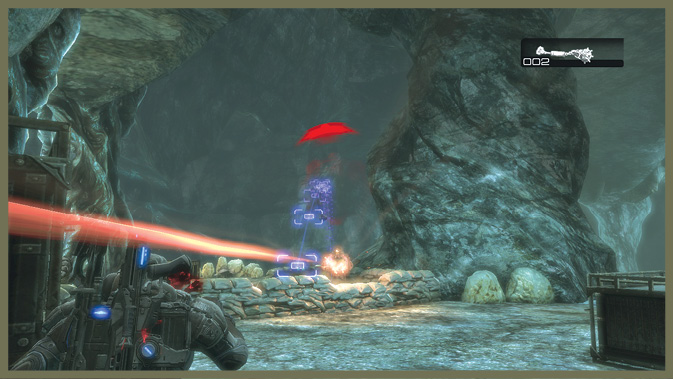
Hit the cover and then SWAT turn across it to the center of the platform, where you can pick up some Frag Grenades. Once you have those in hand, you can slide forward into a piece of cover closer to the Troika. Toss in a grenade to clear out the turret nests.
You can also try to take out one Troika and then rush to man it immediately, turning it on the remaining Drones in the area.
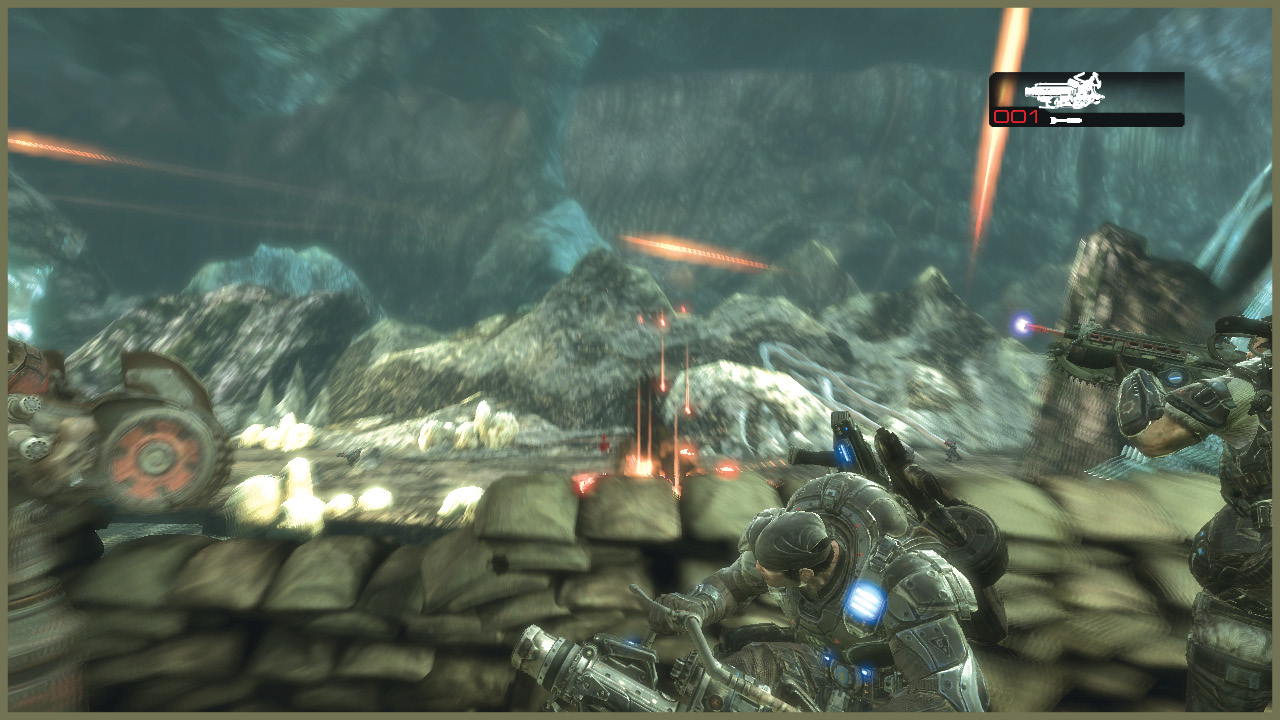
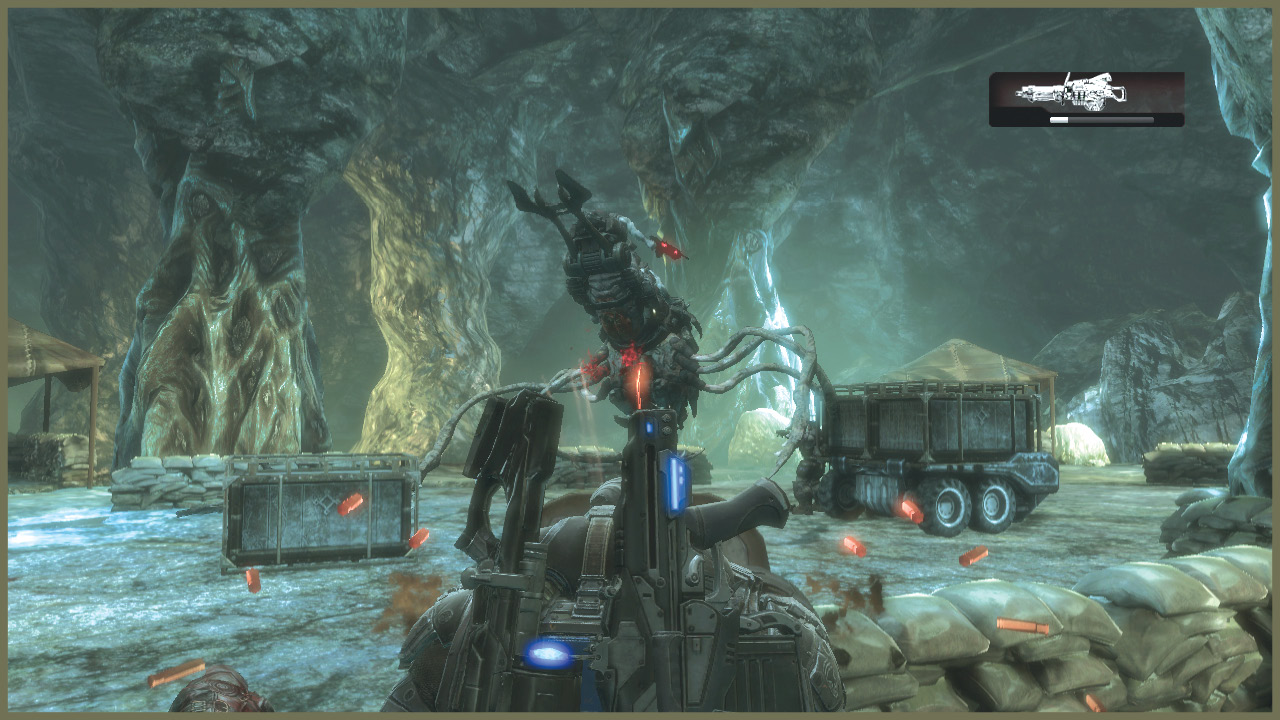
Once you clear the platform of Locust, a Reaver comes crashing down. Stay on a Troika to mow it down quickly.
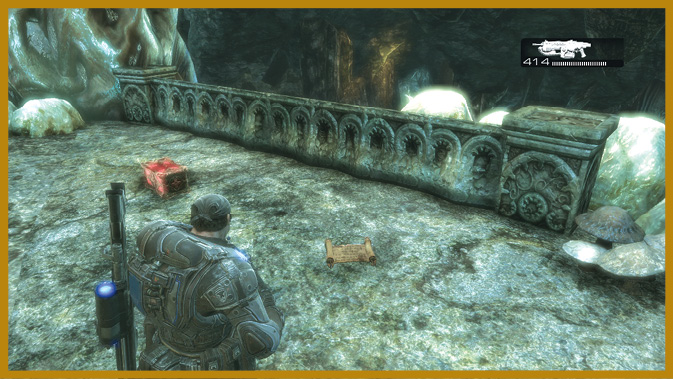
After you down the Reaver, take a moment to regroup. Grab Collectible #15 at the back of the platform behind the Troika. Then man the Troika closest to the closed doors at the edge of the platform.
Encounter 10
ENEMY PRESENCE: Boomers, Wretches, Tickers
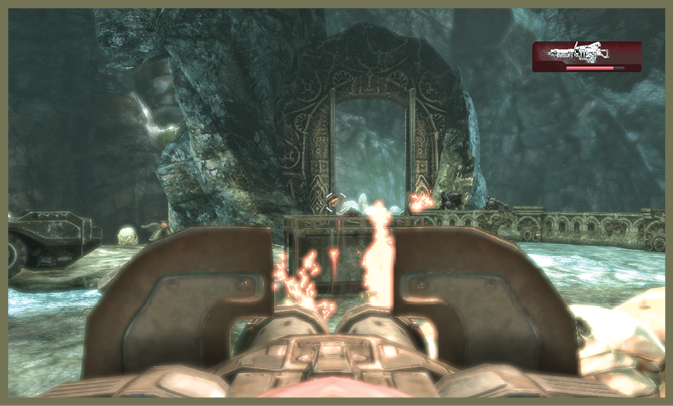
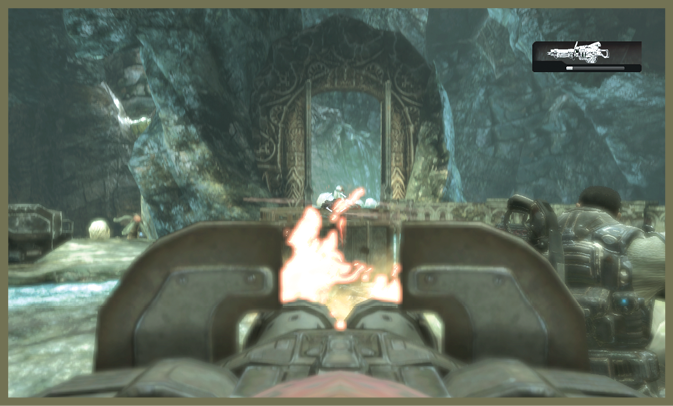
After a few moments of waiting on the cleared-out platform, a pair of Boomers and a pack of Wretches emerge from the door. Take them out using the Troika. Prioritize the Boomers because it’s easy to deal with the Wretches once the Boomers are out of commission.
Be sure to hop off the turret if the Wretches manage to get too close. You don’t want to get ripped up at close range.
The Boomers’ twin Boomshots provide plentiful ammo, so you may want to ditch your Longshot for a Boomshot. It proves handy in the next several encounters.
Encounter 11
ENEMY PRESENCE: Drone, Troika
Heading down the ridge, Delta makes contact with the freshly dropped Alpha Two. They’re under attack by a Mortar team up on the ridge that you’re coming down—you’re approaching the Locust team from behind!
Make your way down the trail. When you close in on the Locust presence, eliminate them from behind. There’s a Troika there, as well as a single Drone manning a Mortar, and another Mortar on the ground.
With the Locust cleared off, grab the Mortars or use the Troika to help Alpha Two clear out the Locust contingent on the ground below.
If you’re trying to shoot the Mortar, it’s about 150m to the back edge of the field below. It’s 100m to the closer side if you’re up against the sandbags by the Troika.
Once Alpha Two is clear, the source of the seismic disturbance in the area is revealed. You can move on down the tunnel, directly into the next chapter.