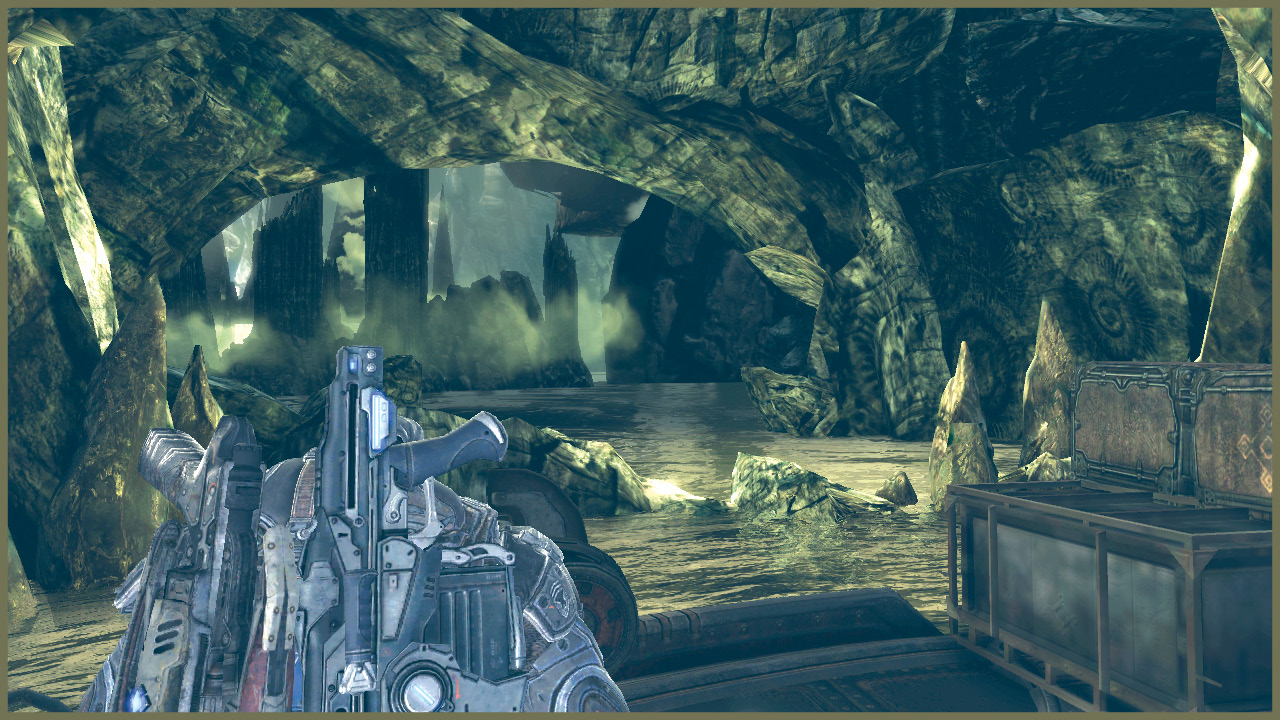
Gears of War 2 Guide ACT III: Gathering Storm
Chapter 5: Displacement
Delta arrives to find a group of Stranded hiding within the mountain. Marcus orders Cole and Baird to take them back to the surface, while he and Dom attempt to find the Nexus of which they speak.
Dom questions Chaps about Maria, and he indicates he may have seen her. Now Dom wants to go looking for her.
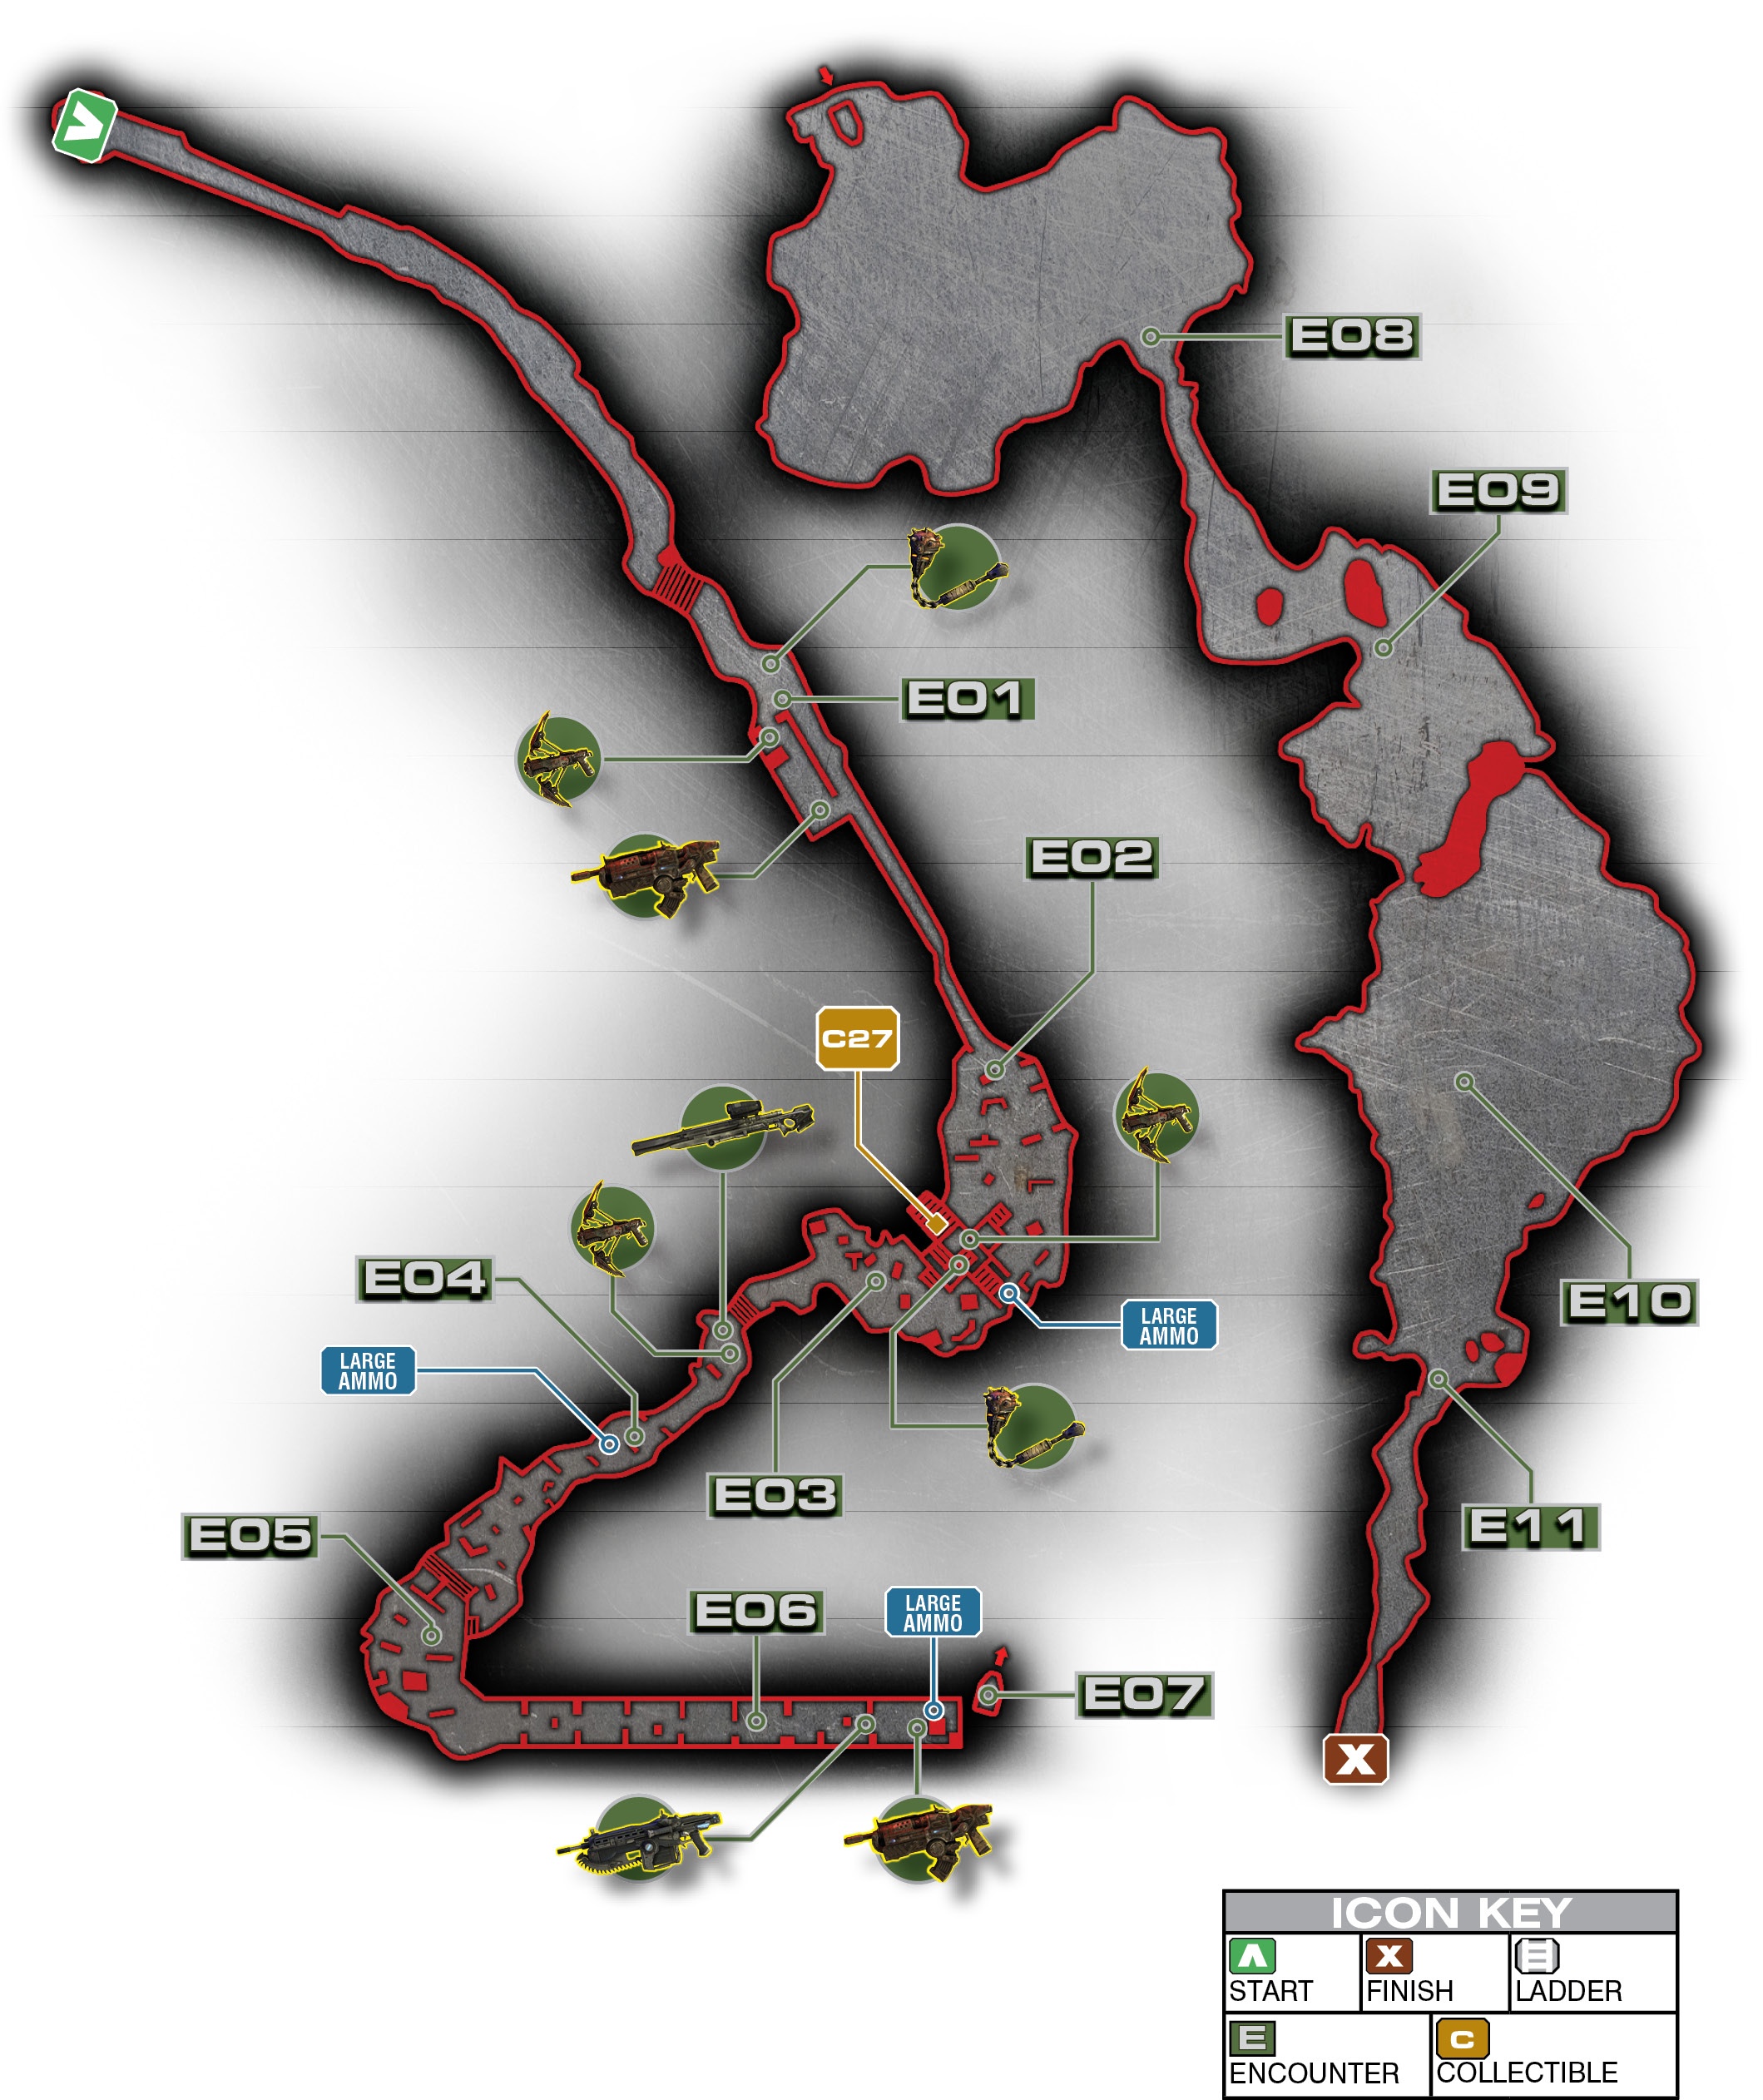
Encounter 01
ENEMY PRESENCE: Theron Guard
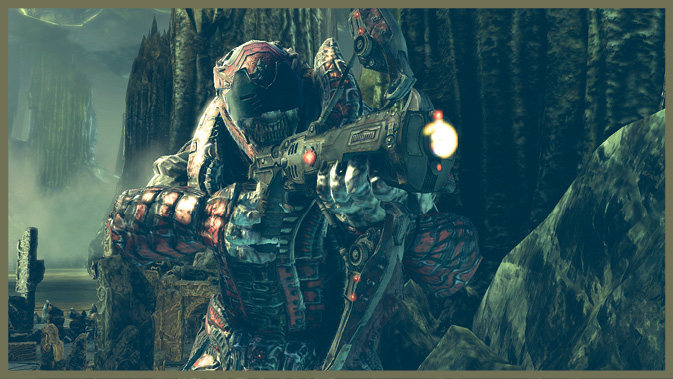
Prepare for your first encounter with the Theron Guard. If you’re a Gears of War veteran, you already have a healthy hatred for this foe. If not, be warned. Theron Guards are tougher, smarter Drones, and they are often armed with the lethal Torque Bow.
Depending on your difficulty setting, a Torque Bow in the hands of a Theron Guard ranges from very dangerous to instantly lethal. Don’t give them a chance to fire. If you see the glow of a charged Torque Bow, stay under cover.
Skirt the Theron Guard’s clean lane of fire by going through the tunnel on the path’s right side. Sneak your way down and grab the Torque Bow on the ground. Then flank and eliminate the Theron Guard to get some additional ammunition.
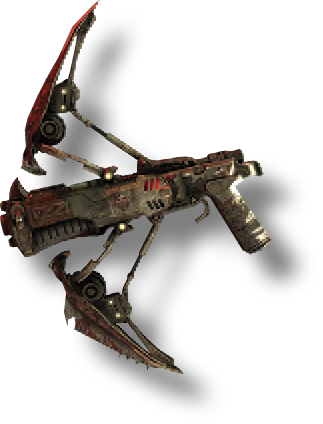 Torque Bow
The Theron Guard is a dangerous foe, but this adversary is also your first opportunity to acquire the lethal Torque Bow. One well-aimed shot can take down any basic Locust infantry or deal heavy damage to even Boomers and Reavers.
Encounter 02
ENEMY PRESENCE: Drones, Wretches
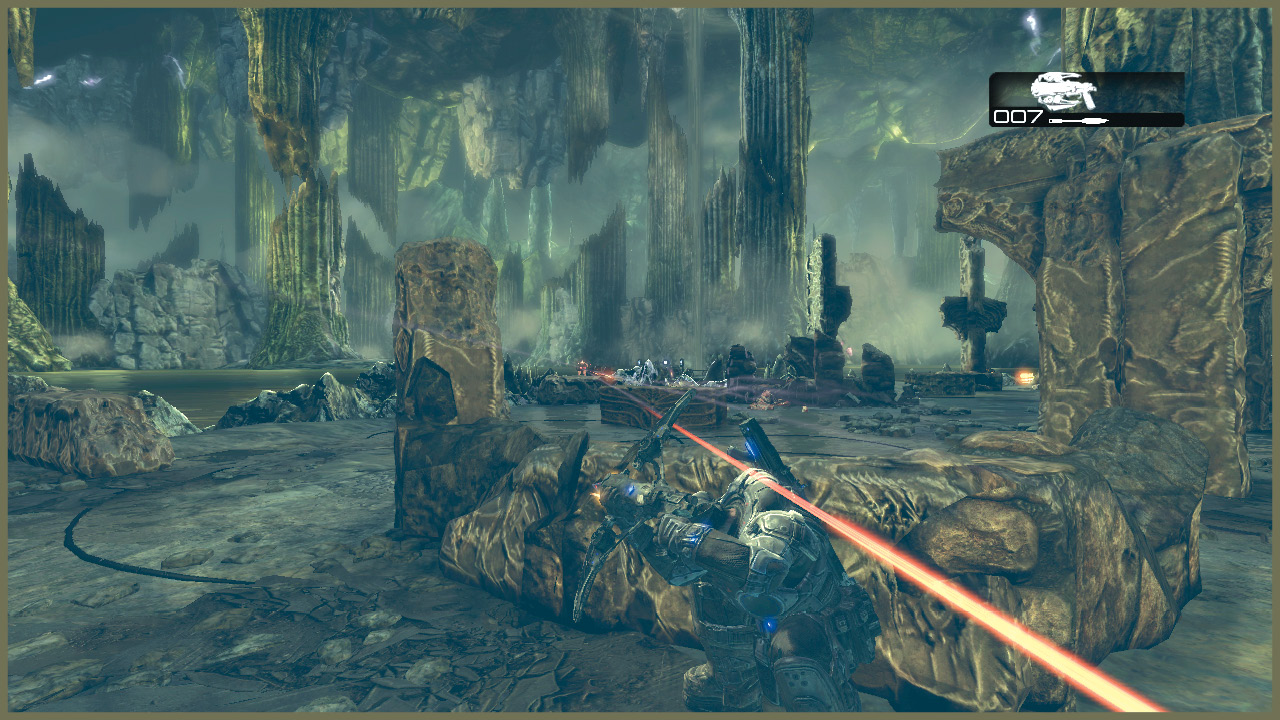
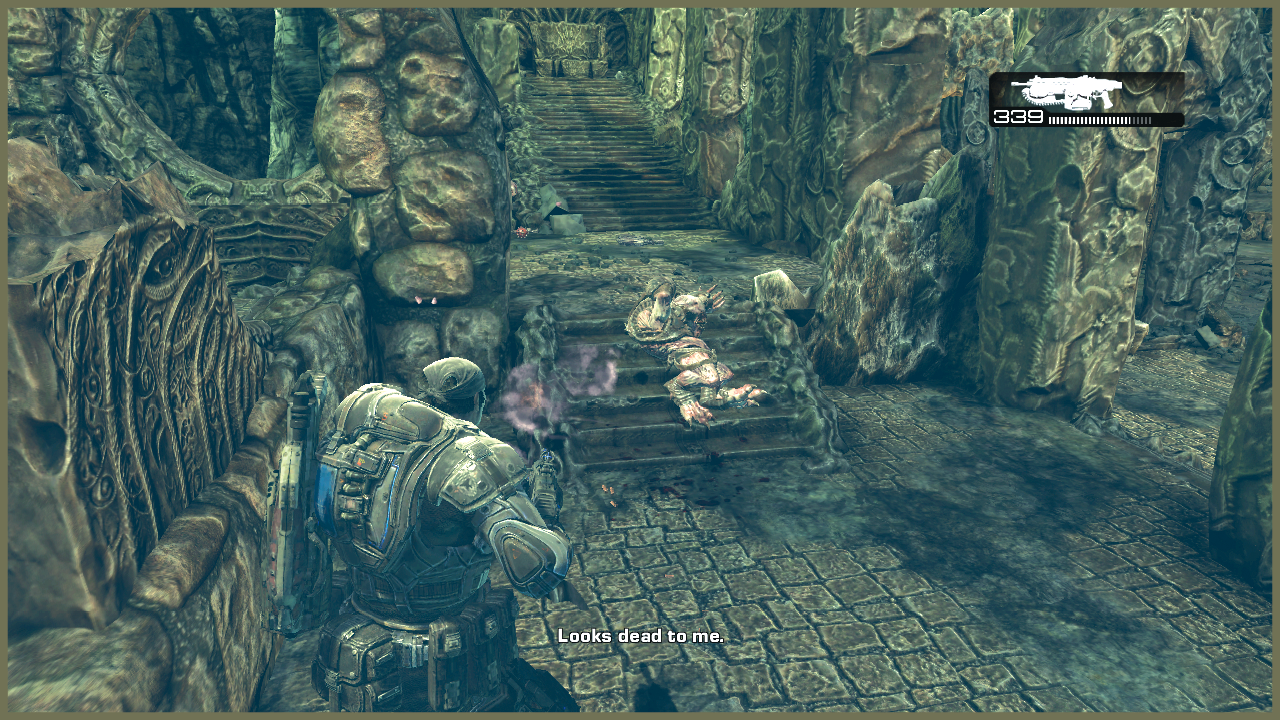
As you reach the ‘docks’ area by the water, the first sign of heavier Locust resistance arrives. A wave of Drones and several Wretches appear as you get closer to the ruins further along the trail.
Be careful about moving too far forward here. You don’t want to end up in cover near Drones when the Wretches attack. That wouldn’t give you enough room to dispatch the Wretches without taking an unhealthy amount of fire from the Drones.
Encounter 03
ENEMY PRESENCE: Drones, Flame Grenadier
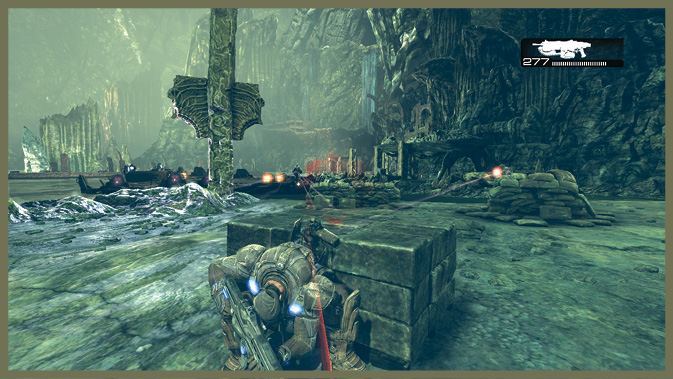
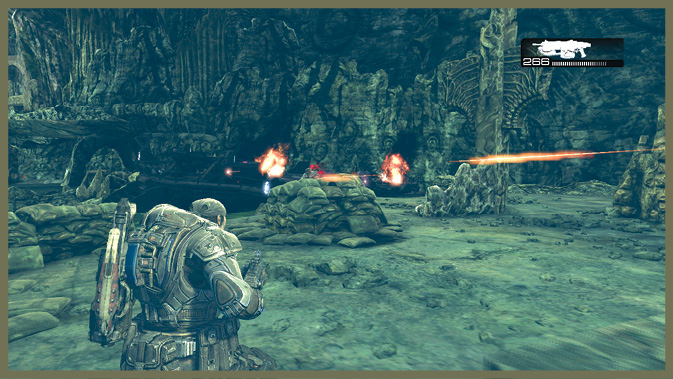
As you approach the center of the ruins, a Drone and a Flame Grenadier attack from the front. Simultaneously, a Locust gunboat strafes you from the shoreline.
Take cover and deal with the immediate threat from the Drones. Then turn your fire on the Locust explosives conveniently located on the gunboat. Detonating them causes the gunboat to crash, eliminating the threat and creating a makeshift platform to reach the next section of the ‘docks’ area.
Before you leave, don’t forget the collectible in the center of the ruins.
Encounter 04
ENEMY PRESENCE: Drones, Kantus
Several Drones and a Kantus resist your approach down this stretch of the shore, but you have access to some handy firepower. A Longshot and a Torque Bow are on the ground as you cross over the wrecked Locust gunboat.
Pick up your favorite of the two, and use it to dispatch the Kantus before you deal with the Drones.
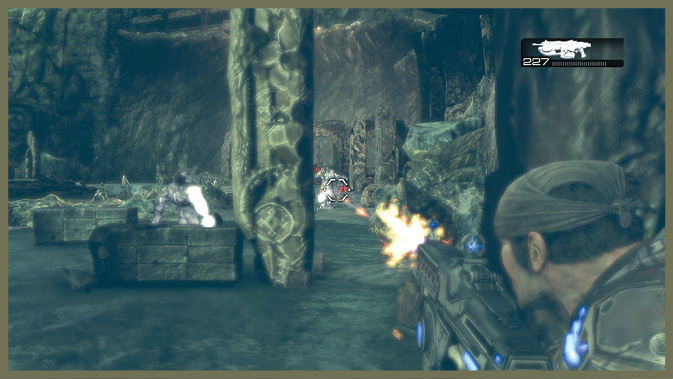
Encounter 05
ENEMY PRESENCE: Bloodmounts, Grenadiers, Kantus
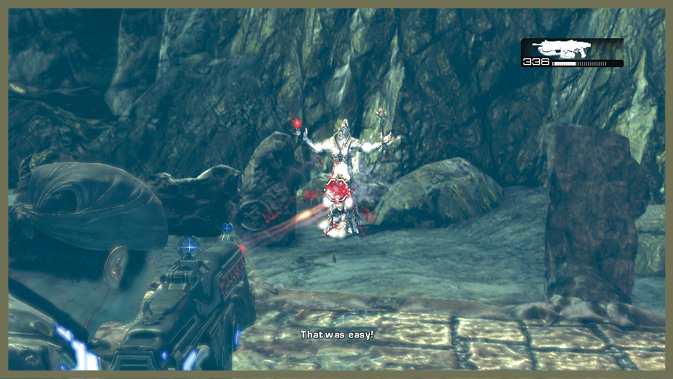
A nasty encounter here, a Bloodmount charges from the ruins ahead. Deal with it first, and then slowly approach the raised platform ahead.
You have to deal with several Grenadiers and a Kantus. If possible, take out the Kantus with your heavy firepower. After you bring him down, mop up the resistance and move on.
Encounter 06
ENEMY PRESENCE: Drones, Grinder, Troika
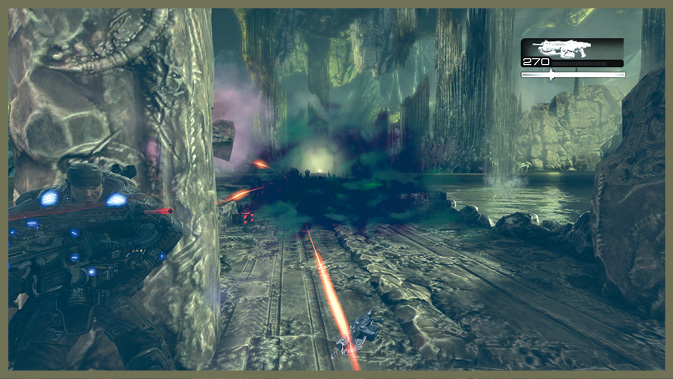
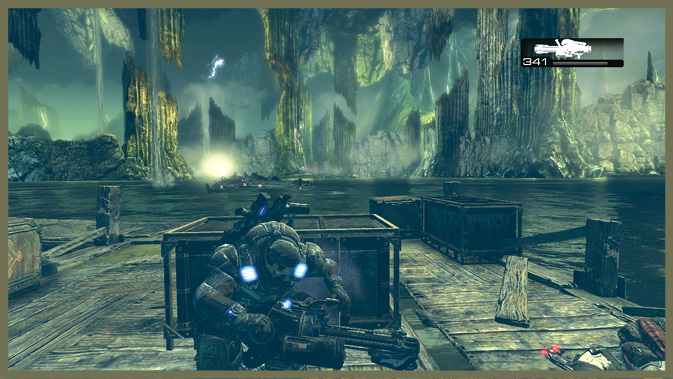
A Locust gunboat is docked at the end of the long pier leading out to the water. Make your way down the pier and clear out the resistance.
There are several speedy Drones here, a Grinder at the end of the pier, and a Troika on the gunboat.
There’s plenty of cover on the approach, though. If possible, pick off the Grinder from a distance. Once the Locust on the pier are gone, the gunboat flees from your approach.
Encounter 07
ENEMY PRESENCE: Gunboat
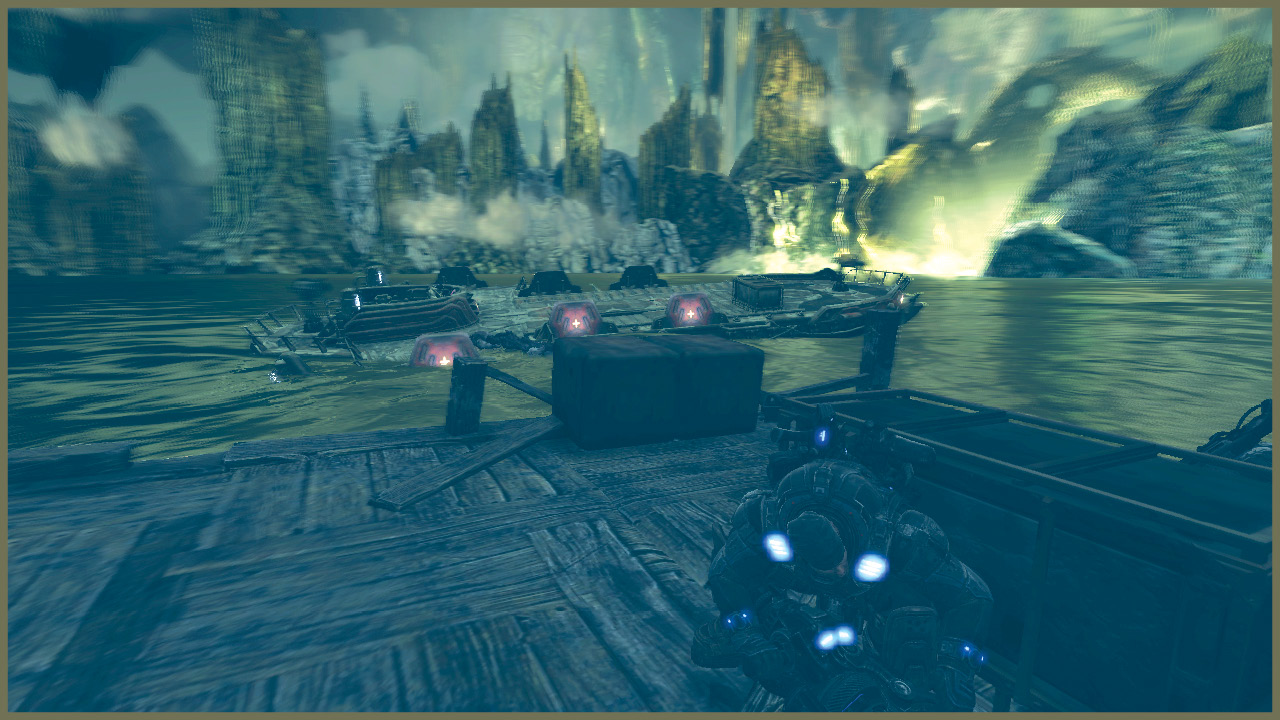
As you reach the end of the pier, you find a tiny boat but it has been sunk by the Locust. A gunboat then slams into the pier, separating the end of it from land—with you on the makeshift raft!
As you float helplessly, the gunboat comes in close enough for you to retaliate. Dispatch the Drones on the gunboat. Then you can do little but wait as the current catches your raft and carries you down the river.
As you float, a second gunboat attacks but soon retreats…strange.
Encounter 08
ENEMY PRESENCE: Flame Boomer
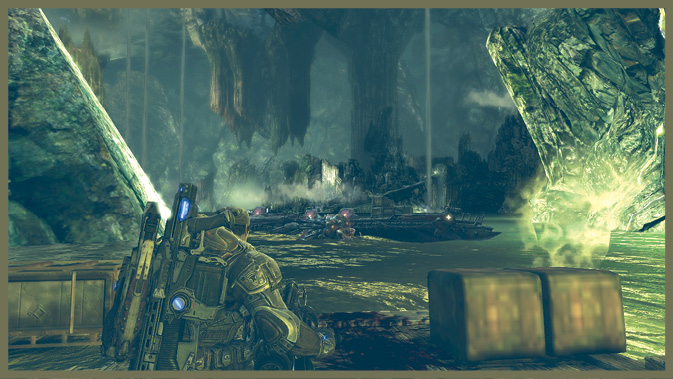
As you drift down the river, you slowly float through an area covered with Imulsion fumes, perhaps the reason the Locust broke off the chase.
While you float through the fumes, something disturbingly large bumps into your raft from below and then vanishes…
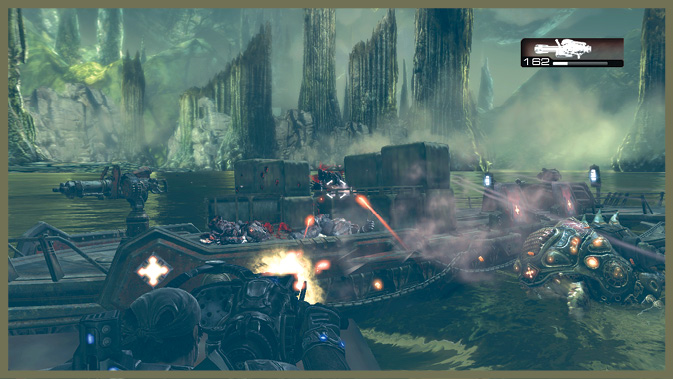
When the raft finally leaves the fumes, another gunboat attacks. Kill the Flame Boomer aboard the gunboat, and you can finally hijack a real ride. Board the gunboat as the ‘raft’ sinks behind you.
Encounter 09
ENEMY PRESENCE: Gunboat
Now you have a real ride, but the Locust resistance to your presence on the river intensifies as multiple gunboats come after you.
You can use the heavy Troika mounted on the front of your boat against a few of the Locust boats that come near your own.
In total, four boats attack: first from the right, then two from the left, and finally a last one on the right.
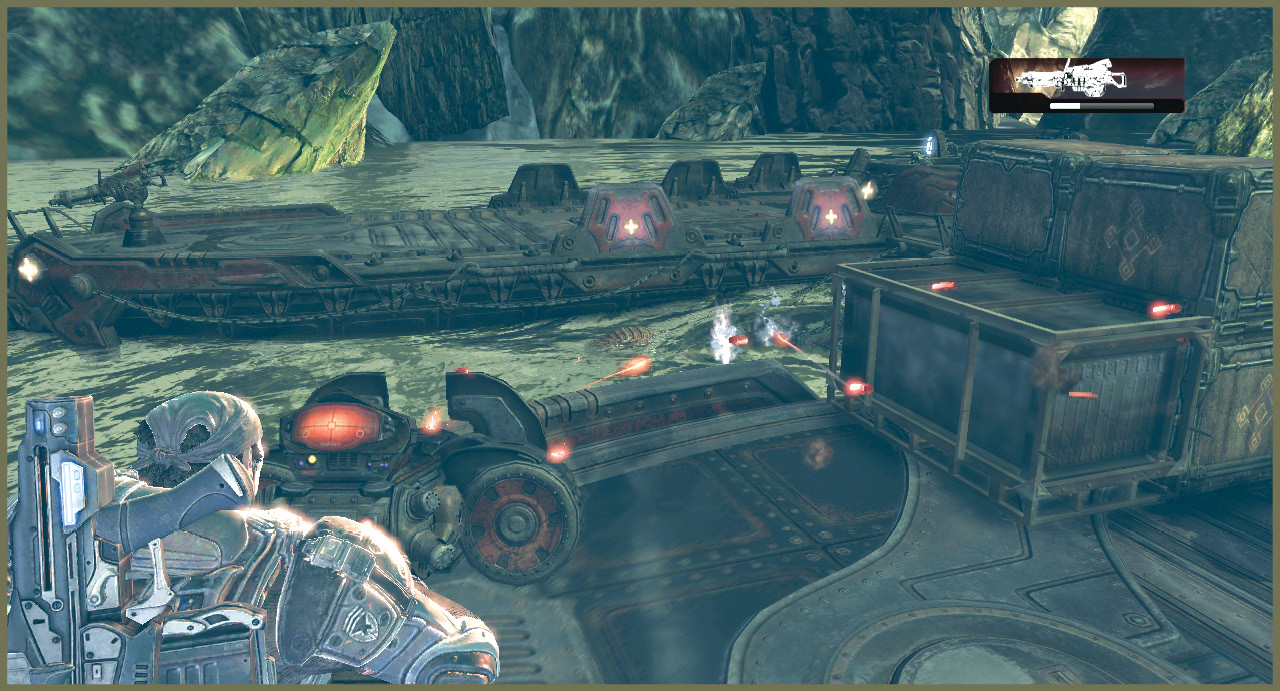
The first gunboat has Drones armed with Hammerburst. The second carries Lancers. The third brings a Grinder with Grenadiers. Finally, the last has Grenadiers and a Theron armed with a Lancer.
Use the Troika when you can. The rest of the time, use the gunwales on the vessel’s side to shield you from Locust fire.
Encounter 10
ENEMY PRESENCE: None
With the last of the Locust repulsed, you drift slowly into a narrow cavern. While you float down the river, a massive shape rises from the water, just visible from the side of the boat.
Before you have a real chance to identify what the shape is, your craft plummets over a waterfall!