Gears of War 2 Guide ACT V: Aftermath
Chapter 5: Closure
Marcus and Dom have hijacked a Brumak and are riding it into the depths of the tunnels. Their destination is the rendezvous point where the Lightmass Bomb is to be planted.
Crush your foes!
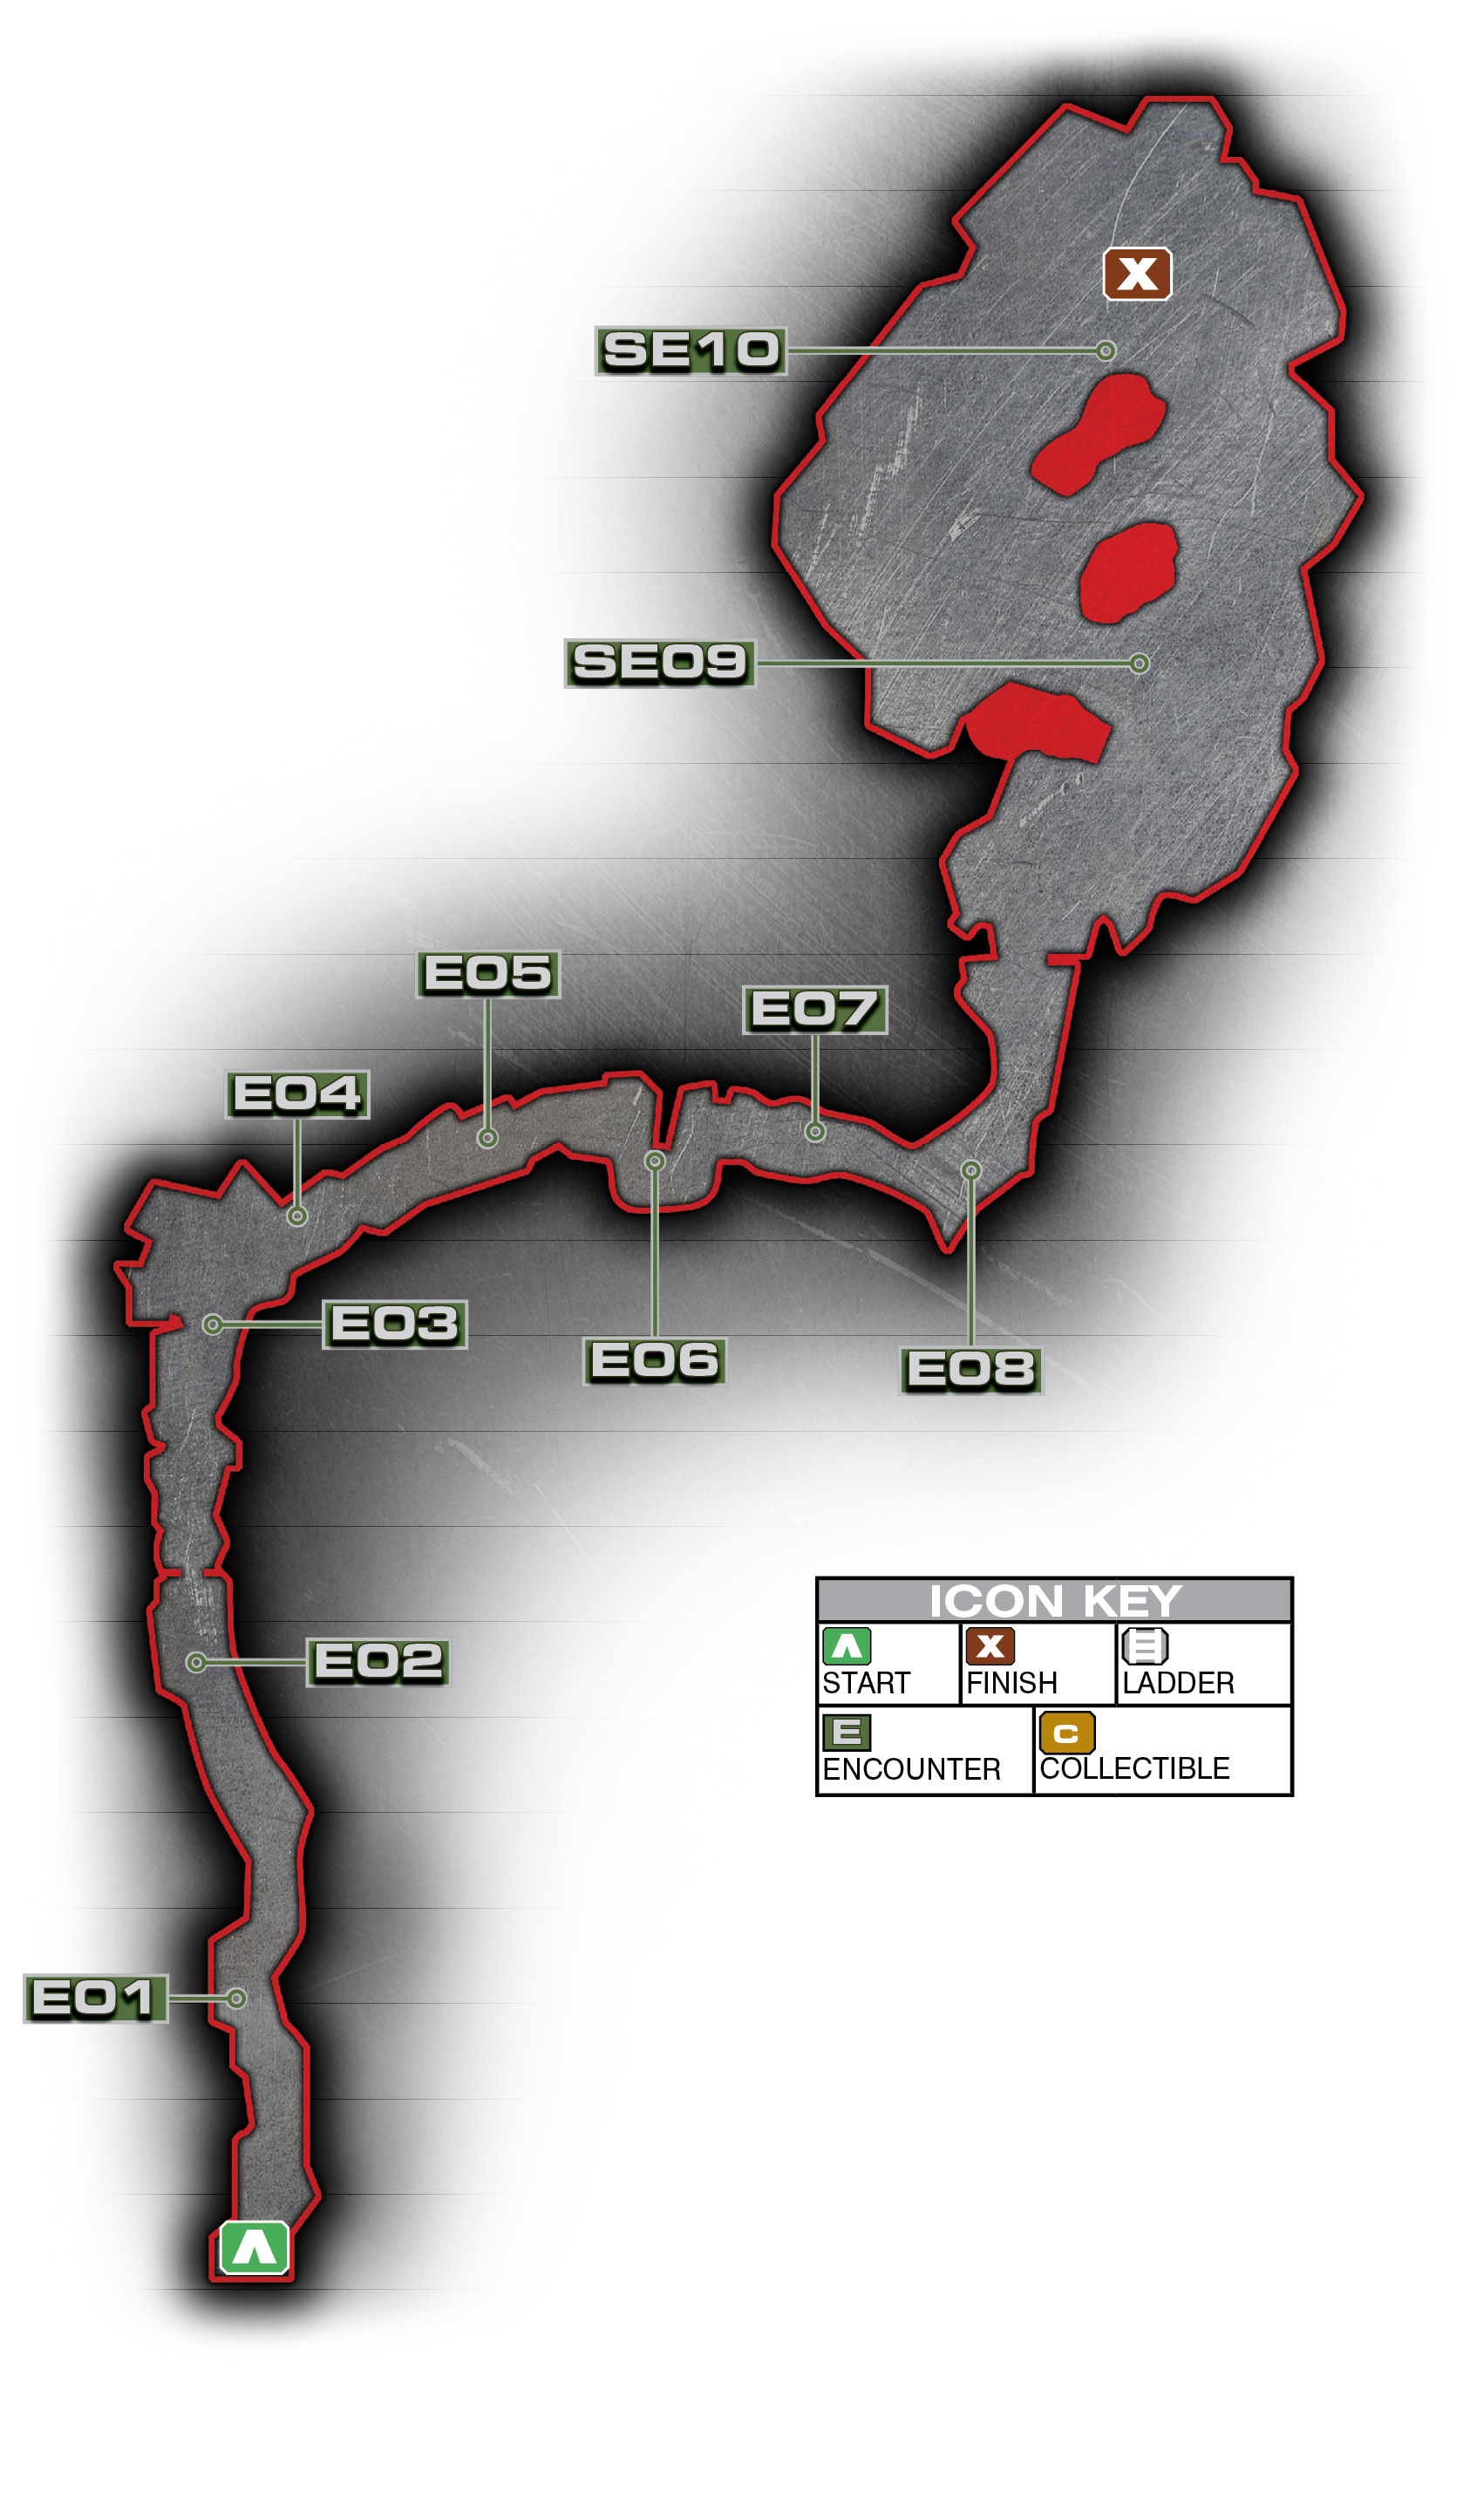
Encounter 01
ENEMY PRESENCE: Drones, Theron Guards, Boomers
It’s party time. Now you get to be the one on the massive, armored Brumak, and the puny Locust troops are your target practice.
Unload the Brumak’s arm-mounted guns by pressing the Right Trigger. Fire a rocket salvo by pressing X. You can hold the reload button to cool the guns, just like using a turret.
Controlling the Brumak is simple; it handles just like a much more cumbersome Gear on the ground.
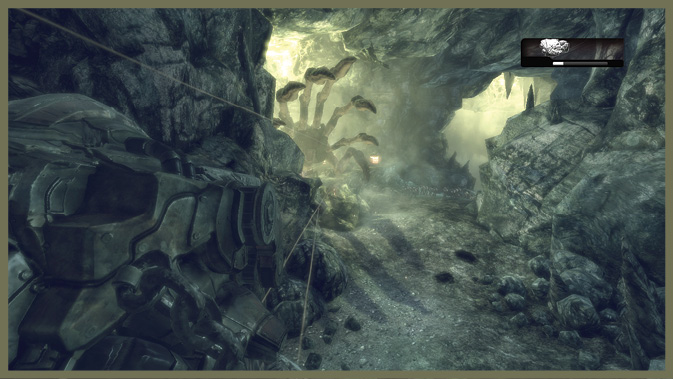
Unload on the Locust swarm on the ground. Blast the Boomers on the ridge to the left, near where a Corpser bursts out of the wall for a moment.
Encounter 02
ENEMY PRESENCE: Boomers, Reavers
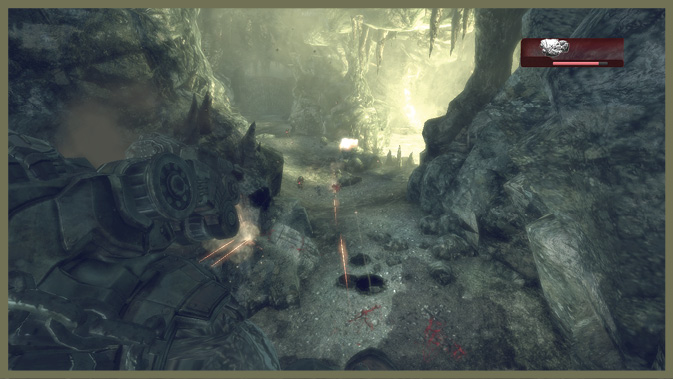
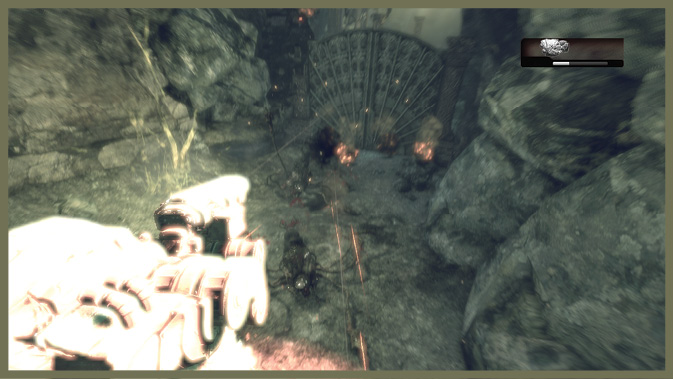
Continue stomping down the trail. When the first huge doors come into view, several Reavers swoop in and attempt to stop your implacable march. Use rockets to kill them quickly, ideally in pairs, finishing off any stragglers with your Gatling guns.
Encounter 03
ENEMY PRESENCE: Drones, Boomers, Troika, Reavers
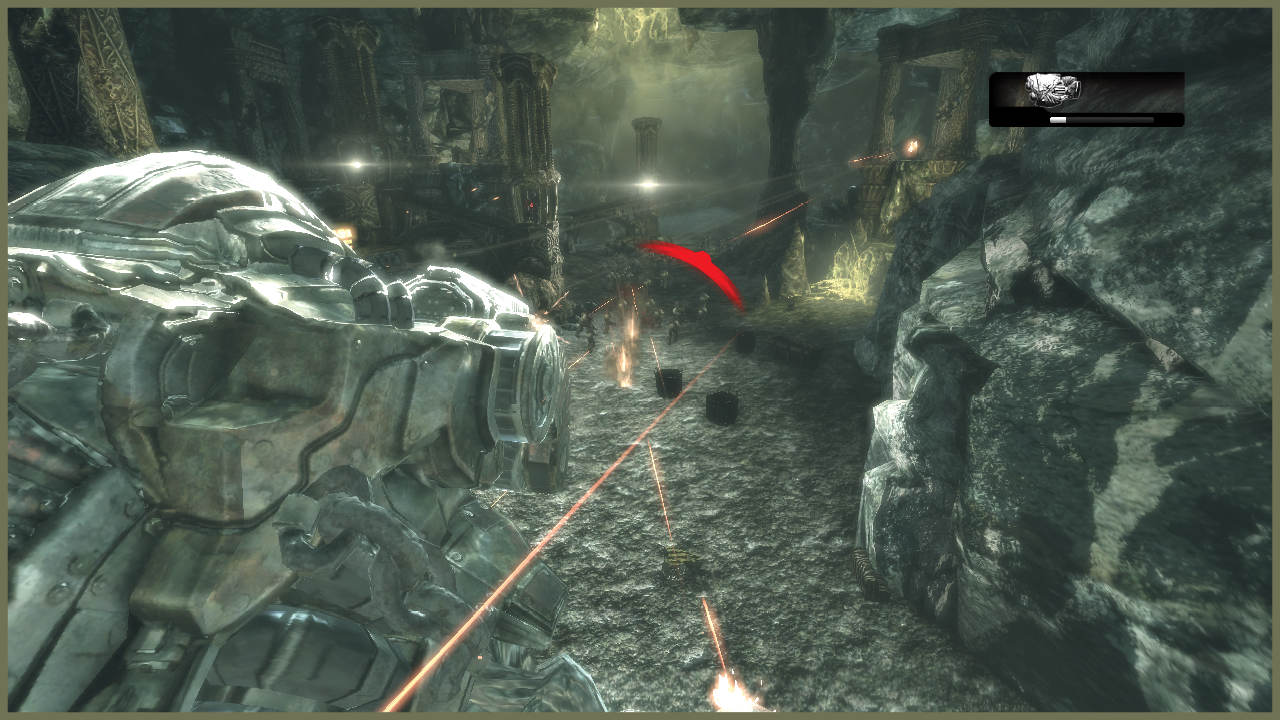
As you emerge into the cavern beyond the first door, multiple searchlights spot your Brumak and open fire with Troikas. Additionally, a ledge on the chamber’s right side has multiple Boomers on it.
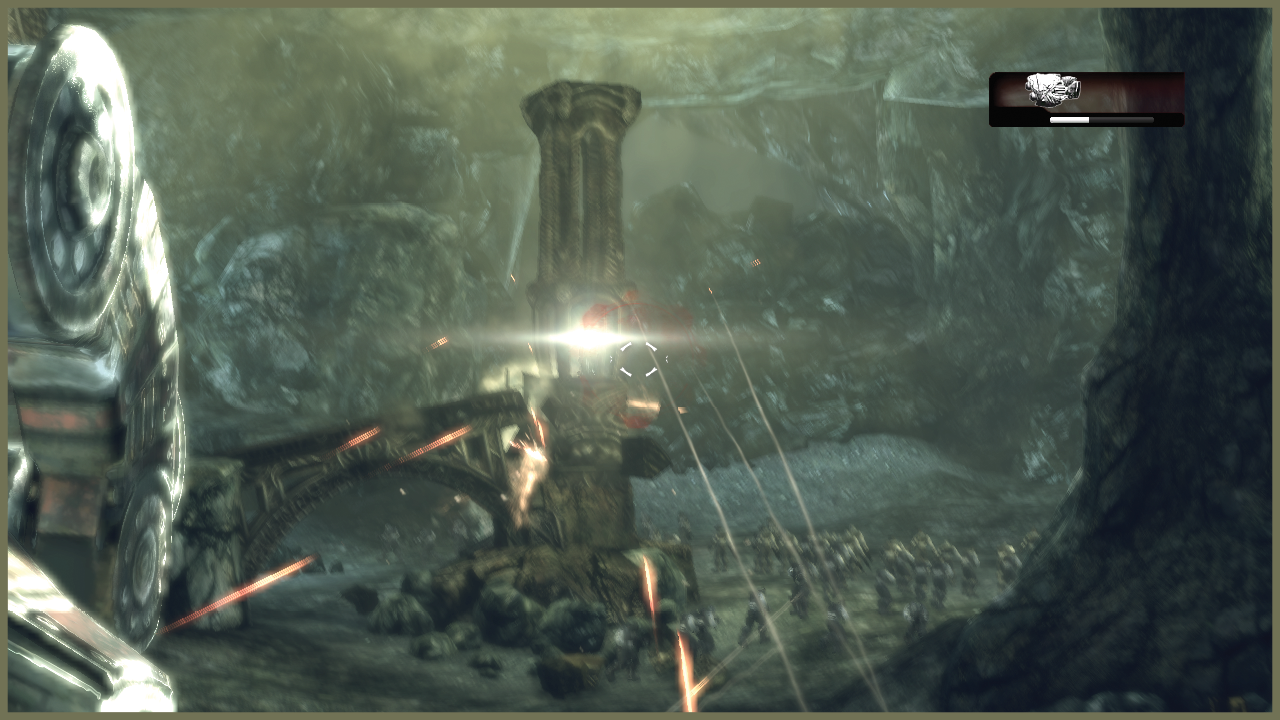
Unload on the searchlights and use your rockets to collapse the structures housing the Troikas. Then finish off the Boomers on the right side.
As you march forward, multiple Reavers swoop in and land. If you’ve cleared out the room sufficiently, you should be able to concentrate on them fully and eliminate them swiftly.
Encounter 04
ENEMY PRESENCE: Corpser
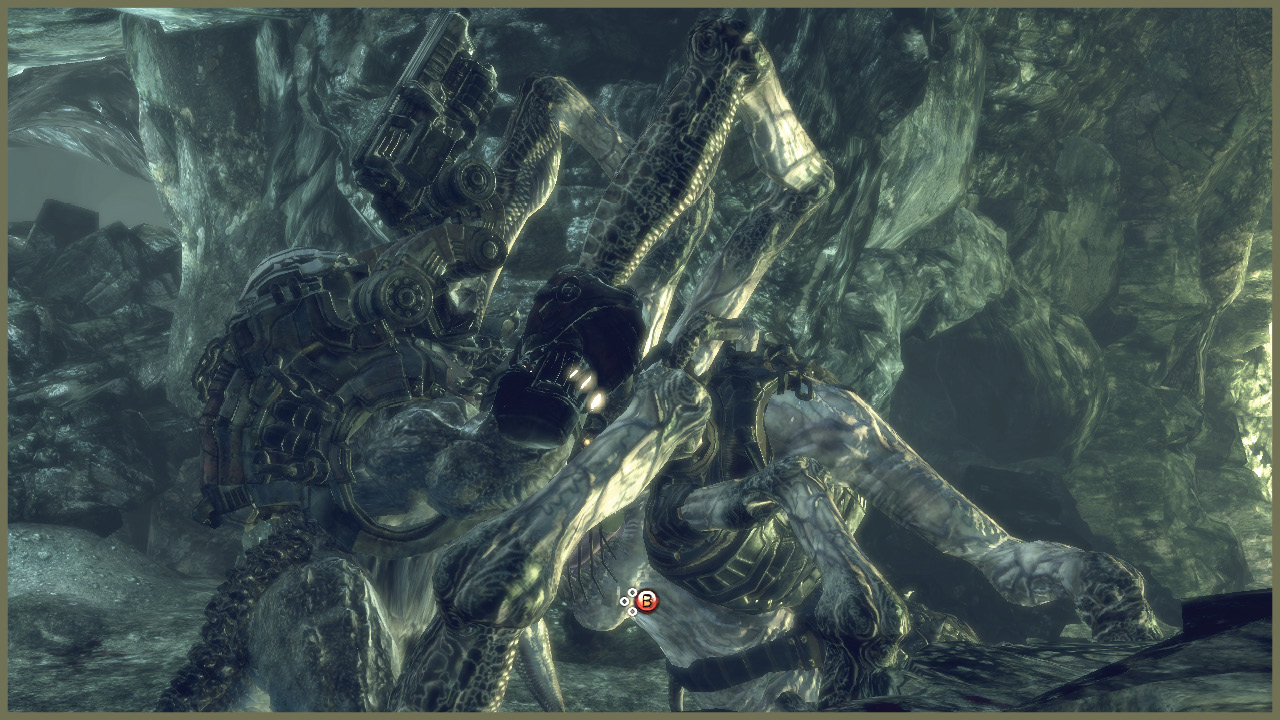
The Corpser that spotted you as you entered the underground bursts forth from the wall here and engages in a brutal melee challenge with your mount. Mash the B Button quickly enough, and your Brumak crushes the Corpser, clearing the path ahead.
Encounter 05
ENEMY PRESENCE: Boomers, Drones, Reavers
A large pack of Locust is on the right ledge here. Take them out with a barrage of rockets and a spray of bullets. Then deal with the Reavers that land on the path in front of you.
Once you eliminate these Locust, bash your way through the huge doors to reach the next chamber.
Encounter 06
ENEMY PRESENCE: Drones, Troika, Boomers
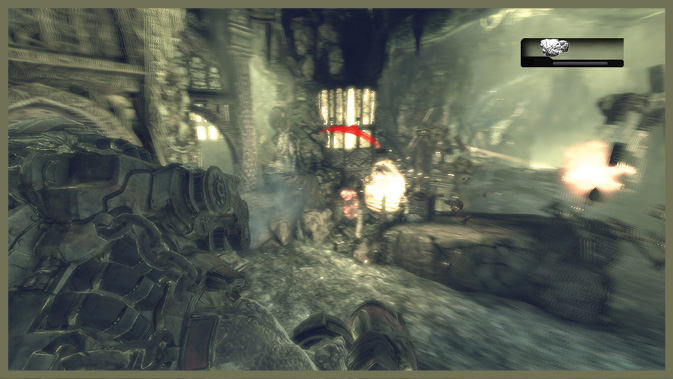
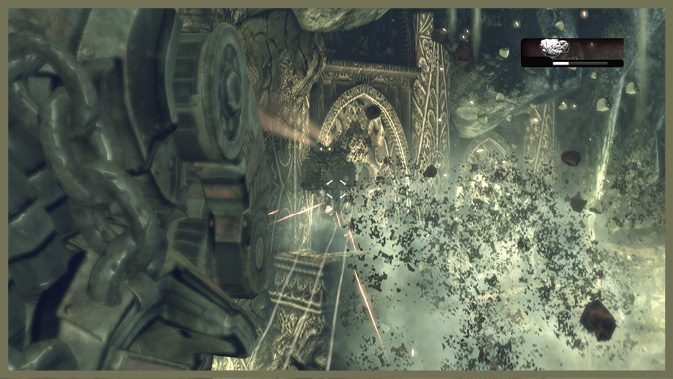
Heavy enemy resistance greets you as you emerge from the second massive doors. Knock out the buildings the Locust are using on the left of the room. Then fire at the large Locust explosives on the wall to the right, causing the entire wall to collapse.
When you neutralize the two immediate threats, you can turn your attention to the pair of turrets that bracket the path down the cavern’s center. Destroy each one in turn before you continue moving.
Encounter 07
ENEMY PRESENCE: Boomers, Grinder, Reavers
Take out the left wall by shooting the Locust explosives there. Then down the Grinder firing at you from a spire on the cavern’s right side.
Finally, use extreme firepower to punish several Reavers that drop in on the path in front of you.
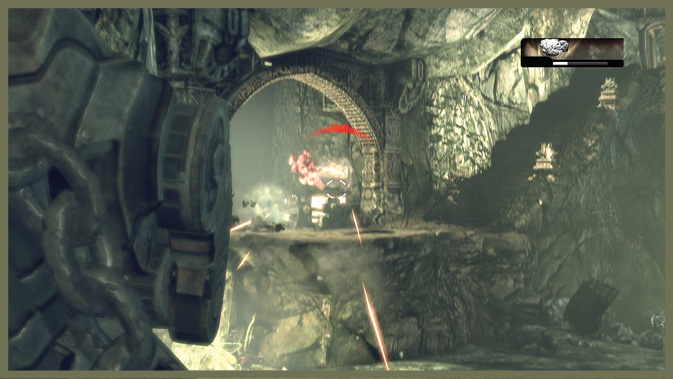
Encounter 08
ENEMY PRESENCE: Troika, Boomers
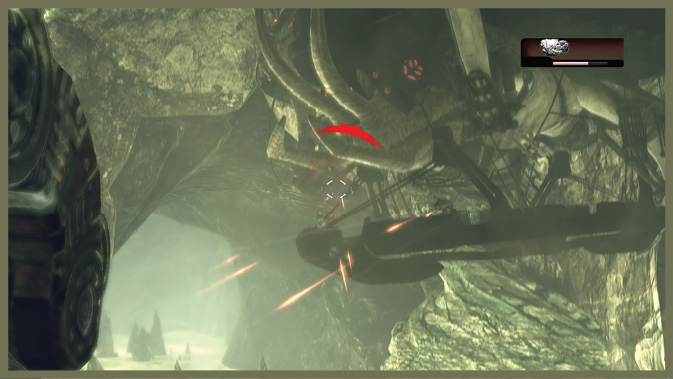
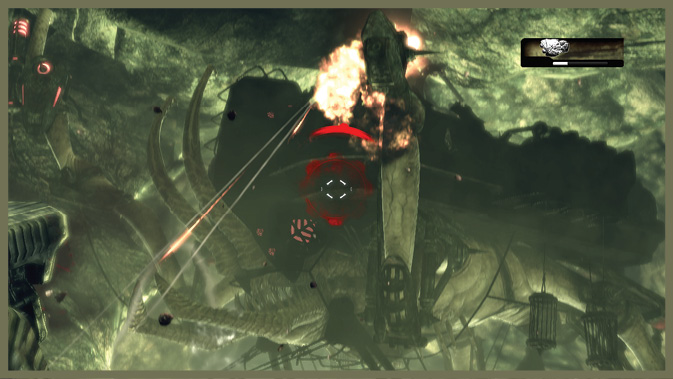
As you reach the cavern’s sharp left turn, a huge Locust Torture Barge comes into view. Multiple Locust onboard fire at you with Troika and Boomshot.
Aim at the Barge’s legs that anchor it to the ceiling. If you disable two of them, the entire creature plummets into the Imulsion, quickly eliminating the threat. Alternatively, you can just concentrate your firepower on the Barge’s face. It will eventually fall down.
Encounter 09
ENEMY PRESENCE: Reavers, Seeders, Nemacyst
Beyond one last door, this huge chamber is the ideal location to detonate the Lightmass Bomb.
However, you must first create an opening in the ceiling to allow the Ravens carrying the bomb to get into the chamber.
There are three pillars in the chamber. You must destroy each one to trigger the ceiling’s collapse.
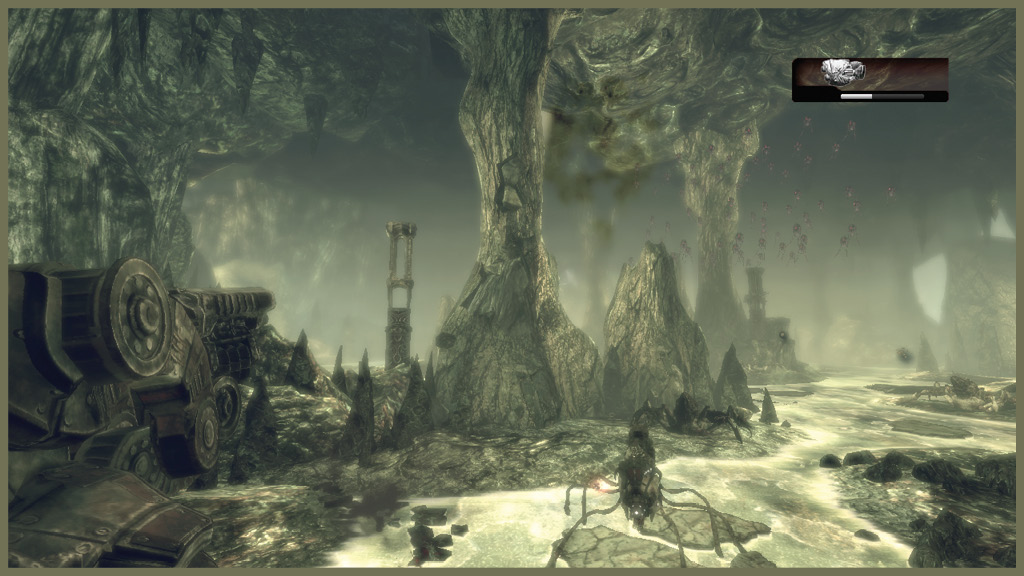
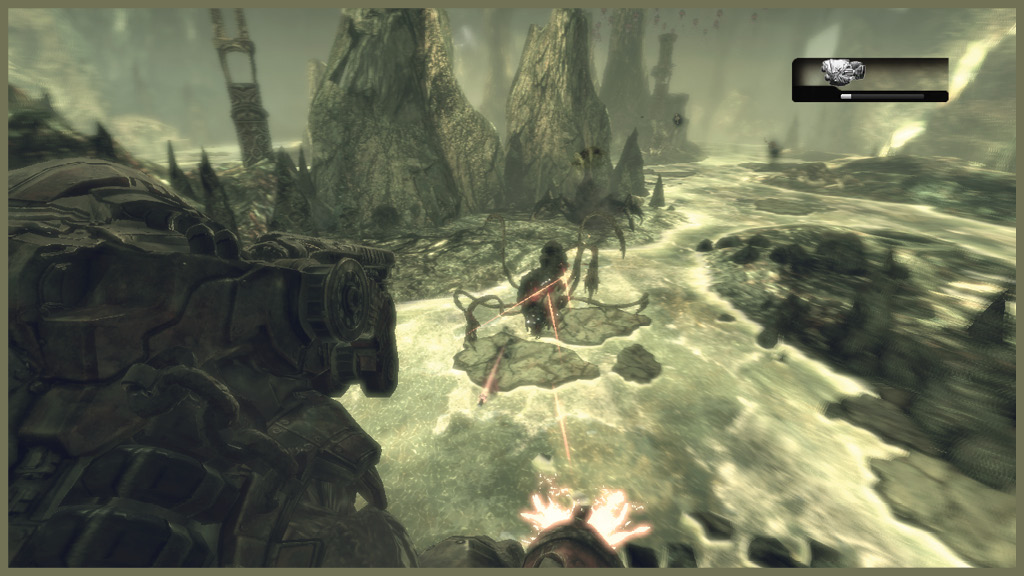
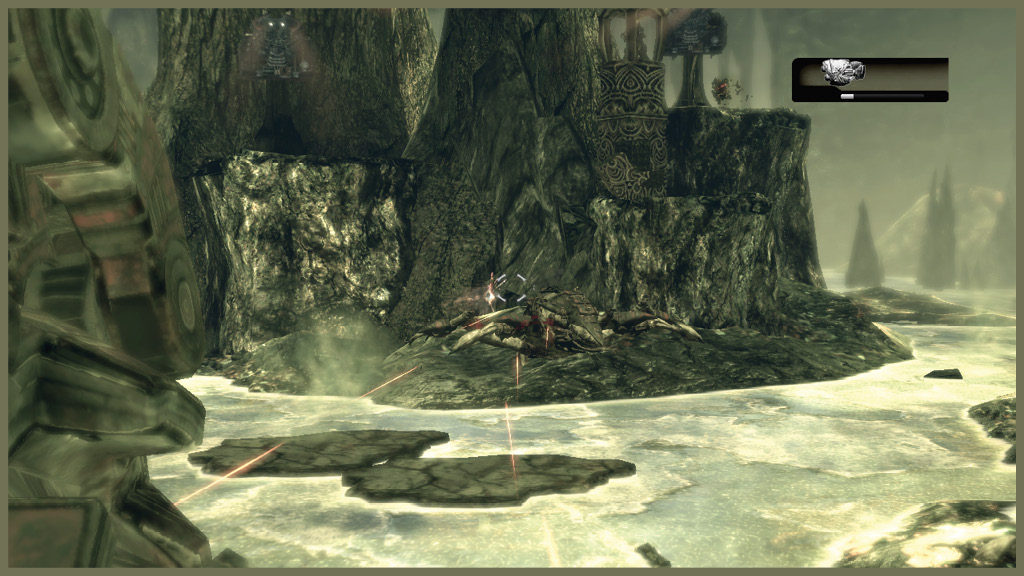
You can see the first one almost as soon as you enter the chamber. Destroy it by raking it from top to bottom with Gatling fire and rockets.
As you move farther into the huge cavern, Reavers and a few Seeders assault you with rockets and Nemacyst mortars. You can shoot down inbound Nemacyst, which is helpful for limiting the damage you take.
As you move through the room, use the pillar bases for cover (to a greater or lesser degree, depending on the difficulty level). Once you demolish all three pillars, the roof comes crashing down, allowing the Ravens and the rest of Delta Squad to fly down into the cavern.
Encounter 10
ENEMY PRESENCE: Lambent Brumak
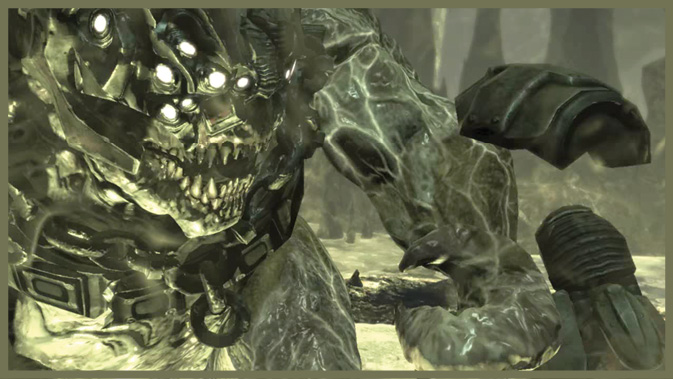
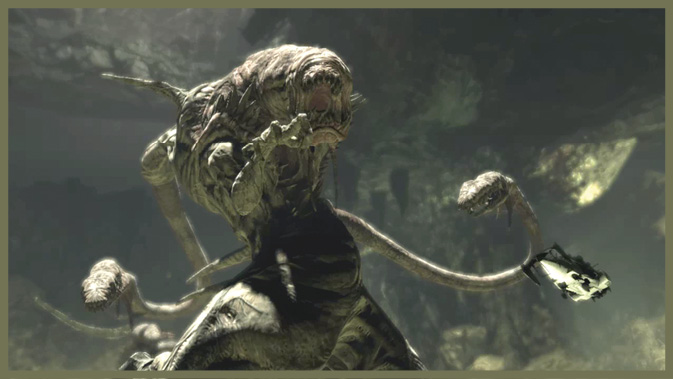
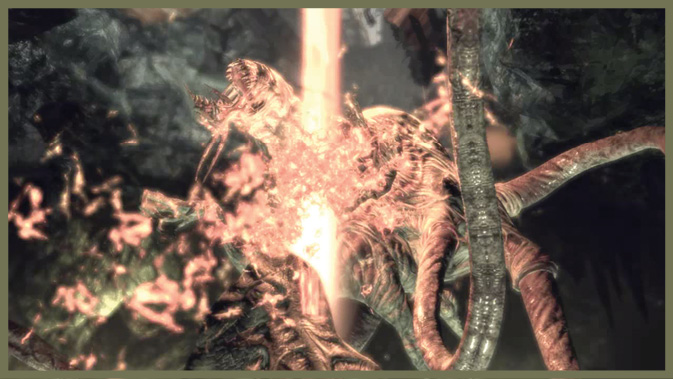
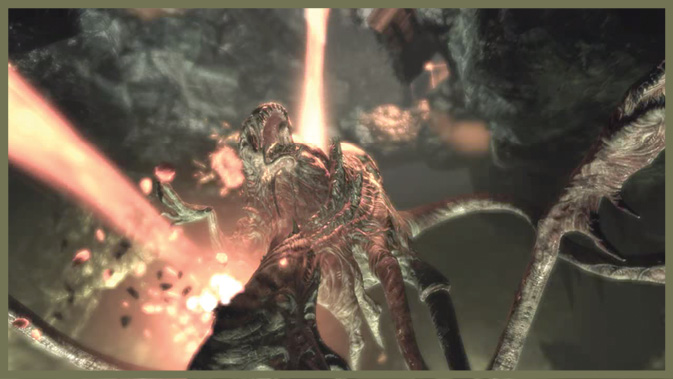
Continual exposure to the Imulsion that coats the cavern’s floor horribly mutates the Brumak that Marcus and Dom rode to get here. The creature transforms into a massive Lambent Brumak. While Cole and Baird manage to pick you up in one Raven, the other Raven drops the Lightmass Bomb as the mutating Brumak smashes it.
A quick discussion of their options brings to light the thought of using the immense Lambent creature as a makeshift bomb. If it explodes like the Lambent Wretches did, the sheer force of the explosion should suffice to sink Jacinto.
When you regain control of Marcus, target the Hammer of Dawn at the monstrous mutant creature. Blast it with all the fury of the orbital satellite bombardment. Once the creature suffers enough damage, the chain reaction begins, and Delta quickly evacuates the sinkhole.
Sit back and enjoy the ending…and be sure to wait through the credits.