Gears of War 2 Guide ACT IV: Hive
Chapter 1: Priorities
After the draining battle against the Lake Monster, Marcus and Dom have a brief chance to cool down during the next two chapters. Dom convinces Marcus to aid him in searching for Maria.
There isn’t a lot of conflict during either Priorities or Answers, but be grateful for the breather. As you travel deeper into Act 4, the combat gets progressively nastier.
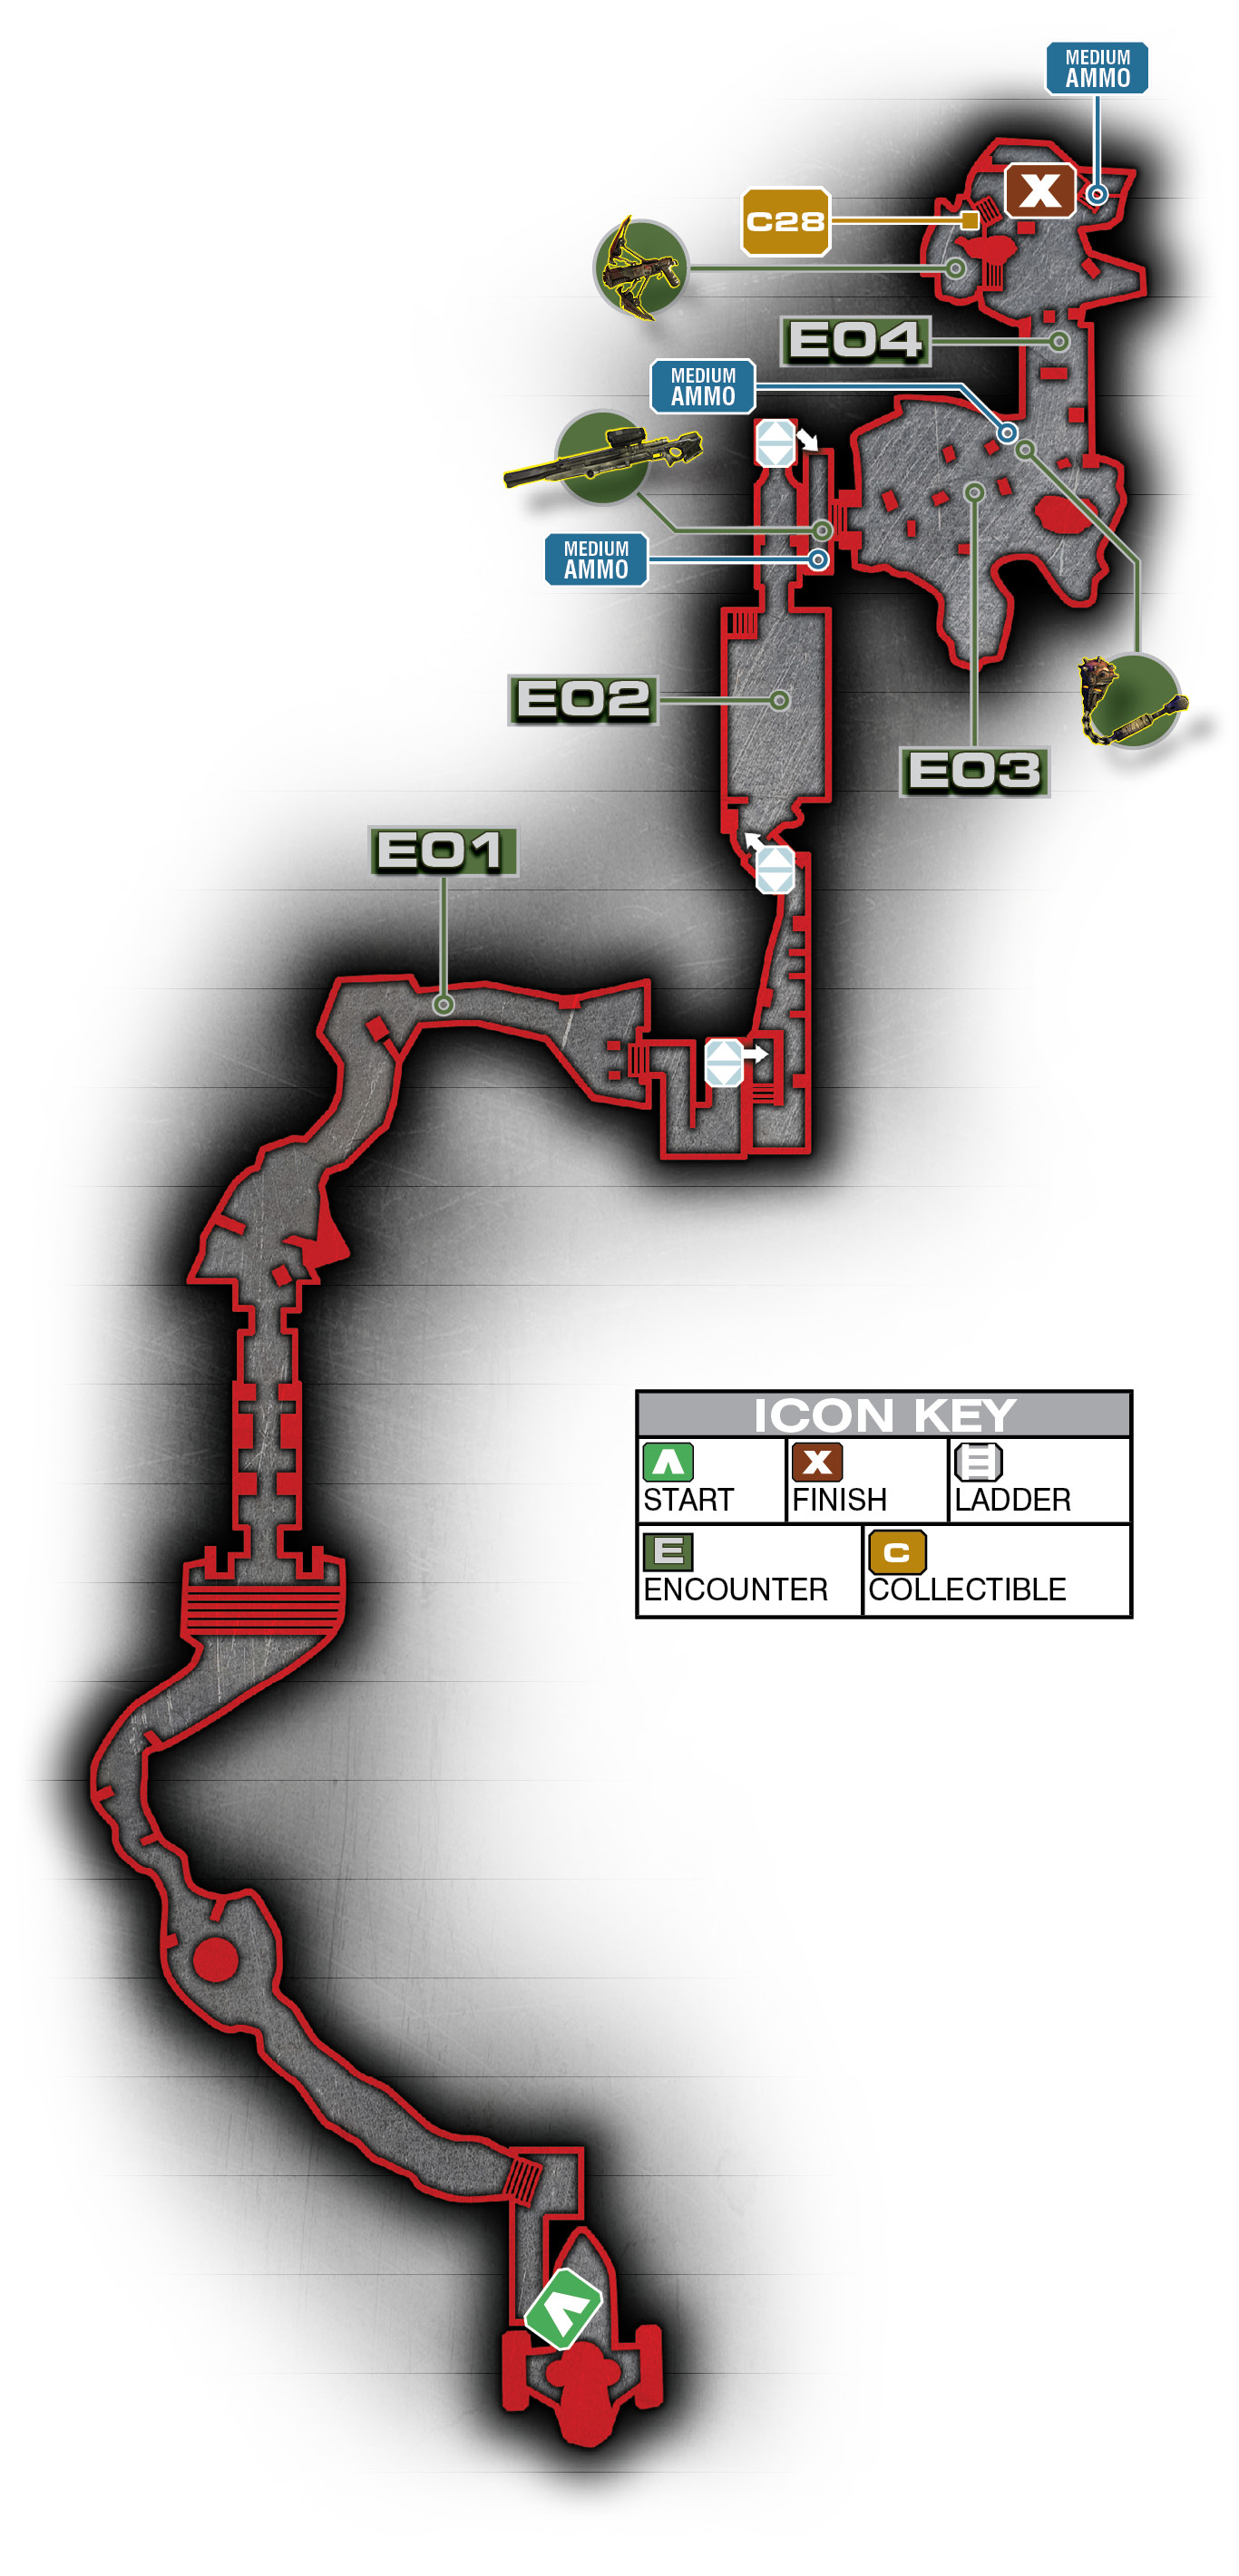
Encounter 01
ENEMY PRESENCE: None
Make your way along the back route into the Locust highway. On the way, you run into a huge train of marching troops. Marcus wants to follow them, but Dom wants to search for Maria, based on Chaps’ intel.
Marcus reluctantly agrees and the two set off. Make your way up the walkway toward the dam, where you can take an elevator up to the next level. From here, you spot a Brumak on the highway running past the dam. More importantly, down below the dam, you see a slave camp of imprisoned humans. There may be some hope for finding Maria in this area after all.
Make your way along the ledge to another elevator, this one leading to the dam’s interior.
Encounter 02
ENEMY PRESENCE: Drone, Grenadier, Sniper
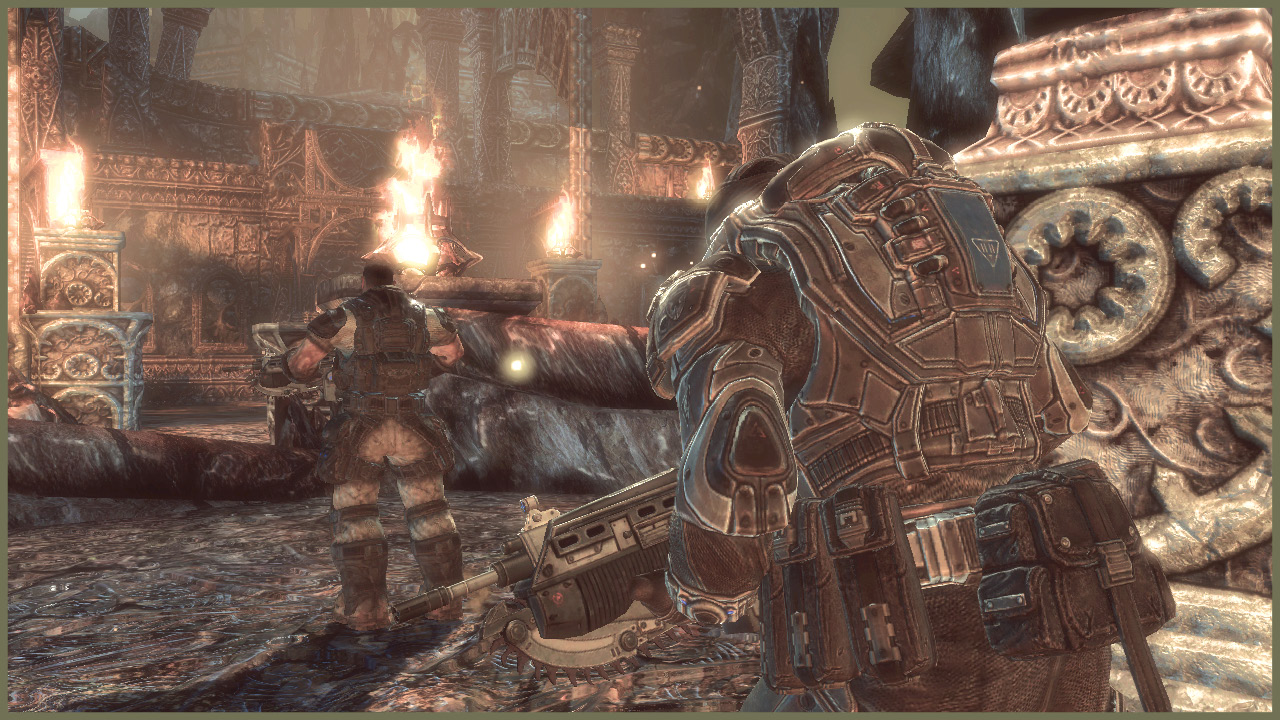
When you enter the dam room, the flow of water is too high to cross. Rotate the wheel at the side of the chamber to lower the water level enough to cross.
Unfortunately, as soon as you start to cross the water channels, a pack of Locust rushes into the room: a Drone, a Grenadier, and a Sniper.
You can’t worry about them though, as a Drone Engineer heads for a valve on the opposite side of the room, attempting to increase the water flow again! Shoot him quickly—if he succeeds, you and Dom won’t survive.
Once you deal with the Engineer, pick off the other Locust. If you have any Frag Grenades, one well-placed throw can remove them. If not, just use the water channels as cover and finish them off.
Encounter 03
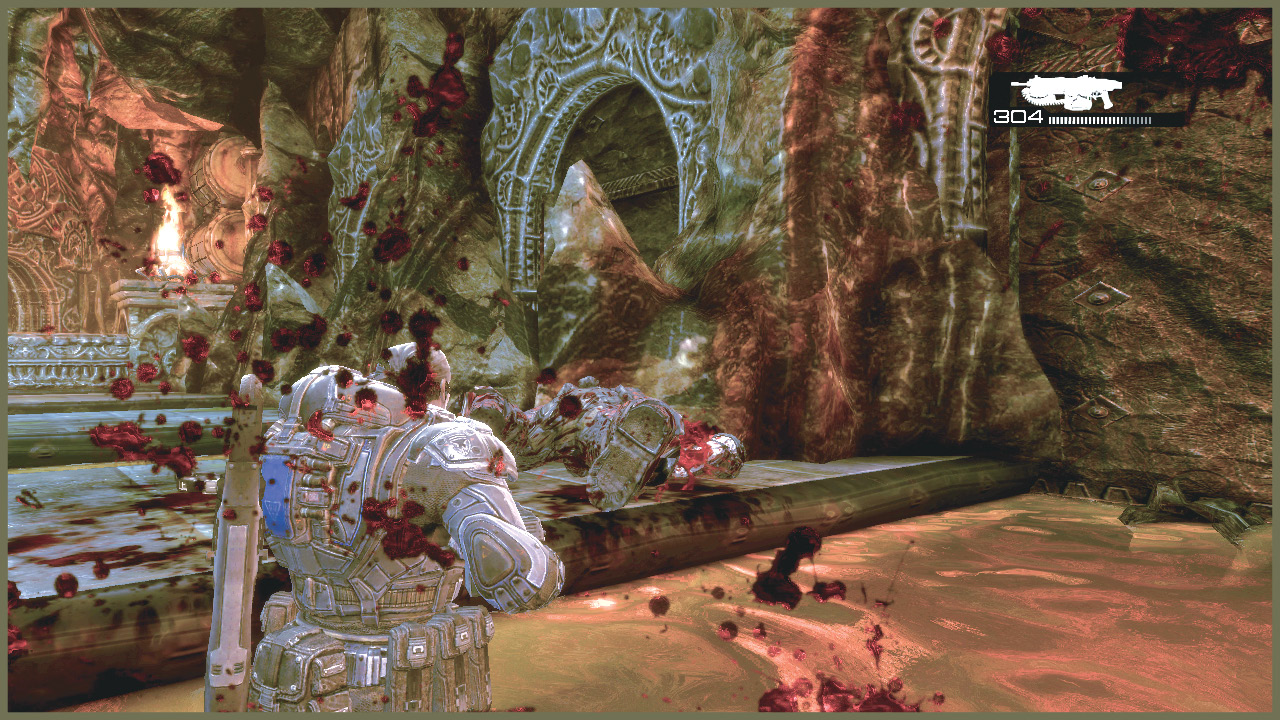
ENEMY PRESENCE: Wretches, Mauler
After the water chamber, you descend another elevator to reach the ground floor. Grab the ammo pack and the Longshot located just down the hall from the lift, and then make your way out into the cavern.
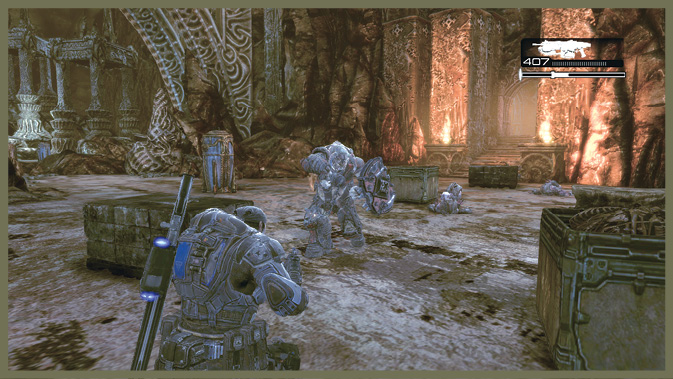
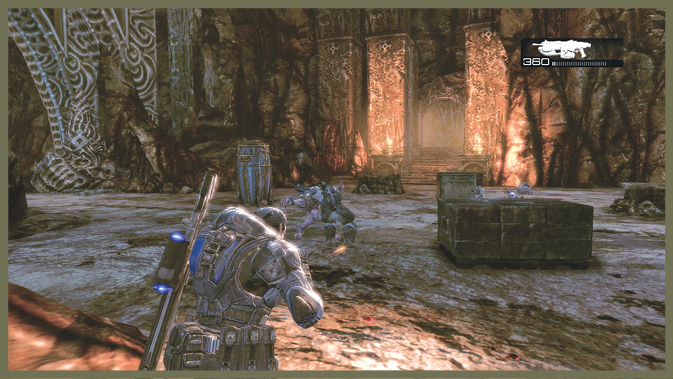
When you emerge, a Mauler and a pack of Wretches attack. This is actually a blessing in disguise, as the Wretches are easy to dispatch, and the Mauler’s Boomshield is very useful for the next fight. Pin him between you and Dom to take him down. Then grab the shield and the nearby Frag Grenades before you step onto the bridge.
Encounter 04
ENEMY PRESENCE: Troika, Drones, Sniper, Theron
When you set foot on the center of the bridge, a Locust searchlight illuminates your position and a pack of Locust attacks. Hopefully you have the Boomshield up and ready, as the Theron Guard, Sniper, and Troika are serious threats. With your shield up, they’re more of a minor inconvenience.
You can handle this fight two ways. One option is to advance slowly with the shield, picking off the Locust as you close with them. Alternatively, you can proceed midway up the bridge, plant the shield, and use the cover to lob a few grenades at the Locust in the open.
Once you deal with the Locust, step up and search the room to find an ammo crate where the Sniper was. There’s a Torque Bow near the Locust Terminals on the room’s left side.
Don’t hit the primary Terminal to search for Maria just yet. Check the second active Terminal to find a collectible.