Gears of War 2 Guide ACT III: Gathering Storm
Chapter 2: Origins
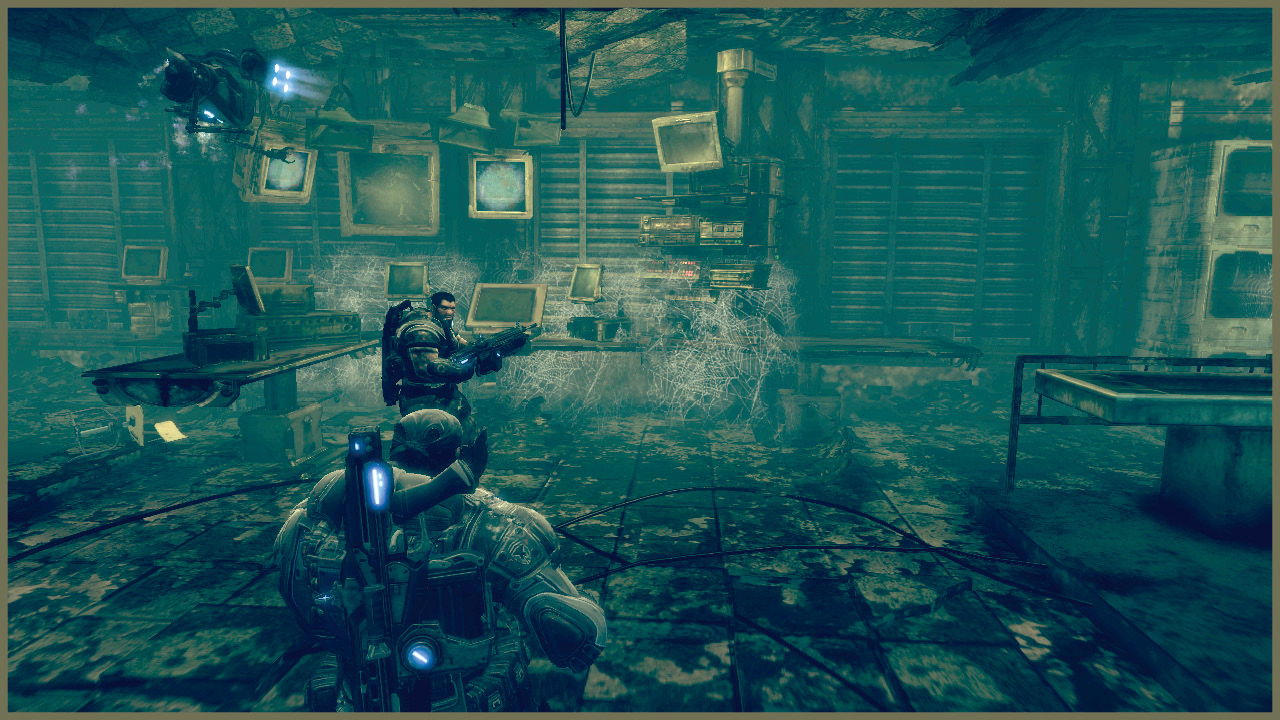
Penetrating into the secured heart of the facility, disturbing revelations await Delta. There is still relatively little combat in this chapter, though you do need to stay alert for automated defenses.
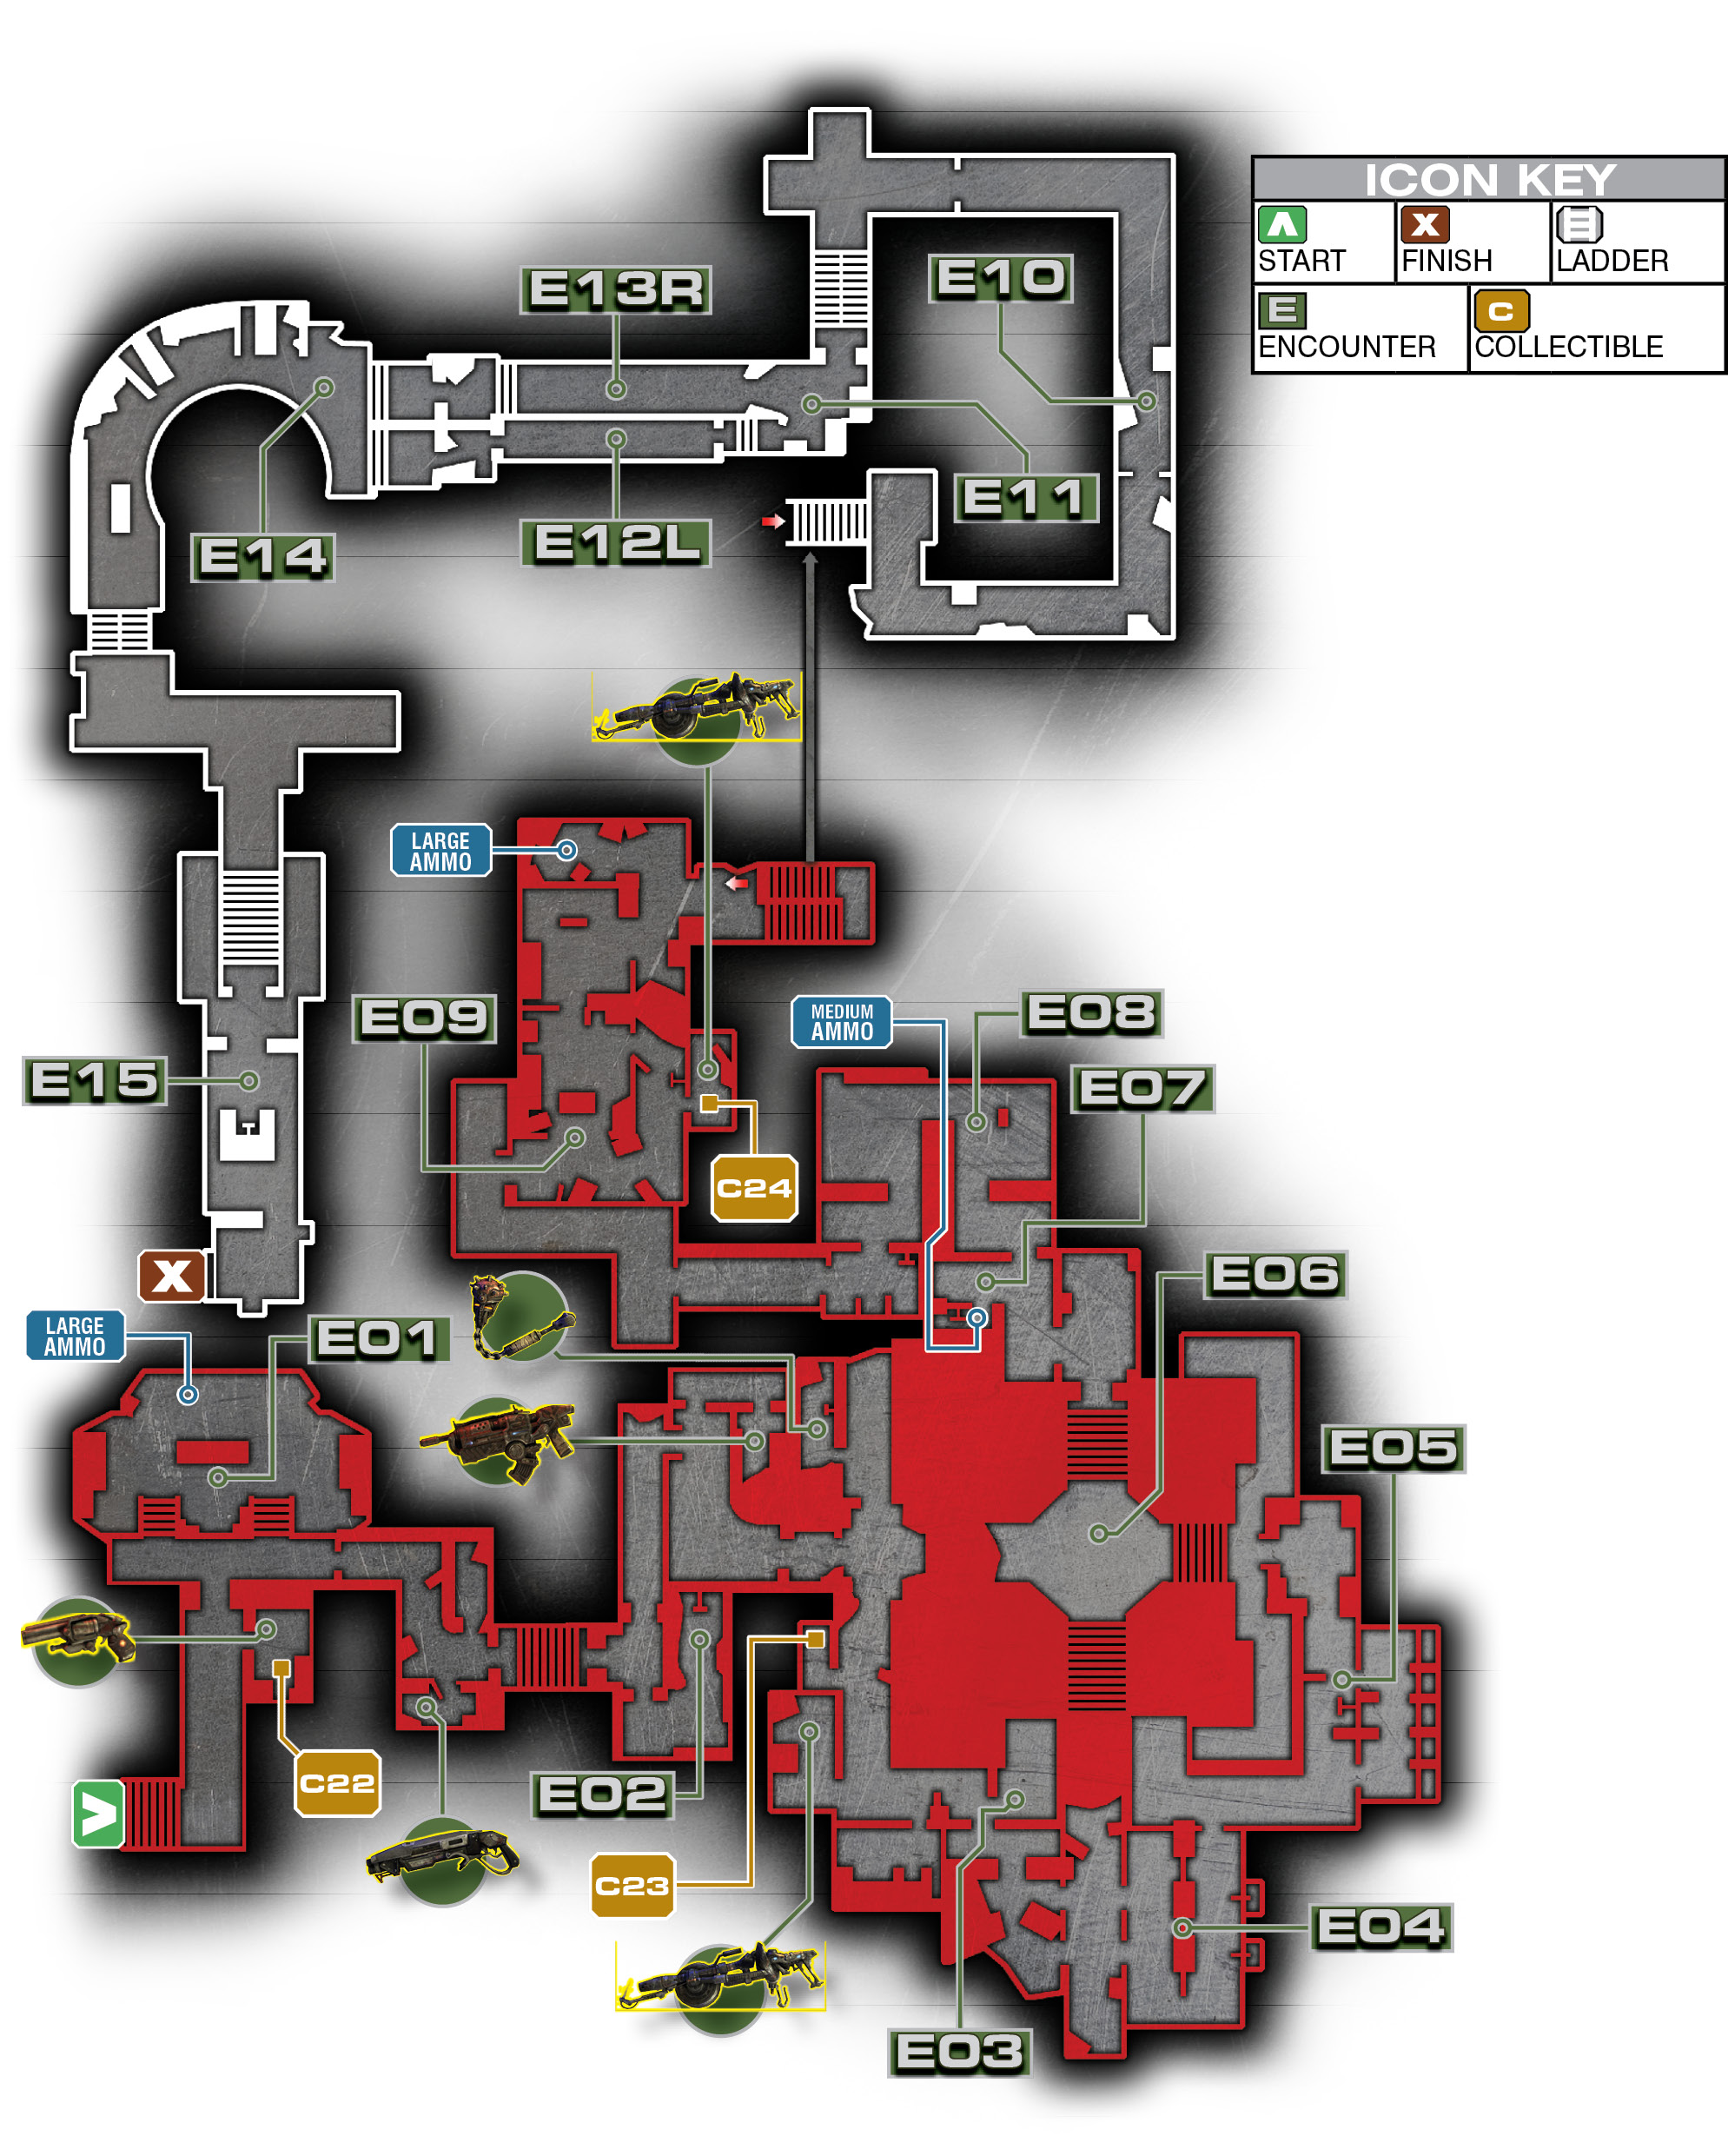
Encounter 01
ENEMY PRESENCE: None
As you step into the facility’s interior, the AI known as Niles continues to communicate with you. He seems slightly…off, but he has not acted in an aggressive manner. Step over to the windows to trigger a brief communication with Command.
Command wants you to proceed deeper into the facility and continue your investigation, so keep moving. Don’t forget to grab the collectible here, and you can pick up a Boltok and a Shotgun if you wish.
Encounter 02
ENEMY PRESENCE: Wretches
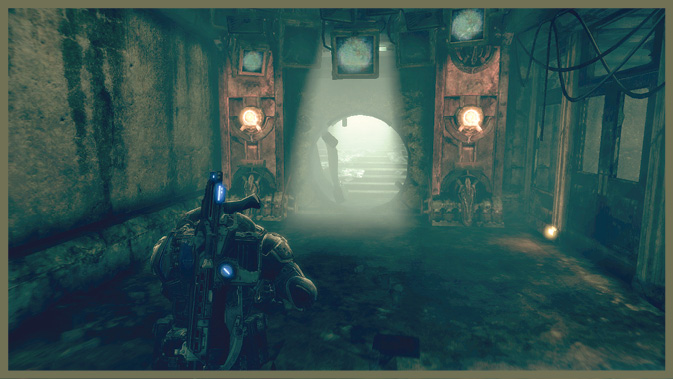
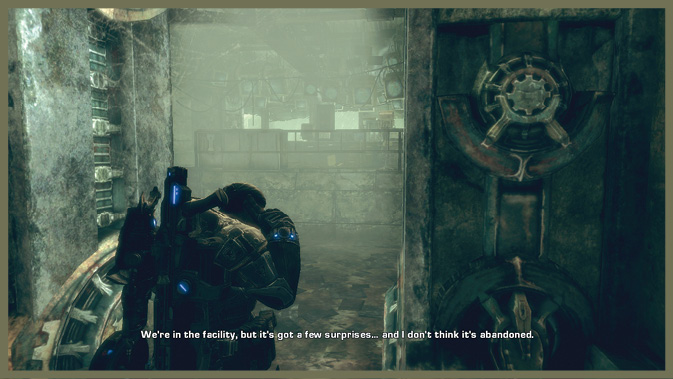
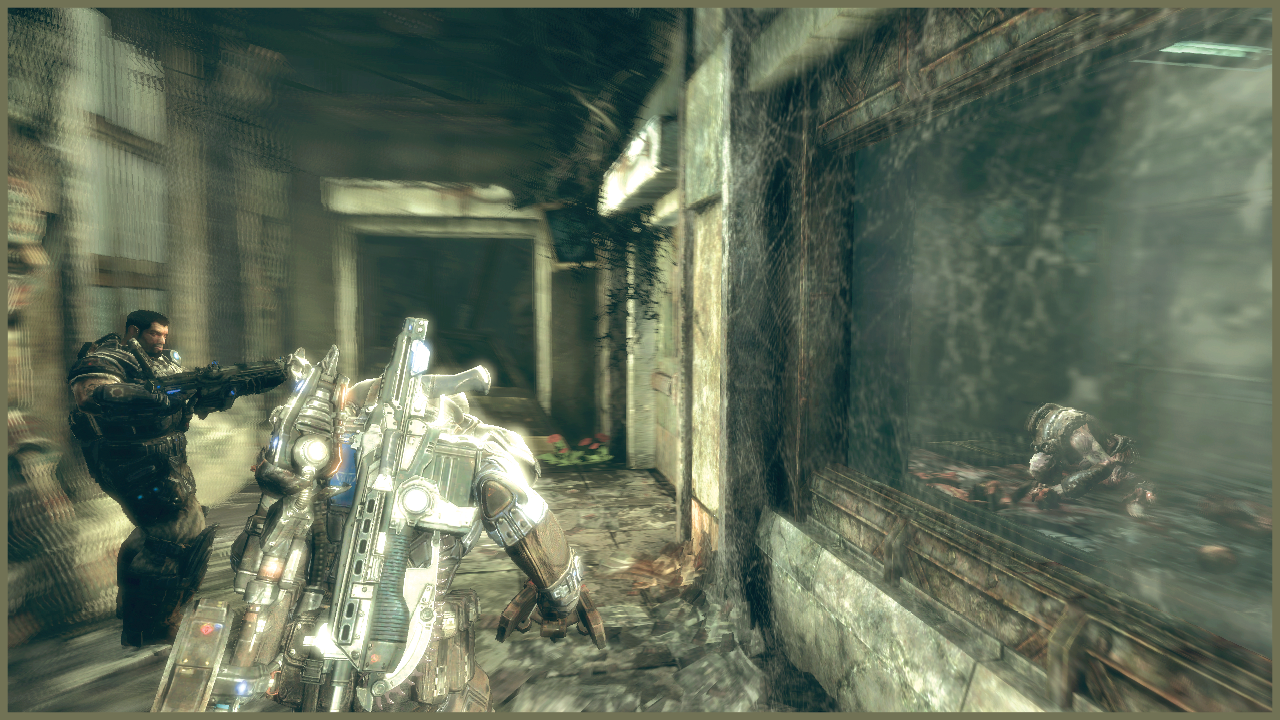
As you enter this small hallway, a pack of Wretches appears. Thankfully, they’re on the other side of a thick window and can’t get at you unless you open the door.
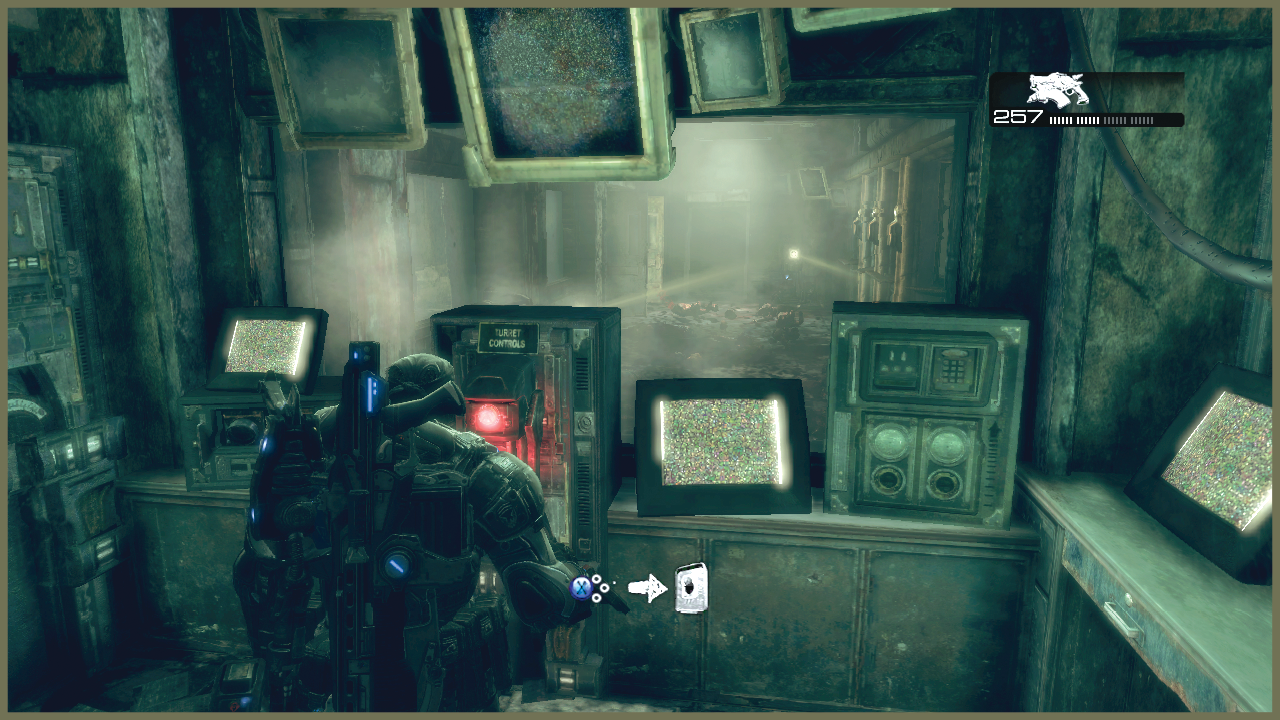
Don’t open the door just yet. Make your way around to the right, open the door, and flip the switch inside the control room that looks into the room with the Wretches. Doing so activates an automated sentry turret, which quickly mows down the Wretches.
Once the room is clear, turn off the sentries, and you can proceed safely.
Encounter 03
ENEMY PRESENCE: None
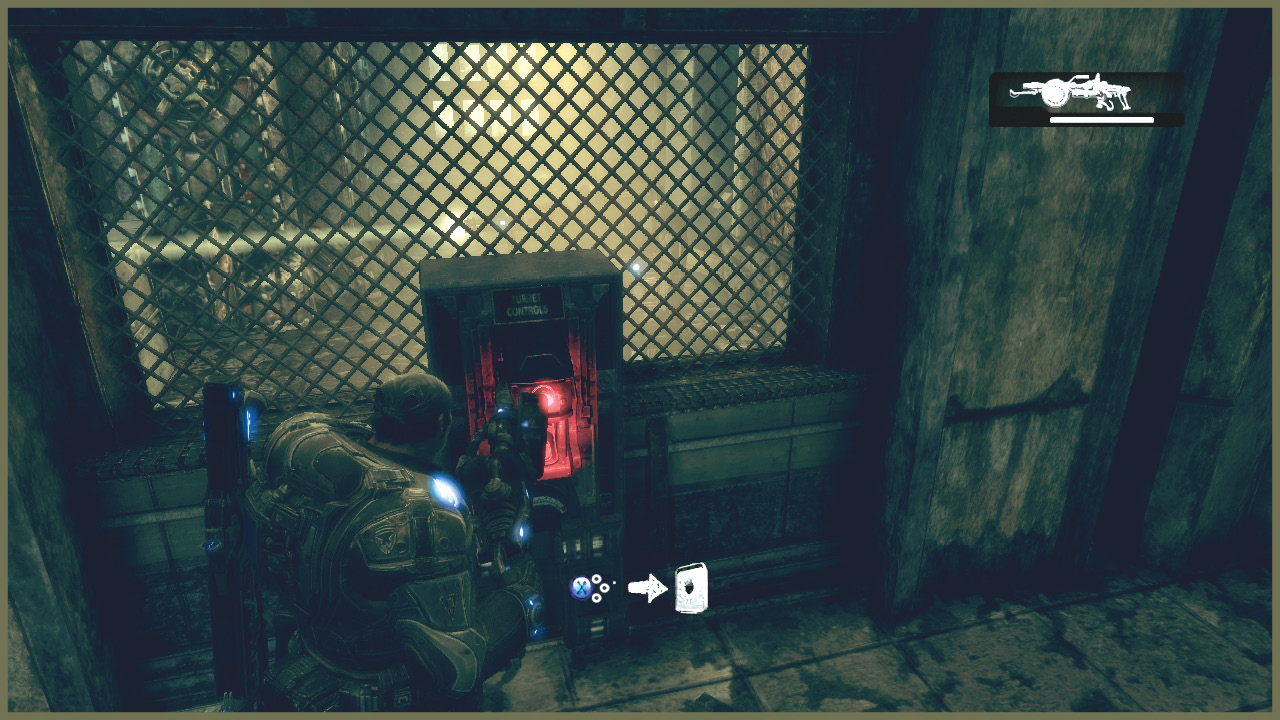
A single turret watches this hallway. You can’t deactivate it as easily as the previous one, so you must dodge past it to get into the next room. Just watch the sweep of its sighting laser and Roadie Run past it when it moves away from you.
You can also use cover to avoid damage. If you start getting hit, you can still usually evade the line of fire or dodge into cover before it downs you.
Encounter 04
ENEMY PRESENCE: Wretches
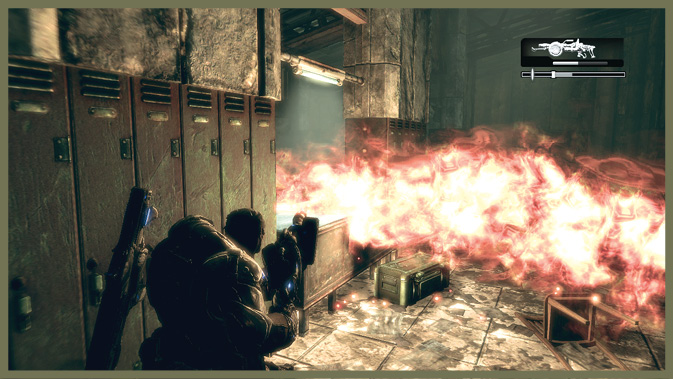
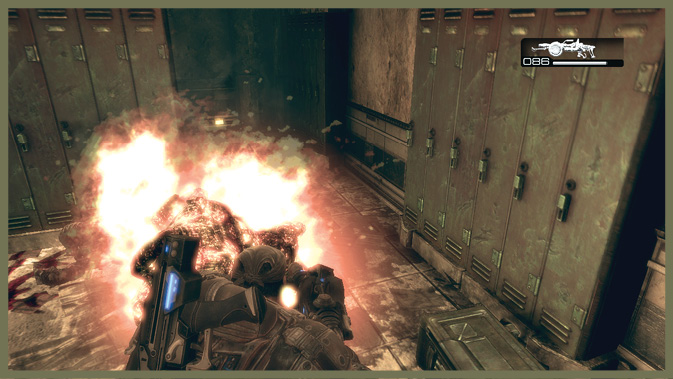
Several active flame turrets occupy the wall in this small room. Wait for the Wretches down the hallway to enter the room and attack. Then use the turrets to your advantage. They can easily char the Wretches, leaving them weak and easy to finish.
Encounter 05
ENEMY PRESENCE: None
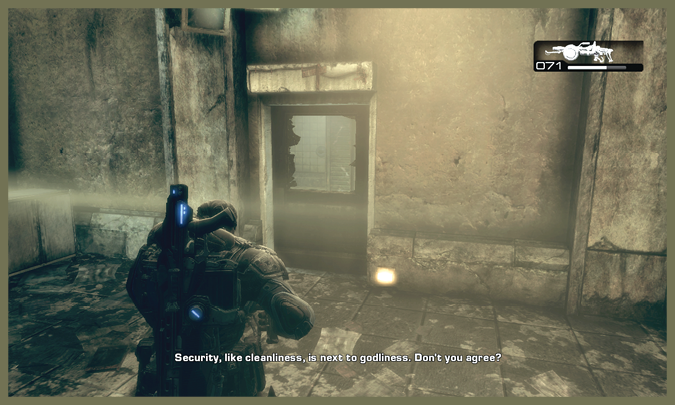
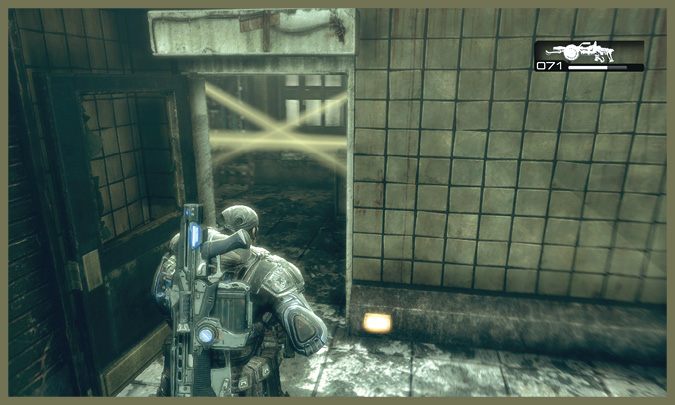
This hall is heavily guarded by security turrets. Watch their targeting carefully, and then dart past them into the bathroom adjacent to the hall.
Inside the bathroom, sneak through to another doorway opening into the hall. The switch that deactivates all of the turrets is just outside the doorway to the left, allowing you to proceed safely.
Encounter 06
ENEMY PRESENCE: Wretches
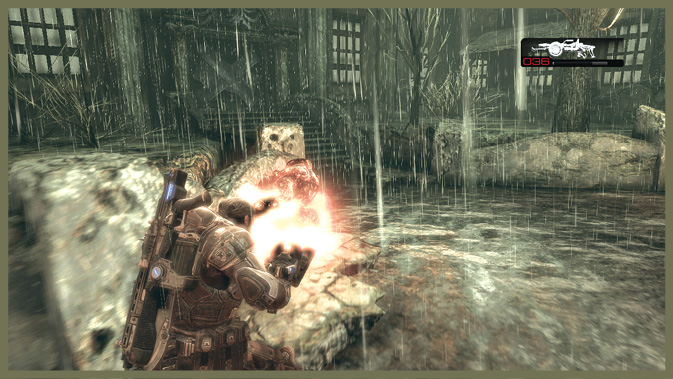
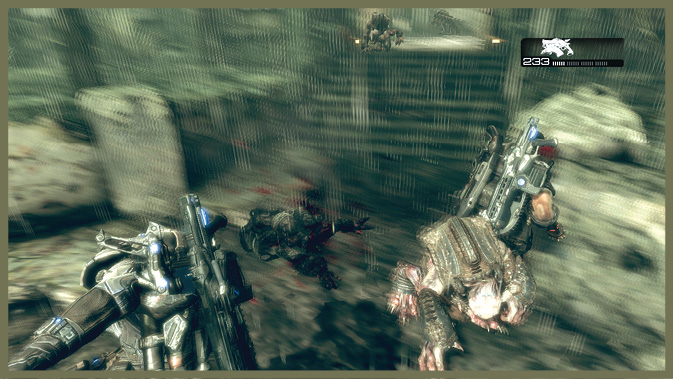
Out in the open courtyard, the area initially appears to be safe. But the instant you climb the steps and open the door into the next portion of the facility, a large pack of Wretches attacks.
Be ready with your favored anti-Wretch weaponry. Once you clear out the pack, you can proceed.
Encounter 07
ENEMY PRESENCE: None
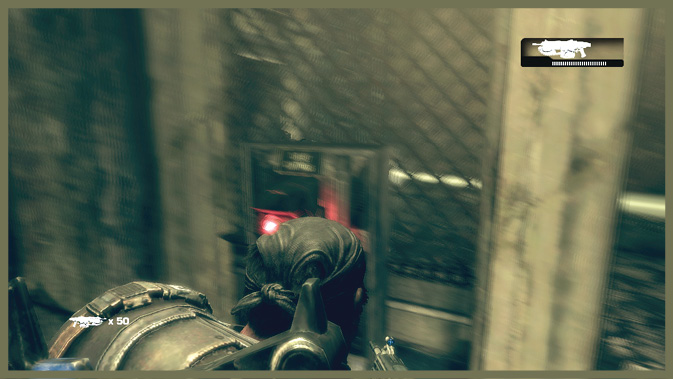
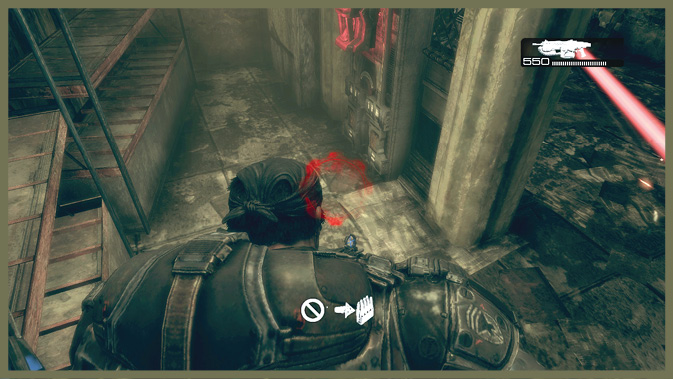
There’s a single turret in this hall. You can evade it completely and continue moving. Alternatively, you can roll past it to pick up some ammo and find a switch to deactivate it.
Encounter 08
ENEMY PRESENCE: Wretches
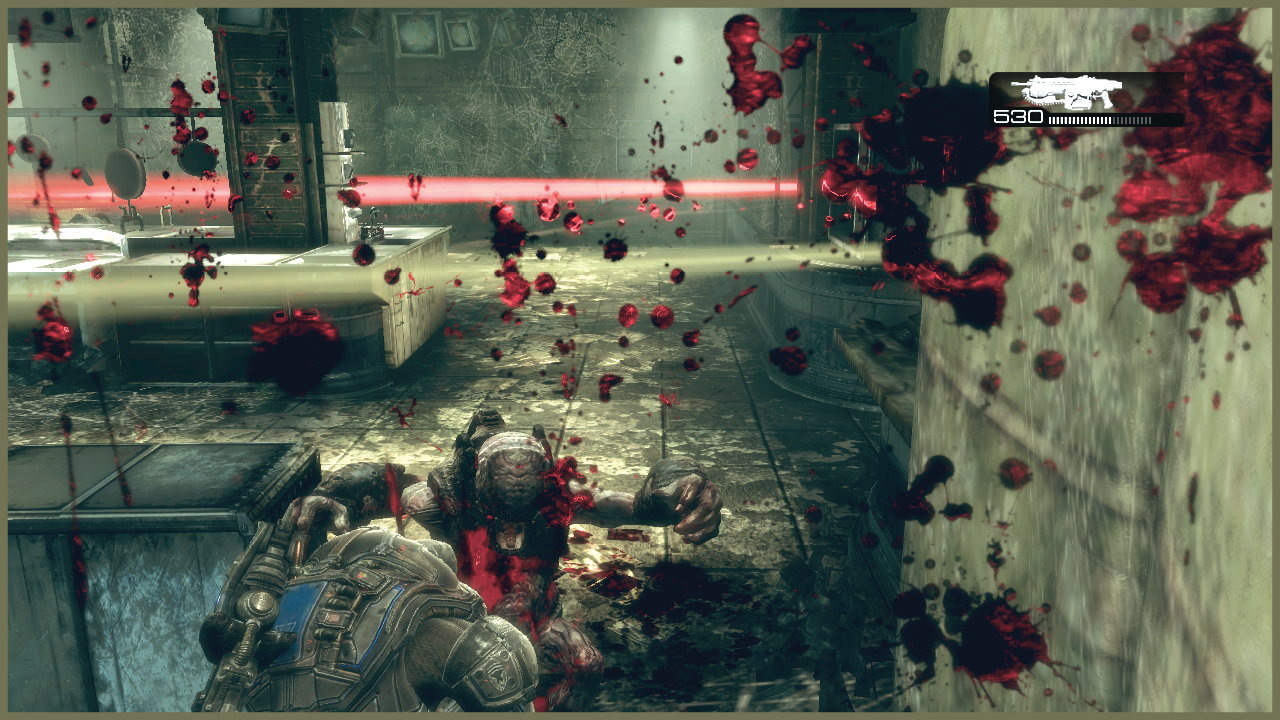
There are several active turrets in this room. The switch to deactivate them is in the next hallway, so you have to dodge, roll, and run past them.
However, there are also several Wretches in the area. Let the turrets do most of the work for you, and then make your way past them.
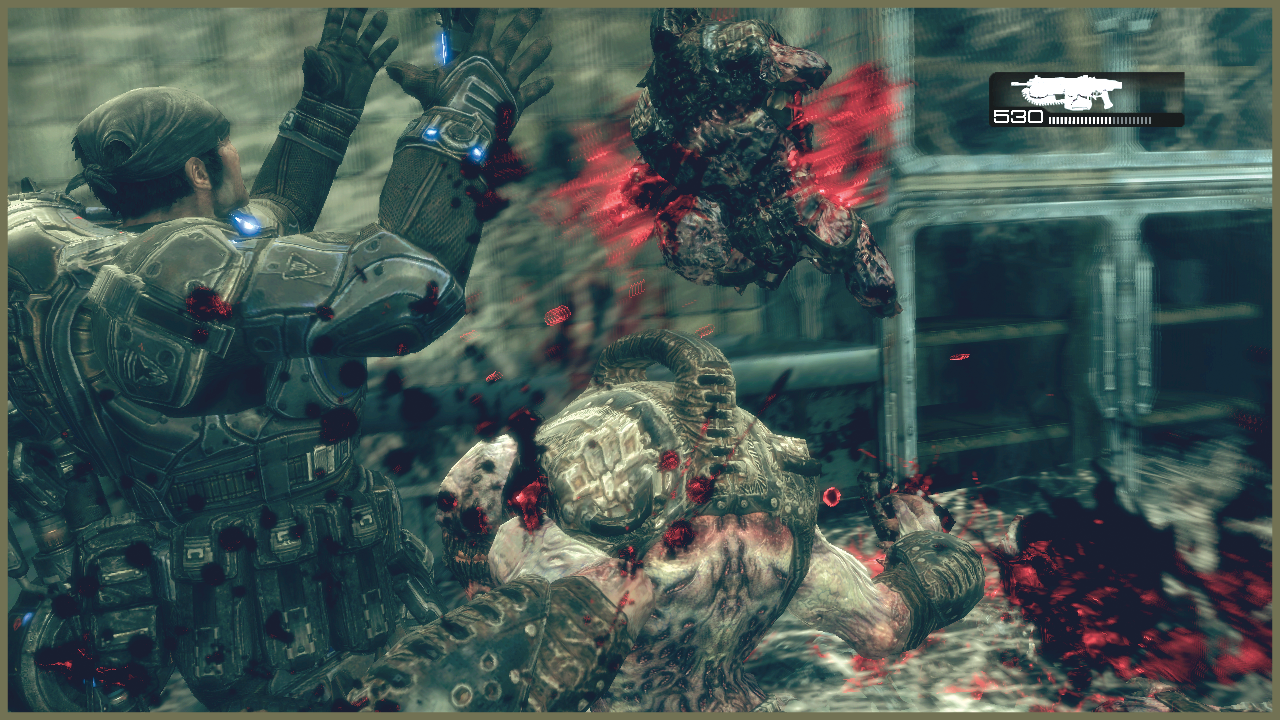
Encounter 09
ENEMY PRESENCE: Wretches
A few security turrets on the ceiling here provide more supplementary firepower for your squad. Let them assist you against the Wretches. Then roll past them and trigger the switch at the back of the room to deactivate them.
Don’t miss the collectible in the small room behind the switch! Also, there is a flamethrower in this same room.
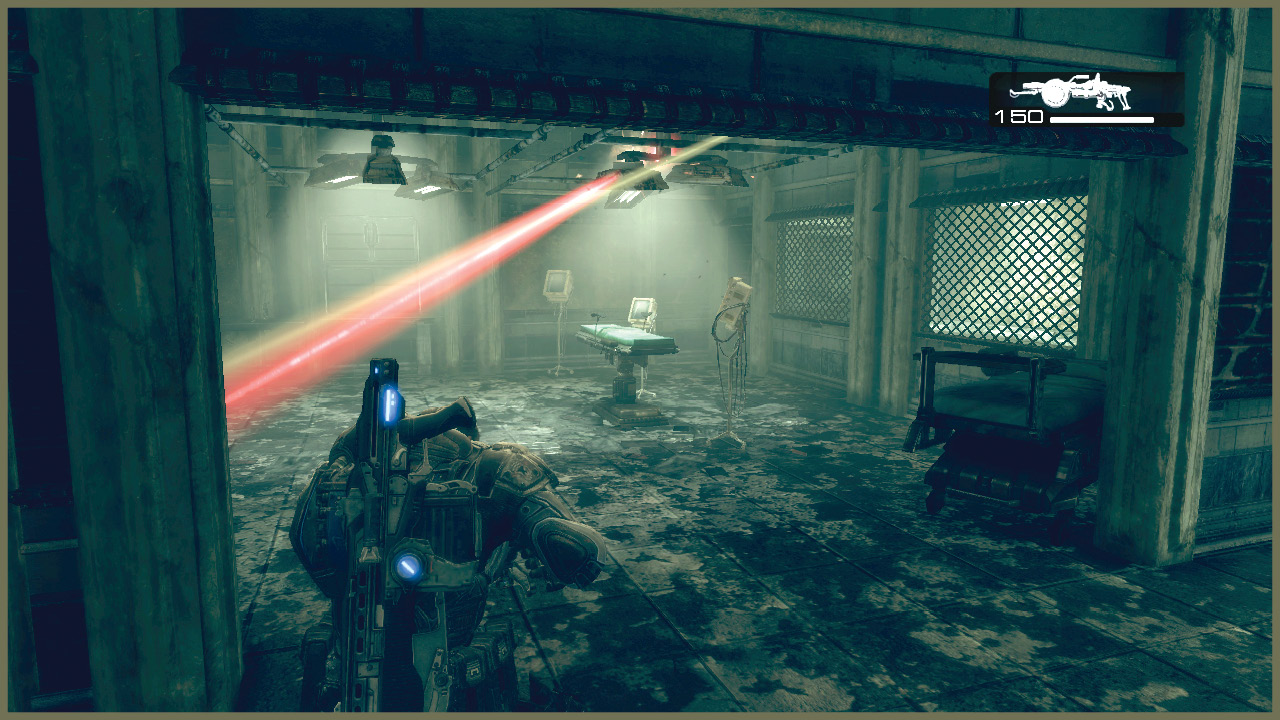
Encounter 10
ENEMY PRESENCE: Wretches
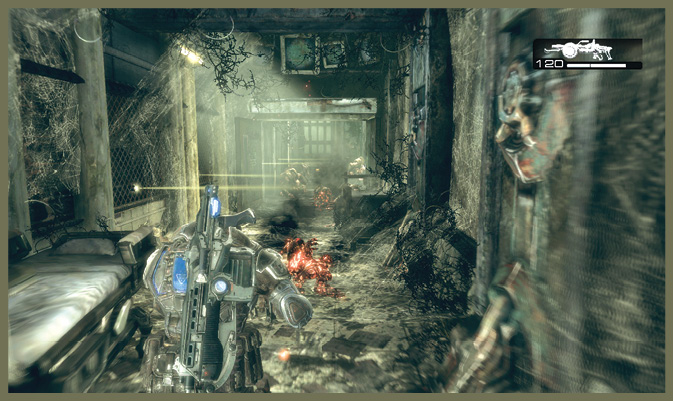
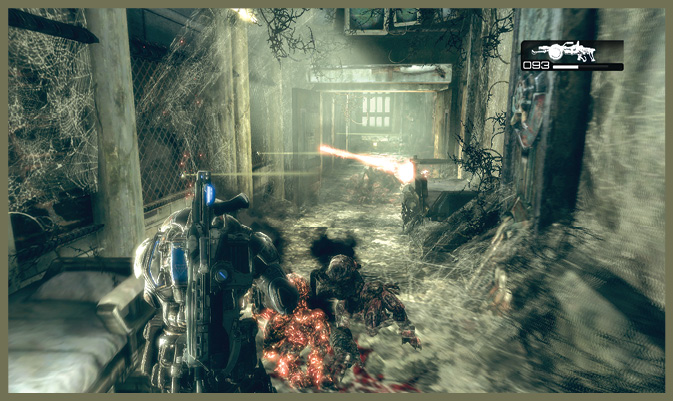
After you clear out the ground floor, you have to head downstairs. Down there, you find a long hallway filled with more of the stationary flame turrets, along with a large pack of Wretches charging you!
The Wretches are very easy to dispatch, thanks to the tight quarters and help from the flame-throwing turrets. When the Wretches are dead, you can roll or Roadie Run past the turrets to get to the end of the hall.
Encounter 11
ENEMY PRESENCE: None
The path branches here, though it is a very short branch. If you’re playing solo, follow the left path, as it’s a bit quicker. However, both are safe and easy.
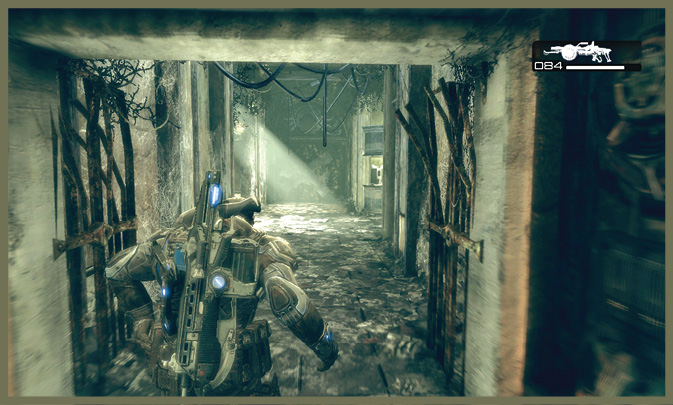
Encounter 12
LEFT PATH
ENEMY PRESENCE: None
This hallway’s left branch puts you in charge of a series of switches that disable the turrets in the hallway adjacent to you. Press them in sequence to allow your partner to slip through the hallway safely.
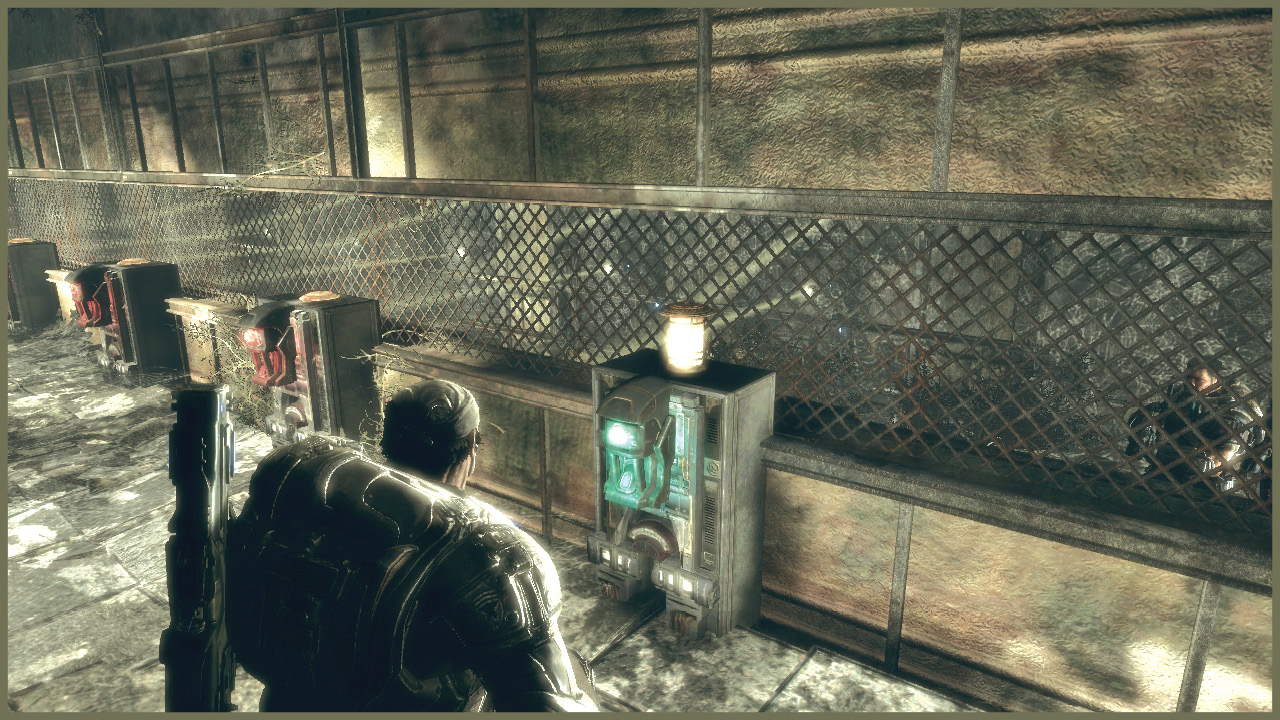
Encounter 13
RIGHT PATH
ENEMY PRESENCE: None
The right branch is only marginally more complex. Wait for your partner to flip the switches, and then slip between the next set of turrets until you reach the end of the hall.
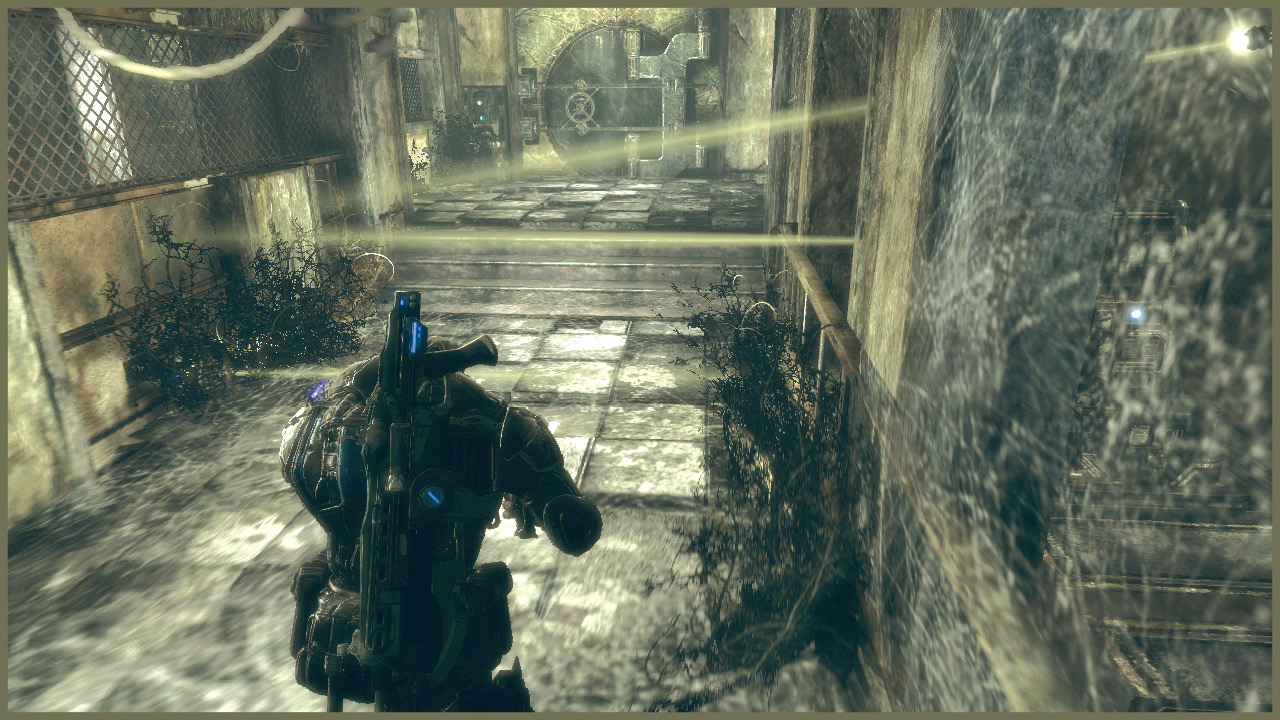
Encounter 14
ENEMY PRESENCE: None
Rejoining your partner after the final security hallway, you emerge into a quiet section of the lab. Strange things reside within stasis tanks. It’s clear they were conducting experiments on the specimens inside, but exactly what, or who, or why remains unclear…
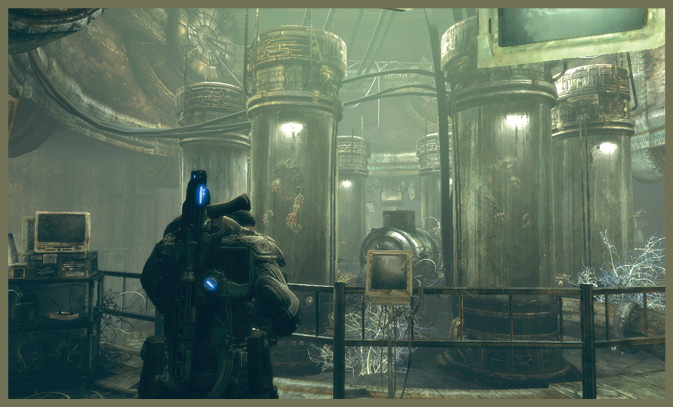
Encounter 15
ENEMY PRESENCE: None
When you reach the computer room, many answers await you in the databanks. Flip the switch to restore power and wait for Jack to access the database to reveal some startling discoveries. This completes the chapter.