The War Journal is a new feature in Gears of War 2. It allows you to quickly check your advancement in all facets of the game.
You can see how far along you are toward a particular multiplayer Achievement, or see a list of mementos gathered during the campaign.
Collectible Checklist
The following list will help you quickly determine which War Journal collectibles you’ve located, as well as those you still need to find. If you need more assistance, just flip to the appropriate Act and Chapter in this guide’s campaign walkthrough. All of the collectibles have images, more detailed location descriptions, and their exact positions are marked on the map for the corresponding Chapter.
ACT 1
Chapter 1
| Number | Icon | Collectible | Location |
|---|
| 01 |
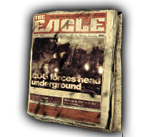 |
Eagle Newspaper |
On the ground in the first alley as you begin training. |
| 02 |
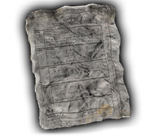 |
Ambulance Driver’s Log |
After you go down the ladder at the end of the training, turn right and walk into the small room at the end of the alley. |
Chapter 2
| Number | Icon | Collectible | Location |
|---|
| 03 |
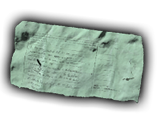 |
Doctor’s Journal |
After the fuel tank ambush, go up the left hallway and into a room on the left side. |
| 04 |
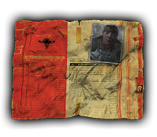 |
Jacinto MedicalCenter File |
Center of the office area, between two desks. |
| 05 |
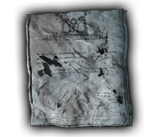 |
Cog Letterhead |
Outside the cafeteria in the left hallway; check a left side room. |
| 06 |
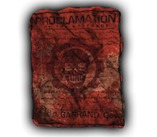 |
COG Proclamation |
When you enter the hospital lobby, stay upstairs and check the ground on the right side balcony. |
| 07 |
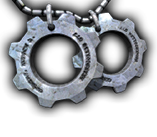 |
COG Tags |
Just outside the hospital; check behind the pillar to your right. |
Chapter 3
| Number | Icon | Collectible | Location |
|---|
| 08 |
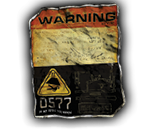 |
Grindlift Spec Sheet |
On the Rig, just to the left of the ladder on the wall. |
| 09 |
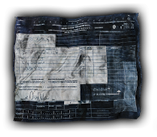 |
Ammo Requisition Form |
After you hop off the Rig to fight the Locust; check near the bushes to the left before you approach the cover. |
Chapter 4
| Collectible | Location |
|---|
| None |
Collectible #8 can still be picked up here if you didn’t grab it in Chapter 3, but collectible #9 must be grabbed at the end of Chapter 3. |
Chapter 5
| Number | Icon | Collectible | Location |
|---|
| 10 |
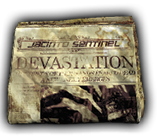 |
Jacinto Sentinel Newspaper |
On the second floor of the building you enter at the start of the level. |
| 11 |
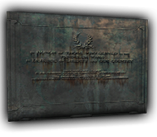 |
Memorial Inscription |
On the wall of the memorial, just after the second Ticker ambush, before you head up to the fuel station. |
| 12 |
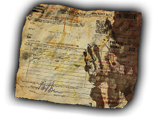 |
Landown Delivery Driver’s Note |
Inside the fuel station, at the back. |
| 13 |
 |
COG Tags |
Inside the dark tunnel, in a small room on the left side, just before you pass the cars blocking the tunnel. |
Chapter 6
ACT 2
Chapter 1
Chapter 2
| Number | Icon | Collectible | Location |
|---|
| 14 |
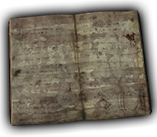 |
Grindlift’s Pilot Journal |
Cut through the vines by the second rockworm, on the ground by a Grindlift. |
| 15 |
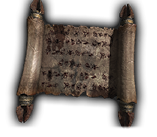 |
Kantus Scroll |
After the Troika ambush and Reaver fight atop the rock spire; check the ground at the back of the area. |
Chapter 3
| Number | Icon | Collectible | Location |
|---|
| 16 |
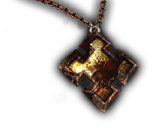 |
Locust Emblem |
Just after the first battle with the Kantus; check the ground on the right when you go through the gate. |
Chapter 4
| Number | Icon | Collectible | Location |
|---|
| 17 |
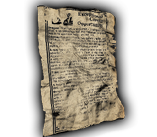 |
Ilima City Help Wanted Ad |
After the first battle, head up the slight slope to the right to find it on the ground near a Gorgon Pistol. |
| 18 |
 |
COG Tags |
After Cole rejoins the squad, check in the back of the ruined building on the ground. |
Chapter 5
| Number | Icon | Collectible | Location |
|---|
| 19 |
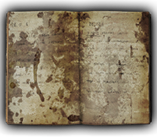 |
Ilima City Journal |
Just after Baird rejoins the squad, check down a rock spur on the right side of the cave. |
Chapter 6
| Number | Icon | Collectible | Location |
|---|
| 20 |
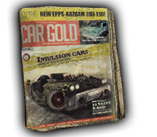 |
Car Gold Magazine |
On the ground to your left as the level begins. |
| 21 |
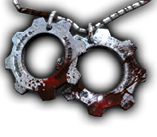 |
COG Tags |
After you speak with Carmine, check on the ground near the left wall, just before you go up a sloped ramp. Look carefully, they’re grimy! |
ACT 3
Chapter 1
Chapter 2
| Number | Icon | Collectible | Location |
|---|
| 22 |
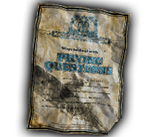 |
New Hope Computer Printout |
Just inside a small office to the right of the hall as you begin this chapter. |
| 23 |
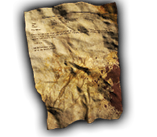 |
New Hope Interoffice Memo |
After you enable the first turret, check a door on the right side of the hall, then kick open a door and check the ground in the small office. |
| 24 |
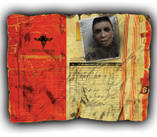 |
New Hope Medical File |
Inside a room with turrets on the roof; check inside the room behind the switch that deactivates the turrets. |
Chapter 3
| Number | Icon | Collectible | Location |
|---|
| 25 |
 |
New Hope Journal |
After you exit the facility, check the building to your right. |
| 26 |
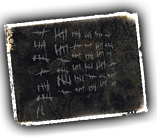 |
Captivity Marks |
Before you board the final train, face the back of the train yard and run into the small building there. Examine the wall inside to find the marks. |
Chapter 4
Chapter 5
| Number | Icon | Collectible | Location |
|---|
| 27 |
|
Stranded’s Journal |
Up the stairs in the center of the ruins, just after the first Gunboat appearance. |
Chapter 6
ACT 4
Chapter 1
| Number | Icon | Collectible | Location |
|---|
| 28 |
 |
Locust Terminal |
At the end of the chapter, examine the Locust Terminal that is not the one you examine to finish the chapter. |
Chapter 2
| Number | Icon | Collectible | Location |
|---|
| 29 |
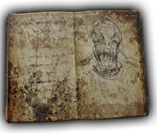 |
Locust Prisoner’s Journal |
After the second Locust Terminal, head left and check the back of the cave to find it on the ground. |
Chapter 3
| Number | Icon | Collectible | Location |
|---|
| 30 |
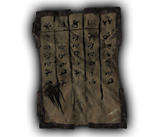 |
Locust Jailer Document |
At the start of the level, go down the stairs to the right. Turn right into the hall, and check on the ground at the end of the hall. |
| 31 |
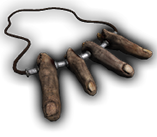 |
Human Finger Necklace |
When you enter the room where the doors start to close, Roadie Run quickly through the room, through the second closing door on your right. |
Chapter 4
| Number | Icon | Collectible | Location |
|---|
| 32 |
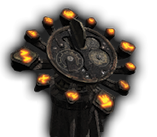 |
Locust Calendar |
After you go up the stairs at the start of the chapter, check the back of the platform for this oddly-shaped object. |
| 33 |
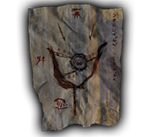 |
Locust Defensive Plans |
After you extend the bridge, cross it and go left down the hall; it’s on the ground by an ammo pack. |
Chapter 5
| Number | Icon | Collectible | Location |
|---|
| 34 |
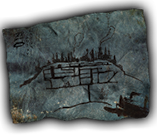 |
Locust Invasion Map |
Past the lift that comes up on the side of the palace; check an alcove to the right. |
| 35 |
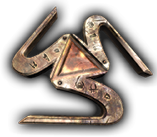 |
Trinity of Worms |
After the path split, go up the stairs where the Grinder was located and check the ground by the ammo pack. |
Chapter 6
| Number | Icon | Collectible | Location |
|---|
| 36 |
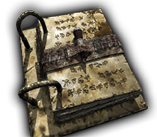 |
Locust Tablets |
On the ground between pillars at the back of the room as you begin the chapter. |
ACT 5
Chapter 1
Chapter 2
| Number | Icon | Collectible | Location |
|---|
| 37 |
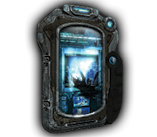 |
COG Recon Report |
After KR-36 flies by, go down the stairs and check on the ground. |
| 38 |
 |
COG Tags |
At the end of the level, go down the stairs and check on the ground. |
Chapter 3
| Number | Icon | Collectible | Location |
|---|
| 39 |
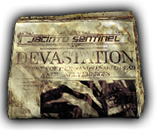 |
Jacinto Sentinel Newspaper |
After you kill the Grinder in the street, check around the wall to the right of his position. |
| 40 |
 |
COG Tags |
Near the end of the chapter, go into a ruined building on the left side of the street, just after the building collapses. |
Chapter 4
| Number | Icon | Collectible | Location |
|---|
| 41 |
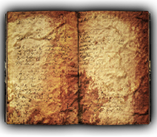 |
Stranded’s Journal |
After the building drops out from under you, mantle out and check the corner of the roof to find the final collectible. |
Chapter 5
