Gears of War 2 Guide ACT IV: Hive
Chapter 2: Answers
You pick up only a few feet from the end of Priorities. Dom finds a clue that may lead him to his missing wife. This is a short chapter with little combat. Most of the focus is on helping Dom.
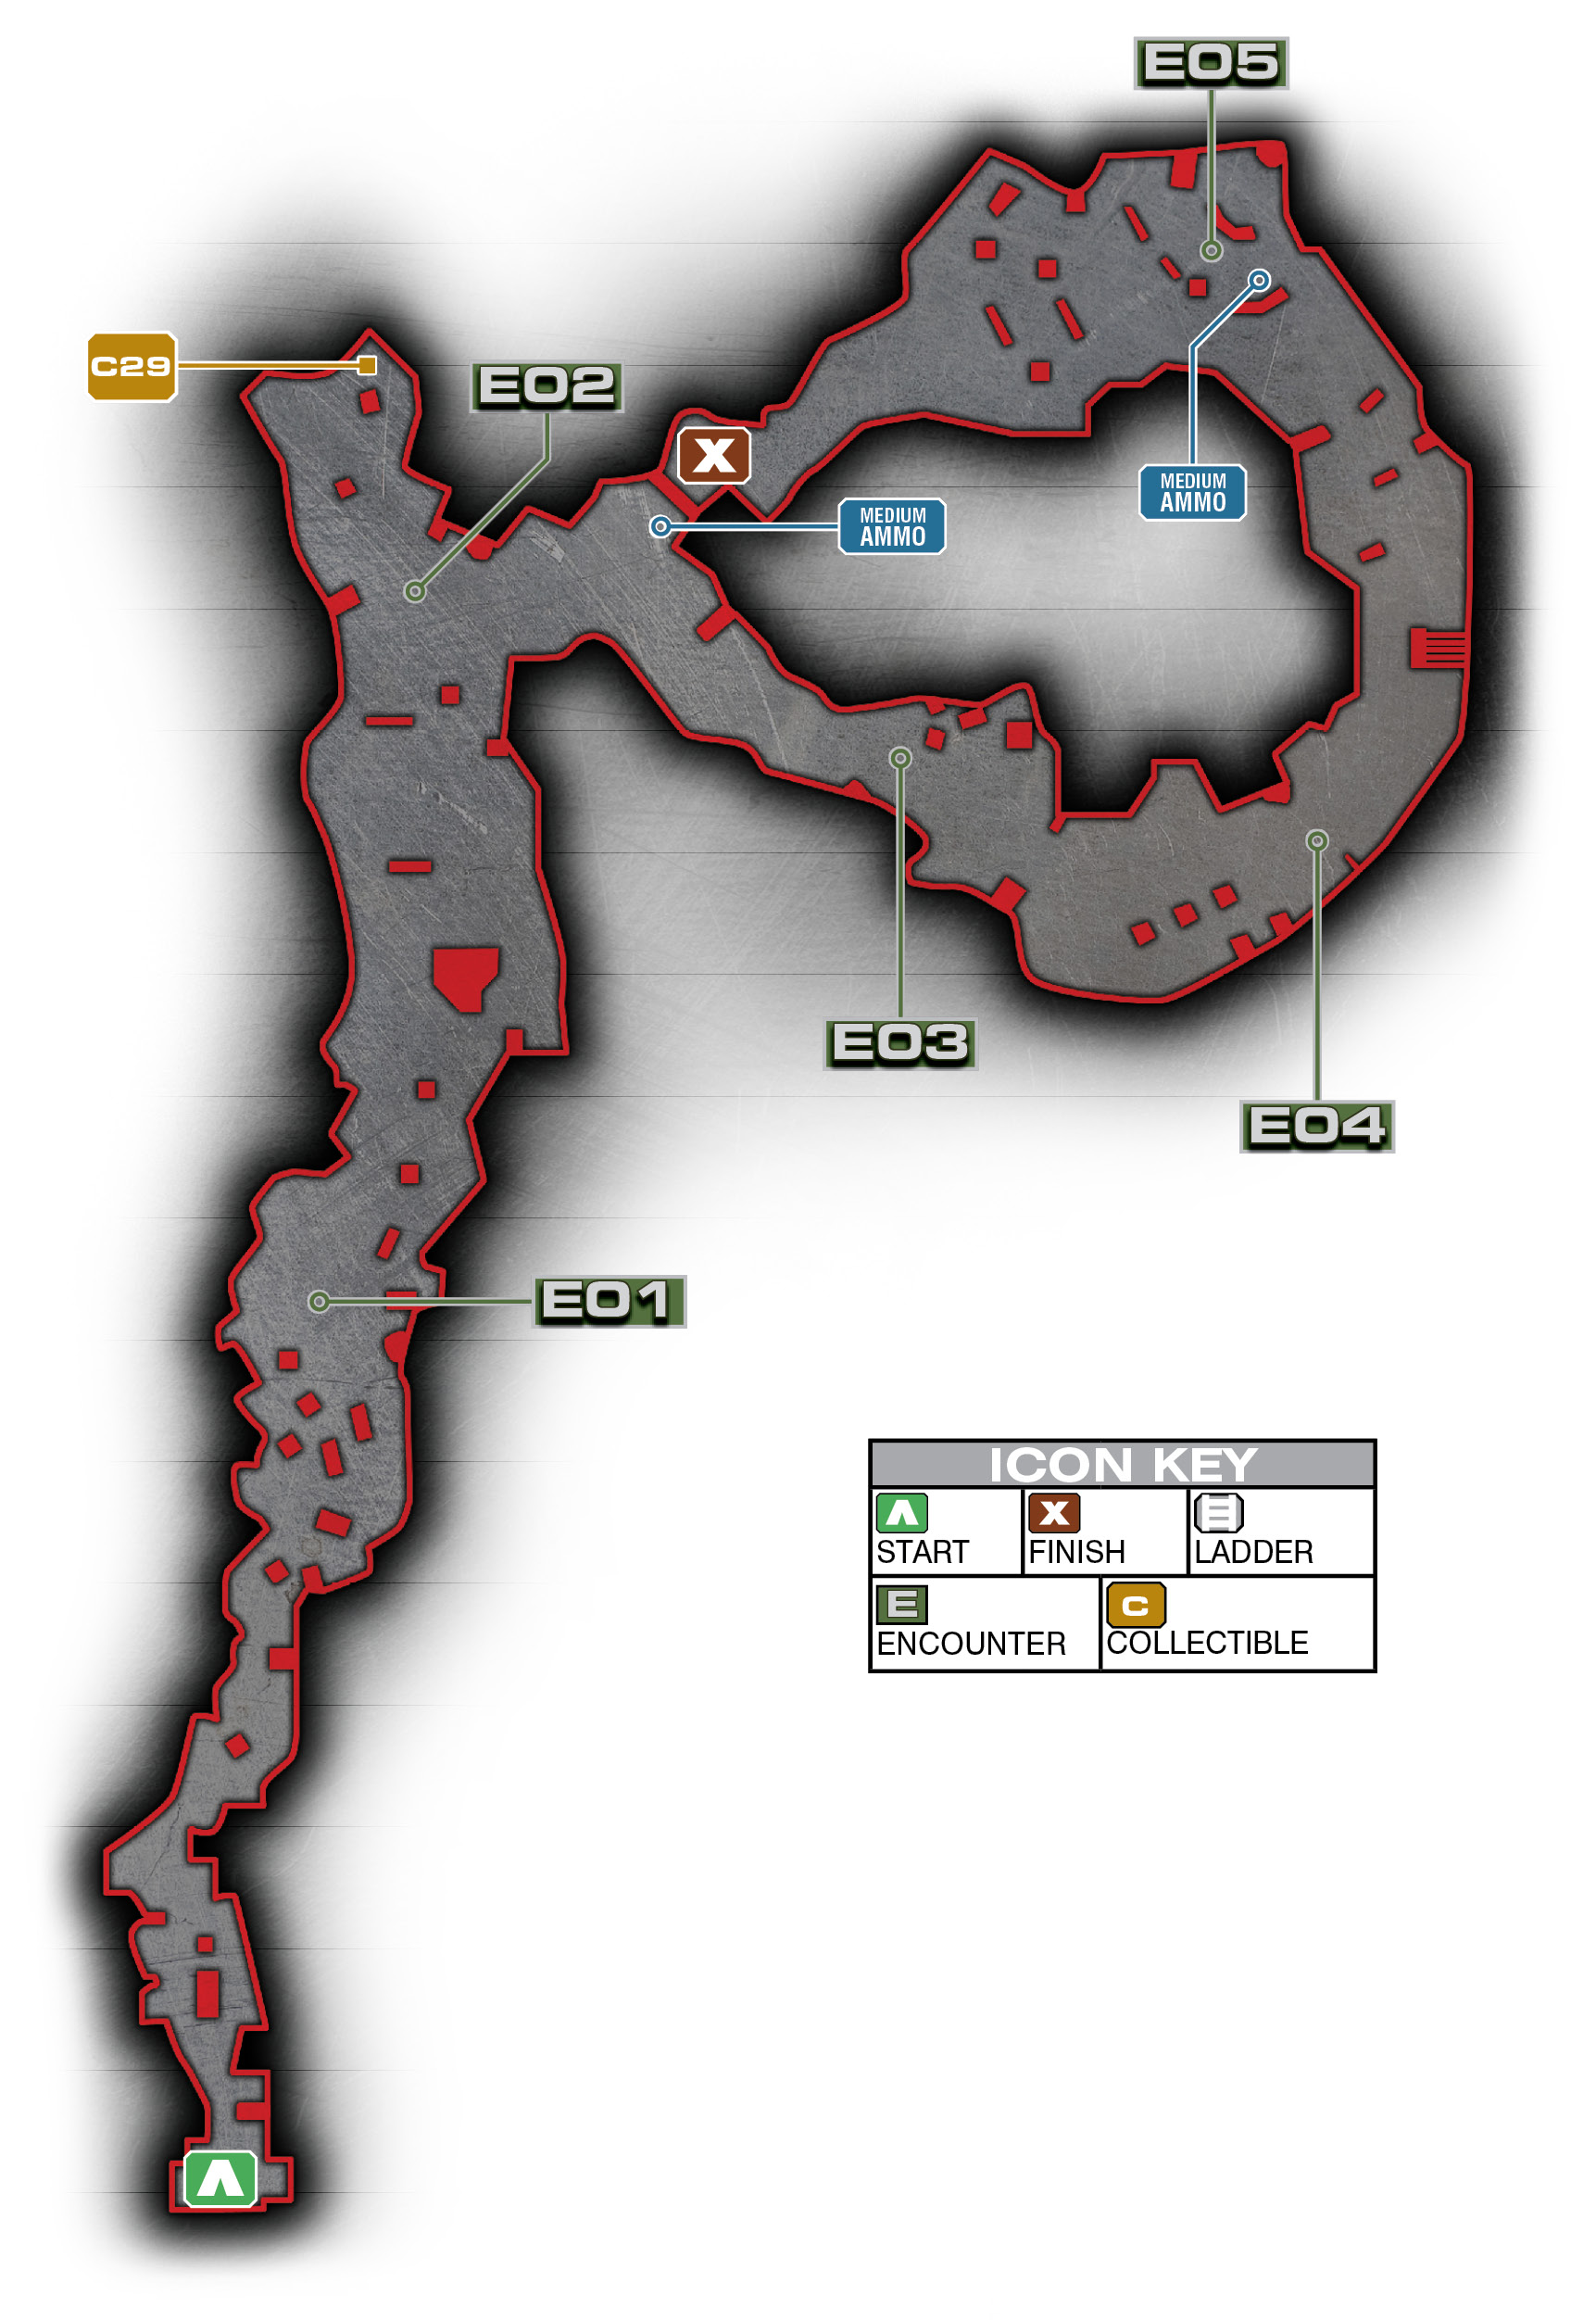
Encounter 01
ENEMY PRESENCE: None
After searching the Locust database for a reference to Maria, you end up in this gruesome Locust prison camp. Hundreds of humans are locked up in the Locust cages.
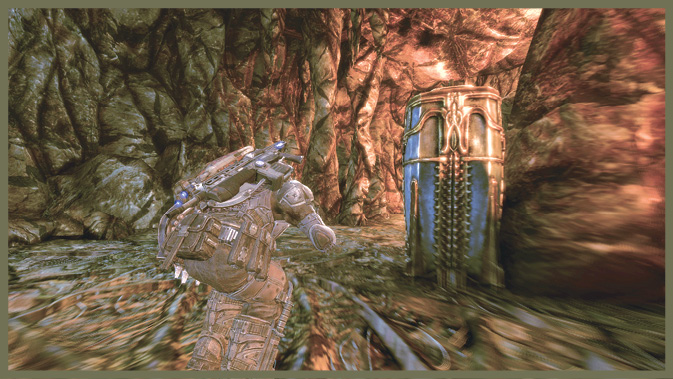
However, Dom has his mind set on finding Maria so he takes point while you follow. You need to locate a Locust Terminal that has a symbol matching the one that indicated Maria’s presence.
The first Terminal is just up the path from your starting position. There’s no enemy presence, so run up and trigger it.
Encounter 02
ENEMY PRESENCE: Mauler, Drones, Theron Guard
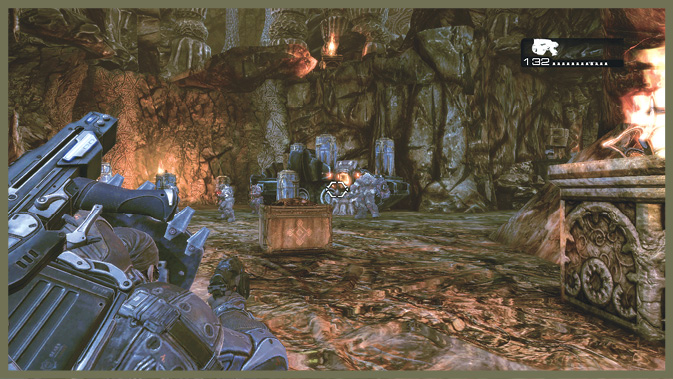
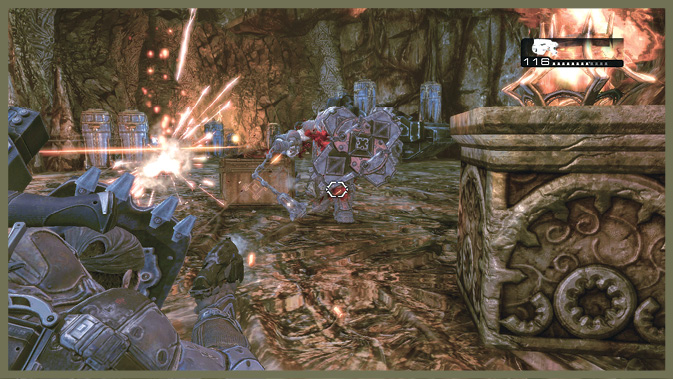
As you approach the second terminal, a Locust patrol comes into view. Drones accompany the much more dangerous combo of a Mauler and a Theron Guard.
However, you can entirely avoid combat with these enemies if you wish. They won’t spot you unless you get too close. So, if you’re patient, you can simply follow them around the prison camp as they make their circuit.
After they wander off but before you check the second Terminal, run around, into the alcove on the left, to find a collectible for your journal.
Encounter 03
ENEMY PRESENCE: None
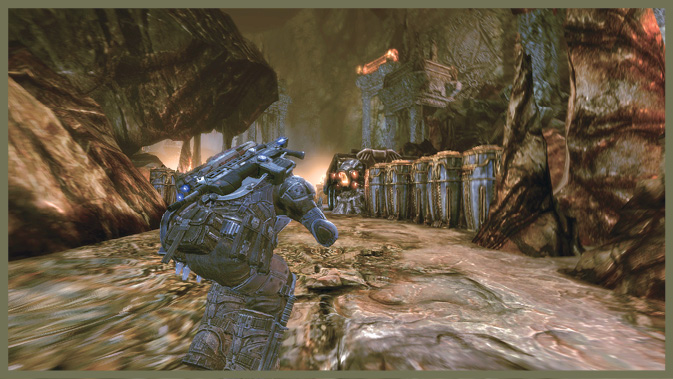
The third Terminal that you need to check is here, but it still isn’t the right one.
Encounter 04
ENEMY PRESENCE: None
This is the second-to-last Terminal, and again it’s not the correct one.
Encounter 05
ENEMY PRESENCE: Bloodmounts, Wretches, Grinder, Theron Guard, Grenadier, Drones
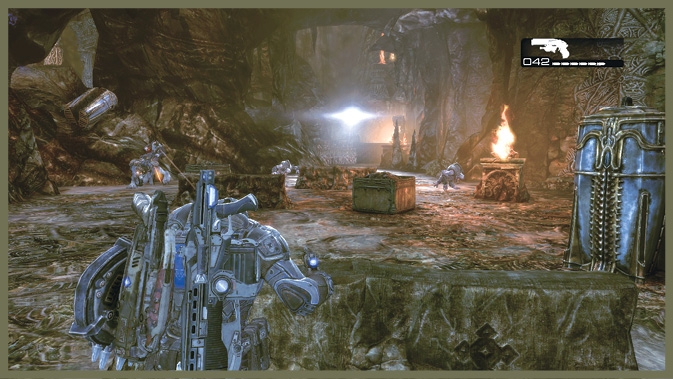
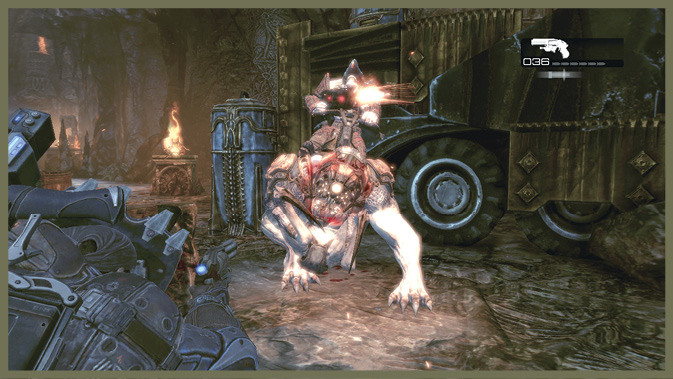
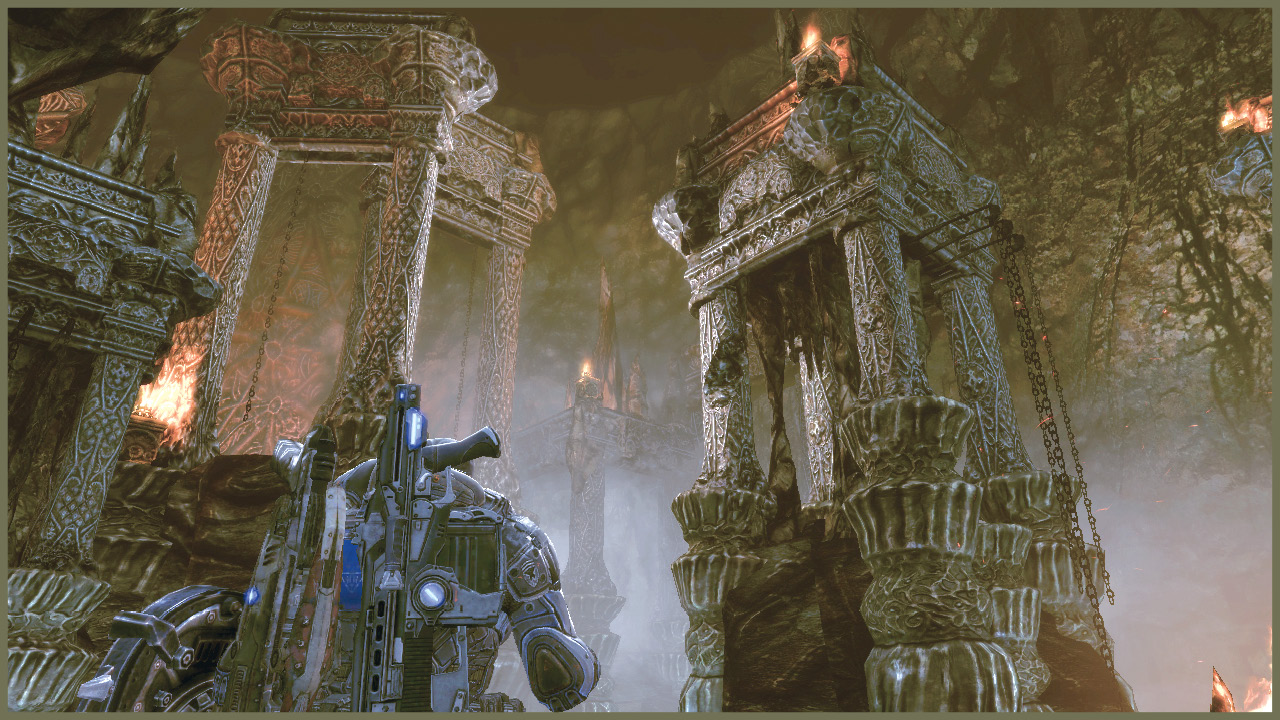
Finally, at this location, you discover the correct Locust Terminal. After you find the right prison, Jack sets to work to open it.
Unfortunately, your infiltration of the prison is discovered. A pair of searchlights bursts into view as waves of Locust begin their assault. You have to hold out until Jack finishes his task.
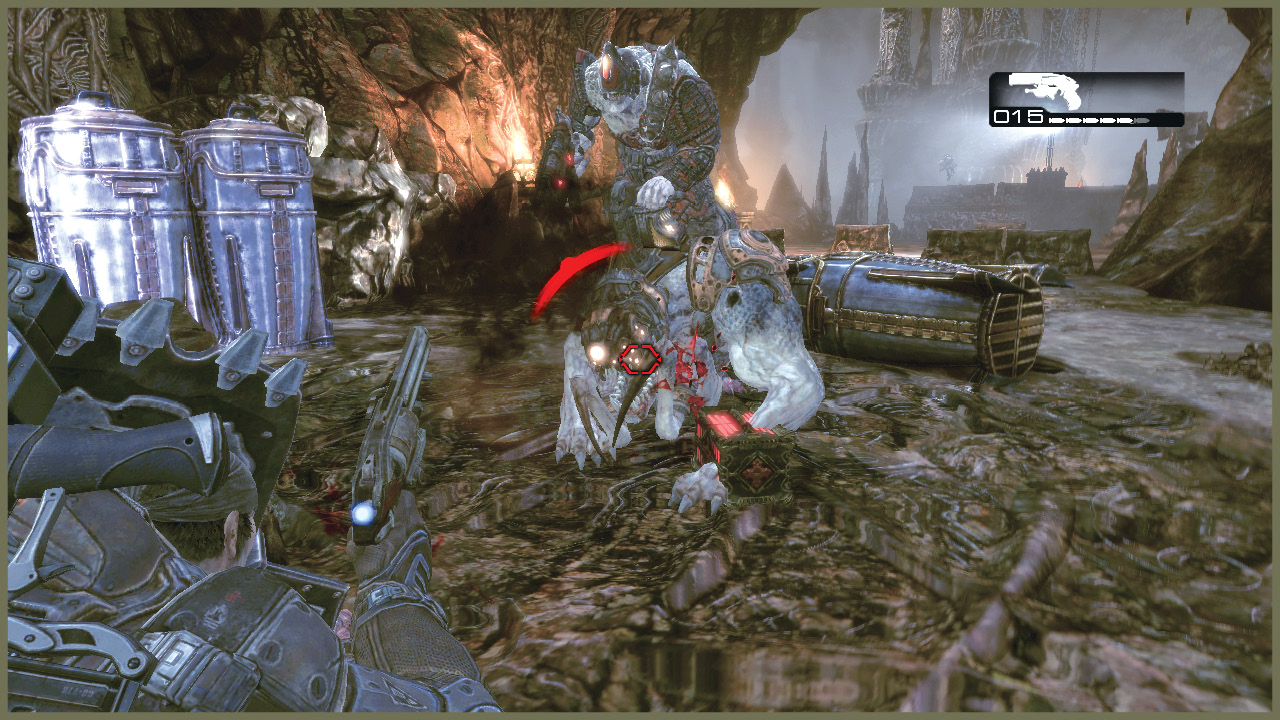
The first attack comes from the right side, as a Bloodmount and its rider, along with two Wretches, come after you. Try to take out the Wretches quickly. You don’t want them chewing on you from behind while you’re trying to dodge the Bloodmount.
Once you take down the first wave, a Bloodmount and yet more Wretches attack from the left side. Use the same strategy to take them out. The next group comes from the right side: a Grinder and two Drones.
The final two waves consist of Drones and Theron Guards. On the higher difficulties in particular, be careful about showing your head from behind cover when you see the glow of the Theron’s Torque Bow. If you’ve saved the Torque Bow or Longshot from the last chapter, or you have the Mulcher, you can take them down quickly.
When you finish the battle, Dom finally gets his answers. He and Marcus move on down the Locust highway toward Nexus, the heart of the Locust presence in the Hollow.