
Gears of War 2 Guide Multiplayer Warfare
Multiplayer Modes
Warzone
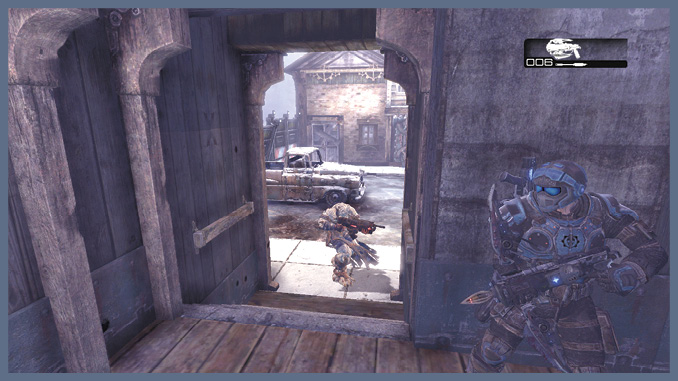
The classic team deathmatch mode, Warzone pits two teams of five against each other. Eliminate every player on the opposing team to win a round. The first team to reach the preselected number of round victories wins! Exercise caution and use cover, as bullets can kill you from afar once you’re downed. Once you’re on the ground, your only hope is to crawl behind cover and have a teammate save you before the enemy finishes you off. The ability to crawl to safety is one of the best new features of the game, so don’t give up just because you’re downed!
Sticking together to defeat outnumbered enemies is the recipe for success in Warzone (and in Execution). The power weapons, located at strategic hot zones across the map, give you an edge over the enemy. However, use caution when you try to acquire them. Most are placed at equal distances from each opposing spawn point, ensuring that they are hotly contested. Pop Smoke Grenades for cover, and use flanking maneuvers to distract or drive back the enemy long enough to grab the upgraded weapons. These powerful weapons combined with solid team tactics will yield consistent victories for your team.
Execution
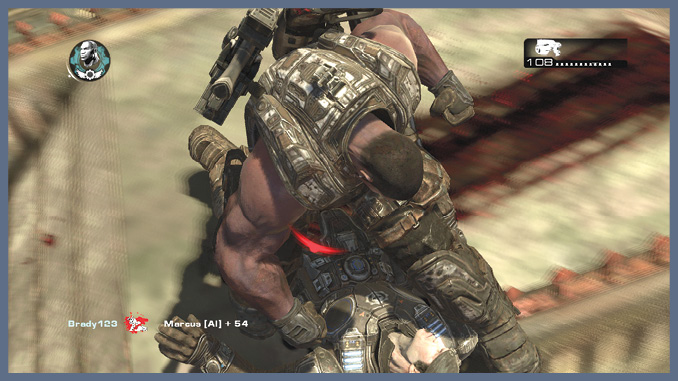
Execution puts a twist on basic Warzone combat. The primary theme is still five-on-five team deathmatch, but you cannot kill a downed player without performing an execution (barring explosive deaths or headshots with the Longshot). Execution, true to its name, requires combatants to get up close and personal, delivering one of the many brutal executions that the game offers in order to earn a kill. Depending on the bleed-out time for the match, you may be able to get up in time to pay back the opposing player who downed you in the first place. You will automatically die the third time you’re down but not out. Some weapons can execute from afar, such as a headshot with the Longshot or a Boomshot gib.
Because players can now crawl to cover in Gears of War 2, it’s even more critical to be near a downed foe to finish off him or her efficiently. If you can, travel with your teammates nearby, so they can cover you while you go in for the kill. Or, if you want, employ the martyr strategy: equip a Frag Grenade and rush suicide-style at an enemy group. Let them down you, and then detonate the Frag Grenade as they come to finish you off. As in Warzone, the first team to reach the selected number of round victories wins the match.
Annex
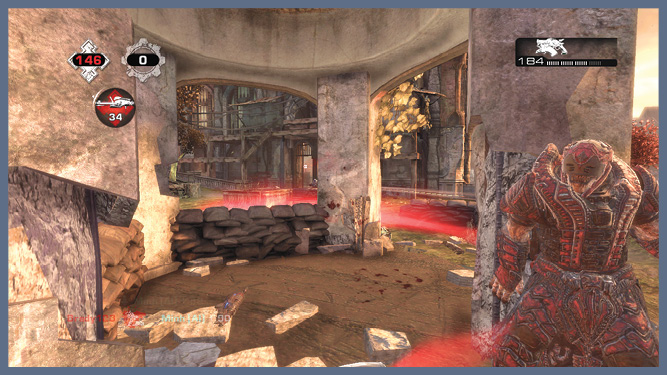
Annex is essentially mobile Cap & Hold. At the start of the match, a random weapon on the map is designated the target area. You must secure that area by standing within the animated ring around the weapon. Stay within the ring long enough, and the point becomes controlled by your team. Areas capture faster with more friendly players inside the ring. The team controlling the location gains one point for every second they hold it.
You earn points toward the victory score for as long as your team holds the area. You don’t have to stay in the circle to keep control of the ring once your team possesses it. However, if you have more teammates in a ring than enemies, your control cannot be broken. Also, sitting down but not out in a ring counts as being alive inside of it, so you can still hold onto an existing point by crawling or staying inside. Smoke Grenades are vitally important in Annex, both for the cover they provide and for the ability to knock a ring free from enemy control. Because you can win Annex only by controlling the victory points, straight kills and deathmatch tactics are de-emphasized, but only slightly. You can expect a brutal brawl for the area to erupt as soon as both teams are focused on it. Unlike Warzone or Execution, Annex has a periodic respawn timer—every 15 seconds, players on both teams who were killed respawn at their initial spawn points. As a consequence, if you manage to clear a point and control it, you can expect a concentrated wave of enemy players to arrive every so often. Use the maps provided in this book and your own experience with map flow to anticipate their arrival. Be ready for them with unfriendly firepower.
To win the war of attrition and begin gaining points, make every possible effort to throw yourself at the capture point while it’s being contested. Some players should take up defensive positions outside the capture area to avoid grenades and power weapon attacks that precede a rush from the opposing team. But it’s good to keep one player inside to preserve the capture. Annex matches see more frequent changes in capture locations. So, spread teammates out between capture points, especially as the number of remaining capture points at a given location dwindles. This ensures an immediate presence at the next capture location. Consider abandoning a capture location altogether when the remaining points are low. If the other team commits too many players to the point they currently hold, you’ll be in a good position to quickly grab the next capture point before they can respond. Of course, if you’re already losing and the round is winding down, then you should grab a Frag Grenade and rush the capture point as a martyr. Let the enemies down you, and then pull the pin as they move in for the execution. With any luck, you’ll dislodge the capture point long enough to let your team move in for the steal. Another strategy is to set up proximity mines or ambush players along high-traffic areas between capture spots.
King of the Hill
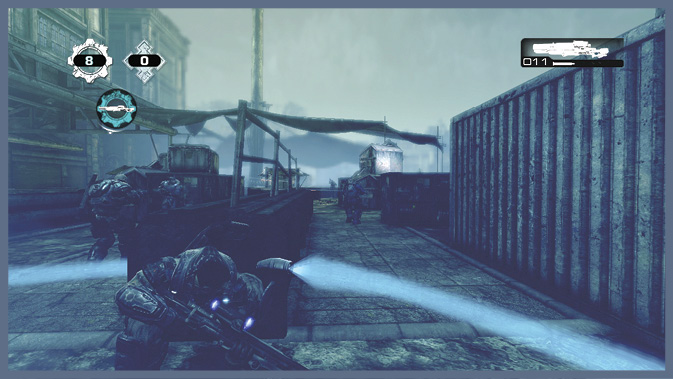
King of the Hill is different from Annex in that there is only one capture point for the entire round and it follows execution rules. Also, players securing the point must stay in the ring to score. Leaving the capture point makes it fade back to a neutral, un-captured state, opening it up to enemy capture. While your team holds the objective, you and your comrades do not respawn. Also, unlike Annex, capture breaks are instantaneous, rewarding suicide runs to slow enemy scoring.
Have one teammate stay within the capture area to fulfill the scoring requirement for King of the Hill matches. Those not staying within the capture circle or defending the vicinity should make a run for a power weapon when there’s a lapse in pressure from the opposing team. For both Annex and King of the Hill, remember that your opponents spawn on alternating sides of the map. Keep this in mind as you prepare for the continuous waves of attacks that are in store. Smoke Grenades are vitally important in King of the Hill, both for the cover they provide and for the ability to knock a ring free from enemy control.
Guardian
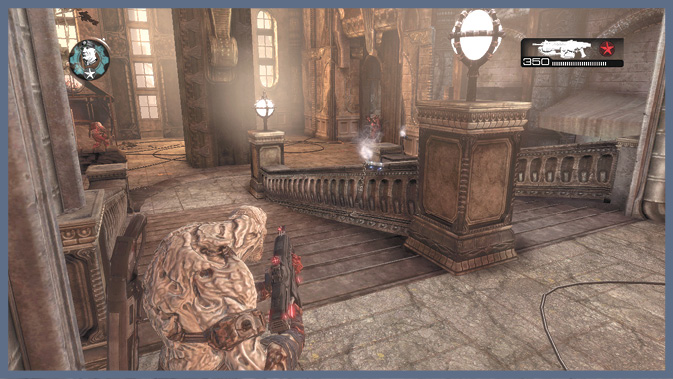
Guardian is a very team-oriented mode. Each team has a Team Leader that must be protected at all costs. Respawning is enabled in Guardian mode, but only while your Team Leader is alive. Once your Leader is killed, respawns for your team are disabled. As long as your Team Leader is standing, your team can still make a comeback, even if all of your other players are taken out. The Team Leader must be executed, while other players do not. A Leader has infinite revives and will respawn automatically after 15 seconds. The HUD displays the location of the enemy Leader; use Taccom to locate your own Leader.
Protecting your Team Leader while simultaneously flushing out the enemy Team Leader is the key to each match. Teams that keep this principal in mind prevail over those that blindly charge into battle as they would in a Warzone or Execution match. Essentially, players can assume one of three roles in a Guardian match: Team Leader, Defender, or Attacker. Divide your teammates evenly between these roles at the start of each round, ensuring that your team has adequate defense and offense.
As Team Leader, your number one priority is to stay alive so your teammates can continue respawning. At the start of each round, immediately move to an easily defensible position, preferably one with a higher elevation from which to view approaching enemies, or one with a chokepoint through which attackers must funnel. An ideal location is near a grenade spawn. Set up proximity mines at entrances to your defensive position and continue replenishing your grenade supply as attackers fall victim to your traps. Have an escape route in mind in case the enemy team breaks through your defenses. At some point, you may have no choice but to fight your way out of a bind. Communicate with teammates to report your status and call for help.
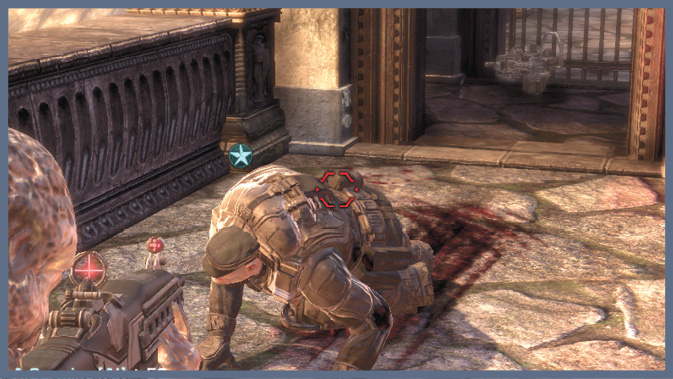
In a typical five-versus-five match, consider leaving two team members behind to defend the Team Leader. These players play the role of guardian, this mode’s namesake. Use proximity mines liberally around the defensive position, much like the Team Leader does. Defenders can afford a riskier approach, taking cover closer to the direction from which attackers approach or venturing out to grab a weapon before falling back to a defensive stance. The other two team members fulfill the role of attacker, whose only goal should be to hunt down and kill the enemy Team Leader. If at all possible, avoid unnecessary skirmishes with other enemies until the opposing Leader is eliminated. Grab whatever power weapons you can en route to the opposition’s Leader. Try paving your way with grenades to clear out defenders protecting the enemy Leader. Each round can provide a different challenge, so be prepared to adapt your approach accordingly. If you’re struggling to get near the opposition’s Leader and your own has faced little danger, send three attackers and leave behind one defender. Continue to improvise based on the match’s flow. Maintain a balanced team strategy to find success in Guardian matches.
Submission
Submission replaces the flag with a Meatflag, a roaming computer-controlled player. You must find this target, down him, and then pick him up as a meat shield, carrying him to the goal area to score a point for your team. The Meatflag cycles between three different guys. Of course, this target isn’t friendly, and you may find yourself taken out by his shotgun, or even executed should you get taken down in his vicinity! Teamwork is paramount in Submission. Move toward the target as a group, down the target, and then provide covering fire for the player carrying the target to the goal.
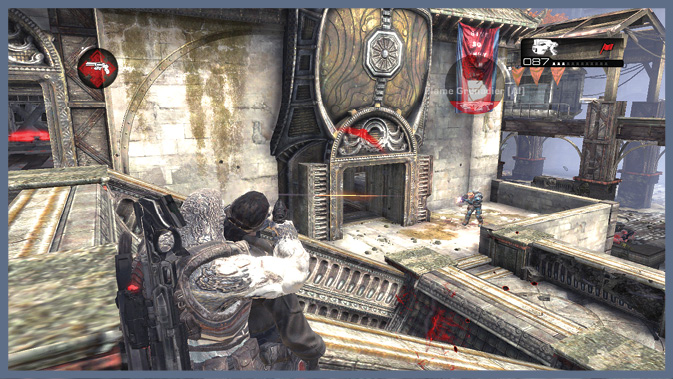
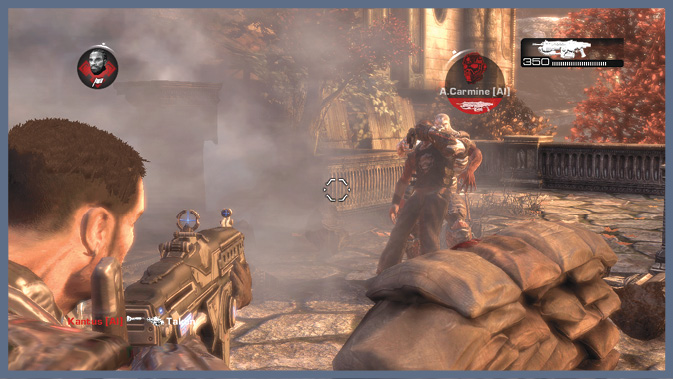
Obtain the target and drag him, against his will, into your team’s capture location long enough to win the round. You must hold the Meatflag in the ring for a few seconds to score. The Meatflag is extremely deadly up close. The Meatflag is so lethal that he has his own line on the scoreboard. But he can’t take you down outside the range of his shotgun blasts. Down him from a safe distance and dash in to claim him while he’s out of commission. Do this quickly before the Meatflag gets back up and the opposing team claims him. Sometimes it makes sense to let the other team knock down the Meatflag. You can then fire a high-powered weapon at the enemy team member and take the Meatflag for yourself. Time this well, and the enemy player won’t know what hit him! Smoke Grenades are the most effective way to get an opponent to drop the Meatflag. If you drop the Meatflag, you have only a small window to reclaim him. If he resets to a neutral state, then the goal point moves to a new location and your team will lose any ground it made dragging him across the map. Smoke Grenades are great, both for cover and to knock a Meatflag free from enemy control. Always check the delivery point for proximity mines before you walk into it. The Meatflag absorbs most of the damage inflicted on you.
Watch for the Meatflag to get knocked loose from either a teammate or the enemy. It’s not uncommon for all players within the Meatflag’s close proximity to quickly die by his hands if he regains his feet before someone else claims him. If you manage to take the Meatflag hostage, stick to the simple logic that the shortest distance between two points is a straight line. Take the most direct route to your goal. The Meatflag slows you down immensely, so there’s no reason to get cute—that only increases the time it takes to capture him. The only time to stray from this strategy is when your teammates have already started to secure a specific path for you. Also, it’s worth the effort to pick up an upgraded pistol if you are going to be carrying the Meatflag. However, players not burdened with the Meatflag can make up ground quite quickly. If you’re defending a teammate who is dragging the Meatflag to the capture point, follow the same strategy and clear a lane that is as direct as possible.
Wingman
Wingman is the ultimate in cooperative warfare. You and a buddy are up against four other teams of two. Alternatively, five players can play, each one paired up with one bot. This game mode plays out like a much more intimate variation of Warzone. While most deathmatch tactics and strategies apply, the greatly increased number of hostile targets makes moving from point to point much more dangerous. Teamwork is vitally important—moving together and flanking opposing teams is the path to victory in Wingman. Matches follow execution rules, and you get only three down but not outs. DBNO lasts longer in this mode so enemies have more time to finish you off.
Coordinated aggression is the key to success. You face up to four rival teams, as opposed to facing one enemy team in every other competitive, team-based game mode. A player must remember that everyone except his or her sole teammate is an enemy. Just because you’re on the Marcus team, it doesn’t mean an approaching Cole or Baird is on your side—they’re coming to kill you, not to revive you!
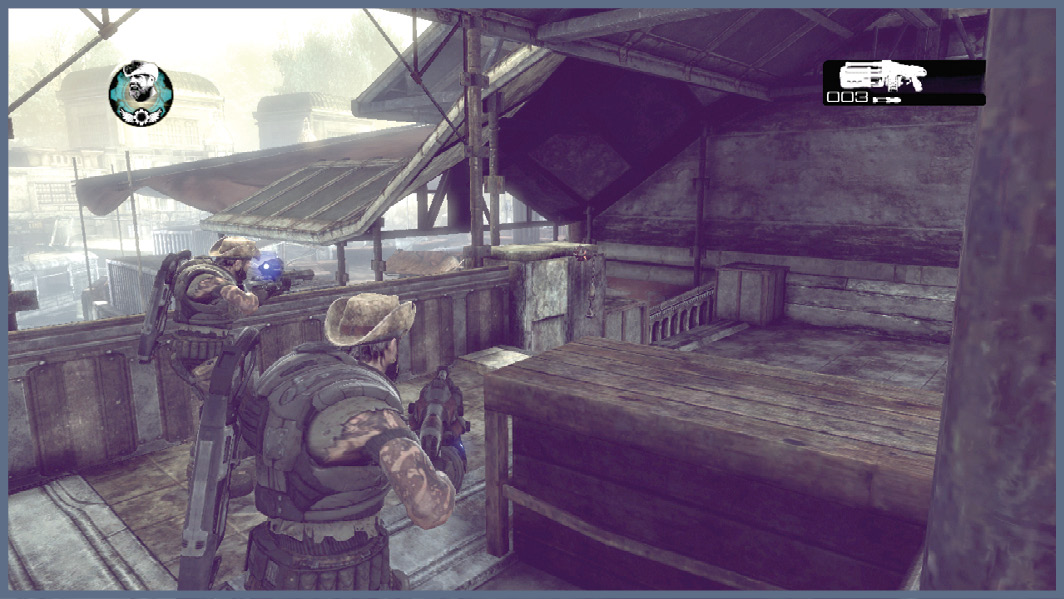
Keep the scoring system in mind. Unlike the round-based scoring in other game modes, the winner of a Wingman match is the first team that reaches a designated number of points. This takes place over as many rounds as necessary to reach that total. Your team earns an extra point for surviving the round, a huge advantage to the surviving team. Teams must be aggressive; hanging back and surviving longest is not an effective strategy. Taking an overly defensive approach keeps you from racking up the kills. At the same time, exercise some discretion, because getting knocked out early doesn’t increase your score either. Take advantage of the spawns nearest the power weapons to quickly obtain them. Leapfrog with your teammate’s movements. Stay close enough to each other to quickly take down the opposition and keep each other alive. Plant grenades behind you as you go, as it is very easy to get flanked.
Horde
Horde is a very special new game type in Gears of War 2. Unlike the other multiplayer modes, Horde is a cooperative multiplayer mode. You and up to four friends face a literal horde of Locust. Wave after wave assaults your team, and you must repel and slay all opposition to progress. There are 50 rounds to complete in Horde. Every 10 rounds, the difficulty ratchets up, as the Locust grow harder to fend off. Your whole team’s score is broken down after every round, thereby showing you who the heroes are and who needs to go back to basic training. Fortunately, players respawn at the conclusion of each round, provided at least one player manages to defeat the remainder of the wave.
Wave Composition
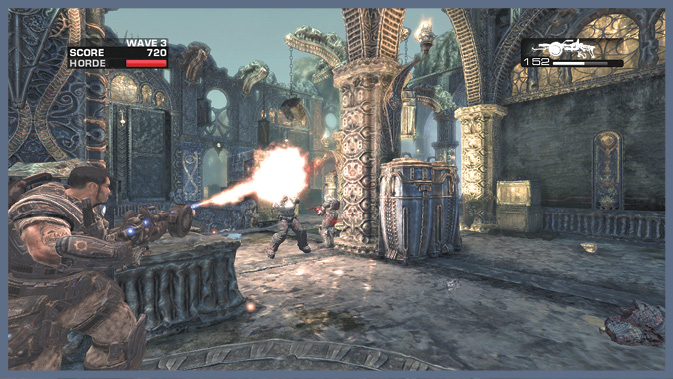
Each wave of Locust you face may be a little different from the last time you played. It’s important to understand that the waves aren’t comprised of predetermined enemy groups. Rather an allotment of points governs the wave’s total makeup. Each enemy that spawns costs a certain number of points to generate, and the wave is complete when all of its allotted points are exhausted. The points tally is displayed onscreen as a small red meter that gradually empties as you kill off more and more Locust. Each of the enemies has a specific cost and is restricted to appearing only in set waves.
- The maximum number of Locust units active at any single moment depends on the number of players. Difficulty application is identical to Single-Player.
- Your score resets if you continue after losing. Spectators can talk to the living an can therefore continue to be useful by pointing out enemy positions.
- The Horde receives increases to health, accuracy, and the amount of damage they inflict at the start of each successive round of ten waves. The following table shows the changes that take place to make the Horde tougher in the later waves—same numbers of enemies, but much, much harder to kill! Enemy health is the same as in single-player mode per each corresponding difficulty setting.
- All weapons respawn 30 seconds after there are fewer weapons of a given type in play (with remaining ammo) than there are pickups for that weapon. In Horde mode, weapons in enemy possession count toward this. For example, if there is one Mulcher pickup in the level, it will not respawn while there are Grinder enemies in play.
Horde Difficulty Modifiers
| Starting Round | Horde Changes |
|---|---|
| Wave 11 | 2x Health |
| Wave 21 | 2x Health, 2x Accuracy |
| Wave 31 | 2x Health, 2x Accuracy, 2x Damage |
| Wave 41 | 2.5x Health, 2.5x Accuracy, 2.5x Damage |