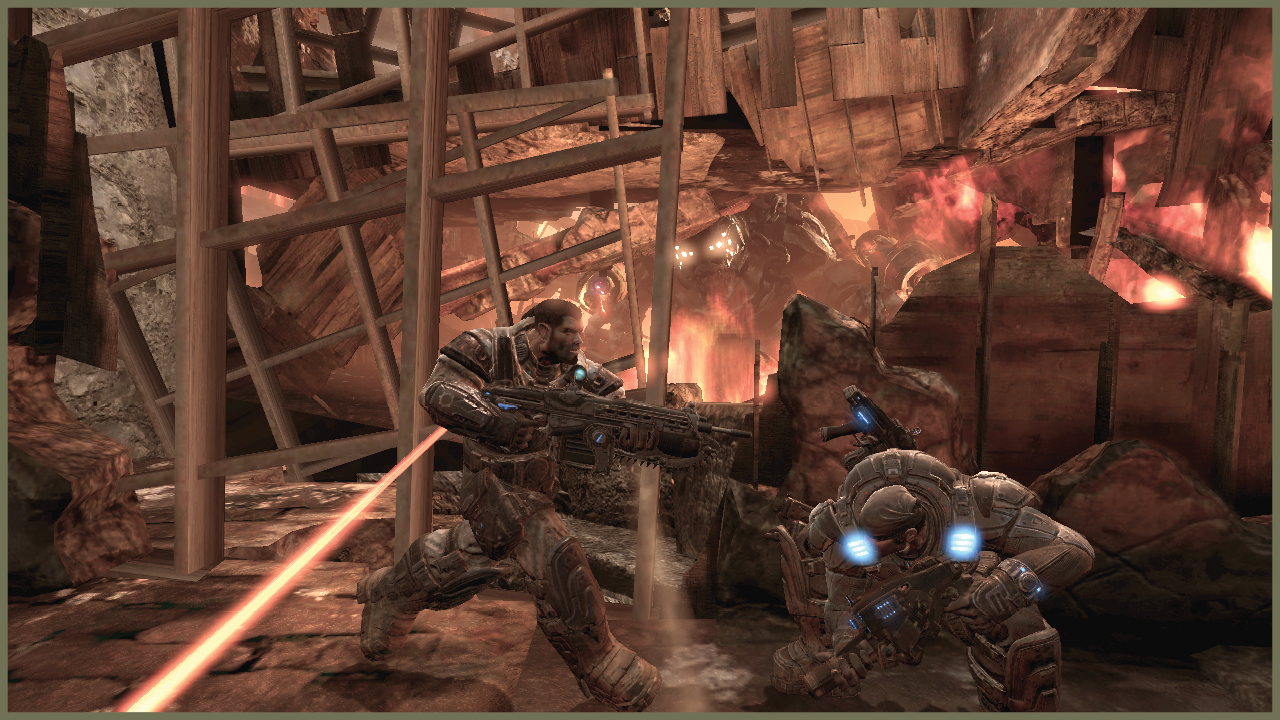
Gears of War 2 Guide ACT V: Aftermath
Chapter 4: Tenuous Footing
Having made their way to the Locust sinkhole, Delta attempts to descend to the bottom, where they can clear the area for a drop of the Lightmass Bomb. The objective is to sink Jacinto and flood the Hollow.
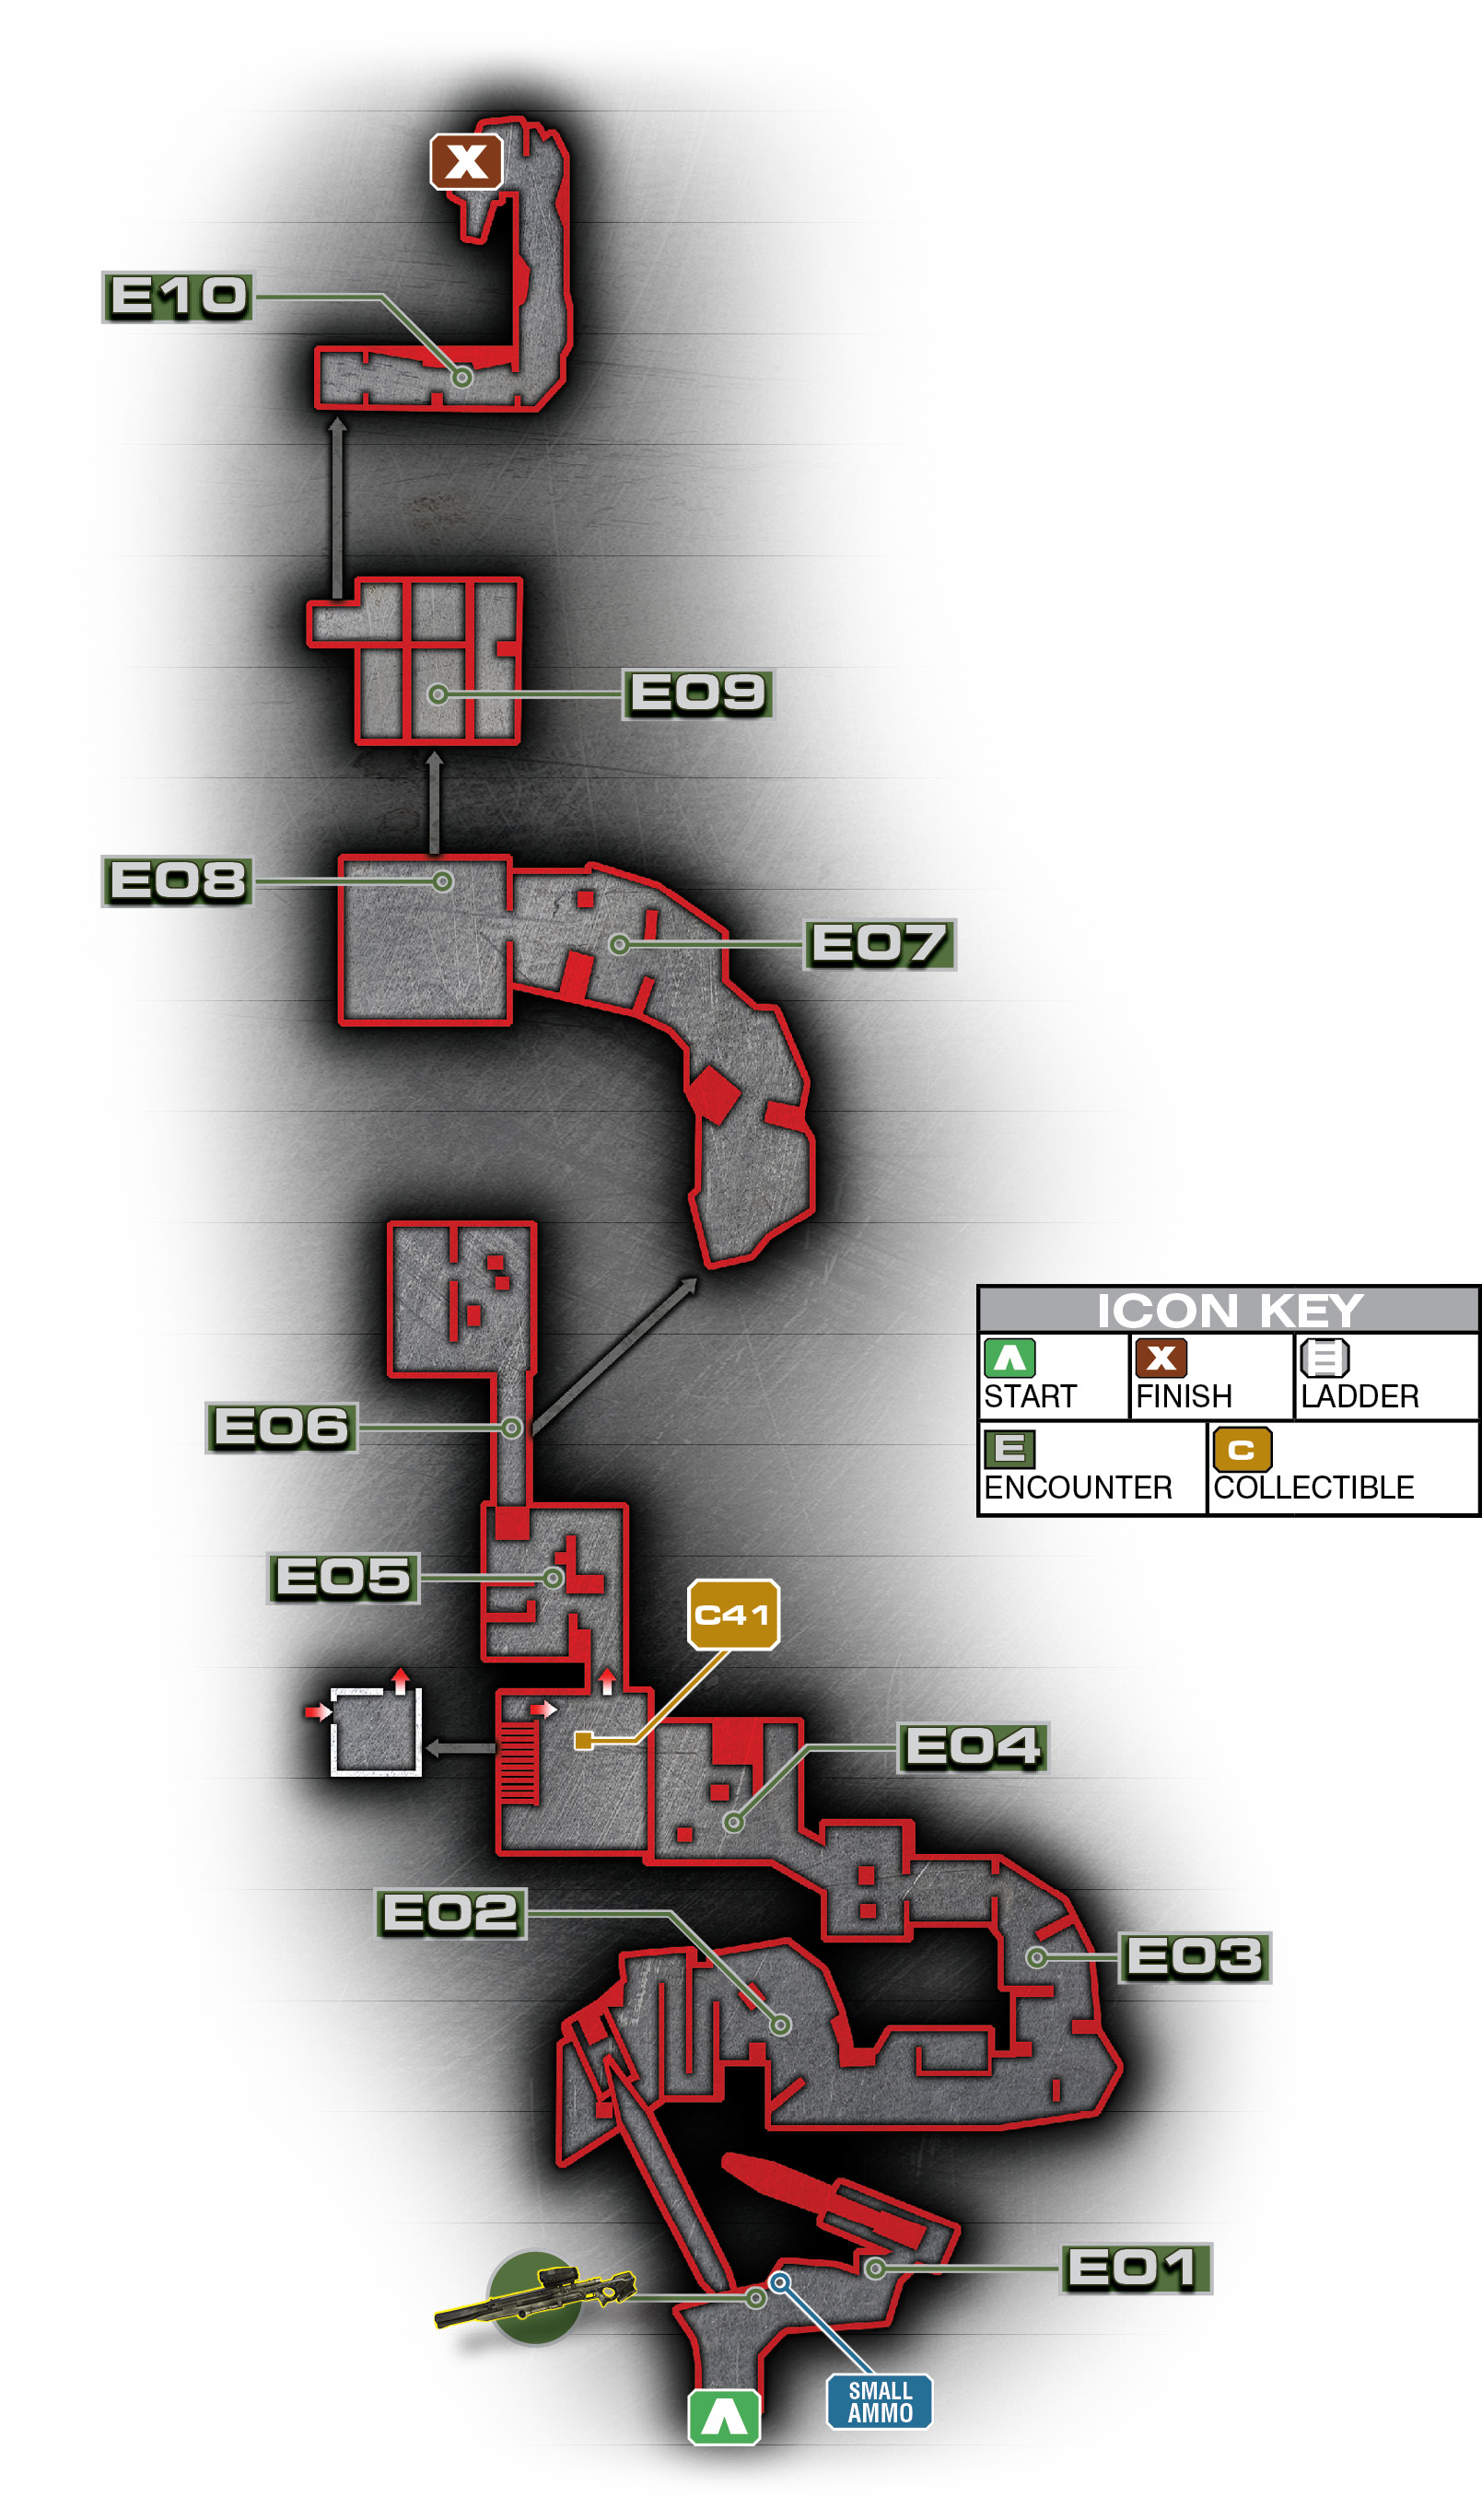
Encounter 01
ENEMY PRESENCE: None
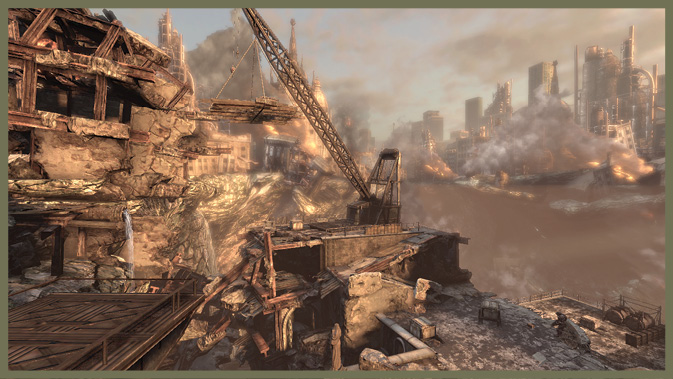
Before you can make your way down, you have to cross a huge, open-air gap to the buildings visible below. To accomplish this feat, hop into the crane just to the right of the starting position.
From here, move the crane’s platform load over to the left side of the gap and drop it down so that Dom can hop aboard.
Next, move the load all the way to the right and deposit Dom down on the building in the roof’s large, open area. If you’re playing co-op, you may want to delay the drop a bit so your buddy can clear the area from above. If you’re playing solo, Dom moves quickly to the crane on the other side to get you across.
Once you make the drop, hop out and move over to the left side of the ledge. Dom attempts to use the crane on that side, but the crane arm crashes down, forming a makeshift bridge…whatever works.
If you wish, pick up the Longshot beside the small ammo pack before you move across the crane arm to the rooftops. Snipe some of the Locust below before you come within their weapon range.
Encounter 02
ENEMY PRESENCE: Drones, Mauler, Reavers
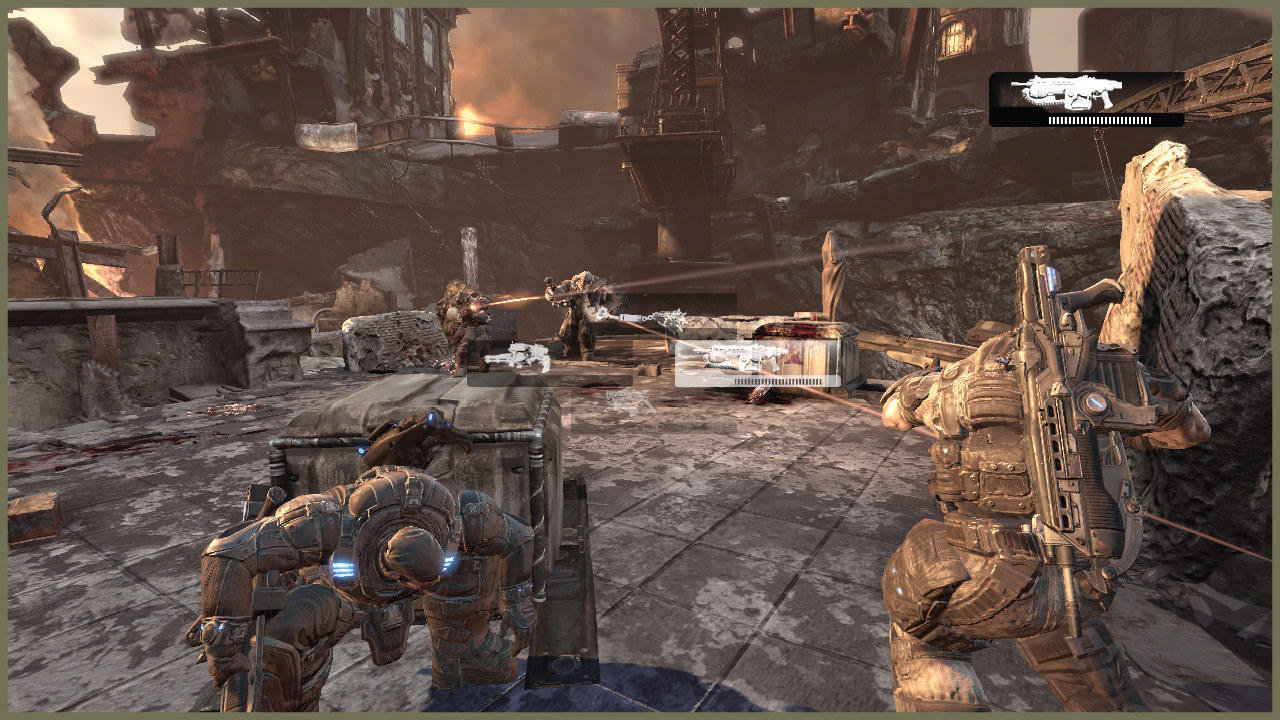
There are a few Locust on the rooftops, though nothing too major. However, once you hit the encounter marker at this point, a Mauler stomps out onto the roof.
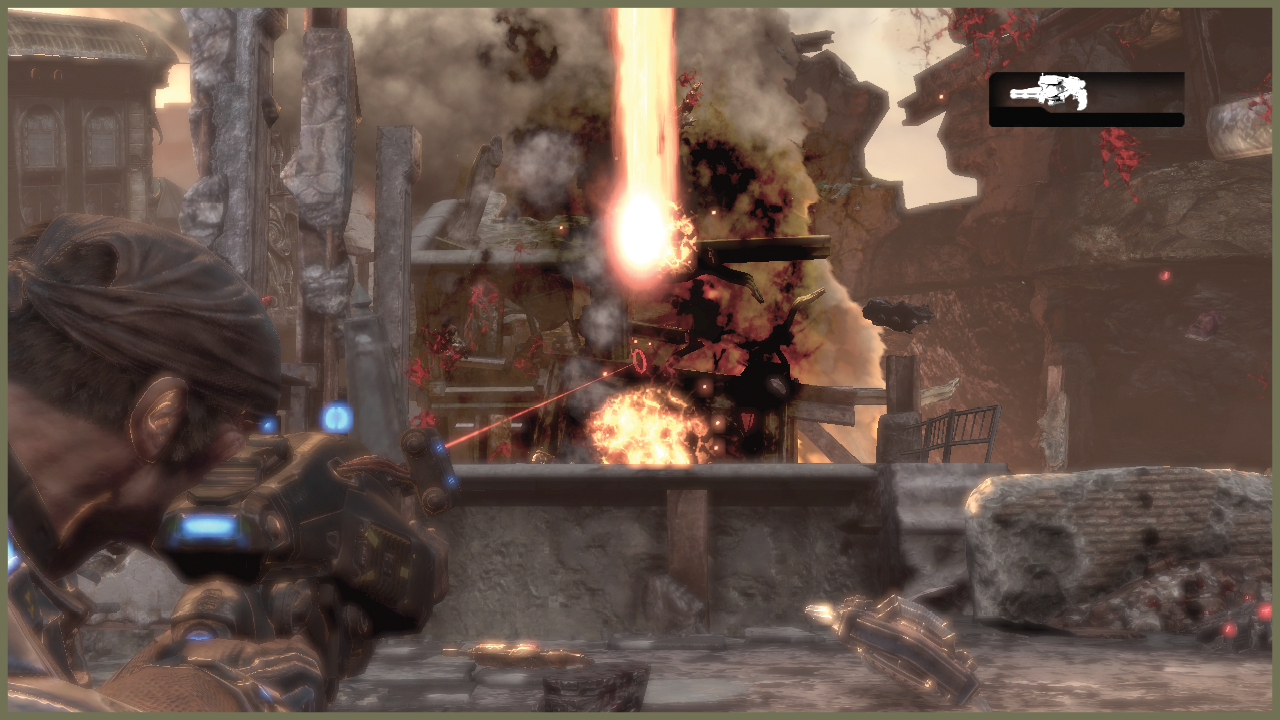
Take him out with Dom’s help and then grab the Boomshield. It comes in handy as a Reaver crashes down on the opposite building. You can easily use the Boomshield as cover and eliminate the Reaver with the Hammer of Dawn. If you aren’t carrying the Hammer for some reason (loading a checkpoint), you can still use the Boomshield or regular cover to eliminate the Reaver, but it costs a bit more ammunition.
Encounter 03
ENEMY PRESENCE: Tickers, Flame Grenadier, Drones
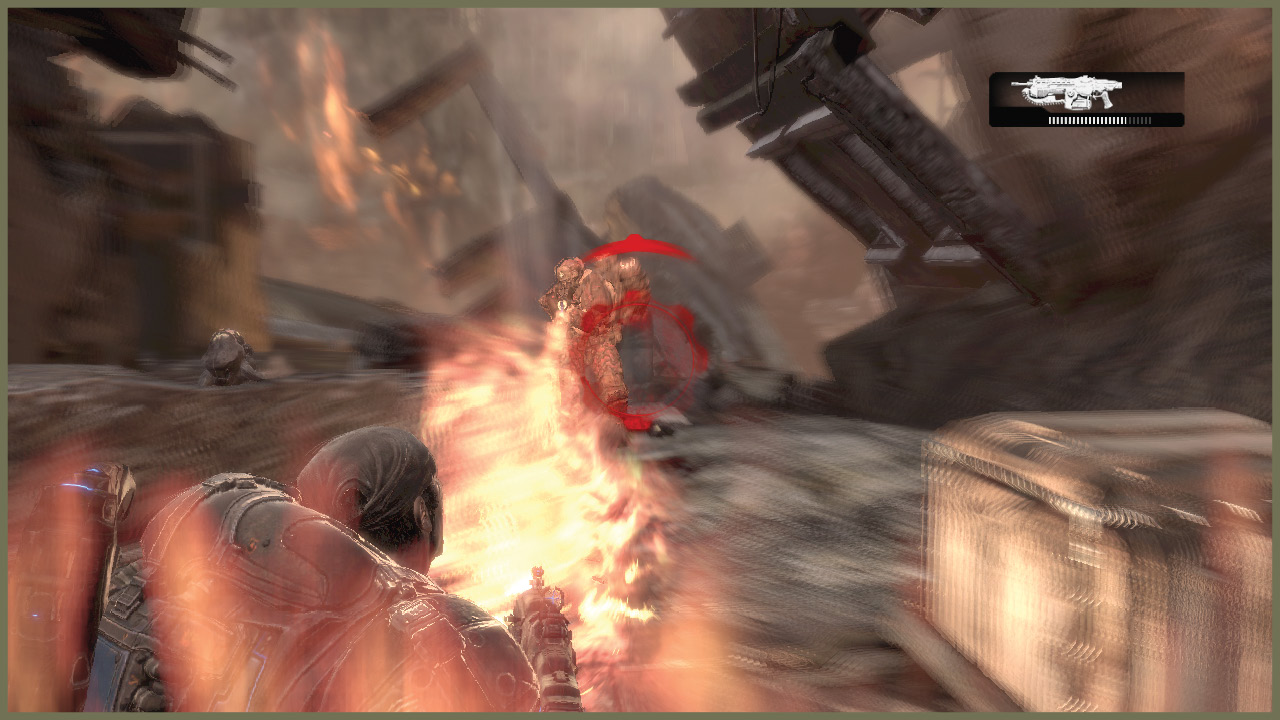
As you round the corner, a Flame Grenadier and several Tickers rush you. If you’re quick, you may be able to detonate the Tickers near the Flamer. The resulting explosion should clear out most of your opposition.
If not, stay back—both the Flamer and the Tickers are dangerous only at fairly close range. Once you finish them off, move through the short hall onto the next roof, where a few more Drones and Tickers are waiting.
Encounter 04
ENEMY PRESENCE: Drones, Flame Grenadier
When you reach this building, numerous grappler Drones start ascending up the sides. If you’re quick, you can shoot down many of them before they even reach the rooftop, saving some time and ammo.
After a few rounds of grappler Drone assaults, the building’s roof finally can’t handle the strain. It collapses, sending you and Dom plummeting to the bottom.
When you hit the ‘ground’ level, you can mantle out of the building to a small area containing the game’s last collectible. But you also meet a Boomer using a Scorcher and a few more Drones.
For the time being, hang out inside the collapsed building. It’s safer than going out onto the next building top, as the cover out there is destructible (a few pieces of furniture). Instead, you can easily gun down the Locust while you remain safe behind thick walls.
Encounter 05
ENEMY PRESENCE: Drones
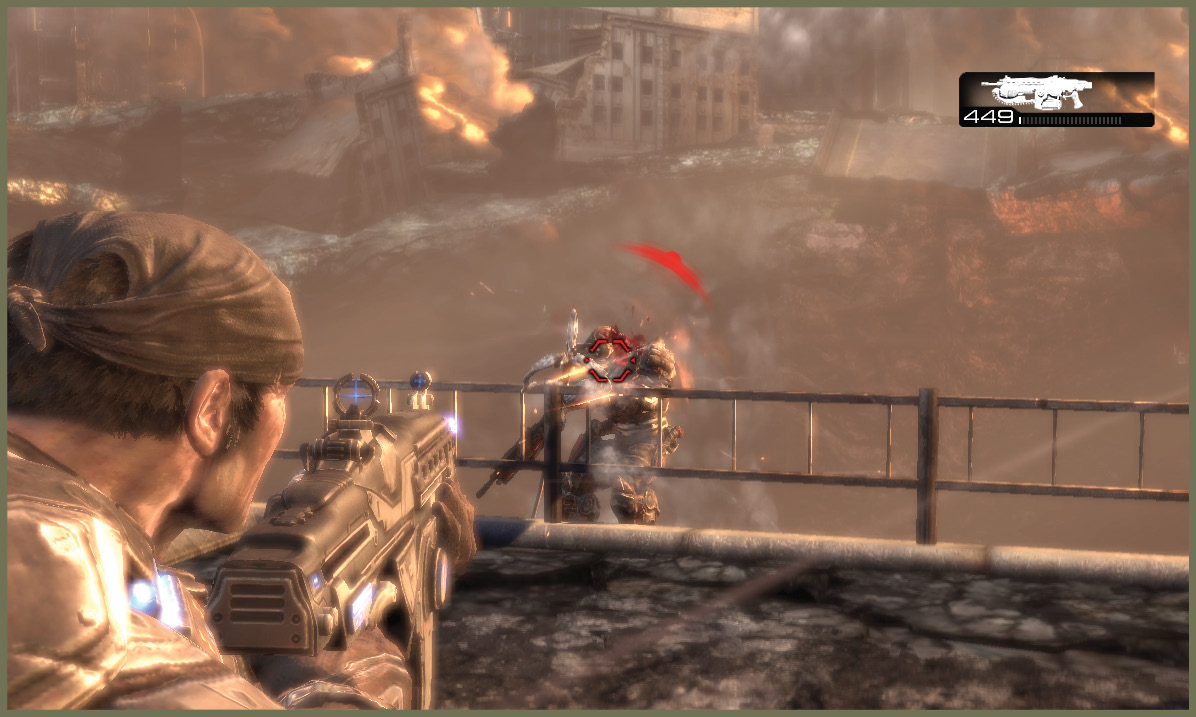
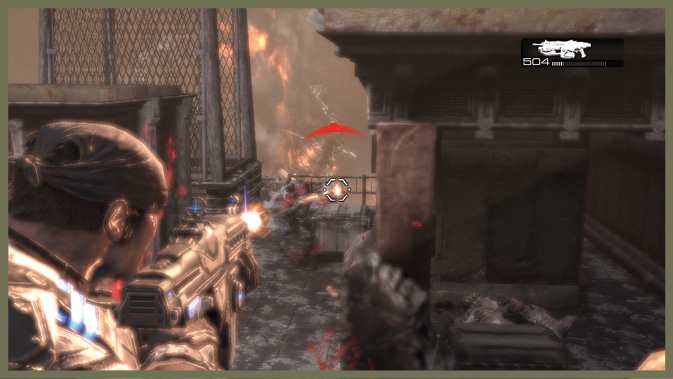
Be careful approaching this building. There are only a few Drones here, but they’re armed with Lancers. The close quarters mean that one misstep on an approach gets you gutted. Take them out from a distance.
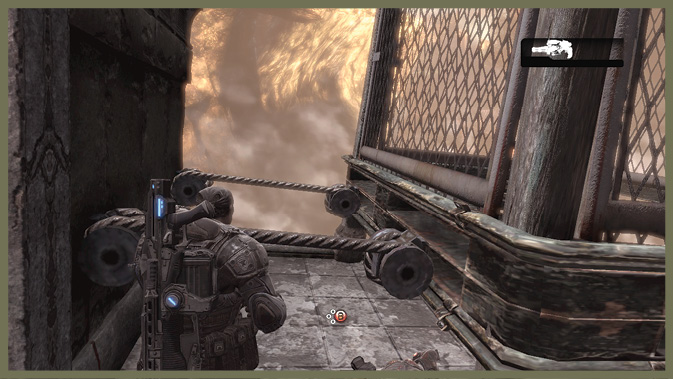
When you clear the Locust, you have to slice a pair of steel cables with your Lancer. Doing so drops a steel cage as a makeshift walkway onto the next building’s roof.
Encounter 06
ENEMY PRESENCE: Drones
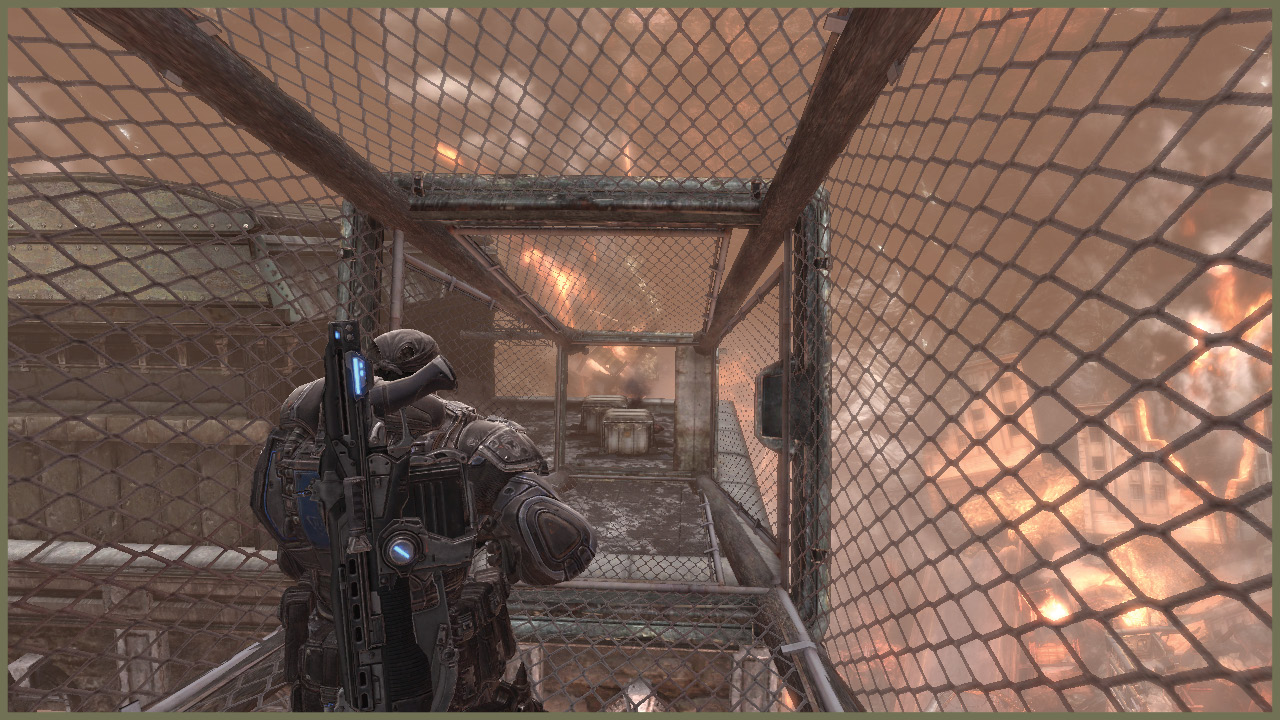
Only two Drones occupy the opposite roof. But as you step into the cage, it loses its grip on the rooftops. You and Dom plummet to the ground below inside the cage.
Encounter 07
ENEMY PRESENCE: Kantus, Drones
A lone Kantus and a few grappler Drones guard the approach to the building behind them. If you’re fast, you may be able to knock down the grappling hooks before the Drones can even reach solid ground to attack you. Of course, if you’re still carrying the Hammer of Dawn, this is a short and messy encounter.
Once you kill all three, a debris slide occurs, giving you a way into the next building through the windows.
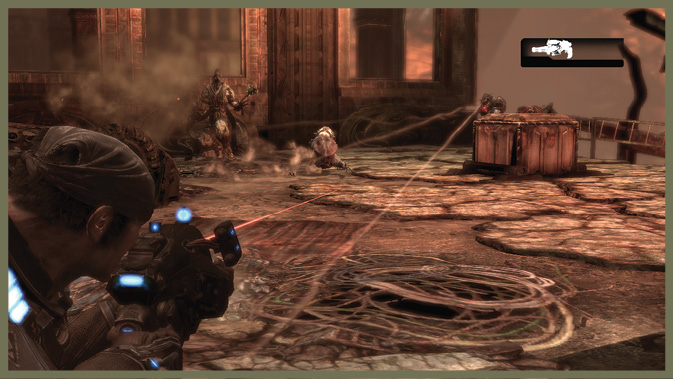
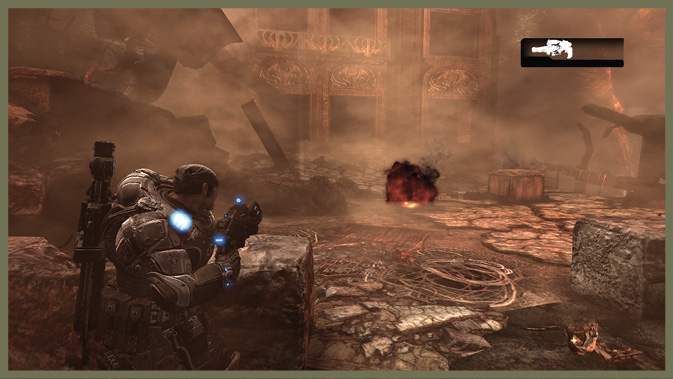
Encounter 08
ENEMY PRESENCE: Drone, Brumak
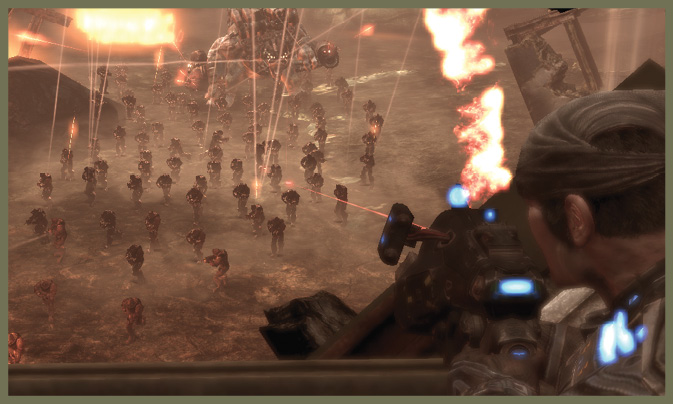
Inside the building, you get a clear view of a huge wave of Drones and one angry Brumak on the ground below. The Brumak blazes away at the building you’re in with all its massive firepower.
If you have the Hammer of Dawn, unleash a blast to immolate the Locust below. But regardless of what you shoot at them, the building collapses under the onslaught, crushing the Locust and trapping the Brumak at the ‘top’ of the fallen building.
Encounter 09
ENEMY PRESENCE: None
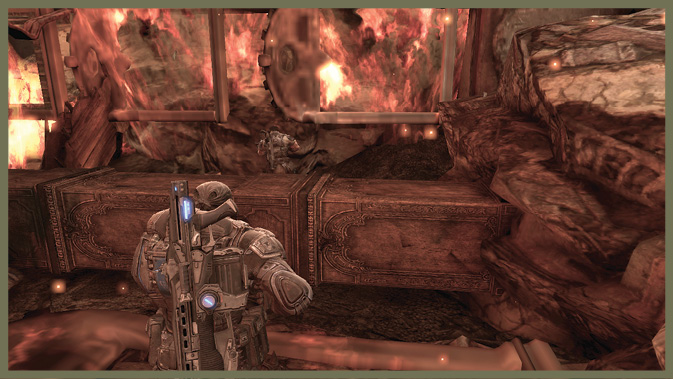
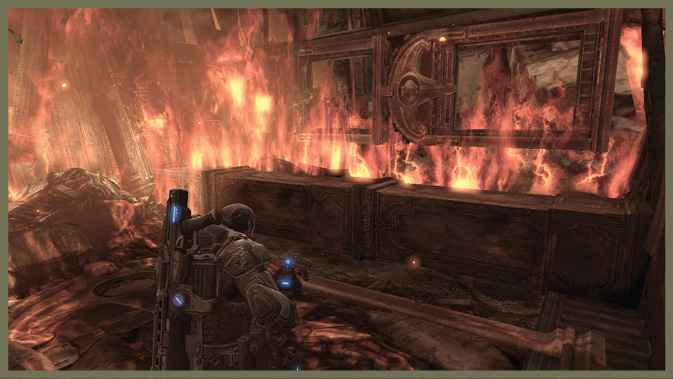
When you regain consciousness, you’re trapped inside the ‘bottom’ of the fallen building, and a raging inferno surrounds you! Quickly mantle over the beams in the room to get to the (now sideways) elevator. Hit the switch to call it and then quickly mantle inside to take a trip to the ‘top’ of the building.
Encounter 10
ENEMY PRESENCE: Drone, Brumak
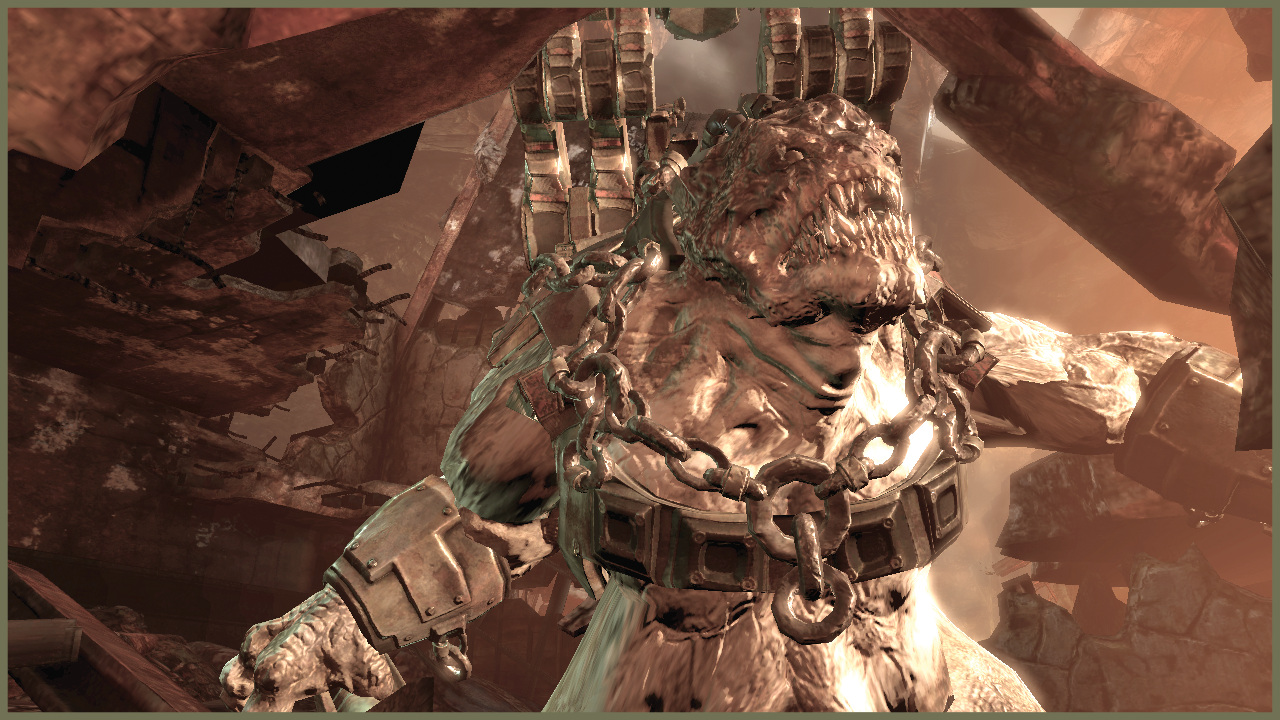
When you reach the Brumak, carefully dodge from cover to cover to avoid its furious chaingun barrage. Make your way around the side of the building to get behind the Brumak. Then take out its driver.
Afterward, Marcus has the bright idea of riding the Brumak to the squad’s objective…