
Disgaea D2: A Brighter Darkness Guide Walkthrough Episode 9: The Missing Angels
Episode 9: The Missing Angels

Unless you unlocked them on your own beforehand, you’ll receive the ability to make your own Male and Female Angels upon starting this Episode. Male Angels are fighter/healer hybrids and Felmale Angels occupy a support role, but the real reason to have them along for the ride is to take advantage of their Evilities.
The Cheat Shop has updated again, allowing you to lower your multipliers to 10% or raise them to 145%, and you can find this episode’s treasures in what used to be Flonne’s flower bed, in the grassy inner garden near the jukebox, and tucked in behind Paparazzi in the library.
Ice Beast’s Scream

| Class | Lv | Qty | Evility | Weapon | Armor | Skills |
|---|---|---|---|---|---|---|
| Iron Knight | 47 | 5 | Defensive Stance | Metal Slasher | General's Helm, Scalemail | Boulder Crush, Helmet Crush, Super Back Spin |
| Spriggan | 46 | 6 | Crisis Energy | Jack-o'-Lantern | General's Helm, Falcon Shoes | Nether Lariat, Pile Bunker, Lantern Wish |
| Geo Symbol | Geo Effect | Destroy | Note |
|---|---|---|---|
| Green | No Entry | Green Change | Mobile: moves three panels on Enemy Turn 2 |
| Null | Movement +1 | Clear | - |
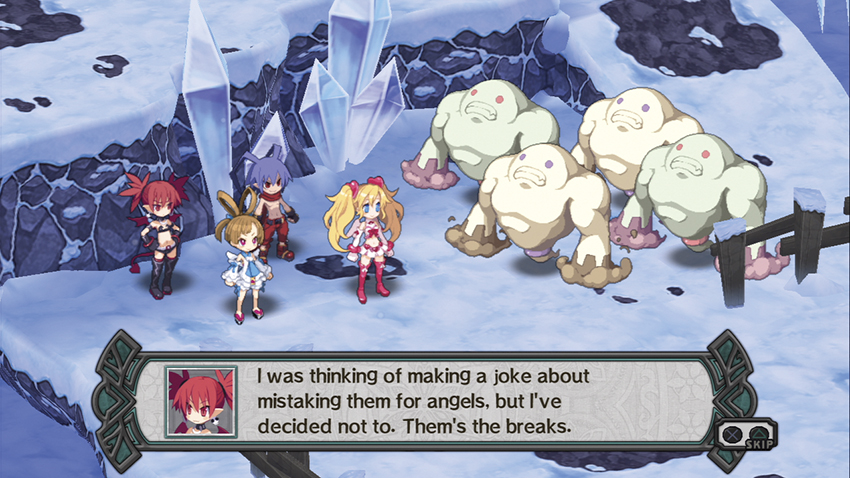
The Iron Knights on this stage all have the Defensive Stance Evility, so you won’t do any real damage to them one-on-one. You either need to constantly hit them in the back or grind each one down with a flurry of weak hits. Meanwhile, they’re beating you senseless with Axes.
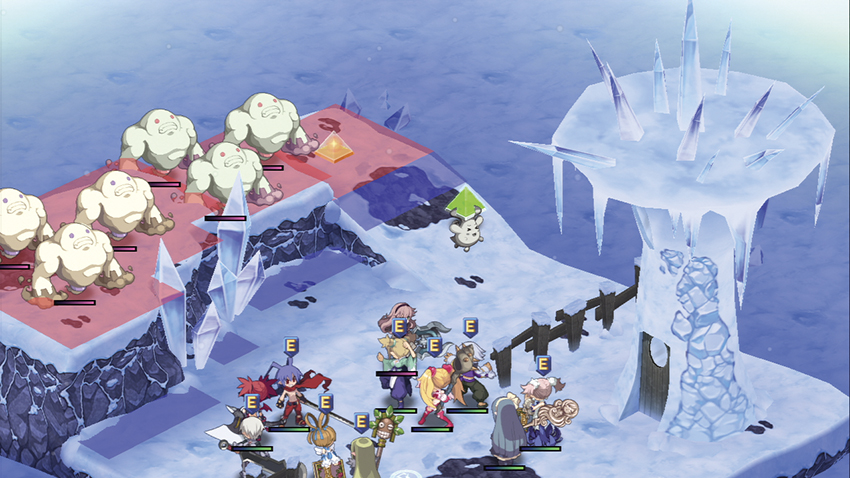
The Spriggans in the back seem content to wait until you can get around to them ... until the start of the second enemy turn, when the Geo Symbol that’s penning them in suddenly moves. At this point hilarity ensues, as does punching, and you may have a serious problem.
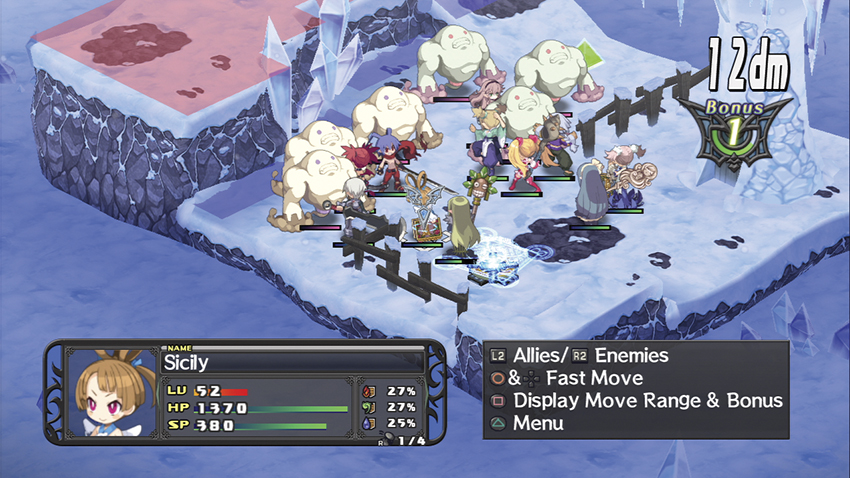
You probably can’t deal with all five Iron Knights in two turns unless you’re dramatically over-leveled for this stage. Do what you can to focus fire and wear away at them one at a time, then switch to the Spriggans when they show up. The Spriggans all have the Crisis Energy Evility, which gives them a 100% bonus to their ATK if they drop below 25% HP. Either take them out or leave them alone; don’t let them sit there at low health or they’ll punch your entire defensive line in the face with Nether Lariat.
Map Events
- Station Laharl next to Flonne.
- Station Sicily next to Flonne.
- Station Etna next to Flonne.
Empty Blooms
| Class | Lv | Qty | Evility | Weapon | Armor | Skills |
|---|---|---|---|---|---|---|
| Beast | 50 | 1 | Dead or Alive | Griffin Beak | Happy Cape, Bloody Orb | Darkness Slash, Spinning Wind Blast, Twilight Bomber |
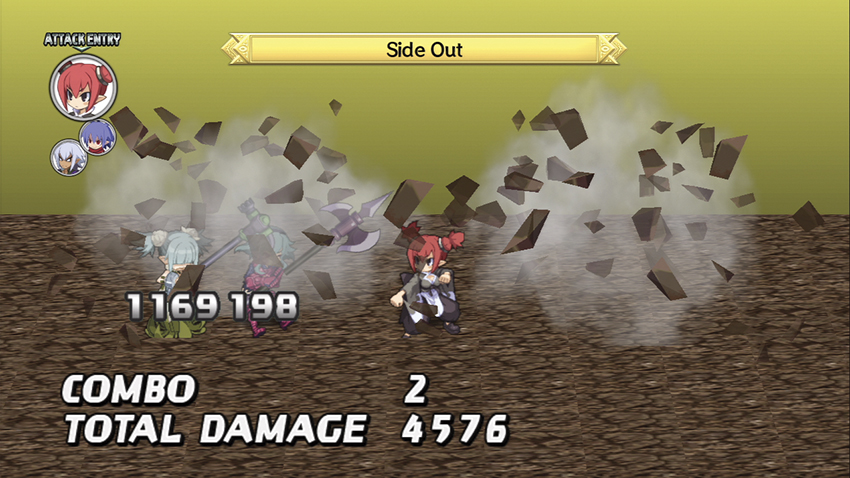
| Chunin | 46 | 5 | Mirage | Hand Spikes | Happy Cape | Triple Strike, Double Shadow, Side Out, Armor Break, Resist Break, Blind, Slow, Poison, Slumber, Stun |
| Martyr | 48 | 2 | Book of Magic | Book of Death | Happy Cape | 451 Degrees of Evil, Gone with the Cotton, Sea Horse Charge, Heal, Mega Heal, Giga Heal, Omega Heal, Espoir, Shield, Magic Wall, Enfeeble, Mind Break |
| Lady Warrior | 47 | 5 | Cooperativeness | Master Bow | General's Helm | Dark Spica, Bright Canopus, Meteor Arrow Kick, Zielregen |
| Valkyrie | 47 | 5 | Assault Attack | Master Bow | General's Helm | Dark Spica, Bright Canopus, Meteor Arrow Kick, Zielregen |
| Geo Symbol | Geo Effect | Destroy |
|---|---|---|
| Null | Warp | Clear |
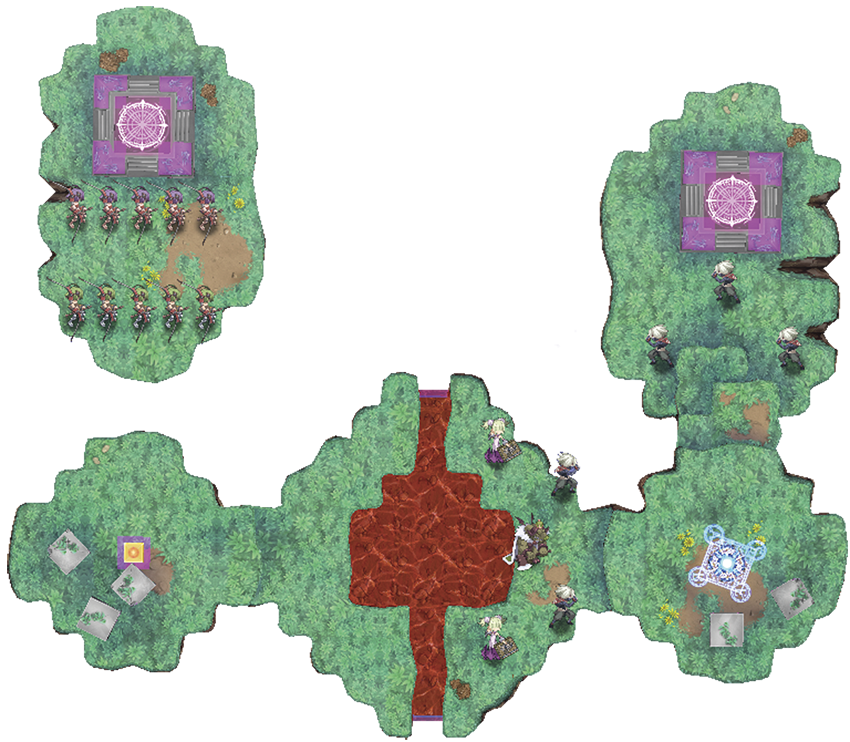
The trick to this stage is all in how fast you can deal with the Genin. They have the Mirage Evility, which gives them a 50% evasion bonus if they’re attacked from melee range, so you’ll want to blow them up with spellcasters, Bows, Spears, and/or medium-range skills. Most of them have a slight vulnerability to Ice magic that you should feel free to exploit.
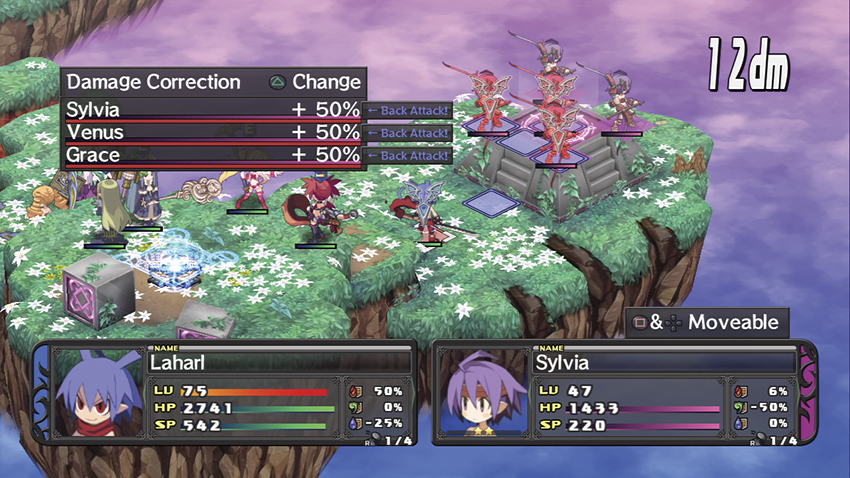
Unlike past levels that have had a similar gimmick, the Valkyries with Bows that you can see in the distance will start moving in immediately via the Warp Panels. Once they’re in range, they’ll start picking off your troops one by one with Bow skills like Meteor Arrow Kick. Ideally, you can have Laharl standing right there at the base of their dais, ready to wipe them out five at a time with Overlord’s Wrath. That makes this fight much easier.
Map Events
- Station Etna next to Sicily.
- Station Laharl next to Flonne.
- Have Flonne on the field at the start of your second turn.
Squirming Fear
| Class | Lv | Qty | Evility | Weapon | Armor | Skills |
|---|---|---|---|---|---|---|
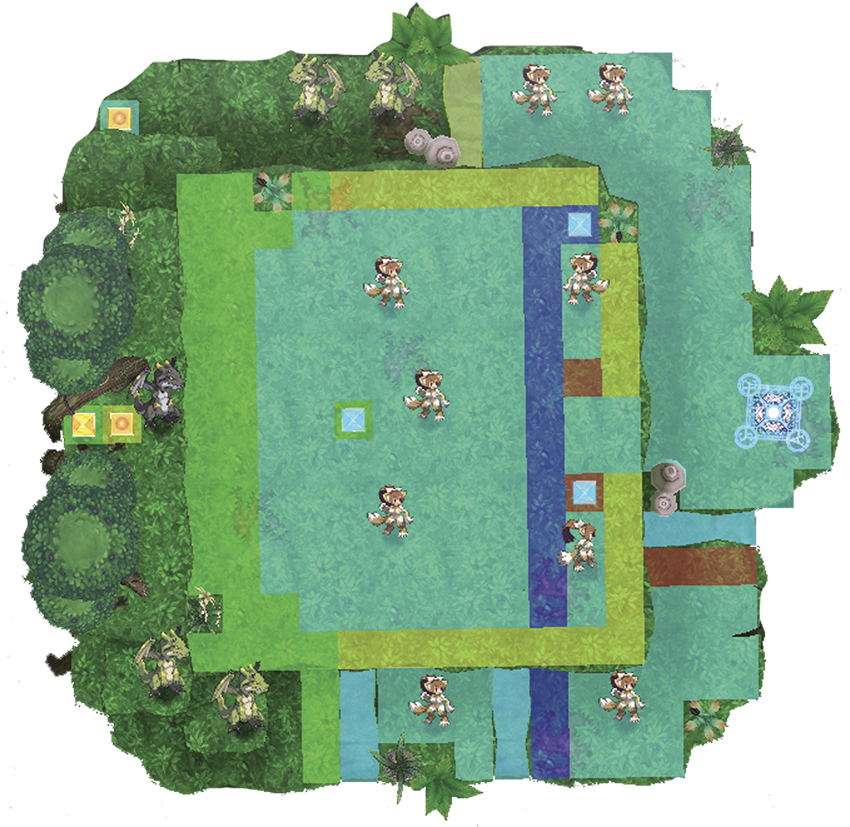
| Tailring | 48 | 9 | Enemy on the Brink | Demon Hand | General's Helm | Cat Dance, Cat Punch Rush, Lovely Paw Fist |
| Nidhogg | 50 | 4 | Wind Dominance | Demon Hand | General's Helm | Dragon Hornet, Way of Dragon, Sky High Dragoon |
| Ahzi Dahaka | 52 | 1 | Wind Dominance | Demon Hand | General's Helm, Winged Boots | Dragon Hornet, Way of Dragon, Sky High Dragoon |
| Geo Symbol | Geo Effect | Destroy |
|---|---|---|
| Null #1 | Absolute Area | Clear |
| Null #2 | No Ranged | Clear |
| Aqua #1 | No Entry | Aqua Change |
| Aqua #2 | No Entry | Aqua Change |
| Aqua #3 | No Entry | Aqua Change |
| Yellow | No Effect | Yellow Change |
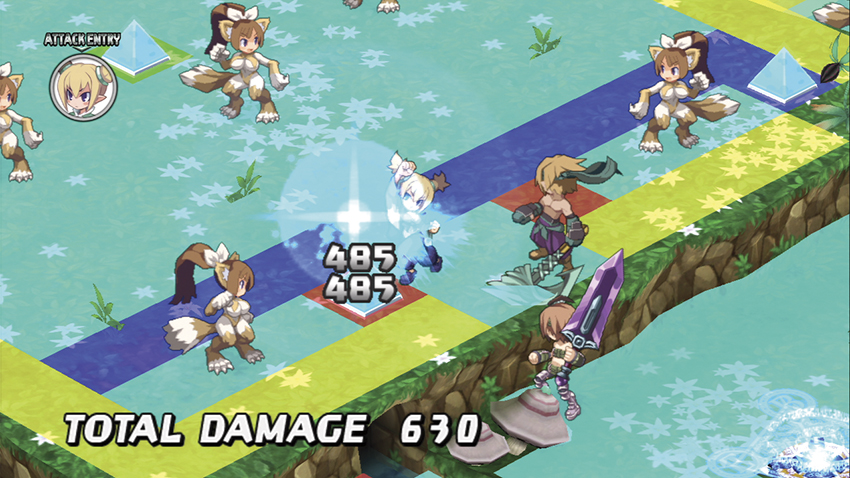
The last match was won or lost on the strength of your ranged firepower. This one’s for your melee. The aqua Geo Panels that blanket most of the map feature a No Ranged Effect, which forces you into hand-to-paw combat with the Nekomatas running around the area. Each Geo Symbol you destroy eliminates another No Entry barrier and lets another couple of Nekomatas into the fray. Your goal is to reach and destroy the aqua Geo Symbol in the center of the map, which will let you engage and defeat the various Dragons.
Before you do so, heal up, buff your characters with Shield spells, and deploy a Monk with Geo Protect to neutralize the effect of the massive Geo Chain you’re about to set off. It won’t do much more than annoy any surviving Dragons on the field but it’ll ruin your day if you let it.
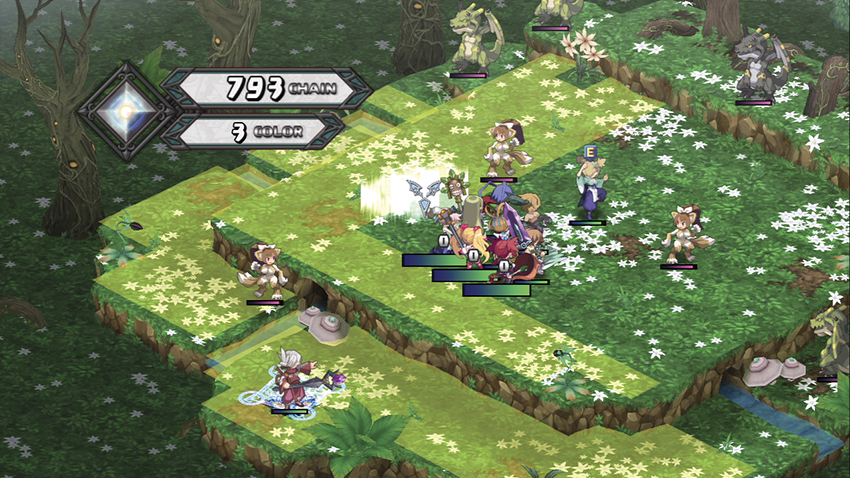
As you are forced to trigger a 1,233-hit Geo Chain to clear this stage, this is a good map to farm for the contents of its Bonus meter.
Map Events
- Station Laharl next to Flonne.
- Station Etna next to Sicily.
- Station Etna next to Flonne.
Wandering Death
| Class | Lv | Qty | Evility | Weapon | Armor | Skills | Note |
|---|---|---|---|---|---|---|---|
| Rune Knight | 50 | 4 | Attack Weakness | Mermaid Staff | Happy Cape | Fire Charge, Wind Charge, Ice Charge, Anti-Fire, Anti-Wind, Anti-Ice, Fire, Mega Fire, Giga Fire, Wind, Mega Wind, Giga Wind, Ice, Mega Ice, Giga Ice | All four mount the closest monster on their first turn. |
| Sea Dragon | 54 | 3 | Aqua Depression | Wyvern Wing | Happy Cape | Shark Slider, Lorenzini, Jaws Wave Rider | - |
| Nidhogg | 54 | 3 | Wind Depression | Wyvern Wing | Happy Cape | Dragon Hornet, Way of Dragon, Sky High Dragoon | - |
| Euterpe | 50 | 2 | Lovely Song | Madness Emblem | Happy Cape | Move!, Jump Jump Jump!, Counter Classes, Only Crits!, Water Guillotine, Tentacle, With a Sea Angel!, Ice, Mega Ice, Giga Ice, Shield, Magic Wall | - |
| Geo Symbol | Geo Effect | Destroy | Note |
|---|---|---|---|
| Null | Super Encroach | Clear | Mobile; moves back and forth to change the tiles on the floor. |
| Yellow #1 | Wind Element +50% | Yellow Change | - |
| Yellow #2 | Water Element +50% | Yellow Change | - |
| Red | DEF +50% | Red Change | - |
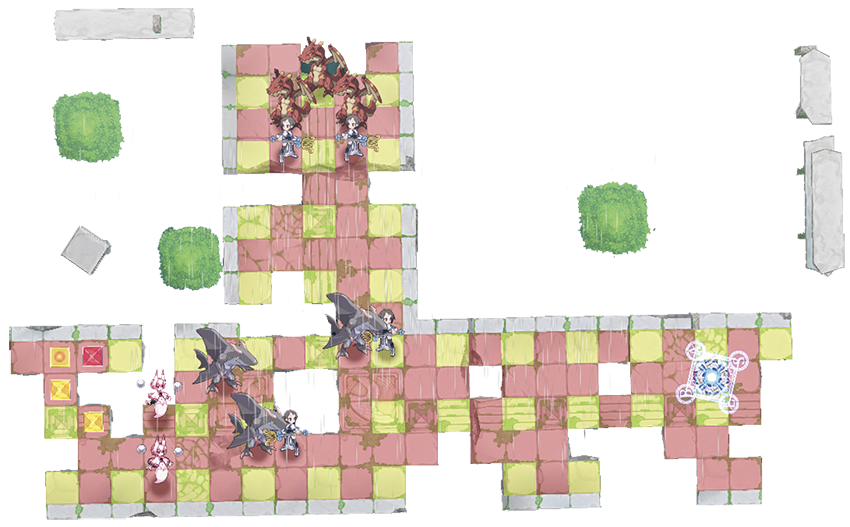
This is one of the toughest stages in the main game. The Geo Symbols on the far end of the map are mobile and change up their location on every turn, which constantly rearranges the Panels via the Encroach effect. Between the Magic Knights’ and Dragons’ Evilities, the Clios’ Lovely Song, and the elemental bonuses on the Geo Panels, they can put out an astonishing amount of damage with Giga Wind and Ice spells. Worse, the Magic Knights use the monsters as mounts, which effectively lets them “hide” behind the monsters’ higher DEF scores as multiplied by the DEF +50% Geo Effect.
There are a few ways to proceed from here. Blank Out is worth using, if you’ve got a Ninja or Shaman on your roster, and you can ensure they’ll stick by bringing a Mothman with the Full of Miasma Evility. You can bring a Magic Knight of your own to raise your resistances with Wind and Water Charge and give you a fighting chance. You can even steal the Magic Knights’ own tricks and bring your own Sea Dragons and Dragons to shield your troops from the enemy Knights’ spells. If you’ve been leveling Sicily alongside the rest of your team, her Li’l Sis Aura Evility lets her laugh off most of the damage thrown at her on this map, although you’ll still need to watch out for physical attacks from the Dragons.
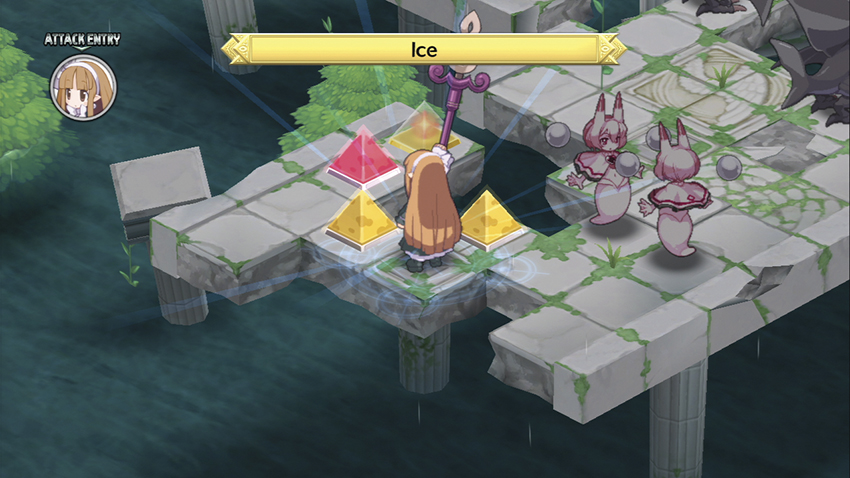
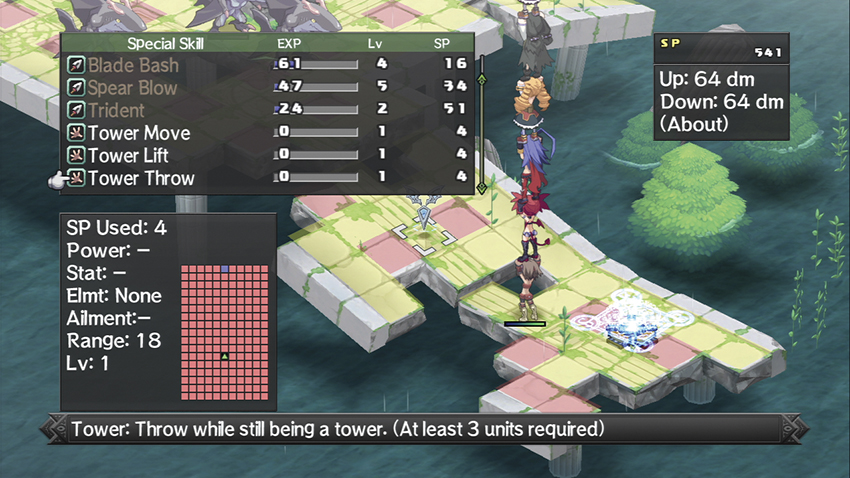
The easiest way to go, however, is to stack up a 10-character tower and use the Tower Throw Skill to launch somebody to the other side of the map. If you set up near the base panel, nine of your characters should be able to drop a 10th right near the Geo Symbols with Tower Throw, although the Clios may complicate this plan depending on where they’re standing. If that 10th character has a few decent ranged attacks, such as a Magician’s spells or an Archer with a Bow, you can destroy whichever Geo Symbol has landed on a Geo Panel of the opposite color. Its destruction will cause a Geo Chain that clears all the Panels on the stage.
That doesn’t do anything about the enemy units’ Evilities, but it cuts both their damage potential and damage resistance. If you keep your fighters buffed with Magic Wall and the elemental Charge spells, that makes it much easier to survive this map. You’ll want to eliminate the Clios early on because although they probably won’t take any hostile actions (and in fact appear perfectly content to stand there casting Shield and Braveheart on each other all day), they’re still buffing their allies with Lovely Song.
Map Events
- Have Flonne on the field at the start of the second turn.
- Station Flonne next to Laharl.
- Station Etna next to Sicily.
Drift of Evil Intent
| Class | Lv | Qty | Evility | Weapon | Armor | Skills |
|---|---|---|---|---|---|---|
| New King Krichevskoy | 99 | 1 | Explosive Body | - | - | Prinny Blizzard, Prinny Dance, Thousand Prinnies, Code Prinny, Bomber Dood, Speed Boost |
| Lilim | 55 | 1 | Shame | Dark Knight Emblem | Robe of the Magi, Pravda Pendant | Diving Heart, Pink Illusion, Judgment Rendezvous, Fire, Mega Fire, Giga Fire, Heal, Mega Heal, Giga Heal, Charm |
| Mandrake | 55 | 7 | Reverse Ailment | Pegasus Hoof | Robe of the Magi, Falcon Shoes | Jack Knife Jr., Daniel Jacks, Jack the Ripper, Jumpin' Jack, Target Lock |
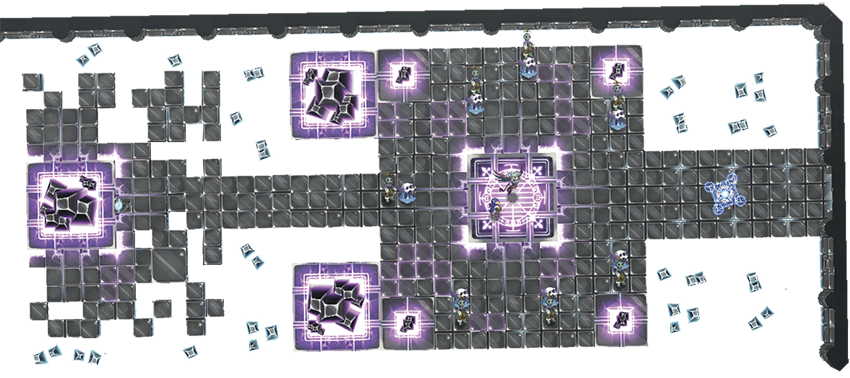
Like the last map, this stage doesn’t look like that big of a deal until you notice how the Evilities are interacting. The Fake King is back for another round and he’s brought some clever backup.
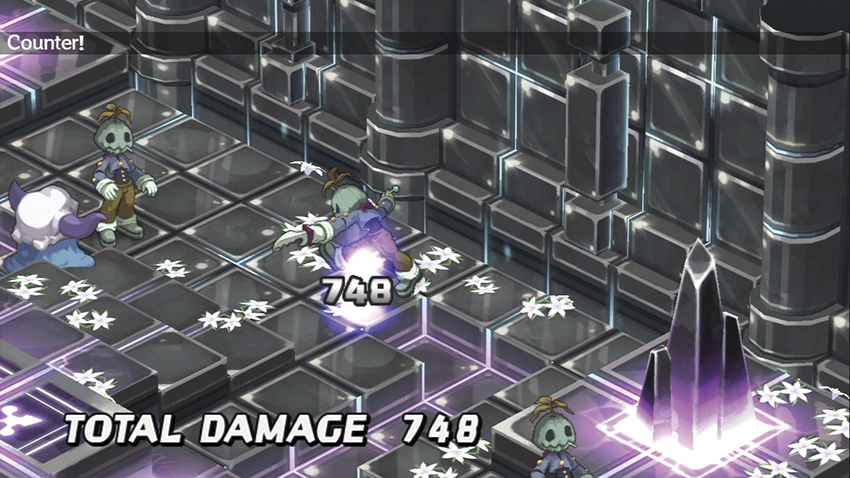
The neutral-aligned Blue Gelatins all have the Forced Counter Evility stacked onto their usual Corrupting Body, so on the first enemy turn, they’ll all get Counterattacked to death by the nearby Mandrakes. That, in turn, reverses the effect of the Gelatins’ deprave ailment, so you end up having to deal with seven Mandrakes that all have a +30% stat buff.
At the same time, the Lilim’s Evility, Shame, gives her a +40% stat buff for the Mandrakes and the False King, and it’ll go up by 5% for every male unit you deploy.
Your first two turns are free, since the Mandrakes use theirs to kill off the Gelatins. Use the time to establish a defensive line and buff your crew with Shield and Magic Wall. If you’ve got one, it’s a good idea to have a Armor Knight along for the ride in the best armor you can give her, since she can absorb the first three hits from the Mandrakes with the Defender Evility and will take less damage from them than just about anyone else would.
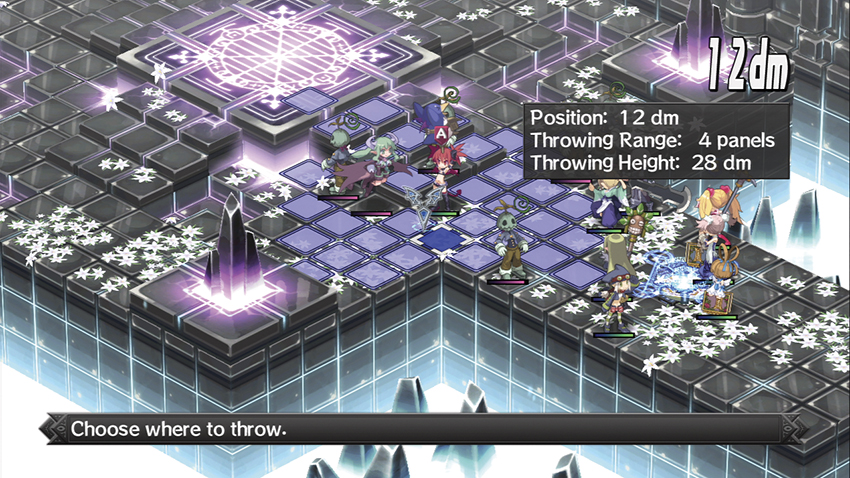
Once the Mandrakes start closing in, toast them with Fire spells and knock them down as quickly as possible. You can use the Fake King to dispose of a couple of them, just like the last time he showed up; he hasn’t gained or lost any levels and he’s still a Prinny, so he’s a grenade waiting to happen. As you take out Mandrakes, the Lilim should gradually get less threatening until she’s easily defeated.
Map Events
- Station Etna next to Laharl.
- Station Sicily next to Flonne.
- Have Laharl on the field at the start of your fourth turn.
Netherworld Maw
| Class | Lv | Qty | Evility | Weapon | Armor | Skills | Note |
|---|---|---|---|---|---|---|---|
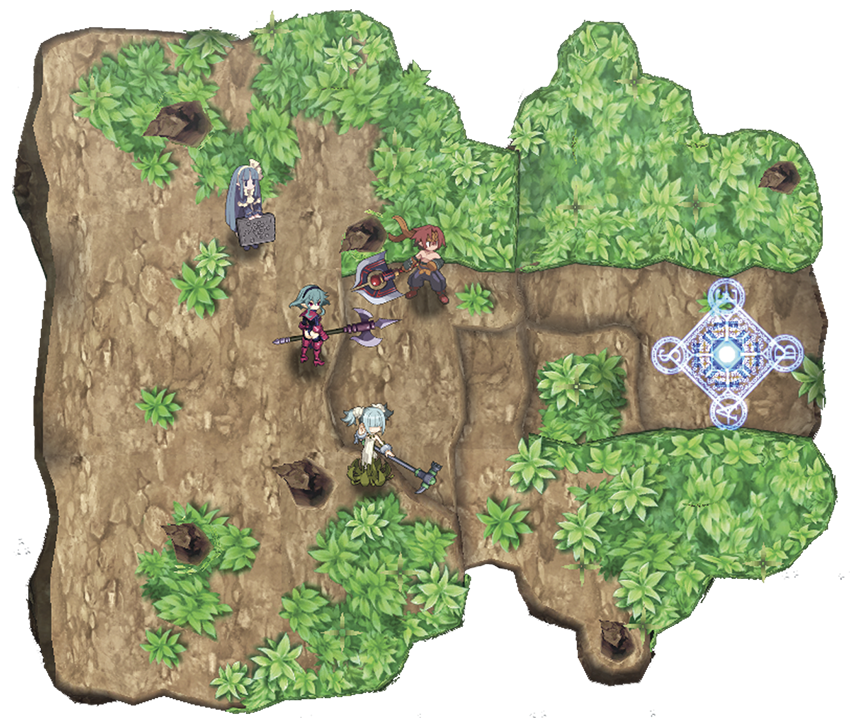
| Barbara | 58 | 1 | Passiveness, Defensive Stance | Ziegfried | Robe of the Magi, Bloody Orb, Sophia's Mirror | Order: Prediction, Order: Chaos Dance, Impaler Drop, Blade Bash, Spear Blow, Trident | - |
| Destroyer | 58 | 1 | Shaking Excitement | Sedona Axe | Robe of the Magi, Ace Muscle | Boulder Crush, Helmet Crush, Super Back Spin, Axe Wheel WMD | - |
| Martyr | 58 | 1 | Light Protection | Solid Impact | Robe of the Magi, Astral Orb | Mega Star, Heal, Mega Heal, Giga Heal, Omega Heal, Espoir, Shield, Magic Wall, Enfeeble, Mind Break | - |
| Blue Mage | 58 | 1 | Lights of Life | Sephirot | Robe of the Magi, Opera Glasses | 541 Degrees of Evil, Gone with the Cotton, Sea Horse Charge, Baskervilles, Nether News, Star, Mega Star | - |
| Heavy Knight | 58 | 1 | Defender | Ziegfried | Robe of the Magi, Devil Ring | Impaler Drop, Blade Bash, Spear Blow, Trident | Replaces Barbara on a second visit to this stage. |
Barbara’s back and she’s developed a second Evility. Unfortunately, it’s Defensive Stance. We’ve seen this before on the Heavy Knights at the start of this Episode, but in conjunction with her Passiveness Evility, it means Barbara now has a theoretically infinite number of Counterattacks. She’s brought some well-armed backup, particularly the Blue Mage with her advanced Book skills, but Barbara can wipe the floor with your team single-handedly and she can do it on your turn. Her Ziegfried also has a chance to Poison anyone she hits.
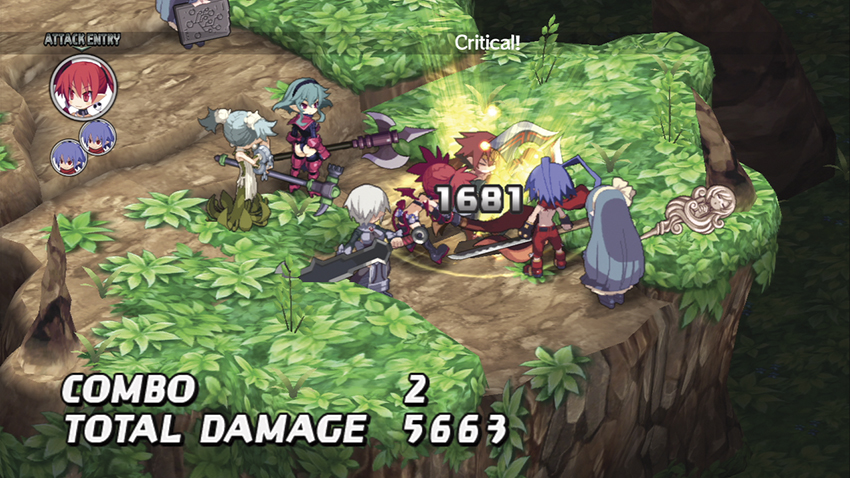
Take out the other characters first before you focus on Barbara. A combo attack from melee range would ordinarily be the way to go here, but it’s unlikely that anyone who participates in one of those will survive the experience. Your only real option is to back away, swipe as many of her accessories as your Thief can reach, and hit her from a distance until she drops. She can still do significant damage with her Order skills, but Barbara’s not as dangerous if she isn’t countering your moves. Remember that she’s got a Spear, so she can Counterattack from up to two panels away.
Defeating Barbara unlocks the Angel Finder Trophy.
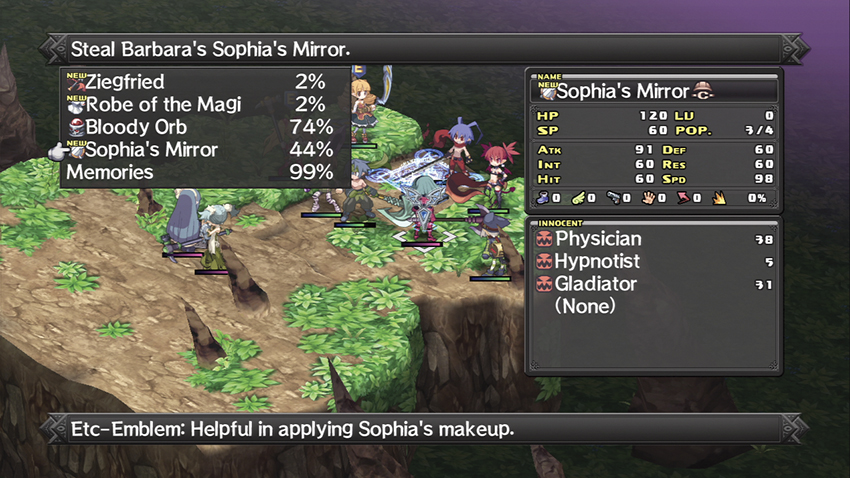
If you come back to this stage in the future, Barbara’s gone and has been replaced by a Heavy Knight with similar gear. You can use a Thief to farm her and the other enemy units for Devil Rings and Robes of the Magi as you go into the final Episode.
Map Events
- Barbara attacks any of your units.
- Attack Barbara with Laharl.
- Attack Barbara with Flonne.