
Disgaea D2: A Brighter Darkness Guide Post-Game Bonus Maps Post-Game: Evilest Man
Post-Game: Evilest Man
After you clear The Strongest Proof, you can return to the Dark Assembly to see a new bill up for grabs. Final Boss from a Different Netherworld! costs 100,000 Mana to pass, but doing so opens another new destination at the Dimension Guide. This one’s sadly familiar.
An Arrogant Betrayal
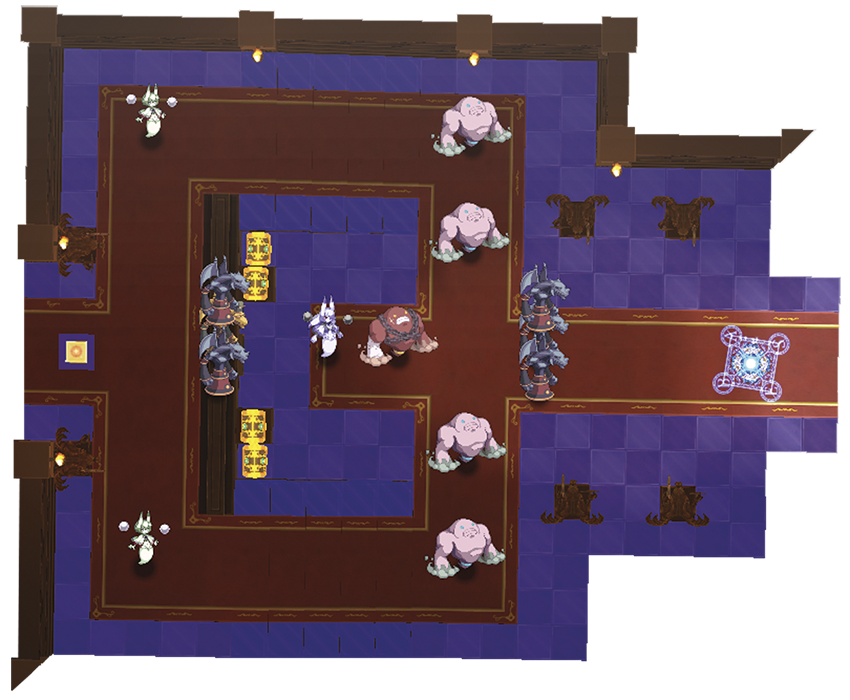
| Class | Lv | Qty | Evility | Weapon | Armor | Skills | Note |
|---|---|---|---|---|---|---|---|
| Grosso | 1200 | 1 | Shut-in Officer, Shielding Aroma | Illusion Emblem | Death's Breastplate | Fall & Press, Grosso Booster, Guardian Cannon, Checkmate, Star, Mega Star, Giga Star, Armor Break, Resist Break, Poison | |
| Rainier | 1200 | 1 | Artifact Collector, Treasure Sensor | Illusion Emblem | Death's Breastplate | Move!, Jump Jump Jump!, Counter Classes, Throw!, Magic Extender, Only Crits!, Tentacle of Death, Frozen Lake, Dam Breaker, Along with Rainier, Omega Ice, Enfeeble, Mind Break | |
| Garungun | 1200 | 1 | Fabricated Setting, Fortitude | Half a Phoenix Wing | Death's Breastplate | Spinning Shock, Gaea's Pulse, Ultimate Form, Godly Machine | |
| Balrog | 940 | 5 | Stone Statue | Phoenix Emblem | Achilles Shield | Flying Press, Boltech Booster, Electric Shot, Galleon Cannon, Granite Checkmate, Wind, Mega Wind, Giga Wind, Omega Wind, Omega Ice | |
| Genie | 940 | 4 | Reversal Power | Hydra Bind | Achilles Shield | Nether Lariat, Pile Bunker, Gaea's Lament, Macho Golem, Lantern Wish, Omega Ice, Omega Heal, Shield, Magic Wall | |
| Urania | 940 | 2 | Lovely Song | Phoenix Emblem | Achilles Shield | Move!, Jump Jump Jump!, Counter Classes, Throw!, Magic Extender, Only Crits!, Water Guillotine, Tentacle, Ice Wall Circle, Dam Maker, With a Sea Angel!, Ice, Mega Ice, Giga Ice, Omega Ice, Omega Heal, Shield, Magic Wall |
| Geo Symbol | Geo Effect | Destroy |
|---|---|---|
| Null | Water Element -50% | Clear |
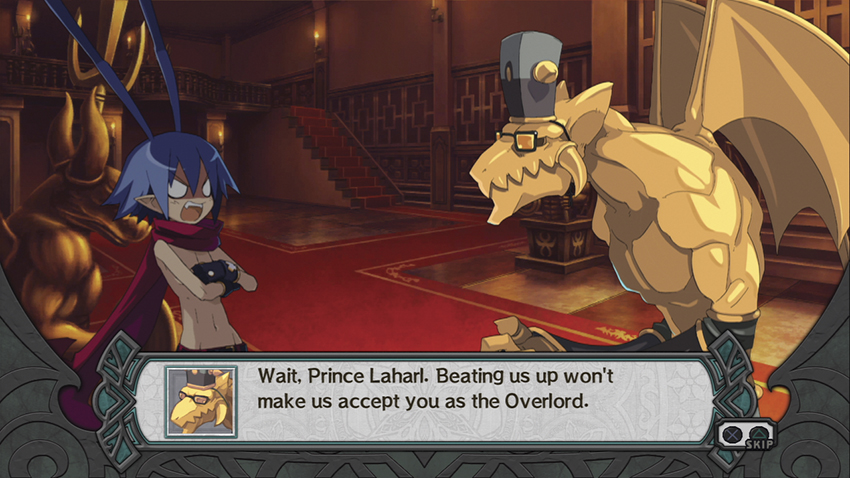
Oh, hey, Grosso. What’ve you been up to—oh.
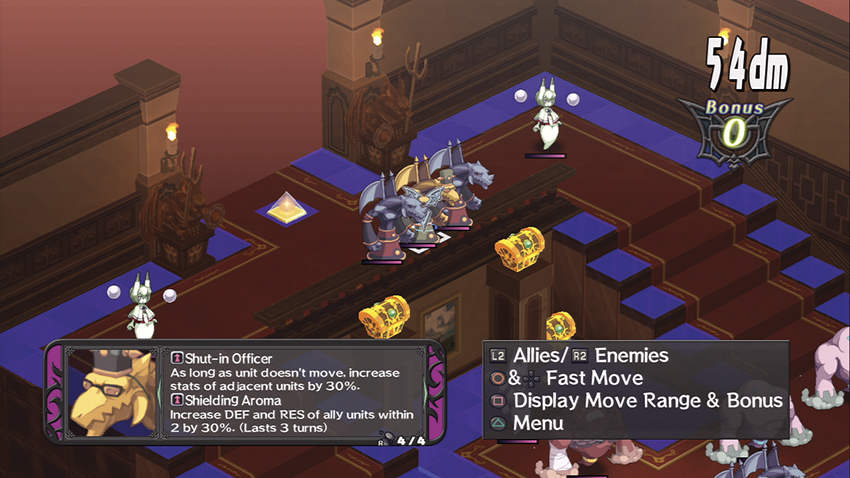
All three members of the Krichevskoy Group have spent the last few dozen hours grinding Mana and used it to steal a second Evility. Rainier creates a treasure chest every time she lands a killing blow, thus giving her group another 5% stat buff; Garungun has Fortitude, which almost guarantees his Fabricated Setting will activate and force you to have to kill him twice; and Grosso is handing out a 20% buff to DEF and RES to nearby allies in addition to his flat 30% stat buff from Shut-In Officer.
Rainier’s also broadcasting a 20% stat buff to her group from Treasure Collector, since she’s replaced those treasure chests that you wrecked back in Episode 3, and the two Uranias in the back are singing their usual Lovely Song, which adds another 10%. All in all, this is a tough nut to crack.
The Water Element –50% Geo Panels to either side of your base panel serve to funnel you into a bottleneck. You may notice that everything on the map knows an Ice spell, even units like Genies that usually don’t. The idea is that if you go through the Geo Panels, they’ll exploit the imposed Ice weakness and kill you. If you don’t and stay in the safe zone, all of your characters end up in a choke point and the entire Krichevskoy Group comes down on you like a ton of bricks. Either way, you’re going to end up taking a lot of damage from something.
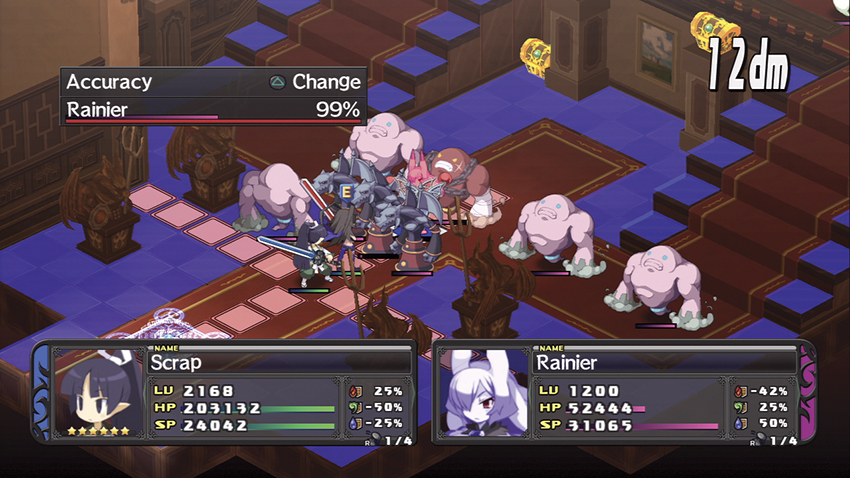
What’s strange is that, in contrast to their past appearances, Rainier is their big gun. Her Omega Ice spells can hit for over 125,000 damage a shot without exploiting a vulnerability. Between that, Artifact Collector, and her general squishiness, there’s no reason not to kill her first, and she’ll charge right up to you in an effort to make that as easy as possible.
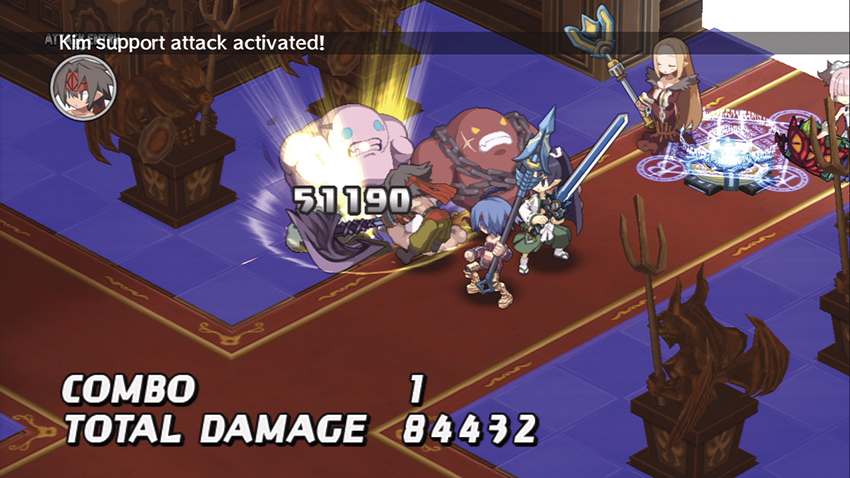
With her down, focus on killing the Genies before you go after Garungun. Because of his extra Evility, you can’t simply burn him down in one long Combo Attack as you did in earlier stages; this time, he has an extra life and there isn’t much you can do about it.
Grosso and his Balrog bodyguards won’t move toward you unless you wipe out everything else on the map. Otherwise they’re happy to stand back and hit you with Wind spells and Poison from the limits of their range. By themselves, they can put out some damage with their magic, but if you can handle the initial onslaught from Rainier and her crew, you can handle Grosso.
Map Events
- Station Sicily next to Laharl.
- Station Etna next to Flonne.
- Have Laharl on the field at the start of your second turn.
The Outside Ringer
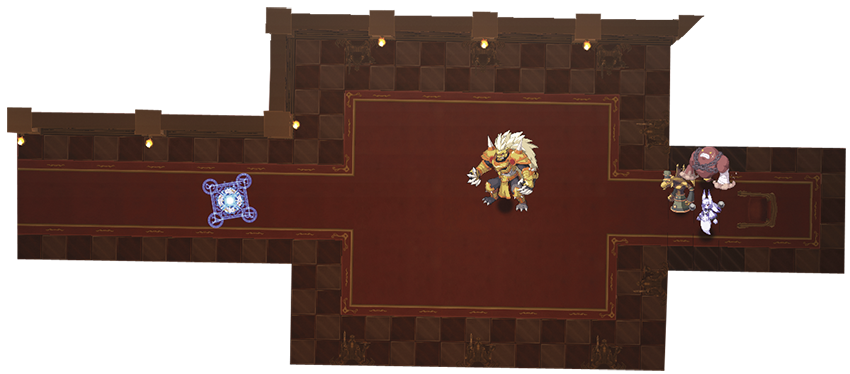
| Class | Lv | Qty | Evility | Weapon | Armor | Skills |
|---|---|---|---|---|---|---|
| Darkdeath Evilman | 2000 | 1 | Final Boss Barrier: damage taken decreased by 100%, but every hit decreases effect by 10%. | Enigma | Aegis Shield, Testament, Accelerator | Evilman Slash, Evilman Death Rave, Evilman Gigantus Ray |
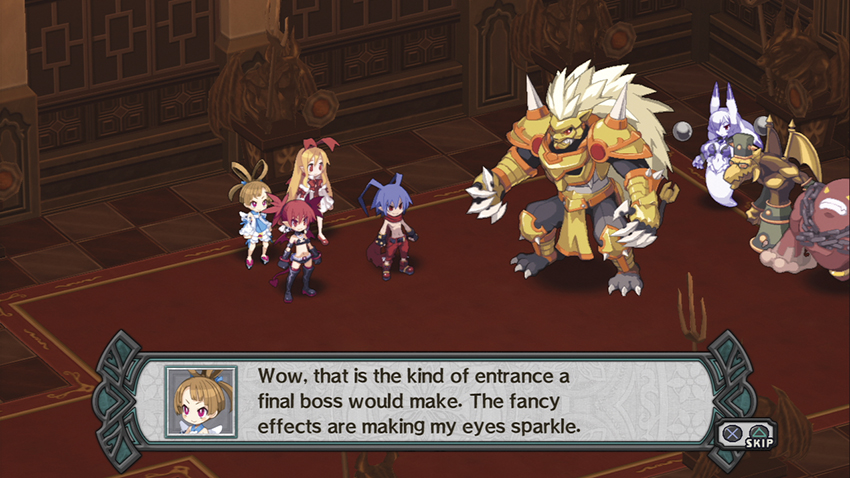
Just like the last time you were in this room, Grosso has rounded up somebody else to try to take the Overlord spot from Laharl. This time, it’s upcoming NIS superstar Darkdeath Evilman, who is the result of a genetics experiment intended to create the bossiest final boss in video game history.
He’s alone on this map, as the Krichevskoy Group are happy to hang back and be neutral, just as they did when you first fought Barbara, but Darkdeath is enough of a handful on his own. His Evility prevents him from taking full damage from any attack until you’ve struck him 10 times, and by then he’s probably used one of his trademark final boss moves to fracture somebody’s skull.
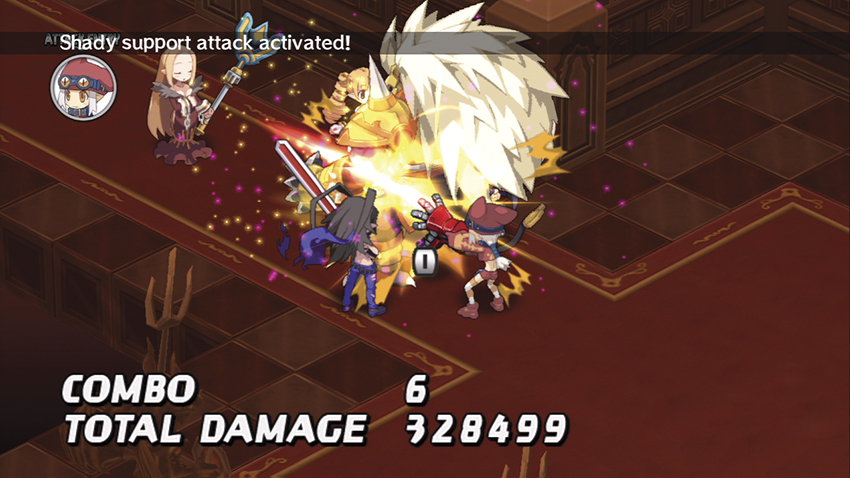
Up until this point, it has been possible to bulldog your way through the game simply by accumulated weight of levels, but Darkdeath marks the end of that era. As a ballpark figure, Darkdeath has about 88,000 DEF. If you can’t bring in characters with at least that much ATK, you aren’t going to win this fight. There isn’t much to beating him, as he’s a big brick wall with a space laser for a head, but just getting through his stats is job one.
The move to watch out for here is Gigantus Ray, which has a bizarre area of effect. Like Xenolith’s final form, Darkdeath can use Gigantus Ray—I’m sorry, Evilman Gigantus Ray—to discourage you from setting up Combo Attacks from melee range. He’s also got 50% resistance to all forms of elemental attack and RES is one of his best stats. All in all, he’s unpleasant.
Lure him over to your base panel by deploying a single character at the start, then peg Darkdeath with a few weak spells to start making progress against his Final Boss Barrier. You can swipe his gear while you’re at it; the Testament and Accelerator are both nice pieces of equipment, and since he’s a monster, stealing his Enigma reduces his ATK by a significant margin. Once you’ve got the gear and levels to start doing real damage to him and you’ve punched through his Barrier, Darkdeath will drop to a Combo Attack or two.
Map Events
- Station Flonne next to Sicily.
- Etna gets attacked by Darkdeath Evilman.
- Laharl attacks Darkdeath Evilman.
Grosso, Rainier, and Garungun are now ostensibly on your side. They enter play at level 1,200 with the gear they had equipped when you fought them, but the recruitment process also strips them of their second Evilities. Grosso is most effective when he’s allowed to stand still and act like a defense turret, Rainier is a more offensively oriented version of the Sea Angel, and Garungun has frankly pathetic starting Aptitudes but can be built up into one of the biggest, meanest meat shields in the game.
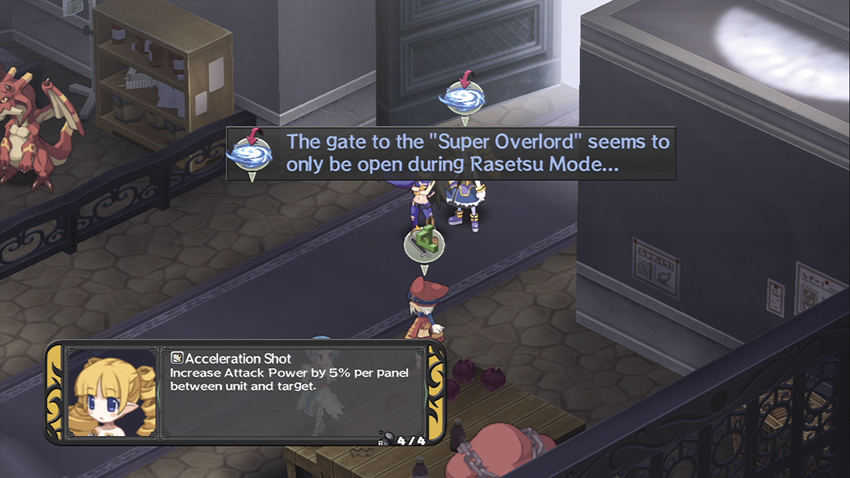
After defeating Darkdeath Evilman, your maximum Obtain Rate at the Cheat Shop goes up to 600% and you get another free 100 points to spend on it. You also unlock Rasetsu Mode, and with it, the gate to the Tyrant Overlord....