
Disgaea D2: A Brighter Darkness Guide Walkthrough Episode 6: Etna’s Letter
Episode 6: Etna’s Letter
This Episode’s treasure chests can be found in the throne room on the side stairs, in Laharl’s bedroom, and on the floor next to the Rosen Queen Trading Company’s counter. As usual, the Cheat Shop’s updated; your minimum multiplier is now 40% and your maximum is 130%.
You can now also pass a bill in the Dark Assembly to Meet a Super Idol. If successful, this opens up one of the optional Detour stages.
This entire Episode is one big gear/level check. Episode 6 is set in Agul Eviland, one of the most dangerous territories in the Netherworld. It’s full of powerful monsters with complimentary Evilities, and you’ll want to spend some time reinforcing your gear before you go out looking for fights. Spend some cash on new armor at Rosen Queen and consider leveling a couple of weapons in the Item World. The more powerful you are when you walk into Agul Eviland, the better off you’ll be.
Frightening Forest
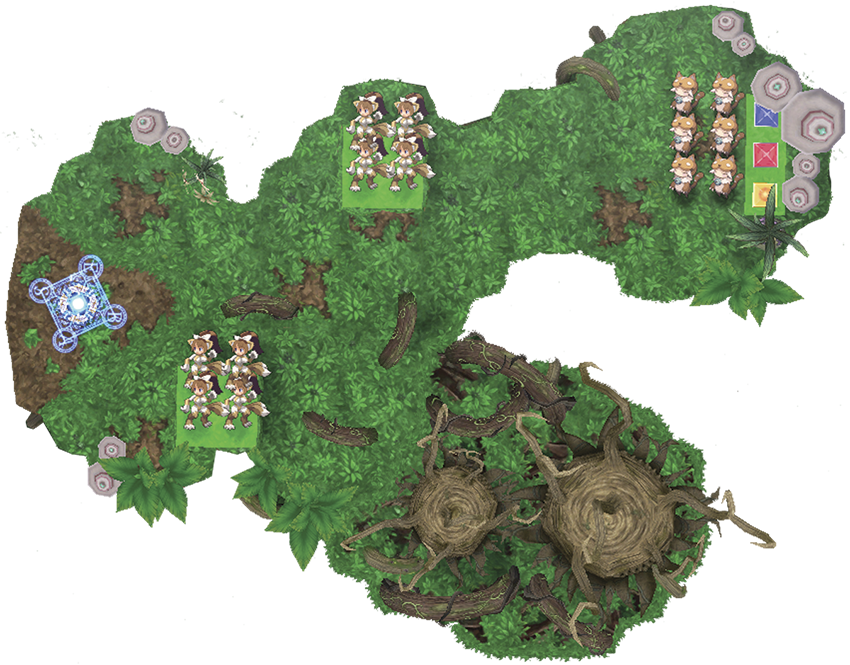
| Geo Symbol | Geo Effect | Destroy | Note |
|---|---|---|---|
| Null | ATK +50% | Clear | On a second visit, this changes to Mana +50%. |
| Red | EXP +50% | Red Change | - |
| Blue | Enemy Boost +50% | Blue Change | - |
| Class | Lv | Qty | Evility | Weapon | Armor | Skills | Note |
|---|---|---|---|---|---|---|---|
| Nekomata | 29 | 8 | Enemy on the Brink | Jack-o'-Lantern | Hustler Jacket | Cat Dance, Lovely Paw Fist | - |
| Warcat | 30 | 6 | Cute Aura | Jack-o'-Lantern | Hustler Jacket | Cat Setaria, Burning Hairball, Cat Umbrella Spin | Absent on future visits to this stage. |
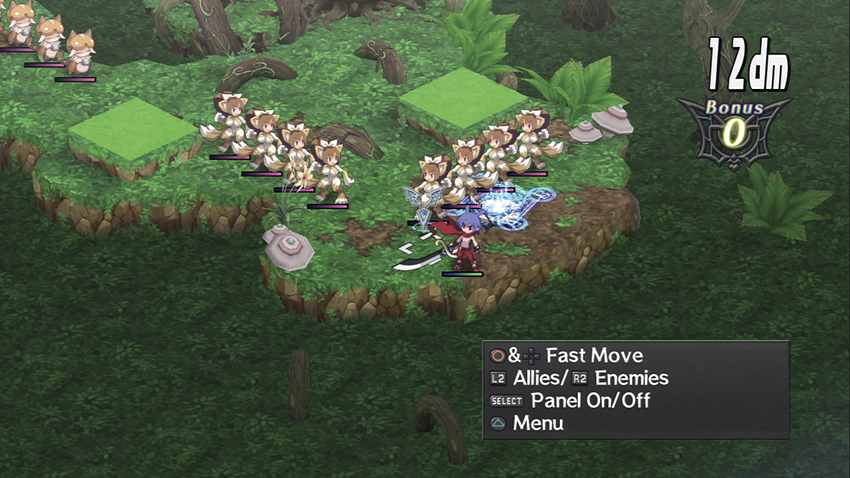
The Nekomata begin this stage standing on Geo Panels that give them ATK +50% and Enemy Boost +50%, as well as EXP +50%. That latter effect shouldn’t tempt you into starting a fight with them. It’s a better, safer option to bring out a single character and move into the corner, back behind the base panel. The Nekomata and Warcats will all obediently come running after you, away from their Geo Panels, and thus giving up their advantage.
This doesn’t make the fight easy, as the Nekomata are powerful hand-to-hand fighters, the Warcats can do some significant damage with Burning Hairball and Cat Seteria, and both have a high Counterattack stat. Once you get them away from the Geo Panels, however, there’s nothing here you can’t handle.
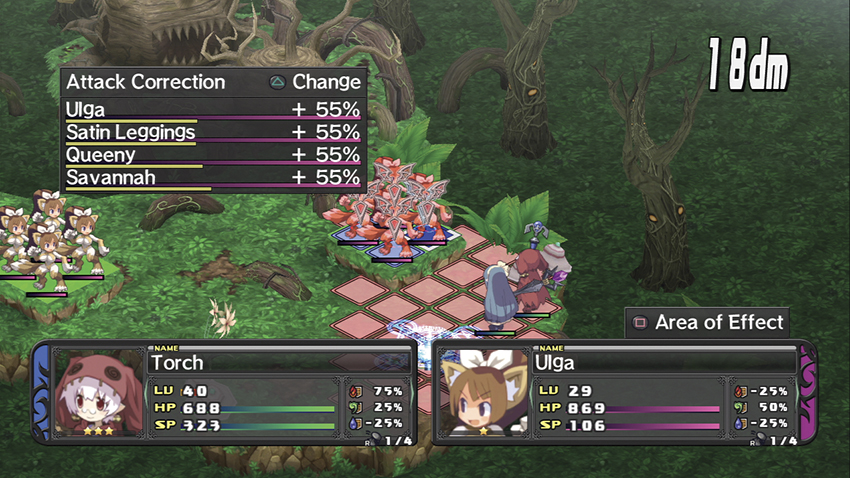
On future visits to this stage, the Warcats disappear and the ATK +50% Geo Effect switches over to Mana +50%. The Nekomata still enjoy the benefit of the Enemy Boost +50% Geo Effect, which makes it a bit harder to efficiently farm them, but this is still one of the best spots to grind levels and Mana outside of the Post-Game.
Map Events
- Station Etna next to Sicily.
- Station Etna next to Laharl.
- Station Laharl next to Flonne.
Momentary Bravado
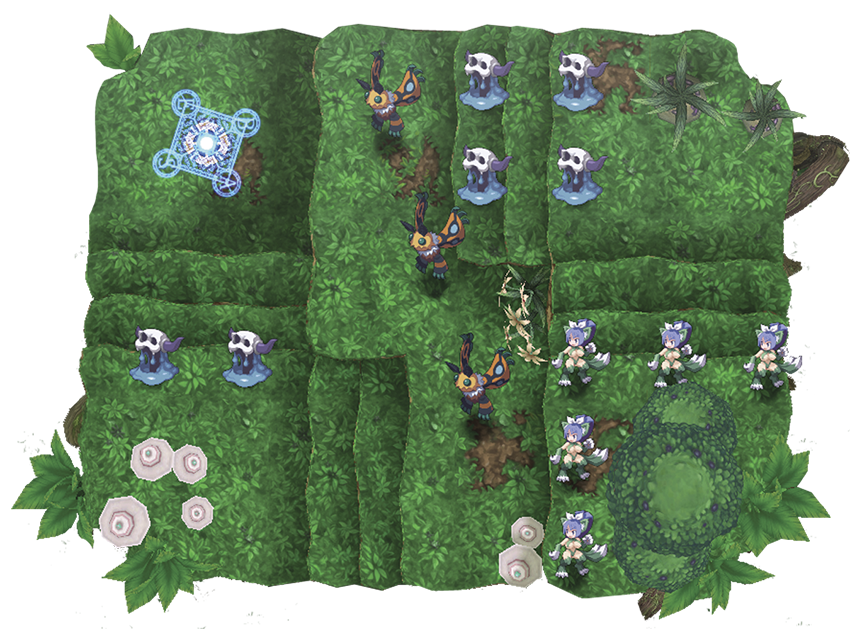
| Class | Lv | Qty | Evility | Weapon | Armor | Skills |
|---|---|---|---|---|---|---|
| Red Blob | 31 | 6 | Corrupting Body | Rose Whip | Magical Tricorn Hat | Slime Stomp, Slime Cheer, Slime Hand |
| Messenger | 31 | 3 | Lengthen Ailment | Greedy Emblem | Dark Orb | Super Hypno Ray, Mothsplosion, Moth Tornado, Poison, Stun |
| Nekomata | 32 | 5 | Cat on the Brink | Jack-o'-Lantern | Hustler Jacket | Cat Dance, Lovely Paw Fist |
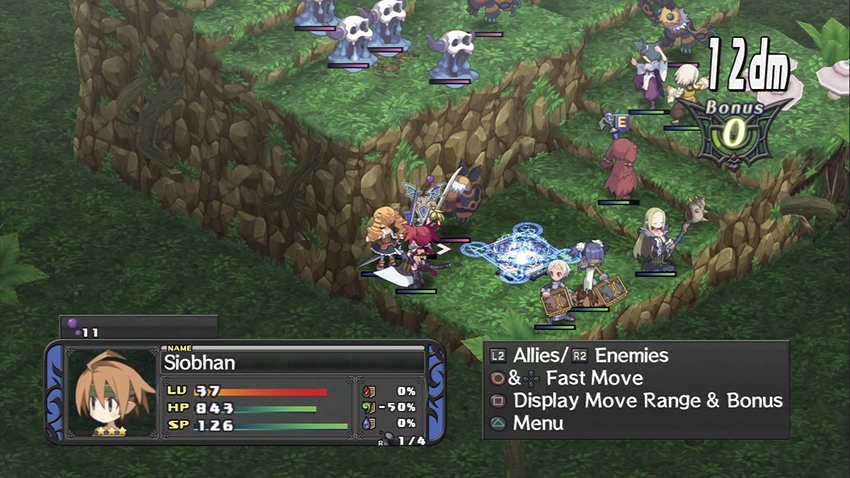
The Messengers all have the Lengthen Ailment Evility and it stacks for every one of them that is alive when a status ailment is applied, so the Red Blobs could end up sticking you with paralysis, Poison, or deprave for up to 11 turns.
Use your offensive spellcasters to dispose of the Blobs as quickly as possible, and keep dispelling those ailments with Fairy Dust or Espoir. As long as nobody ends up keeling over from Poison damage, the five Nekomata in the back aren’t much to speak of.
Map Events
- Have Laharl on the field at the start of your fifth turn.
- Have Etna on the field at the start of your second turn.
- Station Flonne next to Sicily.
Despairing Silence
| Class | Lv | Qty | Evility | Weapon | Armor | Skills | |
|---|---|---|---|---|---|---|---|
| Beast Leader | 32 | 3 | Dark Blood | Shaman Axe | Hustler Jacket | Wild Groom, Dominate, Boulder Crush, Helmet Crush, Super Back Spin | Each one mounts a Watcher on their first turn. |
| Watcher | 30 | 5 | Poison Accelerator | Jack-o'-Lantern | - | Super Hypno Ray, Mothsplosion, Moth Tornado, Poison, Stun | - |
| Nekomata | 32 | 9 | Enemy on the Brink | Bear Claw | Hustler Jacket | Cat Dance, Lovely Paw Fist | - |
| Witch Doctor | 34 | 3 | Cursed Dance | Emerald Staff | Hustler Jacket | Enfeeble, Armor Break, Mind Break, Resist Break, Blind, Slow, Poison, Stun, Blank Out | - |
| Geo Symbol | Geo Effect | Destroy |
|---|---|---|
| Red | Enemy Weaken -50% | Red Change |
| Blue | No Entry | Blue Change |
| Yellow | Ally Boost +50% | Yellow Change |
| Null | None | Clear |
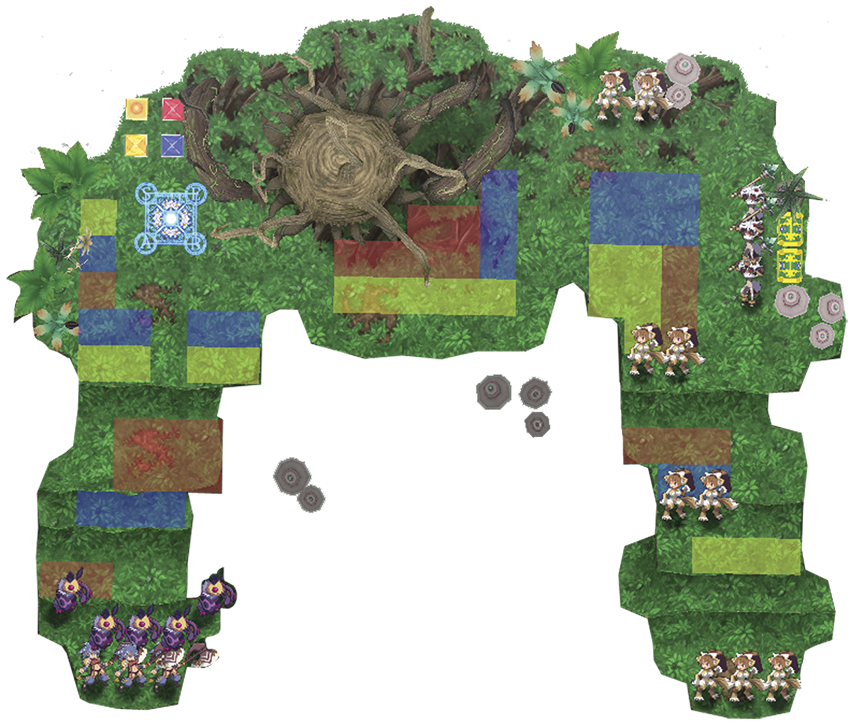
This is another one of those rude awakenings that are scattered around the story missions. There are a lot of passive buffs and debuffs in play that make this situation more dangerous than it looks.
The Beast Leaders’ Evility provides them with a 5% stat buff per monster on the map, and at the start of the battle, there are 14 monsters scattered around the landscape. You’re also eating a 15% stat penalty from the Shamans’ Cursed Dance. As a result, even if you think you’ve got this in the bag, the Leaders are going to walk up and Moth Tornado your face off your head.
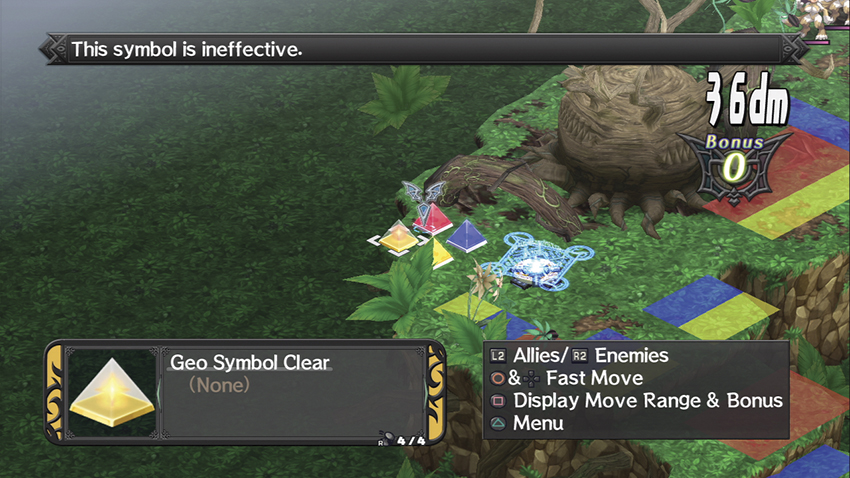
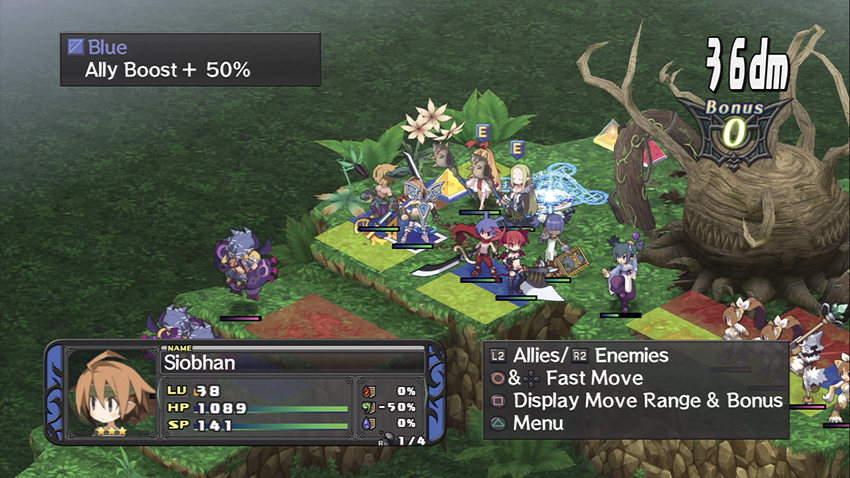
To even the odds, use the Geo Symbols near the base panel to your advantage. There are multiple approaches you can take and you should feel free to experiment, but the one that worked most consistently for us was to give yellow Geo Panels the Enemy Weaken –50% Geo Effect, blue Panels the Ally Boost +50% Geo Effect, and red Panels the No Entry effect.
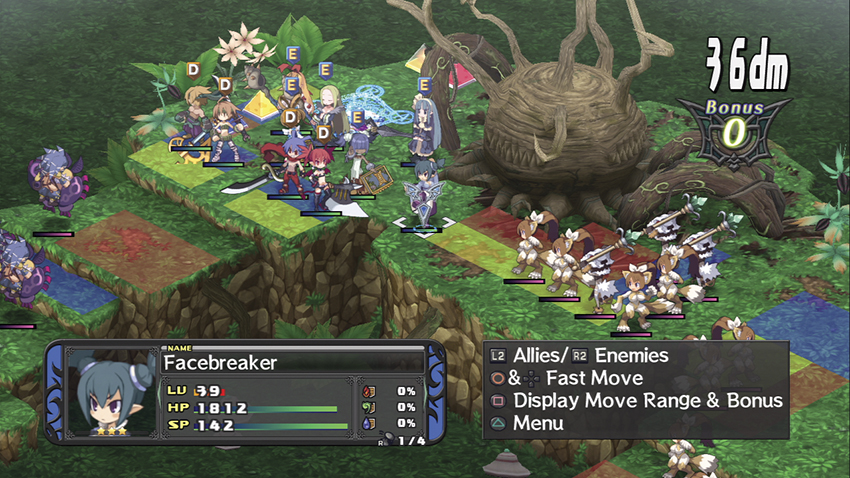
This forces the Nekomata to approach you along a narrow corridor that weakens them, so you can hold the line against them with a single character (ideally one with a Spear), and causes the Beast Leaders to ride up on their Moths and position themselves on the yellow Enemy Weaken tiles.
This all sounds straightforward enough, but there are still a lot of X-factors in play. The Shamans do nothing but throw out status ailments and debuffs, such as Stun and Armor Break, and the long range and area of effect on Moth Tornado can make a mess of your support units if you aren’t careful about conditioning. Killing the Beast Handlers as fast as possible is the key to this stage overall, as they do the bulk of the enemy’s damage. The rest is epilogue.
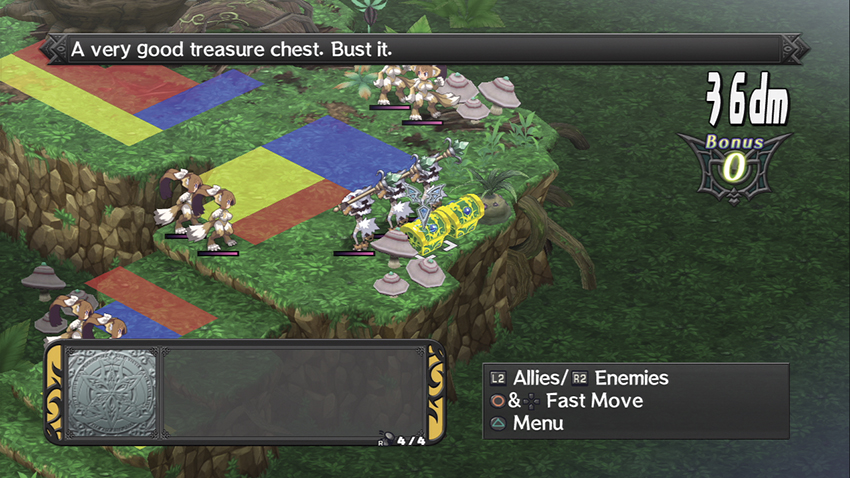
On your first trip through this stage, you can break open the two gold treasure chests for two random legendary items of rank 10 to 12. The chests, as with most of the treasures in the story campaign, do not reappear on subsequent visits.
Map Events
- Station Laharl next to Sicily.
- Station Flonne next to Etna.
- Have Laharl on the field at the start of the second turn.
Animal Trail to Hell
| Class | Lv | Qty | Evility | Weapon | Armor | Skills |
|---|---|---|---|---|---|---|
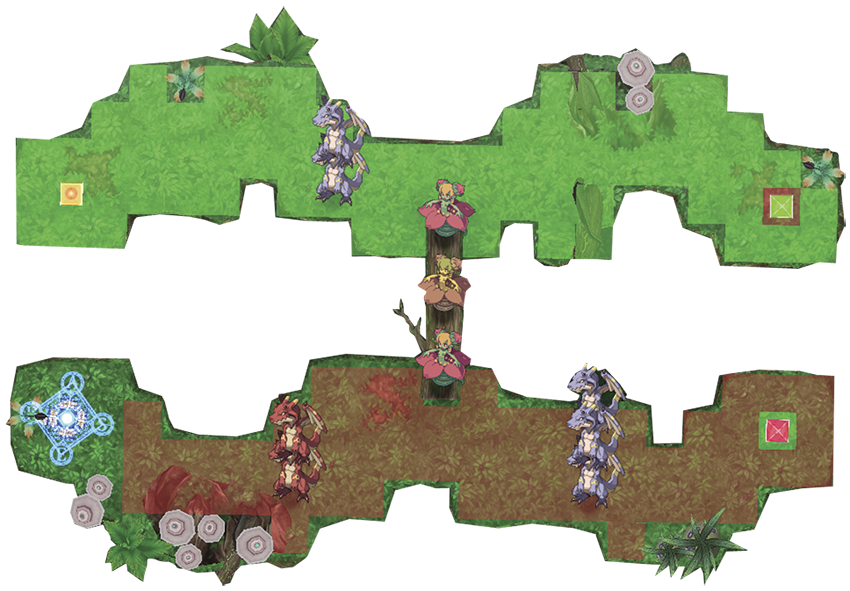
| Nidhogg | 35 | 2 | Wind Depression | Tiger Fang | Magical Tricorn Hat | Dragon Hornet, Sky High Dragoon |
| Fafnir | 32 | 6 | Air Charge | Tiger Fang | Magical Tricorn Hat, Psycho Orb | Dragon Hornet, Sky High Dragoon |
| Pharbitis | 33 | 3 | Sweet Aroma (x2), Shielding Aroma | Third Eye Emblem | Hustler Jacket | Petal Cutter V, Solar Satellite, Moon Spike, Wind, Mega Wind, Giga Wind, Braveheart, Shield, Magic Boost, Magic Wall |
| Geo Symbol | Geo Effect | Destroy |
|---|---|---|
| Red | Wind Element +50% | Red Change |
| Null | DEF -50% | Clear |
| Green | Enemy Boost +50% | Green Change |
There’s an interesting synergy at work here. The Pharbitises like to use Wind spells, and each one they cast buffs the Fafnirs via their Air Charge Evility. The Nidhoggs pitch in by reducing your resistance to Wind. Combine that with the Enemy Boost Geo Effect and you could be in for some serious pain on this map.
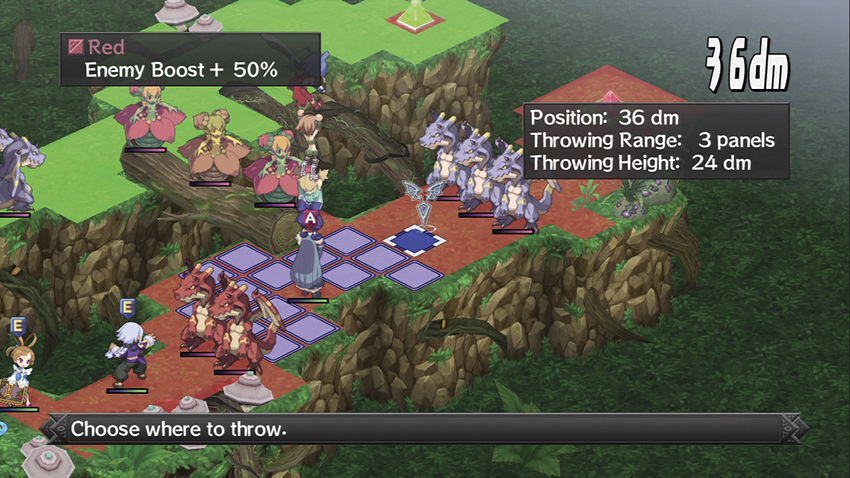
If you put at least six characters into a tower throw, you can get to the red Geo Symbol that’s covering half the map in Enemy Boost +50%. Destroying it triggers a cascade that clears the zone of Panels, which “just” leaves you with a field full of angry Dragons. This sounds simple enough, but even without Enemy Boost, the Fafnirs can still bring the pain. Fortunately, they have a serious weakness to Ice spells, which you should be sure to exploit.
Map Events
- Station Laharl next to Etna.
- Station Laharl next to Flonne.
- Have Sicily on the field at the start of your third turn.
Death Scream Chorus
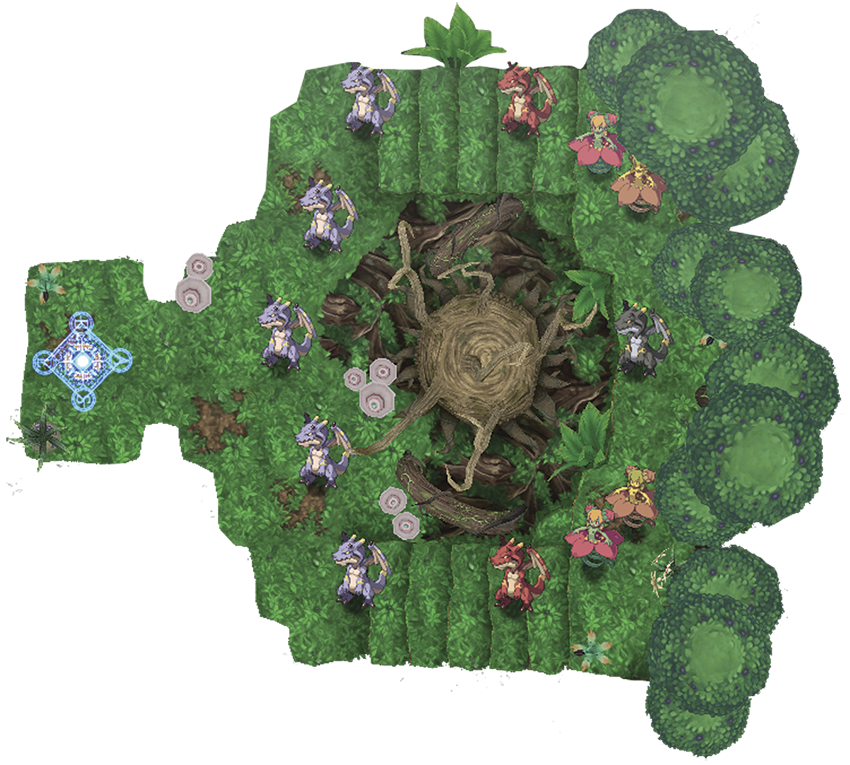
| Class | Lv | Qty | Evility | Weapon | Armor | Skills | |
|---|---|---|---|---|---|---|---|
| Dragon | 30 | 5 | Air Charge | Tiger Fang | Dandy Gown | Dragon Hornet, Sky High Dragoon | - |
| Fafnir | 34 | 2 | Wind Depression | Alligator Bite | Dandy Gown, Hustler Jacket | Dragon Hornet, Sky High Dragoon | Absent on a second visit |
| Ahzi Dahaka | 36 | 1 | Wind Dominance, Wild Cry | Alligator Bite | Dandy Gown, Falcon Shoes | Dragon Hornet, Sky High Dragoon | Absent on a second visit |
| Nemophila | 32 | 4 | Sweet Aroma (x2), Shielding Aroma (x2) | Eerie Emblem | Dandy Gown | Petal Cutter V, Solar Satellite, Moon Spike, Wind, Mega Wind, Giga Wind, Braveheart, Shield, Magic Boost, Magic Wall | Absent on a second visit |
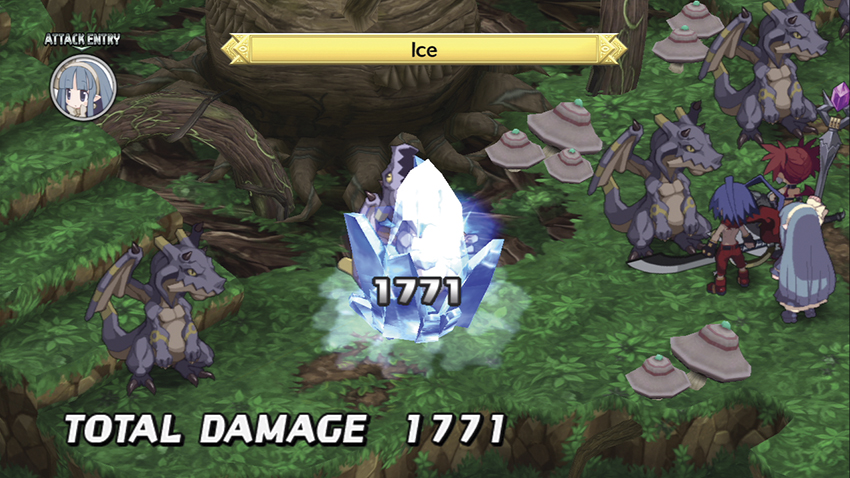
The first five Dragons go down easily enough to combo attacks or Ice spells, but the Fafnirs are where this fight really starts. They’ve got some power behind them, and you should take them seriously.
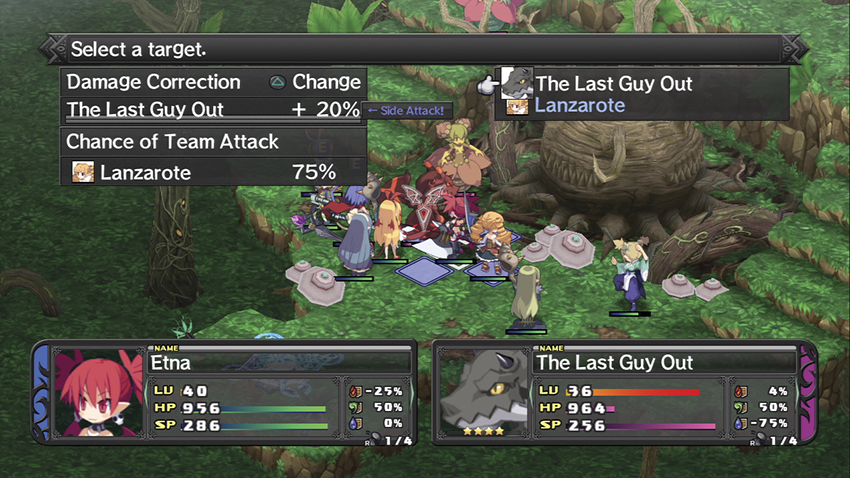
The main event is when the Ahzi Dahaka makes its way down the stairs, which won’t happen until such a time as all five Dragons are dead. It’s level is higher than anything else on the map, it has a second Evility that enhances its stats as soon as you run up to attack it, and the four Nemophilae will do absolutely nothing other than casting buff spells on it or standing nearby to give it the benefit of their Evilities.
Beating this mob of Dragons grants you the Eviland Explorer Trophy.
On subsequent visits to Death Scream Chorus, the Ahzi Dahaka and his Nemophilae groupies are gone, leaving this as a fight against five level 30 Dragons. Given their vulnerability to Ice attacks, this is a good stage to level up your supporting characters such as Clerics, Priests, or Flonne. You can teach them Ice spells through apprenticeship and beat up on Dragons for a bit until you’re up to speed.
Map Events
- Etna attacks an enemy unit.
- Station Laharl next to Etna.
- Station Flonne next to Sicily.