
Disgaea D2: A Brighter Darkness Guide The Item World The Item World
The Item World
A big part of Disgaea D2 is spent in the Item World. In the early game, you can tune up your equipment by clearing a few floors here and there; in the late game, you need level 300 weapons and armor to survive the hardest challenges; in the endgame, that cap goes away and you’ll need equipment that’s level 999. If you expect to complete D2, you’ll be spending hours in the Item World.
The Item World is practically a game unto itself, however, and it deserves more attention than the quick once-over we gave it in Chapter 3.
Entering and Exiting
One more time for the people in the cheap seats: to enter the Item World and deal with its denizens, talk to Minato in the mess hall of Laharl’s Castle. She reopens for business at the start of Episode 3, and you’ll have free access to the Item World at any point thereafter.
You can create an Item World with any item in your inventory. Common items make 30-floor dungeons, rare items make 60-floor dungeons, and legendary items make 100-floor dungeons. By defeating the last boss on the last floor of an item, you upgrade that item to the next level of quality.
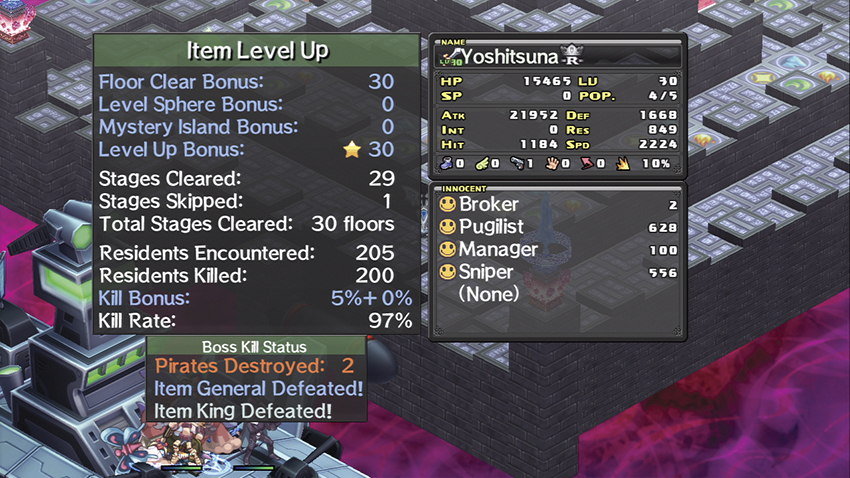
The primary reason to visit the Item World in the first place is to level up your equipment. Every floor you clear or skip within the Item World adds one level to the item you’re currently exploring, to an initial cap of 300. At the end of the game, once you’ve unlocked Rasetsu Mode, this cap goes up to 999, and exploring an item beyond that will keep adding stats to the item, up to a limit of 999,999.
Between Weapon/Monster Mastery, Aptitudes, and item levels, your equipment thus becomes an enormous part of your character’s combat potential. It’s worth taking the time to slap at least 10 levels on any piece of gear you expect to be using for a while, and that means heading into the Item World.
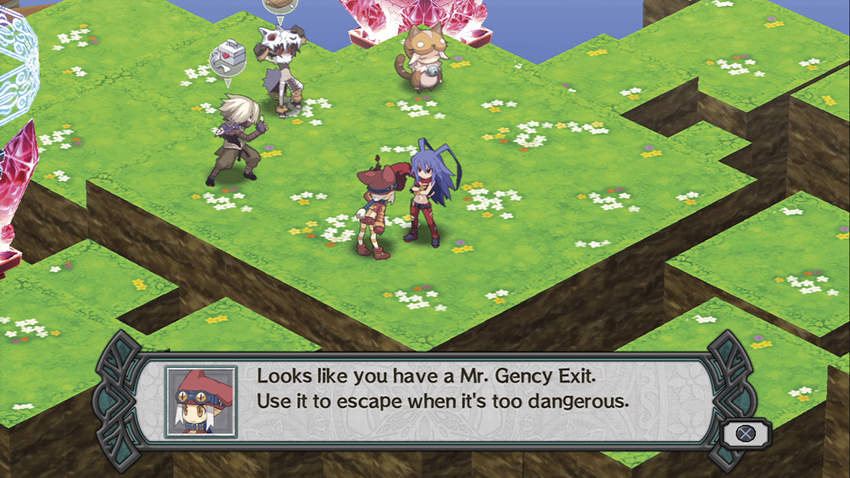
Once you’re in the Item World, you can leave by clearing all the floors within the current dungeon; reaching the last floor that your current Boat is capable of reaching (see below); opting to leave when you reach an Innocent Island (again, see below); or using a Mr. Gency Exit. If you don’t have an Exit in your inventory, talk to Minato on the first Innocent Island to get one for free. Otherwise, you can earn more Exits as Bonus prizes on every 10th floor of the Item World, and one occasionally shows up when you play with the Toy Machine.
The Item Assembly
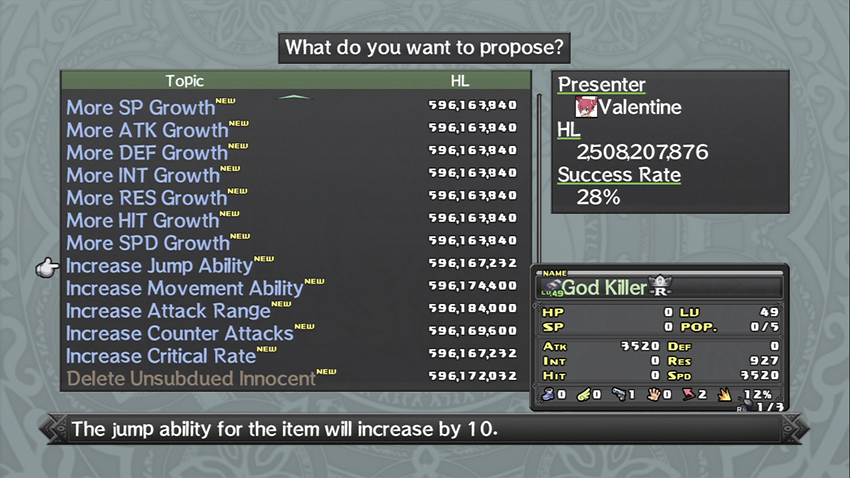
The Item World has its own version of the Dark Assembly, but here, the bribes are even more explicit. The Item Assembly runs off of HL rather than Mana, and as the items you’re modifying get better, the prices skyrocket. By the time you’re negotiating over the finer points of a Rank 35 weapon or higher, you can be looking at spending hundreds of millions of HL before the proposal even goes up for a vote.
To visit the Item Assembly within a specific item, talk to Minato in Laharl’s Castle.
You can propose only a limited number of successful bills for each item. A common-quality item can only have a single bill proposed for it in the Item Assembly, while rare items can have two and legendary items can have three. Every time you successfully defeat the Item God on the 100th floor of the Item World inside a legendary item, you give the item the ability to support one more successful bill, with a final limit of six. Checking the Representatives List, changing the item’s name or model, and deleting unsubdued Innocents do not count toward this limit, and every bill that affects an item that costs HL costs the same amount of HL.
Once a bill is in place, it cannot be removed or adjusted. If you screw up and propose the wrong bill, you’ll just have to get another item and try again.
Representatives List
The Item World’s Senate is just as deliberately unhelpful as the Netherworld’s. This lets you check them out ahead of time to see what they’re thinking and just how difficult they’re going to be.
Change Item Name
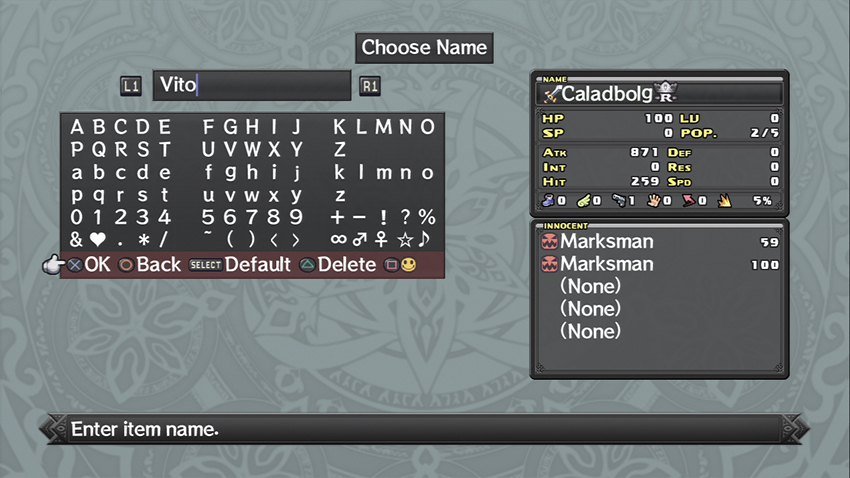
With this bill, you can permanently change an item’s name for free. This is helpful for keeping track of which items you’re using for specific purposes, such as packing in Statisticians or maximizing a particular stat. You can change a single item’s name as often as you want.
Change Item Look
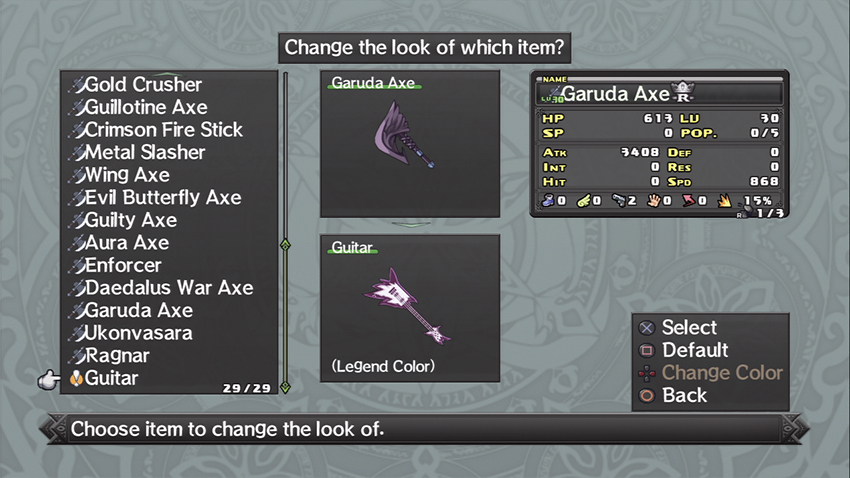
This allows you to change an item’s appearance to that of any other item of its class that you’ve collected. This bill is restricted to weapons that have a visible model when equipped, so it won’t work on Fists, Monster Weapons, armor, accessories, or consumables. Like changing the item’s name, it’s free, so there’s no reason not to equip your entire army with signposts or guitars.
Increase Stats
This covers eight separate bills, one for each of the primary statistics, that allow you to permanently raise one of the item’s stats by 5%.
Note that this is a percentage-based increase and does not actually add anything to the item. If a given piece of equipment does not grant its user any INT, the Item Assembly will happily let you waste your HL passing a bill to raise its INT by 5%, but 5% of zero is still zero.
Greatly Increase Stats
These bills become available only if you’re trying to modify an item that you’ve leveled to 10 or higher via the Item World. Successfully getting one of these proposals through the Senate boosts the item’s stats in a single category by 20%. It starts at roughly half the chance of passing as the previous bills do. Again, the Assembly will let you work to pass a bill that improves a stat that an item does not have—because they are jerks. Be careful and double-check before you start doling out bribes.
A Little More Growth
Again, this covers eight separate bills that allow you to permanently increase the item’s stat growth when it levels by 2%. Each bill applies to a single stat and can be passed multiple times. The advantage it has over the following bills is that it has, on average, a 10% better base chance of passing through the Item Assembly before you start bribing people.
More Growth
This increases the growth of a single stat on the item by 5%. It shares the above restrictions: it’s expensive, it has a lower chance to pass than the other options, and the Item Assembly will let you pass a bill that enhances a stat that the item does not have.
Increase Stats
This option becomes visible in the Dark Assembly only if you’re trying to upgrade an item that you have leveled to 20 or higher via the Item World. You can pass bills to increase an item’s Jump by 10, Move by 1, Range by 1, Counter by 1, or Critical rate by 10%. These increases apply to any character who equips the item and stack with the character’s preexisting stats.
Delete Unsubdued Innocent
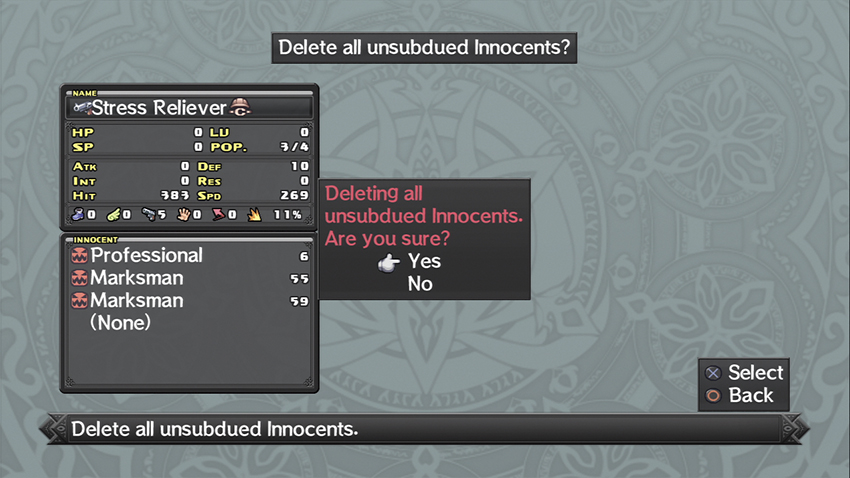
This costs HL but does not require a visit to the Senate floor. You simply pay to have the unsubdued Innocents inside an item removed, leaving you with empty slots. This can be an effective method of making room if you don’t care to chase down the leftover Innocents.
Innocents
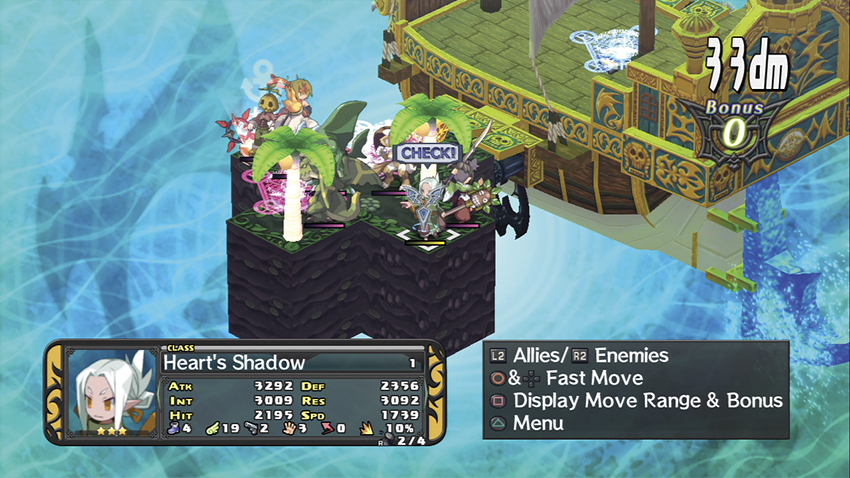
Innocents are neutral demons who live in the Item World. Their presence gives the item they live in additional capabilities beyond its inherent value, such as stat boosts, passive bonuses, or immunities.
When you’re exploring the Item World, Innocents can appear on any floor as a neutral mob. They’re almost always a monster and if you look at their status, their usual job class’s name is replaced by the name of the kind of Innocent they are.
As neutral units, the Innocents act at the start of the enemy turn and are hostile to all enemy units on the field. Enemy units, for their part, will chase down and try to kill the Innocent before you can. If they’re successful or if something else kills the Innocent before you have the chance to do so, such as a Geo Chain, the Innocent is “reshuffled” into the Item World. You still have a chance to meet and subdue it on subsequent floors or visits. If you can’t see a way to reach an Innocent before the local enemies take it out, don’t stress. You’ll always have another chance.
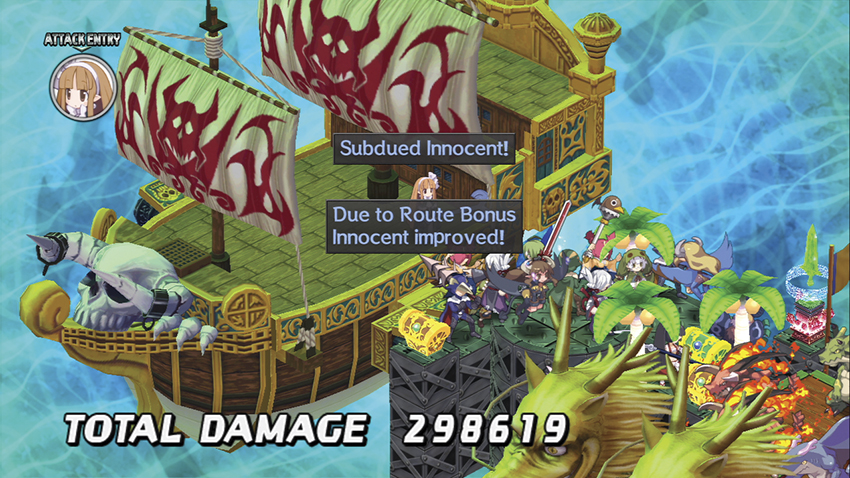
It’s best, when specifically hunting Innocents, to use the Innocent Route cheat at the Cheat Shop. This gives you a chance to run into totally random Innocents that weren’t initially listed on the item at all, as well as a chance to raise the Innocent’s level by 2 when you subdue it. There is one extremely rare Innocent, the Heart’s Shadow, which can only be found and subdued if it randomly appears via the Innocent Route. You’ll never find it as a random Innocent on newly acquired items.
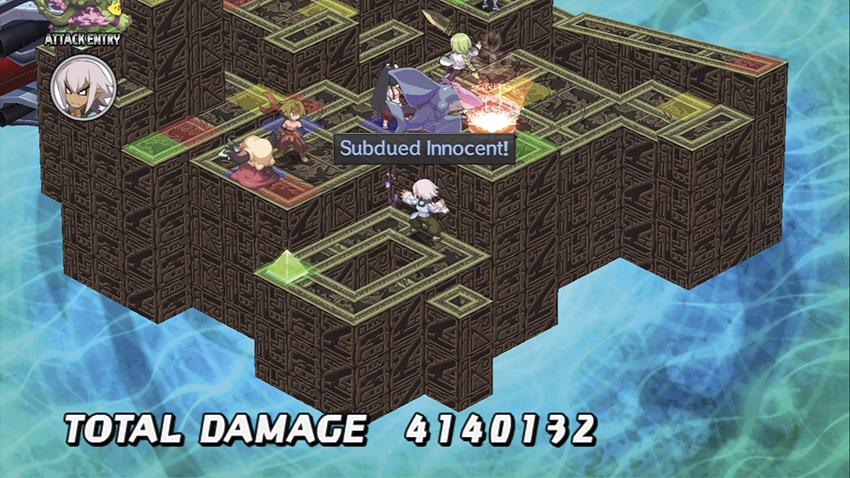
Subdued Innocents are assigned slots on the item you’re currently exploring and will appear on Innocent Island until such a time as you leave the Item World. In the event that you subdue more types of Innocents than you have spots in the item to hold them, the leftover Innocents simply disappear.
If you happen to encounter and defeat extra Innocents of a type you’ve already subdued, they will automatically combine into a single spot, much as when you deliberately combine Innocents by pushing Select in the Innocent Management menu.
The cap on the total Innocents that can be made to fit into a single item slot is identical to the cap on how much benefit a single character can receive from a particular type of Innocent.
Stat-boosting Innocents (HP, SP, ATK, etc.): 9,999
Equipment-boosting Innocents (Guardian, etc.): 500
Resource-boosting Innocents (EXP, Mana, HL, etc.): 300
Status resistance Innocents: 100
Elemental resistance-boosting Innocents: 100
Even if you use multiple slots to hold more Innocents than this within a single character’s equipment, that character can only receive a bonus up to this cap. For example, you could cram 7,200 levels’ worth of Statisticians into a character’s gear if you really worked at it, but only 300 of those levels would provide an EXP bonus. The rest of the Statisticians are just sitting there doing nothing.
| Innocent | Effect |
|---|---|
| Dietician | Adds bonus points to an item’s HP. |
| Master | Adds bonus points to an item’s SP. |
| Gladiator | Adds bonus points to an item’s ATK. |
| Sentry | Adds bonus points to an item’s DEF. |
| Tutor | Adds bonus points to an item’s INT. |
| Coach | Adds bonus points to an item’s RES. |
| Marksman | Adds bonus points to an item’s HIT. |
| Physician | Adds bonus points to an item’s SPD. |
| Muscleman | Adds bonus points to an item’s ATK and HP. |
| Sprinter | Adds bonus points to an item’s ATK and SPD. |
| Nerd | Adds bonus points to an item’s INT and SP. |
| Hard Worker | Adds bonus points to an item’s HP. |
| Patient | Adds bonus points to an item’s HP. |
| Pugilist | Adds bonus points to an item’s HP. |
| Sniper | Adds bonus points to an item’s HP. |
| Alchemist | Chance to inflict Poison status on attack equal to level of Innocent. |
| Hypnotist | Chance to inflict Sleep status on attack equal to level of Innocent. |
| Witch Doctor | Chance to inflict Paralysis status on attack equal to level of Innocent. |
| Amnesiac | Chance to inflict Confused status on attack equal to level of Innocent. |
| Gangster | Chance to inflict Depraved status on attack equal to level of Innocent. |
| Professional | Adds to the user’s Critical stat. |
| Pharmacist | Chance of immunity to Poison status equal to level of Innocent. |
| Coffee Maker | Chance of immunity to Sleep status equal to level of Innocent. |
| Medicine Man | Chance of immunity to Paralysis status equal to level of Innocent. |
| Psychologist | Chance of immunity to Confused status equal to level of Innocent. |
| Social Worker | Chance of immunity to Depraved status equal to level of Innocent. |
| Firefighter | Increases user’s Fire resistance by 1% per level of Innocent. |
| Aeronaut | Increases user’s Wind resistance by 1% per level of Innocent. |
| Cryophile | Increases user’s Ice resistance by 1% per level of Innocent. |
| Fist Fighter | When the user equips a Fist, they receive 1% more of the item’s stats per level of the Innocent. |
| Fencer | When the user equips a Sword, they receive 1% more of the item’s stats per level of the Innocent. |
| Lancer | When the user equips a Spear, they receive 1% more of the item’s stats per level of the Innocent. |
| Eros | When the user equips a Bow, they receive 1% more of the item’s stats per level of the Innocent. |
| Deadeye | When the user equips a Gun, they receive 1% more of the item’s stats per level of the Innocent. |
| Lumberjack | When the user equips a Axe, they receive 1% more of the item’s stats per level of the Innocent. |
| Cane Man | When the user equips a Staff, they receive 1% more of the item’s stats per level of the Innocent. |
| Book Worm | When the user equips a Book, they receive 1% more of the item’s stats per level of the Innocent. |
| Monster Hunter | When the user equips a Monster Weapon or Emblem, they receive 1% more of the item’s stats per level of the Innocent. |
| Guardian | When the user equips a Fist, they receive 1% more of the item’s stats per level of the Innocent. |
| Broker | Defeated enemies drop 1% more HL per level of Innocent. |
| Statistician | Defeated enemies are worth 1% more EXP per level of Innocent. |
| Manager | Defeated enemies are worth 1% more Mana per level of Innocent. |
| Sparring Partner | User receives 1% more Weapon Mastery experience per level of Innocent. |
| Trainer | User receives 1% more Special Skill experience per level of Innocent. |
| Heart’s Shadow | The user receives a 1% bonus to all stats for every character in your roster that is at zero Likability with him or her. |
Unique Innocents cannot be removed from their item under any circumstances. These are typically found in the rarest items in the game, although “rare” does not always mean “powerful” or even “marginally useful.”
| Unique Innocent | Effect | Item |
|---|---|---|
| All Digger | The user inflicts Paralysis status when attacking an opponent from behind. | Shovel |
| Beggar | Enemies in adjacent panels receive a 20% penalty to their stats. | Mushroom Charm |
| Berry Picker | The chance the user will participate in a Team-Up Attack goes up to 100%. | Flower Wreath |
| Chalkboard Scraper | Attacks against the user are 25% less accurate. | Guitar |
| Eraser | The user has a 50% chance to inflict a Deathblow on a target that’s below 25% HP, instantly killing it. | Bunny Diary |
| Fold Shop | The user doesn’t move from square to square anymore, but simply teleports to his or her destination, bypassing all obstacles. This allows the user to retain the effect of movement-based bonuses and Evilities. | Super Time Engine |
| Glutton | The user is healed by normal attacks. | Natural Sardine |
| Hand Shaker | The user never misses an attack. | Broken Cellphone |
| High Spiriter | The user can attack another unit to cure that unit’s status ailments. | Megaphone |
| Joke Slapper | The user inflicts Confusion status when attacking an opponent from behind. | Paper Fan |
| Killer | The user has a 50% chance to inflict a Deathblow on a target that’s below 25% SP, instantly killing it. | Death Sickle |
| Kinder Gardener | The user takes 25% less damage from all attacks. | Tambourine |
| Mana Robber | A target struck by the user’s normal attack is worth 10% more Mana. | Brush |
| Mode Changer | The user takes 0 damage from attacks on odd-numbered turns and 0 damage from magic on even-numbered turns. | Cosplay Cat Ears |
| Motivator | The user takes 40% less damage from magic. | Umbrella |
| Partier | Geo Chains and Geo Panels that inflict damage heal the user instead. | Pizza Shield |
| Rubber | When the user uses a normal attack, he or she attacks twice. | Broom |
| Secret Trainer | The user receives 10% more stats per level while the Innocent’s item is equipped. | Rising Flag |
| Sensationalist | The user inflicts Depraved status when attacking an opponent from behind. | Green Onion |
| Sun Bather | The user inflicts Sleep status when attacking an opponent from behind. | Sunflower |
| Sweet Tempter | The user recovers 50% HP at the end of his or her faction’s turn. | Lollipop |
| Town Crier | The user’s Counter stat goes up by 5. | Tennis Racket |
| Trash Talker | The user inflicts Poison status when attacking an opponent from behind. | Mic |
| Wuss | The user takes 40% less damage from physical attacks. | Sign |
Plotting a Course
At the start of the game, a given stage in the Item World is a medium-sized platform floating in what’s sometimes called the Item Sea, with a randomly generated number of Geo Panels, Geo Symbols, enemies, and the occasional treasure chest.
As you make progress through the Item World, you can gradually unlock cheats that allow you to specifically reconfigure the Item World to your liking.
Search Route
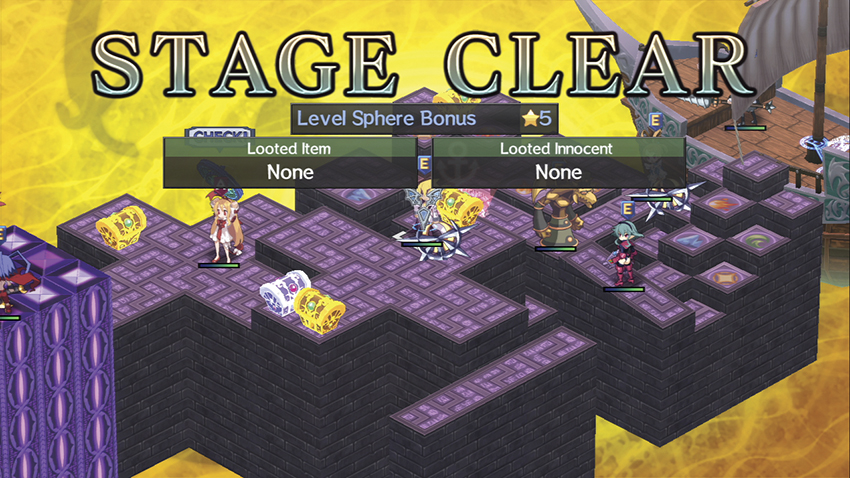
The default path through the Item World is the Item Route, which gives you a small chance on every floor for a Level Sphere to appear. If you end a stage with one of your characters holding the Level Sphere, you receive a +5 level bonus to the item you’re currently exploring.
The other option, and the superior of the two, is the Innocent Route. While you’re on the Innocent Route through the Item World, you have a chance for random Innocents to appear as you enter each floor. These bonus Innocents are additions to the item’s population and show up alongside whatever Innocents were already in the item when you started. When you subdue an Innocent while on the Innocent Route, you also have a chance that the Innocent will gain a couple of levels in the process, providing more of whatever benefit it supplies.
The Innocent Route isn’t superior because of anything mechanical concerning item levels or Innocents, but rather because it has a generally higher chance for you to receive its benefits. You can easily play for a couple of dozen hours on the Item Route without seeing any real difference, while you can dependably see bonuses from the Innocent Route several times per run through the Item World.
Geo Count
The first time you defeat the Item General on the 30th floor of the Item World, you’ll unlock the Geo Count cheat. By default, every floor on the Item World has a random scattering of Geo Panels and Symbols. With the Geo Count cheat, you can either turn them off entirely or turn them up to High. In the latter case, every panel on every floor of the Item World will be covered with Geo Panels.
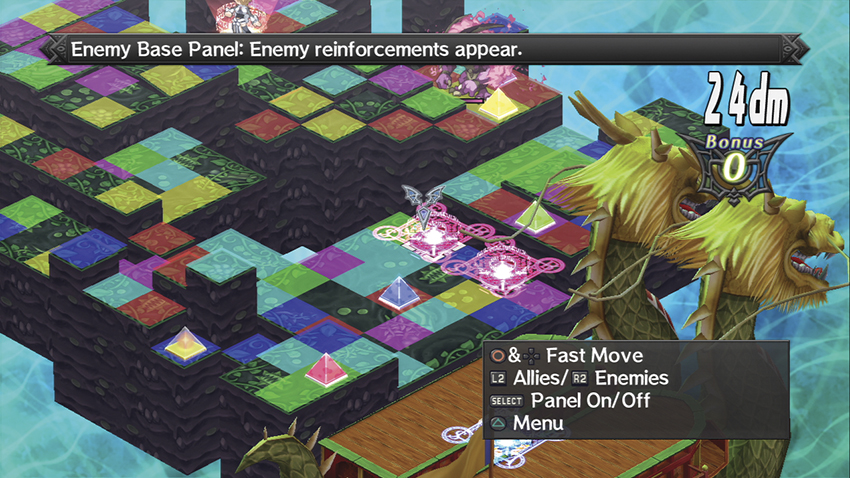
In the lowest floors of some high-Rank items, you may also encounter a new problem: enemy base panels. These will slowly generate reinforcements for the enemy team on the enemy turn until you successfully manage to clear the stage despite them. Disabling Geo Panels with the Geo Count cheat also has the happy side effect of turning off enemy base panels entirely.
This is a quality of life adjustment. If you enjoy dealing with Geo Symbols and Panels, leave them on or turn them up. Otherwise, you can turn them off entirely to speed your progress.
Adjust Island
You can toggle the three levels of the Adjust Island cheat between Cramped, Normal, and Expanded. In a Cramped Item World, the map is about the size of a postage stamp and almost every available panel is occupied by an enemy. If you expand the Item World, you end up with a massive map on every floor with a handful of enemies to choose from.
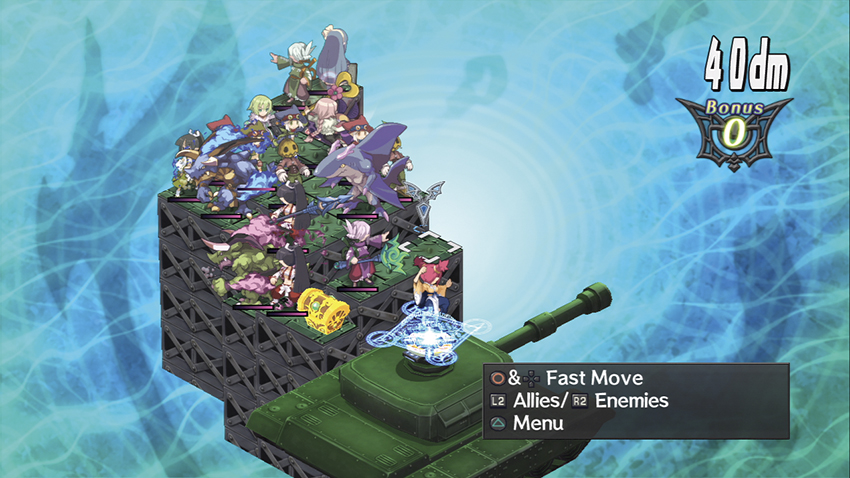
A Cramped Item World.
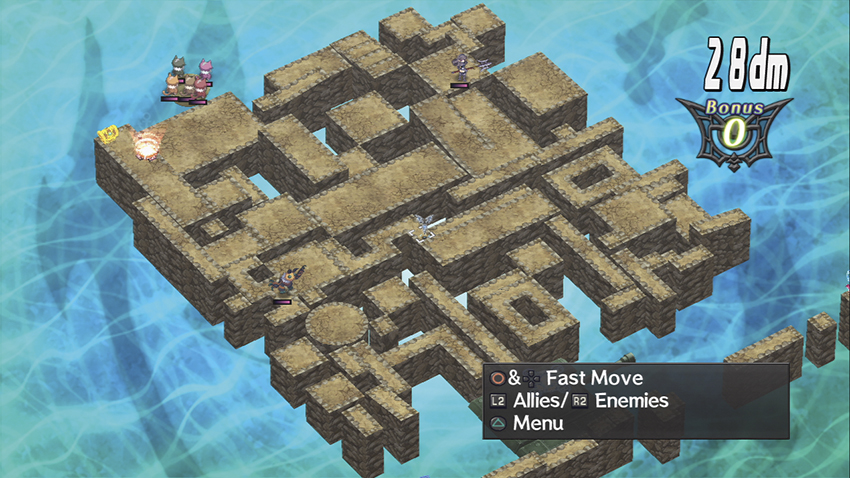
An Expanded Item World.
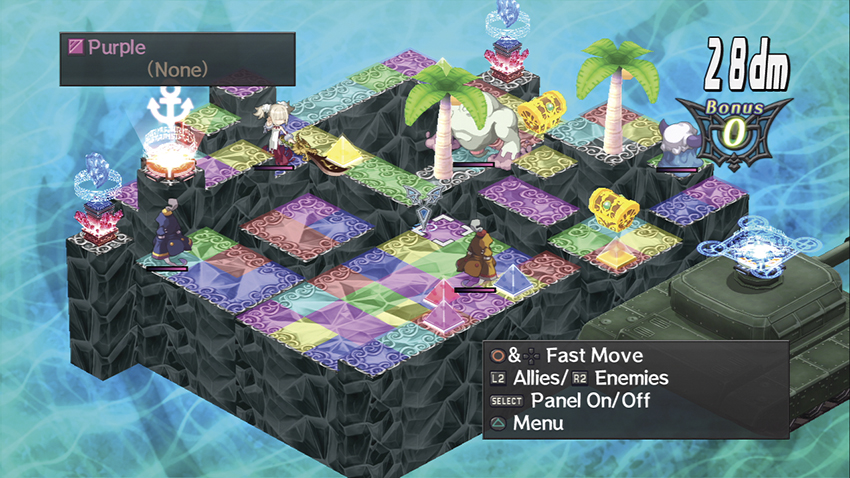
A “normal” Item World.
Pirates & Treasure
By default, in any given 10-floor stretch, you’re likely to run into at least one group of Pirates. These are roving groups of enemies that are usually much higher-level than the other enemies on the floor and must be defeated to clear the stage.
With the Pirates & Treasure cheat, you can either shut them off entirely or turn up their occurrence to the point where you’ll run into them every three floors or so. By the time you’re below the 80th floor with the Pirates & Treasure cheat turned up to High, it’s not unusual to encounter a gang of Pirates on every floor.
How to Proceed
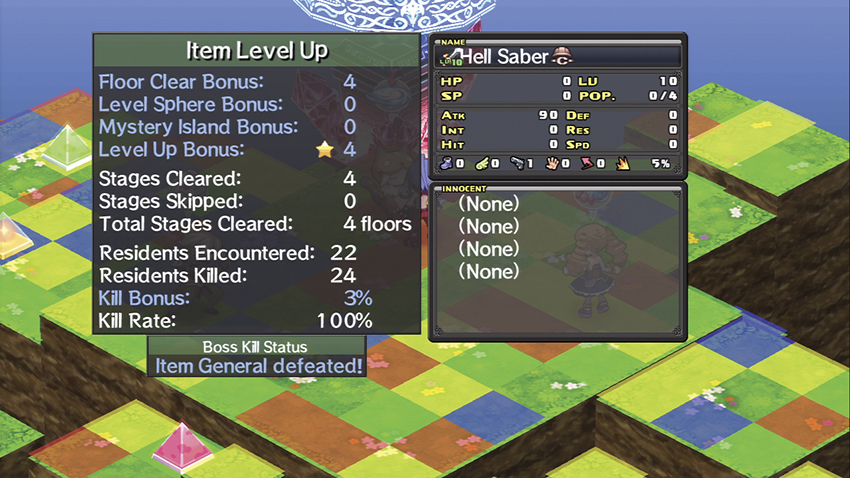
When you leave the Item World, your item’s stats are upgraded per level based upon the number of enemies you defeated while you were in the Item World, in addition to several other factors (see below). If you want the maximum possible stat growth, you should set the Item World options in the Cheat Shop to a Cramped island without Geo Symbols or Panels and with a High rate of Pirate appearances. The idea is to meet, fight, and defeat as many enemies as possible on your way through the Item World in order to maximize the stats on your item, and to clear floors out the old-fashioned way to make progress toward Item Prizes.
You always have the option to leave the Item World and come back later. Reentering the same item will bring you back to the Item World floor you left, ready to move on. Leaving the Item World also lets you adjust the Cheat Shop’s options on the fly, letting you switch up enemy numbers or Pirate frequency as you get to the bottom levels of the Item World’s dungeon.
Bonus Stages
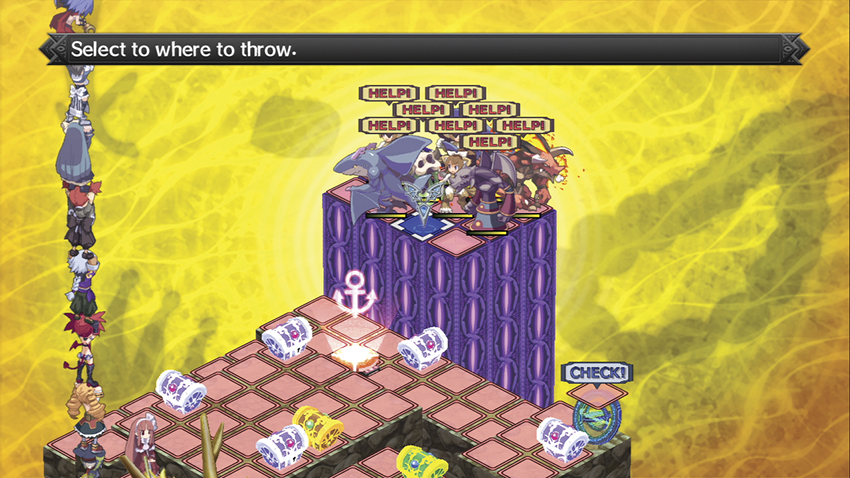
Bonus Stages differ from Bonus Islands in that they’re treated as if they’re another floor of the Item World. In a Bonus Stage, you have a set time limit of one to three turns in which to get as much done as possible. The Bonus Stage typically includes several treasure chests, a Level Sphere, and an assortment of randomly generated Innocents that are trapped on a distant platform, being menaced by local enemies.
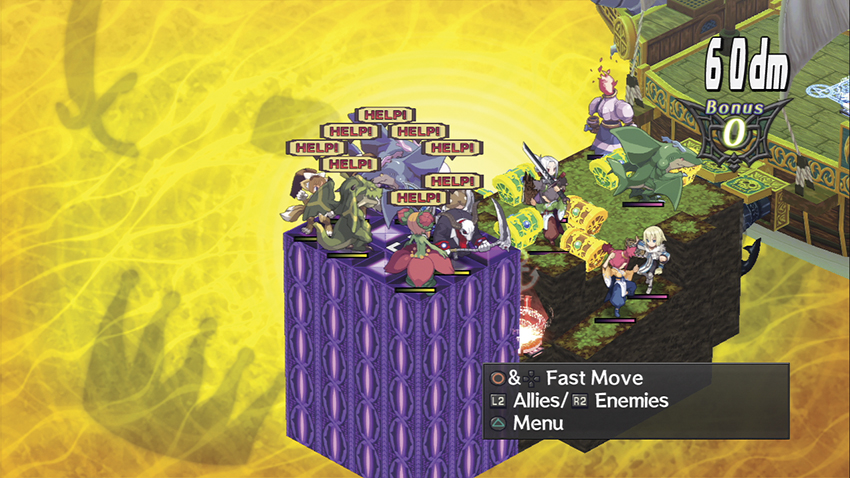
This is a tricky situation. At low levels, you generally have to pick between opening the treasure chests, going for the Level Sphere, and trying to subdue the Innocents. You can also opt to rescue the Innocents by throwing them onto your ship before time runs out.
The easiest method to get the most possible rewards out of a Bonus Stage is to use the Tower Throw Skill to toss a character with an unspent action and a good area-of-effect attack onto their platform with the Innocents. This can include Laharl once he’s learned Meteor Impact EX, a Witch, a Magician, or a Fist-wielding character that knows Big Bang. When the character lands, have him or her take out as many Innocents as possible before time runs out. You can then use a second Tower Throw, time permitting, to drop a second character next to the Level Sphere and pick it up.
Pirates
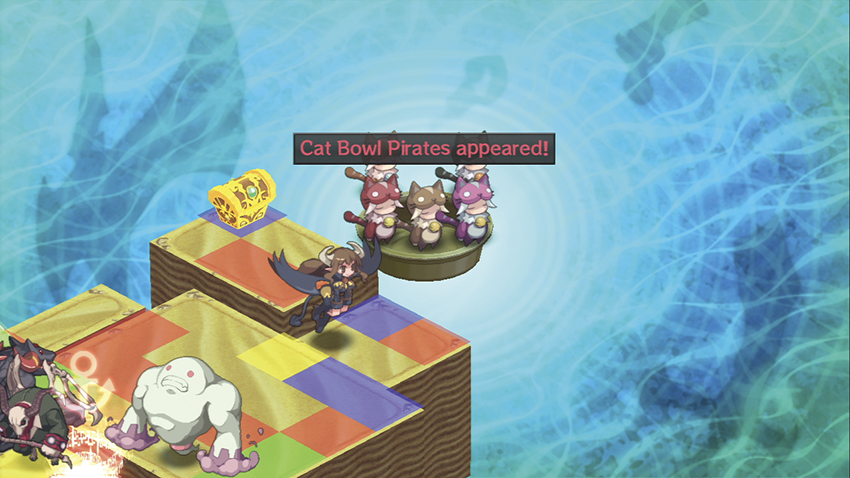
When you arrive on a floor in the Item World, an alarm may go off that heralds the arrival of a Pirate Ship. This is an encounter with a group of hostile Pirates that must be defeated for you to clear the stage. Each band of Pirates has a particular series of floors where they hang out, as you can see from the following chart.
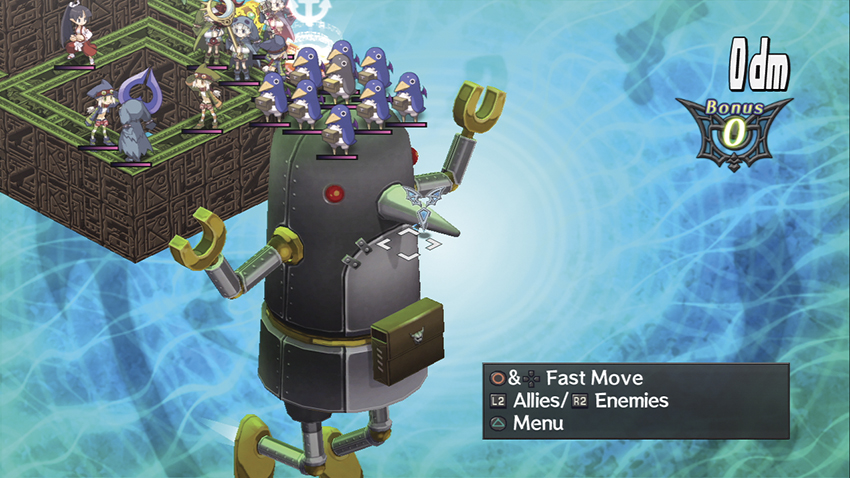
The Pirates’ ship always appears on the opposite end of the stage from your own, which means the Mystery Anchor is often between them and you. Unless you’re slumming through an Item World that’s well below your level, it is likely that you’ll need to use that Anchor to escape from the Pirates. It is not unusual for the Pirates’ average level to be over twice that of the other enemies on the current floor, if not more. If you’re deliberately hunting Pirates to power up your item or to steal their Boats, it’s thus smart to do so in low-level items where their level boost simply brings them up to par with you.
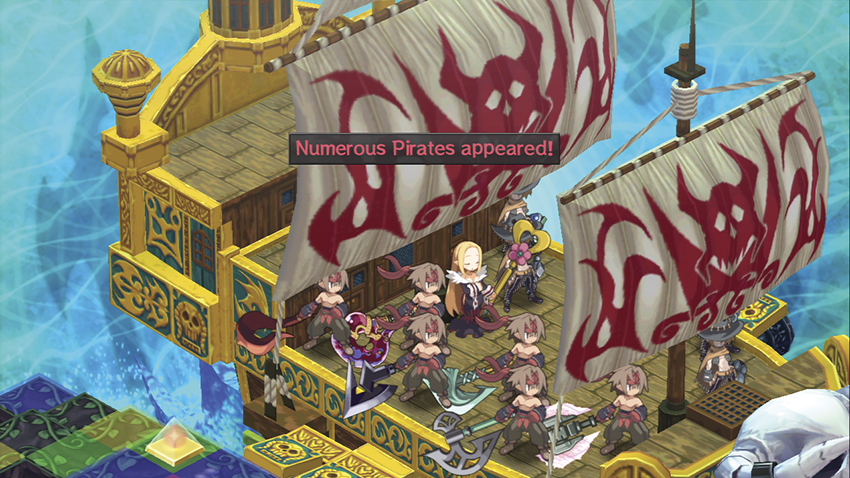
Unlike the rest of the Item World, a given group of Pirates always has the same personnel with the same class of weapons, if applicable. For example, if a given group of Pirates has a Warrior with an Axe, he may not always have the same kind of Axe but he will always have an Axe.
| Pirates | Boat | Floors Where Encountered (Item Route) | Floors Where Encountered (Innocent Route) | Personnel |
|---|---|---|---|---|
| Bodacious | Space Ship | 75–99 | 75–99 | A Nekomata heads up a crew of two Succubi, two Armor Knights with Spears, two Magic Knights with a Sword and a Staff, and two Beast Masters with Bows. Four treasure chests are on the deck. |
| Cat Bowl | Cat Bowl | 10–99 | 10–64 | Five Slumber Cats of ranks 1, 3, 4, 5, and 6. |
| Celeb | Treasure Ship | 30–99 | 30–99 | Five Gargoyles defend a Minotaur and his two Succubi bodyguards. Their ship is also loaded with treasure chests. |
| Convoy | Treasure Ship | 30–99 | 30–99 | Six Warriors with Swords defend a single Armor Knight armed with an Axe and three treasure chests. |
| Cougar | Catamaran | 20–99 | 20–60 | Two Ghosts, three Clergy, and three Magicians. All the humanoids are armed with Lollipops, so they regenerate 50% of their max HP at the end of the enemy turn. |
| Dragon | Catamaran | 55–99 | 55–99 | Two Shark Dragons, two Ifrit, and two Evil Dragons. |
| Gunslinger Hat | Galleon Ship | 10–99 | 10–99 | A Gunner captain leads a crew of a Killer Armor, a Masked Hero, a Lantern, a Cleric, a Prinny, a Death, a Rifle Demon, and a Magic Knight. |
| Kowtow | Cushion | 10–99 | 10–64 | A single Lady Samurai armed with a Sword. |
| Masked Knight | Space Ship | 80–99 | 80–99 | Six Masked Heroes, one of every rank. Each is armed with a Paper Fan. |
| Mineral Water | Plastic Bottle | 25–99 | 25–99 | Five Sea Angels of ranks 2, 3, 4, 5, and 6. |
| Muddy | Metal Bucket | 10–99 | 10–64 | Four Sludges surrounding a single Zombie. |
| Numerous | Treasure Ship | 30–99 | 30–99 | Six Warriors with Axes and six Gunners with Guns defend a Staff-wielding Cleric. A Sword-wielding Martial Artist is their lookout. |
| Prinny | Old Pringer X | 95–99 | 95–99 | Eight rank 1 Prinnies surrounding their Prinny God captain. |
| Super Evil | Tank | 55–99 | 55–99 | Two rank 1 Ifrits, two rank 1 Shark Dragons, one rank 6 Ifrit, one rank 4 Shark Dragon, and a Sea Angel roll in with a single treasure chest. |
| Recycling | Boat | 10–99 | 5–99 | Two Mothmen, a Male Angel, a Ninja, a Warrior, a Martial Artist, and a Thief. All humanoids are armed with Books. Literacy has never been so deadly. |
| Tower | Cushion | 30–99 | 30–99 | A Priest, a Valkyrie, a Witch, an Archer, a Cleric, a Sorcerer, a Female Angel, a Lady Samurai, an Armor Knight, and a very uncomfortable Rifle Demon are standing in a tower. |
Boats
At the start of your journey into the Item World, you have an old Boat and will soon be able to upgrade to a Sail Boat. That will only take you as far down as the 60th floor, however, and to get any deeper, you’ll need a cooler ride.
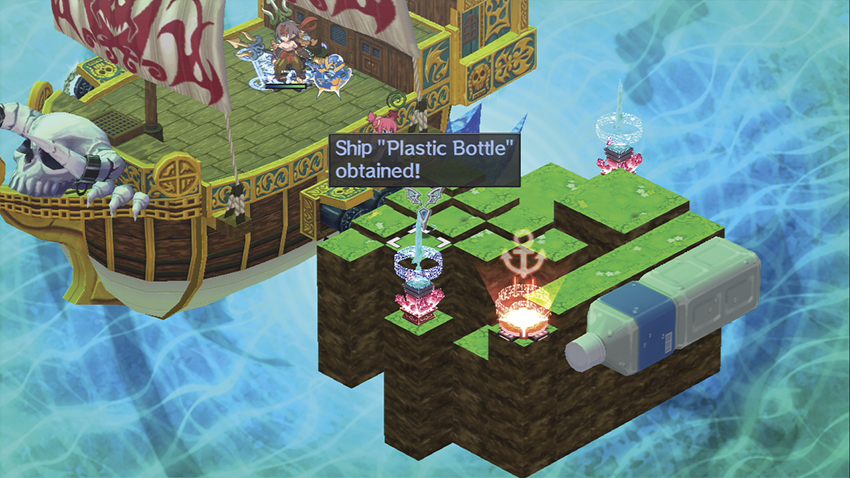
The only way to upgrade your Boat is to steal a new one from Pirates. You can find up to nine more Boats in this fashion, six of which—the Galleon, Space Ship, Old Pringer X, Catamaran, Treasure Ship, and Tank—are seaworthy enough to let you reach the 100th (last) floor in any Item World dungeon.
The Boat you’re currently using appears on every floor of the Item World as the spawning point for your base panel. If the Boat’s big enough, your characters can even stand on its deck and fire at enemies deeper on the floor. You can choose a new Boat only by talking to Rene on Innocent Island when you first enter the Item World. After that, you’re stuck until you return to the Castle.
If you’re using a boat with a limited range, such as the Cushion, reaching the limits of its depth will eject you from the Item World just as if you’d left in some other way. Your item will be leveled and upgraded as per usual and you’ll return to Laharl’s Castle.
| Boat | Max Floor | Description |
|---|---|---|
| Boat | 30 | A nice rental rowboat. It’s overdue, but ... the late fees can be pretty scary. So let’s just keep it! |
| Sail Boat | 60 | A mid-size, wind-powered boat. The sail has “Master the Item World!” written on it. Who could’ve wrote that ...? |
| Galleon Ship | 100 | Pirates! Pirates are here! It’s a very stereotypical-looking pirate ship. Has room to haul a lot of treasure! |
| Plastic Bottle | 40 | A normal-looking plastic bottle ship(?). It’s surprisingly durable! What’s it made of? Plastic bottles, duh. |
| Metal Bucket | 10 | It’s a normal Metal Bucket. It’s very hard to navigate and capsizes easily. Recommended for advanced sailors only. |
| Space Ship | 100 | The last ship of the Ultra Galaxy Space Navy’s 666th Guerillan Fleet. That sounds cool enough, right? |
| Cushion | 3 | Is this a ship? No, it’s a cushion. It’s surprisingly resistant to water but ... it sinks right away … |
| Old Pringer X | 100 | A mysterious ship modeled after the legendary robot, Pringer X. No one knows who made it or when. |
| Catamaran | 100 | A ship that looks like two ships. It’s sturdy and can sail long distances. The two sides of the ship fight sometimes. |
| Treasure Ship | 100 | A very luxurious-looking ship. Since its treasures always get stolen, the crew needs to steal to replenish it. |
| Tank | 100 | It’s very durable, but sinks when you open the top. The musty smell inside can be overwhelming. Some just let it sink. |
Bonus Islands
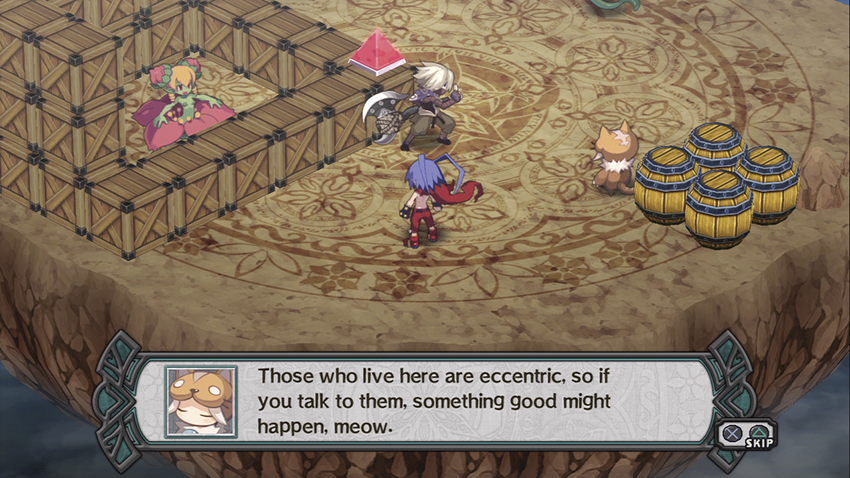
When you’re moving between islands in the Item World, there’s a chance you’ll end up on a Bonus Island. These are extra stages that don’t count as floors but offer you any of a variety of potential bonuses, although they might not be immediately obvious. You can leave at any time by speaking with Popo the Slumber Cat.
The characters you encounter on Bonus Islands close up shop after a single interaction. Once you back out of their menu or avail yourself of their services, they’re done for the duration and your only real option is to leave. If you keep talking to them after your business with them is concluded, many will eventually grow upset with your sass and attack you on the spot. Do not do this unless you think you can handle them in a fight.
In the event that a fight breaks out on a Bonus Island, it’s treated like any other fight, complete with a Bonus meter. Popo often appears in these battles as an unarmed neutral unit. You can attack him if you like, but it does not appear to have any positive or negative effect.
Rosen Queen, Item World Branch
Akina, the same Archer who hangs out on Innocent Island, has chased you down for the intent of making more sales. As on Innocent Island, she has a randomized inventory on the Bonus Island that can include rare- or legendary-quality items or things that Rosen Queen usually does not sell, such as Emblems, Orbs, Muscles, or bribes for the Dark Assembly. You can also sell items to her to free up space in your inventory.
As on Innocent Island, your Customer Rank still applies its discounts and your purchases from Akina count toward raising it.
Potion Shop
On this Bonus Island, Yoyoko the Magic Knight appears to sell you an assortment of EXP and Mana Potions. This can be handy for filling out your Item Collection at the Data Shop, as well as for leveling or promoting your support characters.
Bribe Shop
This initially appears to be a big pile of unremarkable crates, but if you rotate the camera, you can find a treasure chest and a Minotaur hiding behind them. The Minotaur is the proprietor of the Bribe Shop, which sells items that can be used in the Dark Assembly, such as Superhero DVDs, Bombs, Hard Liquor, and Medicine. You’ll need to be able to double-jump to reach the treasure chest.
The Bazaar
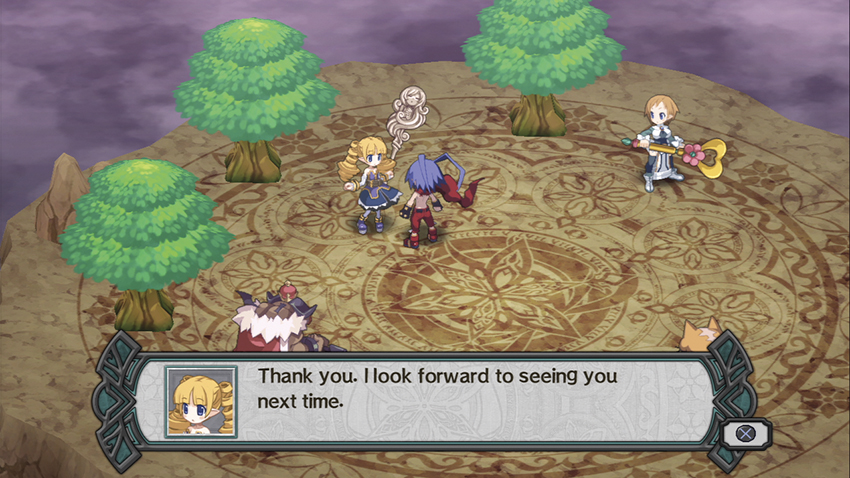
On this Bonus Island, the Bribe Shop, Potion Shop, and Rosen Queen’s Item World Branch all appear simultaneously. Aside from the convenience of one-stop shopping, they all behave just as they do on their individual Bonus Islands.
The Netherworld Hospital
Soukichi the Ninja opens a special branch of the Netherworld Hospital on this Bonus Island, attended by a pair of Alraunes. As on Innocent Island, Soukichi will restore your characters to life and/or full HP and SP for a reasonable fee.
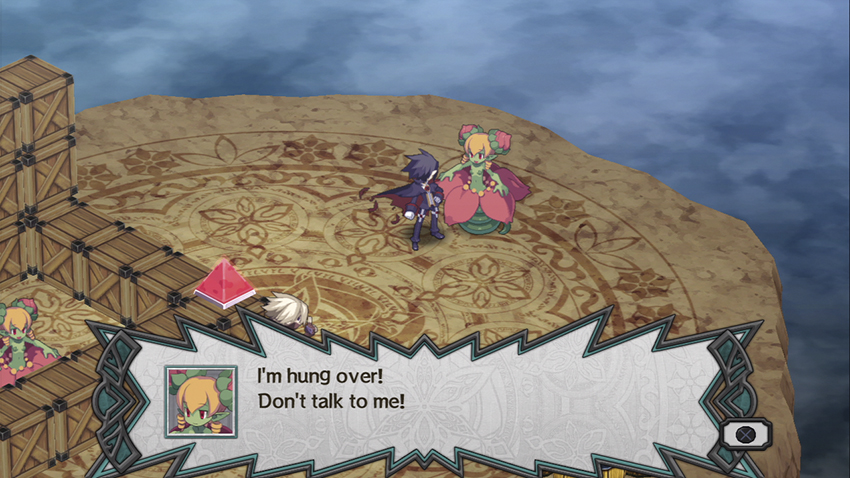
The Alraune standing off to the side is hung over and will attack you if you talk to her too often. In the event that she goes hostile, both Soukichi and the Alraune countergirl will join in the attack.
The Cheat Shop Item World Vacation
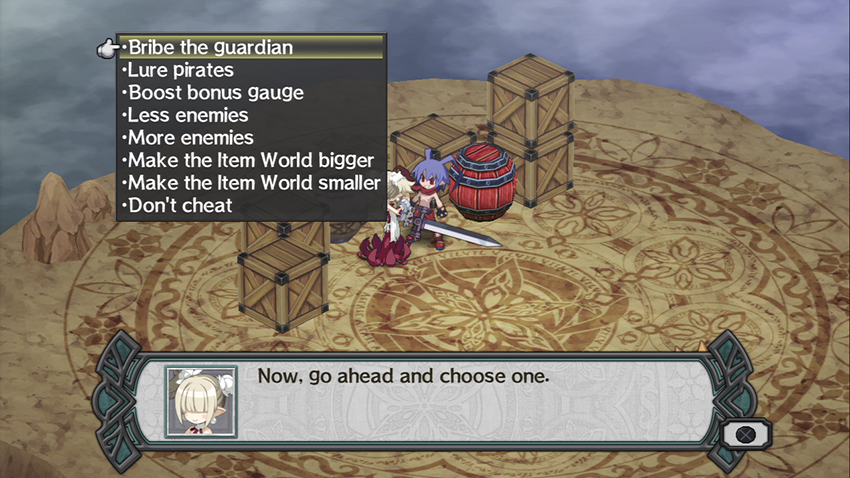
Yes, even the Castle’s businesses get a vacation episode. Coward has chased you down to offer his services for your trip through the Item World, but unfortunately, his large pink drinks with umbrellas in them won’t pay for themselves. This time, you’re going to have to part with some cash. You can also simply leave without taking advantage of his services.
Bribe the Guardian
This allows you to pay HL to bribe the Guardians into taking the day off. 50,000 HL gets you five Guardian-free floors, 100,000 HL gets you 10, and 1,000,000 HL gets you 20. Those floors will have unguarded Mystery Anchors, letting you progress more quickly.
Lure Pirates
For 1,000 HL, you can guarantee that the next floor you enter will be attacked by Pirates. The specific group is random, but you’re guaranteed an encounter.
Boost Bonus Gauge
For 1,000 HL, you get three free levels on the Bonus Meter on the next floor you enter. For 100,000 HL, you get all nine.
Less Enemies
This lets you cut the number of enemies you deal with on each stage by anywhere from a half to a quarter, depending on the size of the stage. 100,000 HL puts the change into place for the next five floors, and 1,000,000 HL fixes it for 10 floors.
More Enemies
For 1,000 or 10,000 HL, you can add more enemies to the next five or 10 floors.
Make the Item World Bigger
For 1,000 HL or 10,000 HL, you can shift the islands’ size up for the next five or ten floors. This cheat does not affect the number of enemies present on each stage, but changes each floor’s layout as if you’d turned up the Adjust Island cheat back in the Castle’s Cheat Shop. You’ll end up with your predetermined number of enemies scattered across a truly enormous map. If you’re already playing on expanded maps, this cheat is a waste of money.
Make the Item World Smaller
For 1,000 HL or 10,000 HL, you can shift the islands’ size down for the next five or 10 floors. As with the previous cheat, this changes the floor’s layout to “Cramped” status but doesn’t change the average number of enemies you run into. If you’re already playing on a Cramped map, this cheat has no real effect.
Counseling
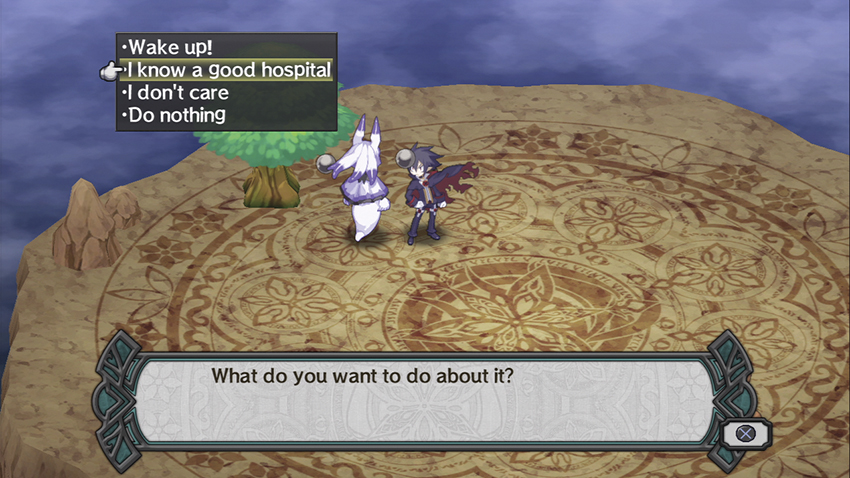
One of your characters shows up on this Bonus Island and they’re not having a very good time at the moment. You can try to help them with their problems by suggesting a trip to the hospital or getting them to snap out of it, or simply do nothing instead. If you pick the right option, which appears to be randomized, your current main character will gain a full heart of Likability with the afflicted character. If you pick wrong, nothing changes and all you can do is leave.
Innocent Shop
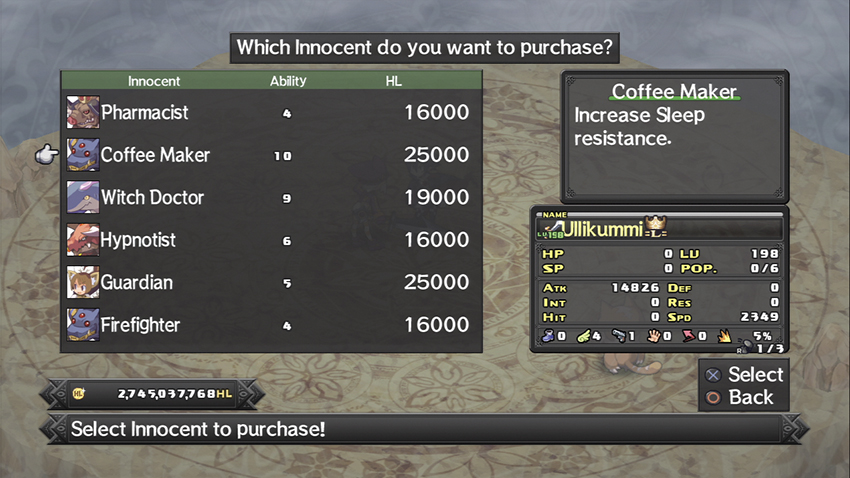
Misato the Thief will sell you one rare type of Innocent at a random level in exchange for a small amount of HL, which goes up as the level of the Innocent increases. The Innocent you purchase is placed into the item as an unsubdued Innocent and can be found and defeated in the usual fashion.
The sale cannot proceed if there’s no space left for Innocents in the item you’re exploring.
Rock-Paper-Scissors Master
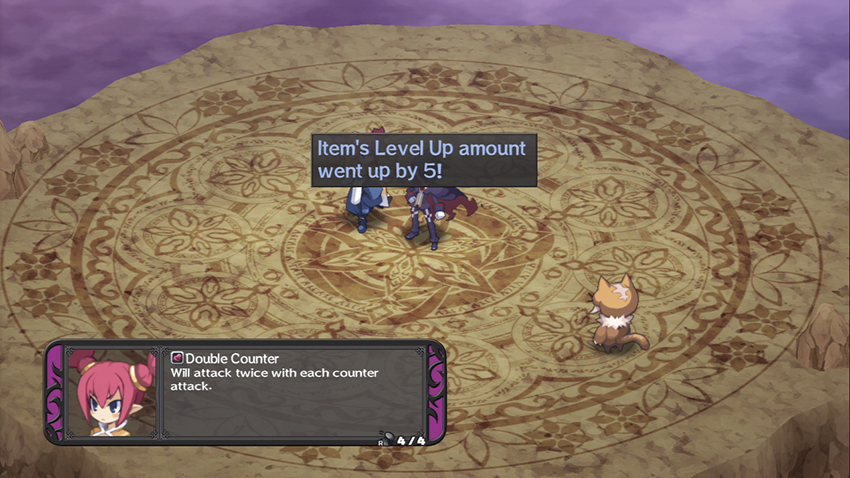
The Rock-Paper-Scissors Master is a Fight Mistress who challenges you to a match of her favorite game. If you lose, nothing happens; if you win, the item you’re currently exploring receives a +5 bonus to its level when you leave the Item World.
Ambush
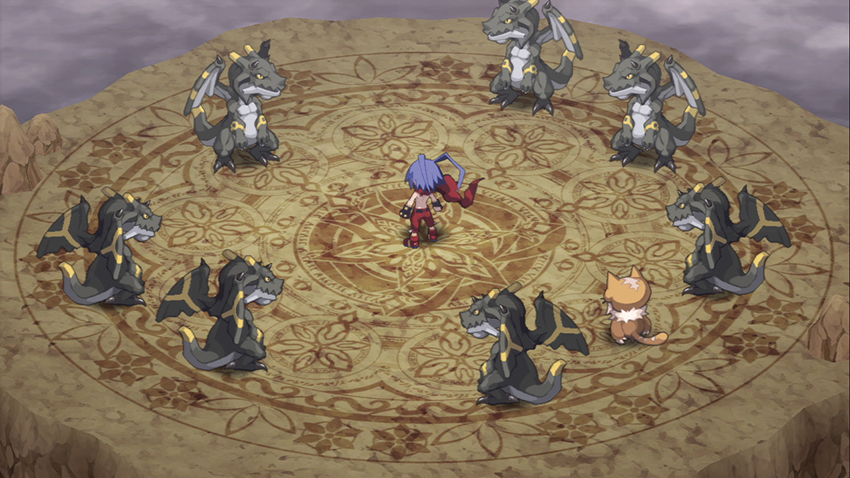
You begin the stage surrounded by monsters. If you speak to one of them, a fight begins. Should you win, the item you’re currently exploring receives a +3 to its level when you leave the Item World. If you survive for two turns, the item receives a +2 level bonus. If you don’t want to fight at all, talk to Popo to duck back into the Item World and avoid the monsters altogether.
Treasure Room
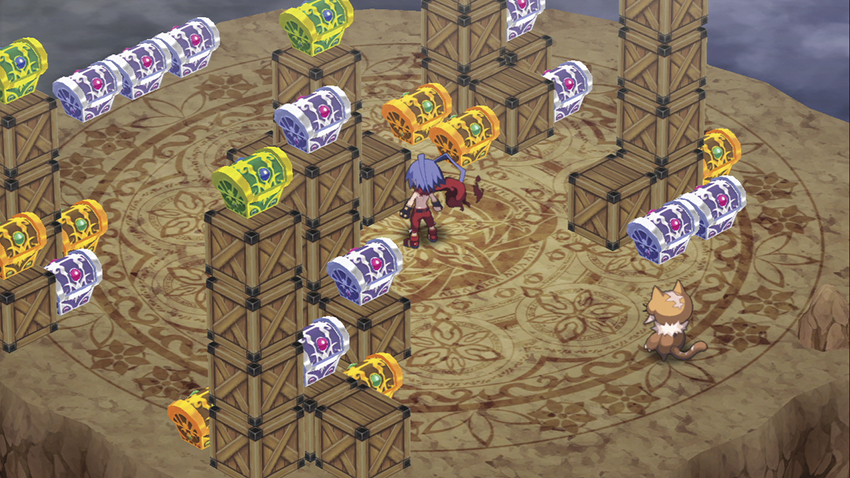
This may look like a trap, but it’s exactly what it seems to be—an entire island full of crates and unguarded treasure chests. These contain appropriate loot in keeping with the current Item World’s reward level and you’re free to open every single one. You do need to be able to double-jump to collect them all (see the relevant bill in the Dark Assembly, and even then, you’ll end up having to open some of the treasure chests while in midair.
Treasure Dragon
An Evil Dragon is, as Evil Dragons do, guarding one to three treasure chests. You can take him on to loot the chests in the ensuing fight, or skip out on it by talking to Popo first. You must destroy the treasure chests during the fight with the Evil Dragon to collect the loot inside; simply killing the Dragon won’t give you the rewards.
Item General
You’ve caught an Item General in a good mood. She provides your item with two free levels, effective immediately upon your exit from the Item World.
Item King
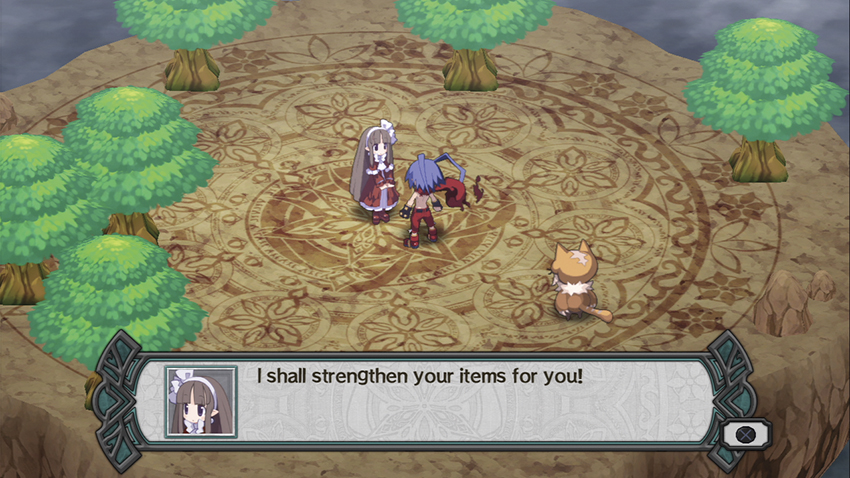
An Item King is on her day off and is happy to upgrade your item for you. Your item receives three free levels, just as with the Item General.
Skill Merchant
This Prinny can sell you the rank 7 and 8 Weapon Skills for 2,000,000 and 4,000,000 HL apiece. Like other Item World merchants, you can’t reopen the shop window once you’ve closed it, but you can freely teach these Weapon Skills to your characters for as long as you have the money to pay for the purchases.
Tower Shop
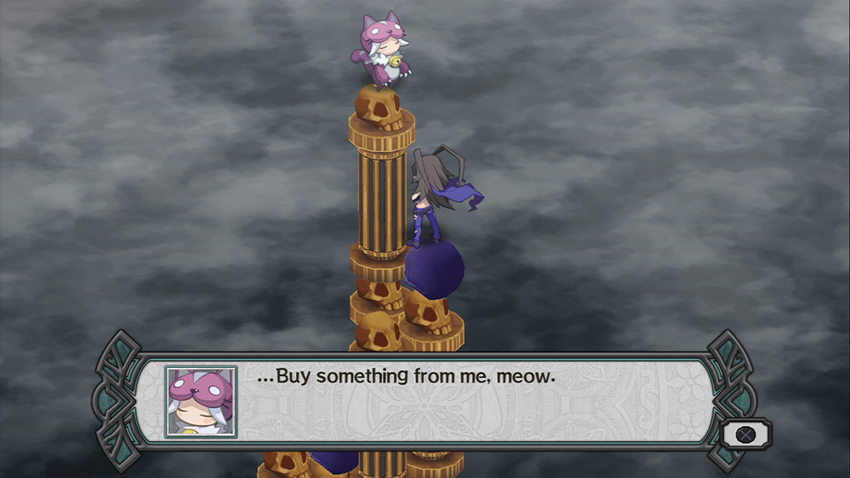
At first glance, this appears to be a tower of columns and skulls, with a couple of treasure chests at its base and no indication as to what you should do next. If you’ve passed the Double Jump bill in the Dark Assembly, you can climb this tower to find a Slumber Cat at its peak. He’ll sell you a number of Serums and Salves that can be used to permanently enhance your characters’ stats.
Transfer Shop
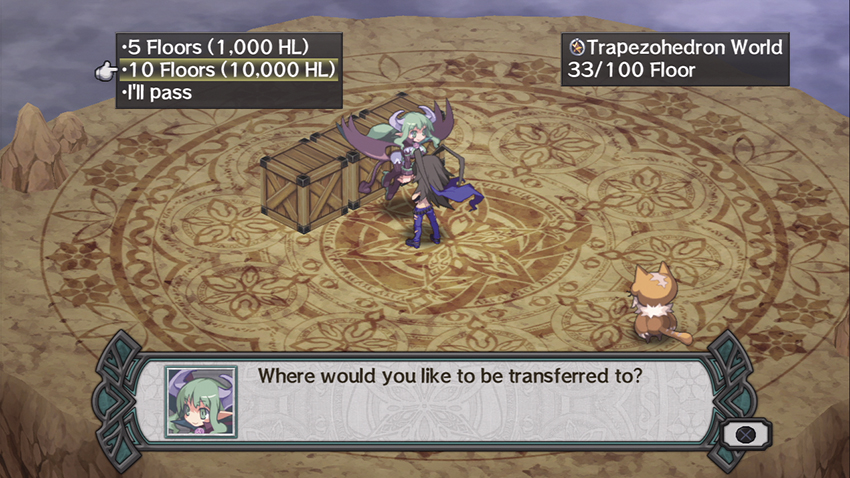
You can pay this Succubus to take you down a few floors, just as if you’d skipped those floors by reaching the Mystery Anchor on each one. Pay her 1,000 HL to skip five floors or 10,000 HL to skip 10.
Item Prizes
Much like the Netherworld Hospital, the Item World has a rewards program. Minato keeps track of each floor you clear out and will give you special prizes at certain plateaus. The first few are the hardest and also have the least interesting rewards, but after you get over that hump, she starts handing out “Joke” weapons that have both unique models and unique Innocents.
For a given floor to count toward your next Item World Prize, you must actually clear it out the old-fashioned way, by killing every enemy unit within it. Floors that you skip via the Mystery Anchor or via the Transfer Shop do not add to your total and won’t get you any closer to the next Prize.
Several of the items on the Item World Prize list cannot be obtained in any other way, but are required for you to complete your item collection and thus unlock the Item Hoarder Trophy.
| Item | Floors |
|---|---|
| Dark Rosary | 30 |
| Devil Ring | 60 |
| Feather Token | 120 |
| Sophia’s Mirror | 240 |
| Pravda Pendant | 480 |
| Tennis Racket | 600 |
| Sunflower | 720 |
| Paper Fan | 840 |
| Umbrella | 960 |
| Natural Sardine | 1080 |
| Rising Flag | 1200 |
| Green Onion | 1320 |
| Shovel | 1440 |
| Brush | 1560 |
| Mic | 1680 |
| Brush | 1800 |
| Sign | 1920 |
| Tambourine | 2040 |
| Flower Wreath | 2160 |
| Megaphone | 2280 |
| Toy Hammer | 2400 |
| Lollipop | 2520 |
| Puppy Paw Stick | 2640 |
| Guitar | 2760 |
| Referee Fan | 2880 |
| Death Sickle | 3000 |