
Disgaea D2: A Brighter Darkness Guide Essentials The Basics
Attacking
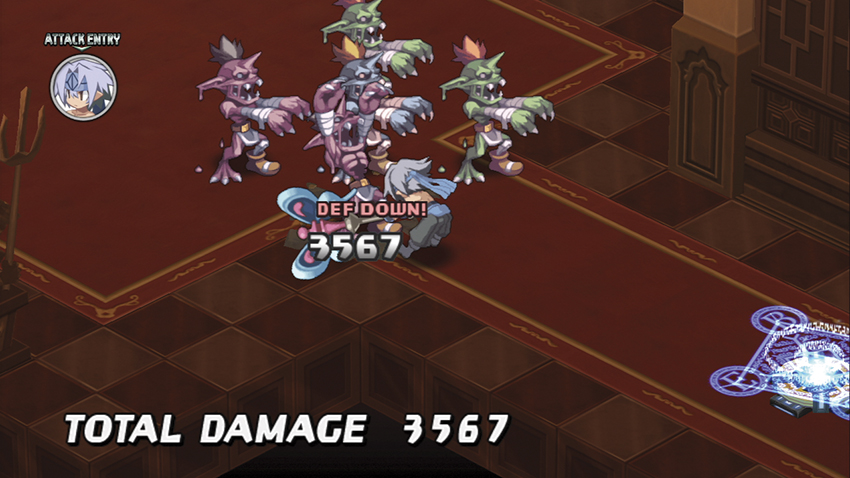
The sole win condition on most stages in Disgaea D2 is to defeat all hostile targets through any means necessary. There are occasional other complications, but nine times out of ten, you achieve victory in this game through the direct application of violence.
The most basic method of doing so is with a standard attack. Choosing the Attack command from your menu queues up an action where the active character pummels its target with whatever it has equipped, or failing that, with its bare hands.
The Attack command has a number of additional complications and possible consequences, as listed. What all this means is that you’re usually going to want to queue up a number of actions in a row and fire them off all at once, rather than choosing Execute after each individual command. Even a single standard attack can trip off a series of consequential actions and reactions that change the face of the battle, whether it’s because you just killed a bunch of enemies you weren’t expecting to or because one of your front-line fighters just got Counterattacked to death. (Depressingly, it’s often the latter.)
Combo Attacks
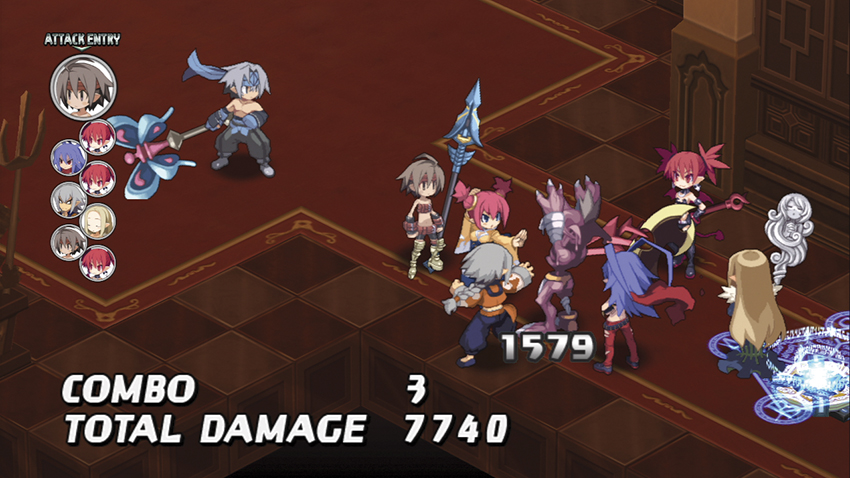
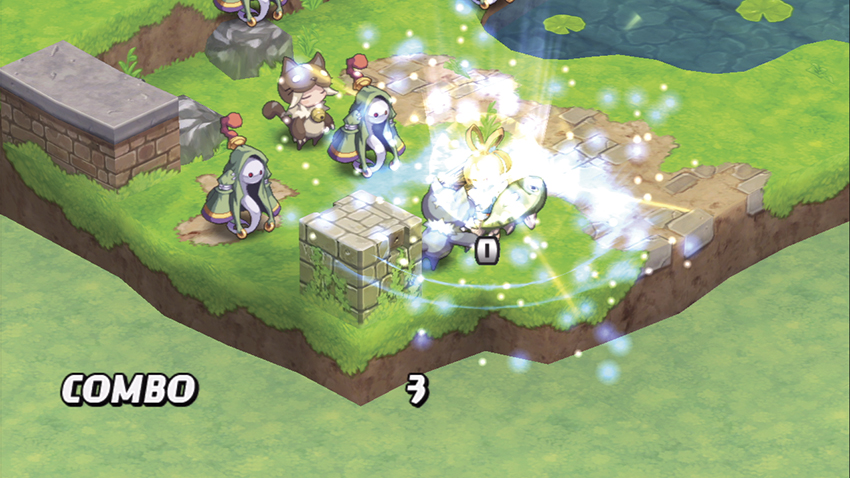
If you have a number of characters attack the same target in a row, this is called a Combo Attack. The more characters that contribute to it, the more powerful the Combo gets. For most of the game, this will be your primary method of dealing with any particularly tough opponent, such as bosses or the tougher monsters. Any offensive action can contribute to a Combo Attack, including Special Skills and spells. Every hit in a Combo Attack adds a stacking multiplicative damage modifier to its damage.
Since characters carry out their actions in the order in which you placed them in the queue, a Combo Attack only takes place if two hits in it are scheduled consecutively. If you take a quick time out between two attacks so somebody else can toss out a Heal spell or something, it’ll break the Combo.
Late in the game, there are several bosses that are designed in such a way as to prohibit Combo Attacks, either due to having an obnoxiously high chance to Counterattack or through unique Skills or Evilities. This will be noted in the walkthrough, but keep in mind that Combos are powerful, but are not a win button.
Performing 100 Combo Attacks unlocks the Combo Commando Trophy.
Counterattacks
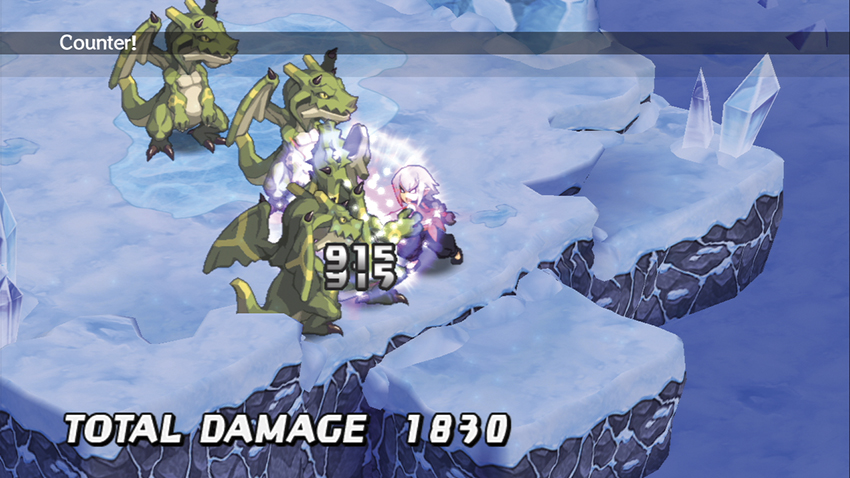
When one unit attacks another from within the defending unit’s range, there’s a chance that this may trigger a Counterattack. This is identical to the basic Attack command except for when it takes place.
Each character begins a turn with a number of potential Counterattacks equal to its Counter stat. The base chance that a Counterattack will occur is 50% plus the character’s Counter stat multiplied by 10%. Every Counterattack that activates lowers this chance by 10%, and the character can only use a total number of Counterattacks in a single turn that’s equal to his Counter stat. Your units’ remaining number of Counterattacks are reset at the start of your turn.
Further, a character that’s taken an action in that turn cuts the chance of using a Counterattack by 10%, and if they’re Defending (see below), it’s cut by 20%. Defending also lowers the possible number of Counterattacks for that turn by 2.
For example, Laharl has a base Counter stat of 2. If he hasn’t taken an action, he has a 70% chance of Counterattacking the first time an enemy takes a swing at him. If a second enemy joins in, Laharl has a 60% chance of Counterattacking it as well. If Laharl has already taken an action during the player’s turn, his Counterattack chance drops to 60%/50%. If he’s Defending, it would be 50%/40%, but Defending lowered his Counters by 2, so he can no longer Counterattack at all.
Equipping a Fist weapon usually raises a humanoid character’s Counter stat by 2. You can also temporarily raise a character’s Counter stat by three with the Counter Classes Skill, which will augment both the chance a Counterattack will take place and the total number of Counterattacks that the character can throw out in a round.
You can avoid the risk of enemy Counterattacks entirely by using Skills that put either the attacker or defender out of range, such as Triple Strike or Cat Dance.
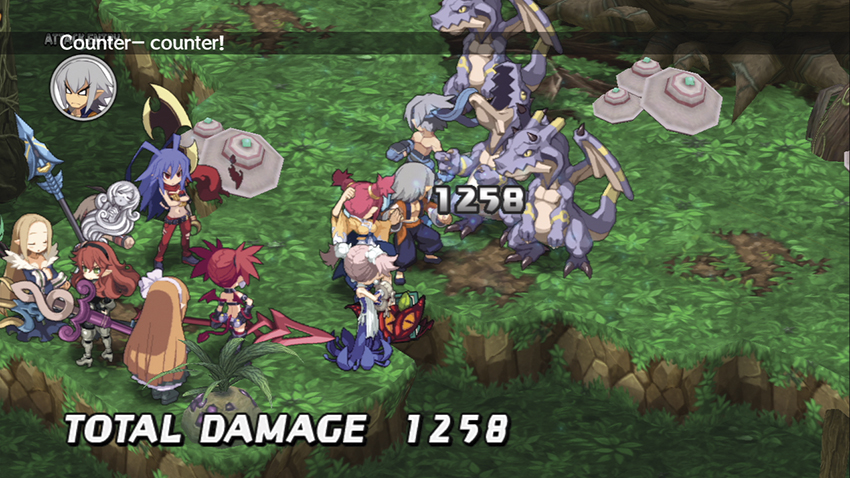
Counterattacks can themselves trigger Counterattacks, which can also trigger Counterattacks, and so on until one side or the other dies, runs out of Counterattacks for the turn, or fails to respond. This can get pretty funny if you have, say, two Martial Artists with the right Evilities punching each other.
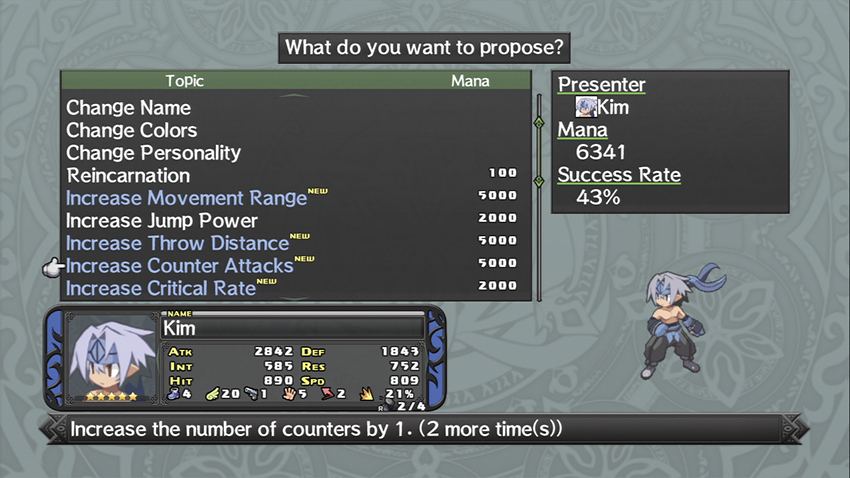
If a character has 5,000 Mana or more, it is possible to permanently enhance that character’s number of available Counterattacks by one via a proposal in the Dark Assembly. This can be done up to three times and persists through Reincarnation.
Team-Up Attacks
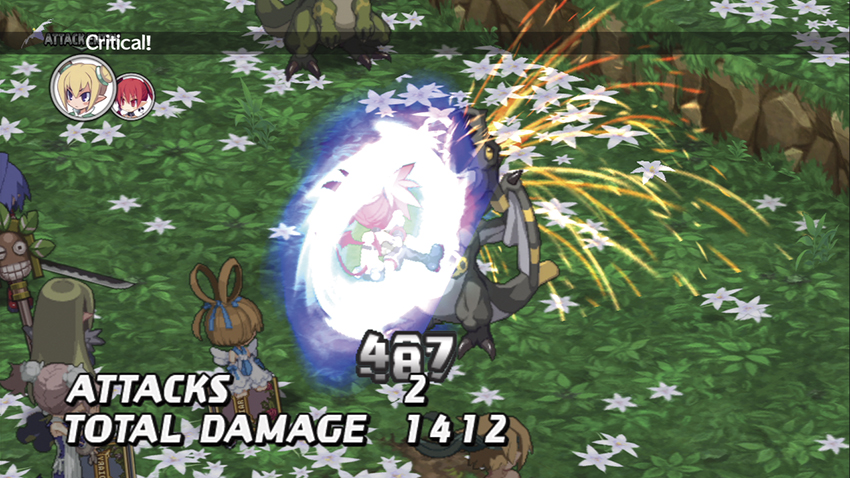
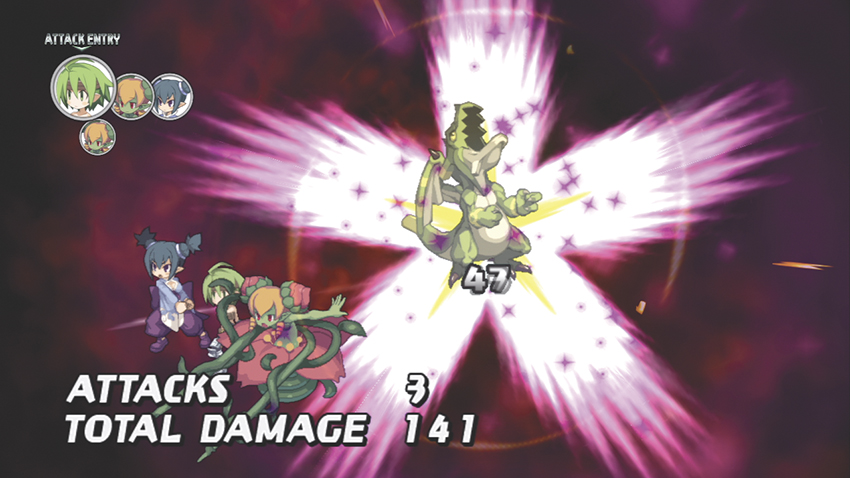
When characters are standing in adjacent squares to each other, there’s a chance that they’ll collaborate with each other when one of them uses a basic attack. When this happens it’s called a Team-Up Attack, and there’s a percentage-based chance of it happening that’s influenced by several factors.
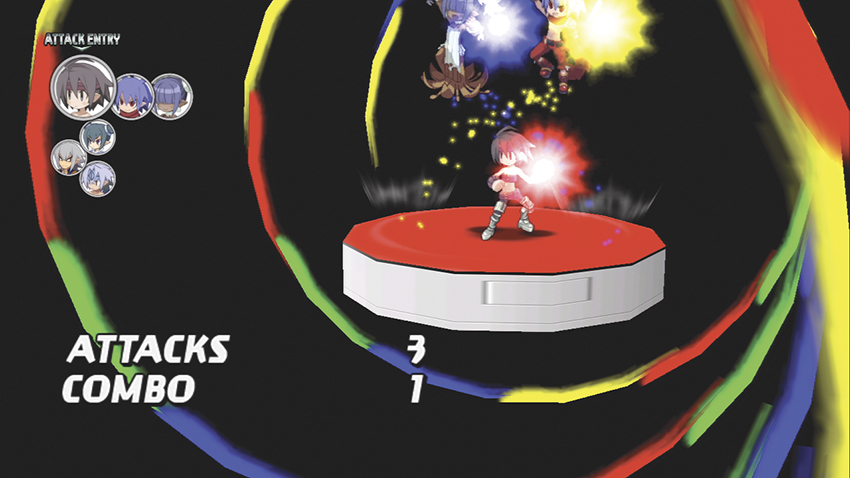
Up to four characters can participate in a single Team-Up Attack, and the more characters that pitch in, the more powerful and elaborate it gets. It’s essentially bonus damage, and rewards you for paying attention to positioning. Even better, every character that participates in a Team-Up Attack that defeats an enemy unit receives EXP and Mana just as if they had individually defeated that opponent. This is a great way to level up your support characters, such as Clerics, who would otherwise lag slightly behind the rest of your crew.
Simply participating in a Team-Up Attack does not use up a character’s action for the turn. It’s possible for a character to move next to an ally, participate in a Team-Up Attack with that ally, then cancel out the movement with the Circle button and do something else entirely. On certain maps where the enemies like to spam hard-hitting area-of-effect attacks (for example, when there are many enemy spellcasters), this is a more sensible way to try for a Team-Up than leaving two or more characters standing right next to each other.
Cover Attacks
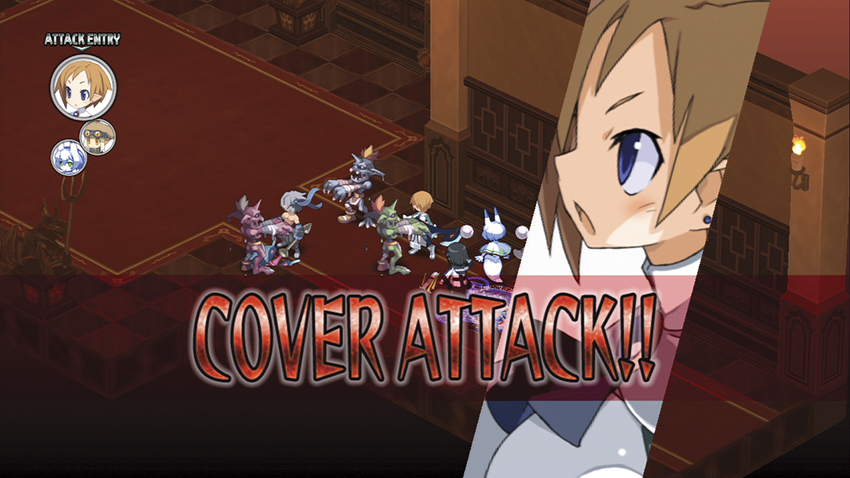
Finally, Cover Attacks can occur whenever you’ve got more than one character in range of a target. Once all of your standard actions resolve, there’s a chance that any characters in the area may decide to contribute a hit or two of their own.
Cover Attacks, like Counterattacks, are mechanically identical to normal attacks. They can be triggered by Special Skills, including spells. A single character can use three Cover Attacks per action, and an unlimited number of Cover Attacks per turn.
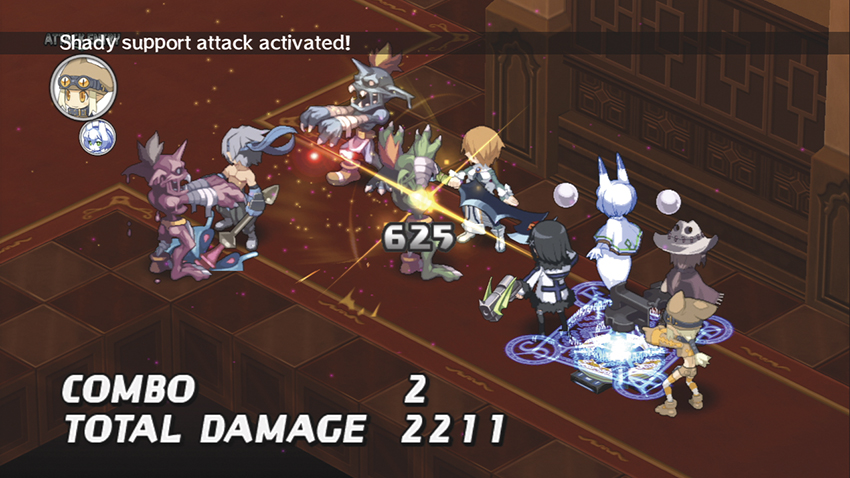
As with Team-Up Attacks, the chance of a Cover Attack occurring is influenced largely by the relationship between the original attacker and the prospective Cover Attacker.
- 1 Heart: 50%
- 2 Hearts: 60%
- 3 Hearts: 70%
- 4 Hearts: 80%
- 5 Hearts: 100%
Range also plays a role here, in the form of a multiplier that’s applied to the final chance of a Cover Attack taking place:
- 1 square: 100%
- 2 squares: 90%
- 3 squares: 70%
- 4 squares: 40%
- 5 squares: 10%
- 6 squares: 0%
That the chance of a Cover Attack rapidly drops off at medium to long range may look like a strike against distance weapons like Guns and Bows, but such is actually not the case. With careful positioning and some team building, a Gunner or Bow-wielder has a good chance of providing Cover Attacks for multiple characters in a round, which enhances your entire team’s damage potential. In fact, this is the specific role that Gunners play in your team. Ranged weapons thus serve less as damage sources in their own right and are more additive than anything else.
Attack Estimation
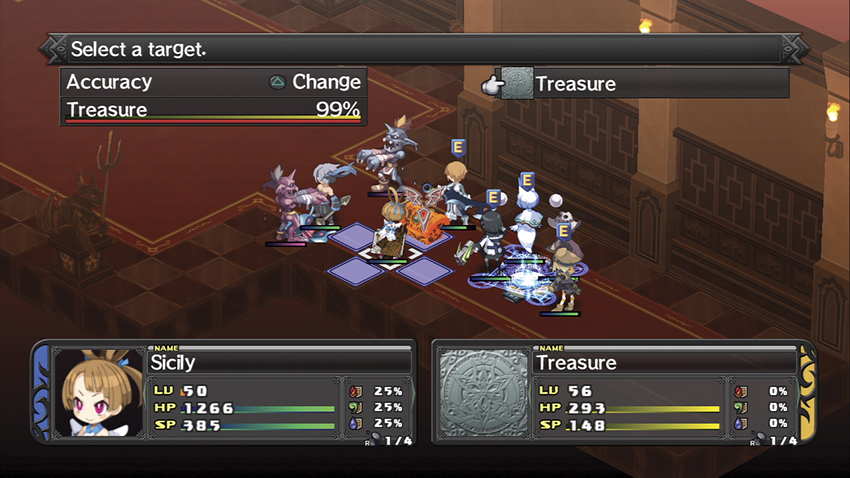
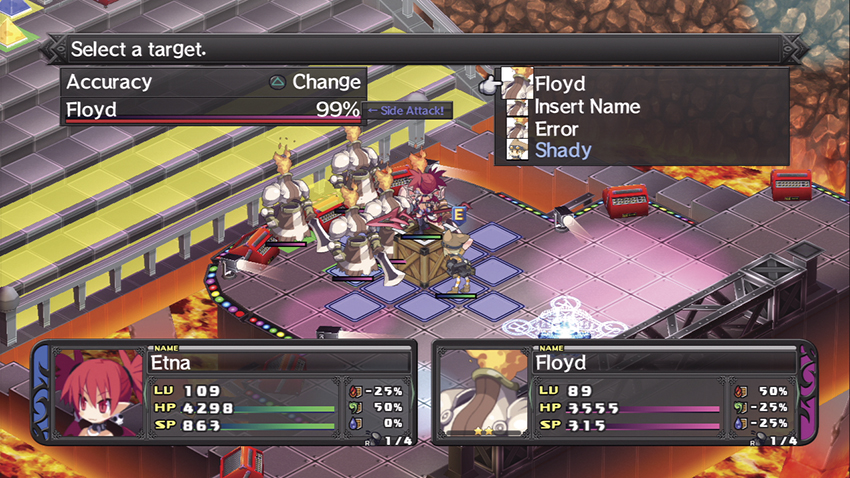
When you target another unit with an attack, spell, or skill, the game automatically calculates the odds that you’ll defeat it. This is represented by a red bar below the target’s name.
As Etna is quick to tell you if you ask her in the Help menu, this is an estimation, not a guarantee. If you keep an eye on it, however, it can save you some time by telling you how likely it is that your impending attack will be at all effective. If it will be, go nuts; if it won’t, either save that action for something else or figure out why. There are a lot of invisible factors at work in Disgaea D2’s combat, and the Attack Estimation can help you avoid some unpleasant surprises.
Facing and Height
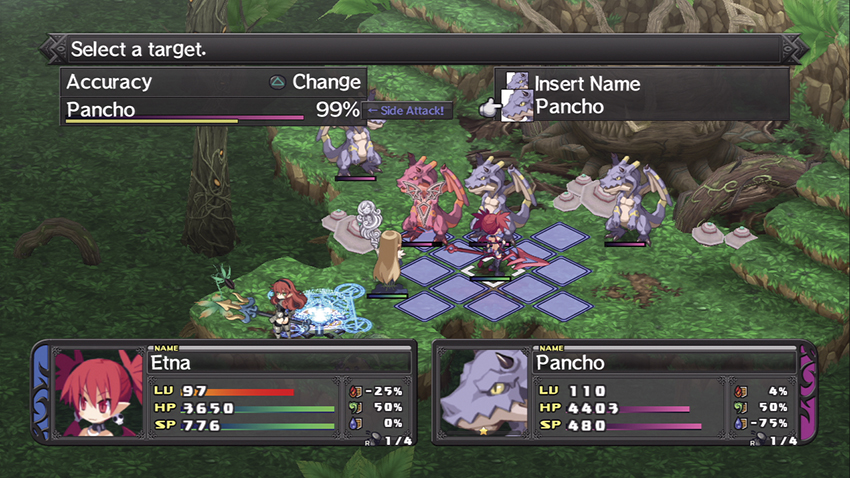
One thing to watch out for when you’re moving into position is a unit’s facing. Attacks that strike a unit from the side or from behind give the attacker bonuses to their accuracy and to the damage they inflict.
You can adjust your facing at the end of a unit’s turn by holding down the Square button and using the directional buttons. Ideally, you want your character to be facing forward with impassable terrain or allies on either side, so an enemy can’t come in from behind him or her.
Facing also influences several Evilities and special attacks. For example, Armor Knights with the Defensive Stance Evility take half damage from any incoming attack unless it comes from behind them.
As you explore the Item World, you’ll also find several kinds of upgrades that you can add to equipment, which allows you to inflict various status ailments or extra effects if you hit an enemy from behind.
Finally, elevation also plays a role. A unit that’s attacking from higher ground than its target receives a bonus to its ATK, DEF, HIT, and evasion. Disgaea uses decimeters to measure height, abbreviated in-game as “dm,” and every dm of height between the attacker and defender adds a small but stacking bonus or penalty to an attack.
This means that you can set up an advantage by picking up enemies and throwing them downhill, or by jumping on top of objects like Snow Men or fence posts. If none of those are handy in a given stage, Thieves can create Boxes and Barrels for you to stand on.
Attack Corrections
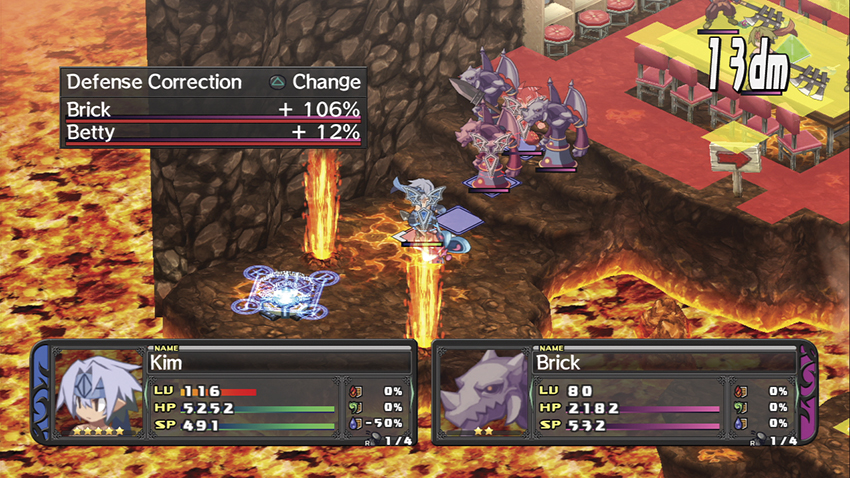
When you target an opponent, you can push the Triangle button to get an estimation of how the multiple factors that influence an attack are affecting its potential outcome. Positive percentages mean you’re in with a good chance; negative percentages mean you’re unlikely to hit or to do any real damage. This is, like the Attack Estimation, an educated guess made by the game on your behalf, and allows you to evaluate your chances of success with a given action.
Defending and Protect Actions
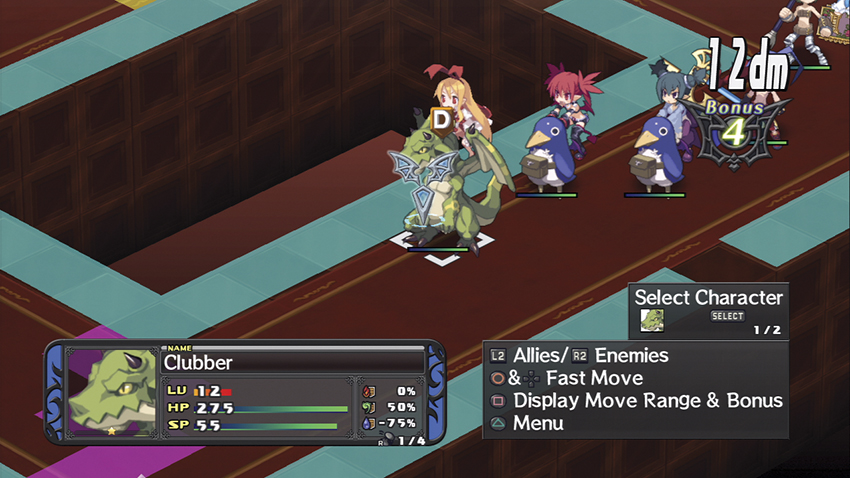
If you pick the Defend option for a unit, it buttons up and focuses on self-preservation. As a result, it takes half damage from any attack that strikes it until its next turn, and any enemy attacking it has its accuracy cut dramatically (see previous sidebar).
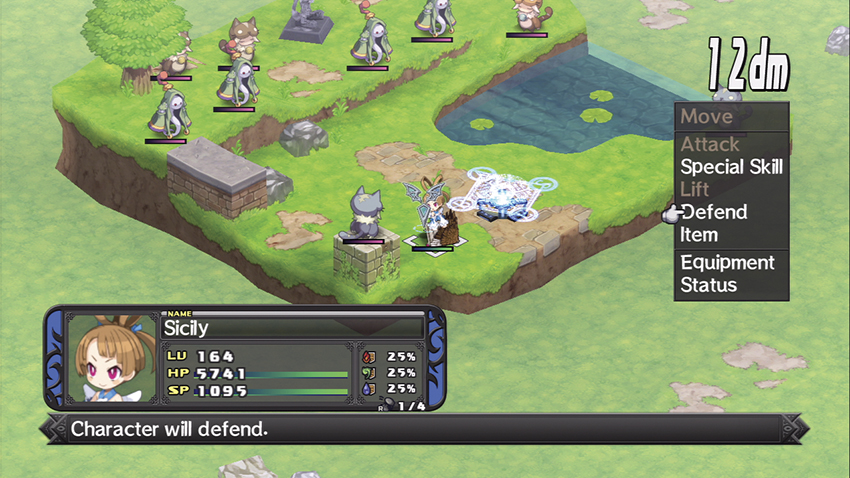
As a trade-off, the unit’s Counter stat is effectively lowered by 2 while it’s Defending. This lowers the number of Counterattacks it can make over the course of the next turn. If that reduction leaves its Counter stat higher than 0, it also lowers the chance that the Defending unit will Counterattack by 20%.
The Defend command also makes it possible for a character to undertake a Protect Action. This is an event where the acting character temporarily switches places with a nearby ally to intercept an incoming hit directed at that ally from an enemy unit. The character that performed the Protect Action suffers the damage from the attack, and immediately returns to their original position once the attack resolves. In the event that the character is killed by the attack they’re intercepting, the position switch ends up being permanent.
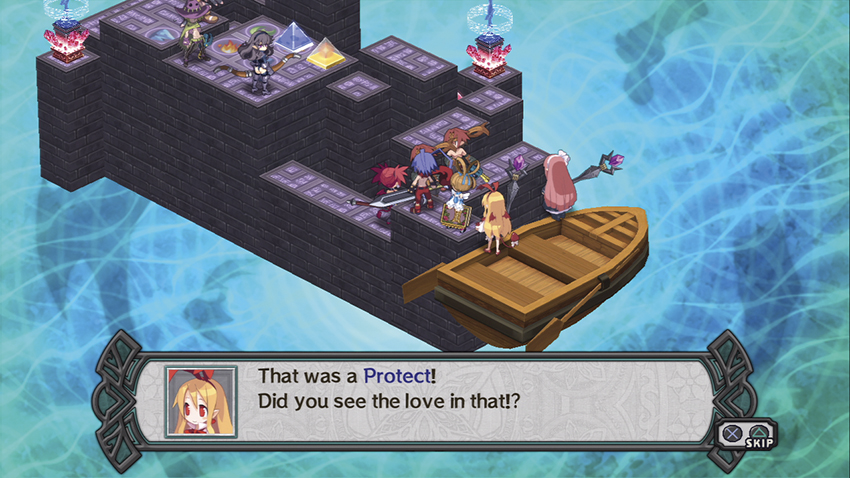
A Protect Action can only occur if the characters are standing on adjacent panels (with one big exception; see the sidebar), and the chance of it happening is once again determined by the characters’ relationship:
- 1 Heart: 50%
- 2 Hearts: 60%
- 3 Hearts: 70%
- 4 Hearts: 80%
- 5 Hearts: 100%
At most, a single character can undertake three Protect Actions per turn.
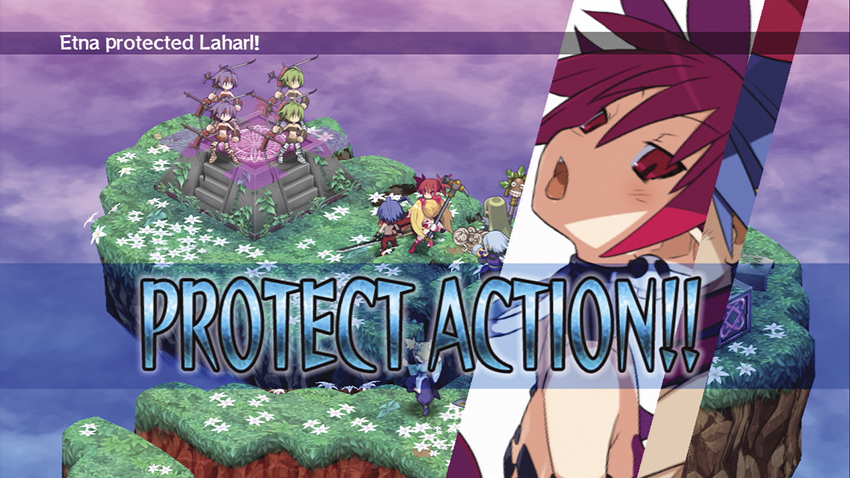
This can be something of a mixed blessing. The Protect Action doesn’t take characters’ stats into account before it takes place, so it sometimes leads to a few characters making meaningless sacrifices, like a lightly armored caster trying to “protect” a heavily armored fighter.
If you watch your positioning. Protect Actions are a great way to have your high-DEF front line serve as bodyguards for your squishier back end, and if you don’t, hilarity typically ensues. The best way to avoid this is to make sure that anyone that you don’t want to take a hit, such as a healer or a spellcaster, does not use the Defend command if they’re standing next to another unit.
Attack and Damage: The Math
We’ve been handwaving a lot of the raw mathematics behind attacking and damage so far, but if you want the serious hard-core numbers, strap in. It’s about to get numerically precise up in here.
- Damage = (Final Attack – Final Defense) x (100 + Damage Modifier A/100) x Damage Modifier B
- Final Attack = ATK x (100 + Attack Modifier)/100
- Final Defense = DEF x (50 + Defense Modifier)/100
Here are some common modifiers and their effects on this equation.
- Back Attack: +40 to Damage Modifier A
- Side Attack: +20 to Damage Modifier A
- Critical Hit*: +50 to Attack Modifier
- Nick**: –50 to Attack Modifier
- The attacker is above the defender: +1/dm to Attack Modifier
- The defender is above the attacker: –1/dm to Defense Modifier
- Combo Attack: +(# of hits x 10) to Damage Modifier A
- Elemental resistances: +/– X% to Damage Modifier B (if applicable)
- Defender is using the Defend command: –50 to Damage Modifier B
- Attacker is using an area-of-effect spell: –3 to Damage Modifier B for every affected panel after the first (maximum modifier –24)
* A unit’s chance of a critical hit is determined by its Critical stat.
** A “nick” is a near-miss, and is determined by the defender’s SPD stat.
For every turn that one of your units attacks a target without moving, you receive an additional modifier, which stacks on every successive turn that your unit remains in place. If you’re wondering why the CPU will frequently move its units just far enough away from yours to force you to move out of position, this modifier is why.
- 2–11 times: +10 to Damage Modifier A
- 12–21 times: +5 to Damage Modifier A
- 22–51 times: +3 to Damage Modifier A
- 52–81 times: +2 to Damage Modifier A
- 82–256 times: +1 to Damage Modifier A
Certain humanoid weapons also apply modifiers of their own to the damage calculation under certain circumstances.
 Fist
Fist
A character wielding a Fist has a 50% chance on an attack of getting up to six bonus hits. Each one adds [(60 x # of attacks) x 75 / 100] to Damage Modifier B.
 Spear
Spear
A character with a Spear can hit an enemy with a standard attack from up to two panels away. If there’s a second enemy unit between the attacker and his or her target, that second unit also takes damage from the attack. The amount is calculated as [(Damage / # of targets) x (100 + (# of targets – 1) x 10)].
 Gun
Gun
The final damage of an attack that uses a Gun has an additional multiplier applied that’s based upon the attacker’s range from the defender. The multiplier is equal to [140 – (distance in panels x 10)]%. Thus, at point-blank range, a Gun user does 130% of his or her final damage; at a theoretical maximum range of 9 panels, he or she inflicts 50%.
 Book
Book
Instead of using its wielder’s ATK, a standard attack with a Book calculates its damage based on its wielder’s [(ATK + INT) / 2].
Finally, if you use a Special Skill to attack a target, the level that the individual Skill has reached adds to the Attack Modifier. See the table to the right. Both the Attack Modifier and Defense Modifier have a random value applied to them before the attack resolves, so your damage will not be a constant set number.
| Skill’s Level | Modifier |
|---|---|
| 0 | -10 |
| 1 | 0 |
| 2 | 4 |
| 3 | 7 |
| 4 | 10 |
| 5 | 12 |
| 6 | 14 |
| 7 | 16 |
| 8 | 18 |
| 9 | 19 |
| 10 | 20 |
| 11 | 21 |
| 12 | 22 |
| 13 | 23 |
| 14 | 24 |
| 15 | 25 |
| 16 | 26 |
| 17 | 27 |
| 18 | 28 |
| 19 | 29 |
| 20 | 30 |
| 21 | 31 |
| 22 | 32 |
| 23 | 33 |
| 24 | 34 |
| 25 | 35 |
| 26 | 36 |
| 27 | 37 |
| 28 | 38 |
| 29 | 39 |
| 30 | 40 |
| 31 | 41 |
| 32 | 42 |
| 33 | 43 |
| 34 | 44 |
| 35 | 45 |
| 36 | 46 |
| 37 | 47 |
| 38 | 48 |
| 39 | 49 |
| 40 | 50 |
| 41 | 51 |
| 42 | 52 |
| 43 | 53 |
| 44 | 54 |
| 45 | 55 |
| 46 | 56 |
| 47 | 57 |
| 48 | 58 |
| 49 | 59 |
| 50 | 60 |
| 51 | 62 |
| 52 | 64 |
| 53 | 66 |
| 54 | 68 |
| 55 | 70 |
| 56 | 72 |
| 57 | 74 |
| 58 | 76 |
| 59 | 78 |
| 60 | 80 |
| 61 | 82 |
| 62 | 84 |
| 63 | 86 |
| 64 | 88 |
| 65 | 90 |
| 66 | 92 |
| 67 | 94 |
| 68 | 96 |
| 69 | 98 |
| 70 | 100 |
| 71 | 102 |
| 72 | 104 |
| 73 | 106 |
| 74 | 108 |
| 75 | 110 |
| 76 | 112 |
| 77 | 114 |
| 78 | 116 |
| 79 | 118 |
| 80 | 120 |
| 81 | 123 |
| 82 | 126 |
| 83 | 129 |
| 84 | 132 |
| 85 | 135 |
| 86 | 138 |
| 87 | 141 |
| 88 | 144 |
| 89 | 147 |
| 90 | 150 |
| 91 | 154 |
| 92 | 158 |
| 93 | 162 |
| 94 | 166 |
| 95 | 170 |
| 96 | 175 |
| 97 | 180 |
| 98 | 185 |
| 99 | 190 |