
Disgaea D2: A Brighter Darkness Guide Walkthrough Episode 4: An Idol Overlord is Born!?
Episode 4: An Idol Overlord is Born!?
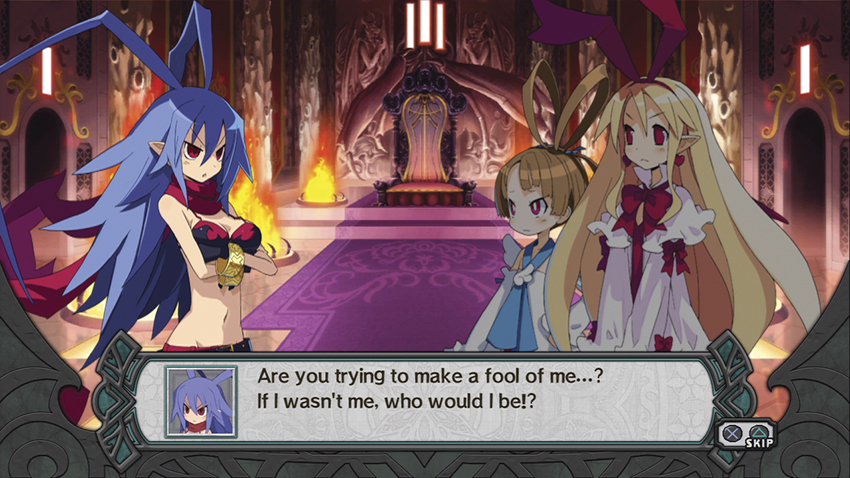
So ... yeah. That happened.
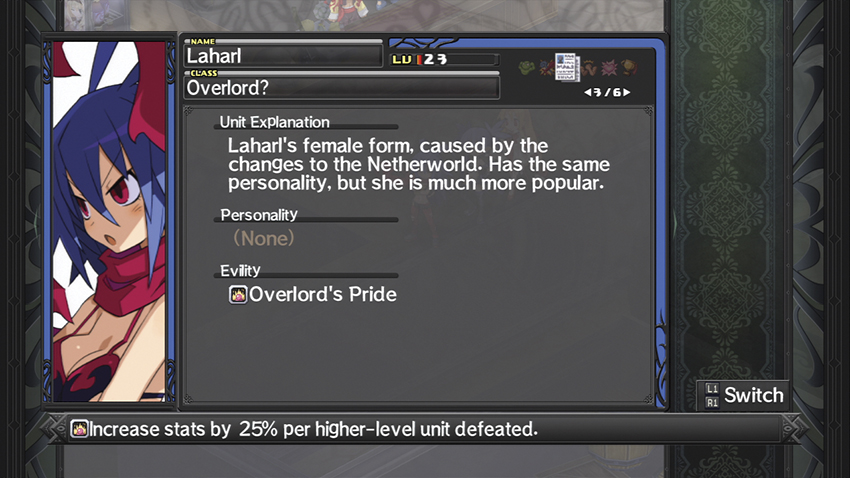
Laharl’s Evility has changed to Overlord’s Pride, which gives him—er, her a 25% stat boost if she lands the killing blow on a higher-level opponent. Etna is unchanged except for her new hair.
In other news, the minimum multiplier at the Cheat Shop is lowered to 60% at the start of this Episode, and the maximum becomes 120%. You can find this Episode’s treasure chests on top of a bookcase behind the counter at Rosen Queen, in Laharl’s throne room, and outside near the Cheat Shop clerk. Finally, you can now sign your characters up for Punching Bags and Book Stacks training at the Demon’s Dojo.
Ticket Booth
| Class | Lv | Qty | Evility | Weapon | Armor | Skills |
|---|---|---|---|---|---|---|
| Zombie | 17 | 6 | Predation | Wolf Fangs | Knifing Vest | Poison Bite, DIEmension Slash |
| Genin | 17 | 3 | Misty Haze | Elf Staff | Knifing Vest | Mega Fire |
| Onmyo Trainee | 17 | 3 | Geo Resist, Geo Protect, Geo Damage | Naginata | Knifing Vest | Impaler Drop, Blade Bash |
| Geo Symbol | Geo Effect | Destroy |
|---|---|---|
| Aqua | Movement +1 | Aqua Change |
| Green | No Lifting | Green Change |
| Yellow | No Ranged | Yellow Change |
| Null | DEF +50% | Clear |
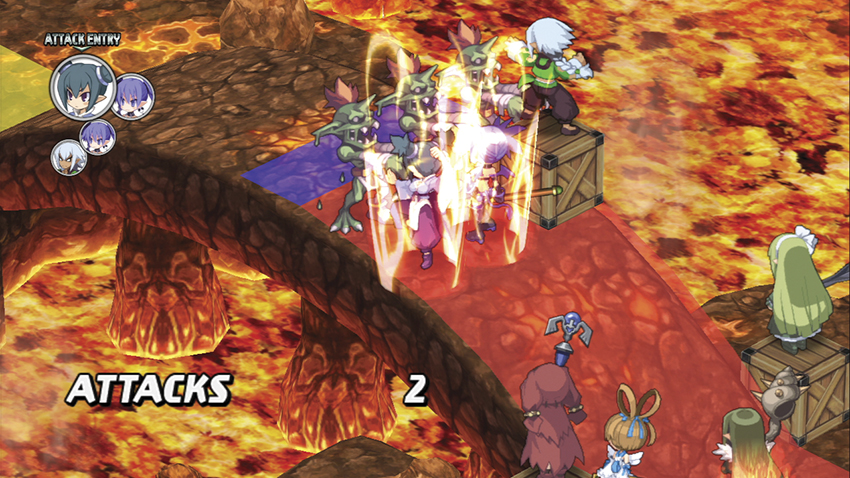
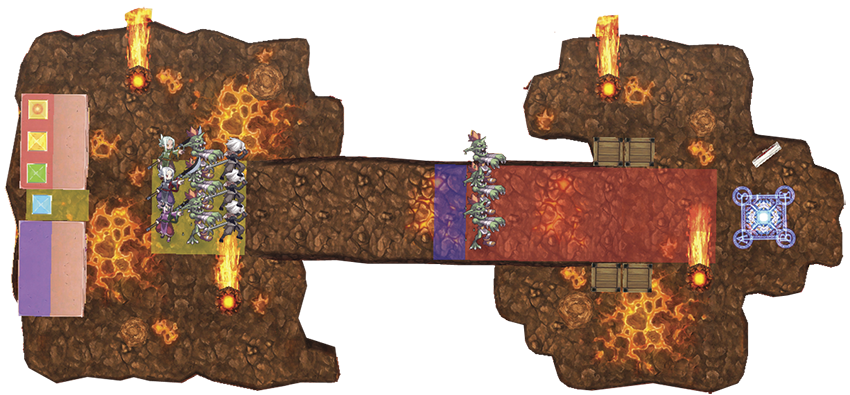
The first three Zombies won’t move unless you make them and don’t attack unless you run right up to them. Their role in this fight is to serve as meat shields, augmented by the DEF +50% Geo Effect and their self-healing from Predation, so the guys in the back can pick you apart with Spear skills and spells.
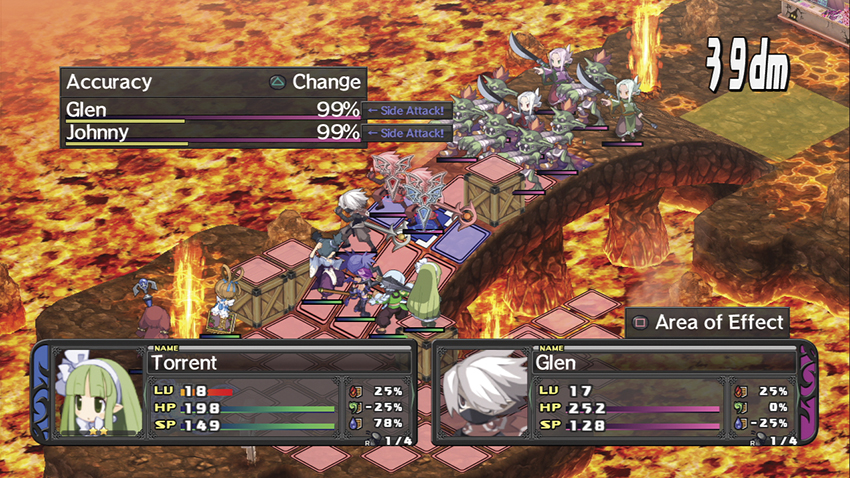
Like Conspiracy Landing, however, it’s pretty easy to use the Geo Effects to your own advantage. If you set up a perimeter on your side of the map, with some heavily armored units of your own occupying the near end of the bridge, the Genin, Trainees, and second pack of Zombies will rush you down and rapidly overtake the three Zombies that are supposed to be protecting them. At that point, you can blow them up from the sides with ranged classes or pummel them to death with melee classes. The Zombies in particular just melt if you hit them with Fire spells.
Second Visit
| Geo Symbol | Geo Effect | Destroy | NoTe |
|---|---|---|---|
| Green | No Lifting | Green Change | - |
| Yellow | No Ranged | Yellow Change | - |
| Aqua | Clone | Aqua Change | - |
| Null | DEF +50% | Clear | - |
| Purple | Recovery 20% | Purple Change | - |
| Class | Lv | Qty | Evility | Weapon | Armor | Skills |
|---|---|---|---|---|---|---|
| Thunder Fist | 20 | 4 | Combo Attack | Bare Knuckles | Knifing Vest, Cross-Trainers | Triple Strike, Double Shadow |
On a second visit to this stage, the original enemies are gone and are replaced by four level 20 Fight Mistresses. The first three charge you on their turn, but the Mistress in the back between the ticket kiosks won’t move unless you move her.
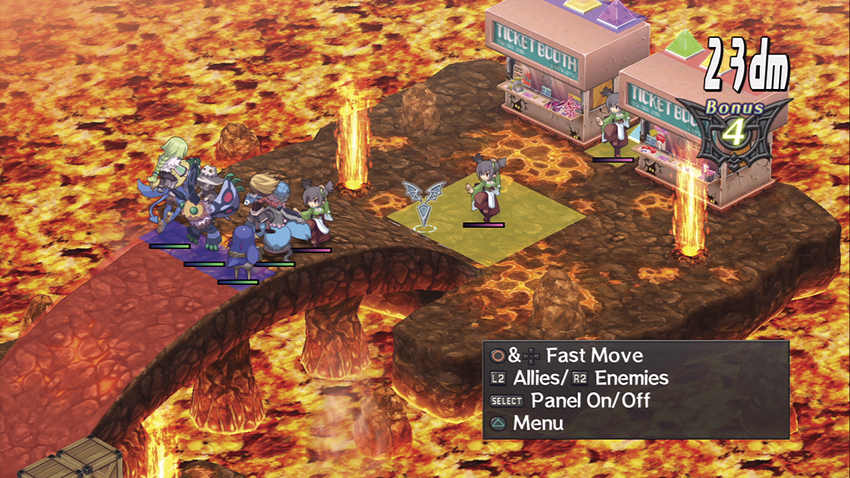
This is because she’s standing on a Geo Panel with a Clone Effect on it, so an identical Fight Mistress will appear on the three-by-three grid of yellow Geo Panels in front of her at the end of every enemy turn. The three blue Geo Panels in the middle of the bridge have Recovery 20% and DEF +50% Geo Effects on them, so you can do some power-leveling on this stage by sitting three characters on the blue Geo Panels and letting the Clone Effect create an infinite number of enemies for you to defeat.
Map Events
- Station Etna next to Sicily.
- Put Laharl next to Flonne.
- Put Laharl next to Sicily.
Merchandise Area
| Class | Lv | Qty | Evility | Weapon | Armor | Skills | Note |
|---|---|---|---|---|---|---|---|
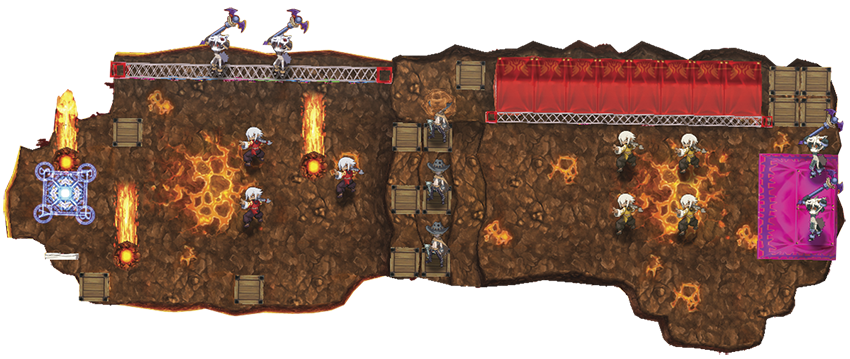
| Fury Fatalist | 18 | 7 | Fury (x3), No-miss Counter (x4) | Elbow Drop | Kendo Gear | Triple Strike, Double Shadow | The first three Fatalists have Fury; the ones in the back have No-miss Counter. |
| Enthusiastic Fan* | 19 | 1 | Forced Counter | Elbow Drop | Kendo Gear | Triple Strike, Double Shadow | - |
| Shaman | 18 | 4 | Cursed Dance (x2), Gloomy Dance (x2) | Demon Wand | - | Enfeeble, Armor Break, Mind Break, Resist Break, Slow, Poison, Stun, Blank Out | The Shamans near the base panel have Cursed Dance; the ones in the back have Gloomy Dance. |
| Gunner | 18 | 3 | Assist | Silver Hawk | Knifing Vest | Tri-Burst, Dark Matter Ether, Point Blank Blaster | - |
* Martial Artists
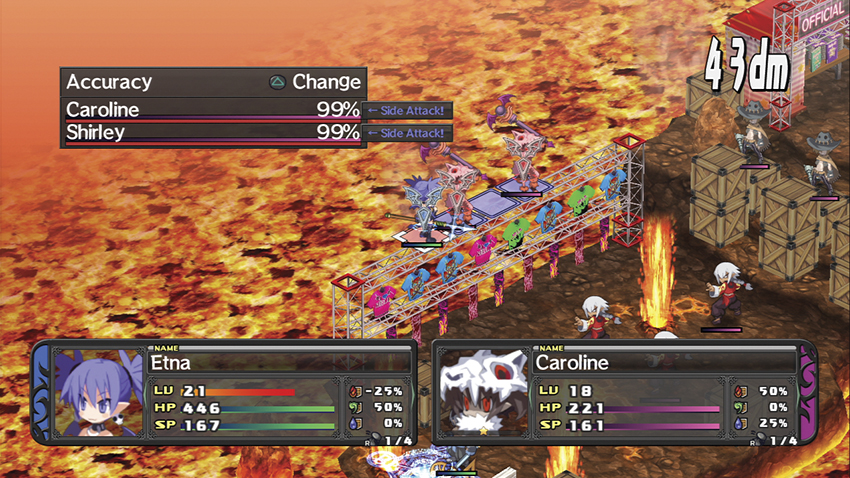
The first thing you should do is dispatch the two Shamans near your base panel. If left alone, they inflict a passive –10% effect to your units’ stats and will shower status ailments on you. A character with a Throw of 5 or higher, like Laharl or a Warrior, can throw a unit onto the top of the lighting rig on your first turn, and you can then blow both Shamans up with a multitarget skill like a Spear’s Blade Bash.
The Gunners are a footnote, but you really need to watch out for the Martial Artists. Their Counterattack-based Evilities make it lethal to engage them at melee range. If you send in characters who use Spears or magic to take them out from a distance, the Martial Artists will inflict a lot less damage before they go.
Map Events
- Have Sicily on the field at the start of your fourth turn.
- Park Sicily next to Flonne.
- Station Laharl next to Etna.
Restricted Area
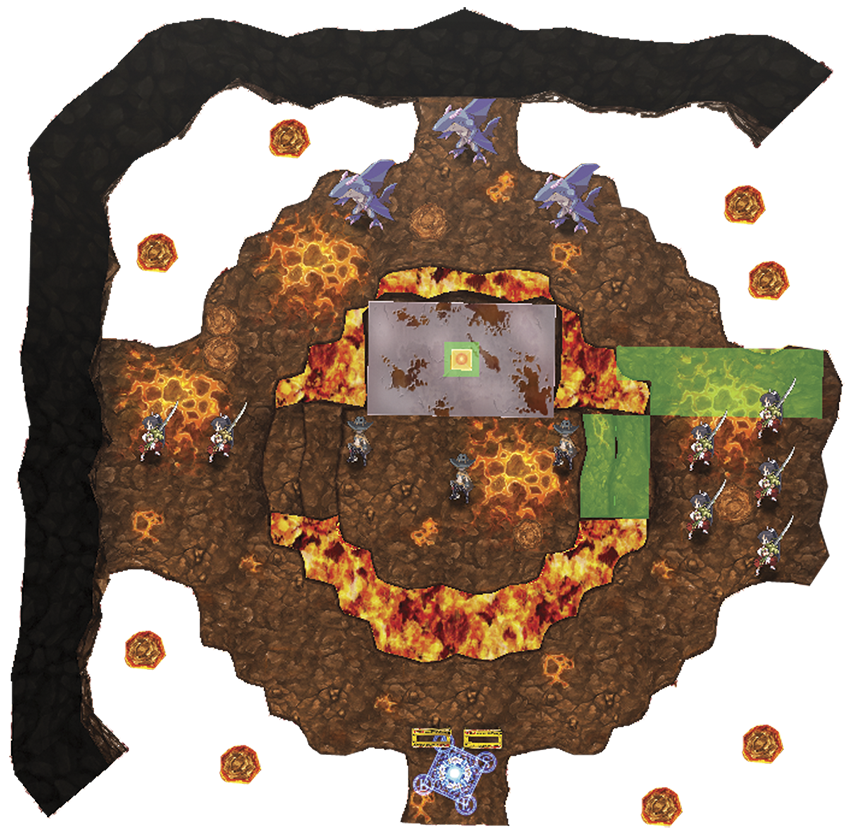
| Class | Lv | Qty | Evility | Weapon | Armor | Skills | Note |
|---|---|---|---|---|---|---|---|
| Exorcist | 20 | 7 | Bushido | Bane Sword | Kendo Gear, Cross-Trainers* | Blade Rush, Hurricane Slash, Nether Slash | * The two Exorcists that stand apart from the group are not wearing Cross-Trainers. |
| Serpent | 22 | 3 | Water Dominance | Wolf Fangs | Kendo Gear, Kung-Fu Muscle | Shark Slider, Jaws Wave Rider | - |
| Sniper | 18 | 3 | Assist | Marshal Echo | - | Tri-Burst, Dark Matter Ether | - |
| Geo Symbol | Geo Effect | Destroy | NoTe |
|---|---|---|---|
| Null | No Entry | Clear | Moves itself off the green panel at the start of Turn 5. |
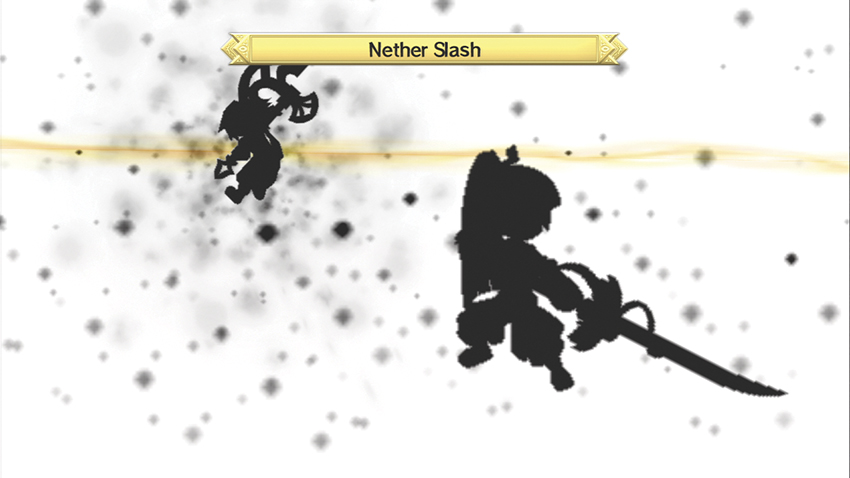
Everything on this map does more damage than it looks like it should. The Exorcists’ Evility gives them a passive +50% to ATK as long as they’re hitting a unit head-on and they know Nether Slash, so take that into account when positioning your characters. You want to keep your crew scattered so the Exorcists can’t hit more than one unit at once.
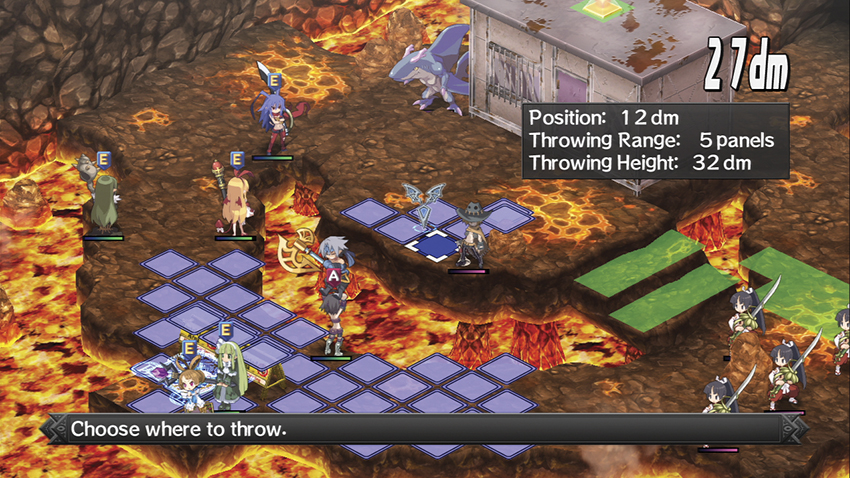
The Gunners aren’t much, but they make it difficult to bring low-DEF support units into the fight, so throw somebody over the gap early on to take them out. You don’t need the distraction while you’re fighting the Exorcists.
The Sea Dragons come into play last due to their low Movement rate and will loop around the far end of the stage due to the No Entry Panels near the trailer. That No Entry Effect will drop on its own by the fifth enemy turn, but it’s not a factor. You really want the Sea Dragons to take their time reaching you so you don’t have to deal with them and the Exorcists simultaneously. Their Shark Slider skill has a longer range than you’d expect and can do a lot of damage to characters with a Water vulnerability, such as Laharl, so keep that in mind when you’re sending units over to deal with them.
Map Events
- Station Etna next to Sicily.
- Flonne attacks an enemy unit.
- Have Laharl on the field at the start of your third turn.
Green Room
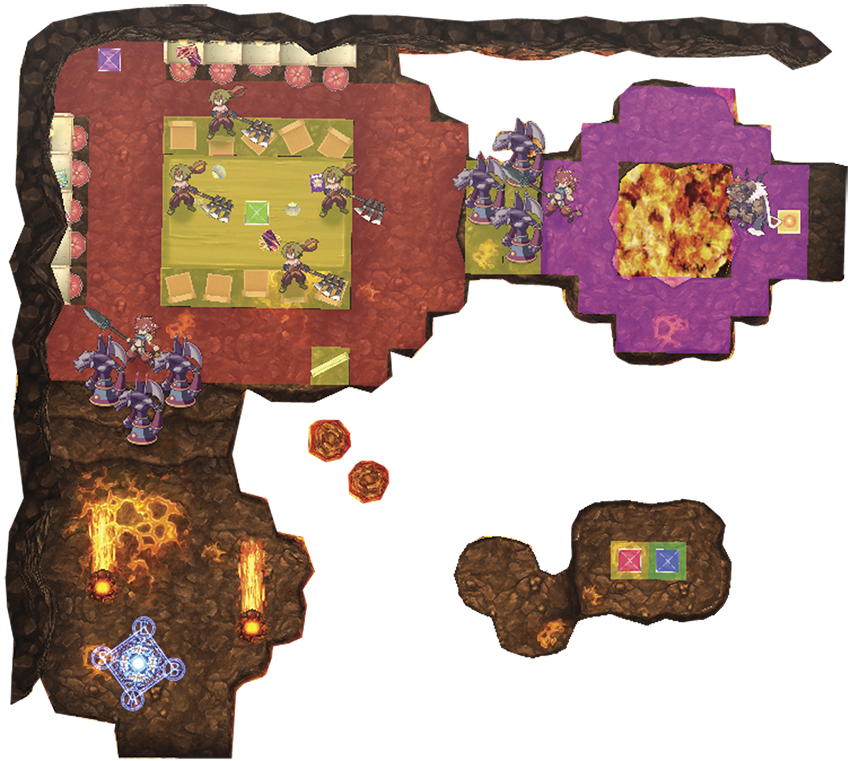
| Class | Lv | Qty | Evility | Weapon | Armor | Skills |
|---|---|---|---|---|---|---|
| Beast Tamer | 22 | 2 | Dark Tamer | Obsidian Spear | Kite Shield | Wild Groom, Impaler Drop, Blade Bash |
| Guardian | 20 | 6 | Stone Statue | Cunning Emblem | Kite Shield | Flying Press, Granite Checkmate, Wind, Mega Wind, Giga Wind |
| Fighter | 22 | 4 | Fortitude | Greedy Hatchet | Kendo Gear | Helmet Crush, Boulder Crush |
| Hoggmeiser | 24 | 1 | Greed: increase stats by 5% per digit of HL possessed. | Wolf Fangs | Kendo Gear | Darkness Slash, Twilight Bomber |
| Geo Symbol | Geo Effect | Destroy |
|---|---|---|
| Purple | DEF -50% | Purple Change |
| Red | EXP +50% | Red Change |
| Null | Enemy Boost +50% | Clear |
| Blue | Invincible | Blue Change |
| Green | ATK +50% | Green Change |
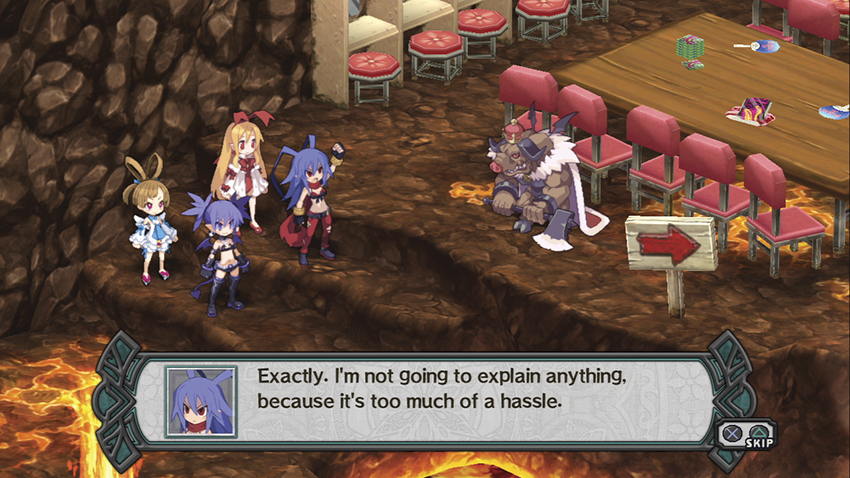
The three Gargoyles near your starting point are surrounding a Beast Tamer and benefiting from her Evility, but you can take them apart easily enough if you stand back and force them to move up to you. Likewise, the Fighters in the makeup area can be a problem, but you can soften them up if you station your characters at the top of the stairs, forcing them to stay on the red Geo Panels if they want to attack you, and thus suffering the DEF –50% effect.
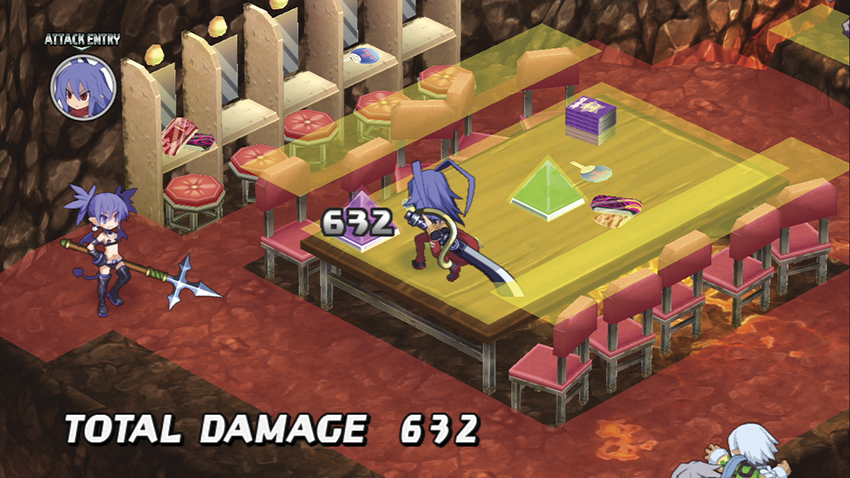
You have a lot of options at this point, many of which involve dealing with the two Geo Symbols located on that island in the lava. One of the easiest is to throw the purple Geo Symbol in the corner of the makeup room onto one of the yellow Geo Panels, then destroy it. This causes a massive Geo Chain that maxes out the Bonus meter, probably kills the three remaining Gargoyles, and will either kill or nearly kill the last Beast Tamer. If she’s still alive after the Chain goes up, it’ll take at most one hit to finish her off.
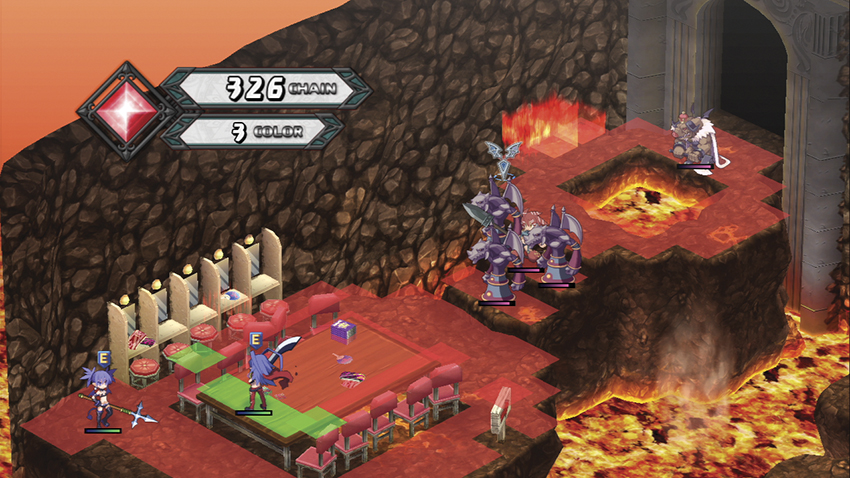
That leaves you with Hoggmeiser, who’s a handful. He can do a lot of damage with Darkness Slash and his own high ATK stat, and he’s got a lot of HP for this point in the game. Once he’s alone, however, you can combo him to death with relative ease.
On future visits to this stage, everything is the same except for Hoggmeiser’s absence. If Hoggmeiser and his security squad defeat you, you’ll receive one of the weirder alternate endings.
Map Event
- Attack Hoggmeiser with Laharl.
- Hoggmeiser attacks Laharl.
- Etna reaches a square next to Hoggmeiser.
Concert Stage
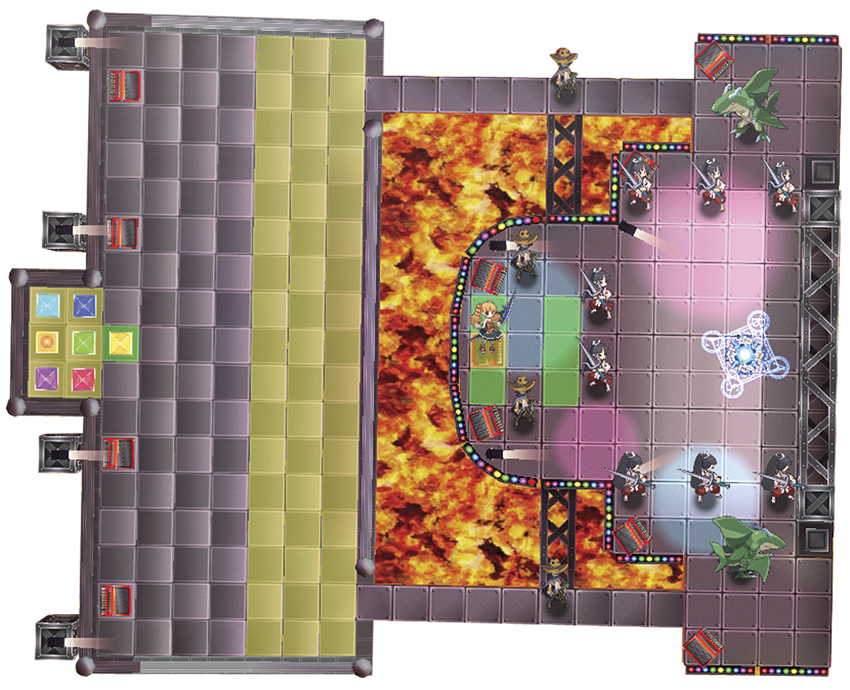
| Class | Lv | Qty | Evility | Weapon | Armor | Skills | Note |
|---|---|---|---|---|---|---|---|
| Diabolist | 23 | 8 | Bushido | Mail Breaker | Kendo Gear, Kung-Fu Muscle | Blade Rush, Hurricane Slash | – |
| Sniper | 23 | 4 | Marker | Gehenna 600 | Kite Shield | Tri-Burst, Dark Matter Ether | – |
| Serpent | 23 | 2 | Cold Charge | Bull Horn | Kite Shield | Shark Slider, Jaws Wave Rider | – |
| Lanzarote | 25 | 1 | Vocal Mind Control: +4% stats to friendly units, -4% stats to enemy units | Wind Hunter | Ninja Tabi, Dark Rosary, Kite Shield | Move!, Jump Jump Jump!, Counter Classes, Dark Spica, Bright Canopus, Meteor Arrow Kick, Zielregen, Braveheart, Magic Boost | – |
Second Visit
| Class | Lv | Qty | Evility | Weapon | Armor | Skills | Note |
|---|---|---|---|---|---|---|---|
| Curse Knight | 23 | 5 | Patience | Bull Horn | Kite Shield | Lightning God Slash, X-Slash | – |
| Geo Symbol | Geo Effect | Destroy | Note |
|---|---|---|---|
| Aqua | DEF +50% | Aqua Change | – |
| Null | No Lifting | Clear | – |
| Yellow | No Entry | Yellow Change | – |
| Blue | Water Element +50% | Blue Change | – |
| Green | Wind Element +50% | Green Change | – |
| Purple | DEF +50% | Purple Change | – |
| Red | Fire Element +50% | Red Change | – |
Second Visit
| Geo Symbol | Geo Effect | Destroy | Note |
|---|---|---|---|
| Aqua | DEF +50% | Aqua Change | – |
| Null | No Lifting | Clear | – |
| Yellow | Hell +50% | Yellow Change | – |
| Blue | Water Element +50% | Blue Change | – |
| Green | Wind Element +50% | Green Change | – |
| Purple | DEF +50% | Purple Change | – |
| Red | Fire Element +50% | Red Change | – |

This map can be a stone wall if you haven’t been keeping up with your levels or equipment. There’s no trick to it; either you can survive getting hacked to bits by several Exorcists, Sea Dragons, and Gunners or you can’t. Use the Item World to level up some accessories and armor before you set foot in here, then equip them on your hardest hitters and come out swinging.
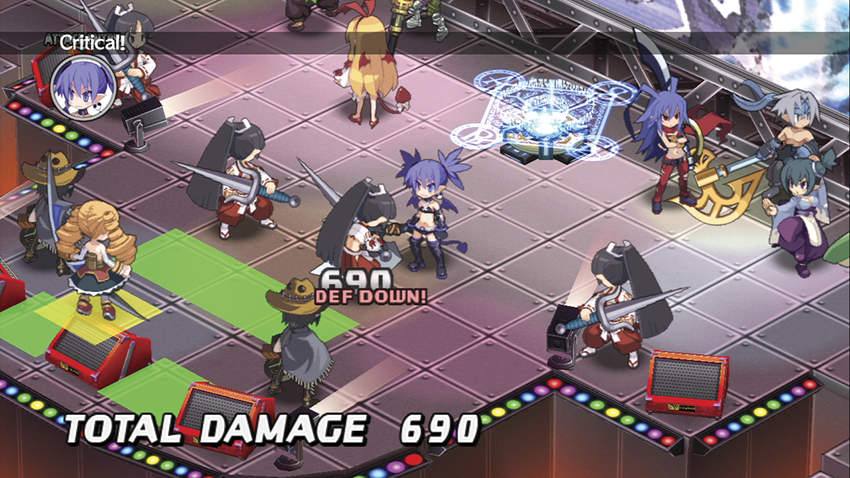
Eliminate every Exorcist you can reach with your first move; don’t leave a target alive, even if it seems like a waste to use up a full-power attack on one, because a low-health enemy hits for just as much as an undamaged one does. Position your characters at least two squares apart so the Exorcists can’t Nether Slash more than one at once. And even if you’ve done a lot of preparation, don’t be surprised if a couple of characters go down simply due to focused fire. The Serpents fold up like lawn chairs if you torch them with Fire spells, but don’t bring out a primary caster until the Exorcists are all gone or they’ll pile onto him as soon as they can.
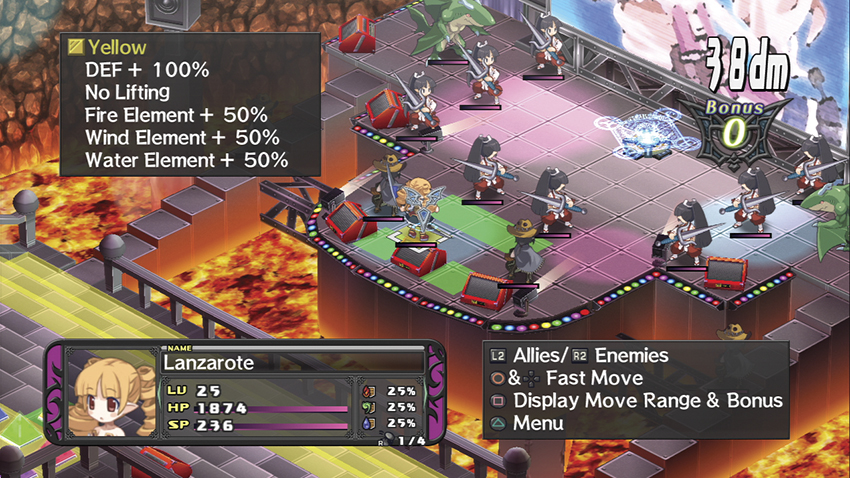
Once you’ve taken out her security squad, it’s time to deal with Lanzarote. She’s happy to sit there on her Geo Panel, buffing herself with her arsenal of support spells, unless someone gets within her range, at which point she burns people down with Bow skills. She’s got a Dark Rosary that you’ll probably want to steal, although you really don’t want to bring out a Thief until everything besides Lanzarote is dead, lest the Thief get sliced in half.
If you’re having trouble getting through Lanzarote’s defenses, throw somebody into the stands to destroy the Geo Symbols there. If you throw the No Entry Symbol at one of the DEF +50% Symbols, it’ll set off a vicious Geo Chain that maxes out the Bonus meter and removes all the Geo Effects, including the DEF +100% that’s keeping Lanzarote alive.
Defeating Lanzarote recruits her for your army. You also earn the Netherworld Idol Trophy.
On subsequent visits to Concert Stage, Lanzarote and her backup singers are replaced by an encounter with five Curse Knights, who begin the fight on Hell +50% Geo Panels. If you adjust their levels in the Cheat Shop so they’re always roughly on par with your crew, this is a great stage for farming money.
Map Events
- Move Flonne into a square next to Lanzarote.
- Move Sicily into a square next to Lanzarote.
- Attack Lanzarote with Laharl.