Disgaea D2: A Brighter Darkness Guide Walkthrough The Badass The Netherworld Deserves
The Badass The Netherworld Deserves
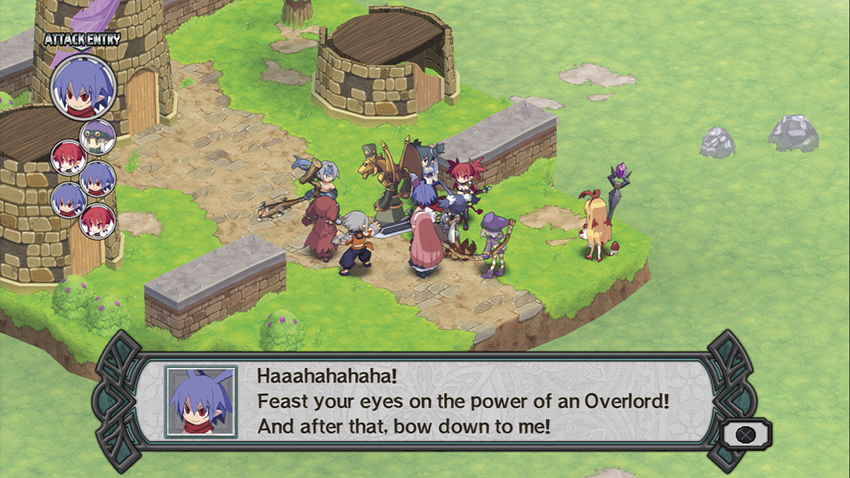
Your first fifty hours or so with Disgaea D2 will be spent bombing around the Netherworld with Laharl and the crew, causing problems, getting in fights, pummeling concertgoers, and possibly saving the entire dimension from an apocalyptic doom—you know, if you get around to it.
The following is a walkthrough to teach you how to most efficiently get through the various tactical challenges presented by the main campaign. This guide was written with a mostly humanoid army, the better to deal with several stages’ gimmicks that involve tower-throws and other human-only endeavors, and with a heavy bias toward melee combatants. We have not seen many situations that could not be resolved with a high-level Axe introduced repeatedly to demon faces.
One of the interesting things about D2, however, is that none of the character or monster classes available to you are actually bad. Every player will end up with a slightly different army, and figuring out your individual preferences and style will be a big part of how you spend your time with the game. We’re making suggestions, but the implementation is up to you, and you shouldn’t consider any of the strategies listed here to be the gospel truth.
Difficulty Curve
D2’s main campaign is built around the assumption that you’re spending some time between missions grinding levels, leveling up your equipment, buying new gear from Rosen Queen, and making sure your back-line support characters are around the same level as your front-line wrecking crew. This is not a game with a perfect leveling curve, and if your personal style is to burn through a game as quickly as possible without stopping, Disgaea D2 is your Kryptonite.
As a rule, at the start of every new Episode, take some time to acquire new weapons and armor, level up new characters, let your healers and support classes catch up with the rest of the team, and go into the Item World to enhance your equipment. Gear is very important in this game, arguably more than levels are, and there are several occasions where you simply won’t be able to progress unless you’ve got at least a few characters who can soak up an appalling level of punishment. This game is how you learn to stop worrying and love the grind.
Naturally, we’ll be including suggestions throughout the guide for good grinding spots, where you can painlessly earn a level or two before progressing. Listen to us when we do. Seriously.
Legend: Enemy Units
Here’s how to read the data presented on each story map’s page.
| Class | Lv | Qty | Evility | Weapon | Armor | Skills | Note |
|---|---|---|---|---|---|---|---|
| Ghost | 1 | 1 | Generate Pain | - | - | Dimension Eater X, Fire | - |
| Mothman | 1 | 2 | Poison Accelerator | - | - | Moth Tornado | - |
Class: The listed class of the enemy unit. For unique units, this will simply be their name. (Common enemy units have names as well, but they’re randomly generated on each visit to the level.)
Lv: The level of the enemy unit(s).
QTY: The number of this specific kind of enemy unit present on the map.
Evility: The enemy unit’s Evility. Unique Evilities’ effects will be written here; for common Evilities.
Weapon: What, if any, weapon the unit is using.
Armor: What, if any, armor and accessories the unit has equipped.
Skills: The unit’s available skills.
Note: If there’s anything else we think you’d probably want to know about this thing, such as likes, dislikes, or tactical information, we’ll list it here.
Legend: Geo Symbols
| Geo Symbol | Geo Effect | Destroy | Note |
|---|---|---|---|
| Null | Enemy Weaken -50% | Clear | - |
| Green | Enemy Boost +50% | Green Change | - |
| Red | EXP +50% | Red Change | - |
Geo Symbol: The color of the relevant Geo Symbol.
Geo Effect: What effect this Geo Symbol conveys to the color of Geo Panels it’s resting upon.
Destroy: What happens to the Geo Panels this Geo Symbol is affecting if this Symbol is destroyed.
Note: Some Geo Symbols have unique quirks, like being mobile or having a keen appreciation for French new wave cinema. If so, they’re listed here.
Map Events
Almost every stage in Disgaea D2’s story campaign has a couple of hidden conversations. These Map Events are typically focused around the relationship between Laharl, Etna, Flonne, Sicily, and/or various named NPCs, and if you don’t know they’re there, you could miss them completely. We’ll be listing them on each map. Be sure to check them out.
For a Map Event to take place, the characters involved must have been deployed and must be unoccupied at the listed times. If they’re part of a tower, that will prevent a map event from taking place.
Finding 100 Map Events grants you the Battle of Words Trophy.