
Disgaea D2: A Brighter Darkness Guide Walkthrough Episode 1: The Qualities of An Overlord
Episode 1: The Qualities of An Overlord
Welcome back to Laharl’s Castle. Etna’s recently gone on some kind of renovating frenzy, which is probably the excuse she used to cover up an explosives mishap, so not much is currently available for you to do.
Of the many features of the castle, the only one that’s open for business is the Cheat Shop, found outside in the wreckage of what was once Flonne’s garden. The Priest who mans the Shop is standing right next to the castle door, although you have to rotate the camera a bit to realize he’s there.
The Cheat Shop, lets you subtract a set number of percentage points from your EXP, HL, weapon levels, skill experience, or Mana intake in order to add some points elsewhere. Currently, your minimum in any of those five categories at the Cheat Shop is 90% and your maximum is 105%.
Your army presently consists of Laharl, Etna, Flonne, and two randomly generated Prinnies, complete with Amulets and the lowest-quality weapons available.
To leave the Overlord’s Castle, talk to Meaver the Archer standing in the open gate near the Netherworld Hospital. Meaver is your Dimension Guide, and there’s no way to leave home without talking to her.
Battle Basics 1
| Class | Lv | Qty | Evility | Weapon | Armor | Skills |
|---|---|---|---|---|---|---|
| Ghost | 1 | 1 | Generate Pain | - | - | Dimension Eater X, Fire |
| Mothman | 1 | 2 | Poison Accelerator | - | - | Moth Tornado |
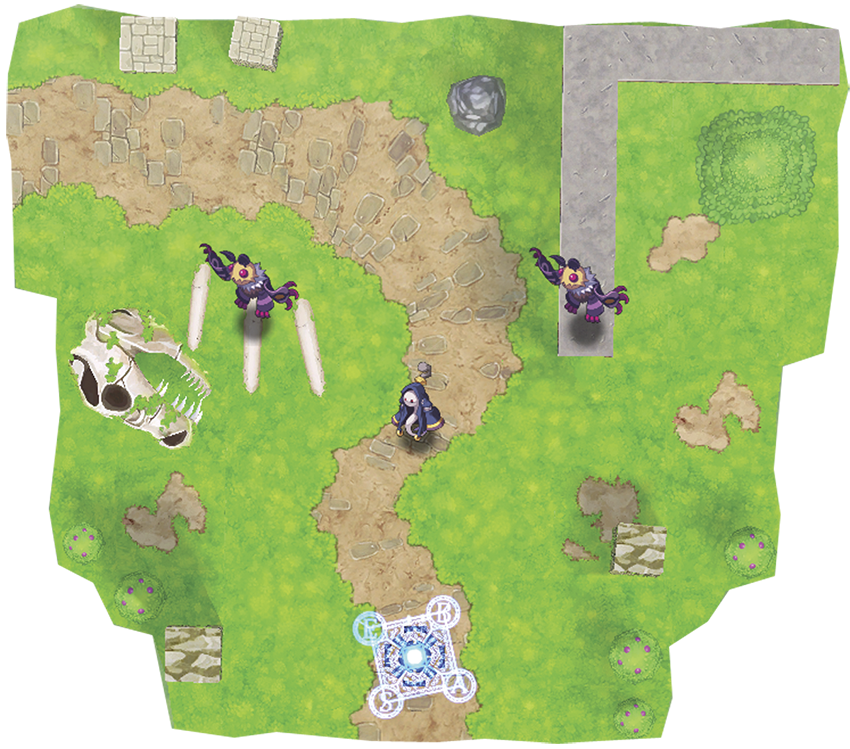
Welcome to a basic tutorial map. Even at level 1, Laharl or Etna can probably drop the enemies here in one shot, and it’s unlikely that they’ll take a single point of damage in so doing.
After you clear this map, the Netherworld Hospital and Rosen Queen Trading Company both open back at Laharl’s Castle.
Map Events
- Station Laharl next to Etna.
- Station Laharl next to Flonne.
- Have both Laharl and Etna on the map at the start of your ninth turn.
Battle Basics 2
| Class | Lv | Qty | Evility | Weapon | Armor | Skills |
|---|---|---|---|---|---|---|
| Ghost | 1 | 1 | Generate Pain | - | - | Dimension Eater X, Fire |
| Mothman | 1 | 2 | Poison Accelerator | - | - | Moth Tornado |
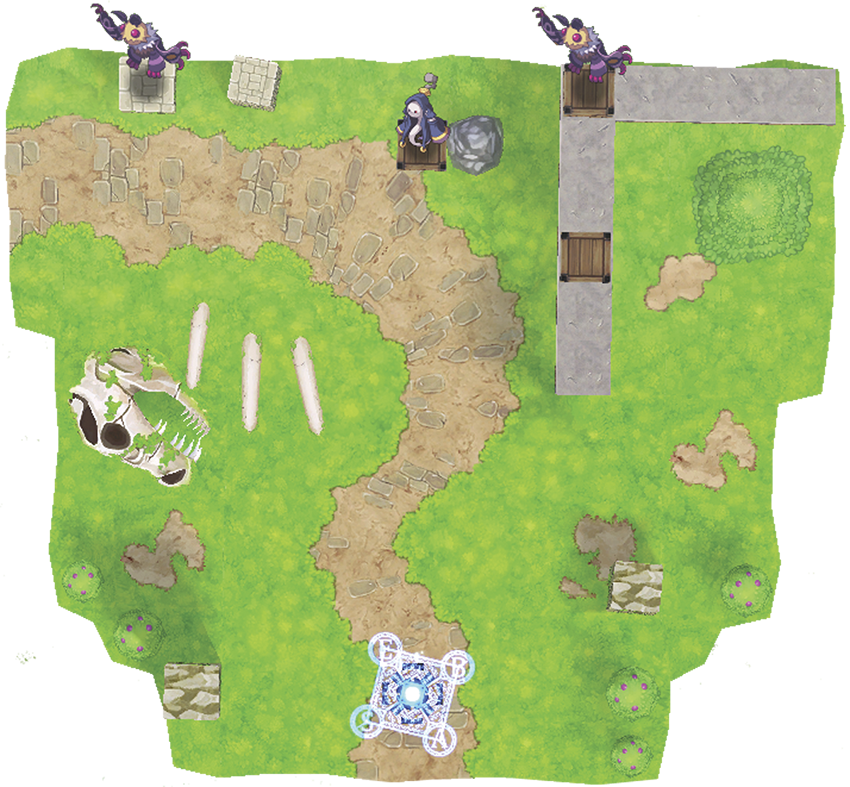
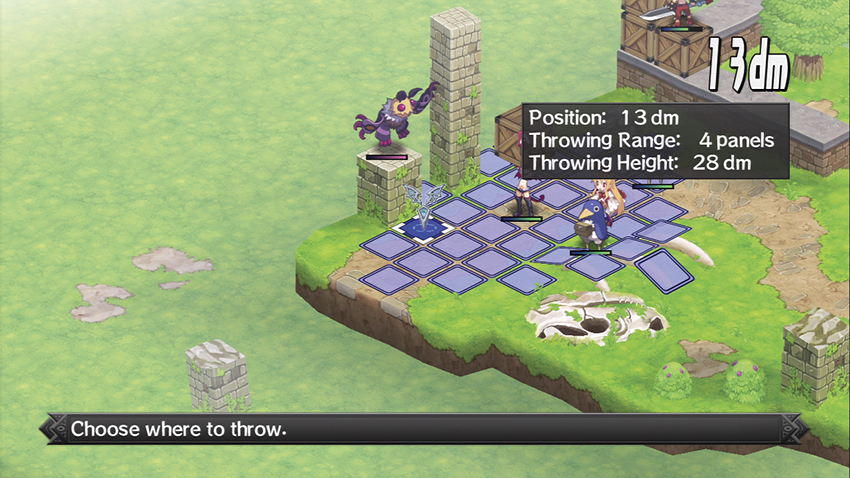
As the name might suggest, this is another tutorial map. This time, it deals with lifting and throwing. The Ghost will happily attack anyone who gets close, but the Mothmen refuse to lift a finger unless there’s a character standing right next to them. Pick up the Wooden Boxes and use them to reach the Mothmen.
Winning on this map opens Paparazzi’s Data Shop. He hangs out in the library of Laharl’s Castle and keeps track of your various collections and accomplishments.
Map Events
- Deploy a Prinny and get it next to Etna.
- Laharl’s first attack.
- Use Laharl to pick up a Wooden Box.
- Laharl reaches a Wooden Box before Etna or Flonne does.
- Flonne reaches a Wooden Box before Etna or Laharl does.
- Etna reaches a Wooden Box before Laharl or Flonne does.
Geo Effects
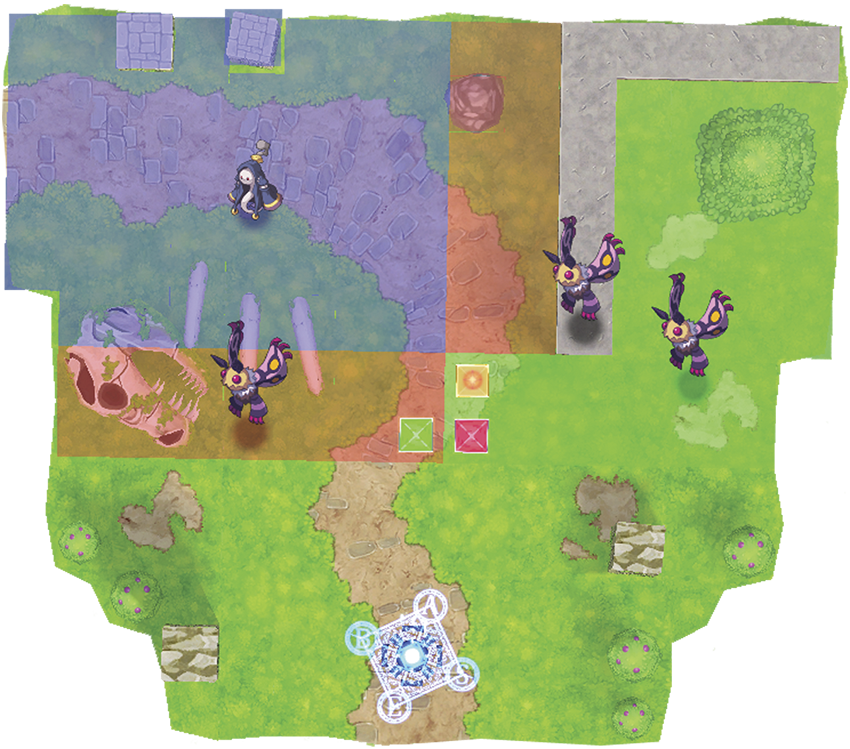
This is a tutorial map that teaches you all about Geo Panels and Symbols. Three Mothmen and one Ghost are here to serve as obstacles while you learn how to set off a Geo Chain.
If you attack the green Geo Symbol directly ahead of the base panel, it clears the red Geo Panels off the map and turns most of the panels’ Geo Effects into Enemy Weaken –50% and EXP +50%. Then all you have to do is clean up afterward.
On future visits to this map, when you have a character or two with a Bow or Gun, you can pick up the green Geo Symbol and throw it onto the blue area with the Ghost. Destroy it to flip the blue panels to green, then destroy the red Geo Symbol to change the green panels red. The ensuing Geo Chain also blows up the yellow Geo Symbol, which clears all of the Panels off the map for a big burst of damage to all enemy units and several free levels to the Bonus meter. This can be a decent way to get free equipment and extra cash, although it rapidly becomes obsolete when your characters get above level 5 or so.
When you return to Laharl’s Castle after clearing this map, you’ll discover the Dark Assembly is open for business, courtesy of our old buddy Plenair.
| Geo Symbol | Geo Effect | Destroy |
|---|---|---|
| Null | Enemy Weaken -50% | Clear |
| Green | Enemy Boost +50% | Green Change |
| Red | EXP +50% | Red Change |
| Class | Lv | Qty | Evility | Weapon | Armor | Skills |
|---|---|---|---|---|---|---|
| Mothman | 2 | 3 | Poison Accelerator | - | - | Moth Tornado |
| Ghost | 2 | 1 | Generate Pain | - | - | Dimension Eater X, Fire |
Map Event
- Have Etna on the field at the start of any turn after your first.
- Laharl attacks a Geo Symbol.
- Get a Game Over.
Nameless Wilderness
| Class | Lv | Qty | Evility | Weapon | Armor | Skills |
|---|---|---|---|---|---|---|
| Mothman | 3 | 2 | Poison Accelerator | - | - | Moth Tornado |
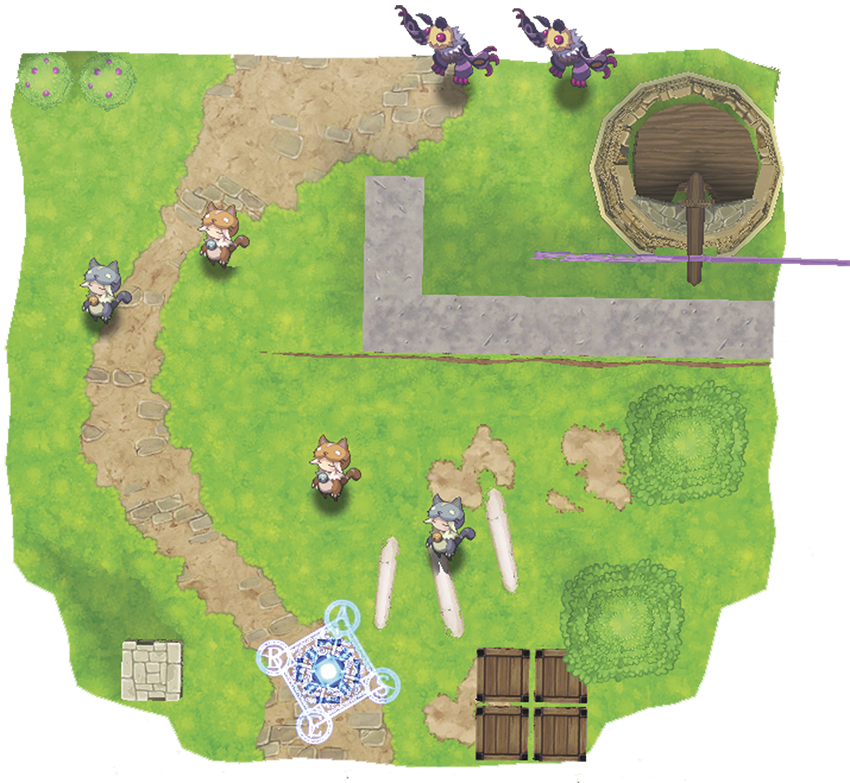
| Catsaber | 2 | 4 | Cute Aura (x2), Softening Aura (x2) | - | - | Cat Umbrella Spin |
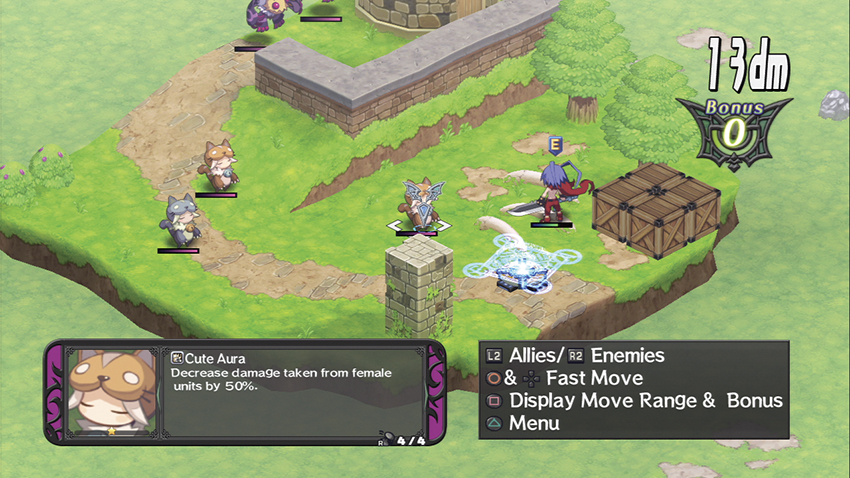
The four Catsabers standing near your base panel have problematic Evilities. Two of them take half damage from female units and two take half damage from monster units. You should have a deep enough bench that this doesn’t pose a serious problem; the general idea is to get you into the habit of checking enemies’ Evilities at the start of a stage.
You can use the stack of Wooden Boxes near your starting point to make it easier to reach the two Mothmen standing on the other side of the map.
When you return to the castle, you’ll also be able to sign your characters up for the first eight training methods in the Demon’s Dojo.
Map Event
- Station Laharl next to Flonne.
- Station Laharl next to Etna.
- Have Laharl attack an enemy.
Tainted Soil
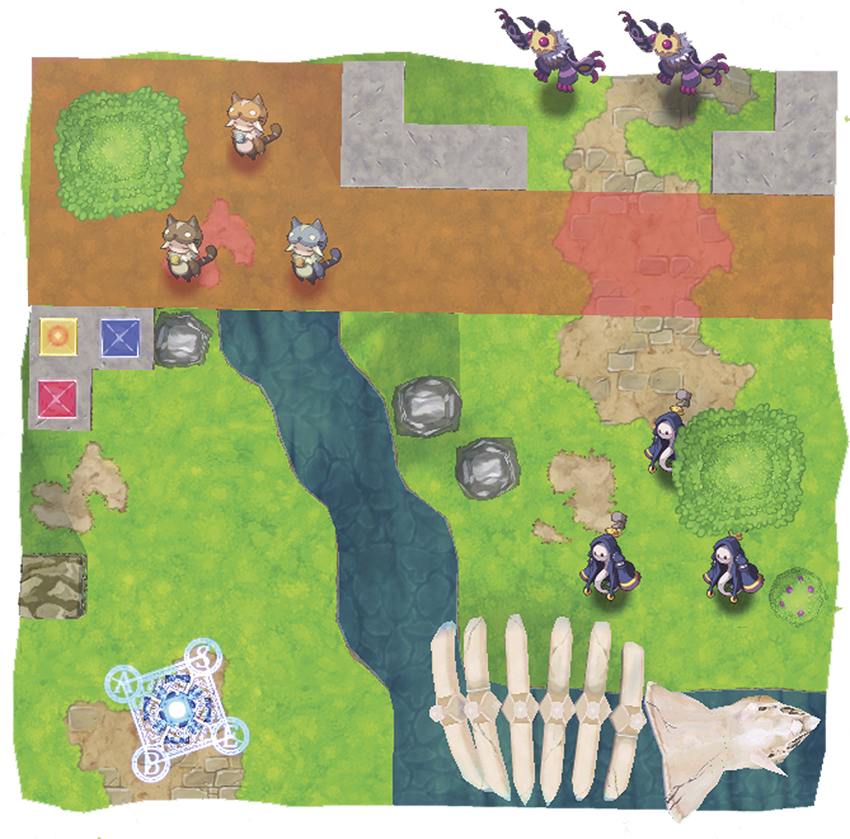
| Class | Lv | Qty | Evility | Weapon | Armor | Skills |
|---|---|---|---|---|---|---|
| Catsaber | 3 | 3 | Softening Aura (x1), Weakening Aura (x1), Cute Aura (x1) | Cicada Husk | Amulet | Cat Umbrella Spin |
| Mothman | 4 | 3 | Poison Accelerator | Humiliating Emblem | Amulet | Moth Tornado |
| Ghost | 3 | 3 | Generate Pain | Humiliating Emblem | Amulet | Dimension Eater X, Fire |
| Geo Symbol | Geo Effect | Destroy |
|---|---|---|
| Red | DEF +50% | Red Change |
| Null | EXP +50% | Clear |
| Blue | DEF -50% | Blue Change |
You have a choice on this stage. The three Geo Symbols stacked up near the base panel can be deployed as you see fit, or ignored completely. Throw the EXP +50% yellow Symbol onto the red Geo Panels for easier leveling.
The DEF +50% and DEF –50% Symbols don’t have a particularly noticeable effect. At this level, stats are a bit too low in general for that. They do come in handy if you come back later with Stronger Enemies enabled in the Cheat Shop, however.
Be careful when you’re deploying your characters, as the Ghosts are just close enough that they can take potshots at your characters with Fire spells from across the river.
Clearing Tainted Soil unlocks the Support Attack and Protect options in the Cheat Shop.
Map Event
- Laharl uses a Protect Action on Flonne.
- Have a Prinny on the field at the start of your third turn.
- Have Flonne on the field at the start of your third turn.
Silent Death Land
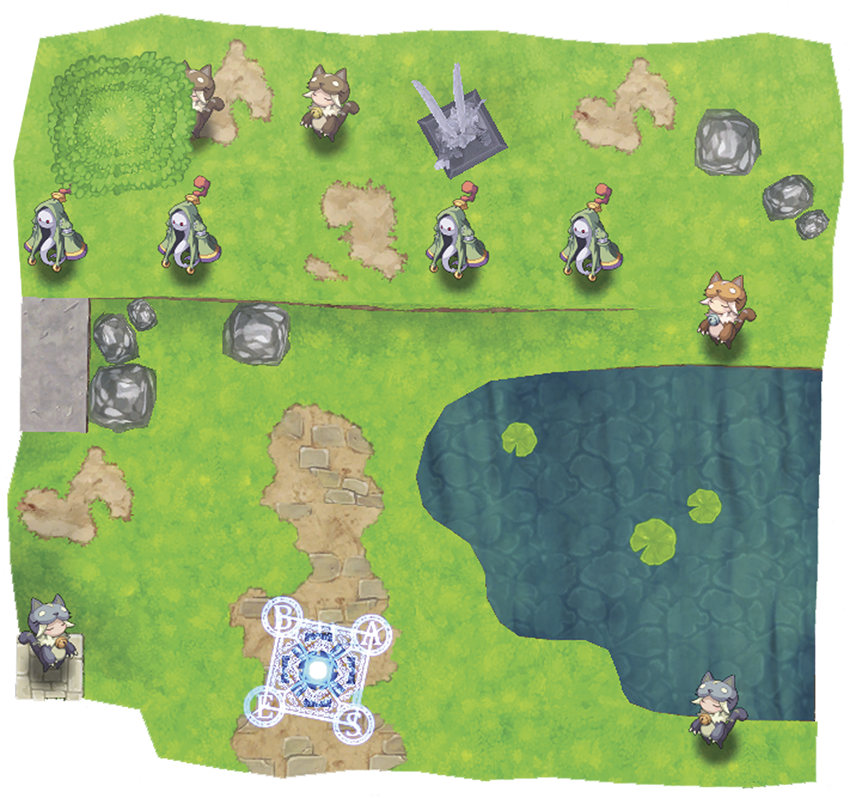
| Class | Lv | Qty | Evility | Weapon | Armor | Skills |
|---|---|---|---|---|---|---|
| Ghost | 4 | 4 | Mind Break | Weakling Emblem | Pot Lid | Dimension Eater X, Fire |
| Catsaber | 3 (x4), 4 | 5 | Softening Aura (x2), Weakening Aura (x2), Cute Aura | Paw Gloves | Pot Lid | Cat Umbrella Spin |
This map is a good example of how you can deploy your entire army on the first turn, but you don’t have to. If you pull out your whole squad right off the bat, you’ll necessarily be clustered around the base panel and the enemy Ghosts will have a field day picking off your newer characters with Fire spells.
On the other hand, if you bring out someone like Laharl or Etna, who can take a few hits and come up smiling, you can leave them by your base panel as bait. As the enemies close in, deploy your entire army on the second turn and wipe out the enemy en masse.
Just the same, this is a map where the Priest’s Light Protection Evility can come in handy because it provides you with healing and a RES buff at the same time.
Map Event
- Have Etna attack an enemy.
- Station Etna next to a Prinny.
- Have Laharl on the field at the start of your fifth turn.
Withered Local Pride
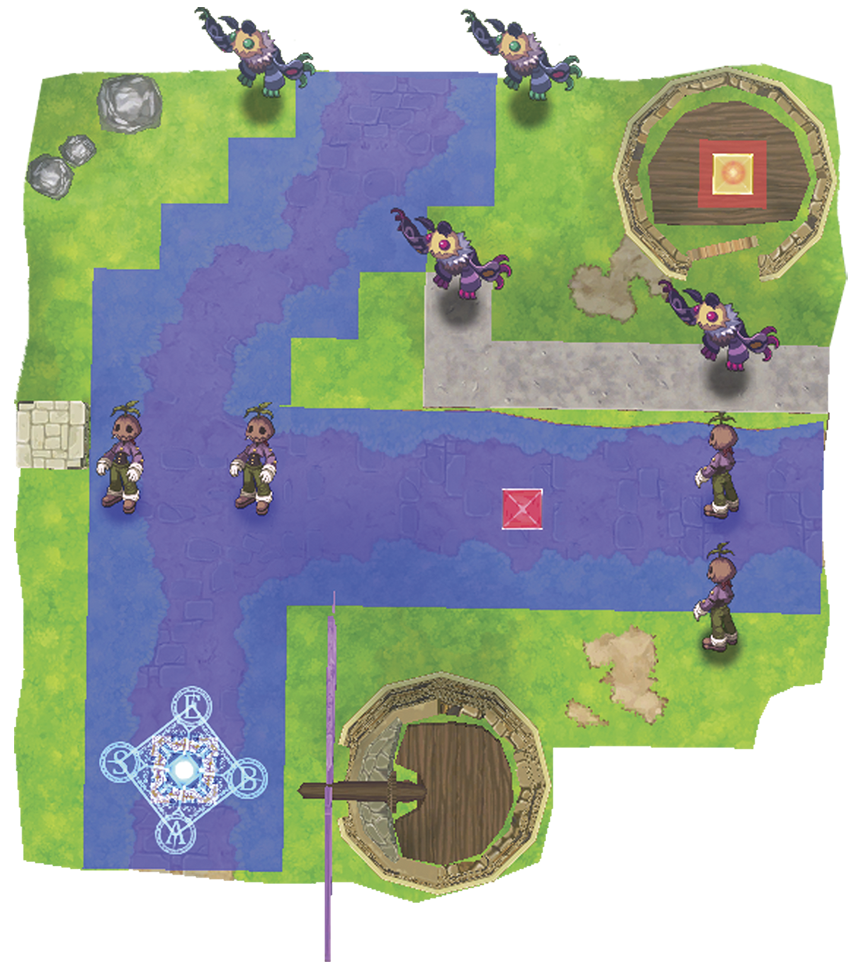
| Class | Lv | Qty | Evility | Weapon | Armor | Skills |
|---|---|---|---|---|---|---|
| Pumpkin | 5 | 4 | Bad Trip | - | - | Jumpin' Jack, Target Lock |
| Mothman | 5 | 4 | Full of Miasma | - | - | Moth Tornado, Poison |
| Geo Symbol | Geo Effect | Destroy |
|---|---|---|
| Null | Ally Boost +50% | Clear |
| Red | Silence | Red Change |
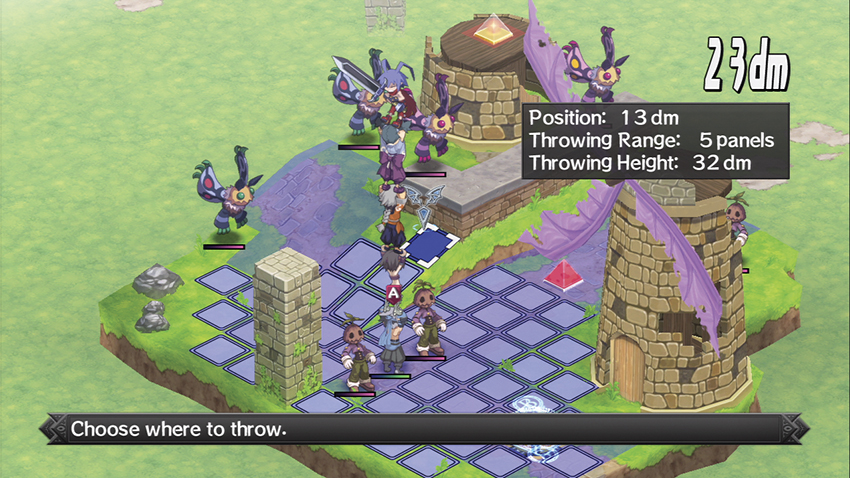
Here’s a potentially lethal one-two punch: the Mothmen have the Full of Miasma Evility, which increases the odds of a character being afflicted by a status ailment, and the Pumpkins have Bad Trip, which has a 50% base chance, calculated individually, of their targets suffering every status ailment. It’s not at all strange for the victim of a Pumpkin’s attack to end up asleep, poisoned, silenced, depraved, and paralyzed.
This wouldn’t be that big of a deal if the blue Geo Panels that cover most of the area weren’t Silencing you. Bring some Fairy Dust, available over the counter at Rosen Queen, and start the match with a four-man tower throw over to the yellow Geo Symbol. Throw it down to the blue Panels to give your team a much-needed Ally Boost +50% effect.
That way, even if the Pumpkins do score a couple of hits, they probably won’t do enough damage to your crew that you won’t be able to heal them up afterward with some items. It helps that the Pumpkins will usually use up their first turn casting Target Lock on themselves and the Mothmen.
Another option, naturally, is to bring out a character with a Bow, such as a Valkyrie, and destroy the red Geo Symbol right off the bat, then trash the Pumpkins as they come and remove the ailments they cause with Espoir. A Cleric can learn that spell at level 3.
Map Events
- Station Laharl next to Flonne.
- Station Laharl next to Etna.
- Have a Prinny on the field at the start of your third turn.
Filthy Ruins
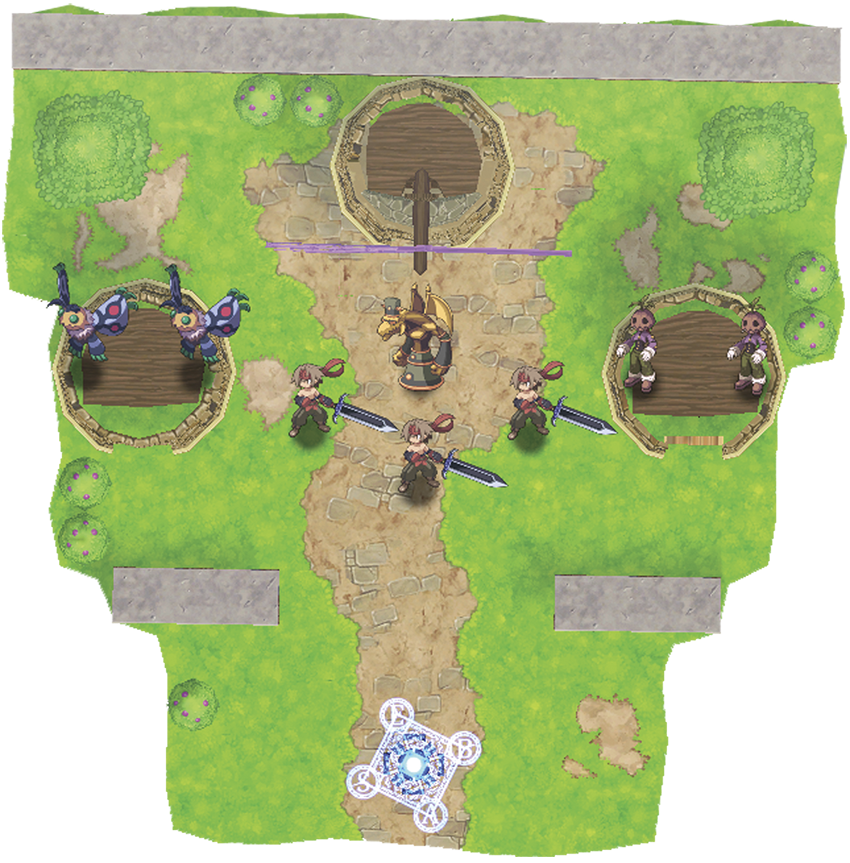
| Class | Lv | Qty | Evility | Weapon | Armor | Skills |
|---|---|---|---|---|---|---|
| Fighter | 5 | 3 | Wild Cry | Short Sword | Pot Lid | Blade Rush |
| Pumpkin | 5 | 2 | Bad Trip | Paw Gloves | Pot Lid | Jumpin' Jack, Target Lock |
| Mothman | 5 | 2 | Full of Miasma | Paw Gloves | Pot Lid | Moth Tornado, Poison |
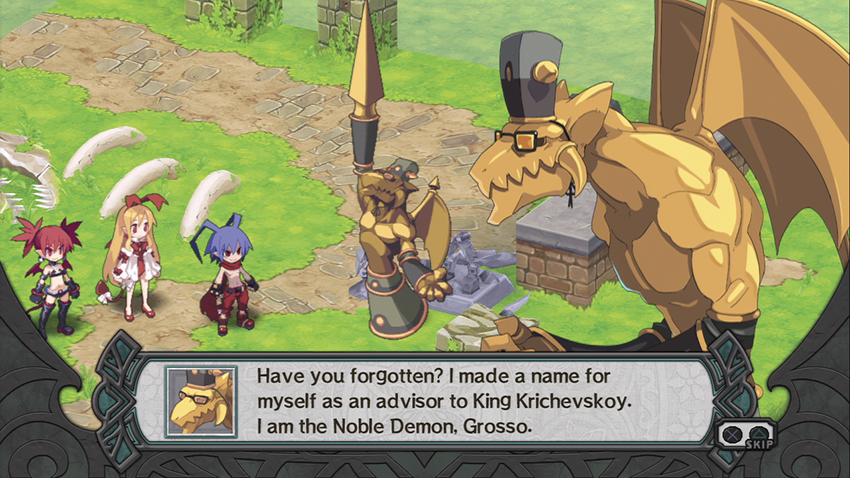
| Grosso | 6 | 1 | Shut-In Officer (as long as unit doesn't move, increase stats of adjacent units by 30%) | Depraved Emblem | Silk Cummerbund | Star, Poison, Checkmate |
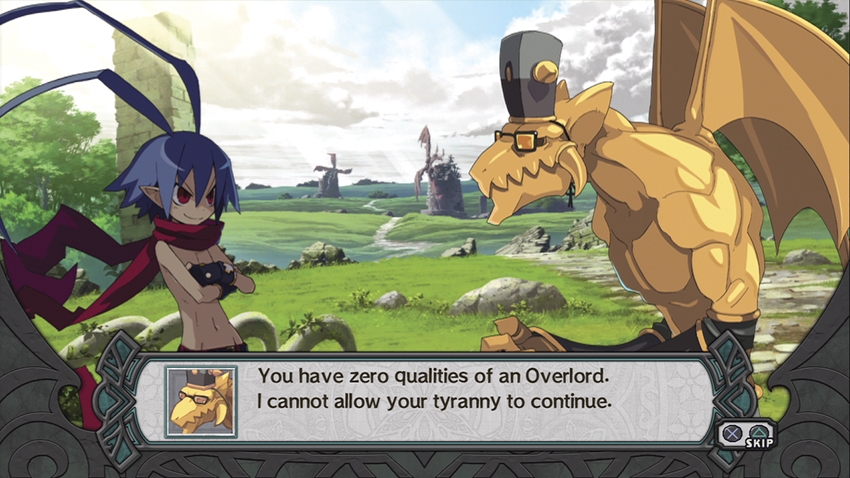
This can get dangerous very quickly. The three Fighters are all armed with Short Swords and know Blade Rush, so they can damage up to three of your units at a time, and the Mothmen and Pumpkins retain the Full of Miasma/Bad Trip one-two punch from the last map.
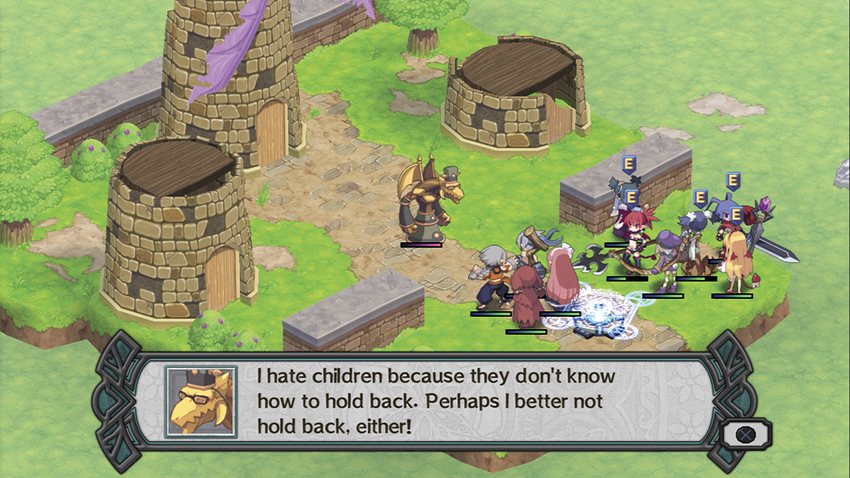
As with Silent Death Land, it’s a good idea to pull back behind the base panel on your first turn and let the enemy come to you. Grosso will enter the fray only if you wipe out all of his minions or if you get within the range of his Star spell, so let him stew in the back row while you dispose of his backup. This has the useful side effect of making his Evility irrelevant.
All of the enemies on this map except for Grosso will charge your position on the second enemy turn. The Mothmen are the easiest to take out, with the lowest DEF and HP, and removing them from the equation makes the Pumpkins a bit less dangerous. Use high-DEF characters like Etna or a Warrior to hold the Fighters at bay while you deal with the monsters, then finish the Fighters.
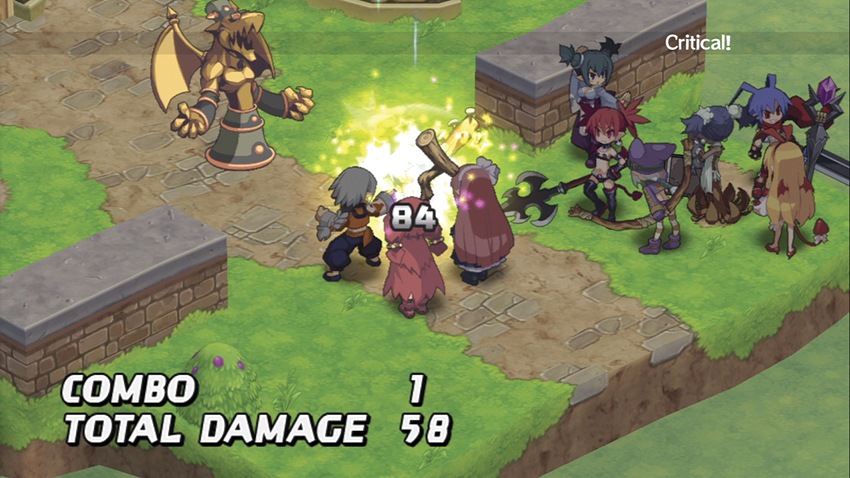
When dealing with Grosso, keep your HP high, as he attacks with a powerful but single-target Star spell. The best way to take him out is with a lengthy chain combo, delivered by as many characters as you can get within range of him.
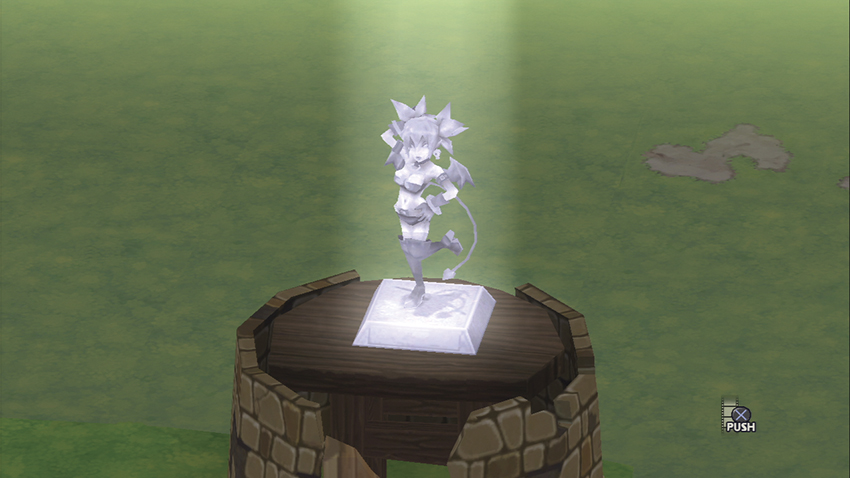
Defeating Grosso earns you the Statue Connoisseur Trophy.
Map Events
- Grosso attacks one of your characters.
- Get Laharl next to Grosso.
- Have Laharl attack Grosso.