
Disgaea D2: A Brighter Darkness Guide Post-Game Bonus Maps Post-Game Road Map
Post-Game Road Map
Disgaea games have always been known for their endgame, and D2 is no exception. After you’ve saved the Netherworld from Xenolith, the adventure isn’t over by a long shot. You’ve still got to protect Laharl’s throne from all challengers, deal with suspiciously frequent misunderstandings that always seem to escalate into violence, and investigate the darkest corners of the Netherworld so that you may punch whatever you find there.
In the face.
For no reason.
The General Idea
This section of the guide is about getting you to the point where you can handle all of the challenges of D2’s Post-Game as efficiently as possible.
The good news is that as difficult as some of these challenges can be, you can always overcome them by sheer grinding. It is possible to get your characters to a level of power that allows you to back up Laharl’s claims of invincibility. Even the last boss, for all his frankly ridiculous levels of power, is not actually stat-capped (by default, anyway), but it is possible for you to be.
| Level | Goal |
|---|---|
| 100 | New to the Post-Game. Finish up Prinny Land and both Detours if necessary. |
| 105 | Cave of Ordeals 1, 2 |
| 120 | Orders Received |
| 150 | Netherpower Struggle |
| 200 | Mysterious Girl, Red Overlord Search |
| 300 | Cave of Ordeals 3, 4 |
| 350 | Cave of Ordeals 5, 6 |
| 325 | Behind the Star |
| 650 | Angel's Explanation |
| 1000 | Unknown Enemy, The Strongest Proof |
| 1250 | Prinny Land 4 |
| 2500 | An Arrogant Betrayal, The Outside Ringer |
| 2750 | Prinny Land 5 |
| 5000 | Prinny Land X |
| 9000 | Prinny Land X (LoC Mode) |
| 9999 | Tyrant Overlord War |
This is a rough guideline as to what level you want to be to clear each of the stages in the Post-Game. That said, your passage through the Post-Game is made much easier if you continue to acquire upgrades and level your equipment.
To-Do List
- Get every training type at the Demon’s Dojo to four stars, starting with Weapon Assembly.
- Ensure that all your characters are at their highest rank.
- Get at least one humanoid character to Weapon Mastery level 21 with all eight humanoid weapons.
- Subdue Statistician Innocents and combine them until you have at least one at level 300.
- Buy or loot the best possible Fist.
- Level your characters to 300 in the Item World and by using the Stronger Enemies cheat on various story stages.
- Clear the Cave of Ordeals.
- Use Cave of Ordeals 6 to rapidly level your characters and gather Mana.
- Clear the remaining challenges in the Post-Game up to Prinny Land 5.
- Begin Reincarnating your characters and aim for getting Rank 40 weapons and armor.
- Clear Prinny Land X.
- Clear Prinny Land X in LoC Mode.
- Farm Prinny Land X in LoC Mode for stat points.
First Things First
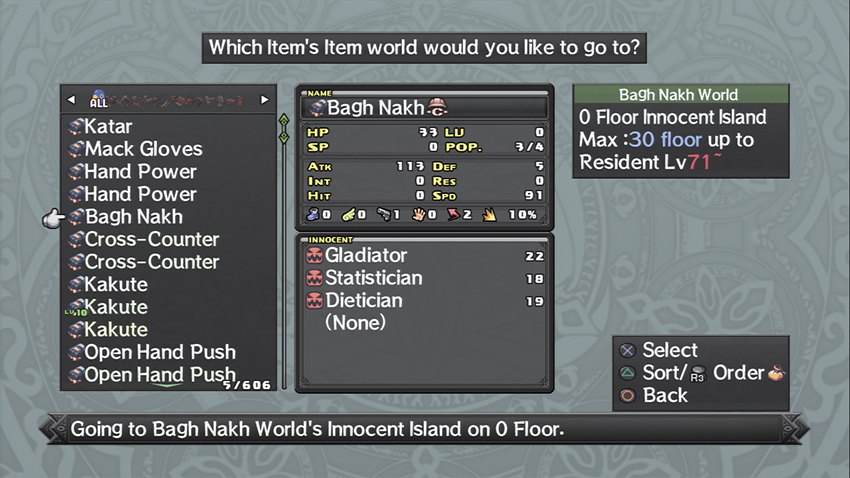
When you enter the Post-Game, take a few minutes to look over the equipment you’ve accumulated on your trip through the last few stages. Specifically, you’re looking for Statisticians, which can show up on anything you found in the field: weapons, armor, accessories, consumables—you name it. I got a level 10 Statistician off a bottle of Hard Liquor once.
When placed in an item, these Innocents provide a 1% bonus to earned EXP for every level they have, to a maximum of 300%. Statisticians are reasonably common, so you’re likely to find several of them on your gear. Don’t forget to check items that your characters have equipped.
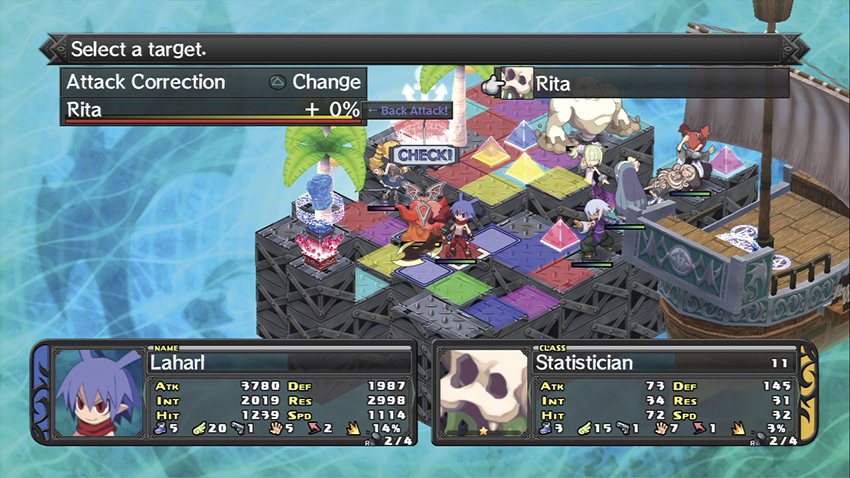
Go into the Item World using these items and subdue as many Statisticians as you can. It’s helpful to equip your characters specifically to up your odds of getting to an Innocent before the local enemies do. Equip a couple of pairs of Shoes and bring units that specialize in ranged combat, like Witches, Magicians, Gunners, and Archers.
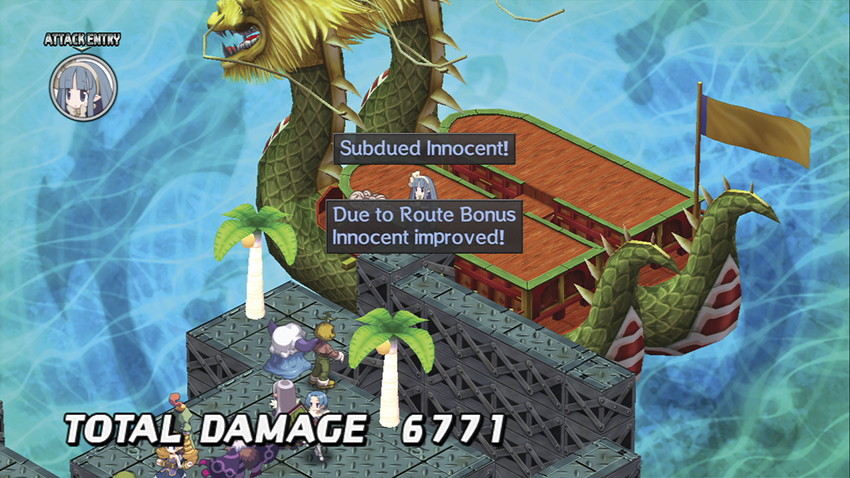
If you haven’t already unlocked all the relevant Item World options at the Cheat Shop, now’s a good time to do so. By using Cramped stages and the Innocent route, you’ll make quick progress through each level and the Innocents you subdue may end up getting a slight level bonus due to the route.
To kill two birds with one stone, you can use the Stronger Enemies cheat to ensure that the enemies inside even weak items will pose a challenge for you, and thus provide you with useful amounts of EXP, HL, and Mana. This is very easy to overdo, so keep a Mr. Gency Exit at the ready in case you get in over your head.
After every 10th floor, check the Rosen Queen vendor on Innocent Island to see if she’s selling gear with more Statisticians on it, then explore those items as well.
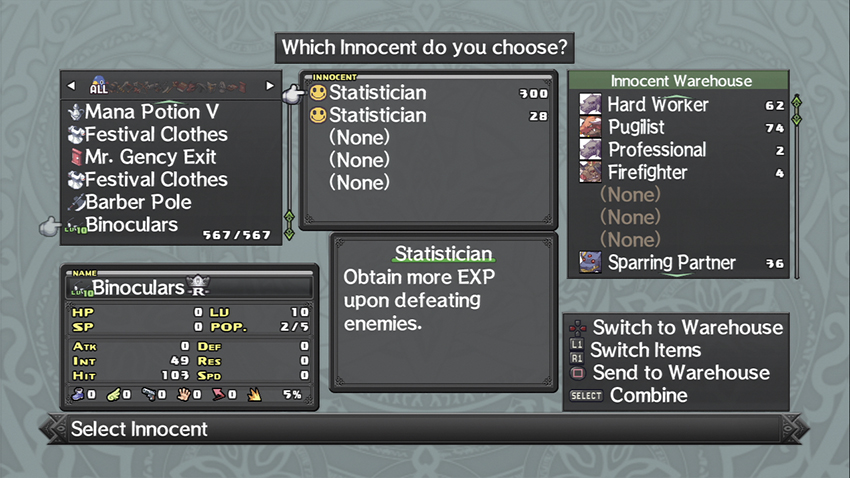
Stow your subdued Statisticians in the Innocent Warehouse. It doesn’t matter how weak an individual Statistician is, as every little bit helps, and subduing them doubles their value. You can combine multiple Statisticians in an item or the Warehouse by pressing Select. Once you have a level 300 Statistician, move on to the next step.
Punch Your Way to Victory
With your maxed Statistician in hand, your next goal is to make a powerful weapon that any character can use to dish out heavy area-of-effect damage. I’ve chosen a Fist for this purpose because of Big Bang, which is learned at Weapon Mastery level 21 and which hits everything in a nine-panel grid in front of the user. This makes it excellent for quickly burning through clustered groups of monsters, and thus excellent for quickly gaining EXP.
You don’t have to use a Fist, of course. Spears work well for this purpose when you learn Magic Comet Slash at Mastery level 21, and after you find the Skill merchant in the Item World, Double Hell Limbo makes a Gun an adequate choice. You can also use a Staff and use appropriately leveled spells (the best grinding stages in the game contain enemies with a serious weakness against Fire spells, so a Magician, Witch or Magic Knight that knows Omega or Tera Fire at a high level can go through them in seconds), or put the Statistician on some armor and let a character use his or her unique Skills. You have a lot of options, as usual, but for right now I’m going to stick with my Fist example for discussion’s sake.
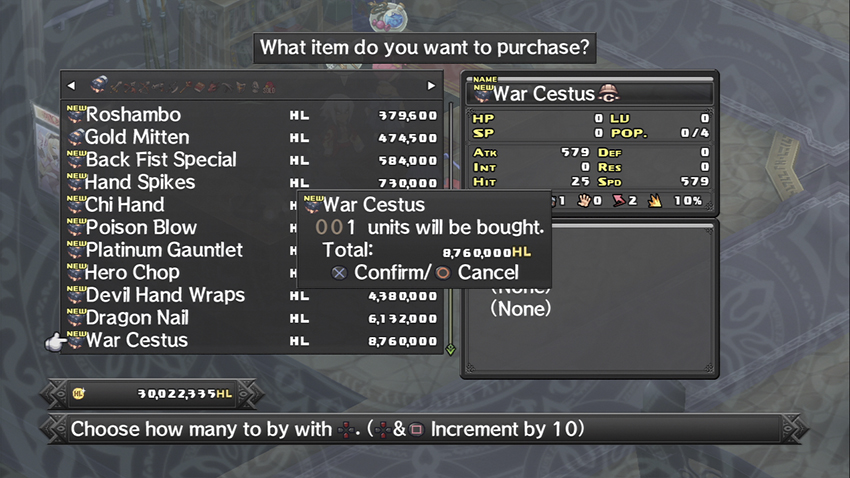
Once you have a Statistician at or around level 300, get your hands on the best Fist you can find. If you haven’t run across anything better, buy a War Cestus from the Rosen Queen Trading Company.
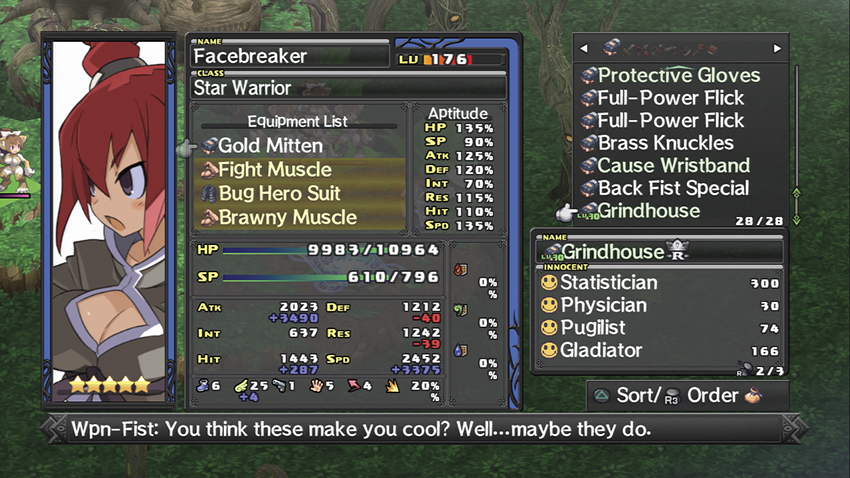
Install your Statistician on it, along with any other useful Innocents you’ve subdued along the way. Sparring Partners are particularly handy, as they help to increase the rate at which a character earns Weapon Mastery experience. You can even rename your new weapon in the Item Assembly to reflect its purpose.
At this point, assuming you’ve done nothing besides find and subdue Statisticians and you haven’t been messing around with the Stronger Enemies cheat, your characters could be anywhere from level 110 to 150. You should comfortably be able to clear Orders Received and Cave of Ordeals 1&2.
Aptitude Adjustment
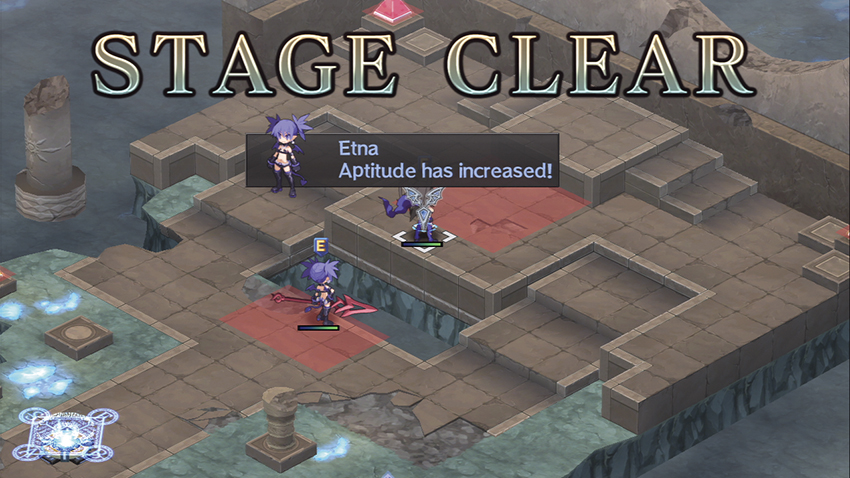
You only gain access to Weapon Assembly training at the Dojo in the Post-Game, and while working with it is a slow and random process, it remains worthwhile. A character that’s signed up for Weapon Assembly has a chance to randomly gain points in his or her Aptitudes after you successfully clear a stage. These points are permanent, persist through Reincarnation, and cap out at 300%. When combined with the massive stat values you can wring out of endgame equipment, improving a character’s Aptitudes has some of the most immediate benefits of anything you can do.
At four stars, Weapon Assembly has a chance to give a character +10% to a randomly chosen Aptitude at the end of a stage. This is unreliable and you may end up running into an unlucky streak (I have a Fight Mistress that got nothing but INT bonuses), but you’ll be clearing stages by the dozen in the Item World anyway. Weapon Assembly is thus your best bet for reaching 300% with your Aptitudes.
Leveling up a training type, requires you to clear stages with characters who are signed up for the training in question, and the Item World doesn’t count. To get Weapon Assembly to four stars, you must sign a character up for it and clear 100 stages with him or her on the field.
Let’s make that clear just to avoid potential confusion: as far as training goes, leveling from a stage and a character benefiting from training after a stage are two different things. You can clear a hundred floors in the Item World and not get Weapon Assembly to its next rank, but any character that’s signed up for it still has a chance to gain Aptitude after each floor.
Nose to the Grindstone
The following are some helpful suggestions for entry-level grind spots while you’re still new to the Post-Game. You can use these to grind Weapon Mastery, level up Special Skills, and make progress toward new training levels while you’re working on getting to level 300. Naturally, most of these stages feature enemies that are well below your level at this point, but that’s what the Stronger Enemies cheat is for.
In an ideal scenario, you should be able to use these stages to get four stars on all the training types at the Demon’s Dojo, as well as for getting your humanoid characters enough Weapon Mastery to unlock their sixth Weapon Skills.
Frightening Forest
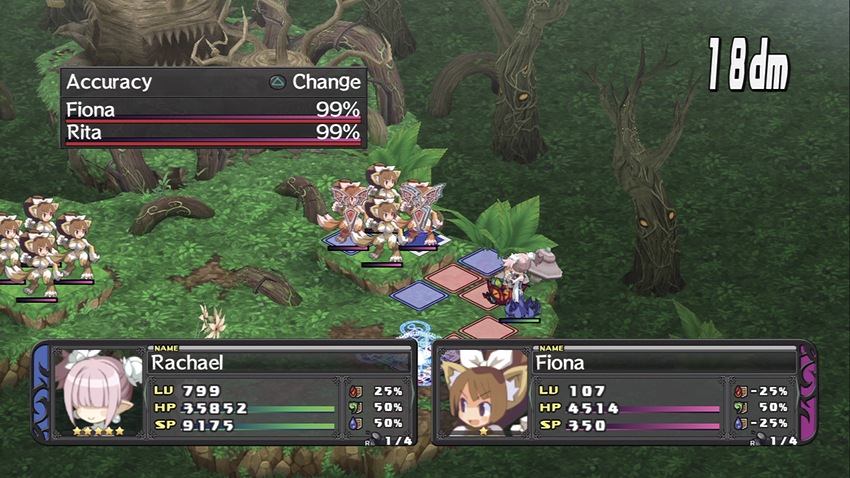
This isn’t as ideal as it could be, but the Nekomata begin this stage on Geo Panels that give them EXP +50%, Mana +50% and Enemy Boost +50%. If you have the firepower to punch through that boost or you set the Nekomata up by casting debuffs like Armor Break, this is nonetheless one of the best places in the early Post-Game to level up quickly. The Nekomata also have a –25% vulnerability to Ice and Fire spells that sets them up nicely for leveling spellcasters.
Silver Witch/Death Scream Chorus
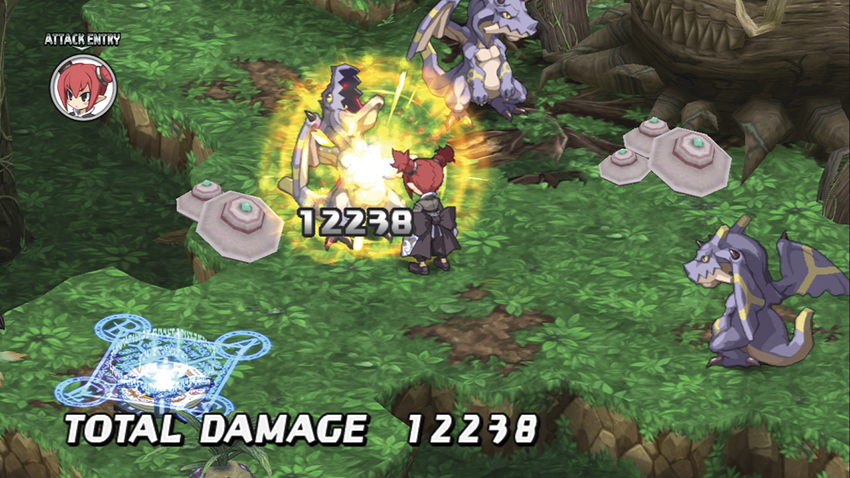
These stages are small, they have no additional complications such as Geo Panels, and they’re populated by Dragons, which have a massive vulnerability to Ice spells. This makes them an excellent place to level spellcasters and Weapon Mastery with Staves. You’ll have to apprentice some characters, such as Flonne, to a Magician or Sea Angel to teach them Ice, but it pays off with the bonuses to Heal spells from high Weapon Mastery.
Ticket Booth
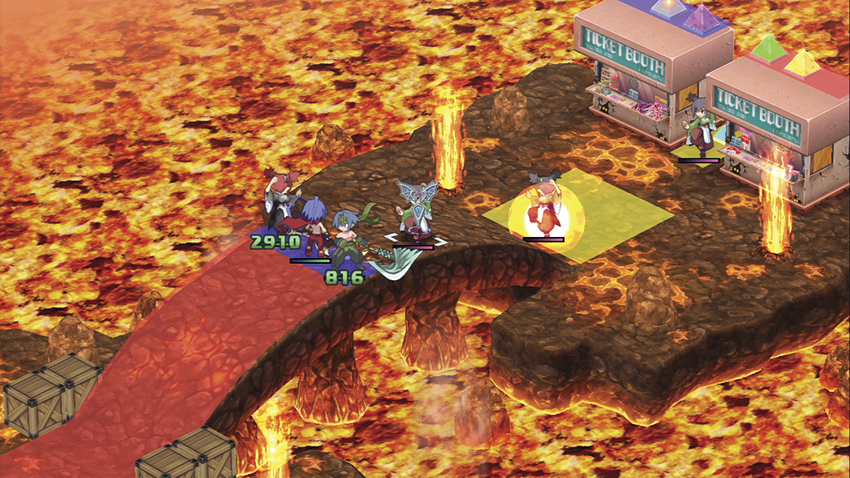
There aren’t any EXP or Mana multipliers inherent to this stage, but the Fight Mistress in the back is standing on a Clone Geo Panel. If you position your characters on the blue Geo Panels halfway across the bridge to benefit from the DEF +50% and Recovery +20% Geo Panels there, you can level up your Weapon Mastery and Special Skills by beating on the final Fight Mistress’s infinite number of Clones.
Inner Sanctum
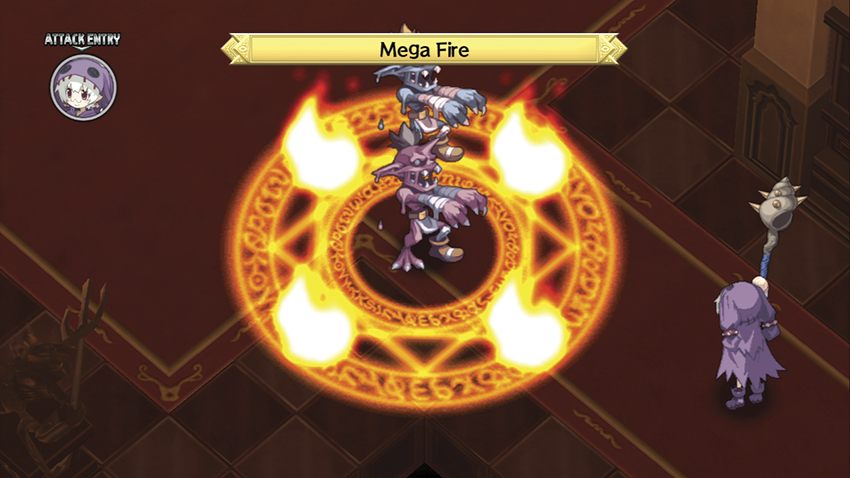
Like Silver Witch and Death Scream Chorus, Inner Sanctum is useful because it has no Geo Effects or terrain issues. It also features five Zombies, which you can obliterate in a turn or two with Fire spells or Fire-based Skills like Blazing Knuckle. Once you have a Book user who has learned the Baskervilles spell, it can wipe out all five Zombies in one shot.
Concert Stage

All five of the Living Armors on this stage are initially standing on Geo Panels with a Hell +50% bonus, and the first three are positioned in a straight line directly in front of the base panel, ready to be knocked down for easy money.
The First Goal
Once your characters are all at or around level 300, you have enough firepower to get through Netherpower Struggle, Mysterious Girl, Red Overlord Search, and the rest of the Cave of Ordeals. You should also be able to reach and defeat the Item King on the 30th floor of your Statistician-enhanced Fist, upgrading it to rare quality.
When you return to Cave of Ordeals 6 after clearing it, you’ll find that it’s filled back up with level 300 Rahabs standing in tight formation on EXP +100% and Mana +100% Geo Panels. Every other grind spot in the game instantly becomes obsolete.
This is why we built that Fist. By installing our level 300 Statistician on the Fist and teaching its wielder Big Bang, most characters will be able to walk into Cave of Ordeals 6 and blow up at least the first six Rahabs in a single turn. You may have to supplement this at first with equipment and spells that boost ATK and SPD, but before too long, even characters like Thieves and Clerics can be punching out sharkmen with the best of them. Monsters can benefit from the EXP multiplier on the Fist by giving the Fist-wielding character a ride. This keeps you from using Weapon Skills, but you can still use Mounted Skills, many of which hit in a wide area comparative to Big Bang.
By teaching your characters Big Bang via apprenticeship and switching the Fist between the members of your roster (or swapping out the Innocent), you can use Cave of Ordeals 6 to level faster and more efficiently than you can in any other location in the game. As you begin to outlevel the Rahabs, you can turn up their level in the Cheat Shop to ensure that they’re still worthwhile. Don’t go nuts with the Stronger Enemies cheat; just bump them up a star at a time until you’re once again racing through levels.
With Cave of Ordeals 6, the game gets blown wide open. By using your level 300 Statistician, adjusting the Obtain Rate for EXP in the Cheat Shop, changing up your training at the Demon’s Dojo (you’ll want to be using Weapon Assembly most of the time, but there’s no reason not to use Punching Bags, Weapon Maintenance, or Battle Royale, depending on what you’re working on at the time), passing the Triple EXP bill in the Dark Assembly, and bringing along a Sea Angel with the Happy Song Evility to stand by the base panel while your other characters clean house, you can earn EXP and Mana quickly and smoothly.
You should have no trouble getting the levels you need to reach to clear the remaining stages in the Post-Game. In fact, if you stack all the EXP modifiers together at once and keep turning up the Enemy Strength, getting a single character straight up to level 9,999 using the Cave of Ordeals 6 grind is faster than it was in any past Disgaea game.
Reincarnation
Reincarnation is a useful way to power up your characters, but it works best when you have the ability to rapidly acquire EXP and Mana. Cave of Ordeals 6 provides that. You can give a character a surprisingly quick boost by rushing through five Reincarnations in sequence, thus getting a 25% across-the-board boost to Aptitudes.
The best way to get a character back up to speed after a Reincarnation is probably to have them hop on the back of an appropriately leveled monster and use Mounted Skills in Cave of Ordeals 6, which should get them hundreds of levels in no time at all.
At higher gear levels (say, if you have a level 100+ God Killer or its equivalent), you can confidently expect that a level 1 character still has enough stats just from his or her equipment to take on a couple of the Rahabs in Cave of Ordeals 6 and win.
The Best Weapons and Armor
In a lot of CRPGs, you would find the best weapons and armor in the game by defeating obscure enemies, solving puzzles, or doing something bizarre or counterintuitive in a hidden corner of the world. Here ... not so much.
The weapons and Armor in D2 work off a Rank system that’s mostly under the hood, but which is a big part of obtaining upgrades. At the start of the Post-Game, you can buy up to Rank 33 weapons and armor at Rosen Queen, and exploring those items in the Item World is key to getting your hands on better gear.
| RANK | Fists | Swords | Spears | Bows | Guns | Axes | Staves | Books | Monster Weapons | Monster Emblems |
|---|---|---|---|---|---|---|---|---|---|---|
| 1 | Cause Wristband | Common Dagger | Fake Spear | Old Bow | Bamboo Water Gun | Rusty Axe | Sort of Staff-Like | Ripped Scrap Book | Cicada Husk | Humiliating Emblem |
| 2 | Rubber Gloves | Short Sword | Gatekeeper Spear | Wooden Bow | Junk Shooter | Lumberjack Axe | Magic Rod | Business Planner | Paw Gloves | Weakling Emblem |
| 3 | Slap | Falchion | Short Spear | Short Bow | Auto Shock | Nailed Bat | Glass Wand | Fun With Magic | Curved Nail | Depraved Emblem |
| 4 | Brass Knuckles | Gladius | Bardiche | Technical Hunter | Dolphin SP | Wooden Hammer | Magician’s Wand | Prinny Book | Umbrella Bat | Colt Emblem |
| 5 | Full-Power Flick | Bastard Sword | Corseque | Beast Bow | Netherworld Mk 4k | Hardened Bat | Pixy Rod | Jewel Lithograph | Fawn Horn | Cunning Emblem |
| 6 | Protective Gloves | Khukuri | Halberd | Long Bow | Silver Hawk | Barber Pole | Undead Staff | Magic Diary | Slime Mucus | Sacrifice Emblem |
| 7 | Father’s Fist | Hell Saber | Crosspike | Mechanical Bow | Hyper Blaster | Warrior Axe | Staff of Marriage | Demon Text Book | Jelly Fish Needle | Sitcom Emblem |
| 8 | Elbow Drop | Machete | Battle Fork | Nature Bow | Welrod | Plated Axe | Conchiolin | Gremlin Tales | Cobra Twist | Skeleton Emblem |
| 9 | Crap Beater | Dragon Blade | Warrior Spear | Skeleton Bow | Double Derringer | Bronze Axe | Jewel Scepter | Demon Beast Fossil | Porcupine Needle | Danger Emblem |
| 10 | Bare Knuckles | Bane Sword | Naginata | Thorn Bow | Marshal Echo | Labrys | Elf Staff | Mononoke Deck | Wolf Fangs | Third Eye Emblem |
| 11 | Weakness Chop | Mail Breaker | Bec de Corbin | Assassin Bow | Gehenna 600 | Greedy Hatchet | Demon Wand | Hieroglyphics | Suspicious Tentacle | Courage Emblem |
| 12 | Open Hand Push | Wild Dagger | Obsidian Spear | Wind Hunter | Eagle Bison | Shaman Axe | Beat Stick | Poison Butterfly | Bull Horn | Eerie Emblem |
| 13 | Kakute | Ninja Sword | Fangvergnugen | Bird Bow | Heat Wave Gun | War Hammer | Jungle Stick | Book of Evolution | Bear Claw | Secret Emblem |
| 14 | Cross-Counter | Big Snake | Thunder Spear | Golden Hunter | Vapor Killer | Dwarf Axe | Prinny Staff | Rune Bible | Rose Whip | Greedy Emblem |
| 15 | Bagh Nakh | Berserker | Elf Spear | Miracle Bow | Beam Gun | Lovely Edge | Inspiring Staff | Magic for Morons | Tiger Fang | Flame Emblem |
| 16 | Hand Power | Chidori | Skull Lance | Shadow Arch | Sky Maiden Gun | Gold Crusher | Mesmerizing Staff | Sun Monolith | Jack-o’-Lantern | Impure Emblem |
| 17 | Shamrock Gloves | Evil Saber | Demon Pinner | Grudge Bow | All Finger Fistcount | Guillotine Axe | Emerald Staff | Supernatural Tales | Alligator Bite | Devilish Emblem |
| 18 | Mack Gloves | Sword of Damocles | Wind Spear | Sweet Fairy Bow | Dead Chaser | Crimson Fire Stick | Shiny Staff | Witchcraft | Mythic Beast Horn | 3 Star Emblem |
| 19 | Doctor Claws | Auto-Cleave | Evil Star Spear | Slypheed | Hell Grenade | Metal Slasher | Kamikaze Staff | Book of Secrets | Undead Embrace | Madness Emblem |
| 20 | Ninja Claws | Man Eater | Hungnir | Jadeite Bow | Space Magnum | Wing Axe | Pretty Rod | Necromancy | Mad Dinosaur | Dark Emblem |
| 21 | Katar | Alberich | Valkyrie Spear | The Thornicator | Photon Burst | Evil Butterfly Axe | G.H.O.B.A.G. | Mandate of Heaven | Demon Hand | Spirit Emblem |
| 22 | Fist Blades | Demon Cutter | Fallen Angel Spear | Evil Killer | Malicious | Guilty Axe | Mermaid Staff | Darkness Tablet | Wyvern Wing | Unexpected Emblem |
| 23 | Roshambo | Flare Saber | Aura Javelin | Master Bow | Wing Blaster | Aura Axe | Staff of Happiness | Sacred Scriptures | Pegasus Hoof | Heretic Emblem |
| 24 | Gold Mitten | The Doodbringer | Sea God Trident | Evil Tree Bow | Hazardous Corpse | Pahoehoe | Eclipse Wand | Anti-Evil Lithograph | Mermaid Harp | Mystery Emblem |
| 25 | Back Fist Special | Blutgang | Dark Trident | Mangado Bow | Commando | Aethyr | Dream Staff | Phalaenopsis Dream | Demon Claw | Gold Emblem |
| 26 | Hand Spikes | Gram | Snake Spear | Barbatos | Psycho Gun | Enforcer | Contract Staff | Book of Death | Griffin Beak | Dark Knight Emblem |
| 27 | Chi Hand | Boulder Breaker | Ziegfried | Crow Bow | Pile Bunker | Sedona Axe | Solid Impact | Sephirot | Golem Punch | Chastity Emblem |
| 28 | Poison Blow | Chaos Knife | Tonbogiri | Arjuna Bow | Stress Reliever | Daedalus War Axe | Sorcerer Rod | Mystic Doctrines | Spider’s Curse | Surprise Emblem |
| 29 | Platinum Gauntlet | Moral Blade | Marte | Prometheus | Gjallarhorn | Violence Edge | Prinny Staff X | Evil God Grimoire | Jaws of Cerberus | Earth Emblem |
| 30 | Hero Chop | Murasame | Blue Stinger | Silver Wind Bow | Volcanic Fire | Axe of Despair | Amduscias | iVil Pad | Geo Blade | Happy Emblem |
| 31 | Devil Hand Wraps | Joyeuse | Ruin Spear | Secret Skill Bow | Titania | Earthquaker | Rune Staff | Abyssal Gate | Kraken Tentacles | Goddess Emblem |
| 32 | Dragon Nail | Caladbolg | Geironul | Hitman Bow | Lightning Laser Gun | Amazoness | Wizardry | Illustrated Scroll | Nightmare’s Neigh | Fiery Emblem |
| 33 | War Cestus | Mistilteinn | Pinaka | Sky God Bow | Hammer Gun | Garuda Axe | Summon Luminas | Holy Book of Ra | Hydra Bind | Phoenix Emblem |
| 34 | Death Grip | Verethragna | Rugal Spear | Stymphalia Bow | Aurvangr | Ukonvasara | Dark Nebula | Aphrodite | Dragon Tail | Carnage Emblem |
| 35 | Galactica | Excalibur | Wrong Burgundy | Odysseus Bow | Omega Phaser | Lunatic Axe | Holy Goddess Staff | Gorgon Stone | Half a Phoenix Wing | Illusion Emblem |
| 36 | God Killer | Ullikummi | Gungnir | Sagittarius | Pulse Cannon | Ragnar | Ganesha Staff | Garuda Legend | Enigma | Dragon God Emblem |
| 37 | Zodiac | Exodus | Overlord’s Spear | Gandiva | Crusader | Gilgamesh | Tupac Yauri | Dantalion | Devil Matrix | Undead Emblem |
| 38 | God Finger | Frey | Leviathan | Drake Hunter | Overlord’s Gun | Lightning Axe | Thyrsus Staff | Necronomicon | Uroborus Ring | Enma Emblem |
| 39 | Ultimus | Yoshitsuna | Glorius | Lovely Cupid | Marduk | Britomartis | Mercurius | Book of Eibon | Makai Wars | Awakening Emblem |
| 40 | Cosmo Infinity | Baal Sword | Drill Emperor | Tsukiyomi Bow | Absolute | Tezcatlipoca | Genesis Wand | Altima | Baal Stigma | Legend Emblem |
| RANK | Armor | Belts | Shoes | Orbs | Glasses | Muscles | Special Treasures |
|---|---|---|---|---|---|---|---|
| 1 | Amulet | Power Belt | Slippers | Common Orb | Glasses | Brawny Muscle | Imperial Seal |
| 2 | Pot Lid | Exertion Belt | Cross-Trainers | Psycho Orb | Binoculars | Kung-Fu Muscle | Dark Rosary |
| 3 | Silk Cummerbund | Energy Belt | Ninja Tabi | Dark Orb | Nerd Glasses | Spirit Muscle | Devil Ring |
| 4 | Safety Helmet | Beastly Belt | Falcon Shoes | Bloody Orb | Plastic Nose | Fight Muscle | Feather Token |
| 5 | Homemade Sweater | Aura Belt | Aero Sneakers | Astral Orb | Opera Glasses | Ace Muscle | Sophia’s Mirror |
| 6 | Festival Clothes | Spirit Belt | Winged Boots | Lunar Orb | Nightvision | Victory Muscle | Pravda Pendant |
| 7 | Buckler | Bravery Belt | Angel’s Shoes | Royal Orb | Crosshair | Dream Muscle | Royal Ring |
| 8 | Bug Hero Suit | Black Belt | Accelerator | Holy Orb | Foresight | World Muscle | Testament |
| 9 | Gas Mask | Ubermensch | Proper Vernier | Chaos Orb | Destiny Lens | Star Muscle | Exodus |
| 10 | Knifing Vest | Orion’s Belt | Barefoot X | Universal Orb | Providence | Cosmo Muscle | Arcadia |
| 11 | Kendo Gear | — | — | — | — | — | Trapezohedron |
| 12 | Kite Shield | — | — | — | — | — | — |
| 13 | Magical Vest | — | — | — | — | — | — |
| 14 | Bikini Armor | — | — | — | — | — | — |
| 15 | Great Helm | — | — | — | — | — | — |
| 16 | Hustler Jacket | — | — | — | — | — | — |
| 17 | Magical Tricorn Hat | — | — | — | — | — | — |
| 18 | Dandy Gown | — | — | — | — | — | — |
| 19 | Elegant Coat | — | — | — | — | — | — |
| 20 | Scalemail | — | — | — | — | — | — |
| 21 | Breastplate | — | — | — | — | — | — |
| 22 | Duralumin Shield | — | — | — | — | — | — |
| 23 | Willpower Suit | — | — | — | — | — | — |
| 24 | Brigandine | — | — | — | — | — | — |
| 25 | General’s Helm | — | — | — | — | — | — |
| 26 | Happy Cape | — | — | — | — | — | — |
| 27 | Robe of the Magi | — | — | — | — | — | — |
| 28 | Metal Jacket | — | — | — | — | — | — |
| 29 | Nine Tail | — | — | — | — | — | — |
| 30 | Angel Shield | — | — | — | — | — | — |
| 31 | Dragonmail | — | — | — | — | — | — |
| 32 | Venus Dress | — | — | — | — | — | — |
| 33 | Achilles Shield | — | — | — | — | — | — |
| 34 | Orichalcum Armor | — | — | — | — | — | — |
| 35 | Death’s Breastplate | — | — | — | — | — | — |
| 36 | Aegis Shield | — | — | — | — | — | — |
| 37 | Overlord’s Cape | — | — | — | — | — | — |
| 38 | Nirvana | — | — | — | — | — | — |
| 39 | Superalloy Suit | — | — | — | — | — | — |
| 40 | Invincible Aura | — | — | — | — | — | — |
Accessories don’t use exactly the same Rank system, as you can see, but the same linear progression applies.
In normal mode, when you reach the 100th floor of a legendary-quality item, the Item God will always be equipped with the next-best item in that category. For example, the Item God in a legendary Pinaka will always be wielding a Rugal Spear. Thus, even if you have no luck whatsoever with drops, you always have the option to find the best weapons and armor in the game simply by making long expeditions into the Item World.
Exploring the Item World is a dangerous proposition, as the enemies’ level scales very quickly as you descend to the lower floors. Even in a Rank 33 weapon, the 30th-floor Item General is typically around level 320, and the Item God can be as high as level 1050.
The rewards, on the other hand, are significant. As you get to the lower floors of an item, you can steal increasingly powerful weapons and armor from the enemies you encounter, so you’re almost guaranteed to come out of an Item World crawl with multiple upgrades—which you can then use to make more Item Worlds, where you’ll find even better equipment. It’s a vicious cycle, but a profitable one.
As a rule, try to ensure that your characters are using Rank 35 weapons and armor or higher by the time you reach An Arrogant Betrayal, and Rank 39 weapons and armor when you revisit Prinny Land. The more levels that are on that gear and the better-quality it is, the better off you’ll be.
The Ultimate Weapon (We Mean It This Time)
In normal mode, you can find weapons and armor as high as Rank 39 by going into the Item World, but that’s all. Rank 40 weapons, as well as the Invincible Suit and Trapezohedron, can only be found by making an Item World run with their Rank 39 equivalents in LoC Mode. For the Trapezohedron, that means using an Arcadia.
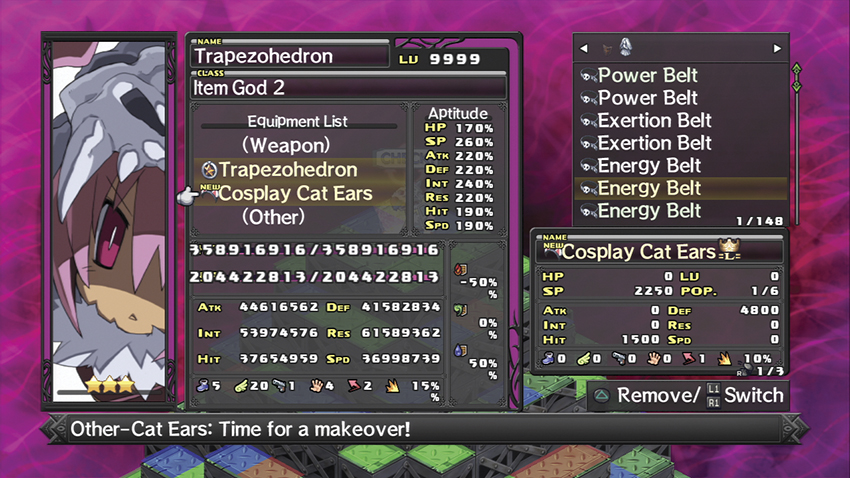
When you reach that Item World’s 100th floor with LoC Mode on, the Item God waiting for you at the end will be wielding a legendary-quality Rank 40 weapon and using at least one rare or powerful accessory. He will also most likely be level 9,999, because LoC Mode is on. If you do not have LoC Mode on, the Item God will not have a Rank 40 weapon.
You can cheat a bit on your way to the 100th floor by leaving LoC Mode off, then using a Mr. Gency Exit on the 99th floor to warp back to Laharl’s Castle. The item you used to make the Item World will be replaced in your inventory and your progress through its Item World has been saved, so you can go turn LoC Mode on at the Cheat Shop, then go right back and face the Item God on the 100th floor to get his weapon.
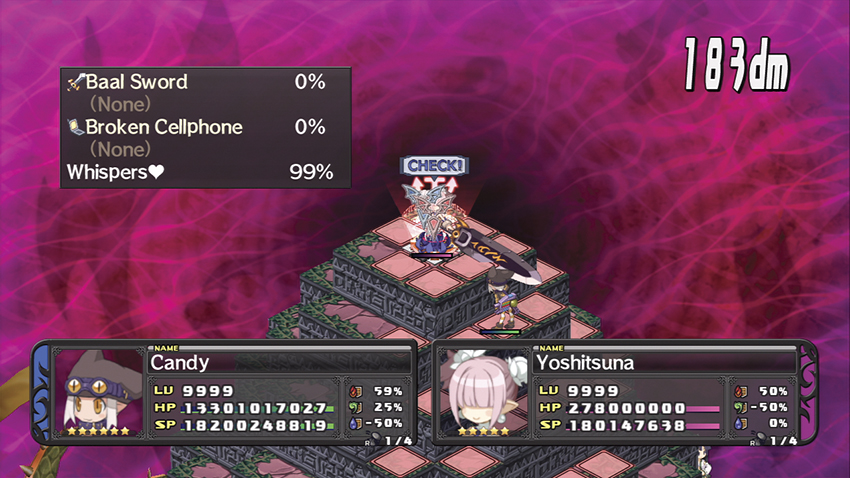
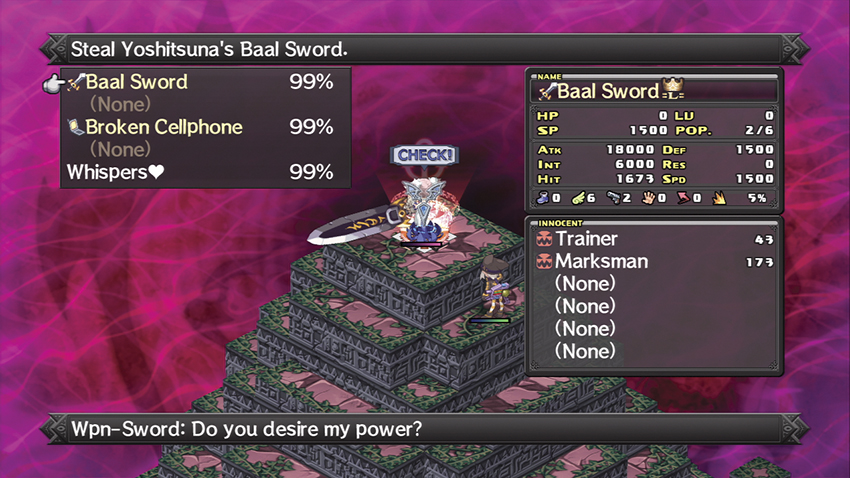
The next challenge, once you’re able to reach the Item God in question, is stealing its gear. It’s nearly impossible at any level for a Thief to steal an object from an equal-level enemy unit face to face, but with the bonus from a back attack, a level 9,999 Thief should have a 99% chance of success when trying to steal from an Item God.

Item Gods with rank 40 weapons also habitually carry other valuable items, such as Broken Cellphones and Cosplay Cat Ears. With the exceptions of the Prinny Suit and Super Time Engine, you can find every piece of rare equipment in the game on the Item Gods of Rank 40 weapons and armor.
Using a Rank 40 item or a piece of rare equipment, such as the Broken Cellphone, to create an Item World in LoC Mode will lead you to an Item God that is carrying another copy of the same Rank 40 item. Once you’ve got one, you can use it to make as many copies as you want.