
Disgaea D2: A Brighter Darkness Guide Walkthrough Episode 3: The Netherworld’s Evilest Warrior
Episode 3: The Netherworld’s Evilest Warrior
You can now put one of your characters through Waterfall Training at the Demon’s Dojo. The maximum multiplier at the Cheat Shop has risen to 115%, and the minimum has dropped to 70%.
For this episode’s treasure chests, look in Laharl’s bedroom, next to the broken jukebox in the indoor garden, and over by the Rosen Queen Trading Company’s counter.
You’ve also gained Sicily as a party member, and she’ll remain in your roster until the end of the game. She enters the game equipped with a Magic Diary and Festival Clothes. She makes an excellent support character, buffing your units with Shield and Magic Wall or bringing the hurt with her Book skills. Her Evility, Li’l Sis Aura, causes her to take 75% less damage from elemental attacks, which makes her a surprisingly effective fighter against enemy spellcasters.
Castle Wall Defense
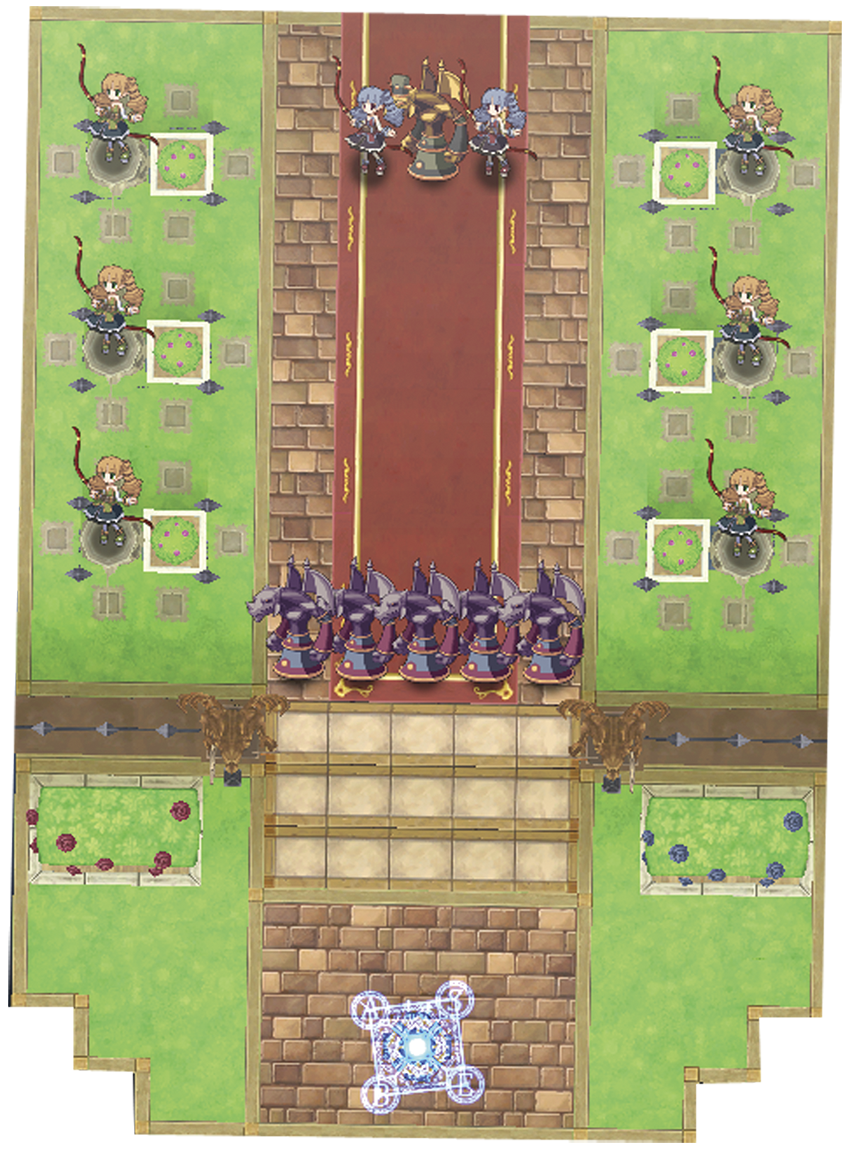
| Class | Lv | Qty | Evility | Weapon | Armor | Skills |
|---|---|---|---|---|---|---|
| Gargoyle | 9 | 5 | Stone Statue | Sacrifice Emblem | Buckler | Flying Press, Wind, Granite Checkmate |
| Archer | 7 | 6 | Acceleration Shot | Long Bow | Homemade Sweater | Dark Spica, Bright Canopus |
| Archer | 9 | 2 | Sniping | Long Bow | Buckler | Dark Spica, Bright Canopus |
| Grosso | 13 | 1 | Shut-in Officer | Cunning Emblem | Buckler, Psycho Orb | Fall & Press, Checkmate, Mega Fire, Mega Wind, Star, Mega Star, Poison |
If you’re still around level 7 to 9, this stage can be quite difficult. The Gargoyles’ Evility means they enjoy a very high DEF as long as they don’t use the Move command, which lets the Archers move in behind them and pick you apart from a safe distance. The Gargoyles themselves aren’t lightweights either, and can do high damage with Wind spells, Counterattacks, or their Flying Press skill.
You have two options here. One is to disrupt the effect of the Gargoyles’ Evility by using skills that knock them around. Most of these skills happen to be available to Fist wielders, such as Triple Strike. A Martial Artist with the Fury Evility is actually quite effective against the Gargoyles, as their Counterattacks rapidly get powerful enough to punch through even their boosted DEF.
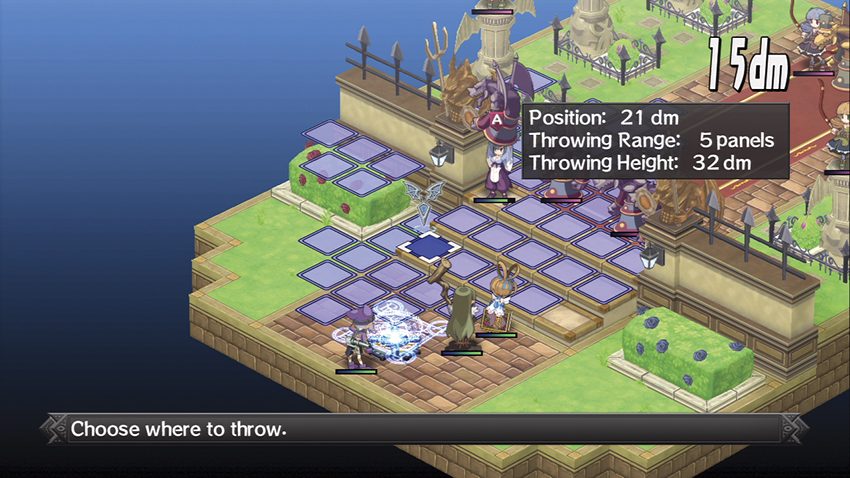
Another possibility is to set up your forces for a Combo Attack, then send in a single unit to throw the Gargoyles into position one at a time. Throwing a unit doesn’t remove the effect of movement-based Evilities like Stone Statue, but if you start a long combo chain with an Axe-wielding Warrior, you can grind the Gargoyles down with surprising ease.
Once you’ve dealt with the Gargoyles, the Archers shouldn’t be a problem. They’ll do some damage before they go, but they crumple if you have the chance to hit back. Grosso can be lethal, using spells like Mega Star, but you should be able to take him once you’ve burned through most of his backup.
On a second visit to this stage, Grosso is absent.
Map Events
- Laharl enters the panel next to Grosso.
- Grosso attacks Laharl.
- Laharl, Etna, and Sicily stand in a row.
Heartless Main Gate
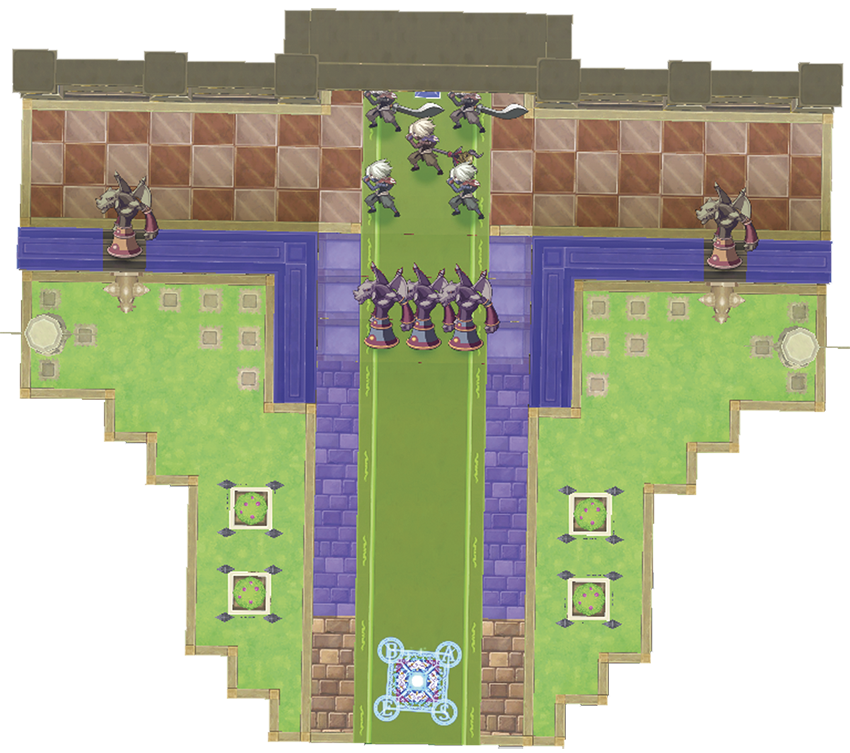
| Class | Lv | Qty | Evility | Weapon | Armor | Skills |
|---|---|---|---|---|---|---|
| Gargoyle | 10 | 2 | Turbo Boost | Depraved Emblem | Buckler | Flying Press, Wind, Mega Wind, Granite Checkmate |
| Gargoyle | 11 | 3 | Stone Statue | Depraved Emblem | Buckler | Flying Press, Wind, Mega Wind, Granite Checkmate |
| Genin | 12 | 2 | Mirage | Protective Gloves | Bug Hero Suit | Armor Break, Resist Break, Poison, Stun |
| Genin | 12 | 1 | Misty Haze | Undead Staff | Bug Hero Suit | Armor Break, Resist Break, Poison, Stun |
| Genin | 12 | 2 | Flame Haze | Khukuri | Bug Hero Suit | Armor Break, Resist Break, Poison, Stun |
| Geo Symbol | Geo Effect | Destroy |
|---|---|---|
| Null | No Entry | Clear |
| Blue | DEF +50% | Blue Change |
This fight is a lot like the last one, but this time the Gargoyles with the Stone Statue Evility are also benefiting from a DEF +50% Geo Effect. The idea is that they slow you down for long enough that the Genin come in behind them and Poison all of your units, the damage from which is both high and unaffected by either DEF or RES.
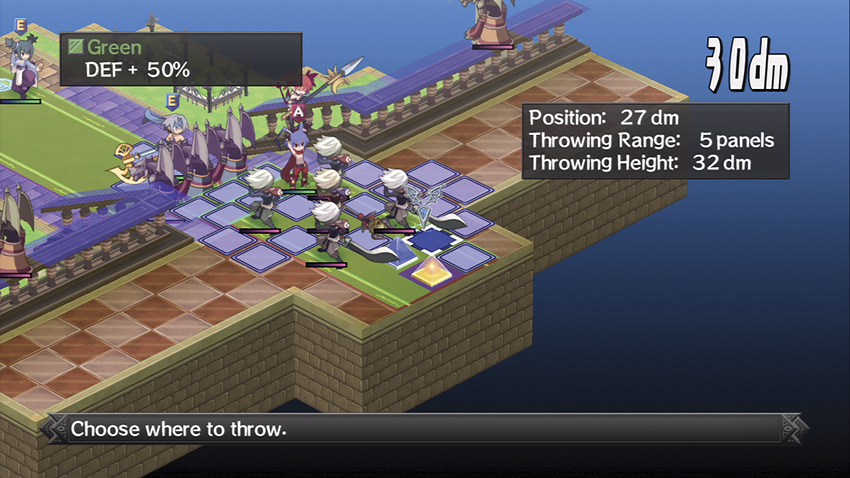
If you use a tower throw to pitch a character over by the Genin and destroy the yellow Geo Symbol, it makes the fight a lot more even. The Genin’s first reaction to seeing one of your units within their range is going to be bombarding that unit with Stun and Poison spells, which are dangerous but survivable, and without the DEF +50% effect a character like Etna or Laharl can wipe the floor with them.
One word of warning: if you destroy the blue Geo Symbol first, it switches every Geo Panel on the map over to a No Entry Effect. This means that any character that’s standing on the Panels is now unable to move unless you can destroy the yellow Geo Symbol. This can put you in a very bad situation if whoever’s standing by the Geo Symbols doesn’t have a convenient method by which they can reach it, as your active units are likely to be slowly picked apart by Wind spells and Poison damage.
Map Events
- Have Laharl deployed at the start of your second turn.
- Have Sicily deployed at the start of your fourth turn.
- Station Laharl next to Sicily.
Evil Plans Foyer
| Class | Lv | Qty | Evility | Weapon | Armor | Skills |
|---|---|---|---|---|---|---|
| Gargoyle | 12 | 4 | Turbo Boost | Cunning Emblem | Buckler | Flying Press, Wind, Mega Wind, Granite Checkmate |
| Green Skull | 12 | 3 | Sorcery Depletion | Pixy Rod | Buckler | Ice, Mega Ice |
| Archer | 12 | 3 | Fly Swatter | Long Bow | Buckler | Dark Spica, Bright Canopus |
| Rainier | 14 | 1 | Artifact Collector: increase stats of ally units by 5% for every treasure chest on the map. | Porcupine Needle | Gas Mask | Move!, Jump Jump Jump!, Tentacle of Death, Along with Rainier, Mega Ice, Mega Heal, Enfeeble, Mind Break |

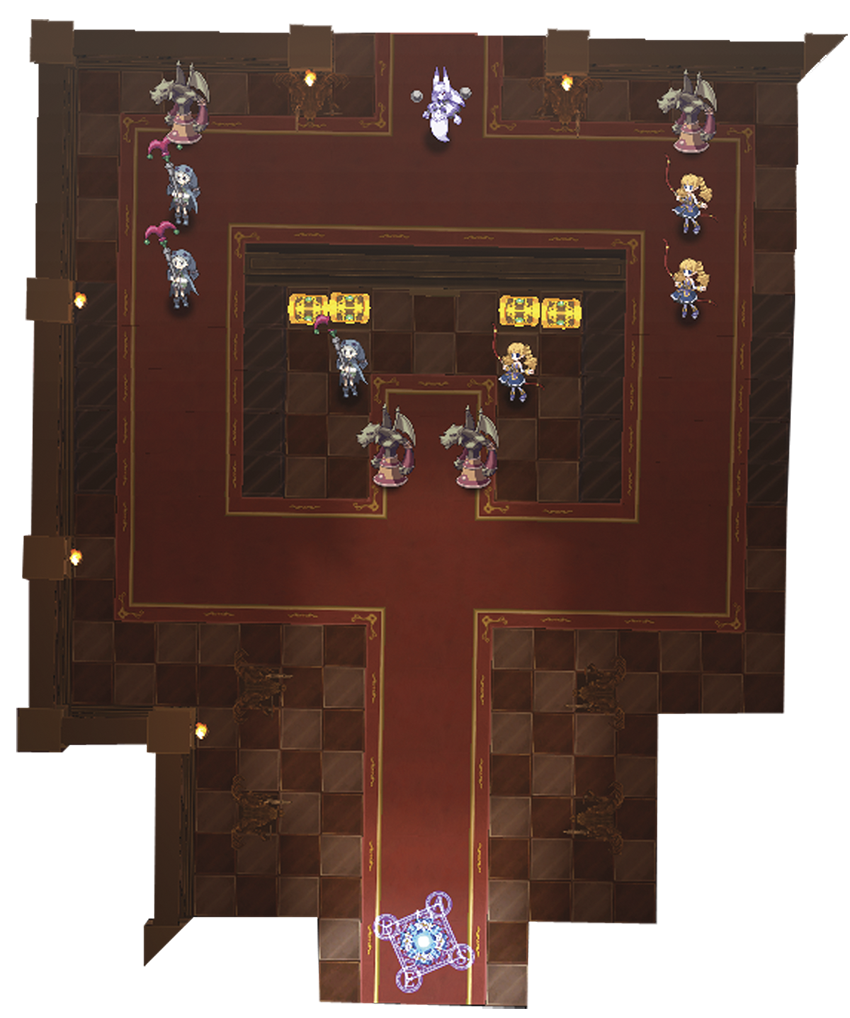
Rainier isn’t a big threat by herself. Like any other Sea Angel, she knows an assortment of buff spells like Move Move Move! and Jump and she’s good with Ice magic. The real issue comes from her Evility, Artifact Collector, which provides her allies with a 5% stat boost for every treasure chest present on the current map. There are four of those chests directly ahead of you when you enter, and Rainier’s backup will immediately rush you in such a way as to prevent you from destroying them.
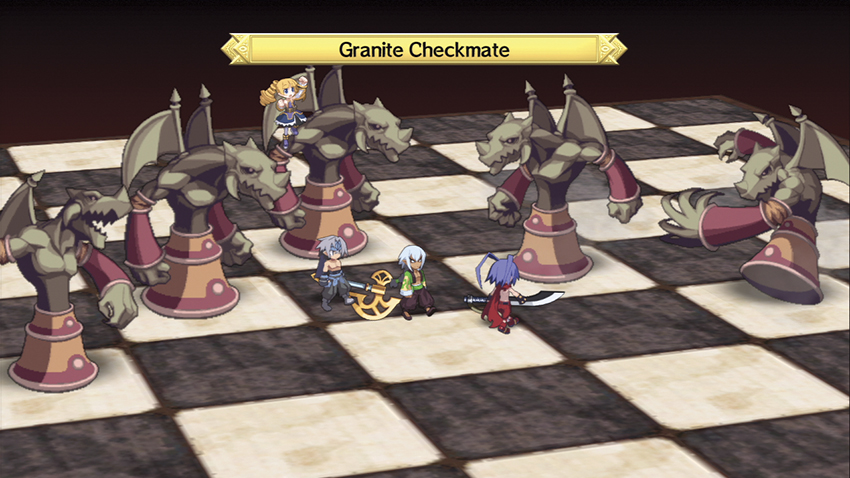
The Archers and Green Skulls both do a lot more damage than normal due to Rainier’s 20% stat buff, but the real danger from this fight is from the Gargoyles. The two back by Rainier will end up giving a ride to the nearby Archer and Green Skull, which lets them use the powerful multitarget mounted skill Granite Checkmate. This forces you to split up your crew, as Granite Checkmate has a huge hit zone and can inflict some serious pain.
When you have the opportunity, use a couple of characters with Bows or Guns to take out the treasure chests and cut the stat buff Rainier’s providing. Rainier herself is a slightly above average Sea Angel, and as you’ll find out, Sea Angels are one of the least durable units in the game.
On a second visit to this level, the only difference is that Rainier is absent and she has taken her treasure chests with her.
Map Event
- Bring Laharl within one square of Rainier.
- Etna and Flonne use a Team-Up Attack on Rainier.
- Sicily attacks Rainier.

Conspiracy Landing
| Class | Lv | Qty | Evility | Weapon | Armor | Skills |
|---|---|---|---|---|---|---|
| Wind Spinner | 14 | 4 | Double Counter | Crap Beater | Bug Hero Suit | - |
| Fight Artist | 14 | 4 | Fury | Crap Beater | Bug Hero Suit | - |
| Golem | 15 | 2 | Reversal Power | Porcupine Needle | Bug Hero Suit | Nether Lariat, Lantern Wish |
| Garungun | 16 | 1 | Fabricated Setting: when HP is under 25%, heal and increase stats by 30% for 3 turns. | Porcupine Needle | Bug Hero Suit | Spinning Shock, Godly Machine |
| Geo Symbol | Geo Effect | Destroy |
|---|---|---|
| Null | DEF +50% | Clear |
| Red | DEF +50% | Red Change |
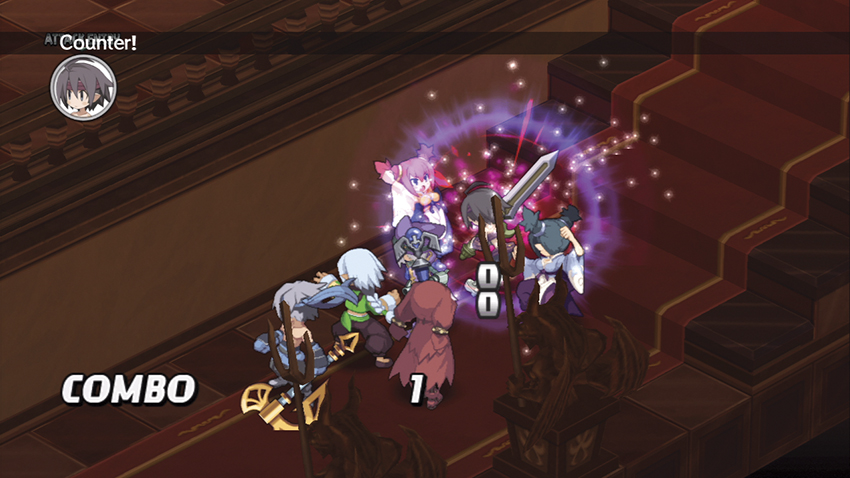
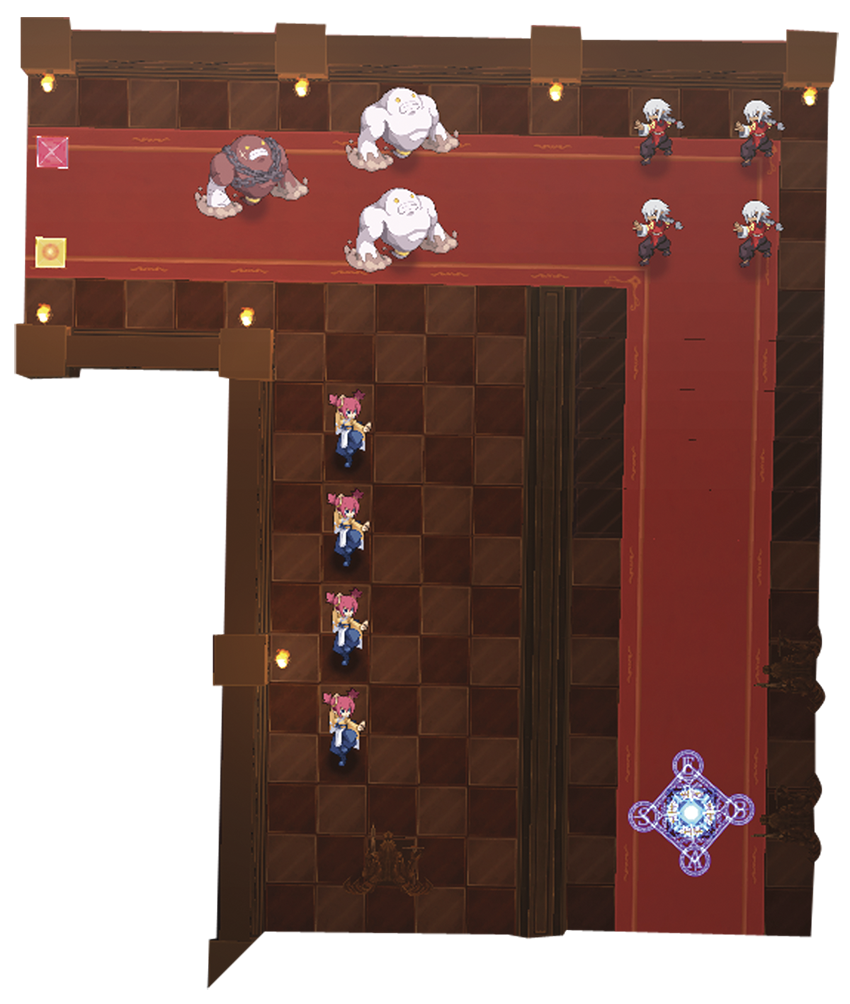
Most of the floor on this stage is covered in Geo Panels that are providing a total of +100% to affected units’ DEF stat, and both of the responsible Geo Symbols are all the way across the map by Garungun. It’s possible to destroy them early on if you use a tower throw to reach them, but it’s not worth the hassle, particularly since half the units you use to do the throwing will be punched to death on the next enemy turn.
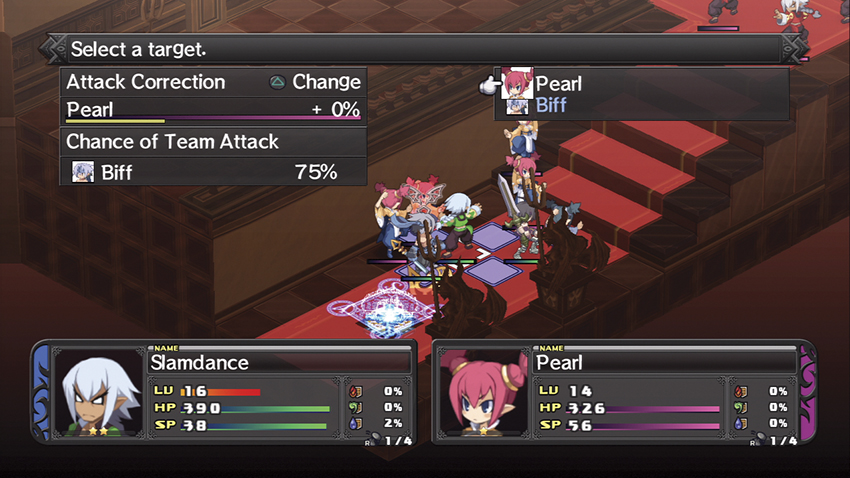
Every opponent on the map is a powerful melee combatant, so having the extra DEF is actually very useful. The risk comes from the Fight Artists and their Fury Evility. It’s easy for them to get into a flurry of exchanging Counterattacks with one of your melee units, particularly your own Fist wielders, and that boosts their ATK stat up to the point where they’ll murder people even with the DEF +100% Effect.
What you can do is stick to the Geo Panels near your starting point and do your best to force the Wind Spinners and Fight Artists to approach you on the side area, where they aren’t receiving the benefit of the DEF +100% effect. This is done by setting up your toughest units in a defensive line across the corridor, so any enemy that approaches has to stand in one of the empty squares to attack.
Garungun and his Golem buddies can attack from up to two squares away, and Garungun’s Evility makes him powerful enough that you’ll want to make sure you kill him in a single turn. If he’s allowed to dip below 25% after an attack and survive, he gets a full heal and a 30% stat bump that makes him much more dangerous.
On a second visit to this stage, Garungun isn’t here. Everything else is the same.
Map Events
- Etna enters the panel next to Garungun.
- Flonne attacks Garungun.
- Laharl attacks Garungun.
Corridor of Hell
| Class | Lv | Qty | Evility | Weapon | Armor | Skills |
|---|---|---|---|---|---|---|
| Lady Fighter | 14 | 6 | Assault Attack (x3), Cooperativeness (x3) | Halberd | Cross-Trainers, Safety Helmet | Impaler Drop, Blade Bash |
| Genin | 15 | 3 | Misty Haze | Dragon Blade | Cross-Trainers, Safety Helmet | Blade Rush, Hurricane Slash, Armor Break, Resist Break, Poison, Stun |
| Masked Hero | 15 | 3 | Rapid Movement | Crap Beater | Cross-Trainers, Safety Helmet | Triple Strike, Double Shadow |
| Killer Armor | 15 | 3 | Flames of Revenge | Slime Mucus | Gas Mask | Lightning God Slash, X-Slash |
| Warrior | 15 | 1 | Shaking Excitement | Warrior Axe | Bug Hero Suit | Boulder Crush, Helmet Crush |
| Geo Symbol | Geo Effect | Destroy | Note |
|---|---|---|---|
| Null | No Entry | Clear | - |
| Null | No Entry | Clear | - |
| Null | No Entry | Clear | - |
| Null | No Entry | Clear | - |
| Aqua | No Entry | Aqua Change | - |
| Null | No Entry | Clear | - |
| Purple | [none] | Purple Change | - |
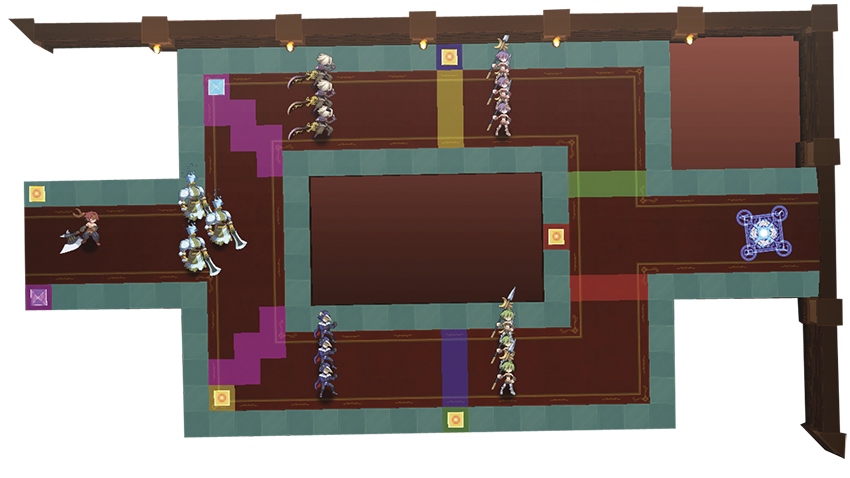
This is an interesting stage because it forces you to split your troops. You must destroy each accessible Geo Symbol in turn to lower the No Entry Effects that are keeping you from the enemy units on the other side of the map, but each group you encounter has a different gimmick that can be difficult to counteract.
The Spear-wielding Valkyries, for instance, can hit you straight through the No Entry barricades with Blade Bash or Impaler Drop, although the latter vaults them clean over the No Entry tiles and probably leaves them in a bad position. The Genin have Swords and can use Blade Rush or their assortment of status ailments to hit you from a distance, while potentially evading much of your counterattacks due to their Misty Haze Evility. Finally, the Masked Heroes have a very high movement rate, gain evasion based upon how many squares they’ve traversed that turn, and can walk right through your defensive line to pummel the hell out of your healers and spellcasters.
Split up your team into two groups of five, both of which should have a capable healer with them, such as a Cleric, Priest, or Flonne. It also doesn’t hurt to have Spear- or Sword-wielders of your own to whittle down enemy troops through the No Entry panels, and somebody with a Bow is useful to expediently destroy the Geo Symbols. You’ll fight the two groups of Valkyries, followed by the Masked Heroes and the Genin, as you reach and take out each No Entry Symbol in turn. The last Symbol you destroy will also set off a chain reaction that clears all the remaining Geo Panels off the map.
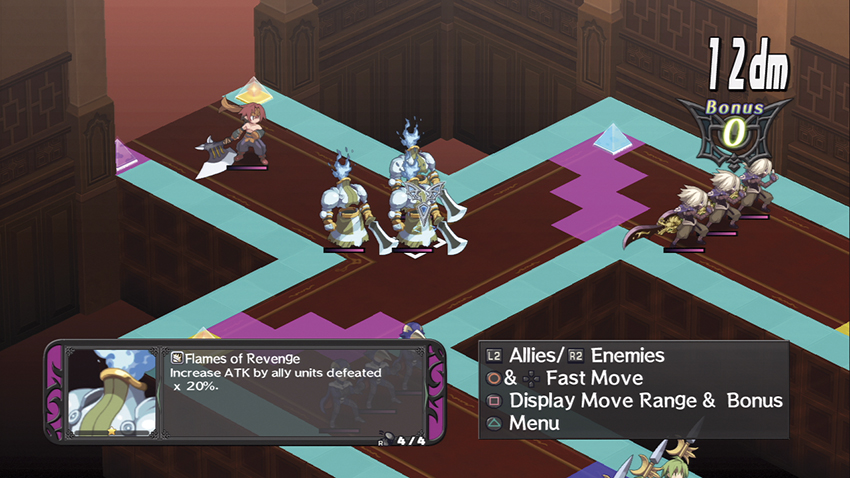
Once you’ve made it through all of that, you have a serious problem in the form of the Killer Armors. Due to their Flames of Revenge Evility, they’ve gotten a 240% ATK buff from the twelve enemy units you’ve plowed through to reach them. That means they’re probably capable of leveling any one of your characters in a single hit, barring the use of unique abilities such as the Fortitude Evility.
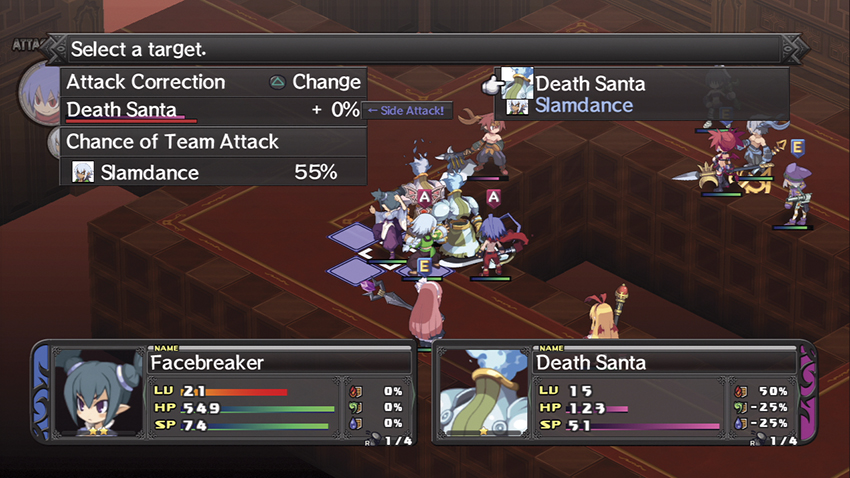
The advantage you have going into that fight, however, is that Killer Armors have a low movement rate. You can pull back and establish a defensive line, wait for them to get within your range, and then wipe them out with combo and ranged attacks before they have the chance to lay into you. Once they’re gone, the lone Warrior they’re guarding is worth taking seriously but isn’t as big a deal.
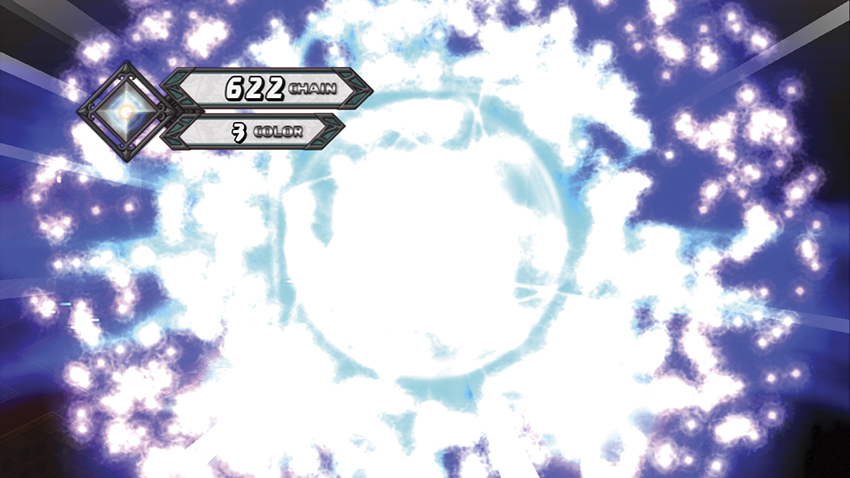
Since you are forced to trigger a 622-hit Geo Chain to clear this stage, you’ll always earn every reward on the Bonus list. This can make Corridor of Hell a slow but profitable level, and it’s worth revisiting occasionally for the sake of your newer units. If there are a lot of Experience rewards on the Bonus list, you can have your lowbies hang out by the base panel and get free levels just for showing up.
Map Events
- Station Sicily next to a Prinny.
- Station Laharl next to Sicily.
- Station Etna next to Flonne.
Inner Sanctum
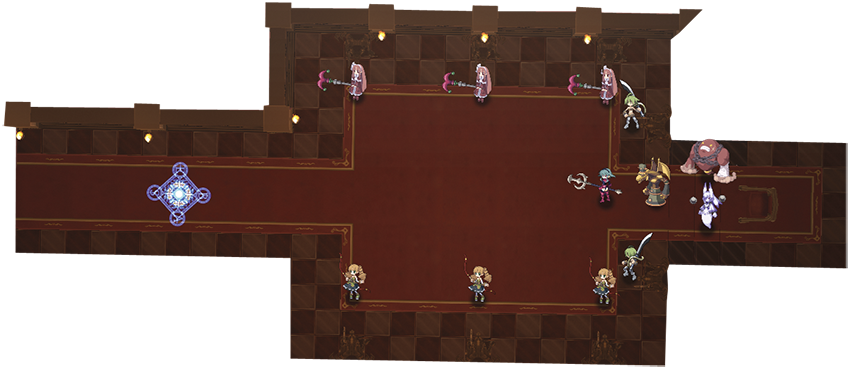
| Class | Lv | Qty | Evility | Weapon | Armor | Skills | Note |
|---|---|---|---|---|---|---|---|
| Green Mage | 16 | 3 | Magic Moderation | Pixy Rod | Buckler | Ice, Mega Ice | - |
| Archer | 16 | 3 | Acceleration Shot | Long Bow | Buckler | Dark Spica, Bright Canopus | - |
| Lady Warrior | 16 | 2 | Assault Attack | Hell Saber | Bug Hero Suit | Blade Rush, Hurricane Slash | - |
| Barbara | 18 | 1 | Passiveness: increases ATK and DEF by 50% and always counterattack when defending. | Warrior Spear | Gas Mask | Order: Prediction, Impaler Drop, Blade Bash, Spear Blow, Trident | - |
| Grosso | 18 | 1 | Shut-In Officer | - | - | - | - |
| Rainier | 18 | 1 | Artifact Collector | - | - | - | - |
| Garungun | 18 | 1 | Fabricated Setting | - | - | - | - |
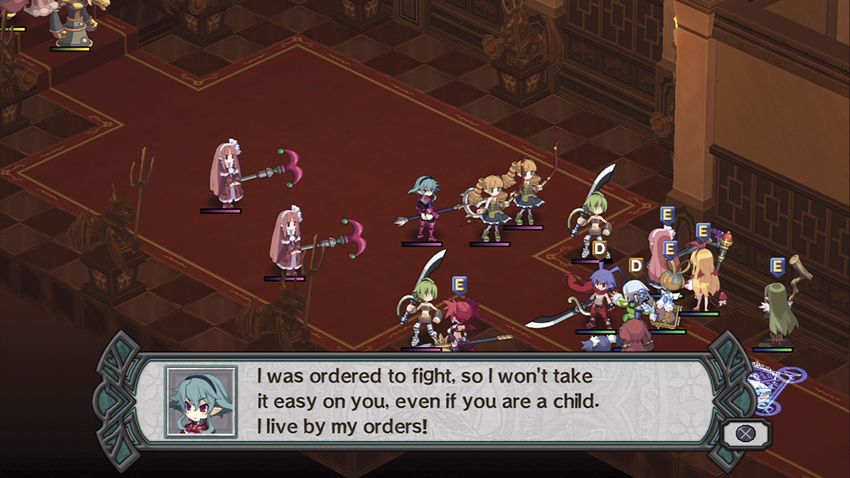
All of the units in this room, including Barbara, will rush you down on their first turn. They’re widely scattered, however, which allows you to knock them down as fast as they can show up. This is important, because this map features a broad assortment of Magicians, Archers, and Lady Valkyries with Swords, so if they’re allowed to hang out in a group near your characters, they can pile on the damage very quickly.
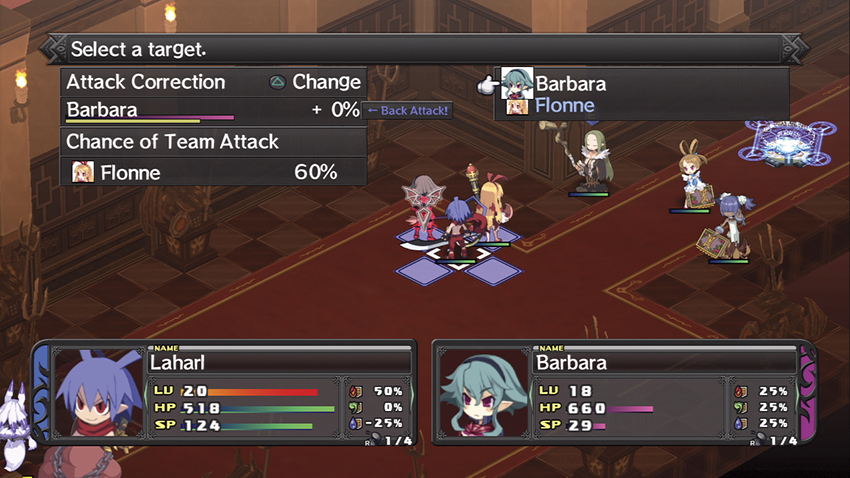
Barbara herself is a tough nut to crack. She has high DEF and RES, as well as a powerful unique attack called Order: Prediction. There isn’t much to taking her down: just quickly eliminate her backup, then pour damage into her until she drops. Her Evility, Passiveness, doesn’t actually play a role in this fight.
Once you defeat her, you unlock the Group Negotiator Trophy. If you lose to Barbara, on the other hand, you unlock another of the game’s multiple endings.
Grosso, Rainier, and Garungun are hanging out in the back of the room on this map, but you don’t have to engage or defeat them unless you just want the experience or a little payback. They won’t take any actions unless you get within their attack range.
This is one of a handful of maps in the story campaign that changes completely on a second visit. Instead of fighting any of the units from the original stage, you’ll encounter a quintet of standard-issue level 12 Zombies. They’re grouped up, which makes them easy to blast en masse with Fire spells. It’s good for farming EXP or leveling your skills.
Map Events
- Barbara gets within four squares of Laharl.
- Laharl attacks Barbara.
- Barbara gets within one square of a Prinny.