
Disgaea D2: A Brighter Darkness Guide Post-Game Bonus Maps Detour: Piglet’s Growth
Detour: Piglet’s Growth
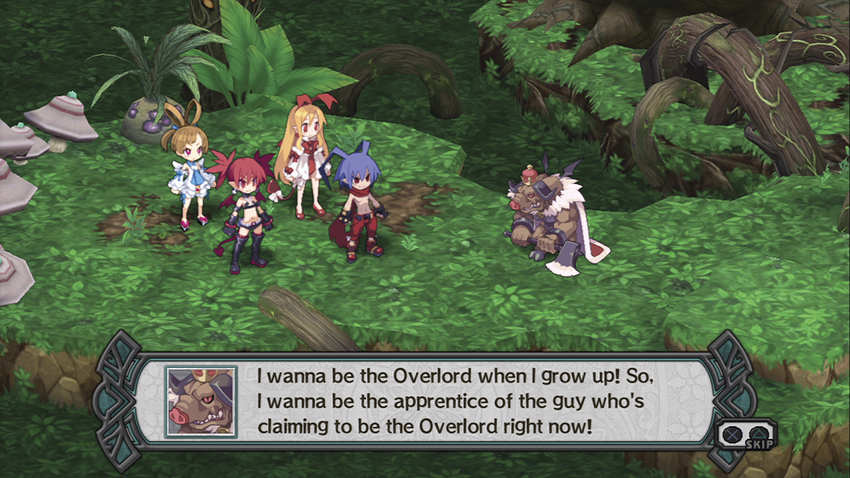
You won’t be told it has become an option, but in Episode 7, you can propose a new bill in the Dark Assembly called As Overlord, I Accept Any Challenge! It costs 500 Mana to bring the bill before the Senate. If the bill passes, it unlocks a new destination at the Dimension Guide called Piglet’s Growth.
Stress Testing
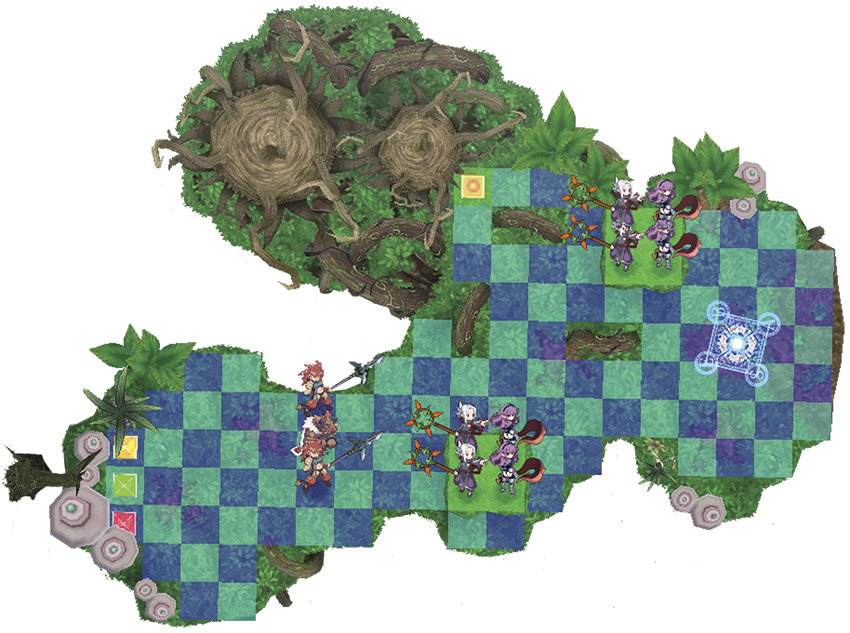
| Class | Lv | Qty | Evility | Weapon | Armor | Skills |
|---|---|---|---|---|---|---|
| Heavy Knight | 40 | 4 | Defender | Crimson Fire Stick | Dandy Gown | - |
| Onmyo Master | 40 | 4 | Geo Resist | Shiny Staff | Dandy Gown | Geo Change, Bonus Change, Bonus Blast, Star, Mega Star, Giga Star, Omega Star, Heal, Mega Heal |
| Beast Leader | 40 | 2 | Dark Tamer | Wind Spear | Dandy Gown | Wild Groom, Dominate, Impaler Drop, Blade Bash, Spear Blow |
| Porkmeister | 42 | 1 | Loyalty | Mythic Beast Horn | Dandy Gown | Darkness Slash+, Sand Wyrm Impact+, Twilight Bomber+ |
| Geo Symbol | Geo Effect | Destroy | Note |
|---|---|---|---|
| Red | Recovery 20% | Red Change | Mobile; moves every Enemy Turn. |
| Green | ATK +50% | Green Change | Mobile; moves every Enemy Turn. |
| Yellow | DEF -50% | Yellow Change | Mobile; moves every Enemy Turn. |
| Null | DEF +50% | Clear | - |
If you try to run Stress Testing immediately upon unlocking it in Episode 7, it can be a challenge. If you leave it until much later than that, however, it’s a gimme.
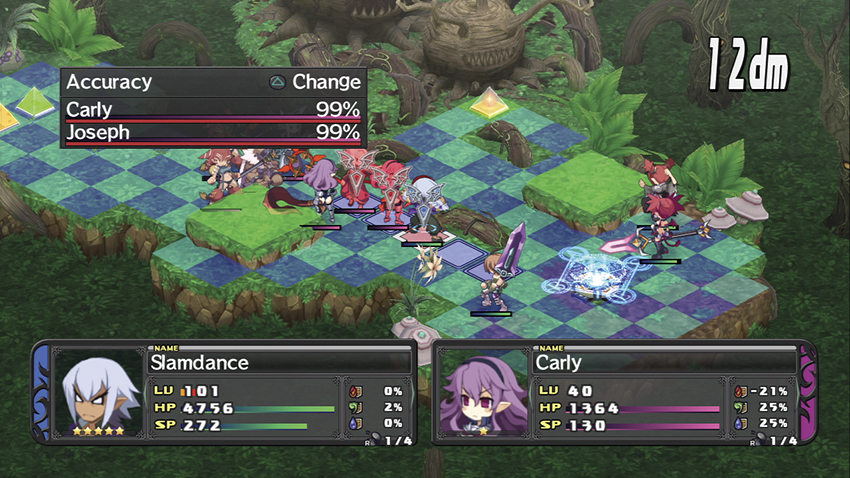
The Heavy Knights and Monks are nothing you haven’t seen before. As in Frightening Forest, you’ll want to either lure them off the Geo Panels they’re standing on or take advantage of the ATK +50% Geo Effect that’s initially on the aqua tiles.
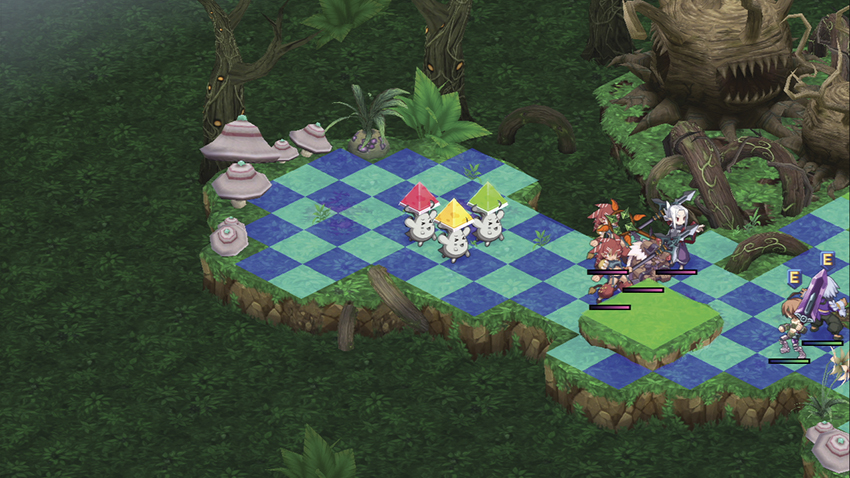
The real complication comes from the trio of Geo Symbols toward the back of the map. At the start of every enemy turn, they stand up and move a few squares, thus randomizing the locations of the Recovery 20%, DEF –50%, and ATK +50% Geo Effects. The DEF –50% is the killer, as it can suddenly show up underneath one of your characters depending on how the Symbol chose to move this around.
Porkmeister’s Evility, Loyalty, gives him a flat 30% stat boost if an Overlord is on the map regardless of what side that Overlord is on, so deploying Laharl makes Porkmeister much more dangerous. He also spends this entire fight with two Beast Handlers glued to his sides, which gives him an additional 40% stat bonus through their Dark Tamer Evilities. Porkmeister already hits like a truck, but with the modifiers from his posse and from Laharl, he turns into a wrecking ball. That said, there’s no reason why you can’t drop him with a Combo Attack.
Your reward for clearing Piglet’s Growth is that Porkmeister joins your party, which unlocks the Porkmeister’s II: The Next Stage Trophy. Ol’ Porky enters play at level 40, using a Demon Hand, Elegant Coat, Breastplate, and Beastly Belt. He loses his Sand Dragon Impact+ Skill upon joining, but he’ll relearn it in a couple of levels. You can build Porkmeister up into a murder machine without much work, which is weird for such a nice kid.
You cannot return to Stress Testing after clearing it.
Map Events
- Put Sicily in an adjacent panel to Porkmeister.
- Station Etna next to Flonne.
- Porkmeister attacks Laharl.