In many of Disgaea D2’s stages, the fighting is complicated by the presence of Geo Effects. These are specific bonuses or penalties that afflict or enhance any unit that happens to be standing on certain colored parts of the map that are known as Geo Panels. These Effects can be anywhere from mild annoyances to game-changers, and how you work with or around them is often key to your success.
Geo Panels
The multi-colored floor tiles that carry Geo Effects are called Geo Panels. By themselves, they’re harmless. A Geo Panel without a Geo Symbol on it is just a different-colored square on the map.
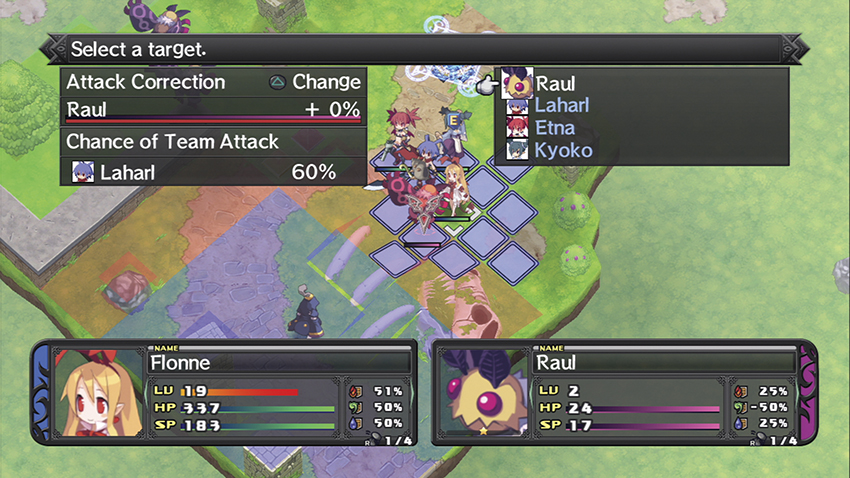
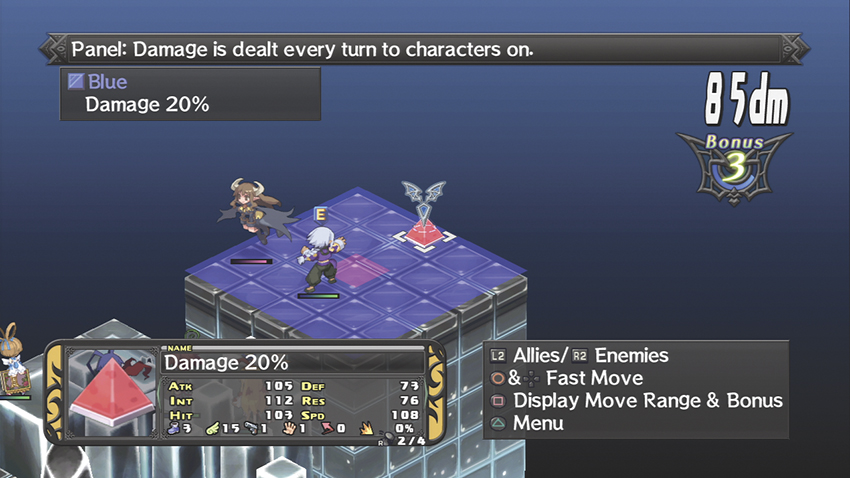
By targeting a Geo Panel, you can see what if any Geo Effects it has in the upper left-hand corner of your screen. These Effects will carry over to any unit standing on any Panel of that color on the map, regardless of its location. They don’t have to be physically connected; they just have to be the same color.
Geo Symbols
When Geo Effects are present, they’re always tied to Geo Symbols. When placed on a Geo Panel, these pyramid-shaped objects “feed” their specific Effect into the Panels, conferring the Effect to any unit or object that’s standing on Geo Panels of that color. Geo Symbols are treated as if they’re neutral units on the playing field, with levels and HP like any other object.
You can interrupt a Geo Effect by either destroying or moving the Geo Symbol that provides it. Destroying it can be done through direct attacks, which affect the Symbol as they do any other unit; through the use of the Onmyo Monk’s Geo Blast Skill, which only works in the Item World; or by Throwing things at the Geo Symbol, such as enemy units or other Geo Symbols.
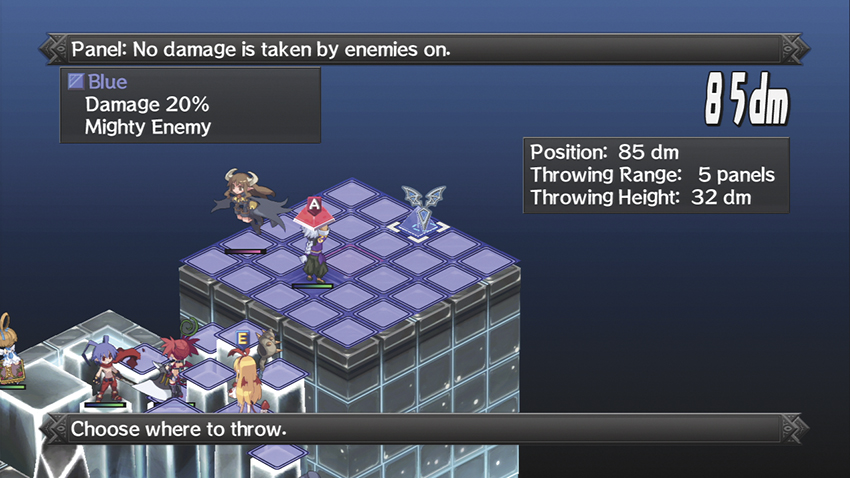
You aren’t allowed to use your own characters as improvised missiles to destroy a Geo Symbol—the game simply won’t let you toss a character into the Symbol’s square—but you can toss the Symbol at enemies, toss enemies at the Symbols, or toss the Symbols at each other. In each case, the result is the destruction of the Symbols involved in the action.
Note that a Geo Symbol is always affected by its own Geo Effect. A Geo Symbol with an Invincible or Mighty Enemy effect, for example, is just as indestructible as anything else that’s standing on those Geo Panels. You won’t be able to “kill” it with weapons or Skills, but you can toss an enemy or another Geo Symbol at it to destroy it.
A Geo Symbol that’s being held by a character still counts as sitting on the Geo Panel that the character is standing on. If one of your units holds a DEF +50% Geo Symbol and stands on a red Geo Panel, all red Geo Panels on the map convey the DEF +50% Geo Effect until such a time as your unit puts the Symbol down or moves somewhere else.
To defuse a Geo Symbol without destroying it, try to place it on a square that doesn’t have a Geo Panel on it at all. A Geo Symbol that isn’t sitting on a Geo Panel is useless.
Most Geo Symbols are immobile. A few have tiny monsters hidden underneath them, which will carry the Geo Symbol a short distance at the beginning of the enemy turn. These are otherwise identical to standard Geo Symbols, but they can change the face of a map by altering how the local Geo Effects are distributed.
Geo Chains
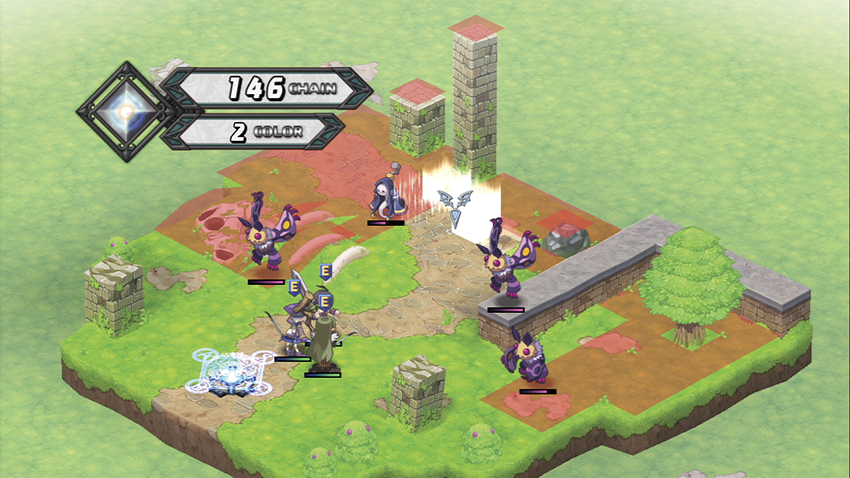
As noted above, when you destroy a Geo Symbol, it causes a specific Change effect. Most Symbols cause a Geo Change, where if they’re destroyed while they sit on a Geo Panel of a separate color, it causes a chain reaction that flips every Geo Panel of that color on the map over to the Geo Symbol’s color. For example, a blue Geo Symbol will typically have a Geo Change Blue effect; if it’s destroyed while it sits on a red Geo Panel, all the red Geo Panels on the map will flip to blue.
A few Geo Symbols cause a Clear effect instead. This does not change a Geo Panel’s color, but instead acts to destroy it entirely. In this case, all Geo Panels of the relevant color will be destroyed, leaving behind ordinary squares on the map. You can usually tell a Geo Symbol has a Clear effect attached to it because it, unlike other Geo Symbols, is translucent instead of opaque. These are called Null Symbols.
The chain reaction that follows the destruction of a Geo Symbol is called a Geo Chain, and it has a number of side effects. First, any character standing on a Geo Panel that changes color will take damage. The specific amount scales with a character’s maximum HP and gets higher if the unit is hit with multiple Chains in a single turn; getting caught in one Geo Chain is trivial, but by the fourth or fifth, most units will be on the verge of death. If you have no other options, your base panel is always counted as neutral territory, so you can move onto it to escape the effects of a detonating Geo Chain.
Another option is to deploy an Onmyo Monk with the Geo Protect or Geo Resist Evility. With Geo Protect, as long as the Monk’s on the field, all of your units except the Monk himself will take exactly zero damage from any Geo Chains that hit them. Geo Resist means no units on the field will take any damage at all from the Chain, whether they’re friendly or not.
Second, regardless of its level, current HP, or active Geo Effects, any Geo Symbol that’s caught in a detonating Geo Chain is destroyed. This even applies to Geo Symbols that are affected by or supplying Geo Effects such as Invincible or Mighty Enemy. That Symbol’s destruction may also cause a Geo Chain, if the Panels that it’s sitting on end up as a different color than it after the first Chain goes off. For example, if a Geo Chain changes a number of Panels red and destroys a blue Geo Symbol along the way, a second Geo Chain will start immediately after the first and will change all those Panels to blue. This can continue until the map runs out of Panels or Symbols.