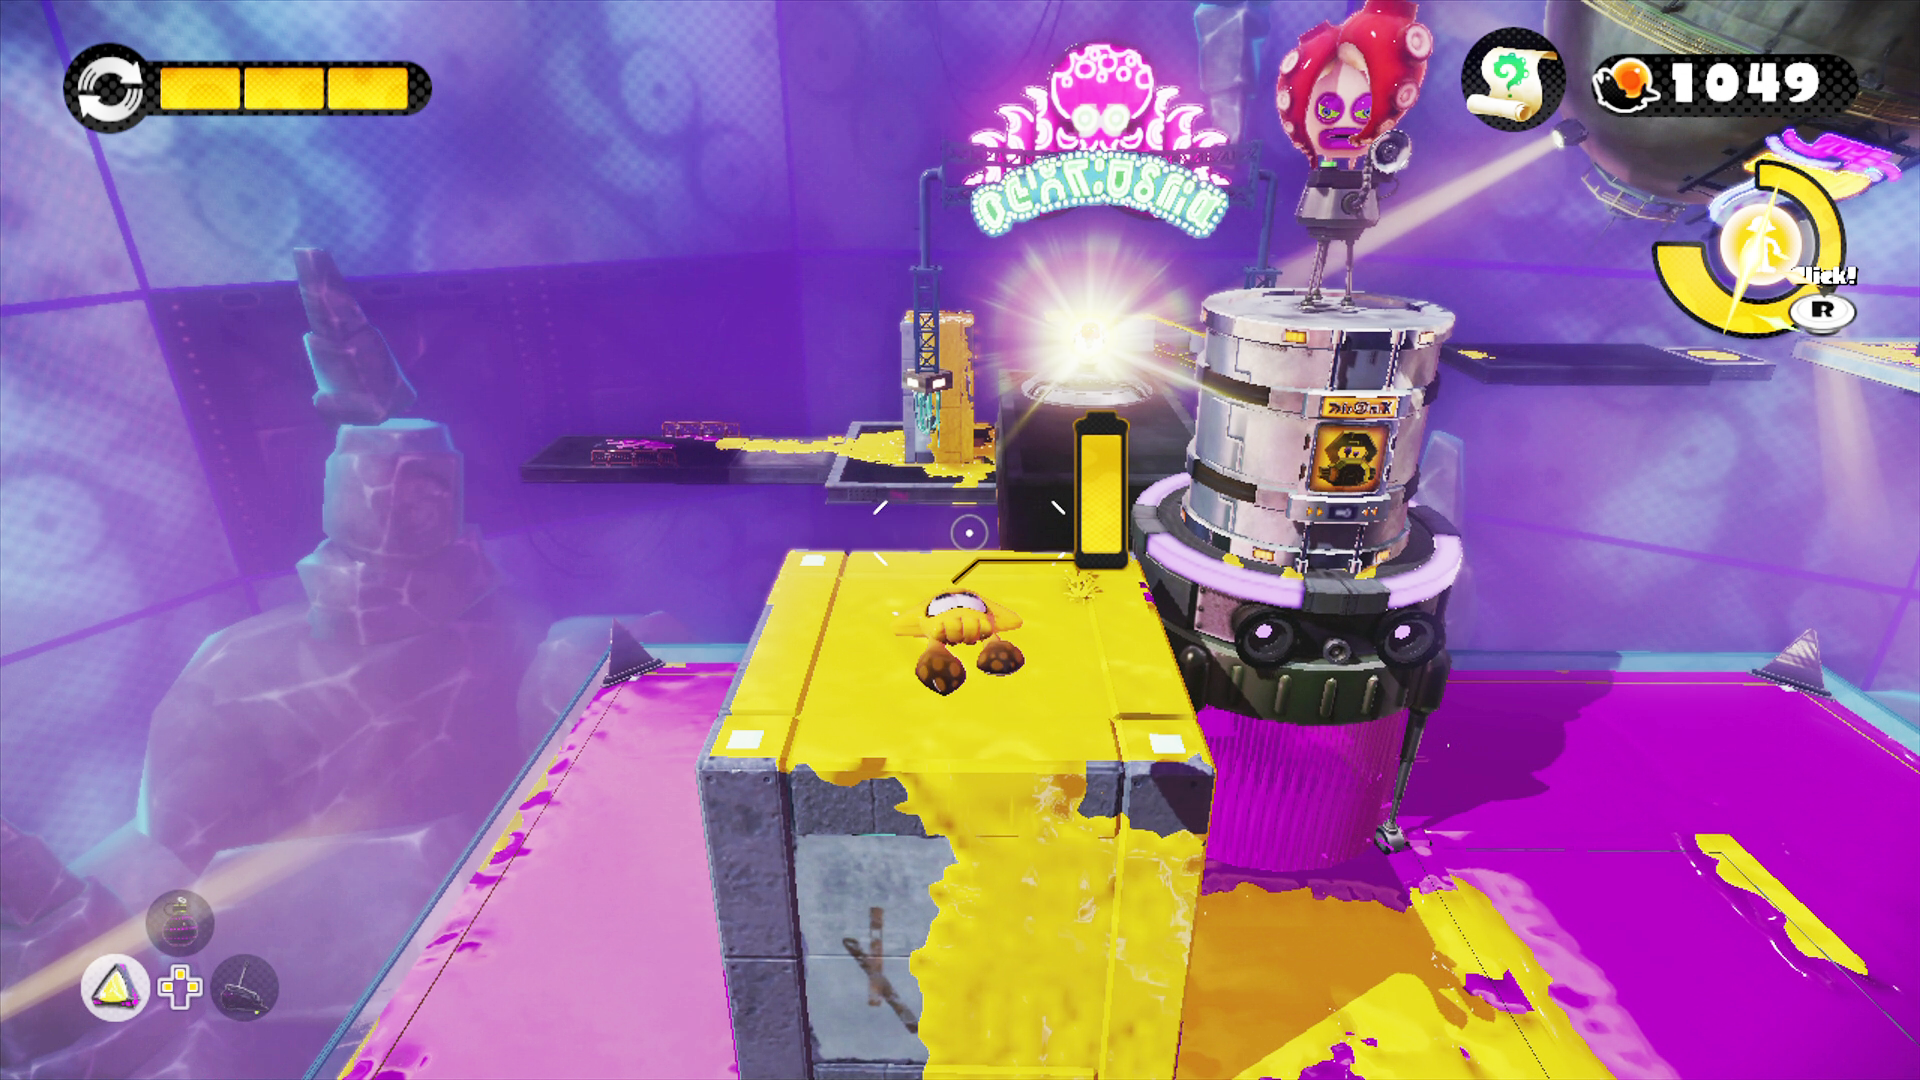
Stage 22: Splat-Switch Revolution
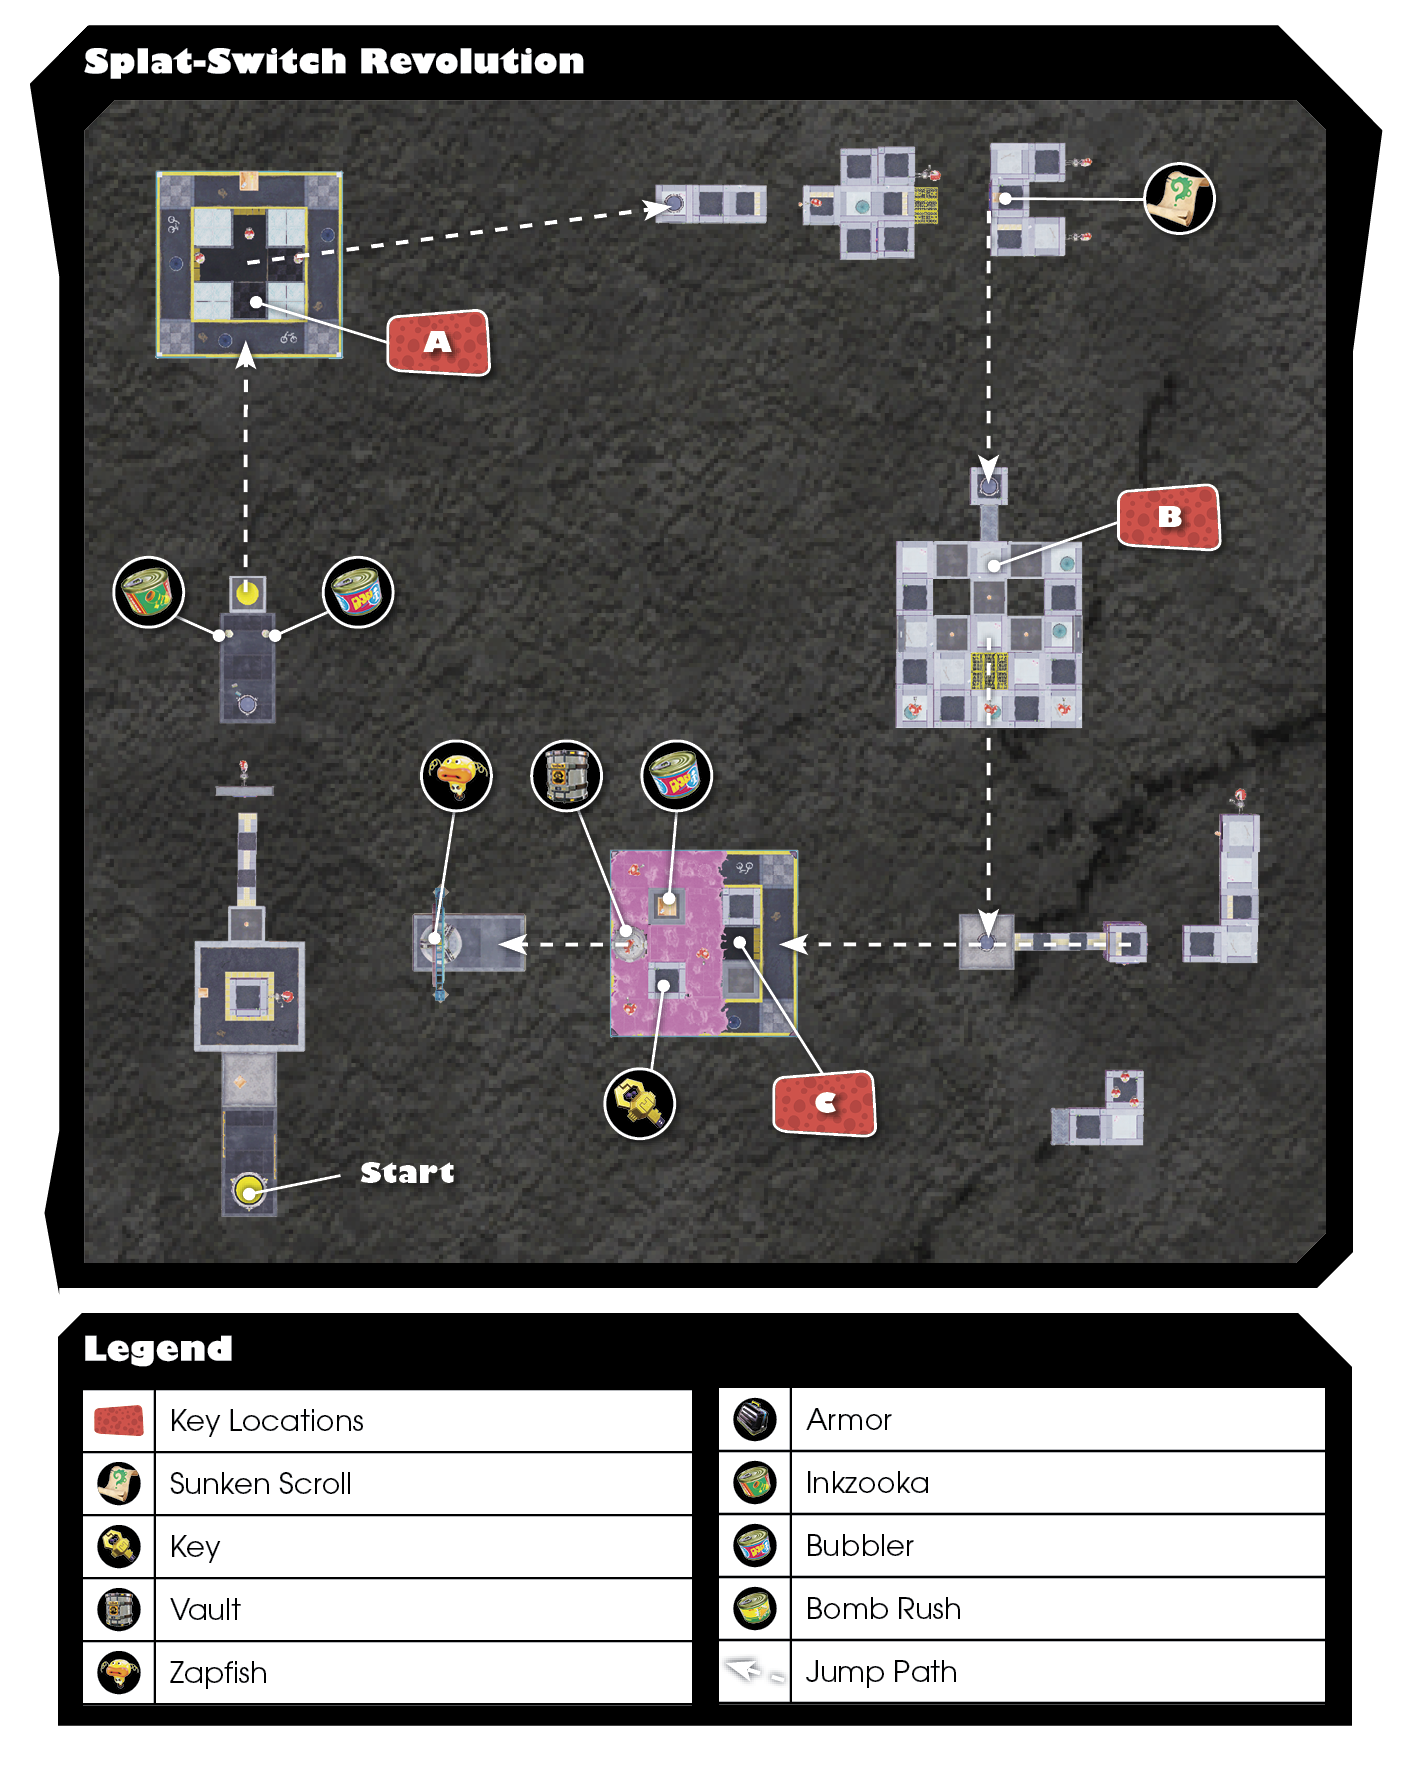
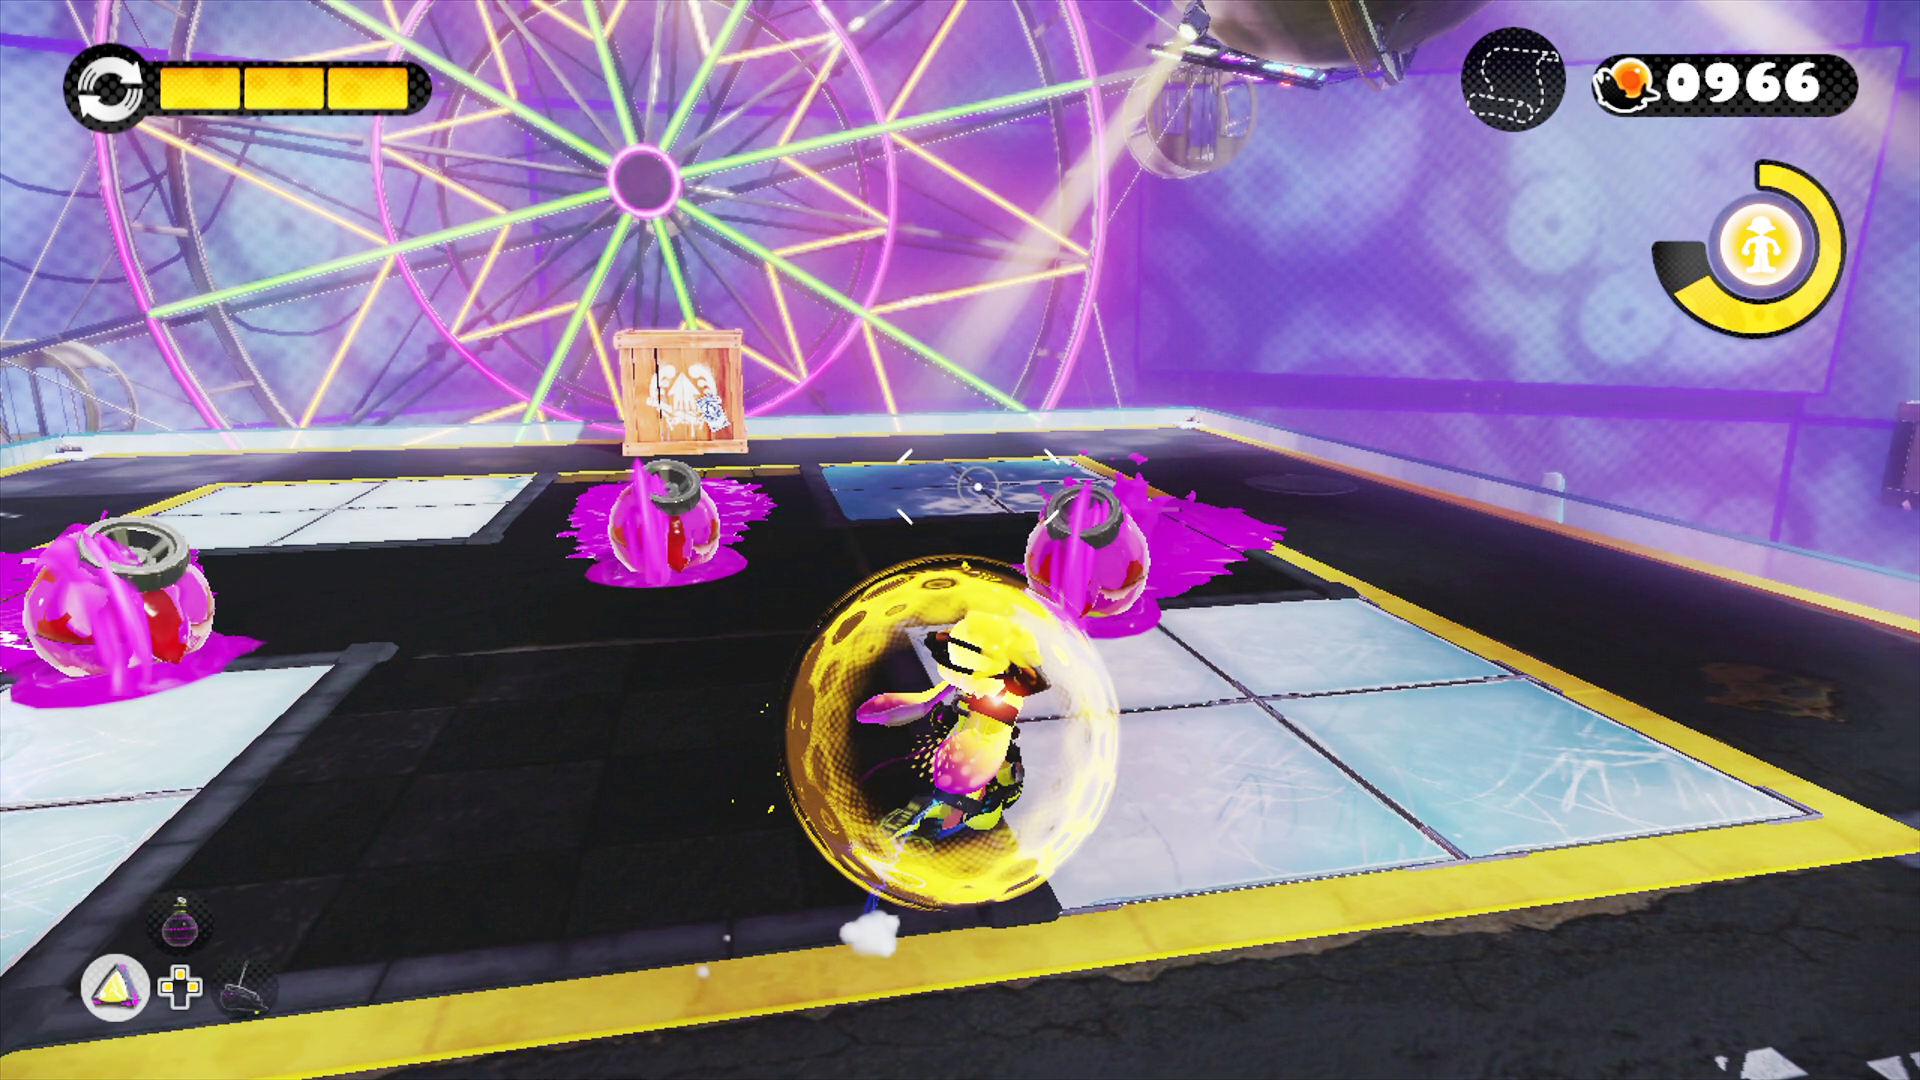
 Before leaping to this platform, choose the Bubbler special over the Inkzooka—you can only carry one special at a time, and Bubbler benefits you the most on this challenging platform. Initially you’re attacked by three Octoballs. Lay a line of ink between you and the approaching Octoballs, but note that the glass portions of the platform cannot be inked. Once the Octoballs are eliminated, the glass sections rise, each topped with a Twintacle Octotrooper. Swim through your ink around the perimeter of the platform and pick off the Octotroopers one by one. If you haven’t spread enough ink to swim, consider activating the Bubbler special.
Sunken Scroll
|
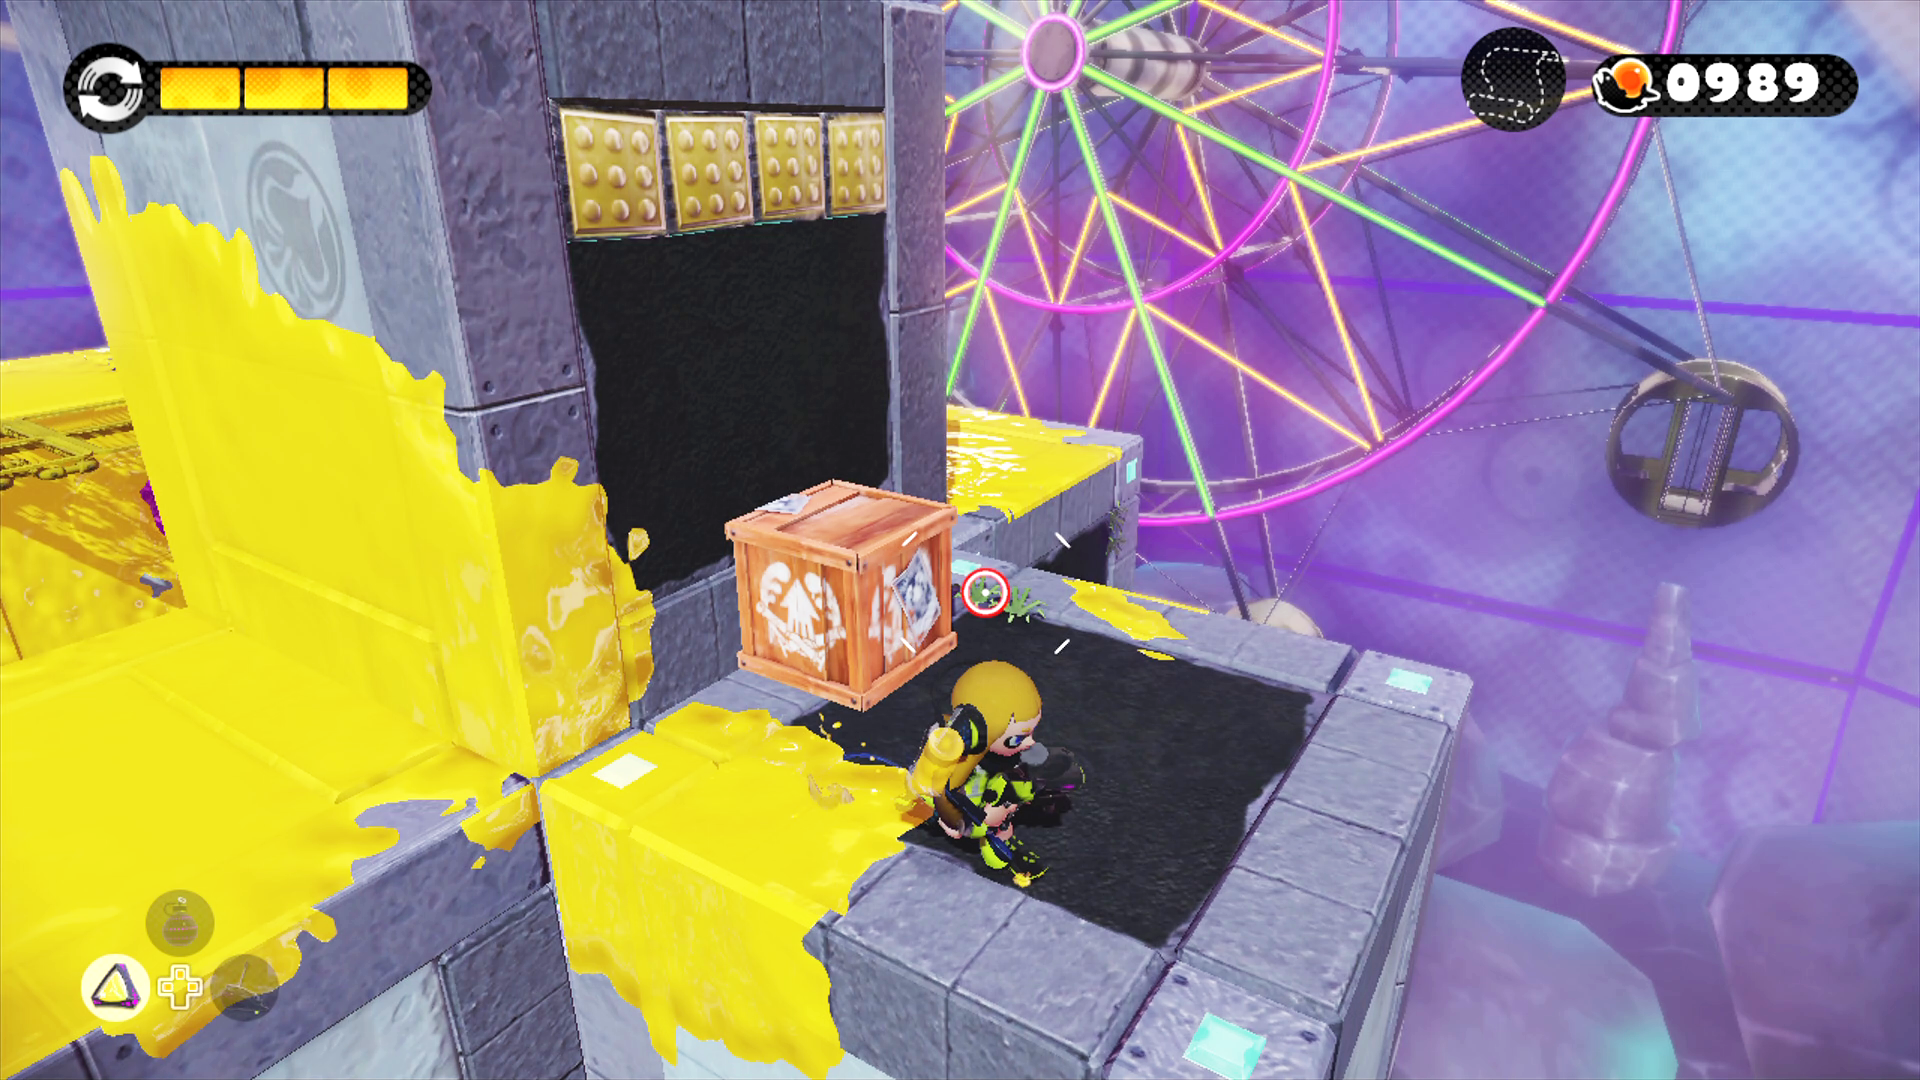
 Avoid the launchpad on the front side of this platform. Instead, transform these blocks by targeting the splat switch. Eliminate the Octotroopers, then swim along the blocks to reach the back side. Here you can find the level’s Sunken Scroll.
 Before engaging the three Twintacle Octotroopers guarding this platform, take some time to spread some ink using Splat Bombs and Seekers. Swim through your ink to sneak up on the Octotroopers, taking them out one by one. But after eliminating the third Octotrooper, the platform transforms as two pillars rise, each occupied by one Octosniper. Immediately drop into your ink to avoid being spotted. Toss Splat Bombs or Seekers in attempt to divert their attention, then sneak up on each Octosniper and splat them at close range.
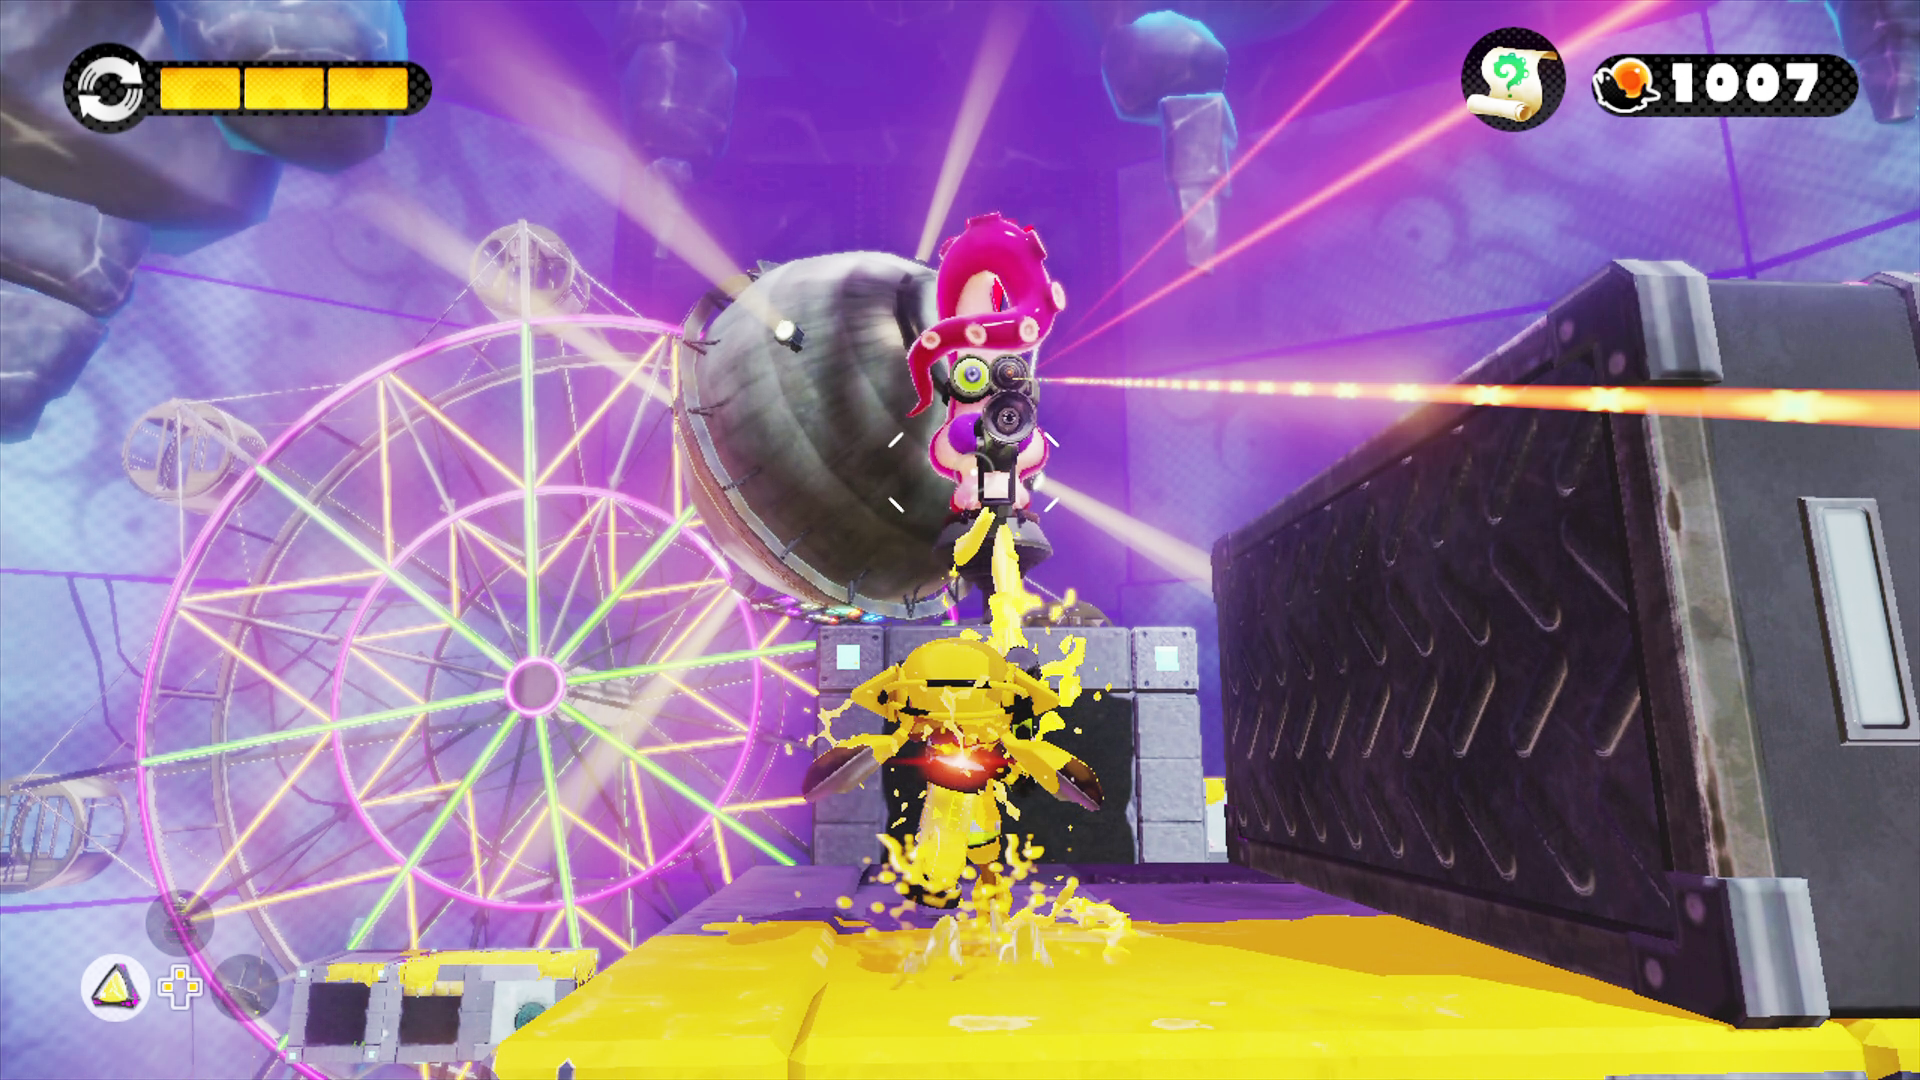
 Upon landing here, spread some ink and engage the three Twintacle Octotroopers on the ground—grab the Bubbler special while you’re at it. After eliminating the three Octotroopers, two Flooders arise from the floor and begin patrolling, joining a third Flooder topped by a vault and Octotrooper. The key to the vault is located on the floor where one of the Flooders emerged. Grab the key and immediately take the high ground, swimming up one of the two newly raised blocks. From here you can avoid the Flooders while targeting the Twintacle Octotrooper atop the vault. Hide in your ink until the Flooder approaches, then ambush the Octotrooper atop the vault. Opening the vault reveals the launchpad leading to the Zapfish.