
Overview
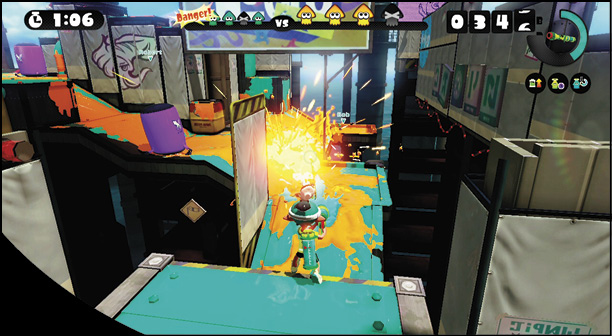
Saltspray Rig sports a unique layout with both teams spawning on the same side of the stage. Despite its deceptively compact design, the stage is surprisingly large, with several distinct locations consisting of narrow paths, ramps, platforms, and perches. The stage also features multiple elevation changes, making it important to identify and occupy the high ground. There are a few interactive features here too, including two elevator-like platforms in the center, and a platform attached to a crane near the shipping container area. But be careful when traversing these platforms, as they may be watched by opponents.
Key Locations
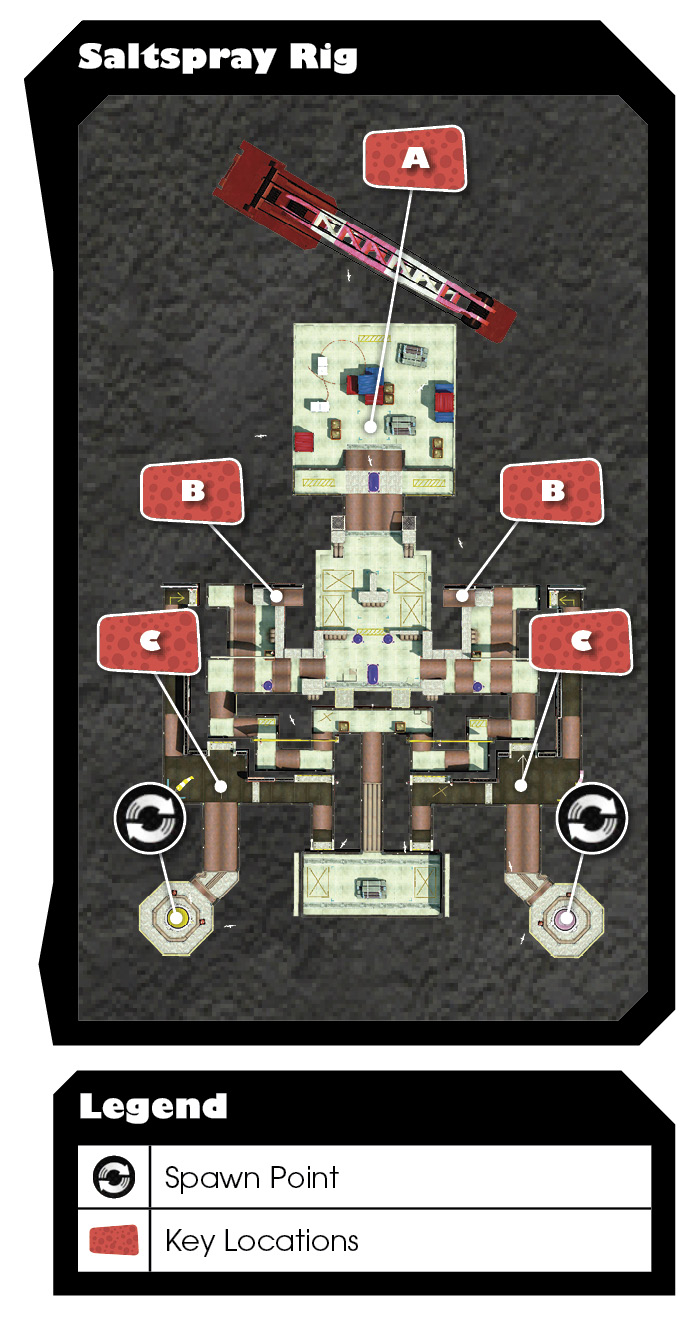
 Located on the opposite side of the stage from both team’s spawn points, this large area is worth capturing and defending, especially during Turf War. There is only one way into this area, making it relatively easy to defend once captured. This area features a few large towers of shipping containers. Ink the sides of these containers and swim to the top to gain a commanding view of this area. There’s also a moving mesh platform that allows you to easily transition from one stack of shipping containers to another. This area is most critical during Turf War—it’s rarely accessed during Splat Zones. This makes it a good place to plant Squid Beakons, giving your team easy access to the center.
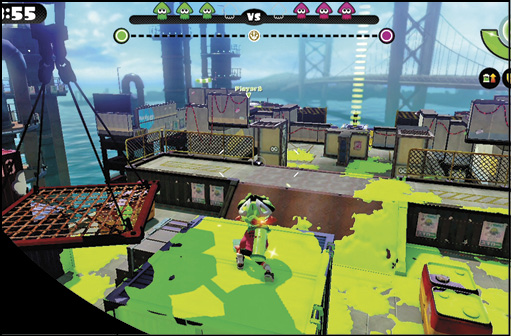
 These two opposing platforms are ideal sniper perches during Splat Zones. From here, snipers can cover the center of the stage and help defend the adjacent shipping container area. But when posted here, keep an eye on the GamePad’s map to watch for encroaching ink—this could be the sign that an enemy is attempting to sneak up behind you. There is more than one way up here, so don’t forget to turn around from time to time to apply fresh coats of ink along the surrounding surfaces. Keeping the rear area coated with ink deters enemies from sneaking up on you—Ink Mines are effective too. While you’re up here, you may want to ink the nearby diamond-plate ledges as well, particularly during Turf War.
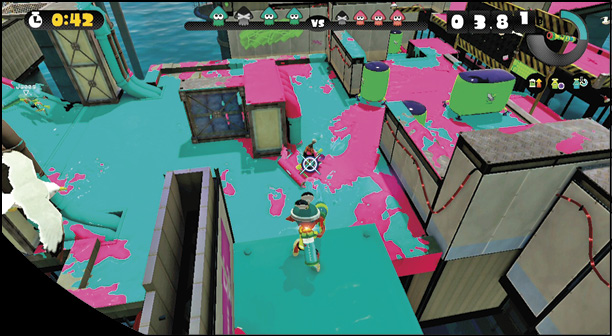
 These elevated perimeter pathways, just off each team’s spawn point, offer a great way to spread ink onto the adjacent lower platforms and ramps. Instead of dropping down to these lower areas, stay on these elevated paths and fire down.
Recommended Weapons
Splattershot Pro
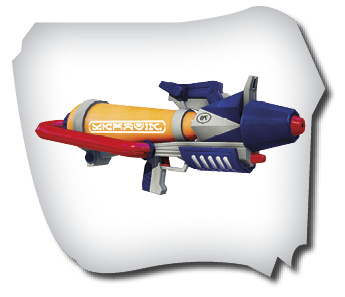
Engagements are unpredictable on this stage, but a good Splattershot will give you a fighting chance. The Pro model offers a good balance of range and damage output.
Splat Charger
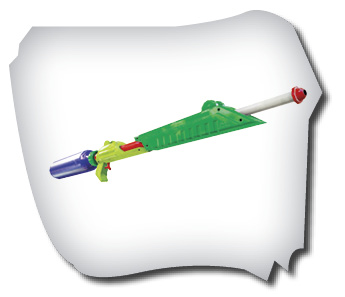
If you want to occupy one of the two sniper perches, the Splat Charger will serve you well. If you want greater versatility without sacrificing much range, opt for one of the Squelcher weapons.
Splat Bombs
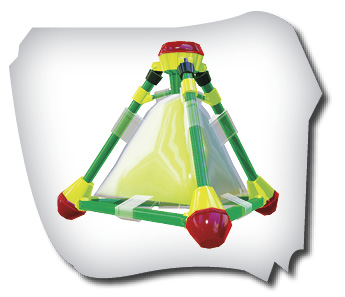
Get to the high ground and lob Splat Bombs down on your opponents. These are useful in all game modes.
Killer Wail
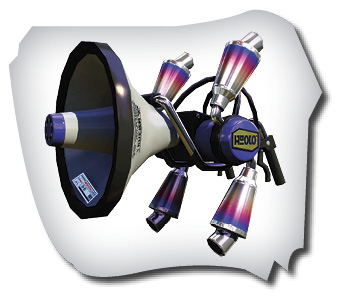
Whether aimed down one of the narrow walkways or up at one of the sniper perches, Killer Wail is great for scattering opponents.