
Equipment
Fortunately, you’re not going into battle empty handed. You’ve been outfitted with some of the finest gear Cap’n Cuttlefish has to offer, including the Hero Shot. You can also find armor and specials hidden in crates during your journeys through each Octarian lair. So smash every orange crate you see—you never know what you might find inside.
Weapons and Upgrades
Hero Shot
Upgrades
| Level | Description | Cost |
|---|---|---|
| 1 | Default | — |
| 2 | Increase Rate of Fire to x1.2 | 500 |
| 3 | Increase Rate of Fire to x1.5 | 1,000 |
| 4 | Increase Rate of Fire to x2.0 | 1,500 |
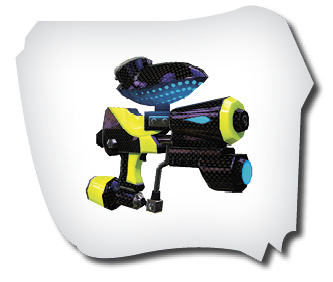
The Hero Shot is your primary weapon throughout your fight against the Octarians, ideal for inking territory and splatting opponents. You can spend power eggs to increase the weapon’s rate of fire. Initially, these upgrades are quite expensive—your power eggs are probably better spent on increasing your ink tank’s capacity or unlocking Burst Bombs or Seekers. But as you progress deeper into Octo Valley, the increased rate of fire comes in handy when confronting bosses and tough enemies like Octolings, Octobombers, and Octostrikers. Keep in mind, an increased rate of fire will make the weapon consume more ink, so consider upgrading your ink tank’s capacity to compensate.
Ink Tank
Upgrades
| Level | Description | Cost |
|---|---|---|
| 1 | Default | — |
| 2 | Increase tank capacity to x1.2 | 100 |
| 3 | Increase tank capacity to x1.5 | 300 |
| 4 | Increase tank capacity to x2.0 | 800 |
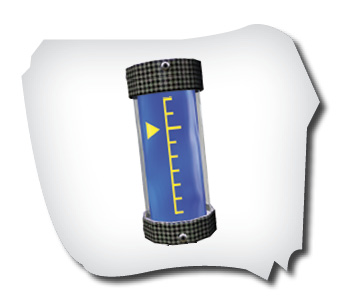
Worn on your Inkling’s back, this ink tank supplies ink for your Hero Shot and sub weapons. The more you deploy your weapons, the more ink is consumed. The ink tank slowly refills over time, but you can increase the replenishment rate by diving into your ink in squid form. The arrow icon on the side of the tank indicates how much ink your selected sub weapon will consume—take this into account before tossing a Splat Bomb, Burst Bomb, or Seeker. Upgrading the ink tank increases its capacity. This is a very worthwhile upgrade, so don’t hesitate in maxing it out. The greater the tank’s ink capacity, the longer you can use your weapon without running out of ink.
Splat Bombs
Upgrades
| Level | Description | Cost |
|---|---|---|
| 1 | Default | — |
| 2 | Increase blast area to x1.3 | 100 |
| 3 | Increase blast area to x1.6 | 300 |
| 4 | Increase blast area to x1.8 | 800 |
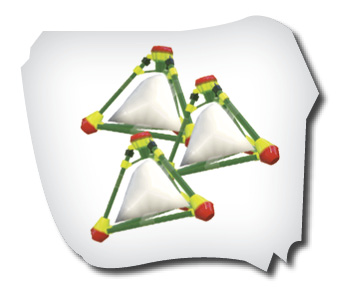
Splat Bombs are your default sub weapon and can be thrown to spread ink or splat enemies. Think of these like grenades. Hold down the R button to view and adjust the bomb’s arc-like trajectory. When you’re satisfied with the bomb’s flight path, release the R button to throw it. Splat Bombs utilize a delayed fuse, allowing them to bounce off walls or skip across the ground before exploding. This makes them great for engaging enemies indirectly while hiding behind cover. Initially Splat Bombs have a modest, but effective, blast radius. The blast radius can be expanded by upgrading the weapon. Of all the sub weapon upgrades, the Splat Bomb upgrades are the most worthwhile.
Burst Bombs
Upgrades
| Level | Description | Cost |
|---|---|---|
| 1 | Unlock Weapon | 100 |
| 2 | Increase blast area to x1.3 | 100 |
| 3 | Increase blast area to x1.6 | 300 |
| 4 | Increase blast area to x1.8 | 800 |
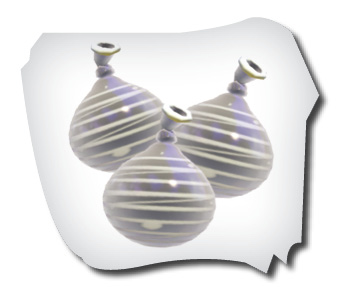
Burst Bombs must be purchased before they’re added to your arsenal, costing only 100 Power Eggs. In terms of deployment, these hand-tossed sub weapons function identically to the Splat Bombs. However, instead of utilizing a delayed fuse, Burst Bombs explode as soon as they touch the ground or foes. These bombs also have a noticeably smaller blast radius than Splat Bombs, so you’ll need to score direct hits with these bombs if you hope to splat an enemy. This makes Burst Bombs a bit more challenging to deploy offensively. Instead, use them primarily to spread ink, particularly along vertical surfaces. Once unlocked, upgrading this weapon shouldn’t be a priority.
Seekers
Upgrades
| Level | Description | Cost |
|---|---|---|
| 1 | Unlock Weapon | 100 |
| 2 | Increase blast area to x1.3 | 100 |
| 3 | Increase blast area to x1.6 | 300 |
| 4 | Increase blast area to x1.8 | 800 |
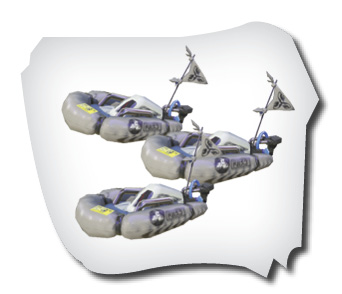
Like Burst Bombs, Seekers must be purchased before they’re unlocked. These unique weapons are bombs that cruise along the ground, homing in on foes. When an enemy is in sight, hold down the R button to target them with a Seeker, then release the R button to launch the weapon. The Seeker will try to hit the enemy, even if the enemy moves. Beyond their homing ability, Seekers are most useful for spreading ink. When traveling along the ground, Seekers leave behind a narrow trail of ink. Swim through this ink trail to stealthily move deep into enemy territory without being spotted. In addition to increasing the Seerker’s blast radius, the upgrades also increase the width of its ink trail. This can come in handy if you like swimming behind your Seekers.
Armor and Specials
Armor
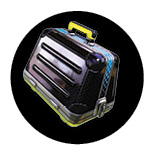
Next to Power Eggs, armor is the second-most common pick-up you’re likely to find in orange crates. Simply make contact with this briefcase-like object to equip armor. Not only does this change the appearance of your Inkling, but it also allows you to take more damage without getting splatted. If you take heavy damage while wearing armor, the armor is destroyed, breaking to pieces—but it’s better than getting splatted. You can equip up to three pieces of armor at a time—the second and third pieces are represented by antenna protruding from your Inkling’s helmet.
Inkzooka
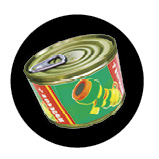
Yes, this special is like a bazooka that fires ink. Once activated, you can fire the Inkzooka repeatedly for approximately five seconds. Each shot consists of a tall tornado of ink, zooming across the stage. Inkzookas are great for taking out enemies, but they also leave behind a thin trail of ink. When fired at a vertical surface, it leaves a trail behind you can swim up in squid form. But watch your footing when firing this weapon—each shot knocks you back. If you’re not careful, the recoil could knock you off a ledge or push you back into a puddle of enemy ink.
Bubbler
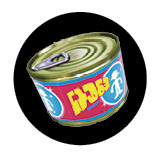
The Bubbler special generates an impenetrable bubble around your Inkling, making them invincible for short period of time. This special is best deployed when you are confronted by multiple enemies. Although you can’t take damage while the Bubbler is active, you can still get knocked around by heavy attacks. Splat Bombs tossed by Octobombers and Octolings can push you around, potentially knocking you off ledges. Although durable, the Bubbler can’t save you from plummeting off the side of a stage. So do your best to avoid explosive attacks.
Bomb Rush
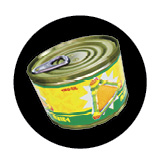
Bomb Rush gives you the ability to throw an unlimited number of Splat Bombs, Burst Bombs, or Seekers for a short period of time. While Bomb Rush is active, these sub weapons consume no ink, so don’t let this opportunity go to waste. If you want to spread ink over vast distances, use Seekers to send trails of ink in all directions. Or if you’re on the attack, use Splat Bombs to overwhelm Octotroopers and other enemies in your path.