
Overview
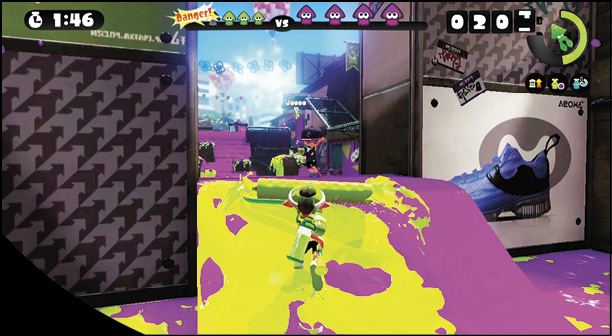
Arowana Mall is a large linear stage, with most action concentrated in the center. Regardless of game mode, controlling the map’s center is the key to victory. There are three main paths leading to the stage’s center. You can either rush straight ahead or utilize one of the two flanking corridors. Each team has access to one of these corridors—simply run up the ramp adjacent to your team’s base. By controlling the middle of the map and the opposing team’s flanking ramp, you can restrict your opponent’s movement, pushing your foes back to their base.

Key Locations
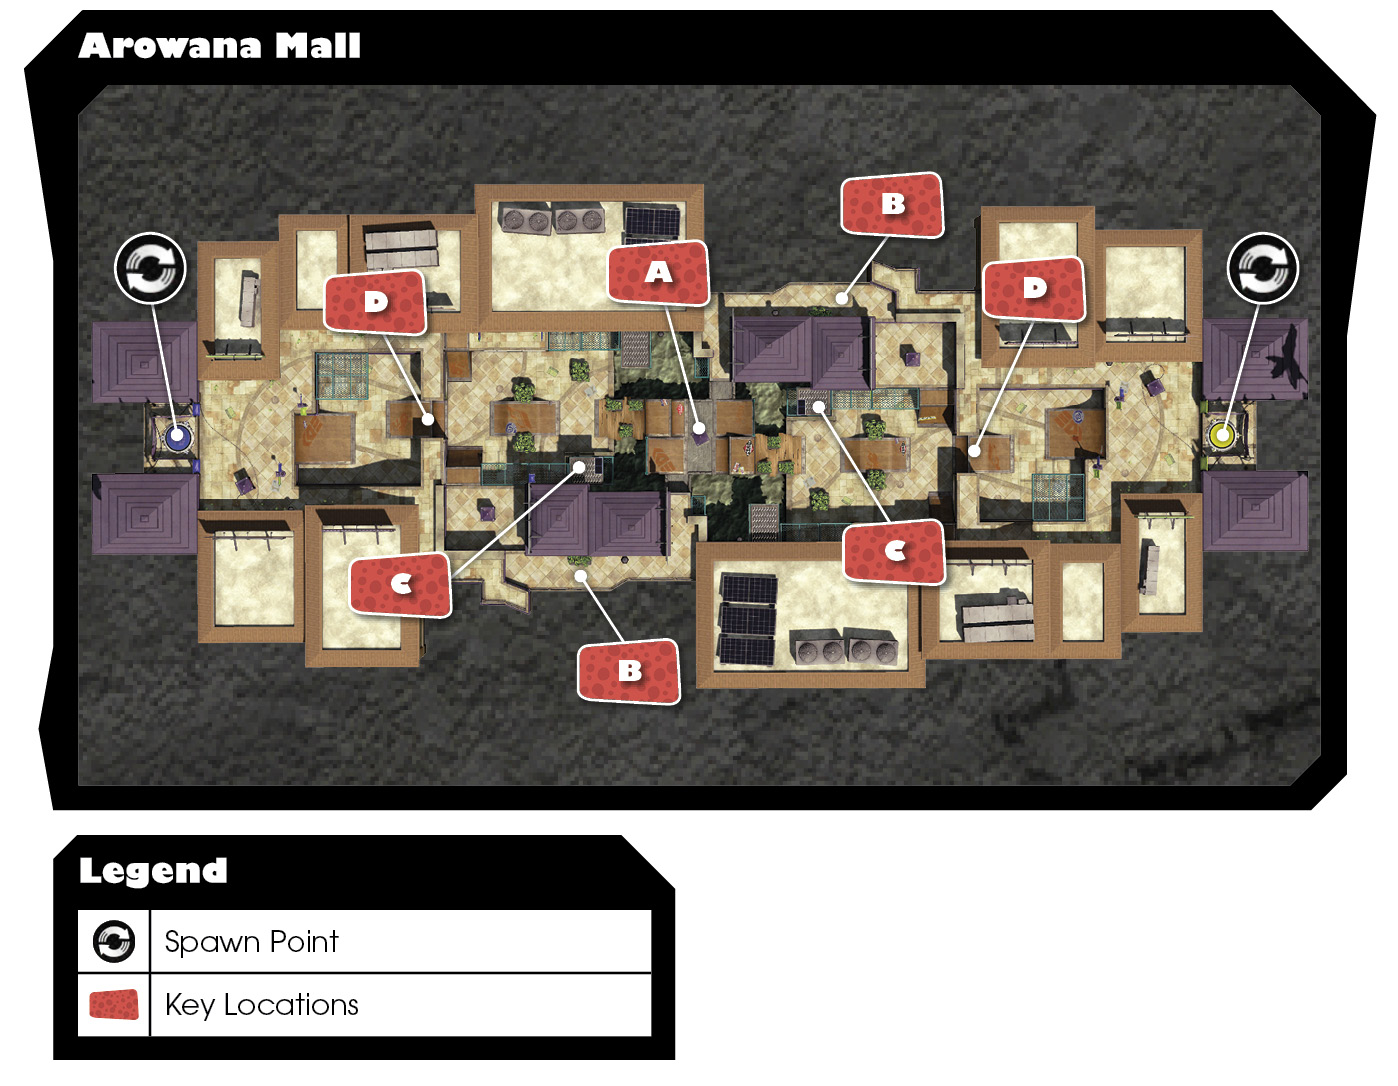
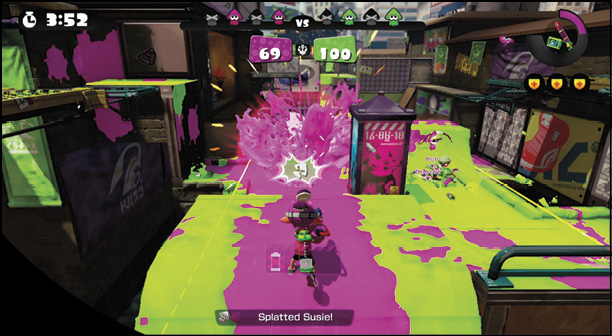
 Expect heavy fighting here, in the map’s center. While controlling the center is important, avoid loitering on the ground here as you’re likely to be hit by incoming ink fired from the perimeter platforms. Either control this area from elevated positions or ink the area and move out fast before you fall victim to enemy ink. If available, use Bubbler when operating in this high-traffic area.
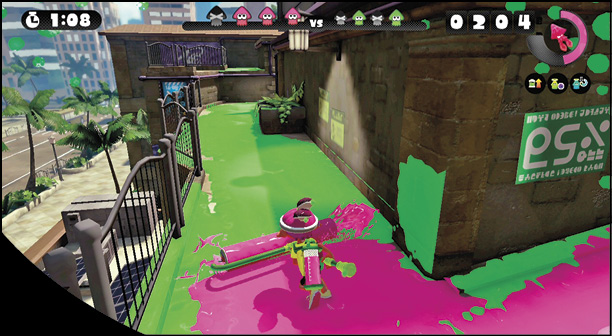
 Instead of rushing through the middle of the stage, consider using these two perimeter corridors to reach the map’s center. Run up the ramp near your team’s base to access this corridor and follow it toward the center. Unless the corridor has been captured by the opposing team (watch for enemy ink) this path is much safer than running up the middle. Plus, each corridor leads to a perch overlooking the center. If you’re feeling confident, invade the opposing team’s corridor and ambush them as they rush to the center from their base.
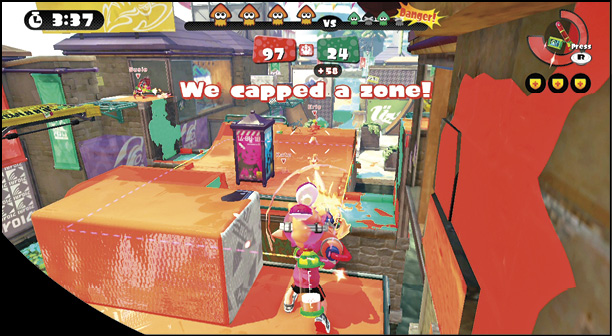
 These two opposing overwatch platforms are perfect for covering the map’s center. Each elevated platform can be accessed via the perimeter corridors adjacent to each team’s base. Opponents can only access this platform from behind, meaning they must first access the corridor near your team’s base. Consider placing Ink Mines behind you to prevent such sneak attacks.
 The ramp leading out of each team’s spawn point is a critical chokepoint. Watch out for sneaky opponents setting up ambushes here. Keep an eye on the mini-map and approach this area cautiously if you see enemy ink. The high walls flanking the ramp also serve as excellent sniper perches.
Recommended Weapons
Splat Charger
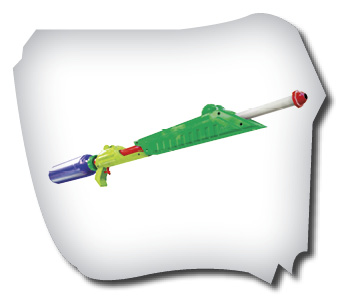
Given the number of elevated positions, long-range, hard-hitting weapons like the Splat Charger come in handy for dispatching opponents and spreading ink.
Krak-On Splat Roller
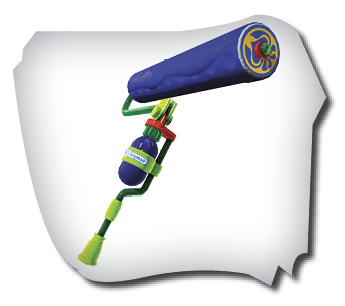
Roller-based weapons, like the Krak-On Splat Roller, work well on this map, as the ramps aren’t much of an impediment.
Seeker
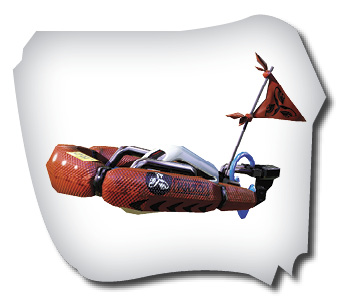
Due to the numerous ramps on this stage, the Seeker sub weapon is ideal for spreading ink and scoring sneak attacks.
Killer Wail
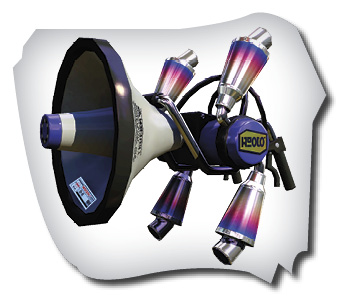
Killer Wail is a great special when defending narrow chokepoints, like the perimeter corridors. If the enemy has taken control of your team’s corridor, use Killer Wail to clear a path.