
Stage 01: Octotrooper Hideout
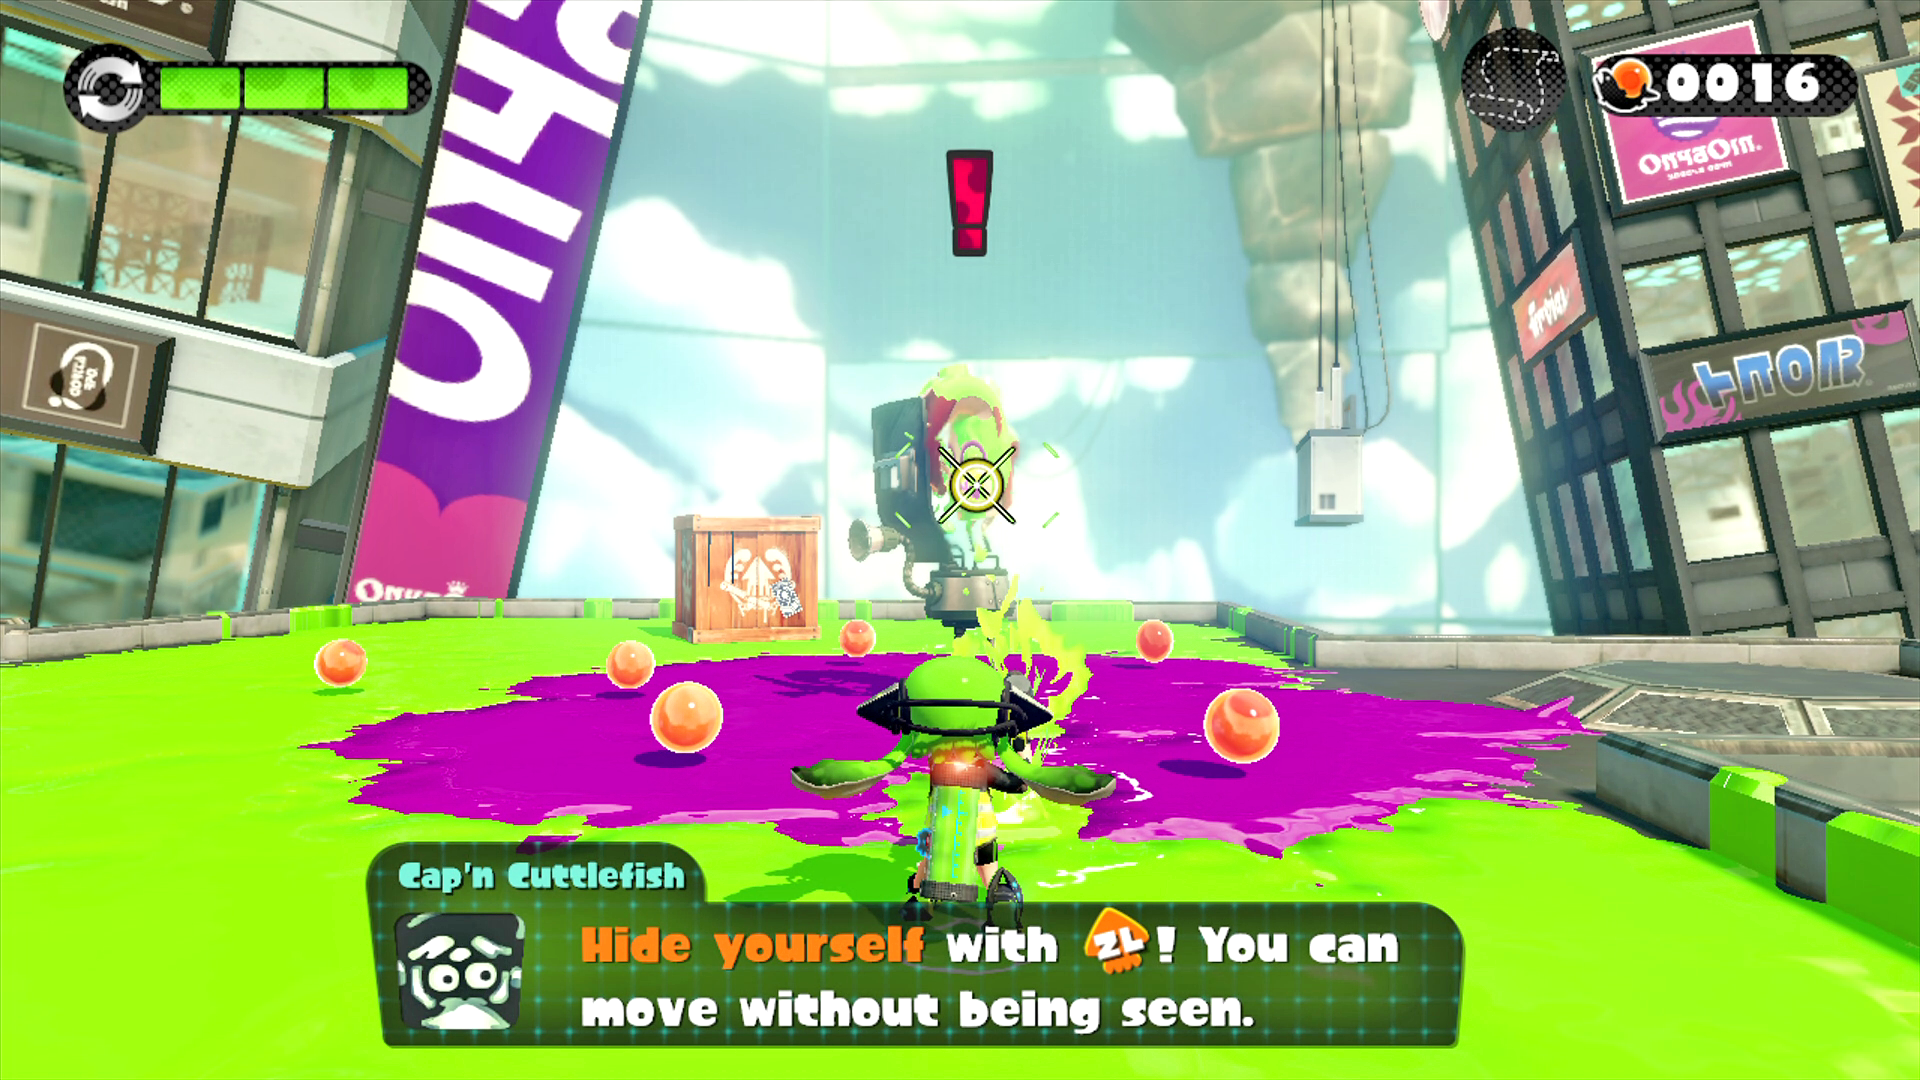
 The Shielded Octotrooper here is manning a turret with a protective shield. A frontal attack is not possible, as the shield always protects the Octotrooper from taking damage. Therefore, swim through the ink and flank the Octotrooper from the side. If you can’t eliminate this enemy with one attack, duck back into the your ink and swim to another flanking position on the opposite side of the platform. You can also throw Splat Bombs to distract these enemies-shoot them in their exposed back as they rotate to face the Splat Bomb.
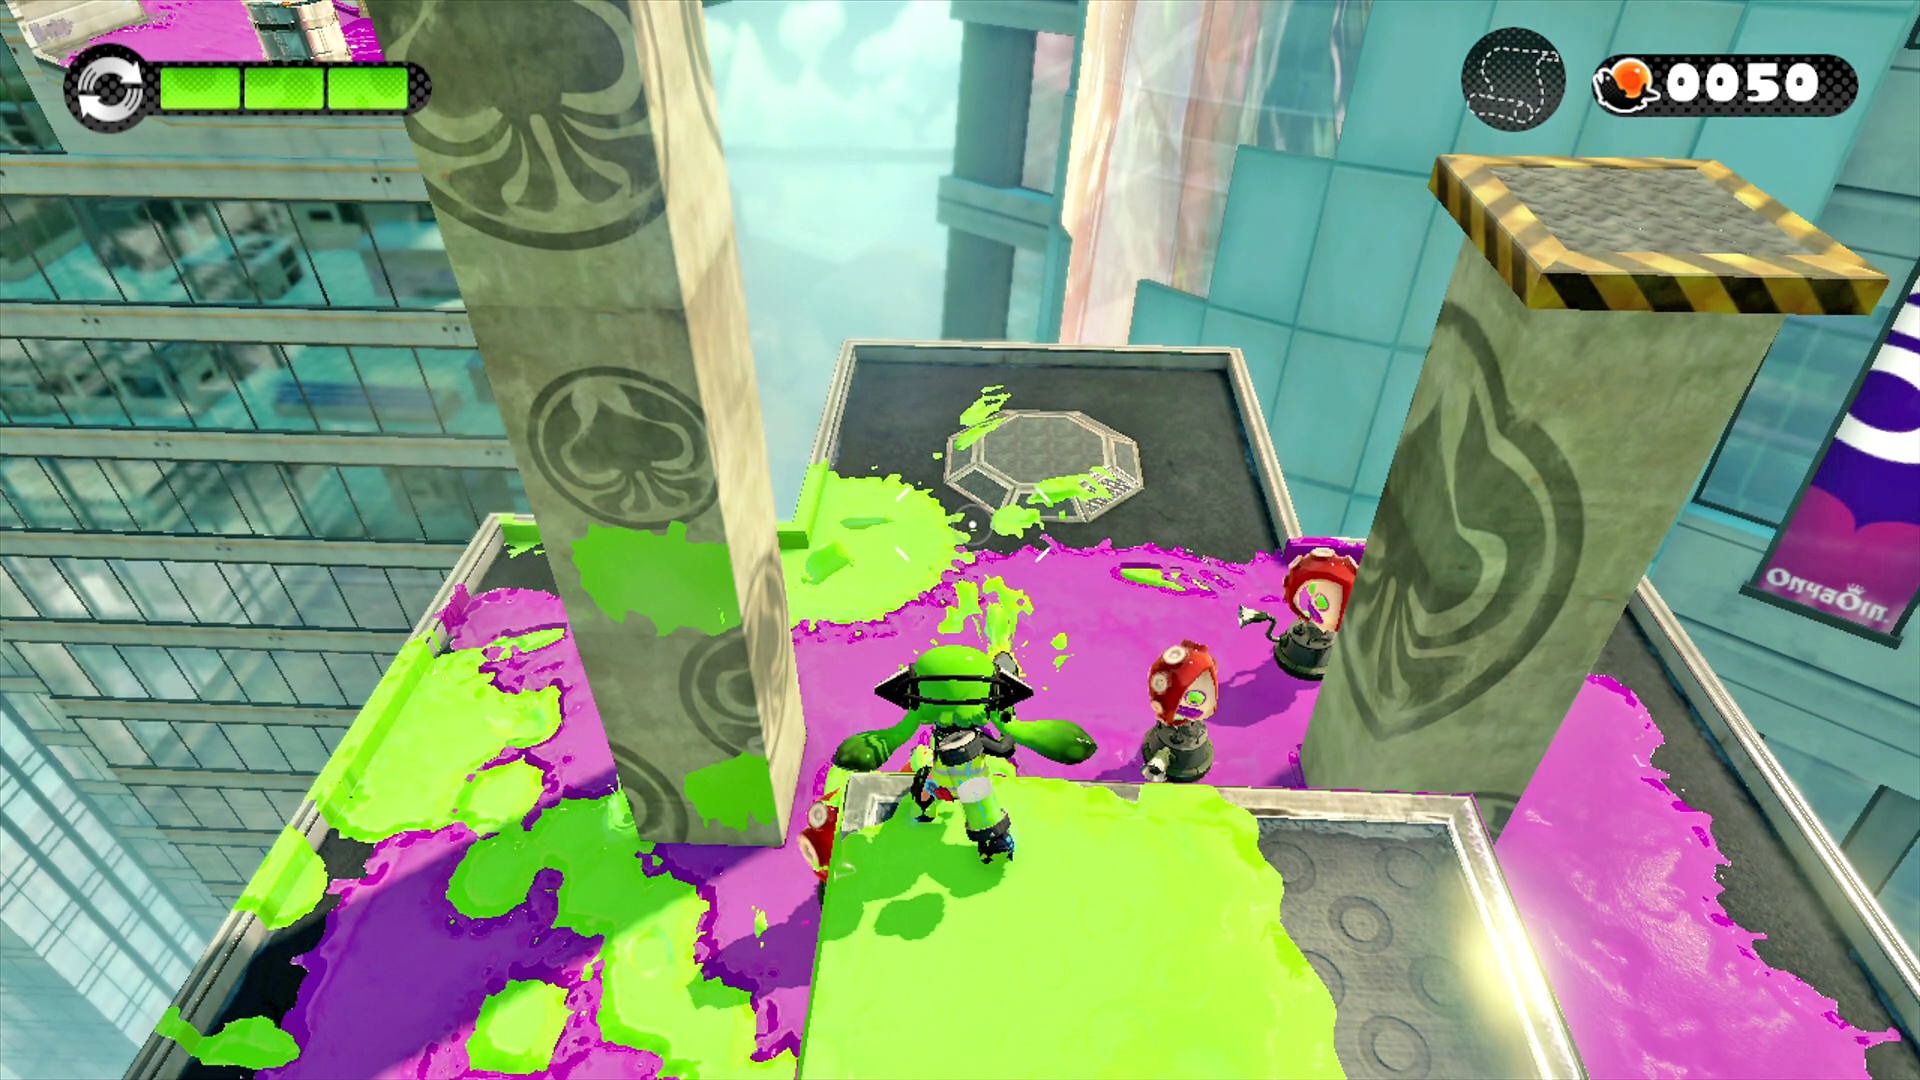
 There are five Octotroopers patrolling this platform. Take the fight to new heights by inking one of the pillars with your ink and swimming to the top, firing down on the Octotroopers from above. Attacking from elevated positions gives you a huge advantage—these guys won’t even see you. When you’ve eliminated all the enemies, don’t head for the launchpad just yet—there’s a Sunken Scroll nearby!
Sunken Scroll
|
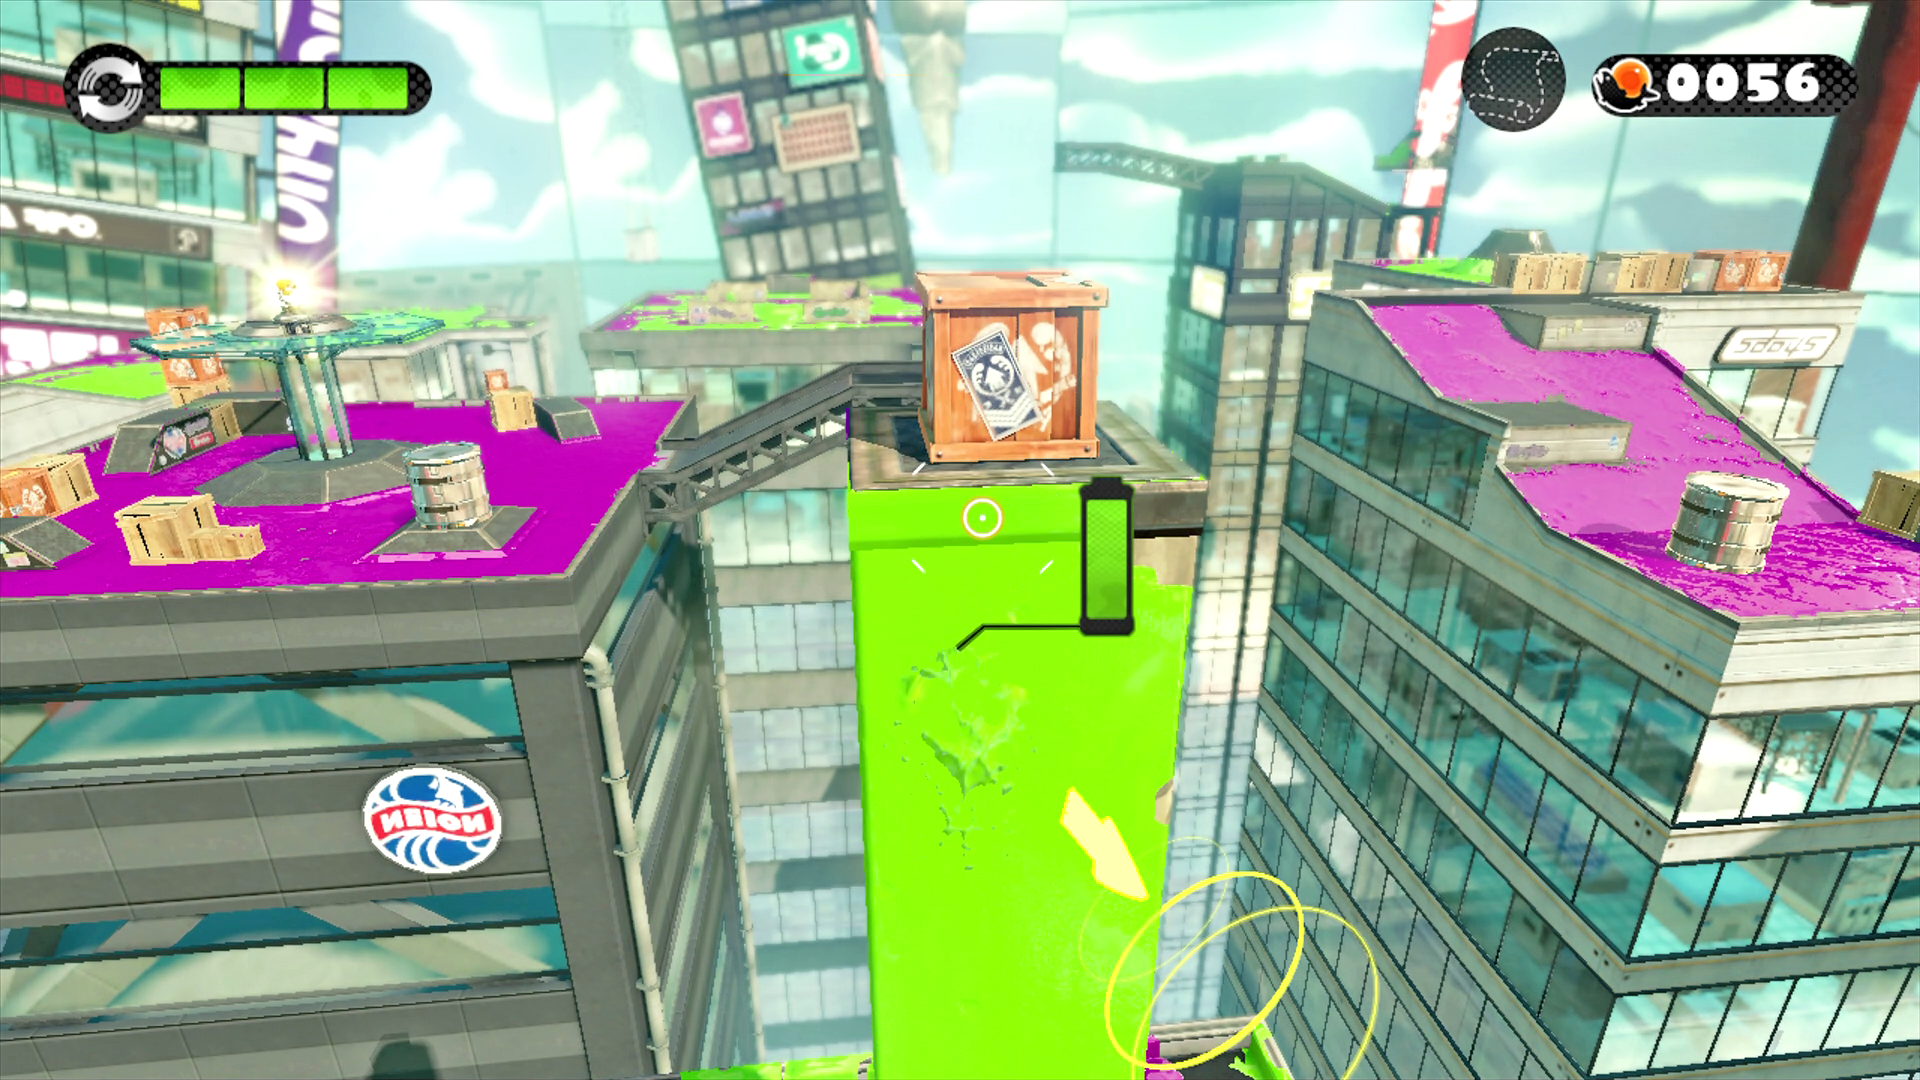
 This level’s Sunken Scroll is located atop this platform’s tallest pillar. Ink the side of the pillar, swim to the top, and smash the crate to retrieve the scroll.
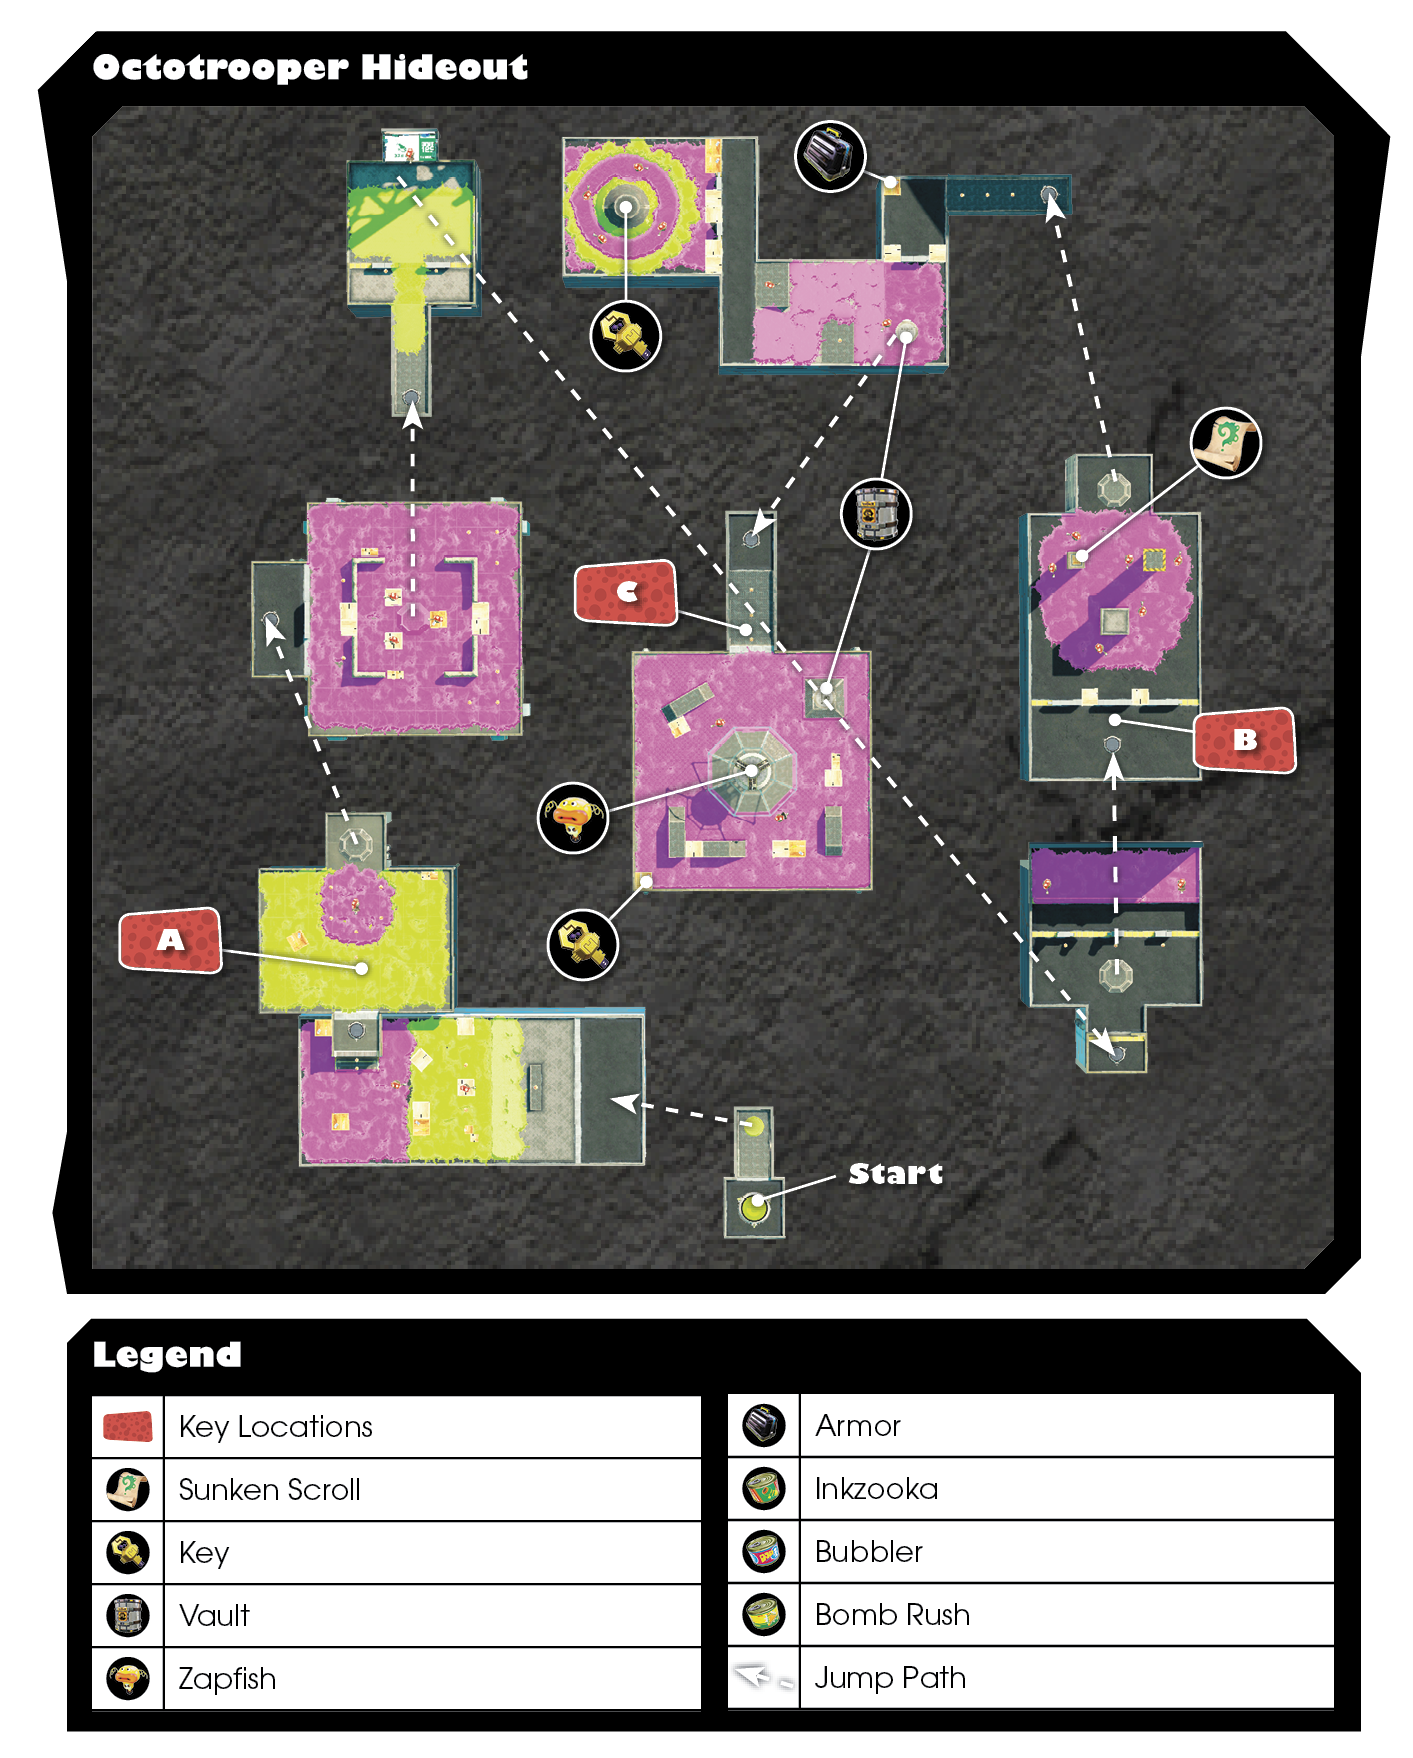
 There’s a vault on this platform, as well as two Octotroopers, including a Shielded Octotrooper. Cut into the enemy’s purple territory with your your ink, then swim to close range and ambush the Octotroopers. The key is located in one of the orange crates at the back of the platform. But after retrieving the key, watch for three more Octotroopers appearing near the vault. Swim through your ink to sneak up on these threats and eliminate them one by one before approaching the vault. Once opened, the vault reveals a launchpad leading to the Zapfish. Shoot the yellow barrier imprisoning the Zapfish, then move in for the rescue.