
Splatoon Guide Urchin Underpass
Splat Zones
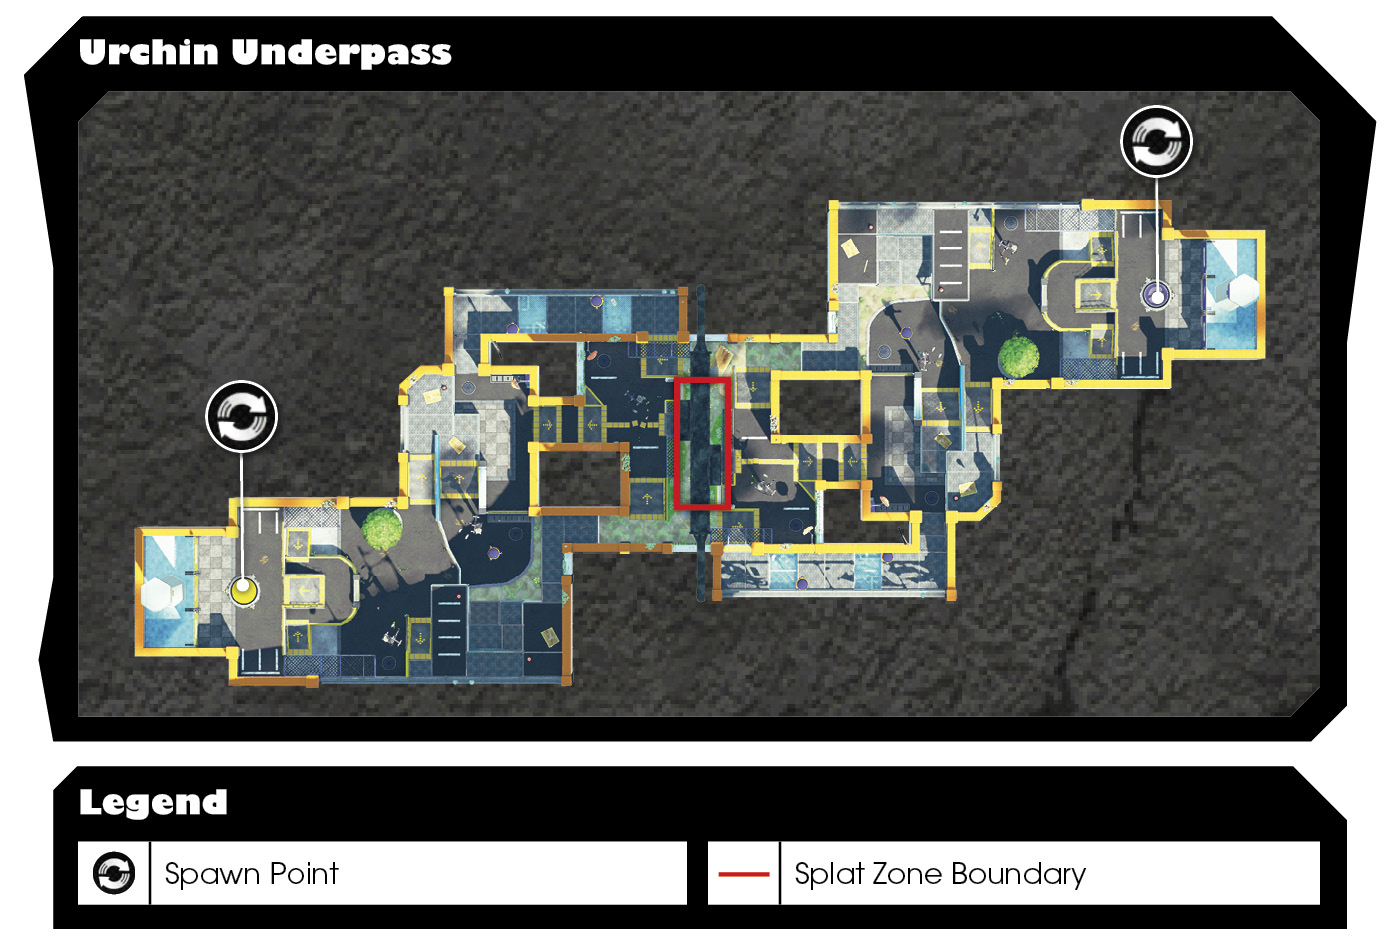
There is only one Splat Zone on Urchin Underpass, located in the low-lying area in the stage’s center. As in Turf War, waste no time rushing to the stage’s center—head right from your spawn point and use the perimeter path to reach the Splat Zone before your opponents. In addition to capturing the Splat Zone, apply pressure on the central corridor as this is the path most likely traveled by your opponents. Defend the Splat Zone by occupying the perimeter corridor—head to the left when advancing from your team’s spawn point. Here you can fire down on the Splat Zone and provide your team a forward spawn point with the use of Squid Beakons.
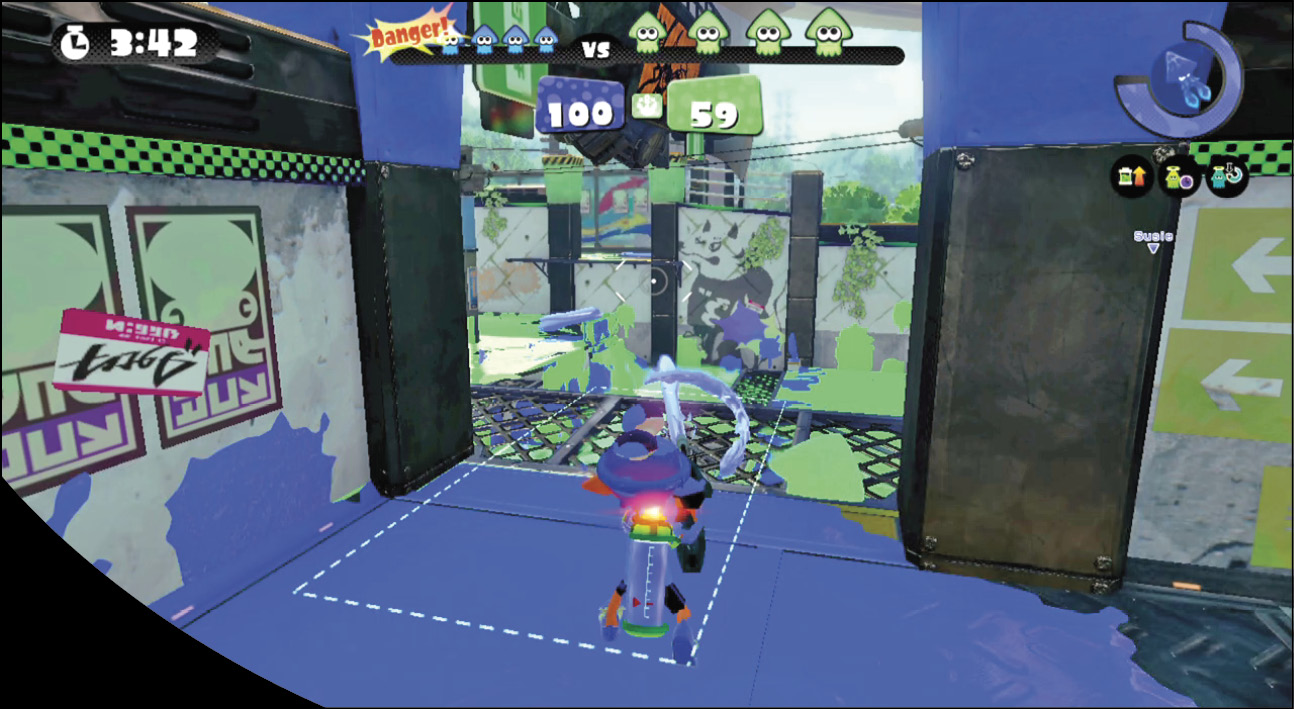
This elevated perch, just off the perimeter corridor, is great for covering the Splat Zone. Drop a Squid Beakon in the corridor and step out onto the grate to arc ink down onto the Splat Zone. From here you can also toss sub weapons, helping spread ink—Splat Bombs and Sprinklers are particularly effective. However, enemies can ink the wall just below this perch. So watch out for point-blank sneak attacks from below.
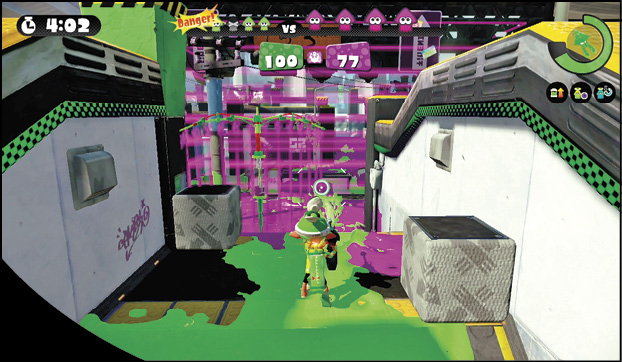
Beware of enemy Splash Walls. These are very effective for blocking access to the Splat Zone, particularly in the oft-travelled central corridor. Remember, you can’t shoot through an opponent’s Splash Wall, but they can shoot you. Instead of firing into an enemy Splash Wall, make a hasty retreat to avoid getting pelted by incoming fire.
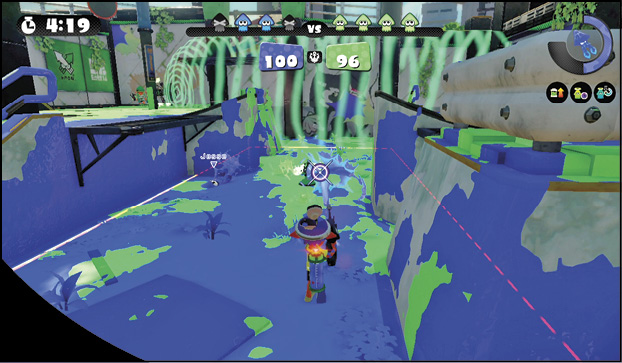
The Splat Zone is somewhat protected by these low walls, making it difficult to thoroughly spread ink from a distance. If you don’t have sub weapons like Splat Bombs, Burst Bombs, or Sprinklers, you may need to drop down into the zone and apply ink directly. But don’t linger down here too long. Once captured, retreat to one of the perimeter perches and defend the zone from a safe distance, otherwise you’re likely to be bombarded by incoming ink and explosive sub weapons.