
Splat Zones
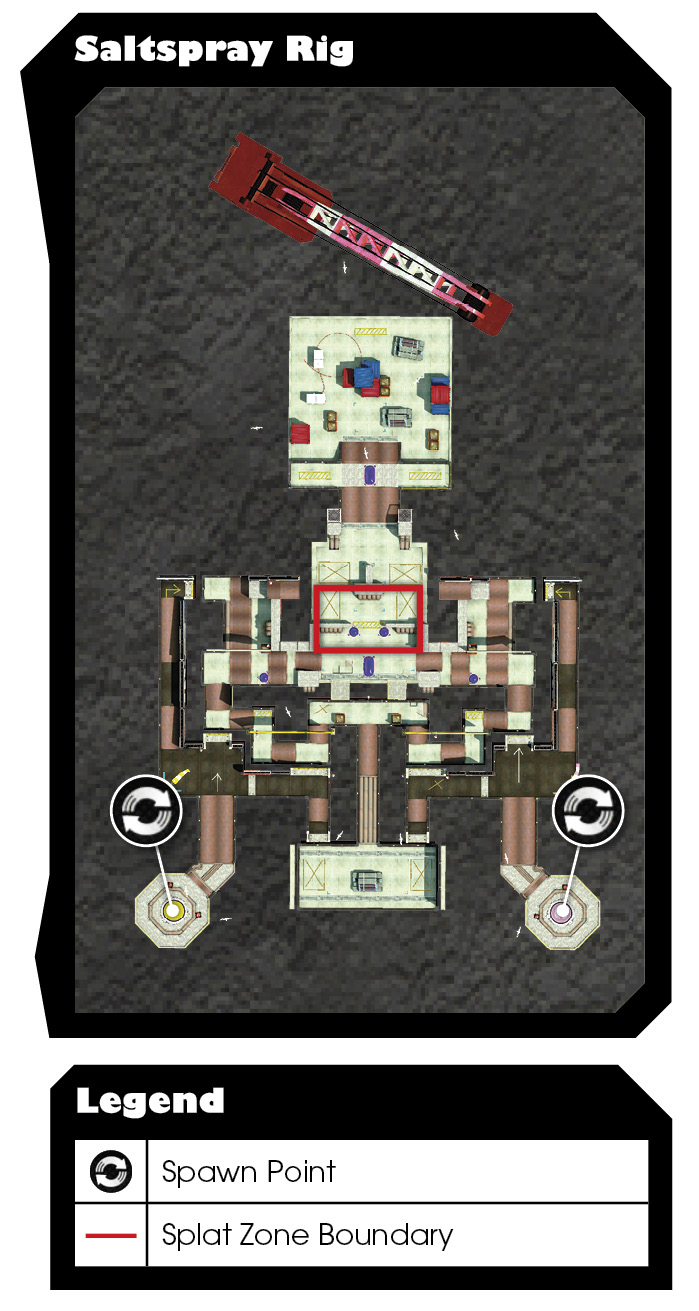
On Saltspray Rig, there is only one large Splat Zone located near the center of the stage, between the two opposing sniper perches. At the start of the round, both teams should rush the center. But instead of moving directly to the Splat Zone, get to at least one of the two sniper perches overlooking the zone. The value of these two positions cannot be overstated. Players equipped with any weapon can spread ink onto the Splat Zone from these elevated positions. If you can’t occupy at least one of these perches, you’ll have a hard time securing and holding the Splat Zone.
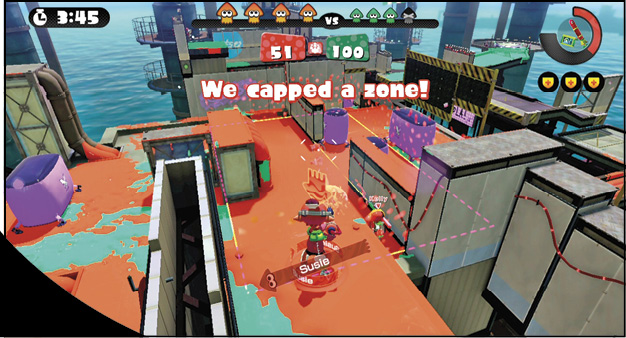
Holding the high ground is essential for maintaining control of the Splat Zone. Take position on one of the sniper perches and fire down on the zone and any opponents who approach. But your presence here won’t go unnoticed. Keep the area behind you inked to prevent opponents from sneaking up on you. Snipers posted on the opposing platform also pose a serious threat. If your team can occupy both of these perches, you stand a good chance of winning.
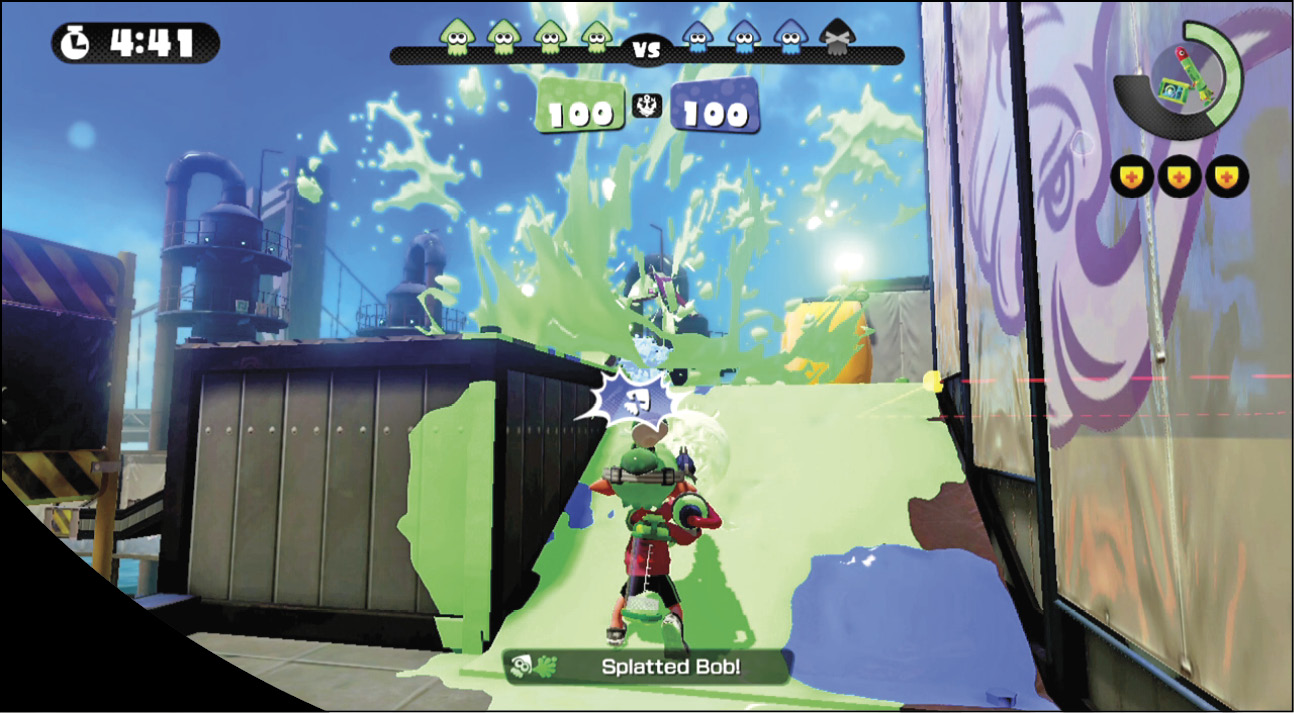
Once your team has secured the zone, look for opportunities to ambush opponents filtering in from their spawn point. Most players take linear, predictable routes toward the center. Consider hiding in your ink at the top or bottom of a ramp and attacking opponents as they rush toward the Splat Zone. Specials like Inkzooka and Killer Wail are particularly useful for slowing down the enemy team’s advance.
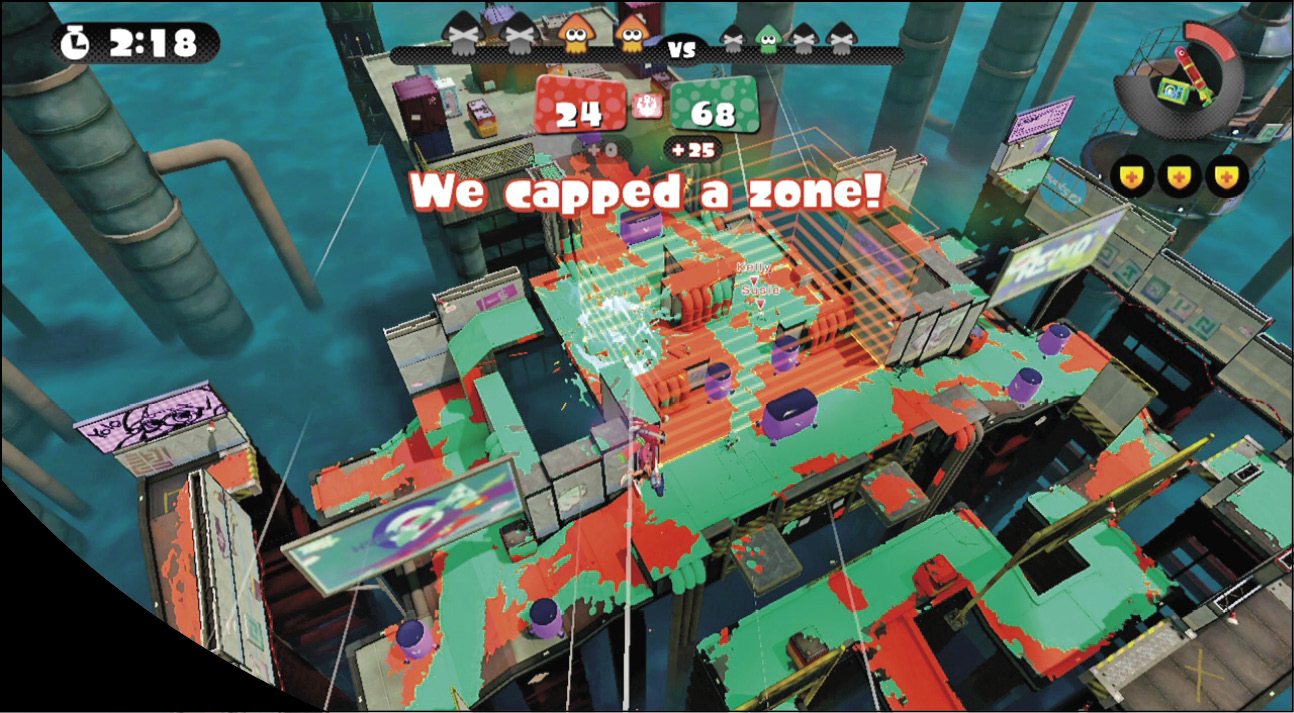
Both teams spawn a considerable distance from the Splat Zone. Instead of running or swimming toward the center, use Super Jumps to quickly reinforce your teammates. Squid Beakons are also effective for maintaining a presence near the Splat Zone. But before Super Jumping or using a Squid Beakon, monitor the ink situation on the GamePad’s map. If your intended jump point is surrounded by enemy ink, reconsider entering the fray—you probably won’t last long.