
Splatoon Guide Urchin Underpass
Overview
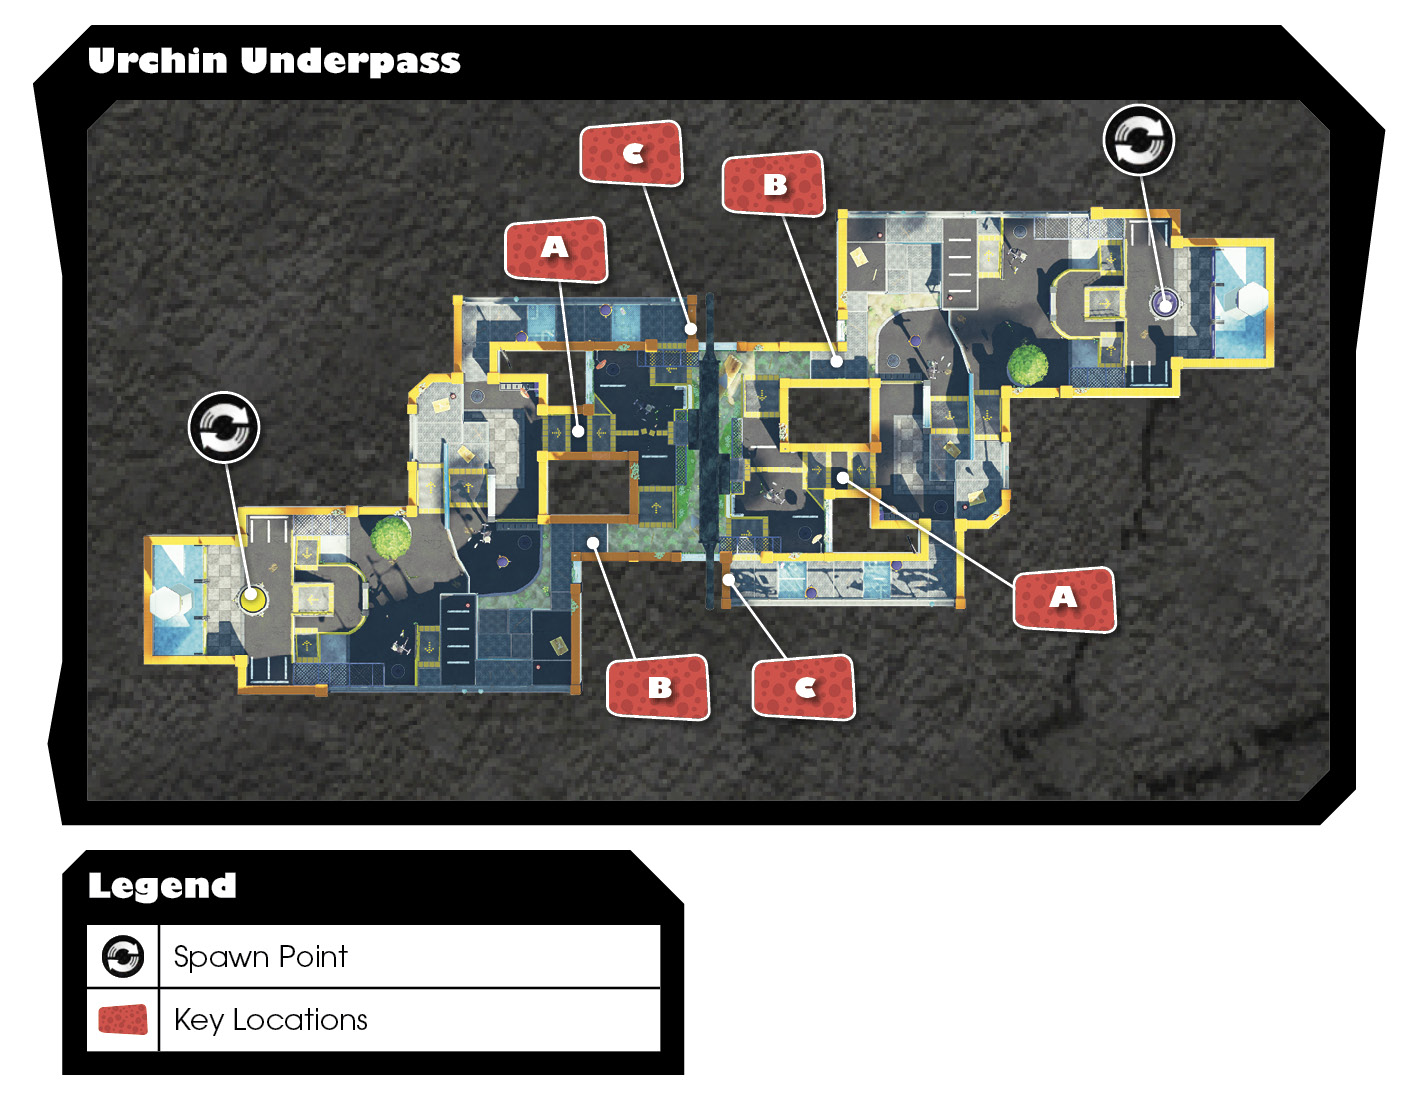
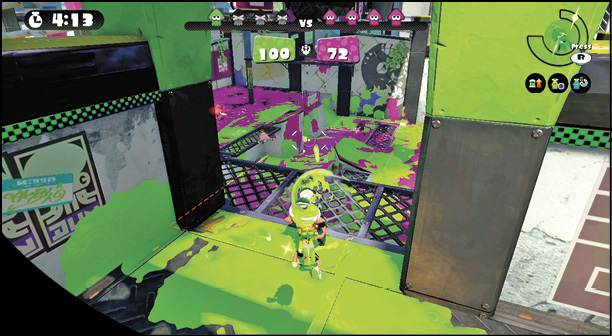
In Urchin Underpass, both teams can choose from three narrow paths leading to the stage’s high-traffic and chaotic center. While the central path is the most direct, it’s also the most predictable. To avoid getting ambushed in the middle, utilize one of the two perimeter paths. Both corridors lead to elevated positions, ideal for spreading ink (and attacking opponents) in the center. Some of the paths here are blocked by vertical nets. You can’t walk through these nets, but you can jump through them while in squid form. So make sure both sides of the nets are coated in ink to facilitate fast travel through these areas.
Key Locations
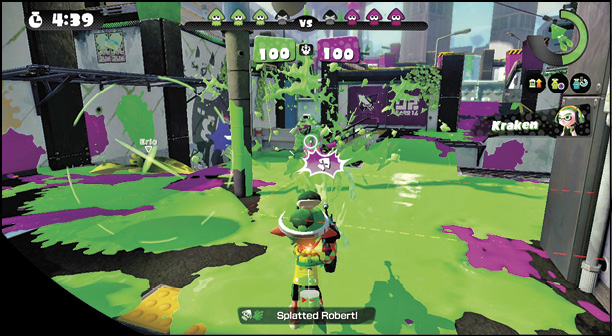
 As in most stages, the center of Urchin Underpass is hotly contested in every game mode. This area is surrounded by four elevated ledges that both sides can leverage to gain a solid foothold in the center. As a result, when moving through the center, try to swim through your ink to avoid being spotted by opponents camped on these elevated perches. The two central corridors leading here are particularly treacherous. Place a Splash Wall in this corridor in an attempt to prevent your opponents from accessing the center of the stage. Explosive weapons like Splat Bombs and Ink Mines are also effective in these narrow, high-traffic chokepoints.
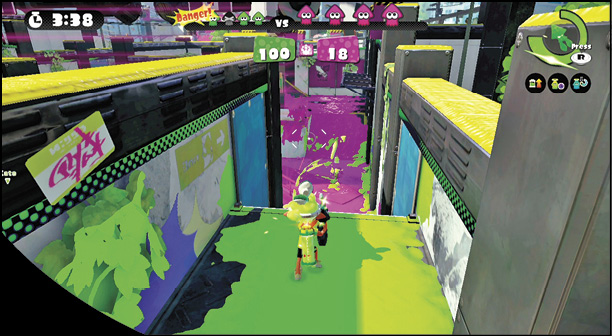
 Regardless of game mode, reaching the middle of the stage is always important. This narrow, elevated corridor is the quickest way to access the center. From your team’s spawn point, turn right and follow the perimeter walkway to reach this area. During Turf War, opponents can’t swim up to this ledge on your team’s side of the map—if they want to flank you, they have to go all the way around. But in Splat Zones, the wall beneath this perch can be inked. So watch for opponents traveling through this area. Placing an Ink Mine or Splash Wall at the top of the ledge is a good deterrent.
 By turning left out of your team’s spawn point and following the perimeter path, you can access a long, narrow corridor leading to this central overwatch position. Like the previous location, this spot is ideal for covering the center, making it a popular sniper perch. Step out onto the mesh grate for a better view of the middle. But be ready to duck back into the adjoining corridor if you come under fire—retreat and hide in your own ink to recover and replenish your ink-tank. The corridor is also a good spot for Squid Beakons, giving your team quick access to the stage’s center. But the glass floor sections of this corridor can’t be inked. Take this into account when swimming here, jumping over each glass section to maintain your forward momentum.
Recommended Weapons
Splattershot Jr.
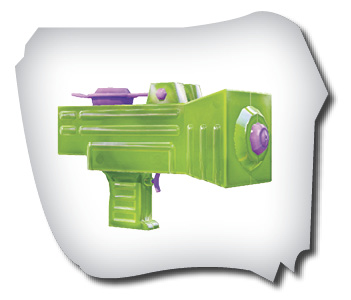
Any rapid-firing weapon works well here as many engagements occur at close range while you round the stage’s twisting corridors. The Splattershot Jr.’s high rate of fire and wide spread make it a well-rounded choice for any game mode.
Splat Charger
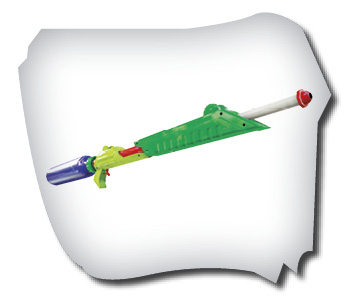
When positioned on the central sniper perches, Splat Charger and other charge weapons are great for picking off opponents in the low-lying center. You can even counter-snipe opponents on the surrounding ledges.
Splash Wall
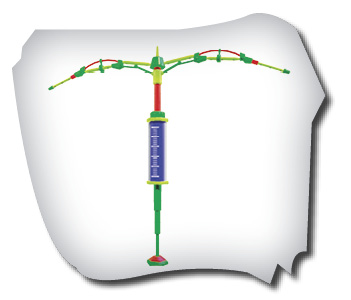
The stage’s numerous narrow corridors make Splash Wall extremely useful on this stage. Use it to block enemy movement or to simply give yourself an advantage during duels.
Killer Wail
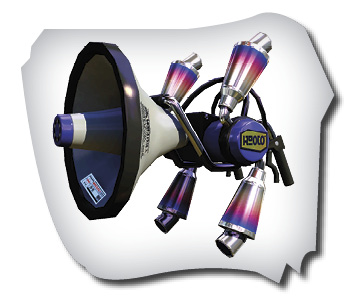
The central corridors in the middle of the stage are high-traffic areas. Use Killer Wail to target opponents in these cramped chokepoints.