Skylanders® SuperChargers Guide The Adventure The Cloud Kingdom
Chapter 13: Mayhem at the Market
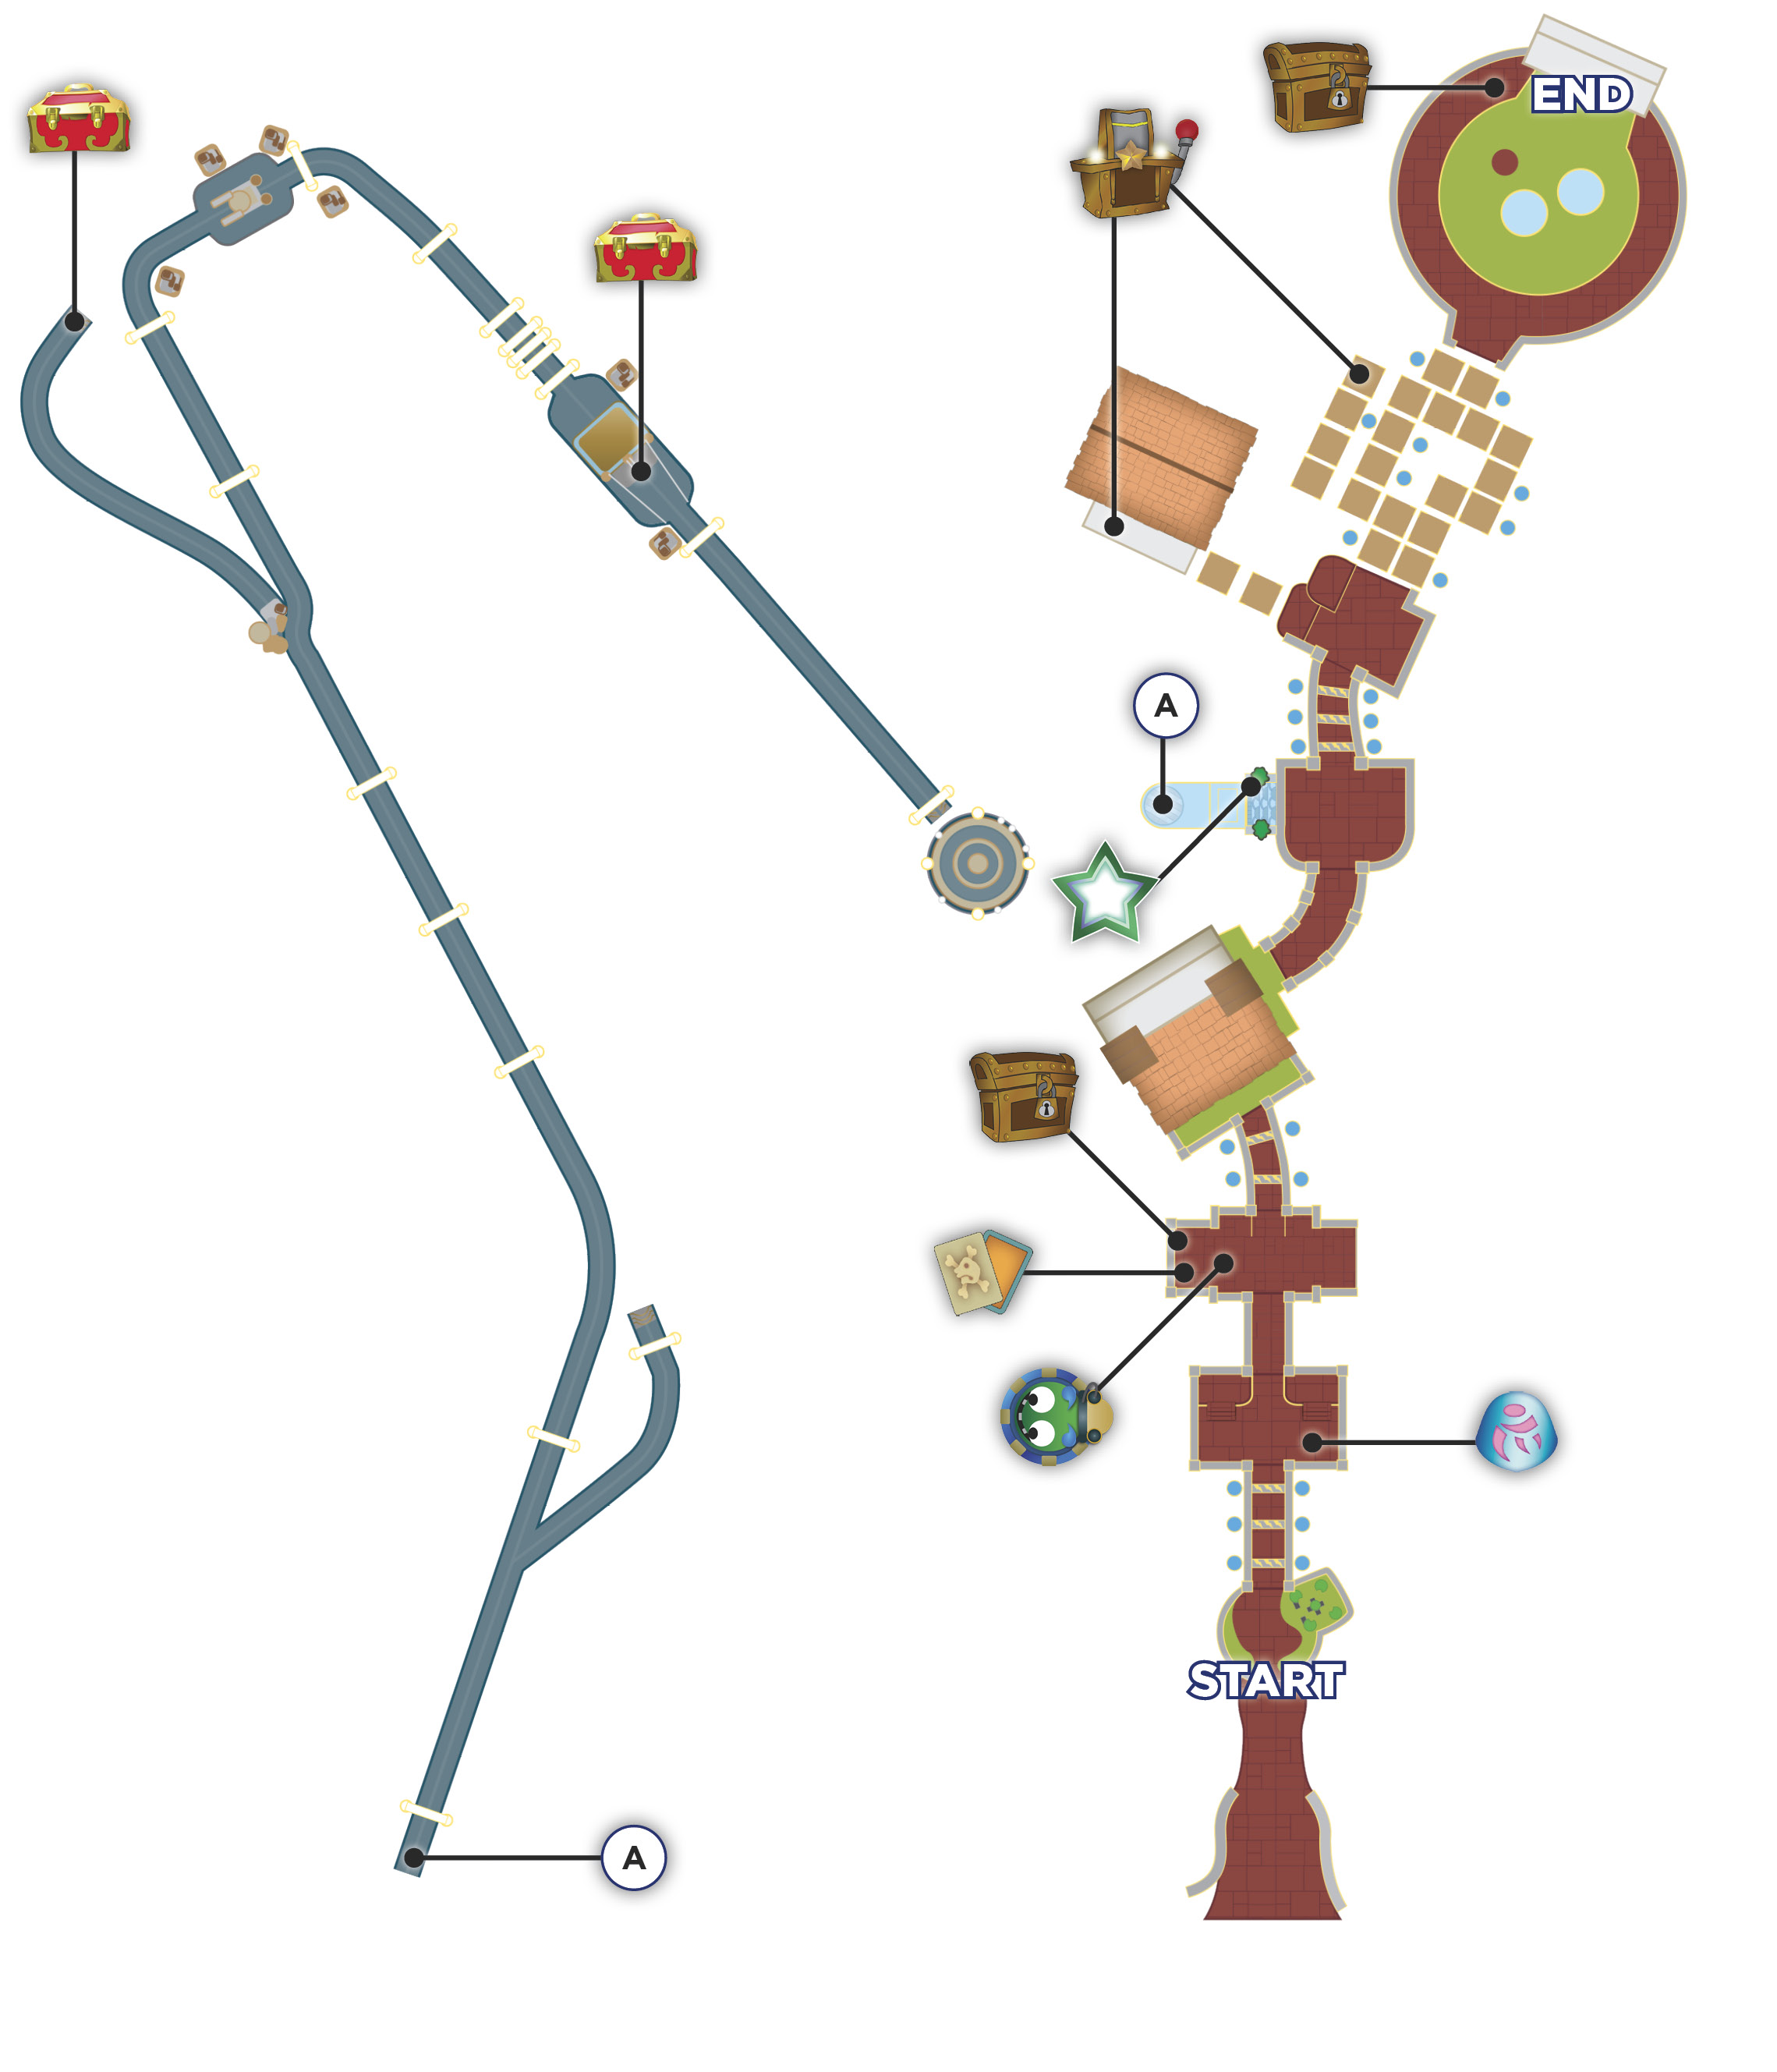
Use the Vehicle Upgrade station for any upgrades you can afford after collecting Gearbits during the previous chapter. There’s a fog-clearing horn on the opposite side. Use it to get a peek at the dangerous bridge and Wish Stone ahead.
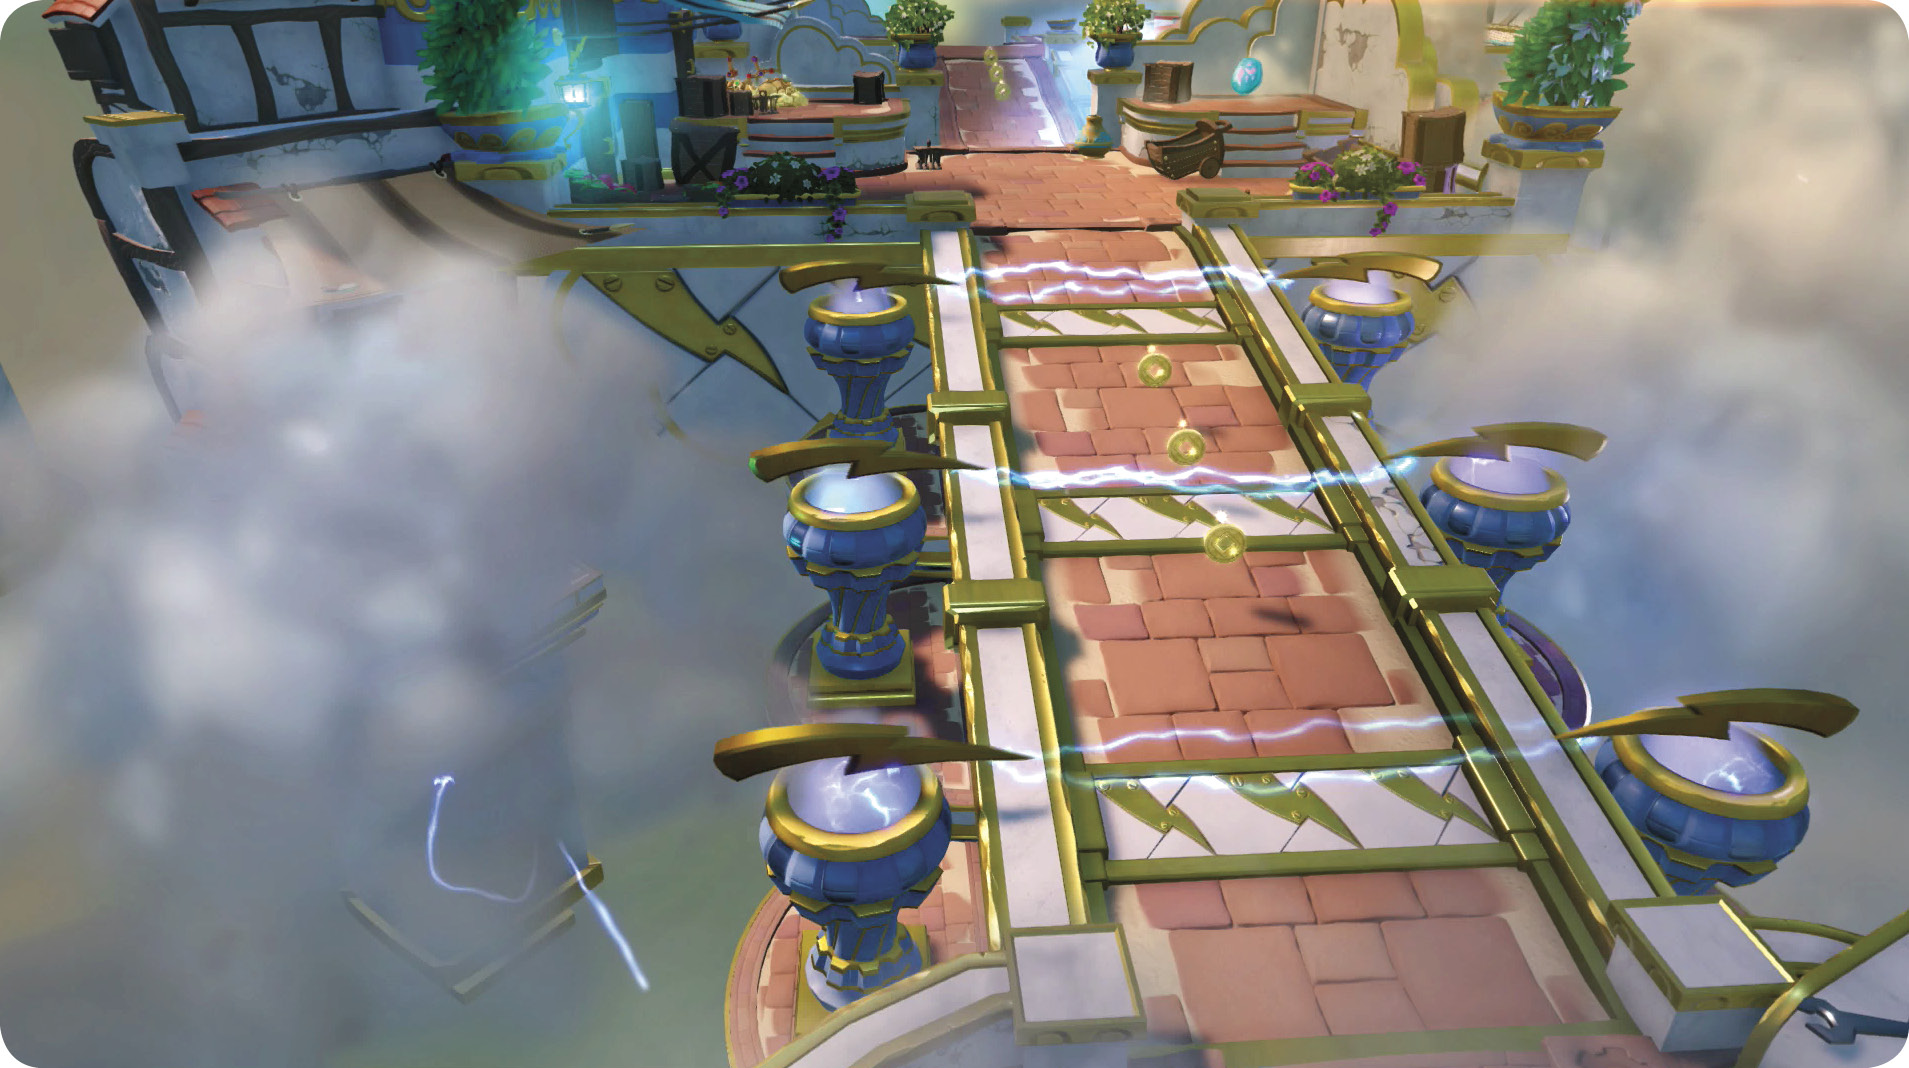
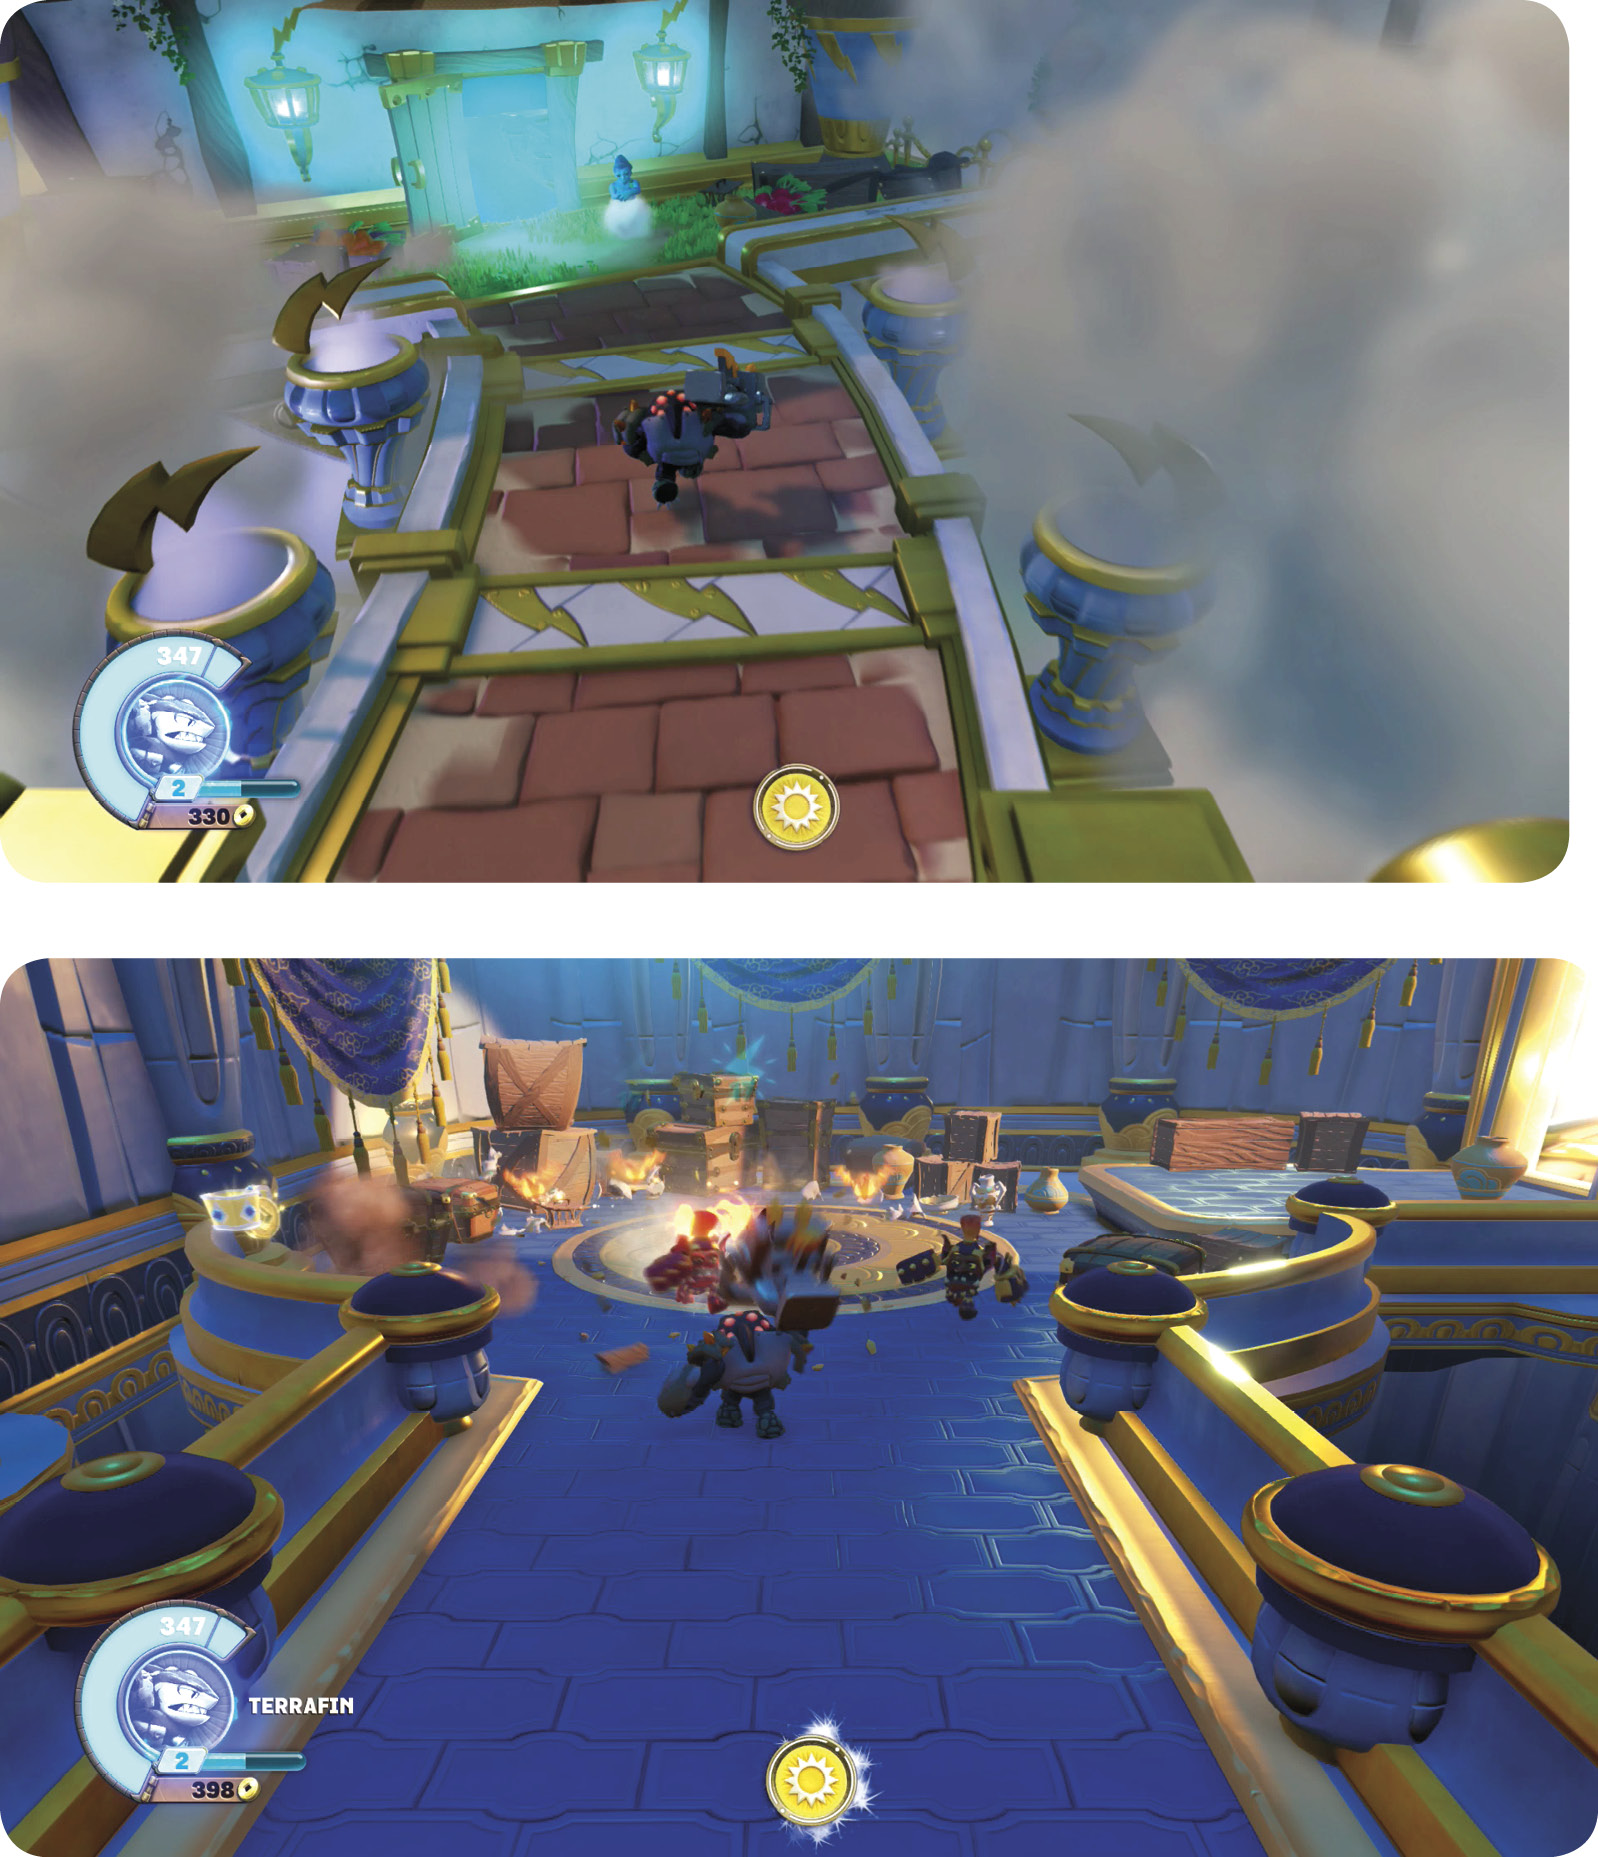
Carefully move through the lightning-bolt bridge. Pause in the gaps between arcs of electricity. The Meteo-Trollogist is formally introduced here, just before you reach the Wish Stone.
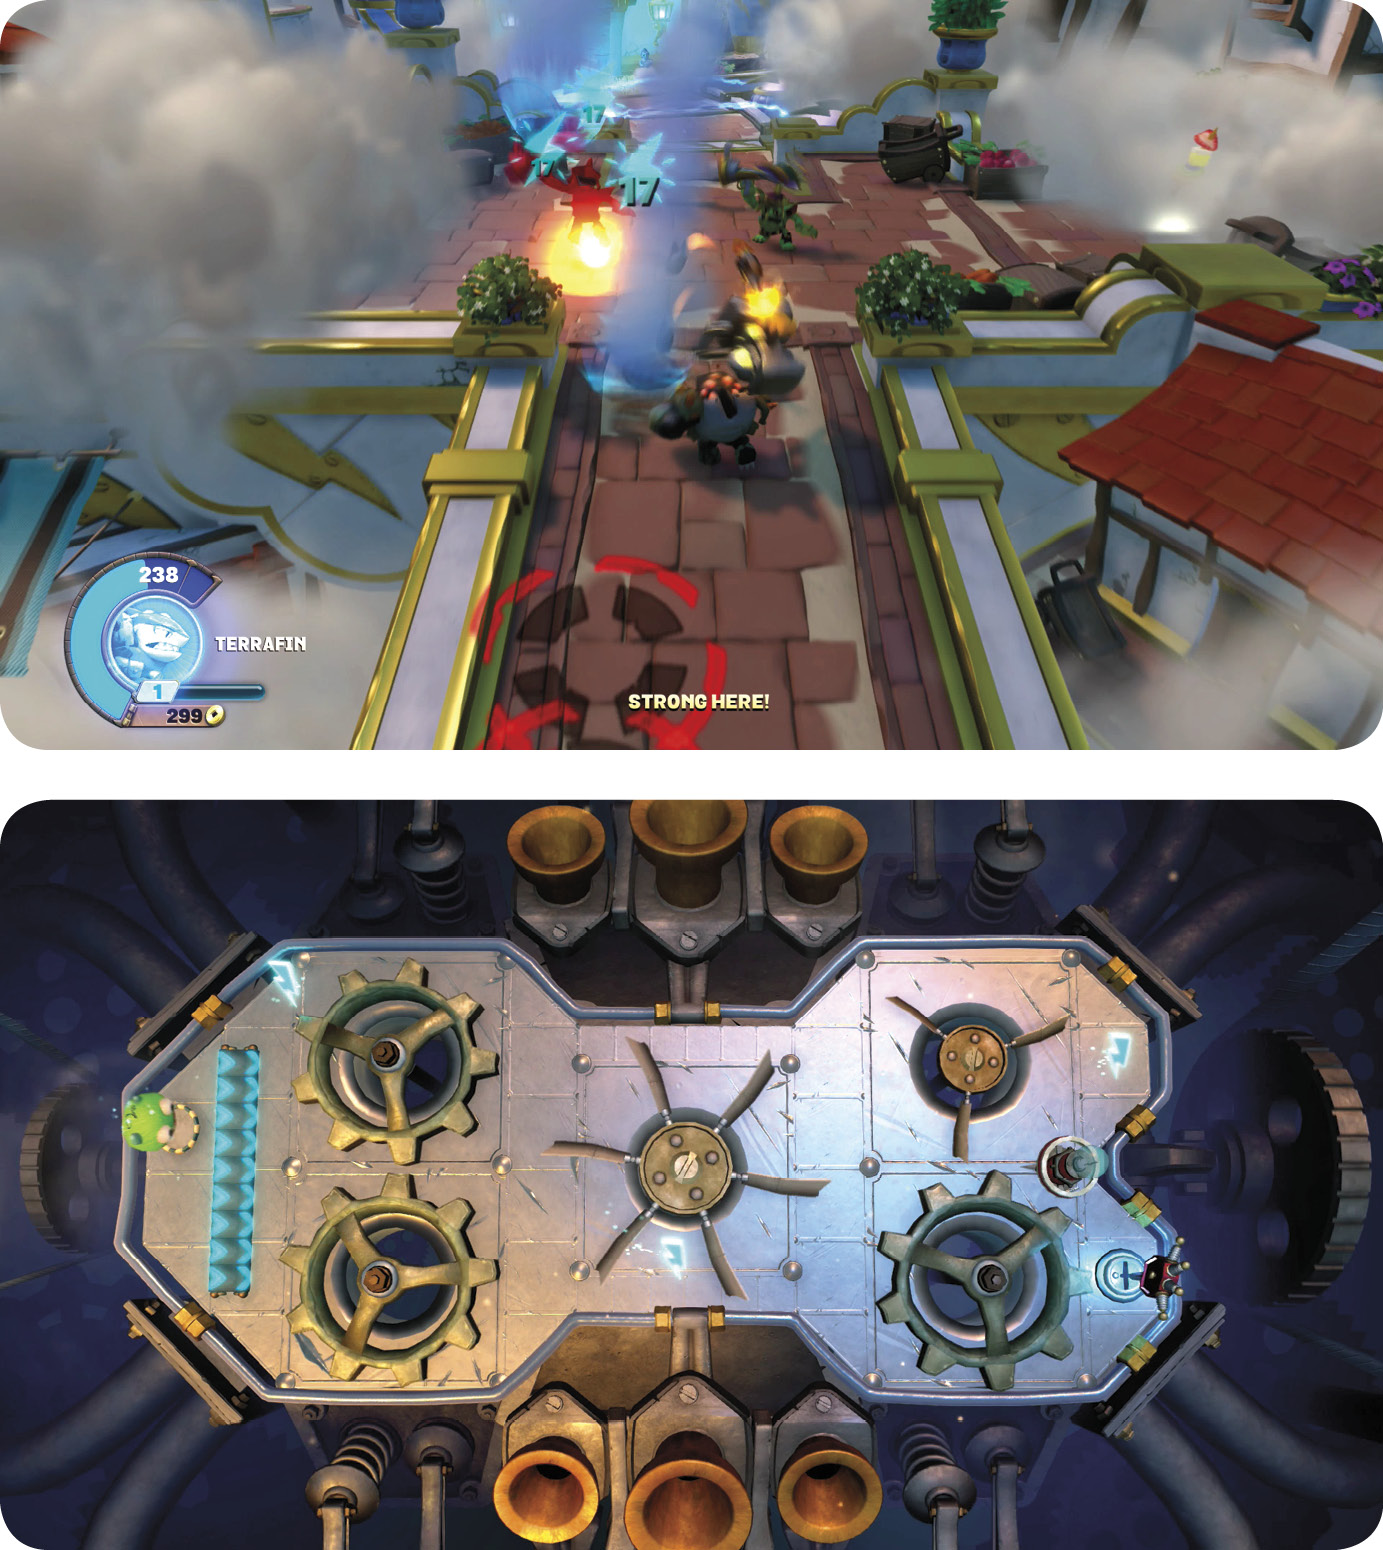
Watch the ground for the red rings that indicate where the Meteo-Trollogist is aiming his cloud-based weapon. Inflatrators pop up to support the Meteo-Trollogists, making the fight in the fog much more challenging.
After you take care of the trolls, hop over the short wall on the left. There’s a Live Wire Lock on the door. Grab the spark closest to the gremlin’s starting point, then snuggle into one of the gaps between the gear’s teeth and ride through to the center. Grab the second blue spark and let the blades carry the gremlin around. Get the third blue spark in the same way. To open the lock, squeeze into a gap between the teeth of the gear and let it move the gremlin around to the ignition key.
The room beyond the Live Wire Lock is filled with locals, Persephone, and a Random Reward Object. Talk with Guss in the back for a game of Skystones Overdrive. The first time you defeat him, he hands over the Calliope Skystone.
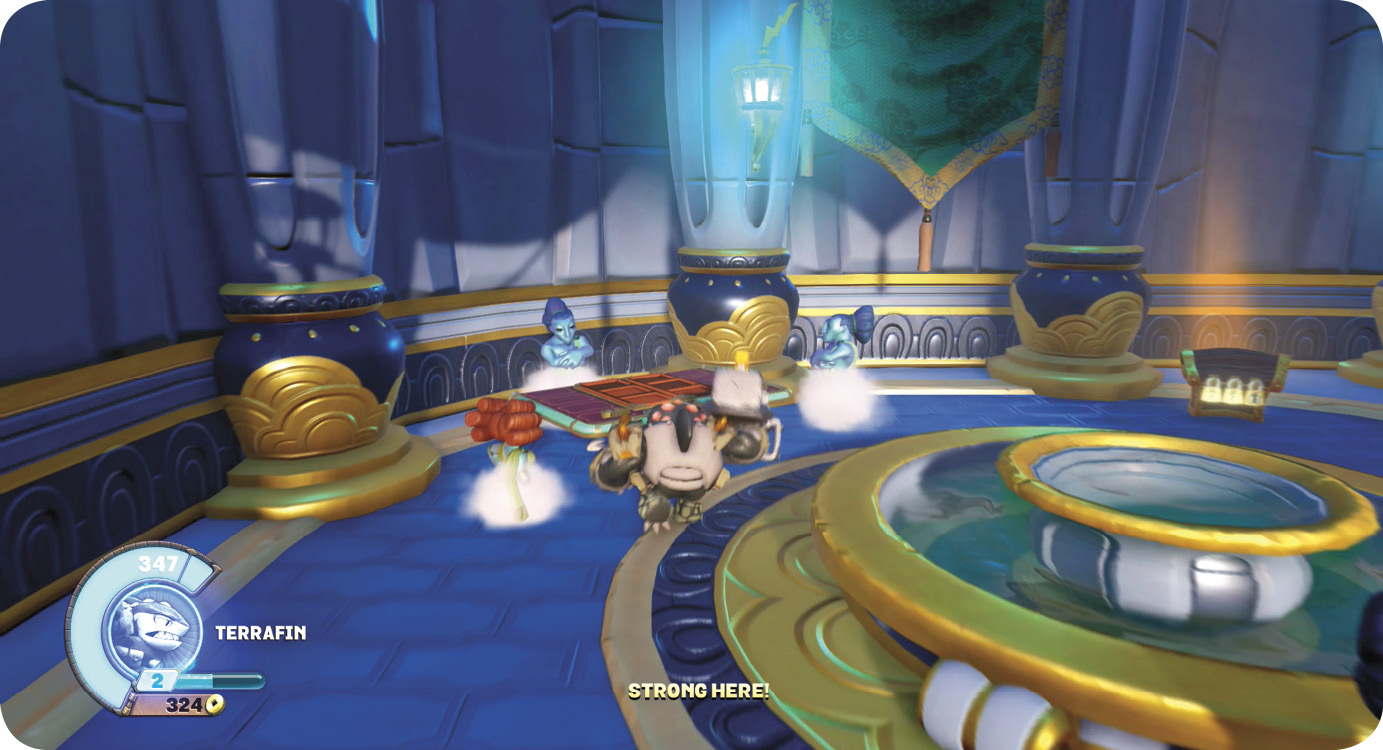
Back outside, the bridge past the building has a pair of electrical arc generators that you can hurry through in one cycle. The building beyond the bridge is filled with trolls, Bitning Bugs, and destructible objects. You don’t need to stick around to fight them, but you should if your Skylander isn’t at max level. Exit the building and walk a short distance to meet Rayna, who offers the Sea Star Challenge.
Defeating the Storm Sequencer powers down the electrical arc mechanisms on the bridges, which makes crossing them much easier! Unfortunately, it does nothing to remove the fog, which remains heavy enough to hide the coming of a new enemy, Storm Spawner. Storm Spawners electrify the ground in front of them, so you must move to a side or jump up to a convenient ledge to avoid the initial attack. The attack somtimes spawns Bitning Bugs as it ends, so don’t relax just because you avoided the lightning on the ground.
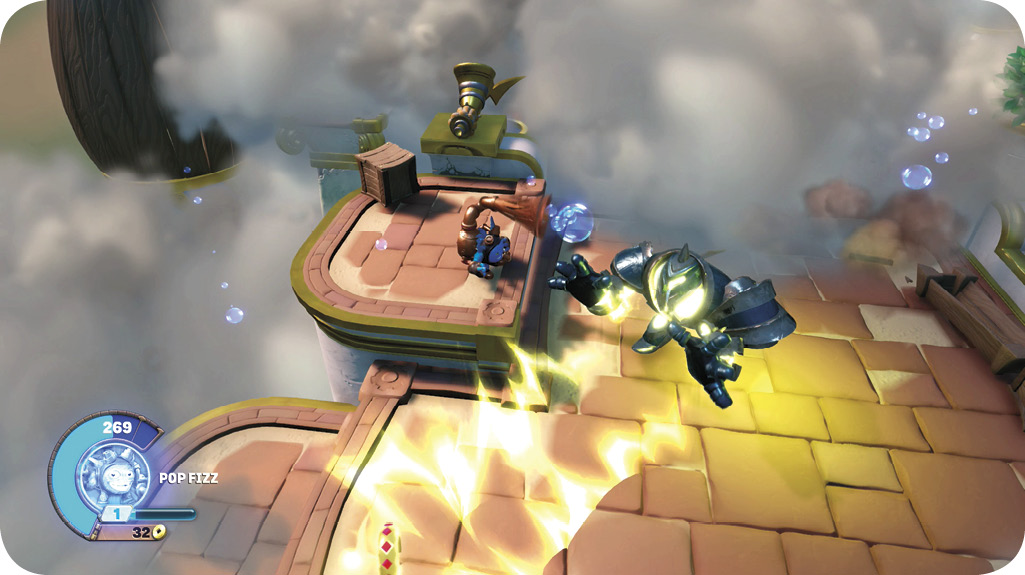
Eliminate the Storm Spawner and look for platforms off to the side that lead to white building showing some distress. Open the Epic Treasure Chest here, then return the way you came.
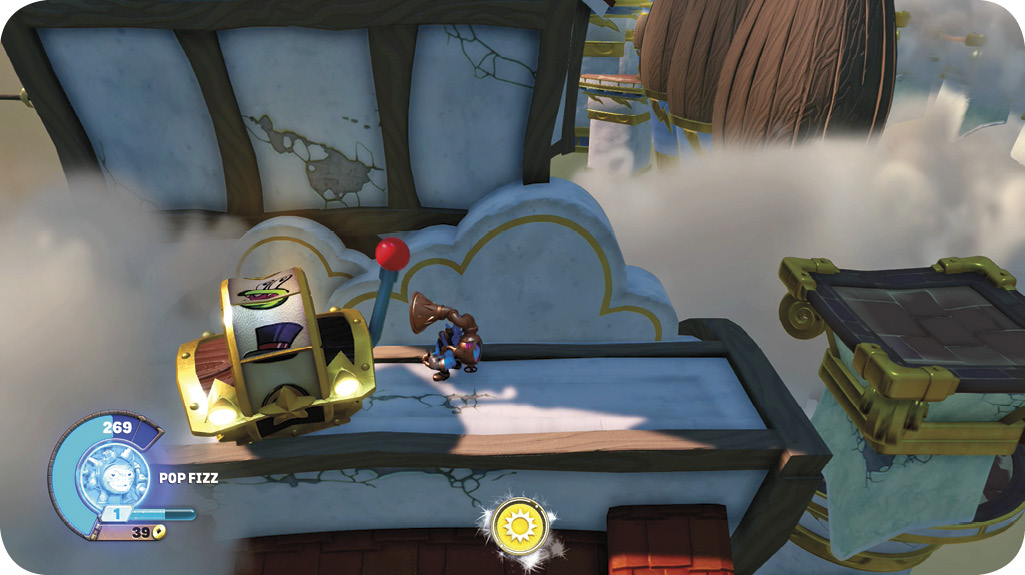
Use the horn next to where the Storm Spawner first appeared to uncover the platforms ahead. Note the position of the Epic Treasure Chest on the left and a second horn ahead on the right. The trip over these platforms is much easier after completing the Sea Star.
Defeat the Meteo-Trollogist guards on the platforms to clear the paths to the Epic Treasure Chest and fog-clearing horn. Use the horn to expose the courtyard ahead.
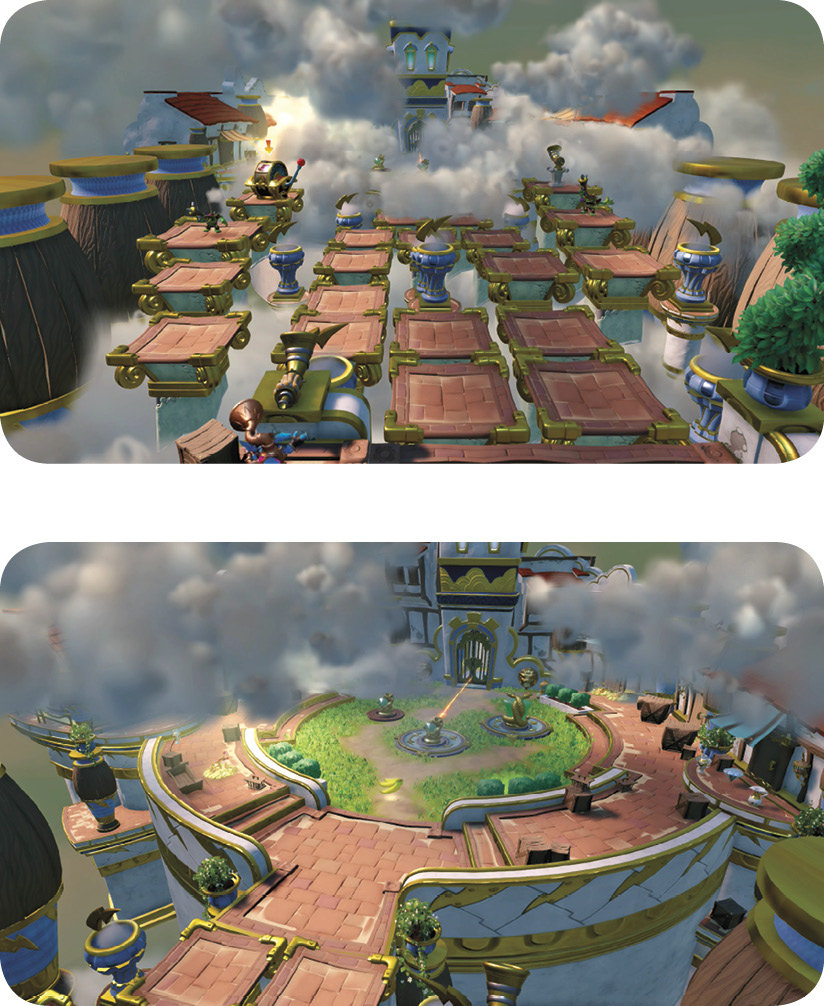
Entering the courtyard causes a Storm Spawner, Inflatrator, and Meteo-Trollogists to appear. After you take down the guards, check the stone walkways for treasure, and get the Random Reward Object near the gate.
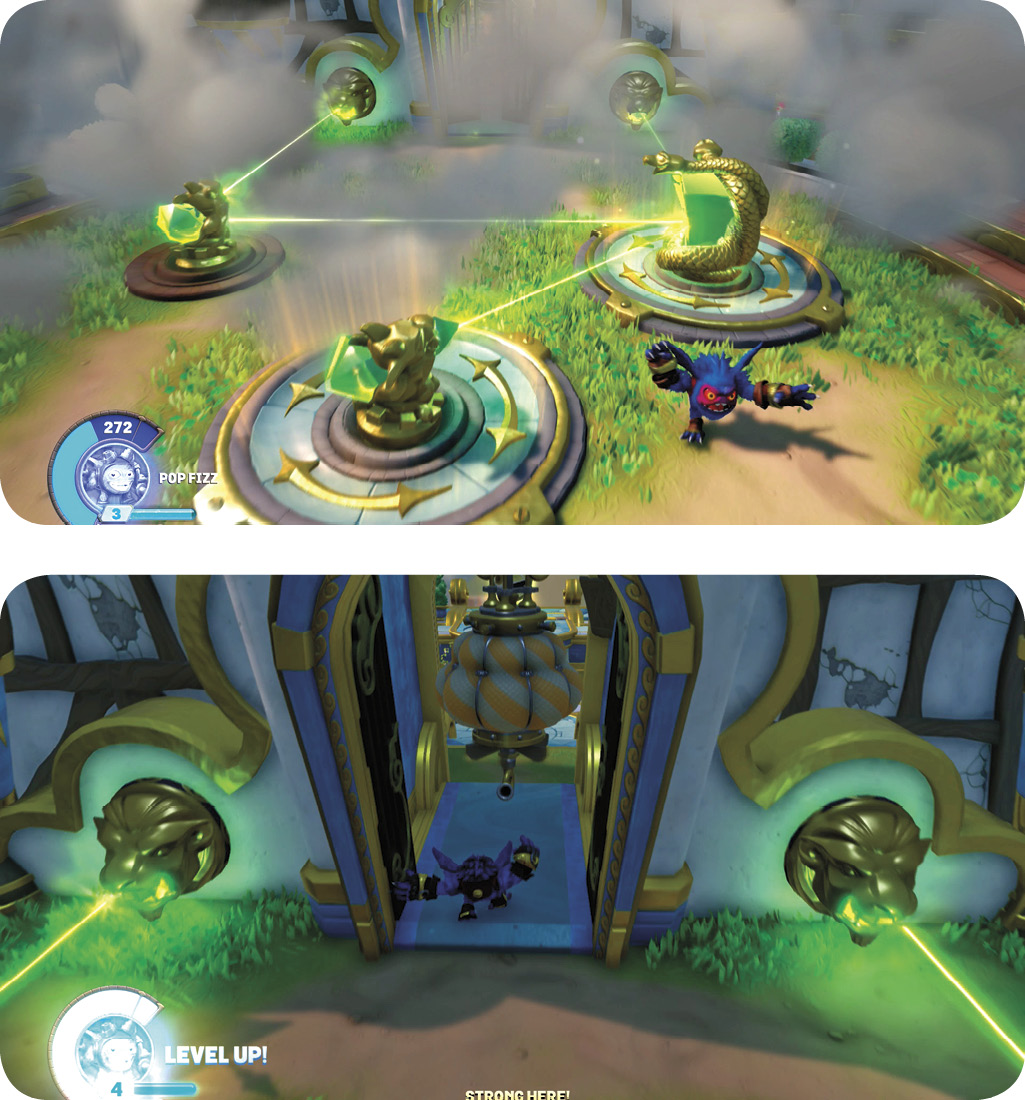
Spin the laser emitter until it hits the crystal statue that can turn. Turn that statue to divert half the the beam to one lion head and the other half to the second crystal, which activates the second lion’s head. The door to the Stormhorn is now open. Now it’s time to tackle Stratosfear!