
Skylanders® SuperChargers Guide The Adventure Cap'n Cluck's Chicken HQ
Chapter 30: Running Afowl
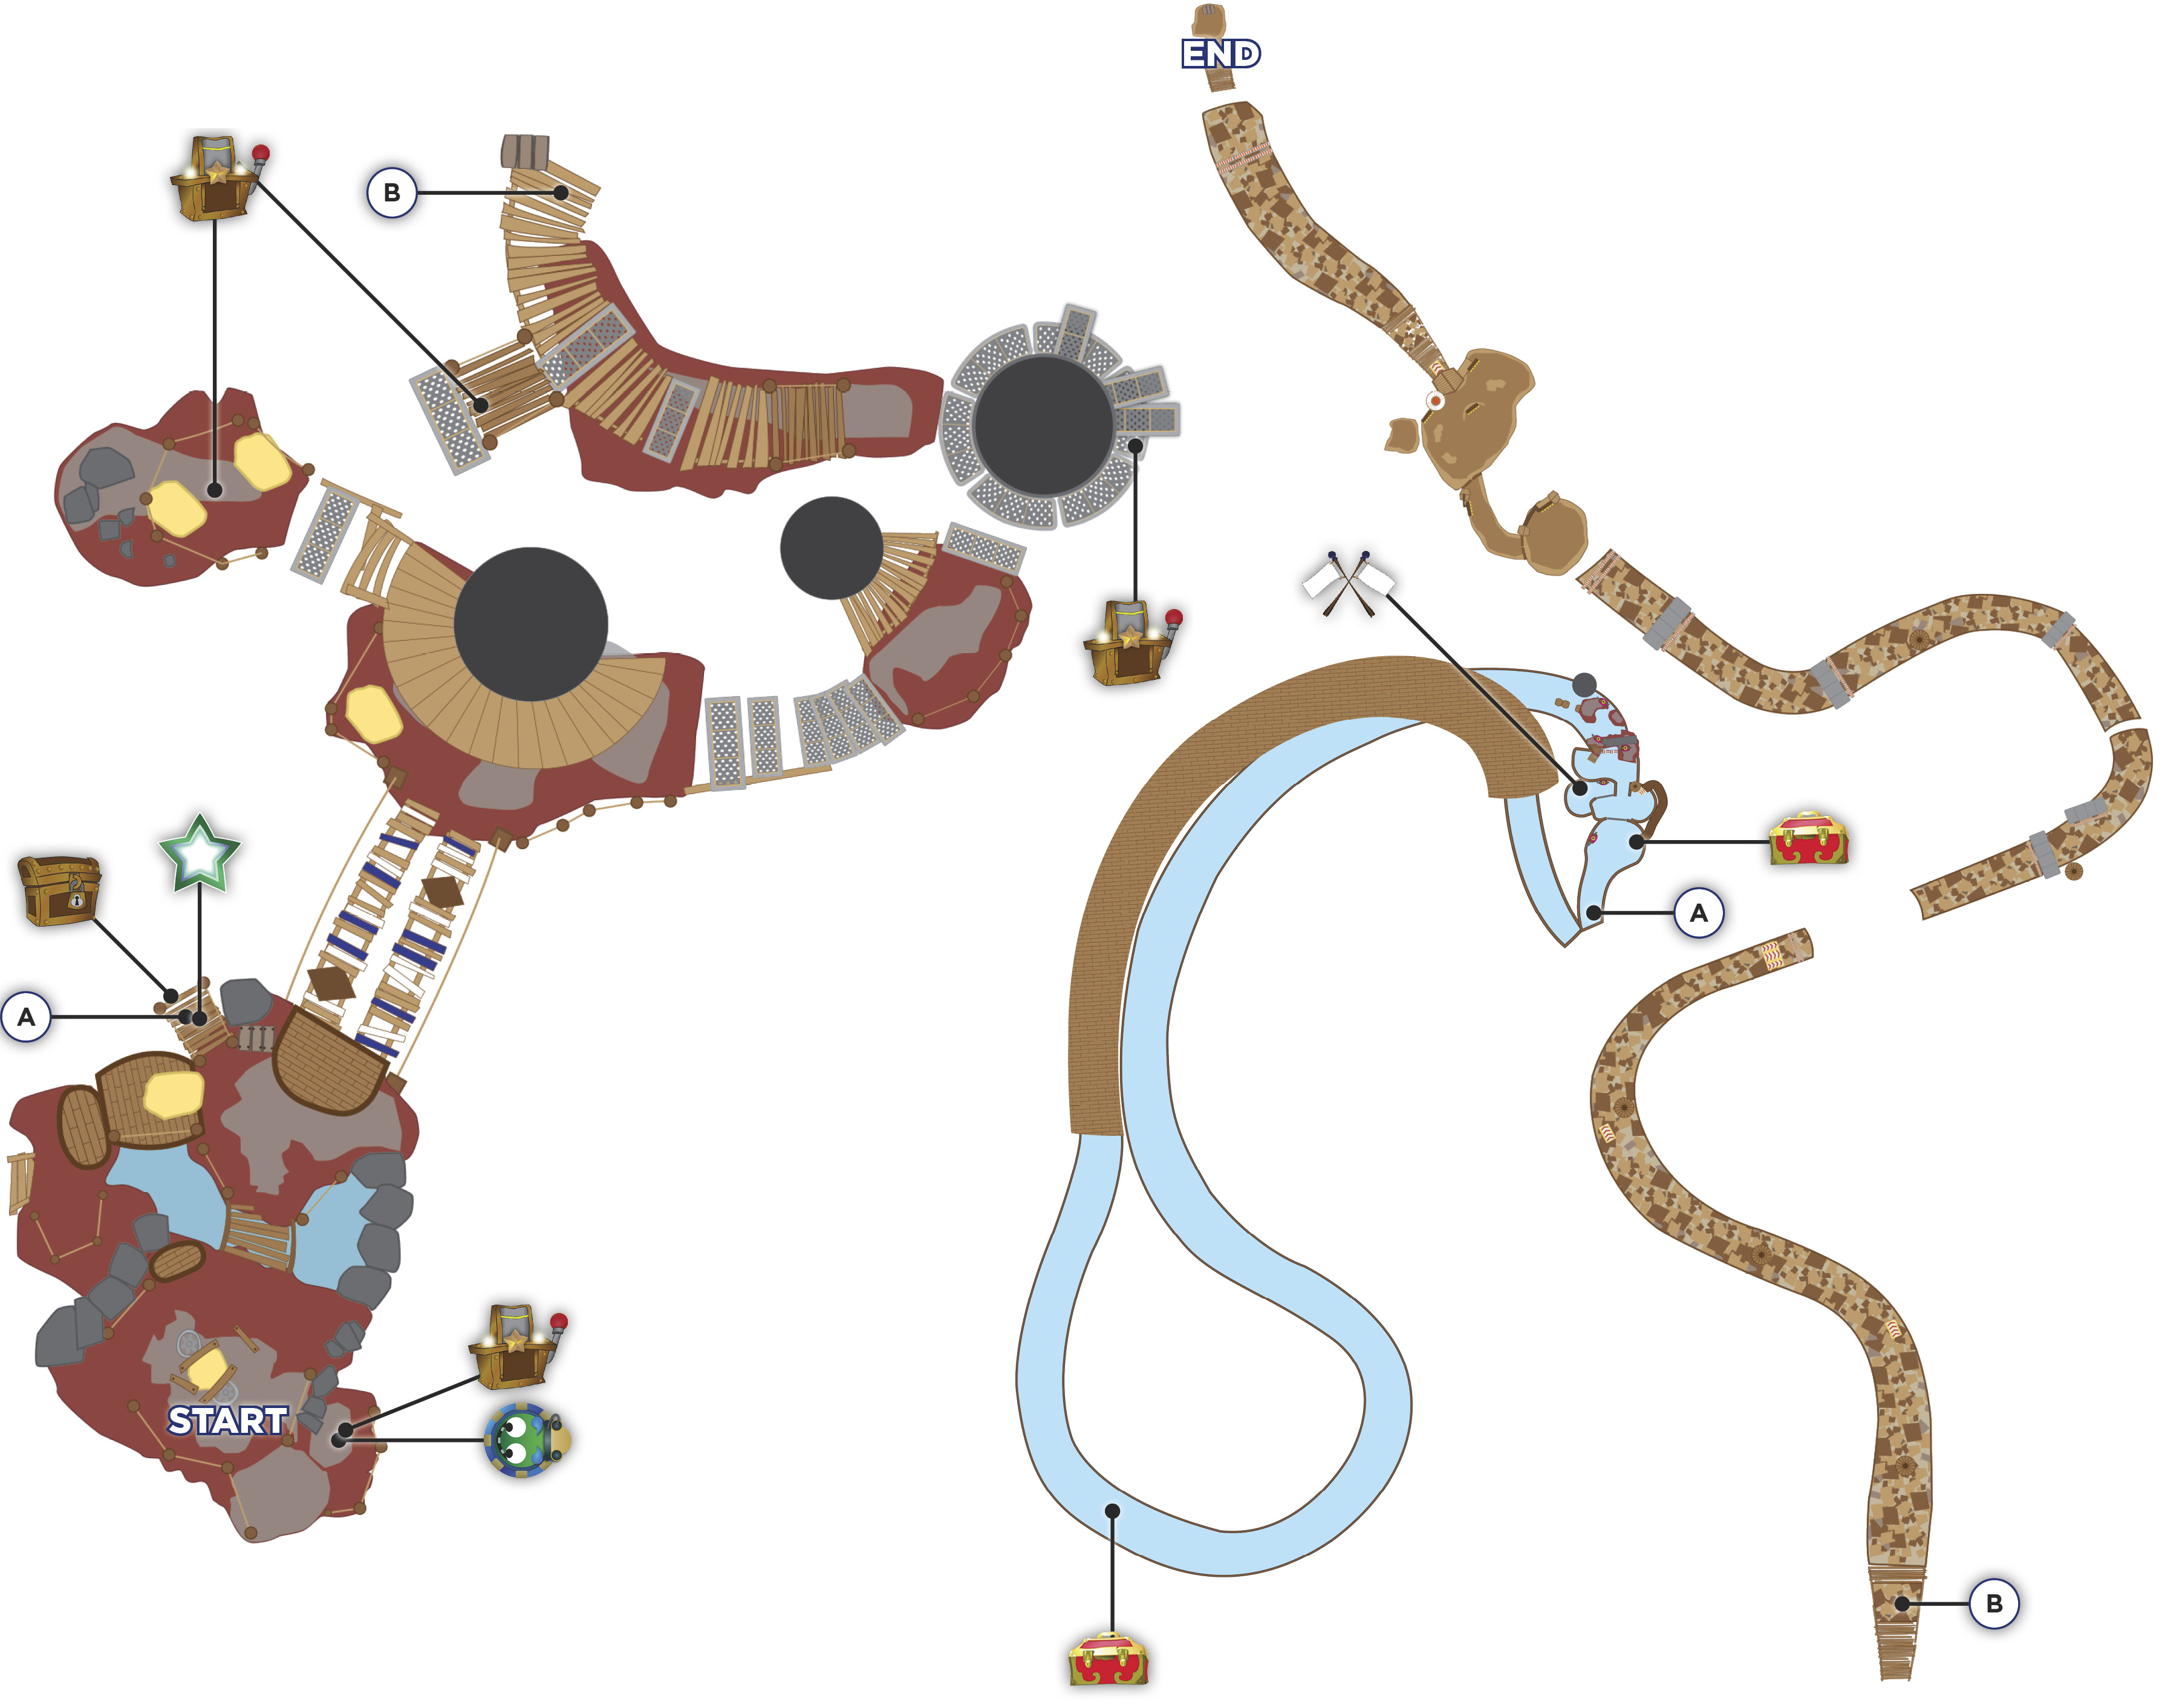
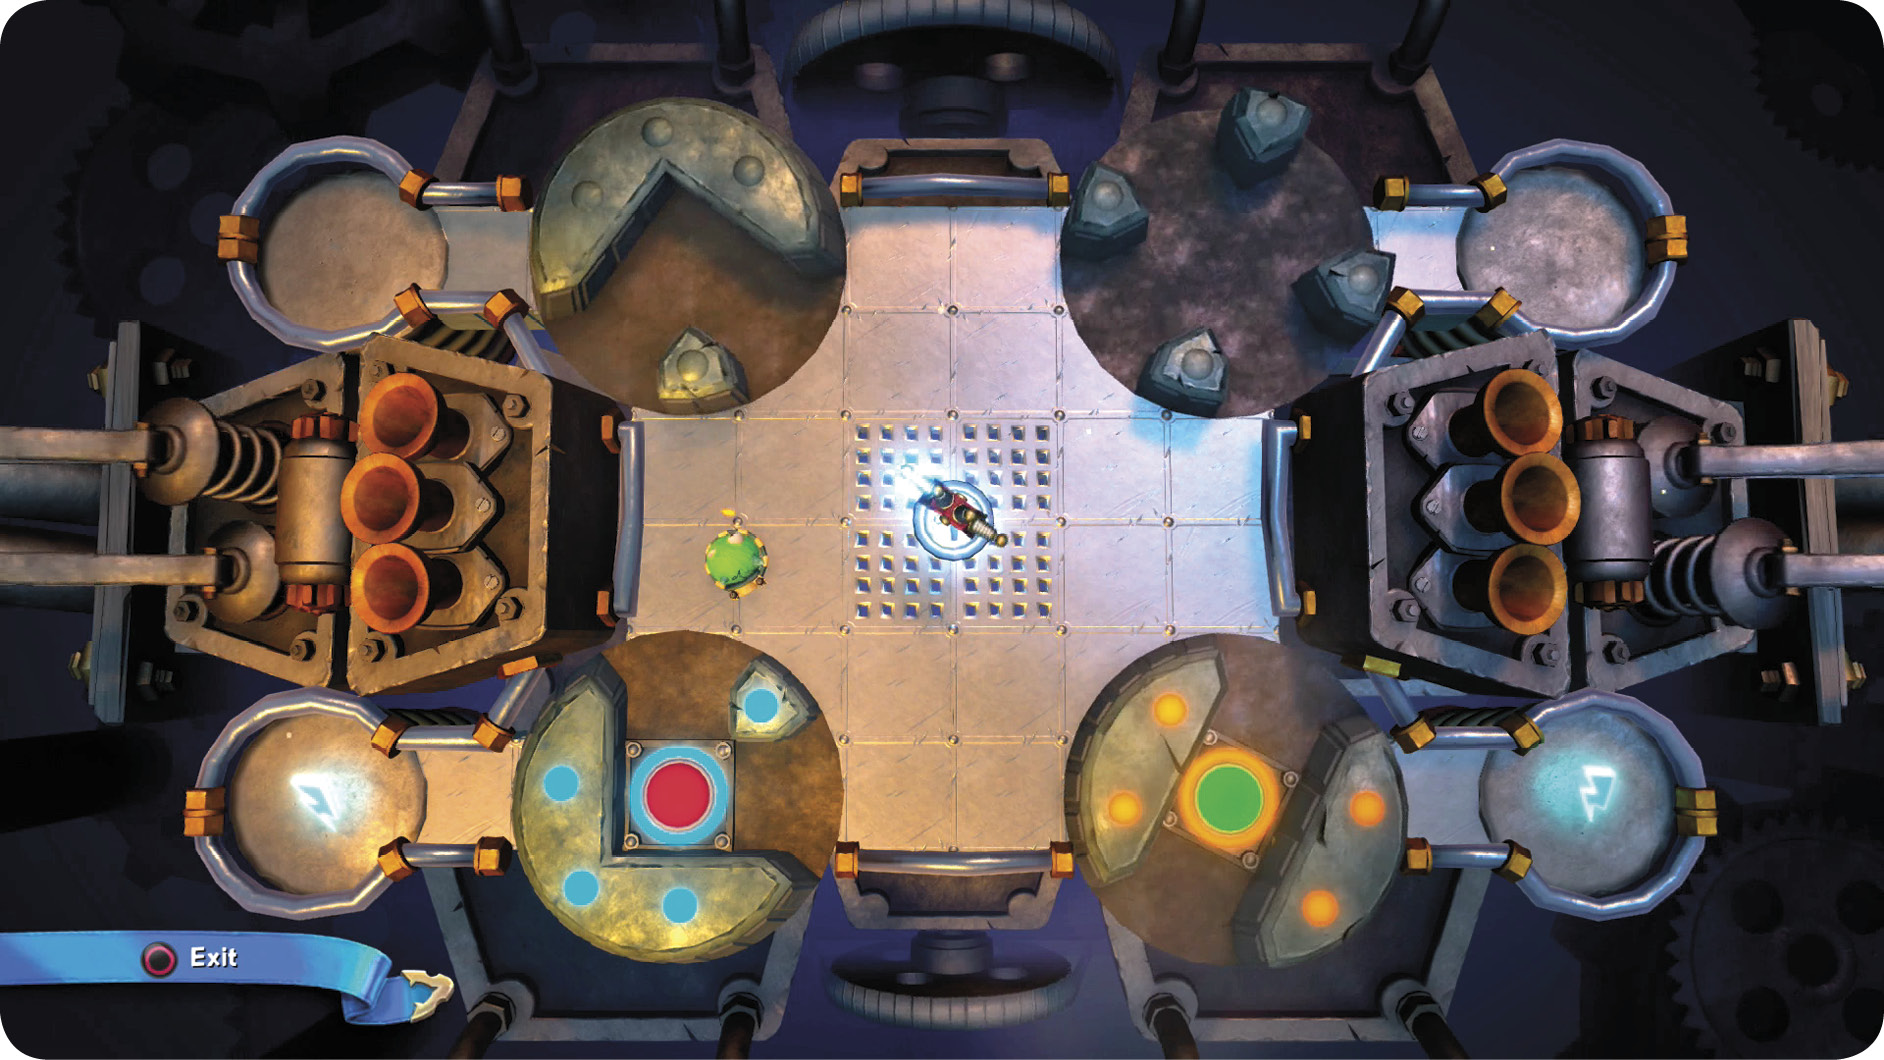
It’s rude to get dumped down a shaft without any say in the matter, but you’re going to get payback soon enough. Walk down and to the right side of the next area. There is a Live Wire Lock close by, and those are always nice. Use it to get an Epic Treasure Chest.
The first Spark is simple. Go through a cog and then into another along the upper-left side of the screen. Collect your Spark and go back to the middle.
Active the button in the lower-left to get that cog rotating. It’ll get you to the second Spark in no time. The last Spark is the toughest. Get onto its cog and then press the green button to stop the cog when it’s almost into position for you to get the Spark. You need time to accelerate, so don’t line up the cog perfectly; give yourself maybe a quarter-rotation of the circle to get moving.
Once you have all three Sparks, back up and leave the puzzle.
Explore for a bit, and talk to the guy in the booth a short distance ahead. He’ll point you toward a Sea Star Challenge. Grab a Sea Vehicle and start when you’re ready.
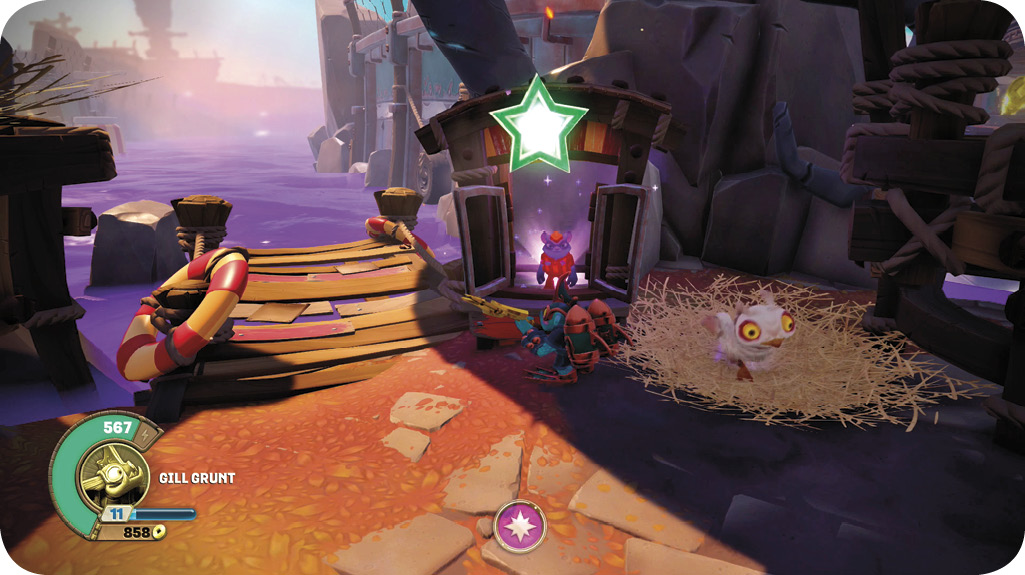
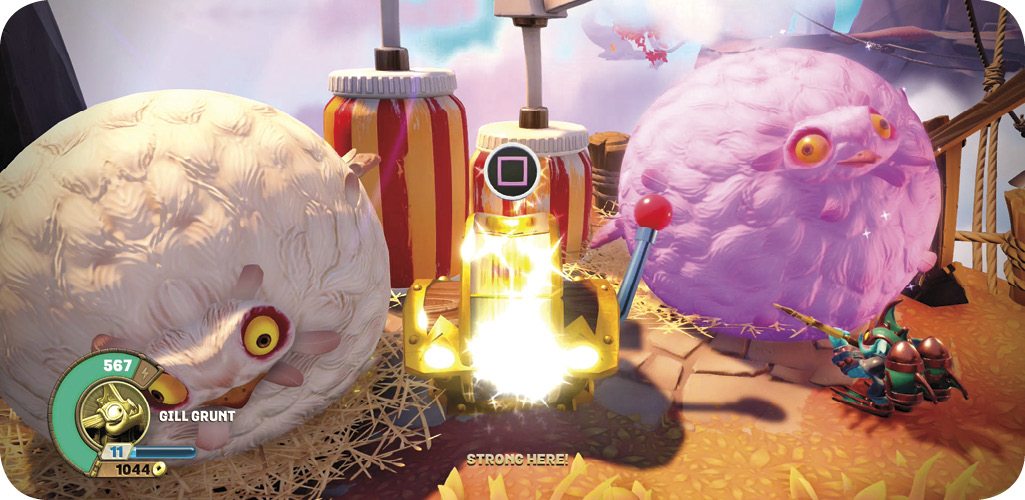
Getting that challenge was a good idea. Not only was it a heroic act, but you get a prize shortly after returning to the main map. Shrink the massive chicken that blocks your way, and then repeat that when you get back to the booth. The chicken on the other side blocks the Random Reward Object.
Close by are two bridges. Climb up to these and cross them carefully. Chicken missiles are fired at you from the far side. The are shot at both bridges, so the only safe way across is to hop back and forth while you’re avoiding the attacks. Collect Gearbits as you go, and make sure not to get knocked off of the platforms.
Soon after you reach the other side, the path divides. The left route eventually takes you over to two massive chickens and an Epic Treasure Chest. Collect your treasure, and then shrink the chickens to get even more loot afterward.
Go back to the split in the path, and take the route on the right. This passes through mechanical chicken territory. Continue using enlarge to make their lives short and difficult, and continue onward toward a rotating platform by the right end of the map. Take the counter-clockwise circuit to find an Epic Treasure Chest. Then, reverse course and look for another chicken puzzle. It’s similar to the first one; you need to manipulate a bag to control a chicken inside the cage.
To beat this, lower the right side of the seesaw inside the cage. Wait for a chicken to deploy. Because the seesaw is lower on the right, the chicken will settle against a backrest there. Once it’s in position, use the bag to change the orientation of the seesaw. The chicken starts to roll down the length of the board, and you have to manipulate the bag one more time at the last moment so that you sling the chicken up and over the wall. This completes the puzzle for you.
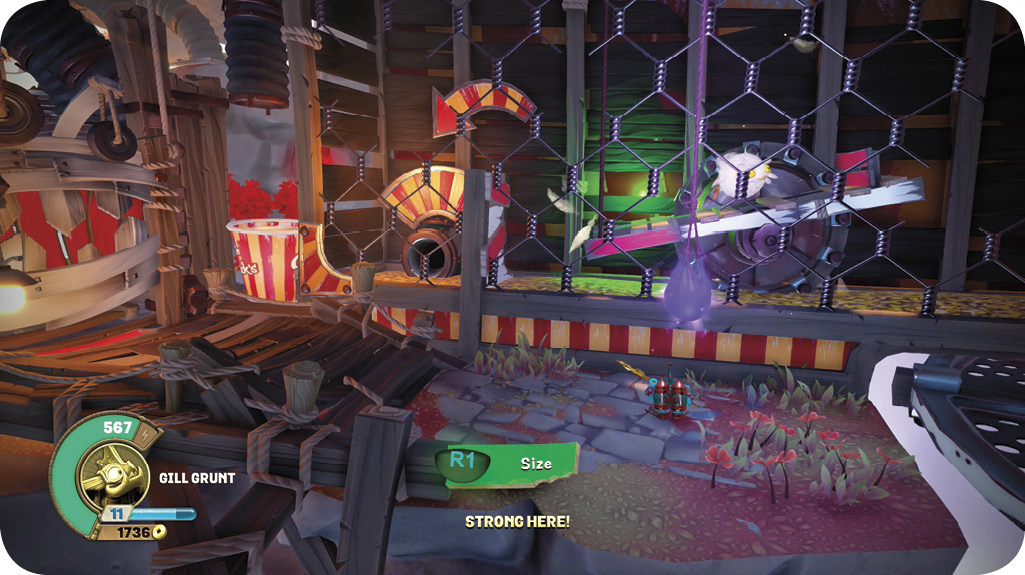
Walk left, along the path and try to dodge all of the chicken cannons that are aligned against you. Look for a small route that breaks farther left and down from the main area. This gets you some food, but more importantly it reveals a series of boards that lead up. Climb them to find an Epic Treasure Chest. Take the contents and finish taking the main road out of this area.
You see Rusty, another booth worker. Talk to him and then get into a land vehicle. You have some work to do!
As soon as you finish, you leave the area and start the next chapter.