Skylanders® SuperChargers Guide The Adventure Battlebrawl Island
Chapter 21: Cast a Deadly Spellslamzer
Get Into the Arena
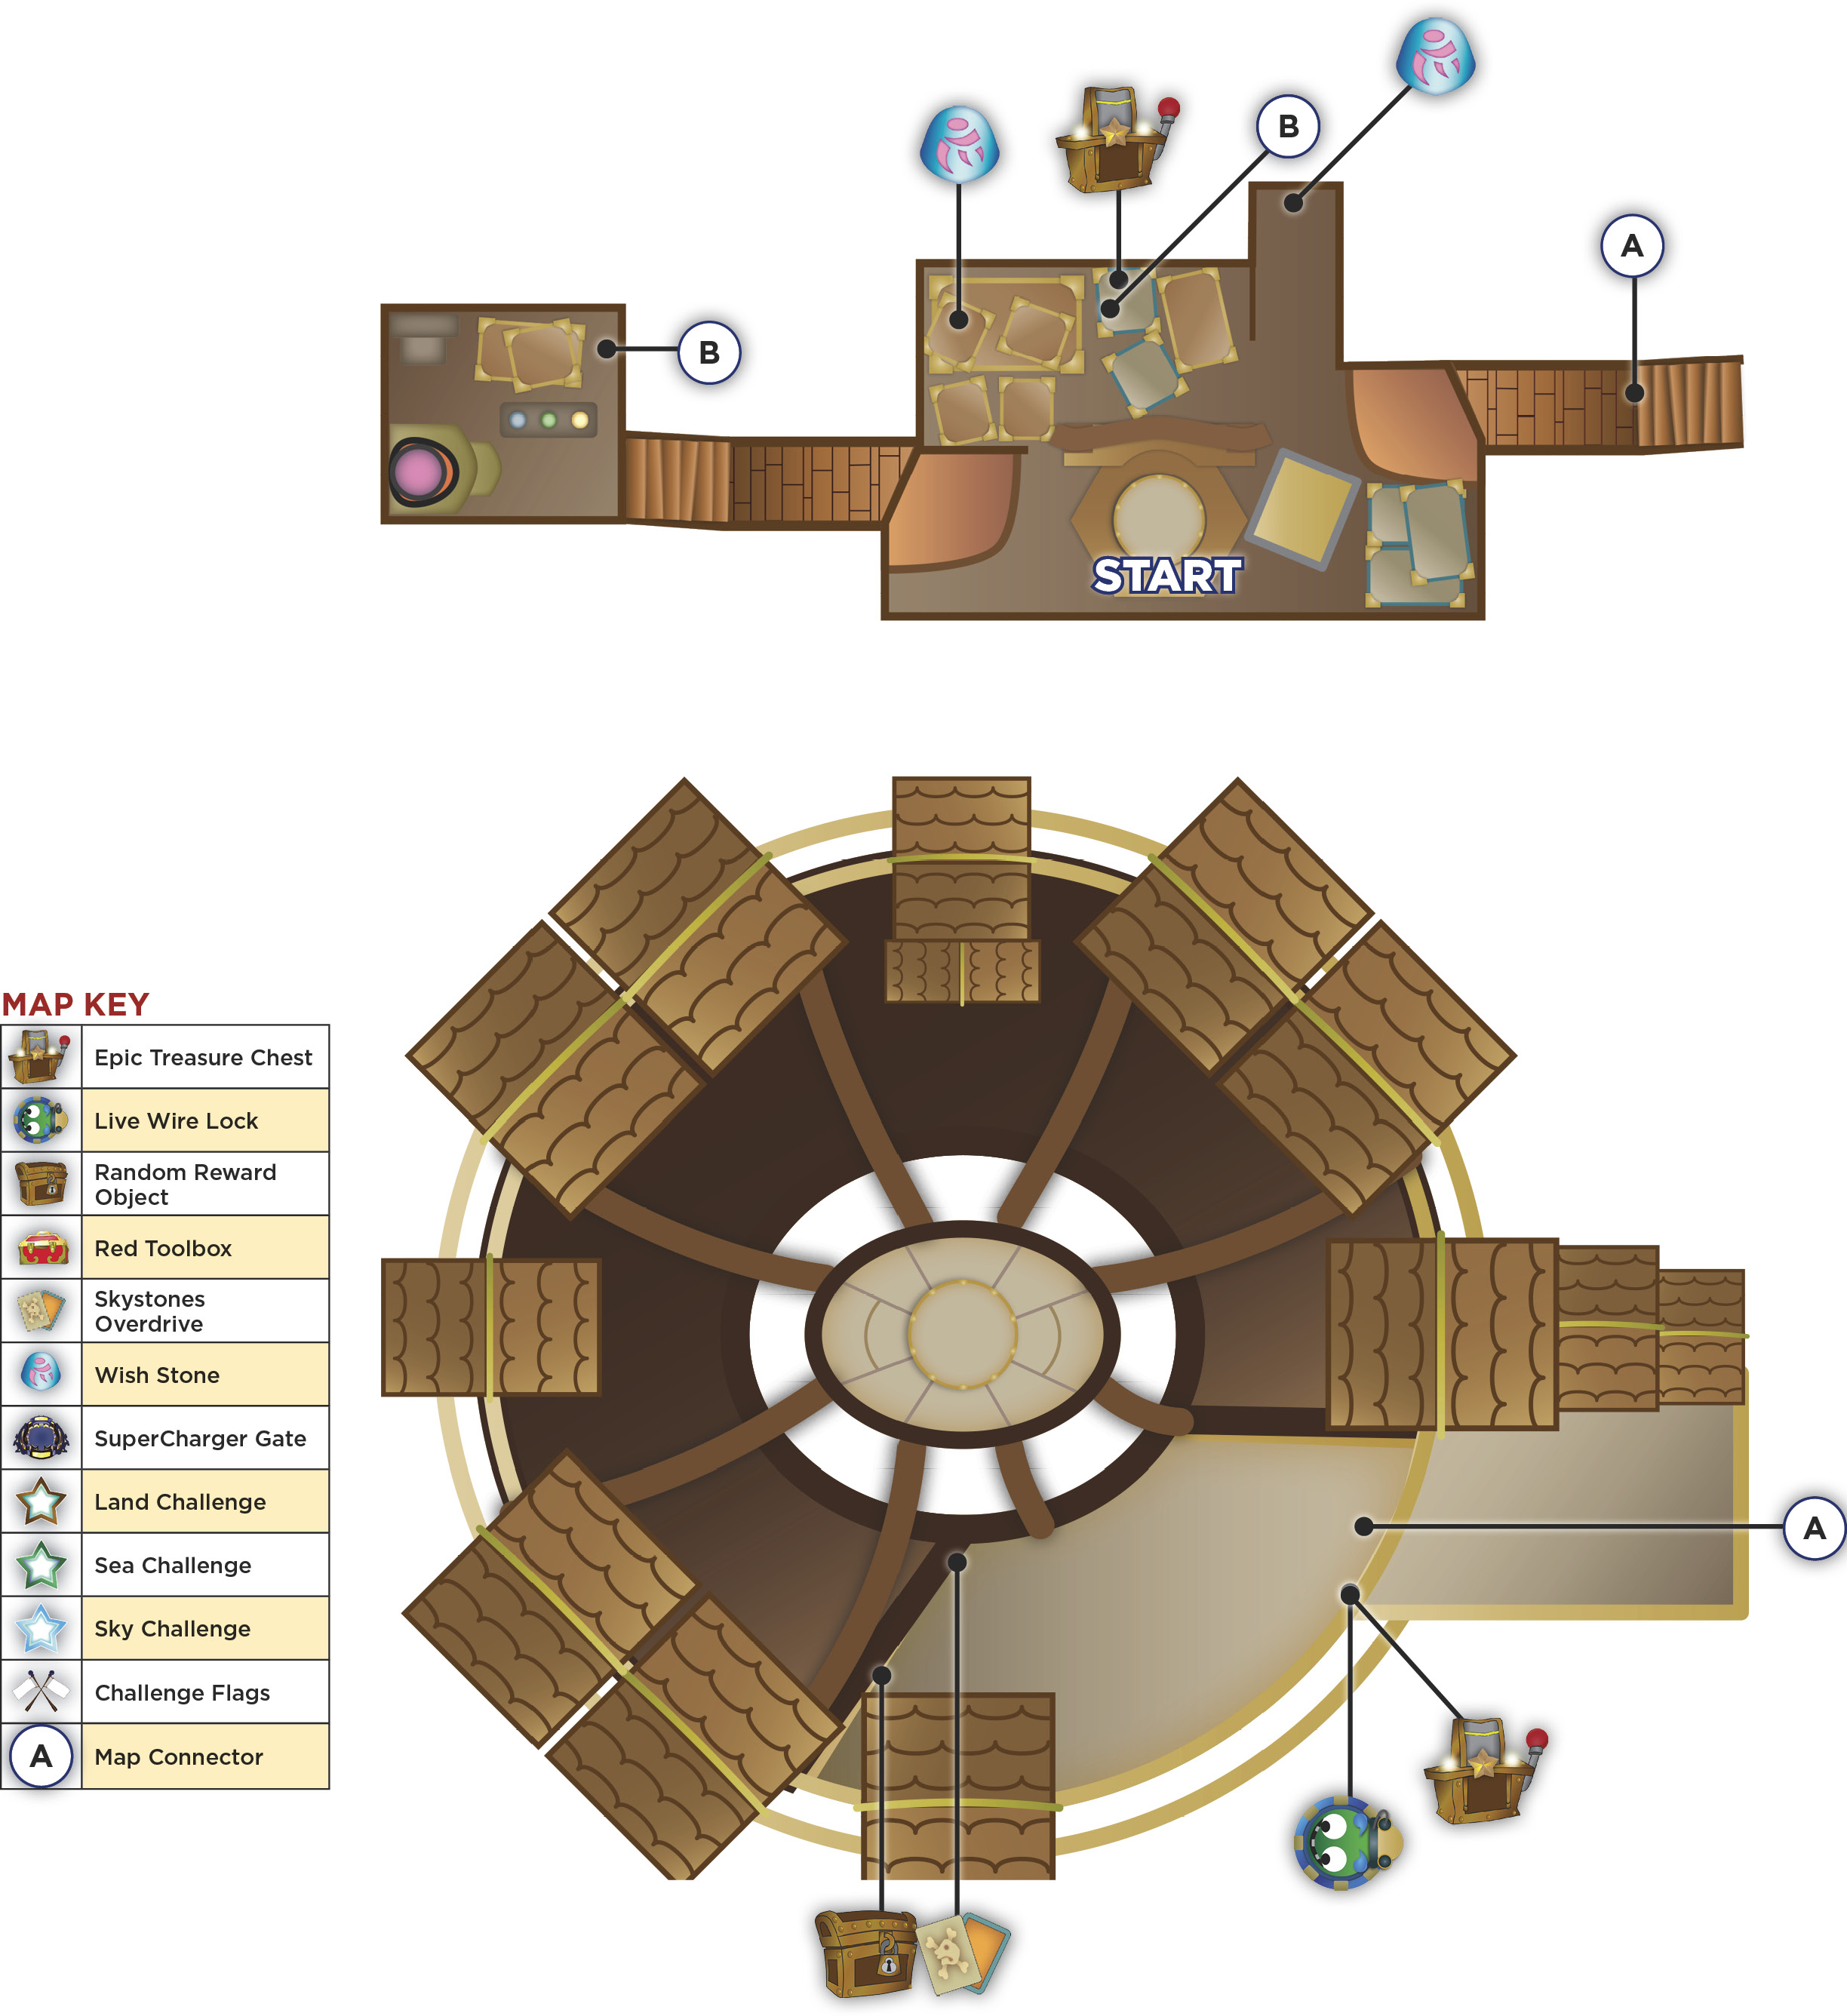
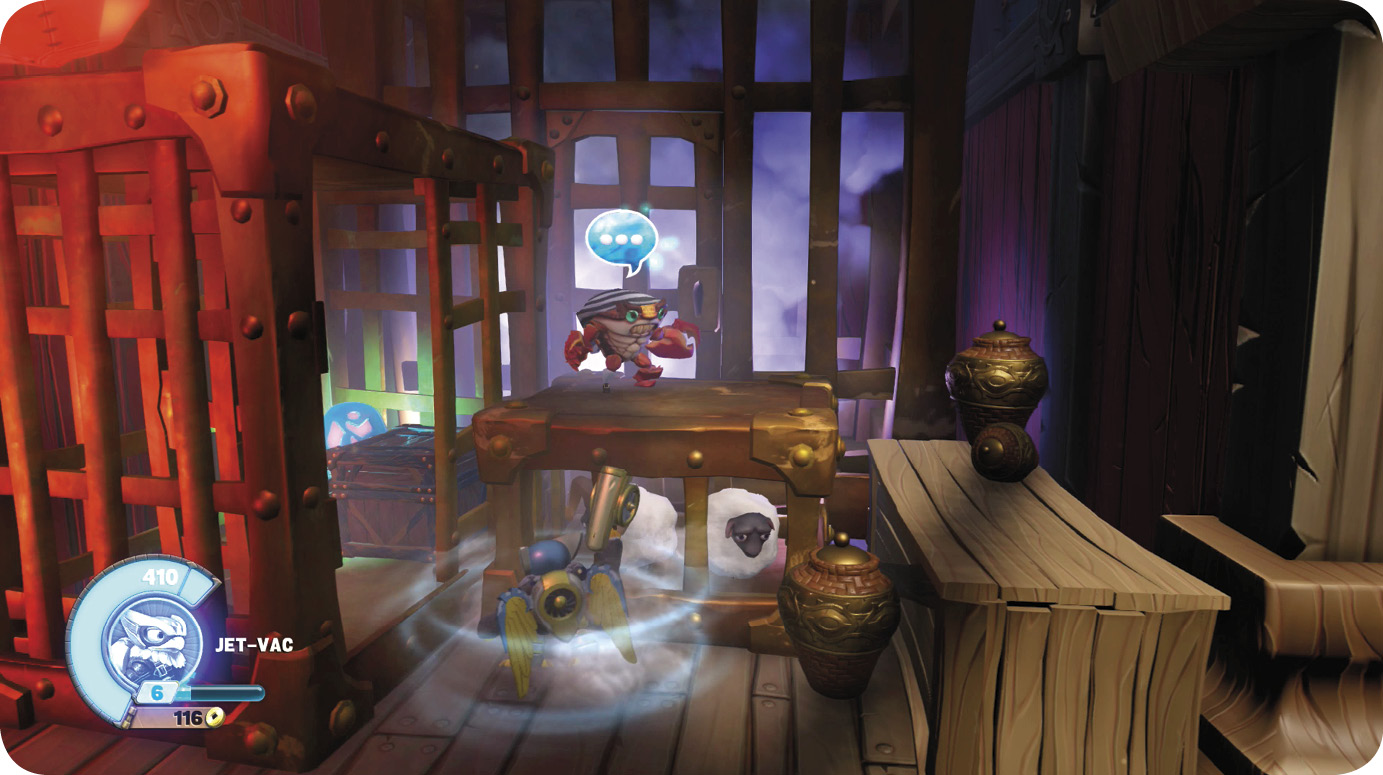
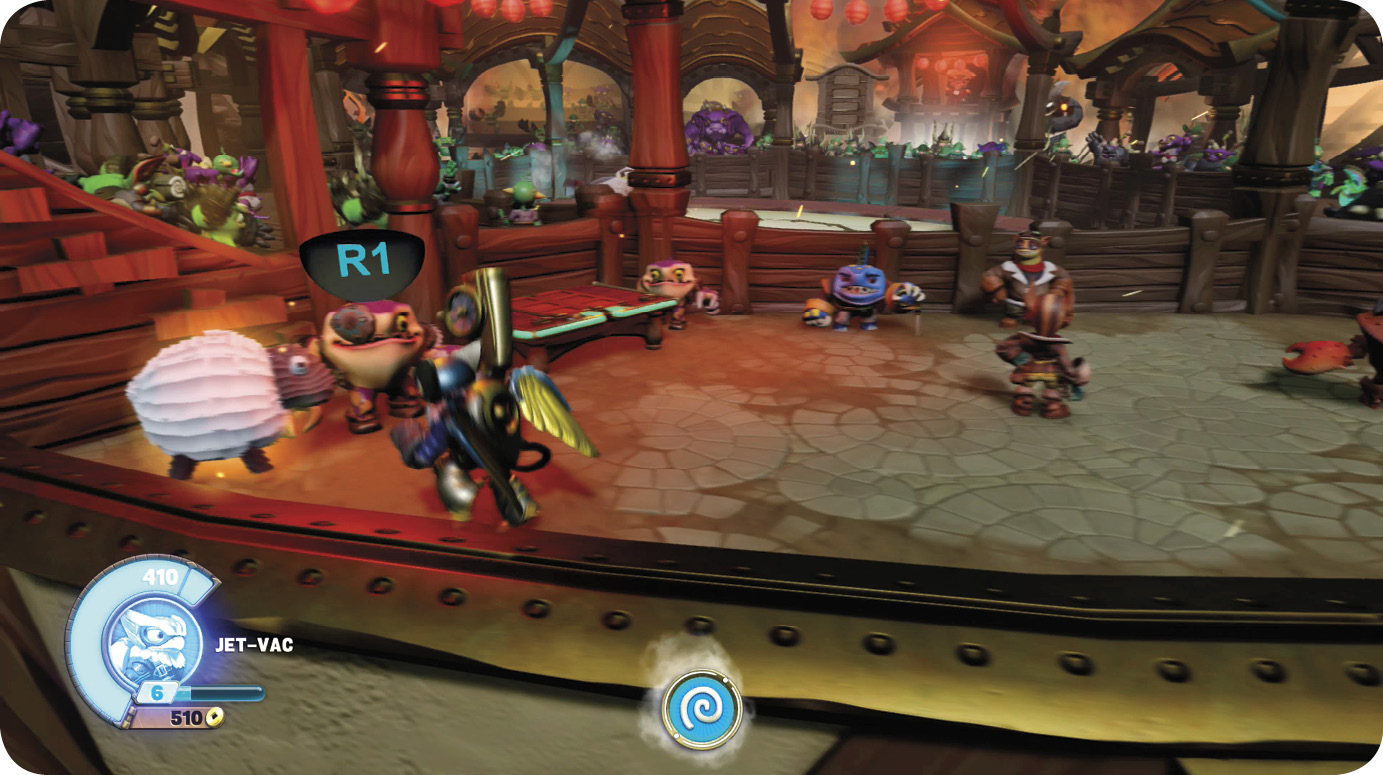
Before you follow the advice offered by Bubbles, take some time to explore the area. If the Elemental affinity in the area doesn’t match your Skylander, speak with Frothy at the back of the room. Don’t miss the Wish Stone in the cage next to him. If you need some Gold to pay for the Element change, the training dummies drop Gold when hit.
Go through the glowing door just past the training dummies and ascend to the next floor. Go down one step to reach an Epic Treasure Chest with a Live Wire Lock.
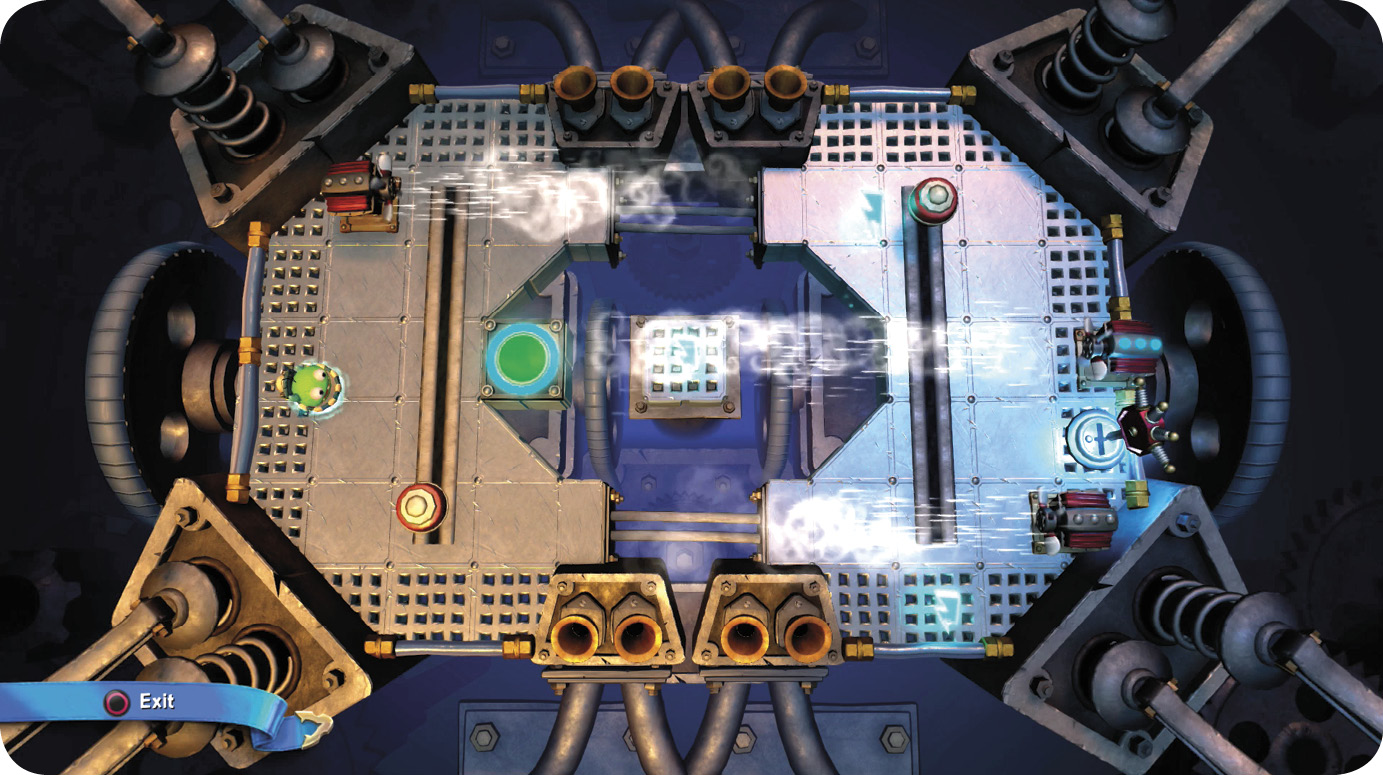
Use the push from the top fan to jump over the gap. Let the sliding bumper bring the first spark up to the gremlin. Ride the current provided by the second fan back over the gap, through the second spark and over the button that shuts off the center fan. Jump over the gap again and use the sliding bumper to keep the gremlin from being pushed away before reaching the final spark.
Go up the stairs and check in with your friends, including Persephone if you have enough Gold to buy upgrades. There’s a Skystones Overdrive player named Derbert next to a Random Reward Object at the far end of the room. When you defeat Derbert the first time, you get the Pterashark Skystone.
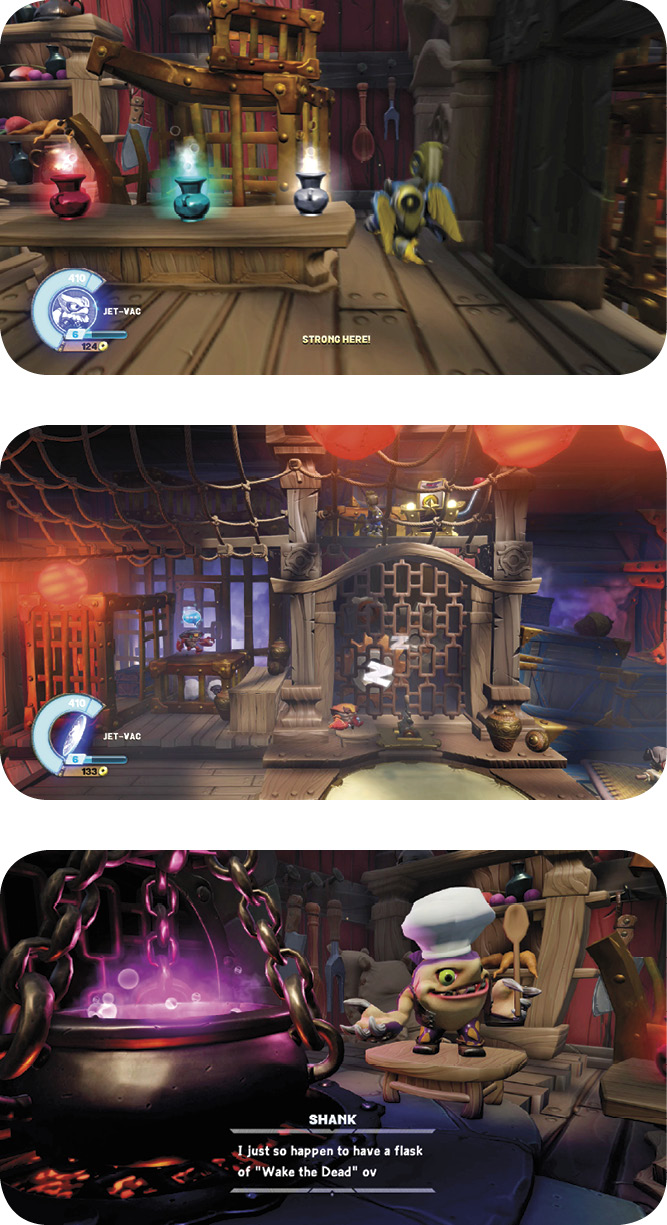
Go back to the lift room and walk through the swinging doors. Ascend the steps and turn toward the back of the room. There’s a narrow path between the table and the wall that leads to another set of swinging doors. Go through the doors and up the steps to reach the Epic Treasure Chest you may have noticed at the start of this Chapter.
Return to the kitchen and speak with Shank, who hands over what you need to enter the arena. He also sells three different potion boosters that increase different stats temporarily. The “Chef’s Special Surprise” briefly shrinks your Skylander. Take the purple concoction to Crabby to wake him.
Defeat Brimstone and Boulders
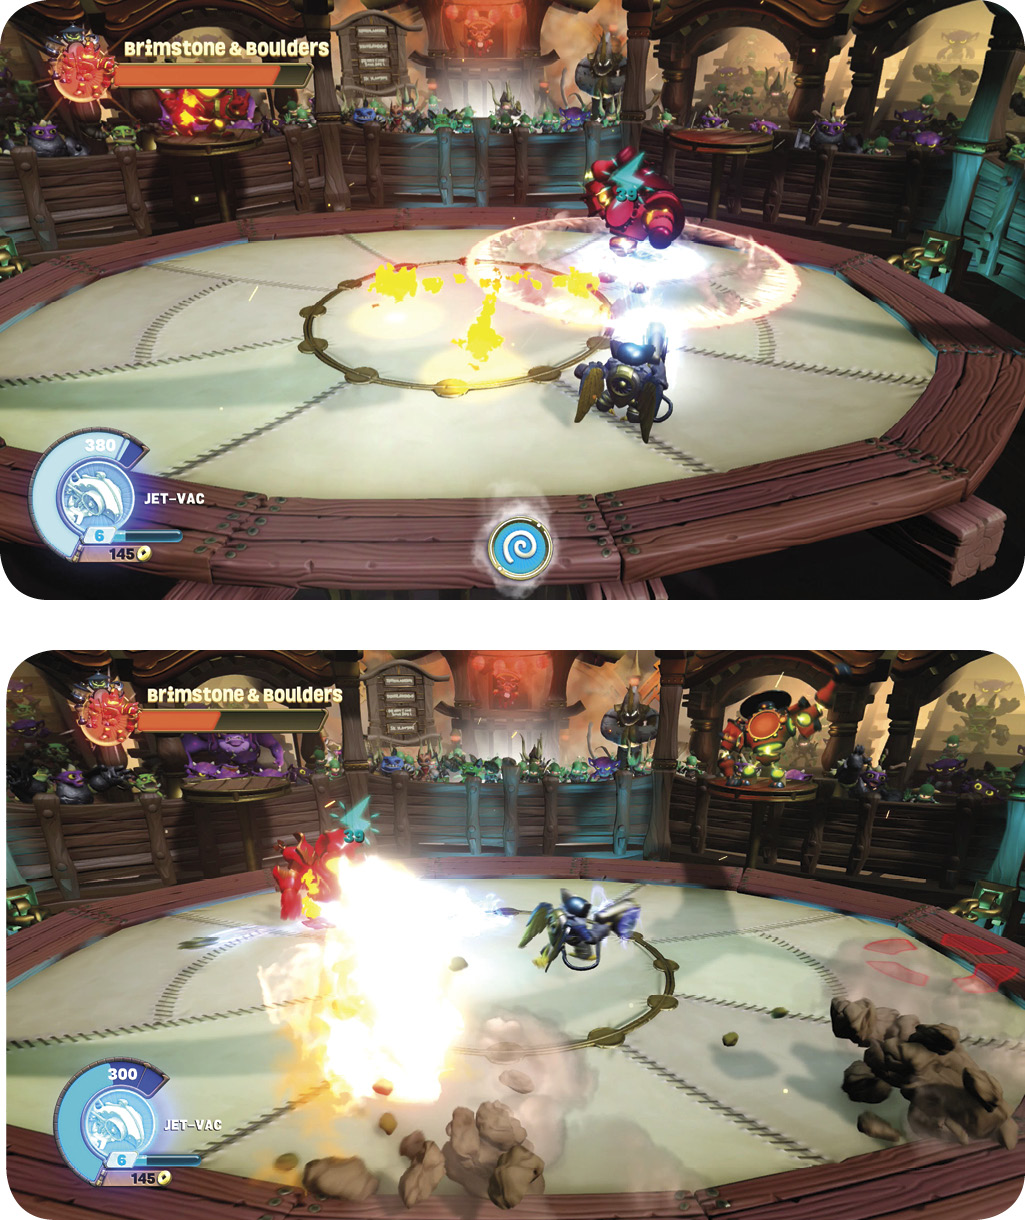
Your first fight in the arena is against the dual threat of Fired-Up Frontman and Percussion Pounder. The battle kicks off with Percussion Pounder on the floor and Fired-Up Frontman providing support from a pedestal. Percussion Pounder sends out shockwaves that must be jumped over to avoid taking damage. Fired-Up Frontman summons Bitning Bugs that zip around in straight lines.
With one-third of their health bar gone, Percussion Pounder tags in Fired-Up Frontman. Percussion Pounder returns to a pedestal and drops rocks from the sky. Avoid the red circles when they appear on the arena floor. Fired-Up Frontman uses a flamethrower to burn everything in front of him. He can’t move once it starts up, so begin attacking as soon as you’re clear of the flames.
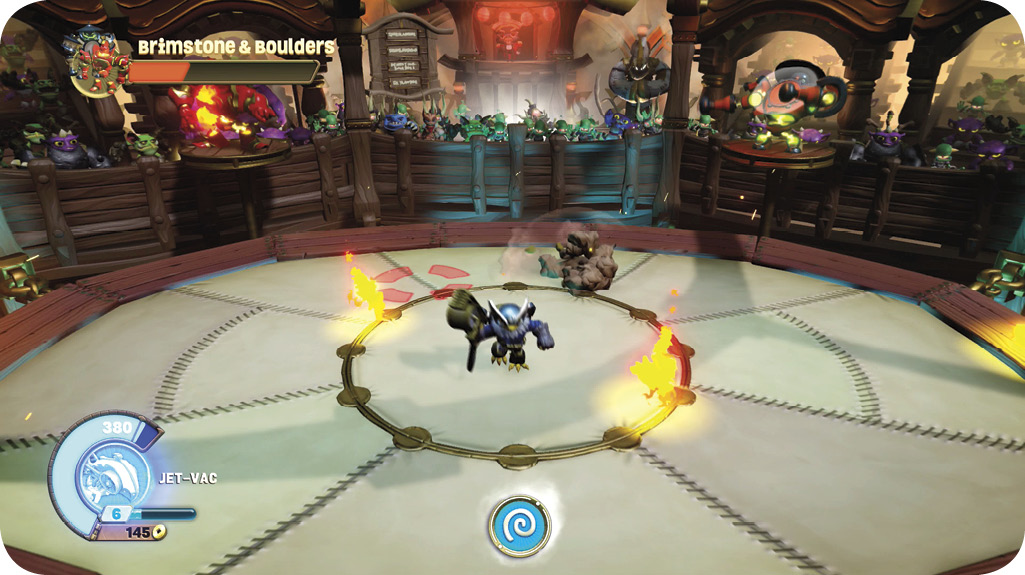
When the pair is down to one-third of their health remaining, they return briefly to their pedestals and cover the arena floor with Bitning Bugs and falling rocks.
When they both jump to the floor, the barrage continues and they add their own attacks to the mix. You need to avoid falling rocks, fiery bugs, a flamethrower, and shockwaves while also attacking the duo!
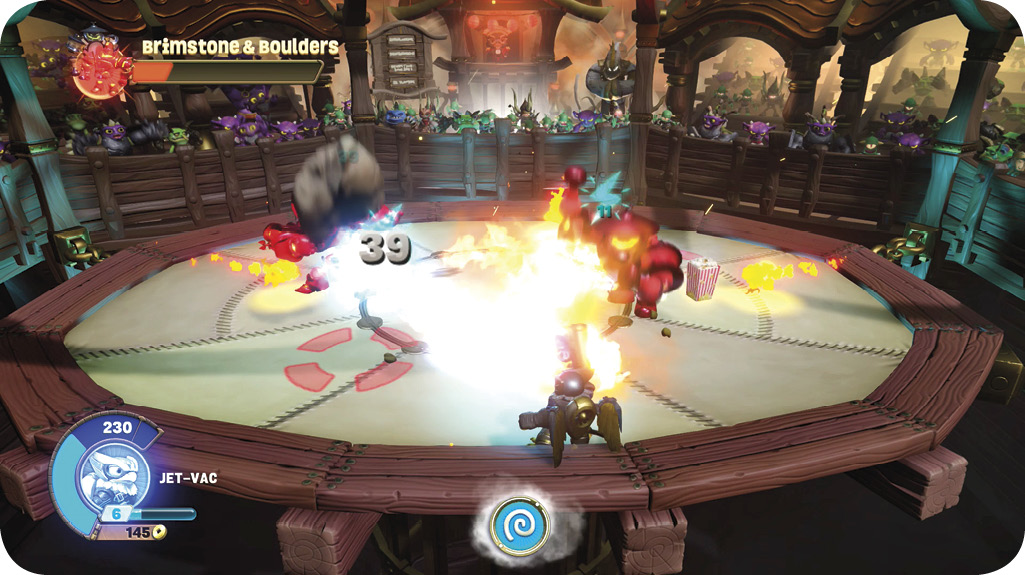
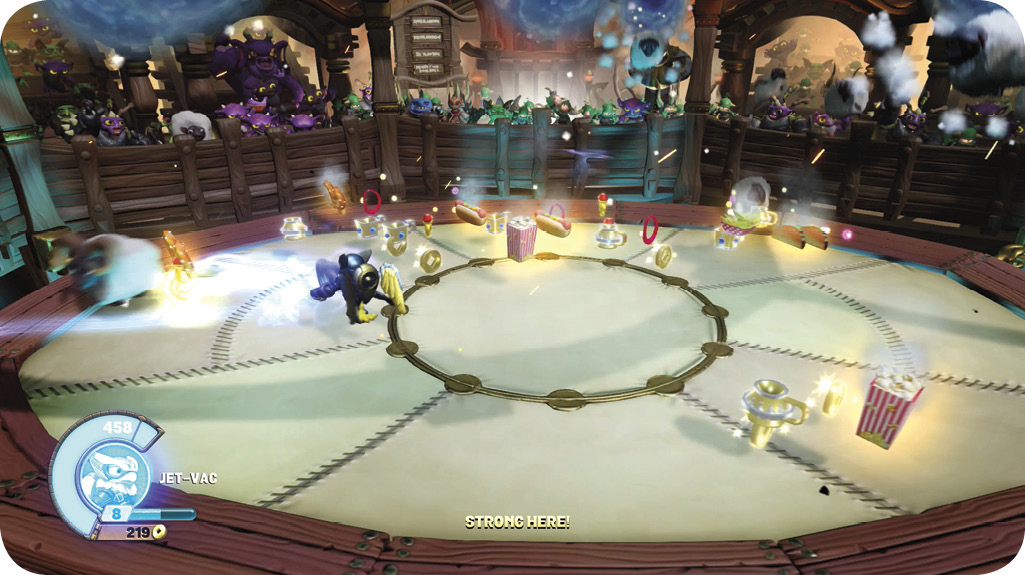
After you finish off Brimstone and Boulders, there’s a special Sheep Intermission. Attack the sheep that appear to get them to drop food and valuables. Pick up the Gold but leave as much food as you can. You may need it during the next fight.
Defeat the Pirates
The next round begins after Captain Bristlestache is introduced. He sends out Pirate Henchmen first, followed by a wave of Grinnades. A second round of Pirate Henchmen are supported by Bomb Brawls, who fire Grinnades from their hand-cannons.
Captain Bristlestache joins the fight next. He carries a cutlass that hits hard but requires a big wind up. When you see his arm go back, move away quickly. Bomb Brawls drop in one at a time to support their captain after he takes some damage. Focus on Captain Bristlestache as much as possible. When his health is depleted, the fight is over.
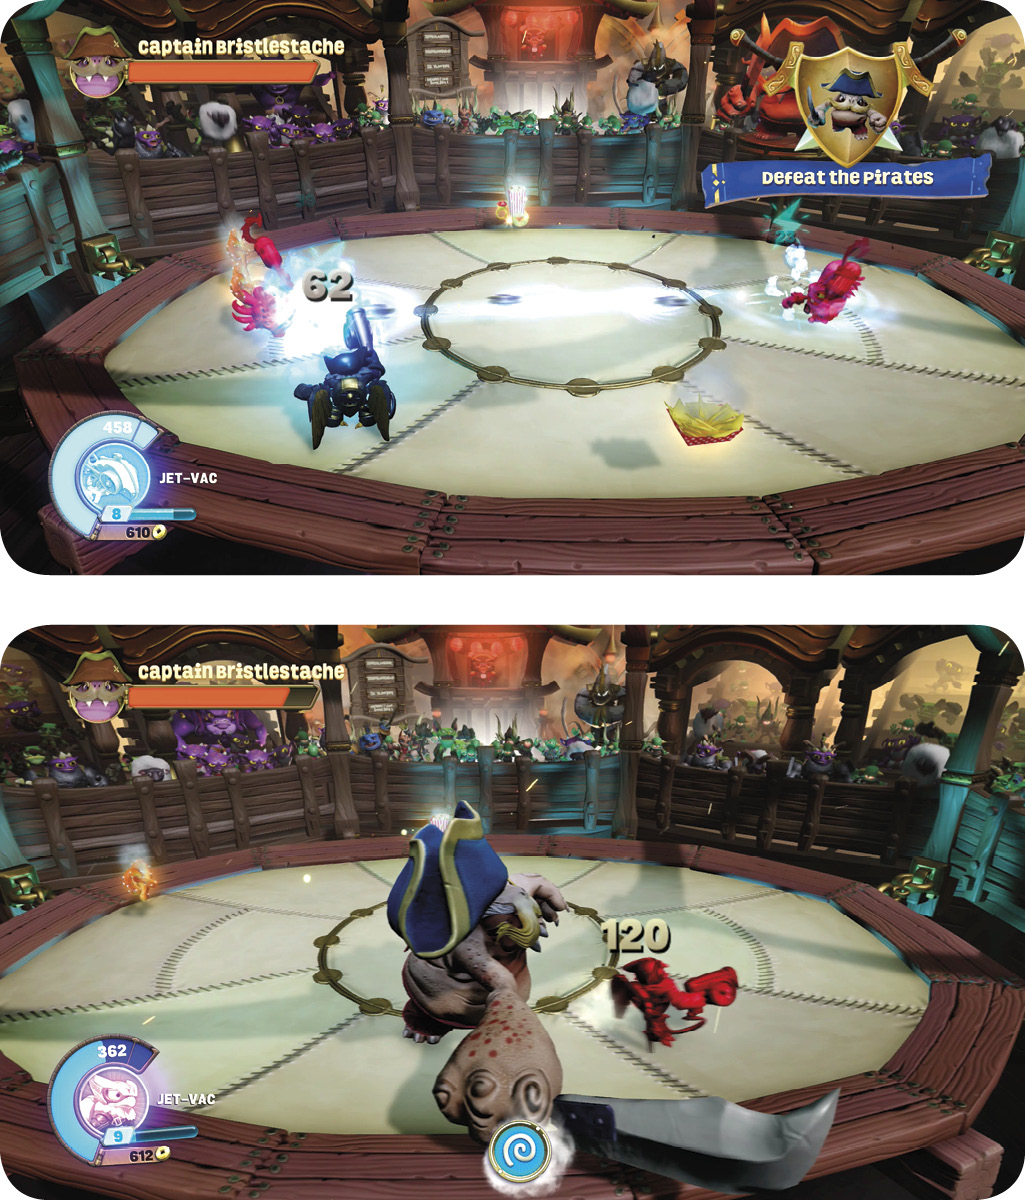
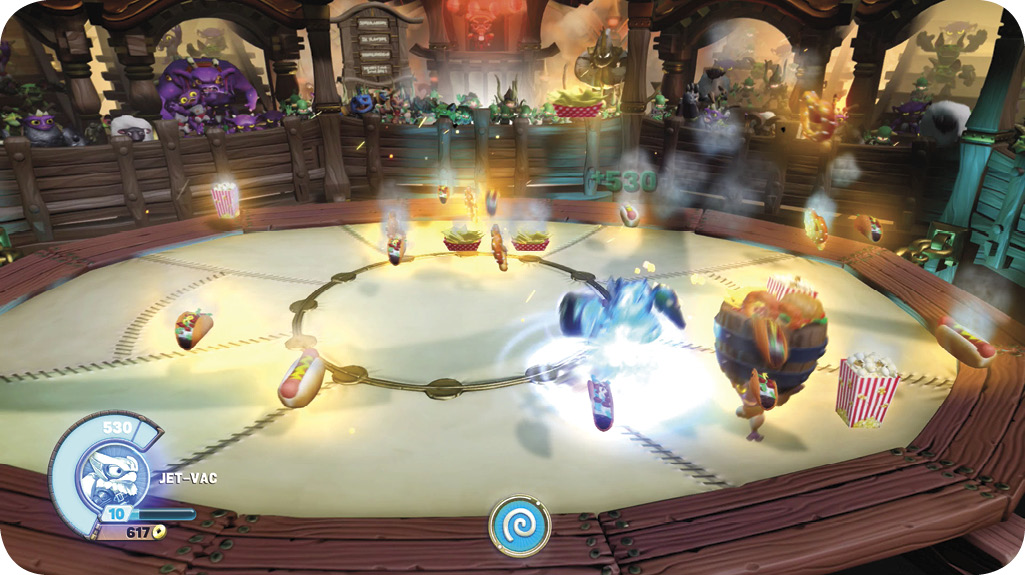
The next intermission brings back an old acquaintance, the Food Thief. Shoot the Food Thief to get him to drop food everywhere. Hit him for enough damage and he explodes in a shower of valuables. Try to leave as much food as you can for the upcoming fight while you collect the Gold.
Defeat Spellslamzer
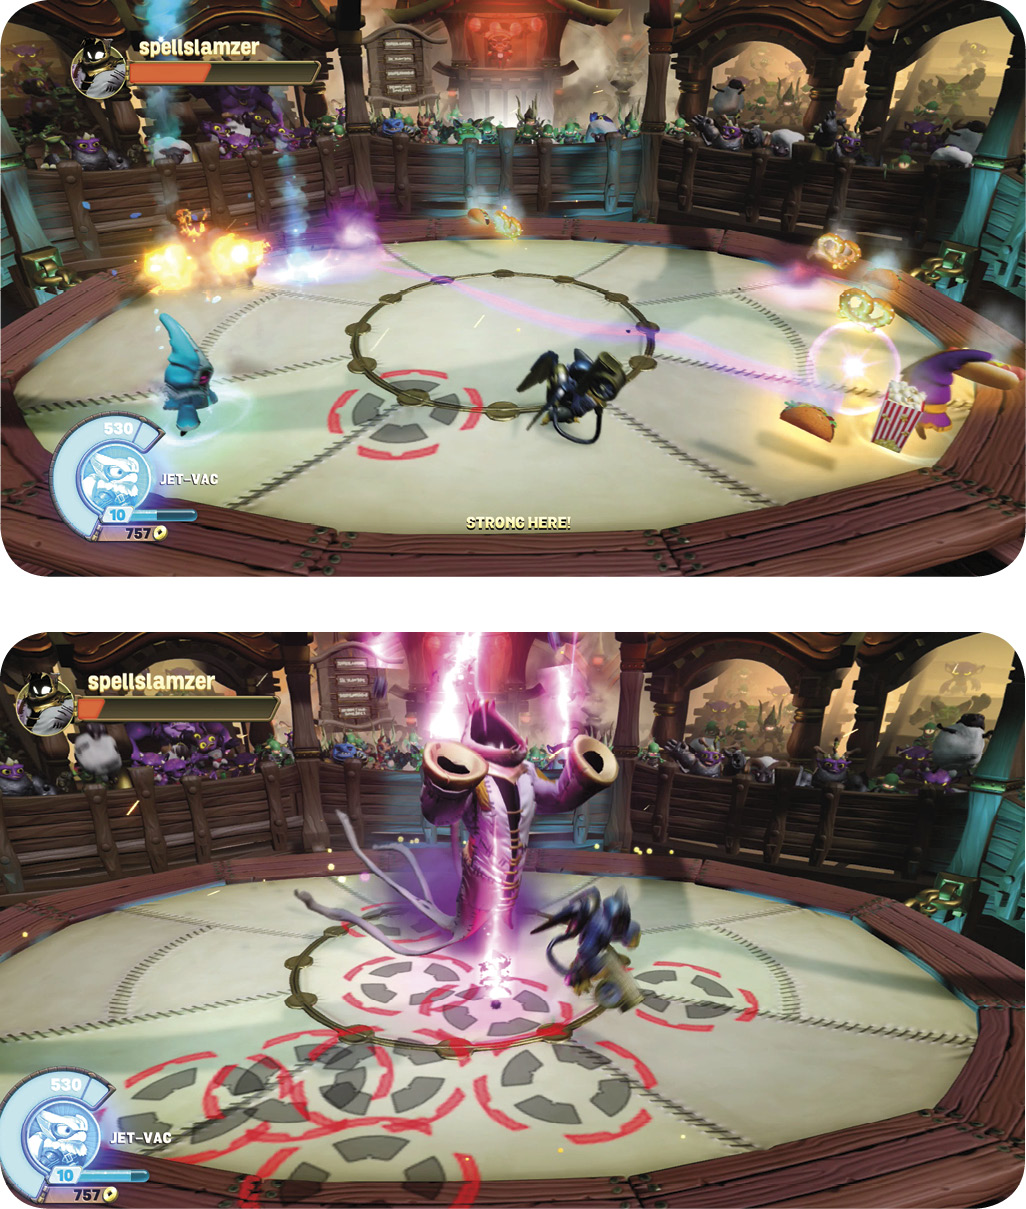
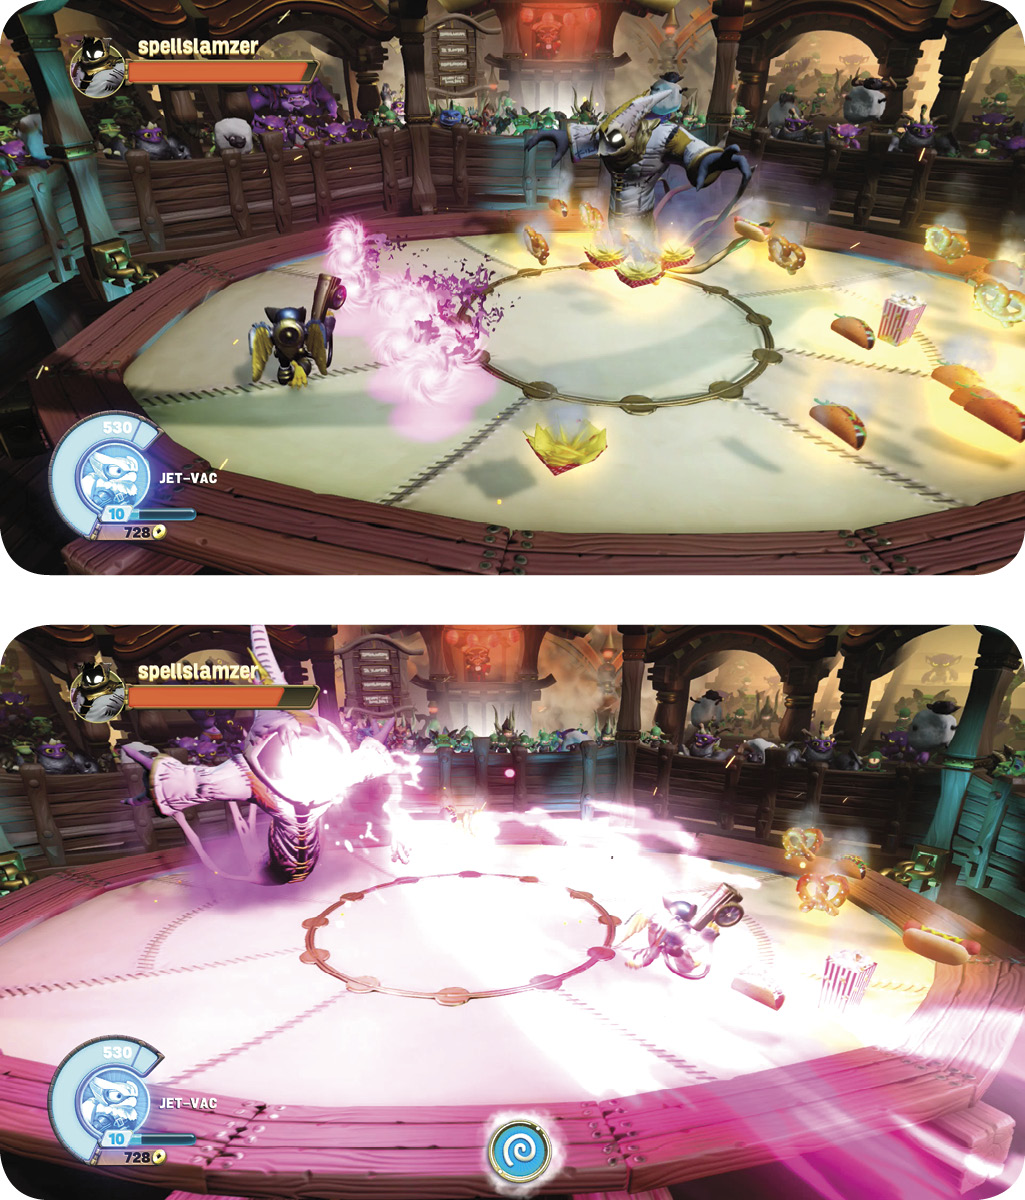
Now that you’re warmed up, it’s time for the main event. Spellslamzer begins by summoning mystical blades that run along the ground. Jump over them to avoid taking damage. After only a few hits, Spellslamzer flies apart and summons Spell Punks. This happens often during the fight. The first time, you face an Air Spell Punk and Undead Spellpunk. Undead Spell Punks summon Ghastly Greebles. Air Spell Punks use an air spell to increase the speed of their target.
When Spellslamzer returns, he changes his attack. He emits a beam from his hood that hurts anything in its path. Despite Spellslamzer’s height, your Skylanders can’t slip underneath it.
Spellslamzer’s next move is to change the fight’s location to a snowy, outdoor area. Follow the coins to where he’s waiting. He uses both of his attacks here at first, then turns into three Spell Punks: an Undead Spell Punk, a Fire Spell Punk (who throws fire), and a Water Spell Punk (who lobs chunks of ice).
Whichever Spell Punk you take out last splits into three additional Spell Punks: Fire, Air, and Life. Life Spell Punks are always your first target since they heal their allies. Spellslamzer returns when the last Spell Punk falls, this time with a new lob attack. Hit him a few times and he sends the fight back to the arena where he puts his new attack to use immediately.
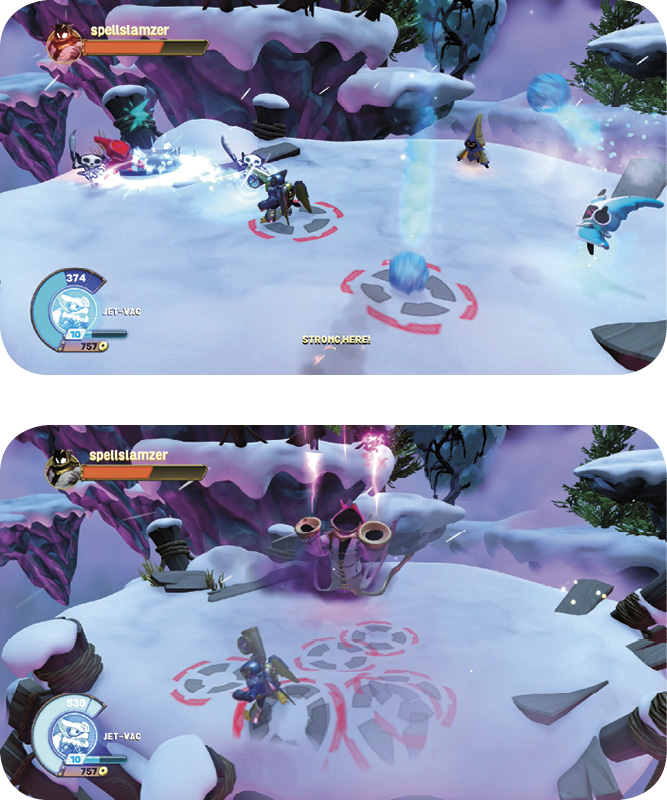
After taking some damage, Spellslamzer changes into four Spell Punks: Air, Fire, Water, and a Magic Spell Punk who turns one of its allies invisible. The final Spell Punk to defeat from that group splits into four additional Spell Punks: Air, Fire, Undead, and Water.
Just when you thought there couldn’t possibly be any more Spell Punks left, there’s another wave of them. This time the group includes Fire, Life, Magic, and Water Spell Punks. When that group of Spell Punks is defeated, Spellslamzer returns to the fight. He alternates between the lob attack that covers the floor with target circles and the hood beam. He doesn’t have much health left at this point, so stay on the move and hit him while he’s recovering from using his abilities.