
Skylanders® SuperChargers Guide Skylanders Academy
Element Gate
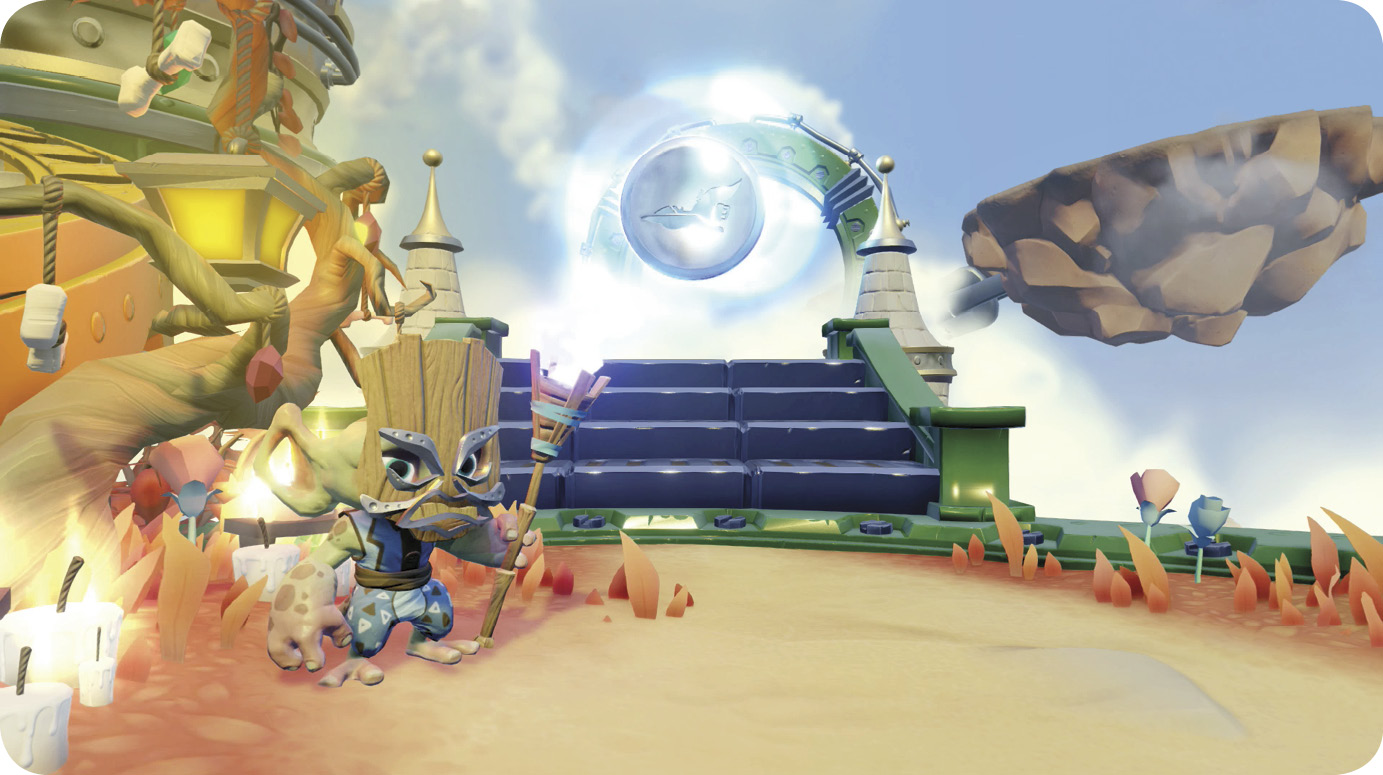
Instead of finding Element Gates throughout Skylands, there’s a single Element Gate at Skylanders Academy. The gate’s caretaker is a greeble named the Great Grizzo, who can change the gate’s element to match that of your current vehicle. Only the vehicle’s element matters when entering the gate.
There are ten challenges, one from each element. You can earn up to three shields depending on your performance. Each shield you earn rewards Stardust to increase your Portal Master rank.
 Air
Air

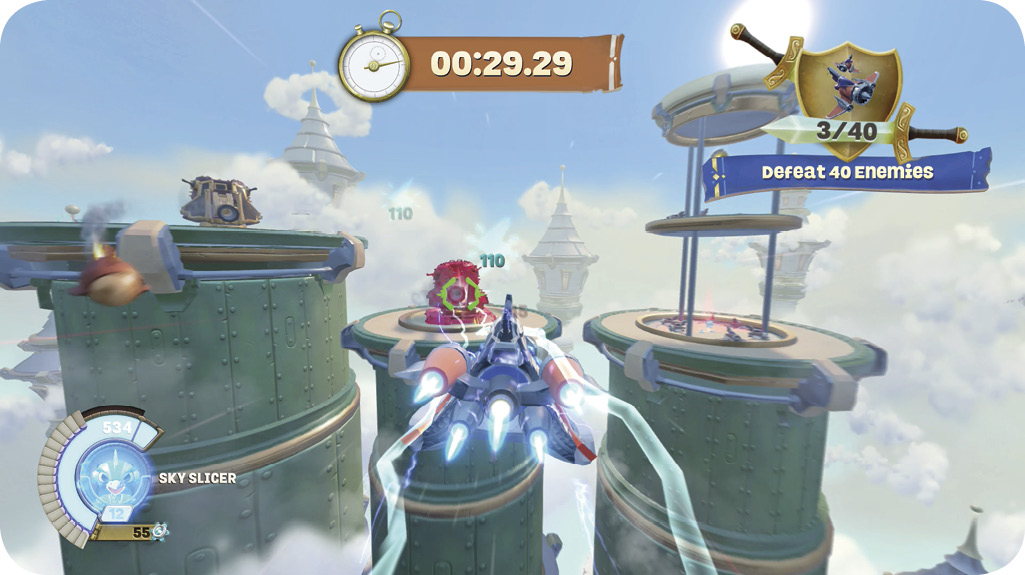
Destroy 40 enemies as quickly as you can. There are some enemy fighters already flying around when this challenge begins but you need to destroy the turrets atop the towers to bring out more. Everything you destroy adds one to the counter, whether it’s a turret, carrier, or fighter. Look for shield repair power-ups in the towers after you destroy the turrets.
| Shield 1 | Complete |
|---|---|
| Shield 2 | Finish under 180.00s |
| Shield 3 | Finish under 120.00s |
 Dark
Dark

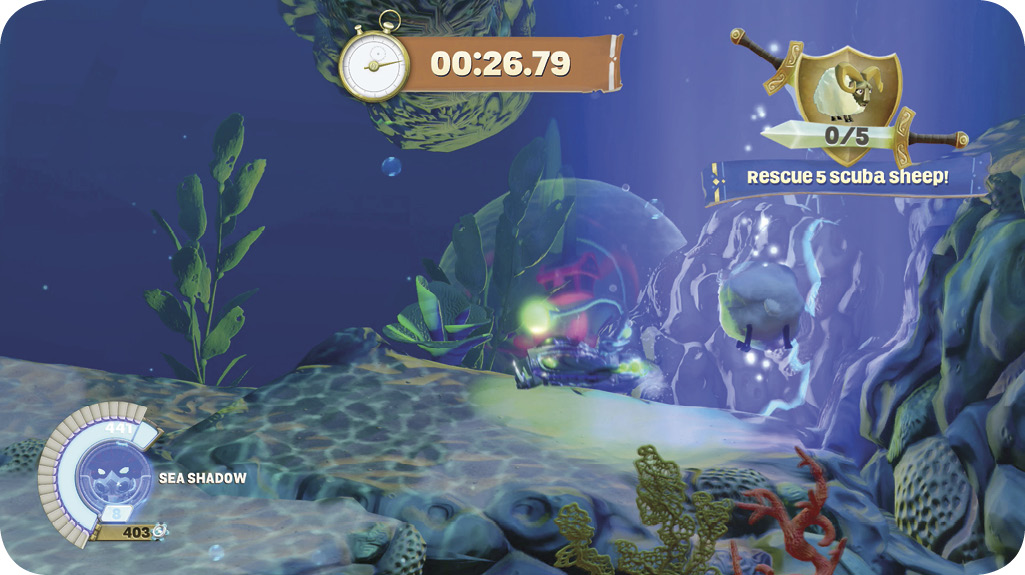
Rescue five Scuba Sheep while avoiding the eel’s sonar and follow-up attack. All you need to do to rescue the sheep is touch them. Listen for the eel’s sonar. After you hear it, watch for the eel to turn red. That means it’s about to strike. Use the environment (tight caves and metal bars) to avoid being hit. There are shield repair power-ups around if you need them.
| Shield 1 | Complete |
|---|---|
| Shield 2 | Finish under 240.00s |
| Shield 3 | Finish under 135.00s |
 Earth
Earth

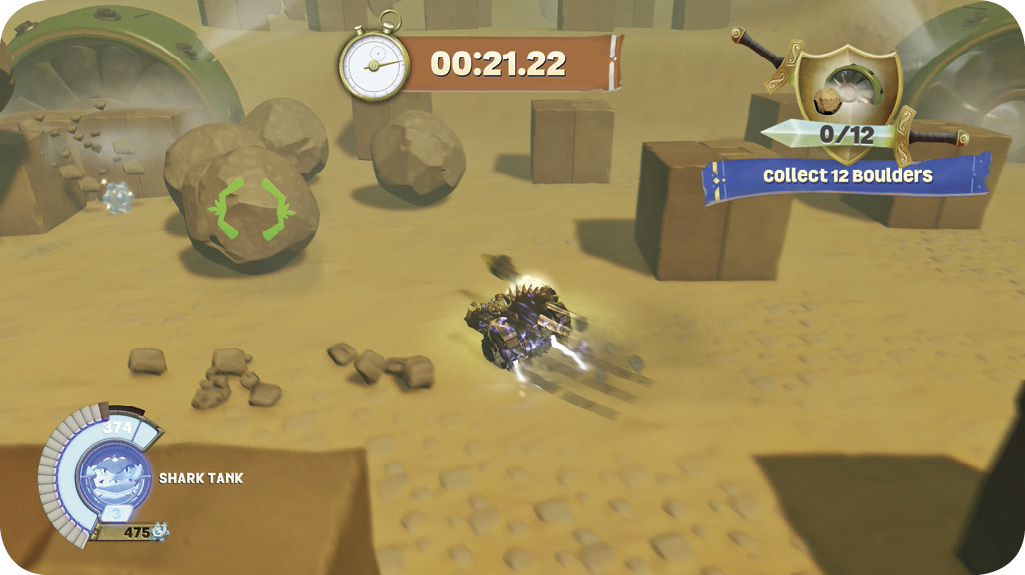
Collect 12 boulders by rolling them into the green air intakes scattered throughout the area. There are mechanical creatures who pull boulders up from the ground and throw them but you can ignore them for the most part. Some of the intakes are blocked by stone cubes but they’re fragile. One hit from a rolling boulder is enough to destroy them. The key to a good time is locating stacks of boulders and hitting them so they all move toward an intake. There are four boulders in a stack so you don’t need many stacks to wrap up this challenge.
| Shield 1 | Complete |
|---|---|
| Shield 2 | Finish under 90.00s |
| Shield 3 | Finish under 60.00s |
 Fire
Fire

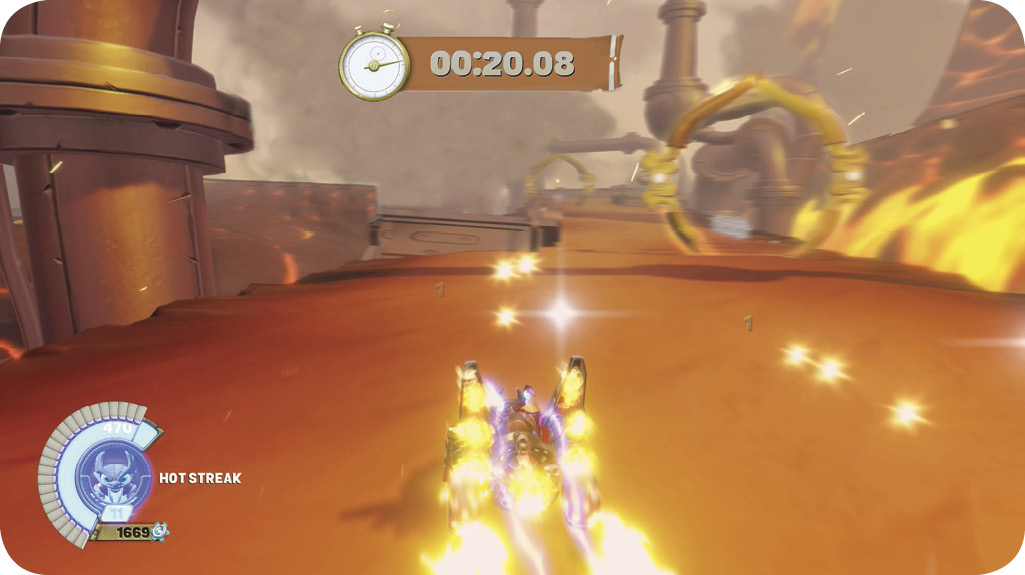
You’re racing the clock on a track partially covered by lava. There are boost gates and stopwatches that pause the timer scattered around the track. Don’t worry about picking up all the stopwatches or hitting every gate. The most important thing in this challenge is to avoid running over the lava because of how much it slows you down.
| Shield 1 | Complete |
|---|---|
| Shield 2 | Finish under 65.00s |
| Shield 3 | Finish under 55.00s |
 Light
Light

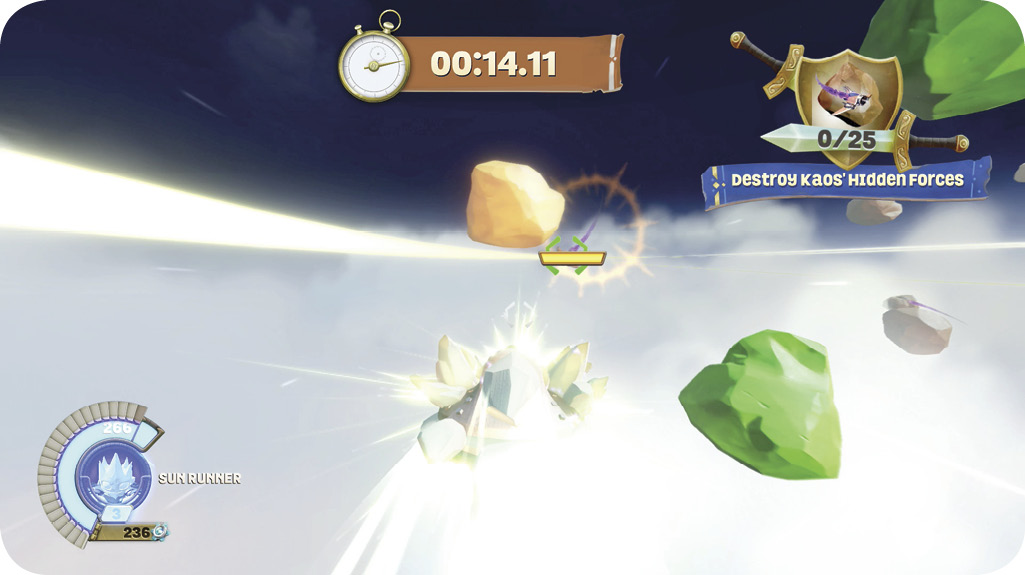
Kaos has hidden his forces in an asteroid field. Use laser sweeps to reveal their locations. Look for a health bar that indicates an enemy ship. Destroy the asteroid near that health bar to reveal the remaining four ships in that group. Shoot them down quickly and move on to the next group.
| Shield 1 | Complete |
|---|---|
| Shield 2 | Finish under 120.00s |
| Shield 3 | Finish under 90.00s |
 Life
Life

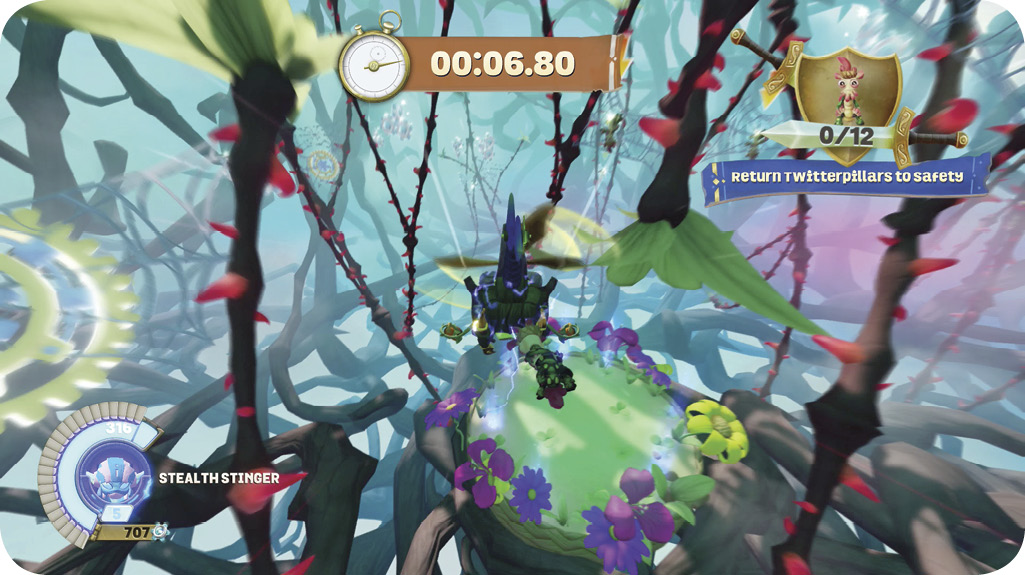
You need to return 12 Twitterpillers to safety by plucking them from spiderwebs and dropping them into a nest. You can pick up multiiple Twitterpillers (they form an insect ladder when you pick up more than one between visits to the nest). However, the thorny vines that criss-cross the area pluck Twitterpillers from your vehicle should they touch. Your vehicle crashing into objects doesn’t shake them loose but it will slow you down. Two Twitterpillers isn’t too difficult to manage but three makes it tricky to reach the nest with everyone still holding on.
| Shield 1 | Complete |
|---|---|
| Shield 2 | Finish under 180.00s |
| Shield 3 | Finish under 120.00s |
 Magic
Magic

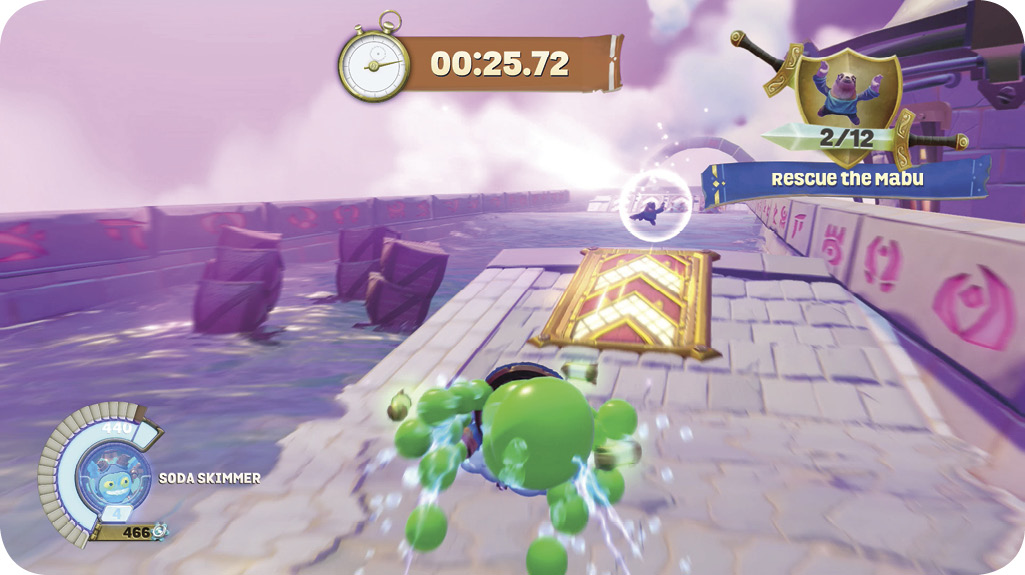
Rescue 12 stranded Mabu by running into them with your vehicle while avoiding mines and meteors. The Mabu are suspended in glowing bubbles and are found on the surface, in the air, and underwater. Watch for the purplish glow that indicates a Mabu’s location. The glow extends above the surface when a Mabu is underwater so you don’t need to dive under to look for them. The course is a series of straight lanes, so you don’t need to worry about turning. When you reach a warp point, you’re simply sent to the start of the next straight section.
| Shield 1 | Complete |
|---|---|
| Shield 2 | Finish under 120.00s |
| Shield 3 | Finish under 90.00s |
 Tech
Tech

You need to catch five Sheep Thieves and return the sheep to safety. Crash into the vehicles carrying sheep to reclaim the sheep immediately, or destroy the thief’s vehicle with attacks (which is slower). After you pick up a sheep, drive to the drop off point. You can carry a maximum of two sheep at a time. The biggest hazard is the vanishing floor. It’s always there but you can’t always see it. The flying vehicles don’t carry sheep but blast you when they can.
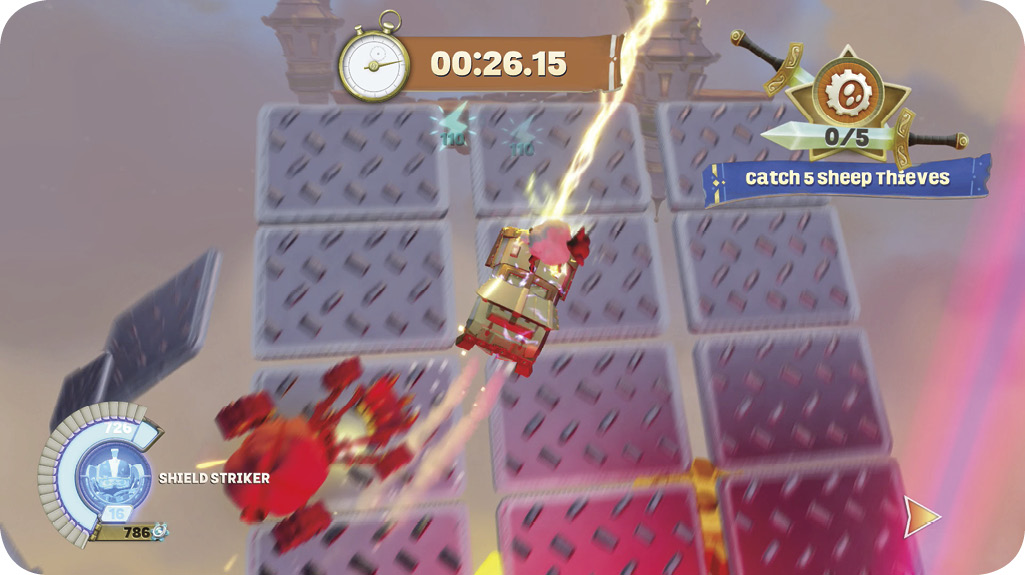
| Shield 1 | Complete |
|---|---|
| Shield 2 | Finish under 150.00s |
| Shield 3 | Finish under 85.00s |
 Water
Water

The Scuba Sheep needs your help to reach the end of the shipwreck. Destroy the barricade, then press the button to open the gate. Destroy the next two blockages and push up the hinged platforms to let the sheep cross the bridge. After more button pushing, barricade destroying, and another hinged platform, spin the wooden wheel clockwise so the sheep can hop in, then spin it around to let it out. The reddish ground launches the sheep to the end.
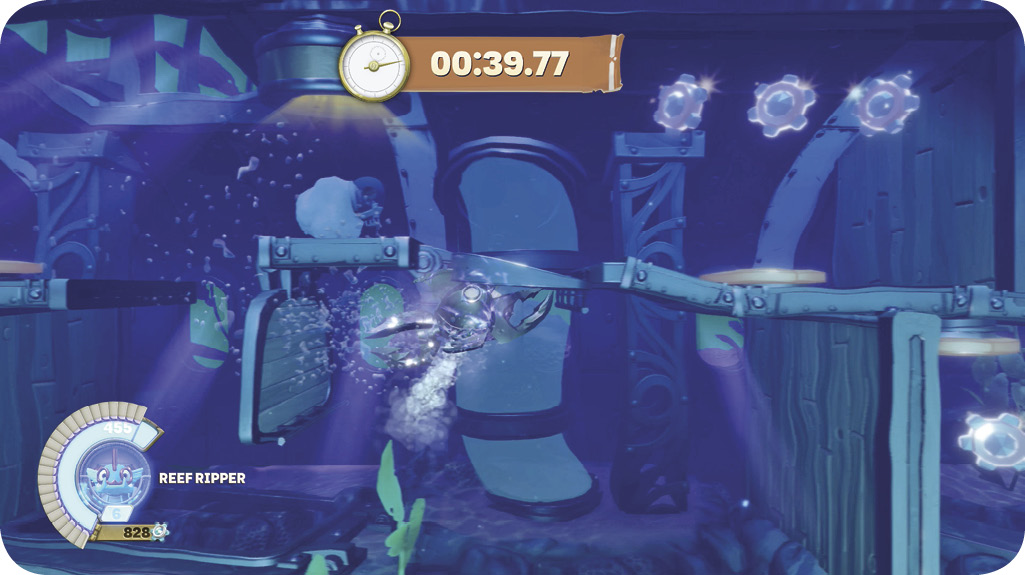
| Shield 1 | Complete |
|---|---|
| Shield 2 | Finish under 90.00s |
| Shield 3 | Finish under 60.00s |
 Undead

Destroy tombstones to reveal the bugs and destroy 55 of them as fast as you can. There are four types of bugs here, Beetle Bouncers, Rhino Rampage Beetles, Snot Snatchers, and Queen Sting.
Destroy tombstones to reveal bugs. Destroy non-tombstones (ringing outside of the area) to reveal powerups.
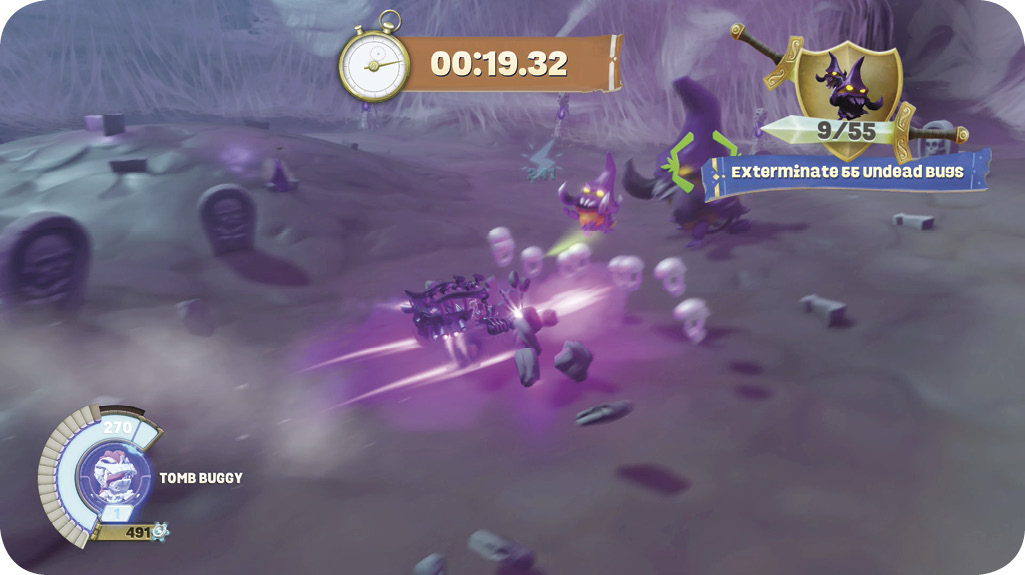
| Shield 1 | Complete |
|---|---|
| Shield 2 | Finish under 180.00s |
| Shield 3 | Finish under 50.00s |