Skylanders® SuperChargers Guide The Adventure Monstrous Isles
Chapter 37: Titanopolis
The next chapter starts off with a bang. You’re going up against the boss that you chased throughout the last section. We hope you’re ready!
Fight Beachcomber
Now you must pit yourself against another potent adversary. Beachcomber has three major attacks, massive health, and a severe lack of beach etiquette. Luckily, her attacks can be spotted a mile away.
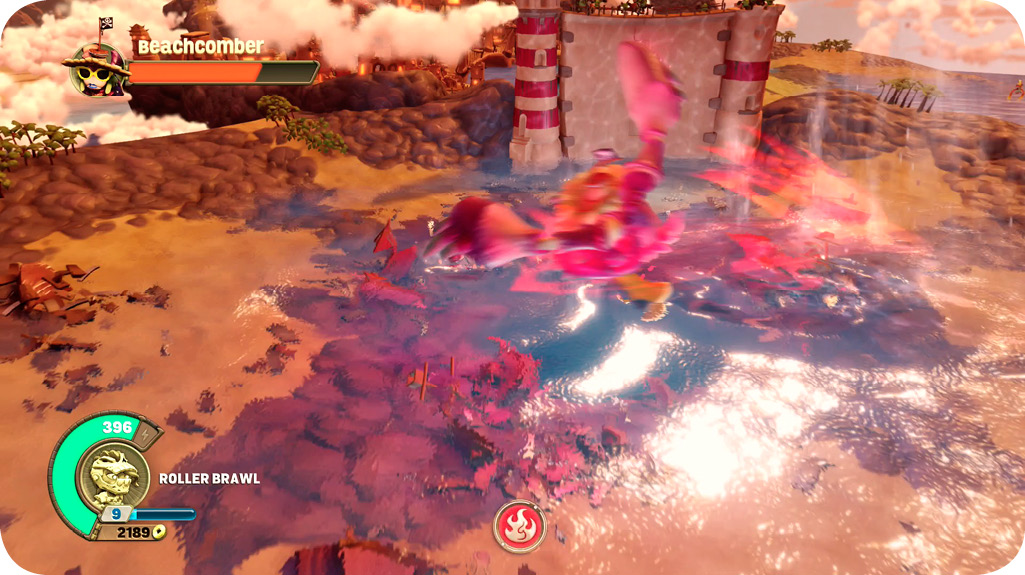
The first attack you’re likely to see is her charge. Beachcomber glows red for a brief moment and then flies forward, across the surface of the water. She’ll do this twice in a row, and you have to dodge to the side (running away from her won’t work because she’s moving too quickly). Dodge to the side twice, and then race after her to get counterattacks before she recovers.
Another attack happens after Beachcomber goes underwater. She sends tentacles up to hit you, one after the other. Run quickly in any direction, and jump to avoid the later blows in the series. Or, if you have abilities that grant you faster movement, use those to stay ahead of the attack.
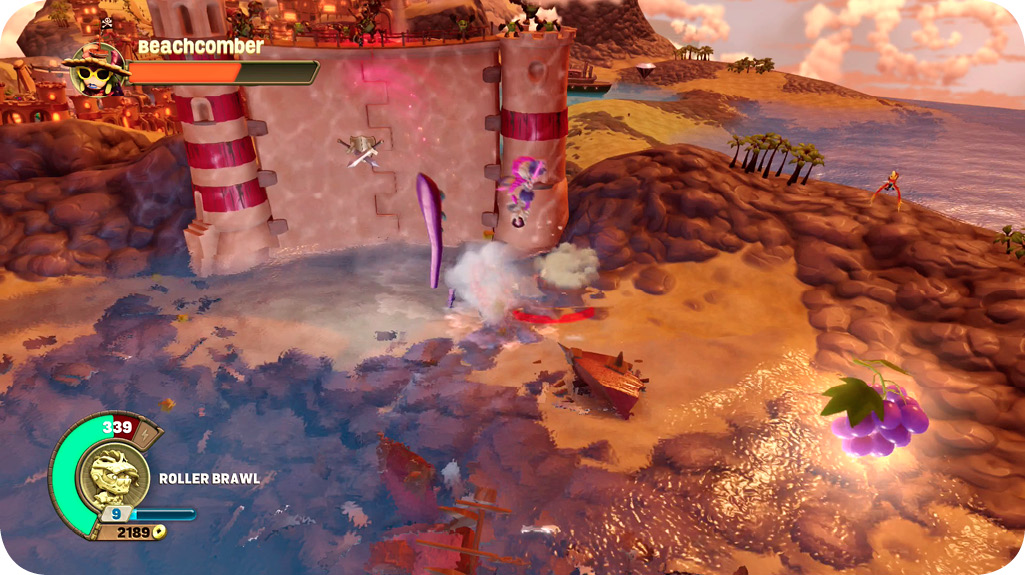
The final move from Beachcomber also comes after she submerges. She’ll raise her tentacles in an X pattern, and then rotate them around the entire area. Jump methodically over each one, in turn.
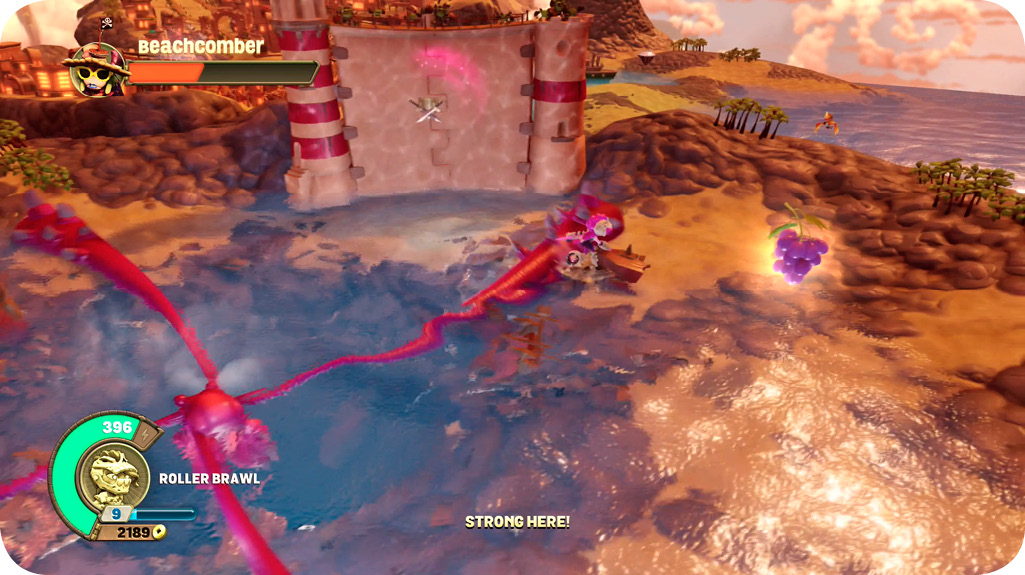
Always get as many free hits as possible against Beachcomber after she tires herself out. Keep hacking away until she flares out her tentacles (a sure sign that one of her attacks is about to begin).
There is health on each side of the area, but you won’t get much of it. Be careful, and don’t eat anything until you’re pretty badly banged up. This way you won’t waste the excess health the food might have healed.
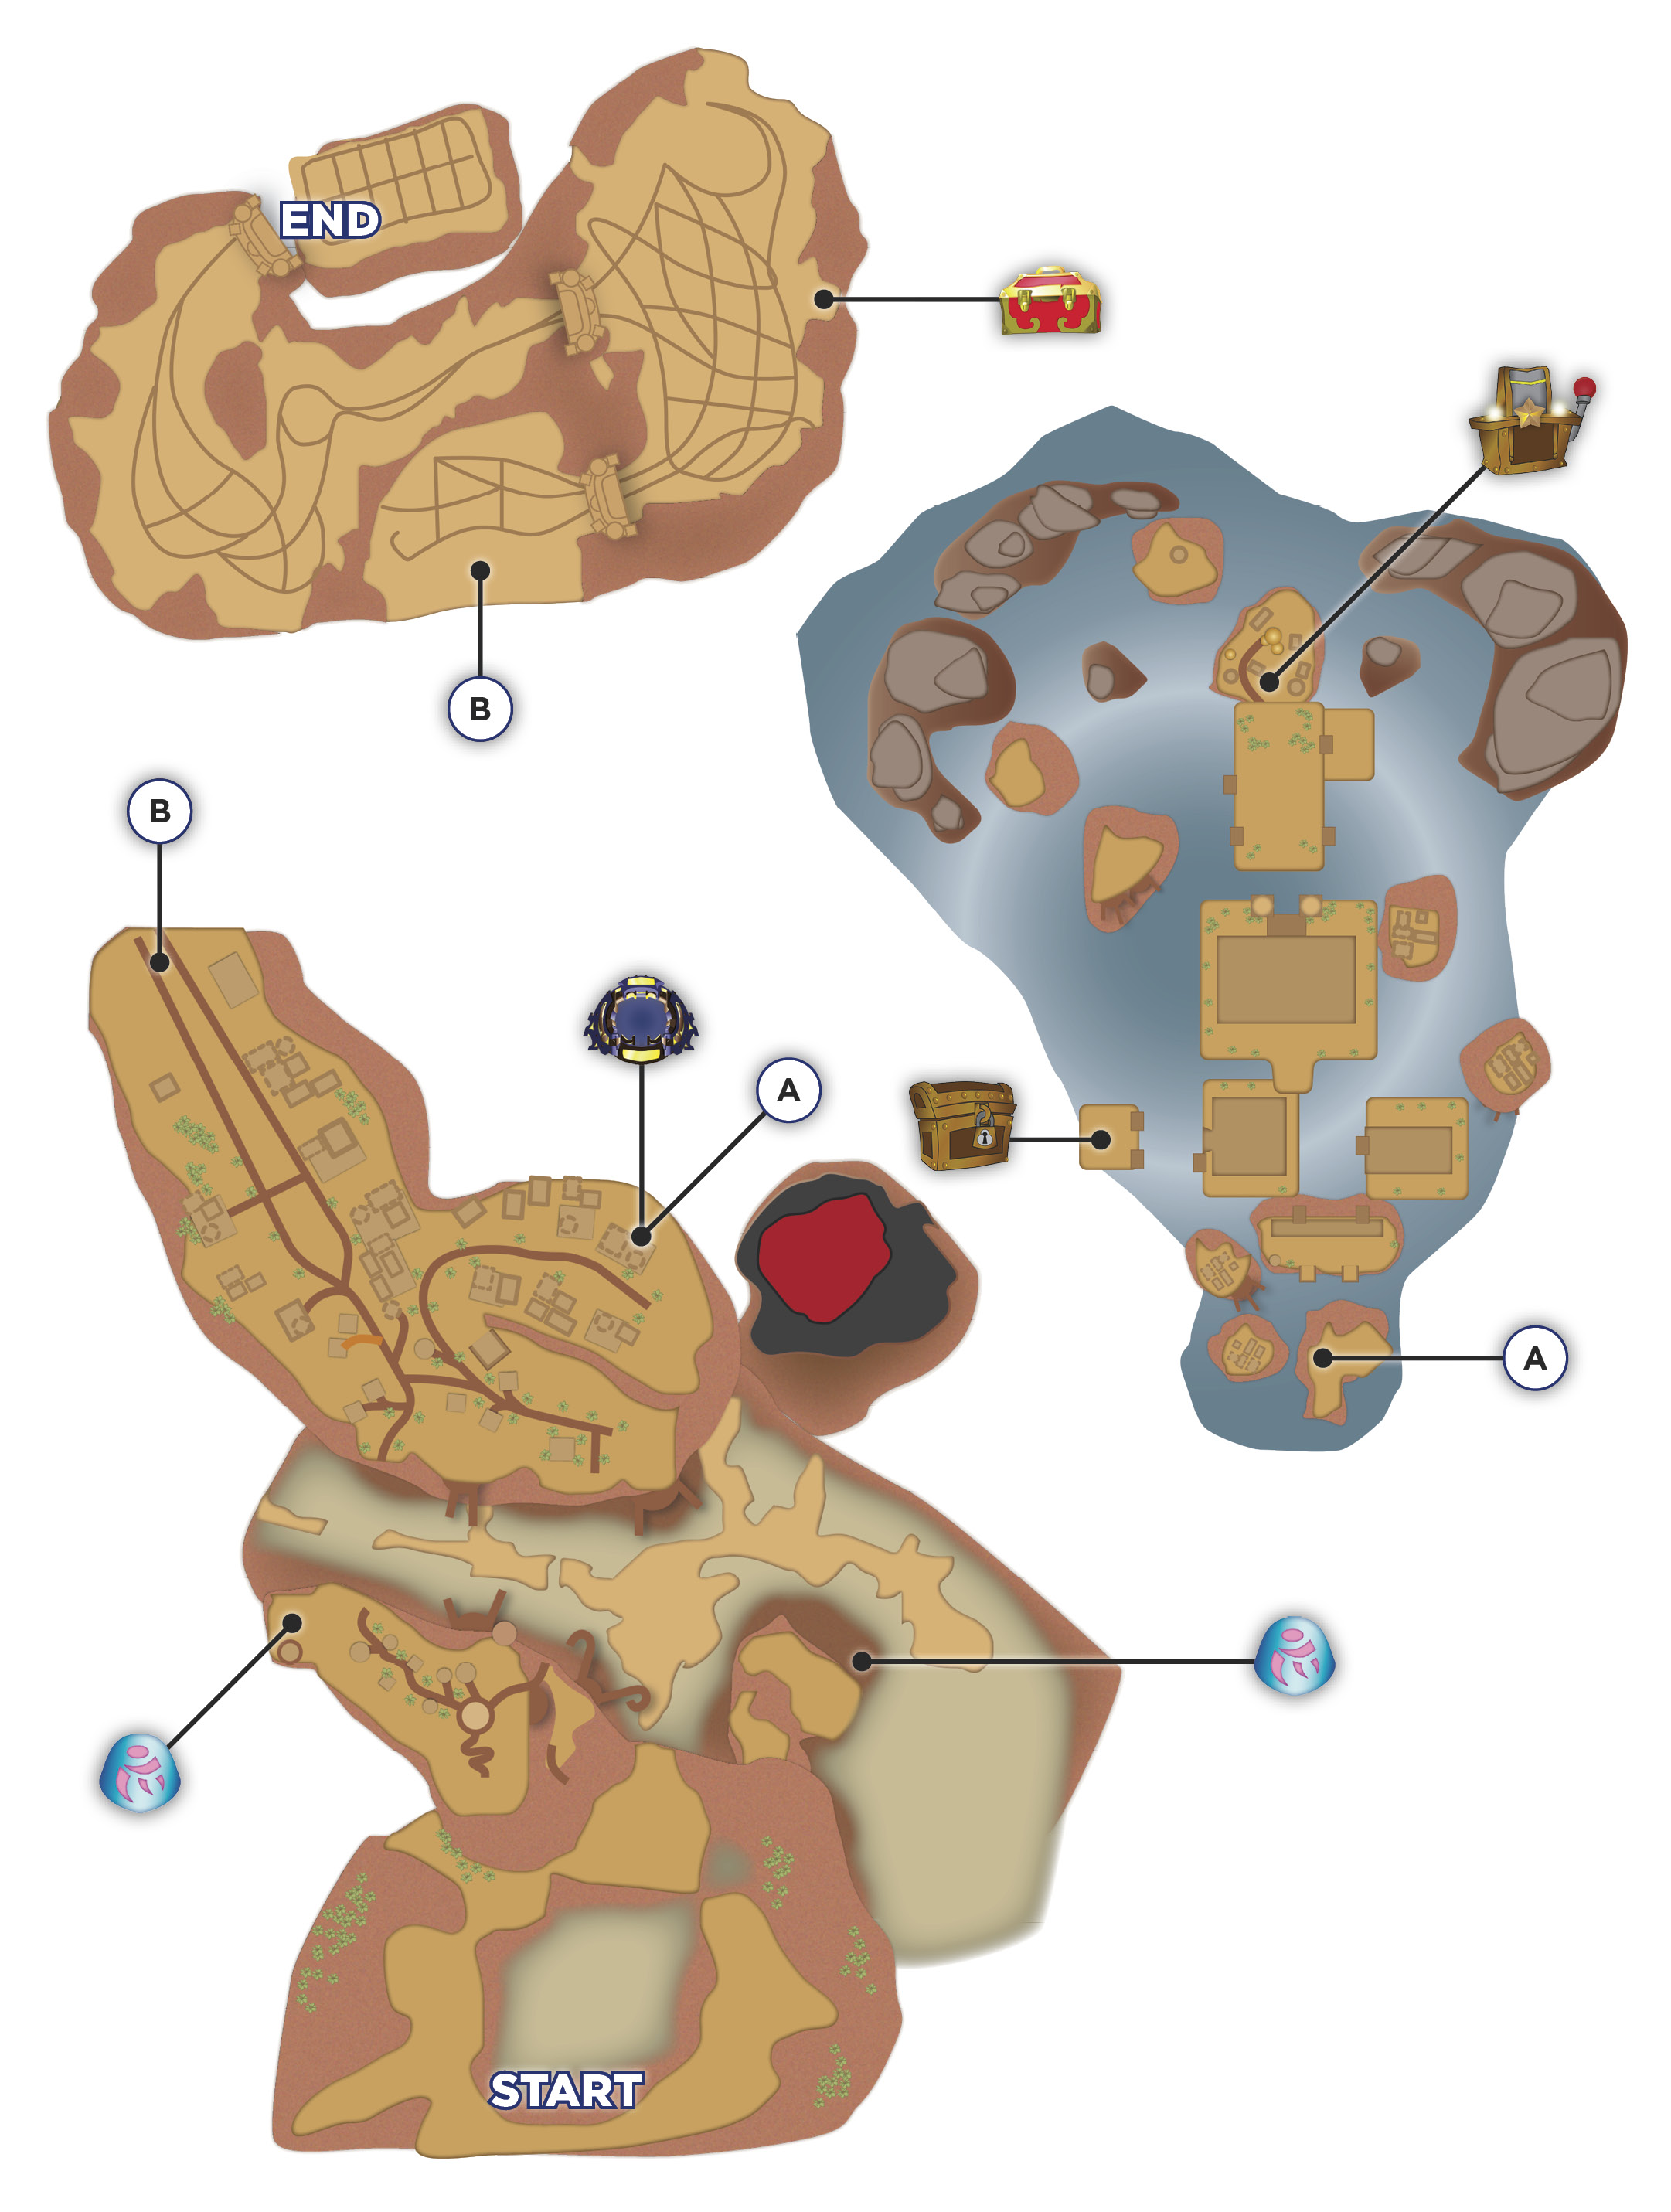
Defeat Beachcomber and then take the exit behind her. Look along the path to the right for a Wish Stone, and then trash the town to the left. Look for a vent on the far end of town and jump above it to get another Wish Stone while you’re there.
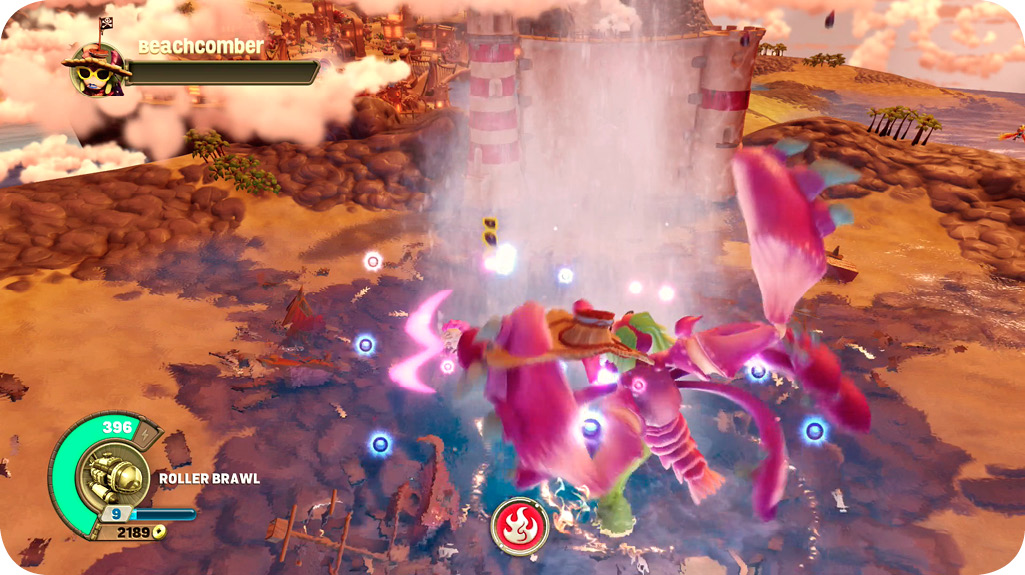
The way forward to the end of the region isn’t far away; it’s along the path through town, farther to the left. However, there is also a SuperCharger Gate here. It’s on the right side of town, once you get close to the exit. Look for that and then go into the Gate to find even more treasure. The last Epic Treasure Chest is there, but you have to work for it.
There isn’t any fighting inside the SuperCharger Gate, but there are multiple puzzles to solve.
Tier 1
Get onto the first series of ledges. There are moveable blocks, but two of them are way too high to be of use. How strange. The key is to push one of them over the side ledge so that the blocks fall and form a bridge. This allows you to move the smaller block to the left side (where it can be used as a stepping stone to reach the next tier)!
Tier 2
This one might be a real poser for people who haven’t seen a puzzle like this before. It looks impossible at first. You can’t get the taller stack to slide into the center, but that’s where it needs to be.
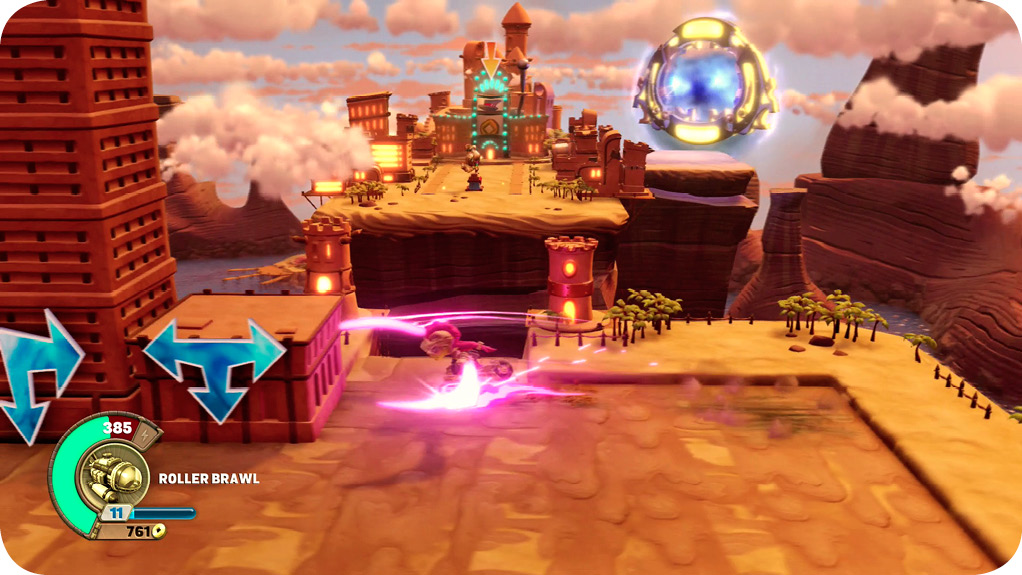
Here’s the trick. Put the tall blocks in the upper corner (on either side). Then, slide the short block around the area until it is directly beside the taller stock. Let’s say we’re doing this in the upper-left corner. You should have the tall blocks in the corner, and then the short block on the position directly to the right of that. Now, move the tall blocks down, right, up, and then left. They’ll bump into the small block and stop. This puts them in a position where you can slide then up, forming a new bridge.
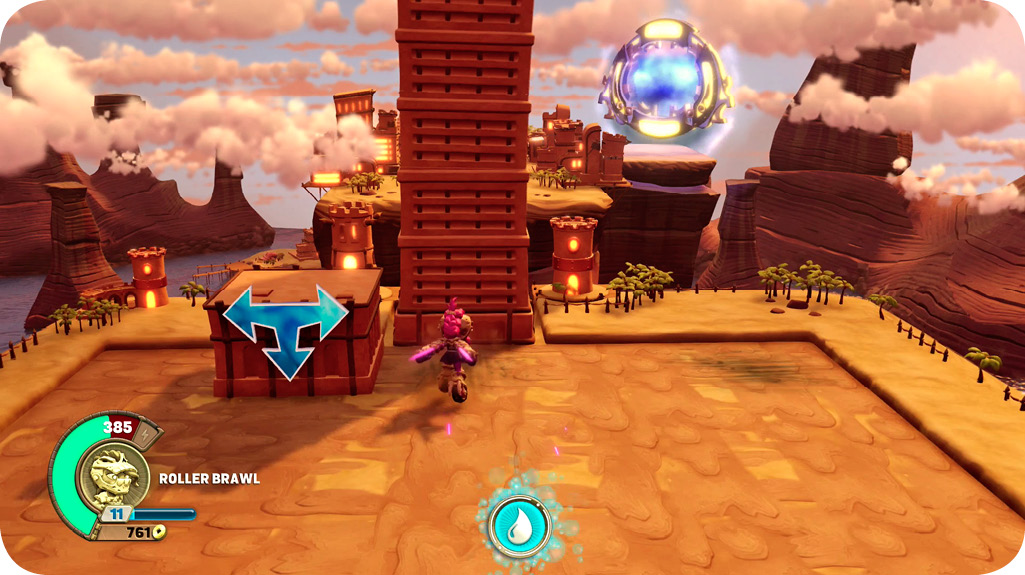
Collect the Epic Treasure Chest at the top of the area, and don’t forget to grab the Random Reward Object, and then use the Gate to return to the main map.
Approach the exit and get into a land vehicle. This starts another challenge.
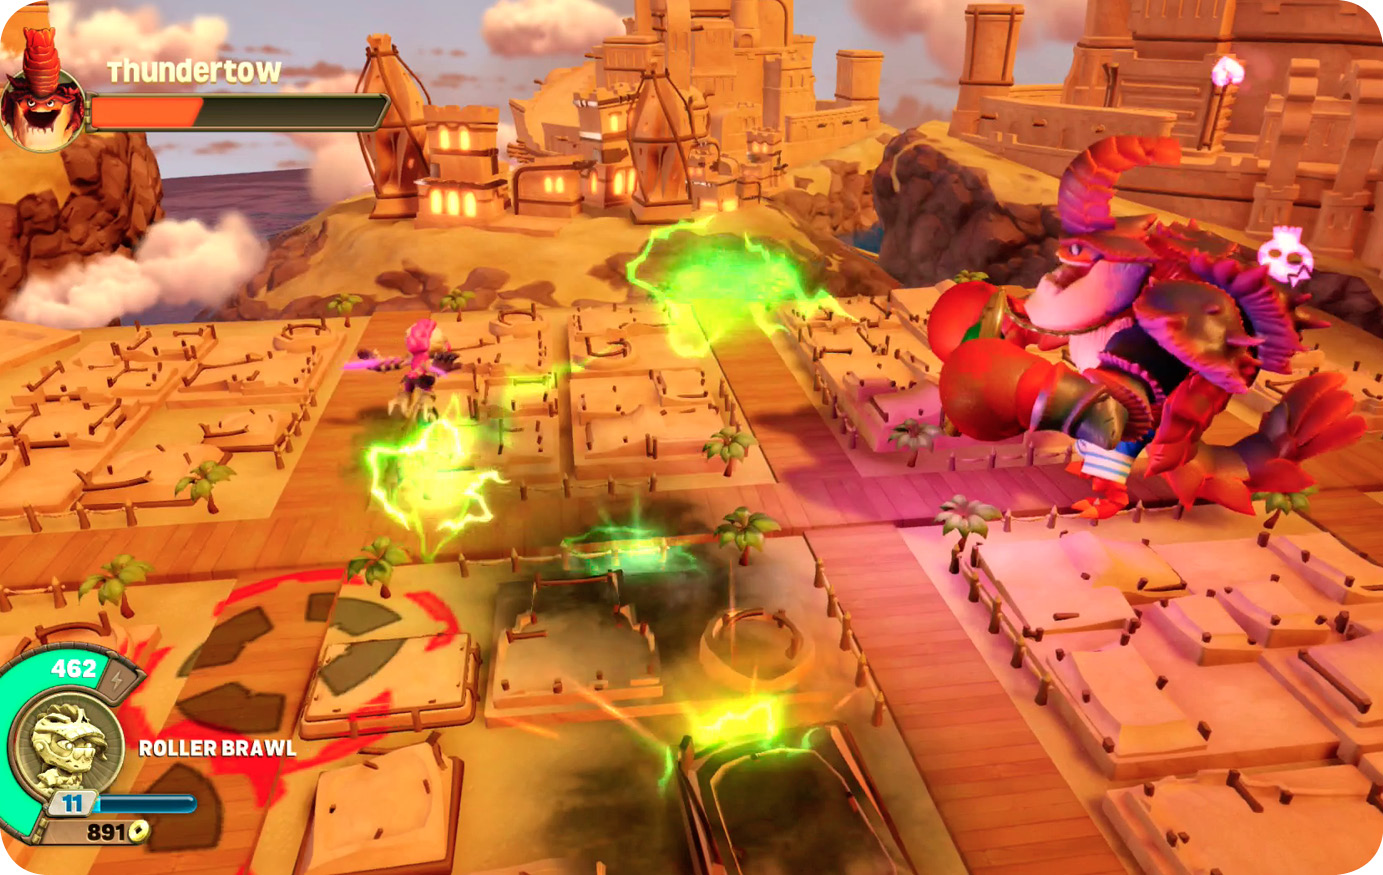
Defeat Thunder Tow
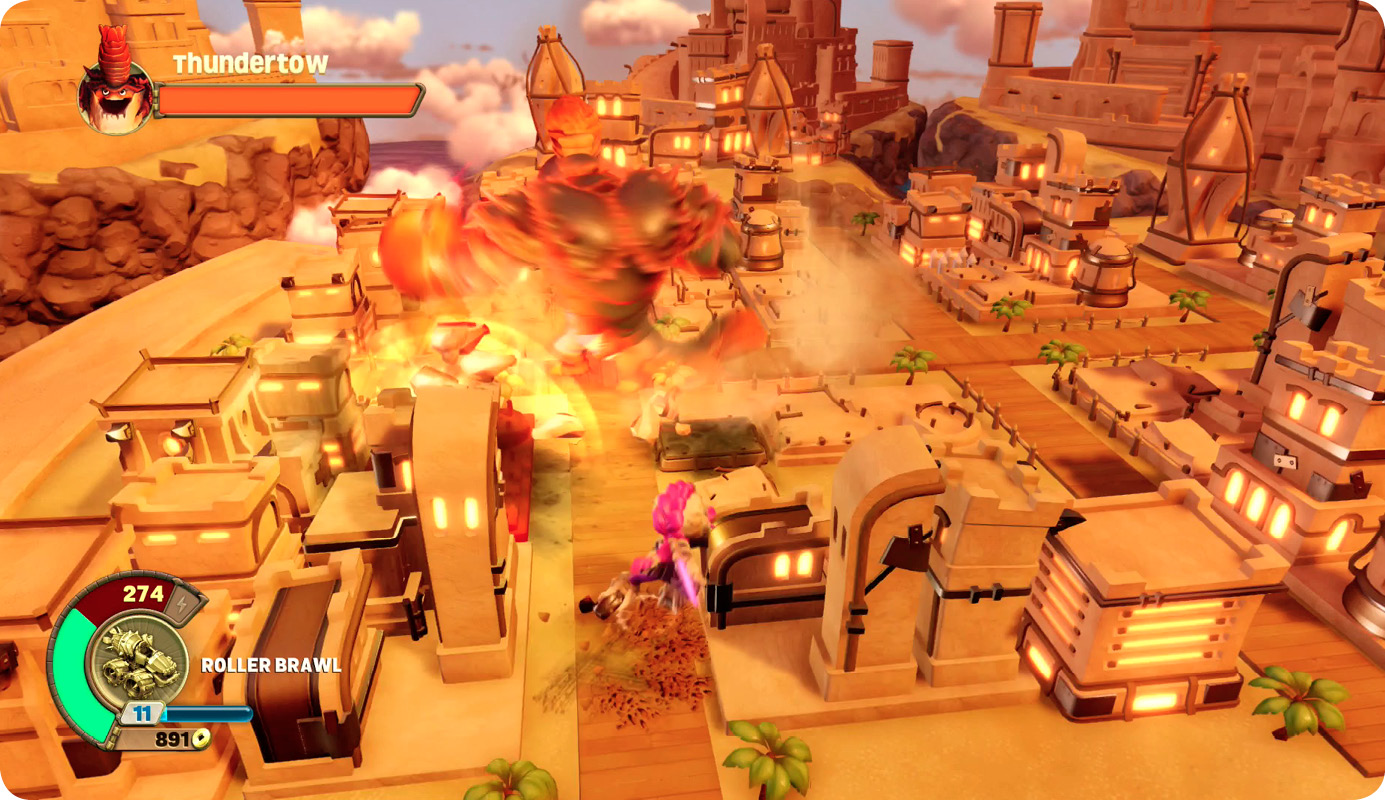
Thunder Tow is one of the toughest bosses that you’ve gone up against. He has heavy attacks, high damage, typically high boss health, and you won’t find many buffs or food items in his arena. You can still take out this beach bum, but it’ll take better timing than some fights.
The basic one-two punch is Thunder Tow’s bread and butter. He does this very frequently. This move doesn’t have much windup, so you have to be moving away from Thunder Tow before he starts to attack. Be conservative early in the fight until you get the timing; just don’t get greedy about hitting him with melee attacks until you know what you can get away with.
Thunder Tow charges in place sometimes and then leaps on top of you. Keep moving and you’re likely to avoid this. It’s a very inaccurate attack. He does a few in a row, and you can hit him with ranged attacks in between jumps.
This guy is so big that he can slam the ground and create a shockwave. It’s pretty fast, so jump early and try to clear it.
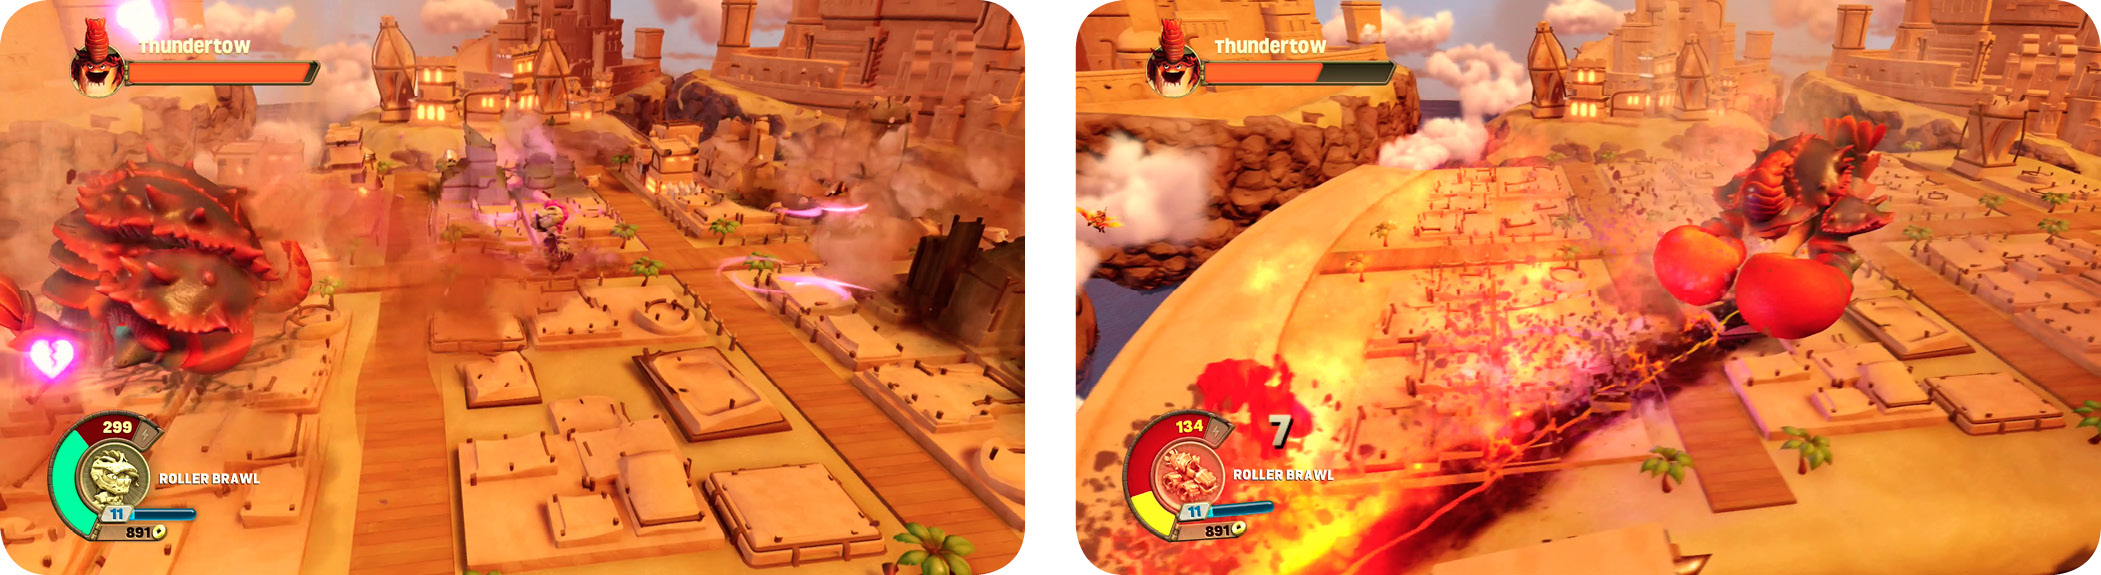
After all that, Thunder Tow has a rare attack that spews green flames all over the area. Not only can these hit you initially, but they’ll burn for quite a while, making it hard to safely move around the field. This is very tricky, but the damage output from the fire isn’t too high, which is a good thing!
Food appears over time, and not very often. There aren’t any solid buffs to grab, so you need to conserve health and fight defensively pretty much the entire time. Bring your toughest Skylander, because you’re probably going to need everything they can give you.
Armed with all that knowledge, you can take out this creep and get back to the Academy. Congratulations!