
LEGO Jurassic World Guide Console Welcome to LEGO Jurassic World!
The Basics
Jurassic World seems like a fun place, but once you get inside, things can get confusing—like, who’s food and who’s not? If you want to survive this theme park vacation, you’d better read up on your survival skills.
How the Game Flows
Story Mode
LEGO Jurassic World features a four-movie central story that plunges you into the wildly imaginative world of Jurassic Park. Each level features several missions that advance the storyline plus a “hub transit” mission that moves you across the park to the kickoff location of the next level. These hub areas are huge, fully playable landscapes.
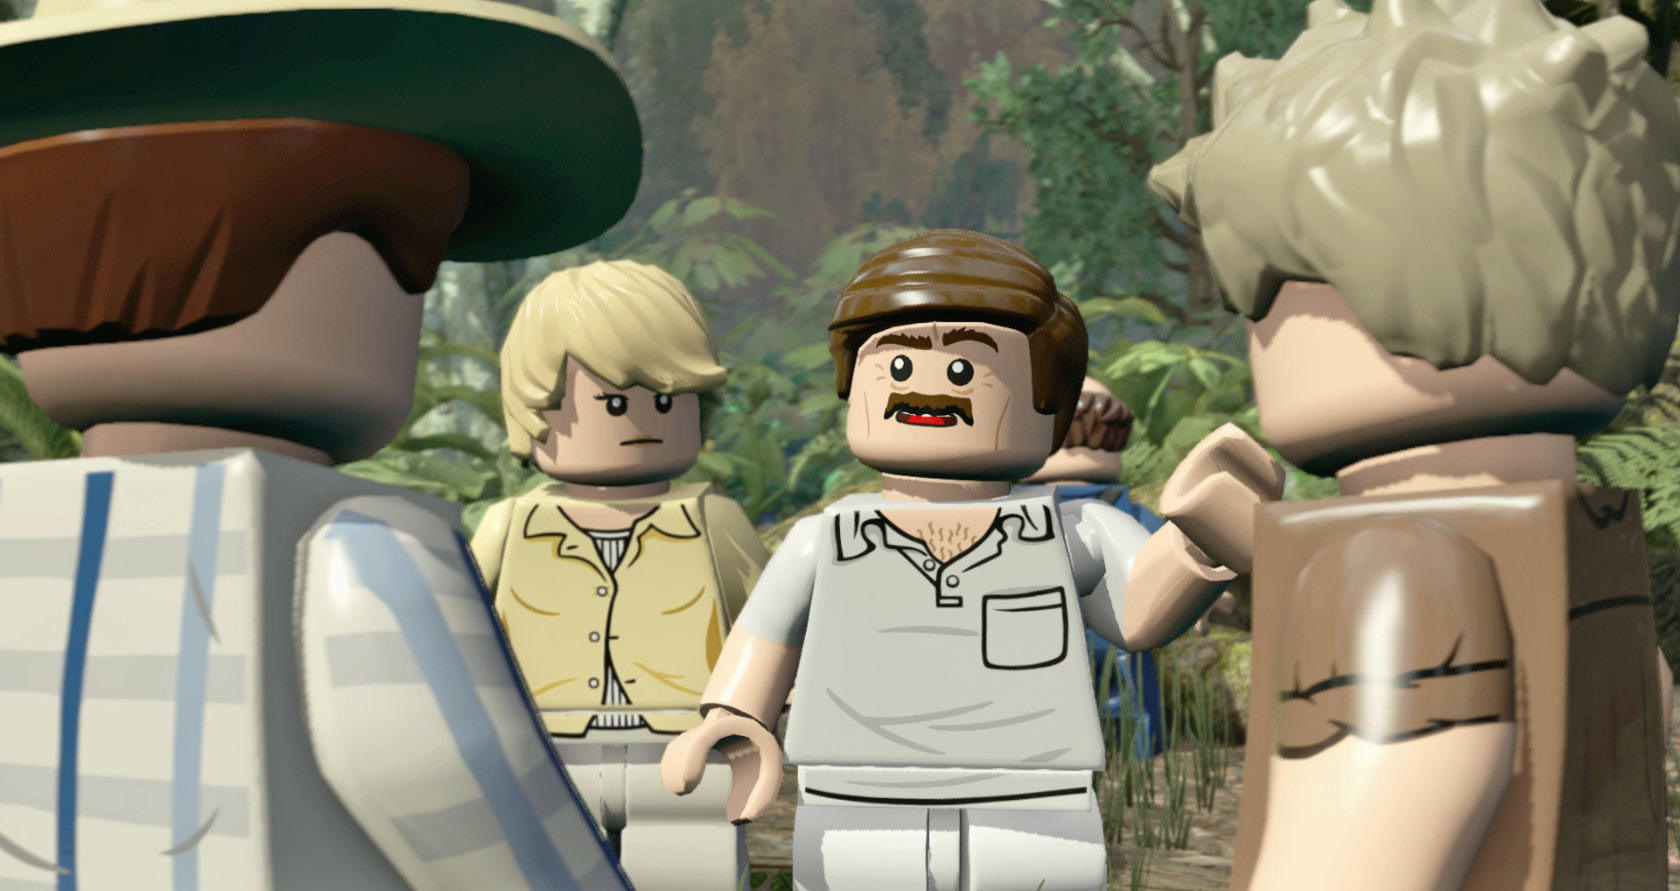
In Story Mode, you play with a small team of assigned characters. Each mission has a specific set of objectives that call for clever teamwork as you “tag” back and forth between characters, using each one’s special abilities to move forward. Mastering this feature is a key part of game strategy. We’re here to help you with that.
Free Play Mode
In the Story Mode levels, you encounter interesting objects or areas that remain inaccessible because your current team of characters lacks a particular skill. Maybe an Amber Brick floats just out of reach above a ledge, or a Minikit twirls inside a chain-locked cage that you can’t open.
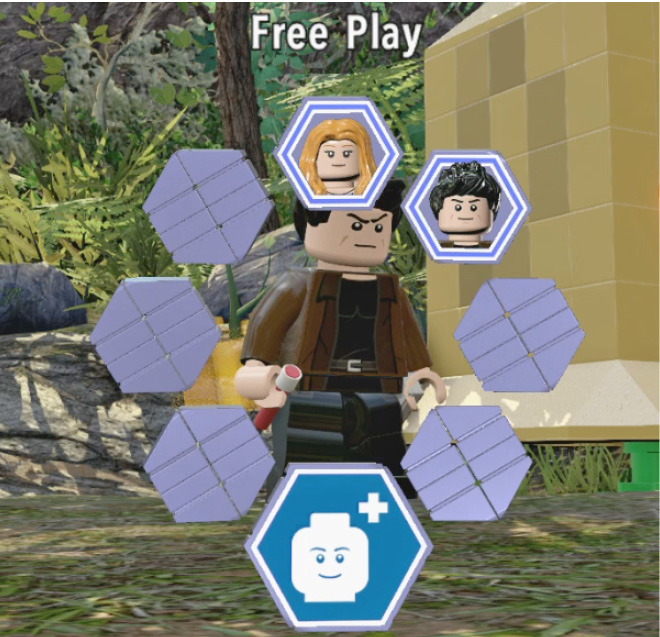
Don’t be frustrated! These objects will be waiting when you return for some Free Play. In Free Play Mode, you replay any mission from any Story level you’ve already completed, but this time you bring every single character you’ve unlocked thus far in the game! So now, when you revisit that chain-locked cage, you can tag to Nick Van Owen (if you’ve unlocked him), use his bolt cutters to snip the chain, and then grab that Minikit.
Hub Areas
The action in each one of the game’s four Story Mode movies takes place within contained areas on Isla Nublar or Isla Sorna. You can access these contained areas only to play or replay missions in Story or Free Play mode. But in each movie, these mission-playing areas are connected by a sprawling, wider landscape called a “hub.”
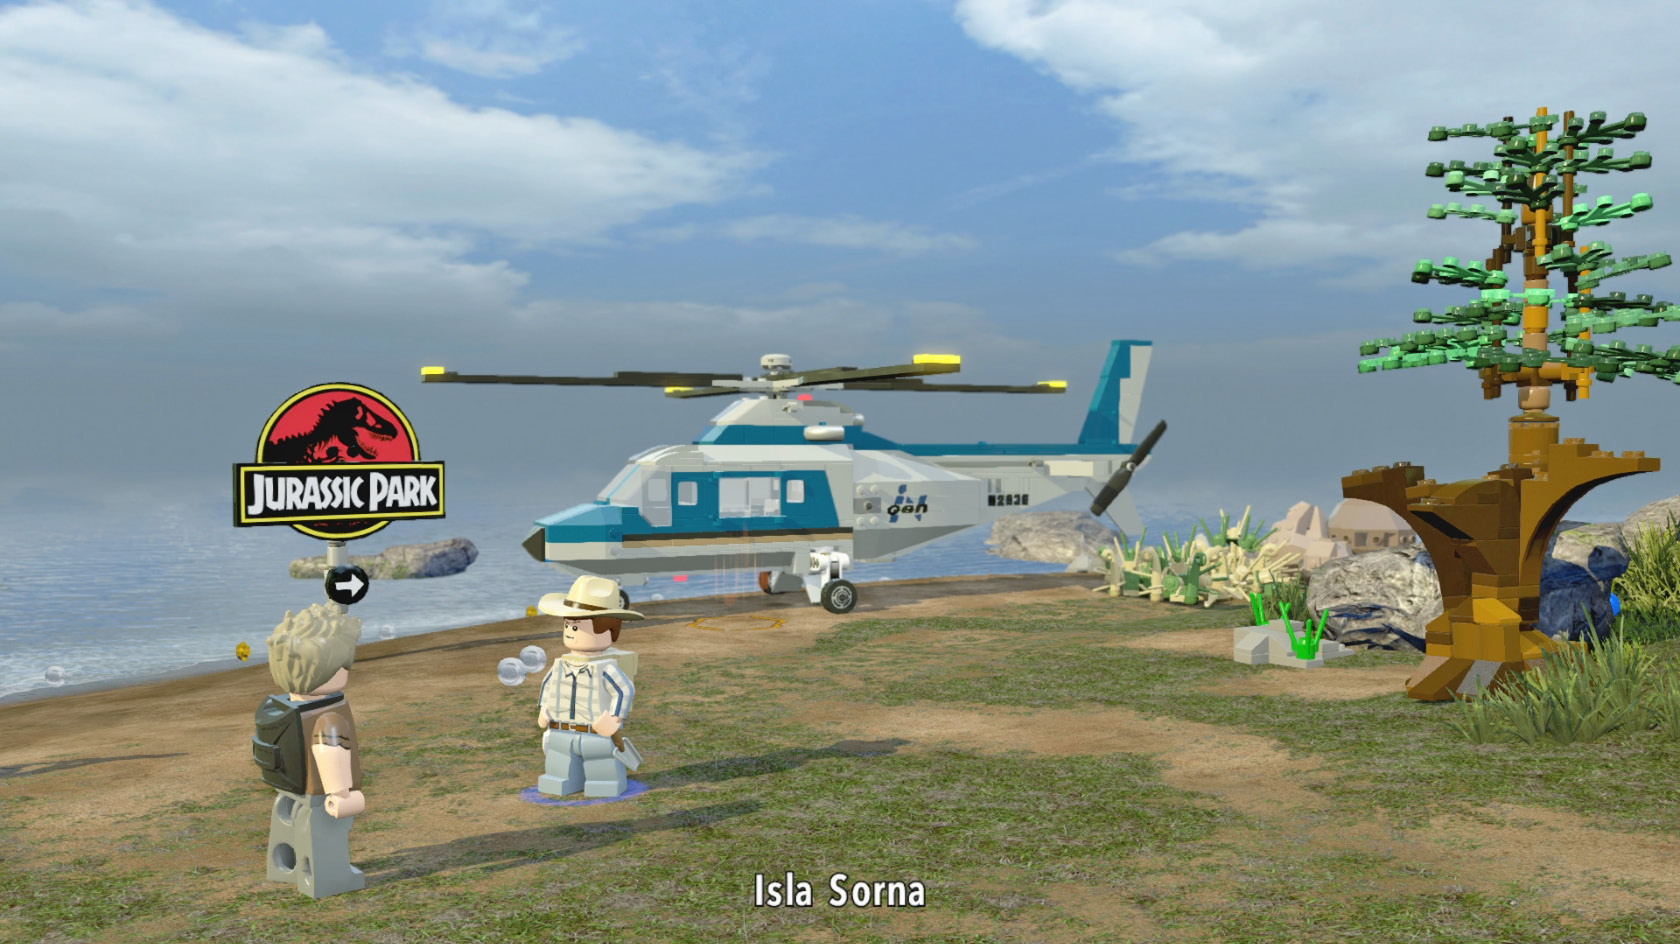
The four hubs (one for each movie) are basically big adventure playgrounds that you can explore, filled with events, puzzles, dinosaurs, unlockable characters and dozens of collectible items. For more on the amazing hubs, check out our Hub Areas chapter.
Fun Park Activities
There are a lot of fun things to see and do in LEGO Jurassic World. In fact, the following activities are so much fun we had no choice but to put an exclamation point behind every one.
Break Things!
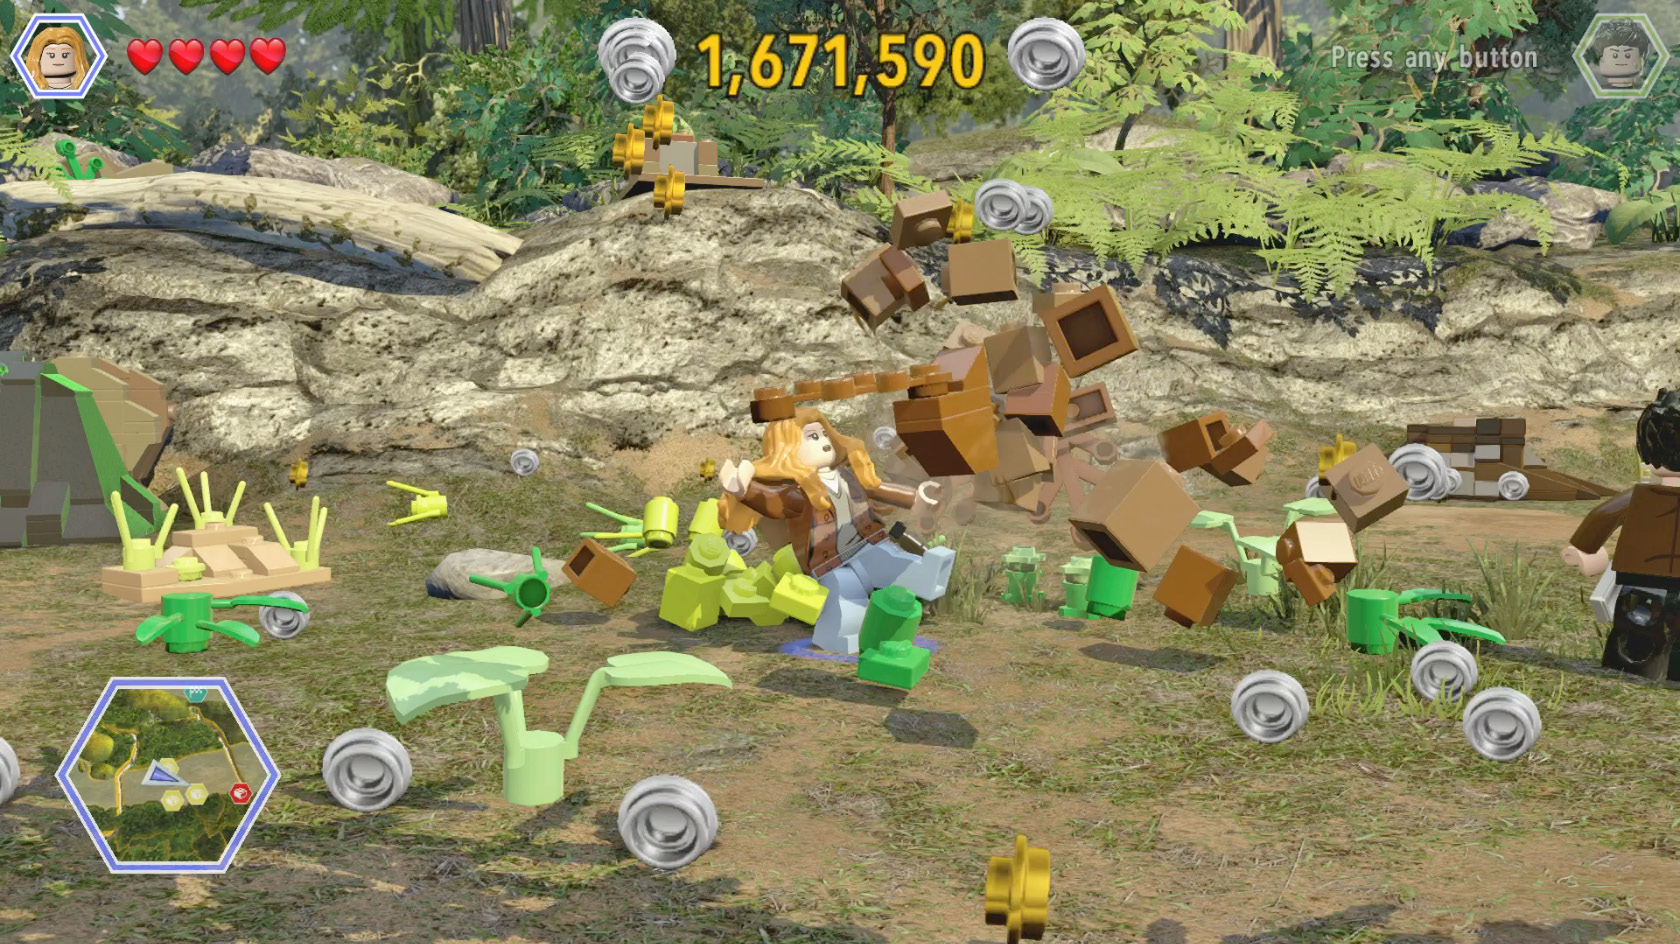
One of the great things about LEGO games is that you can smash almost everything in sight and nobody gets mad at you. And not only is it fun to bash things to smithereens; it’s also highly profitable. Almost everything that breaks apart releases a shower of gold and silver studs. It looks cool, it sounds cool, and it pads your pocketbook because LEGO studs serve as your in-game money.
Build Stuff!
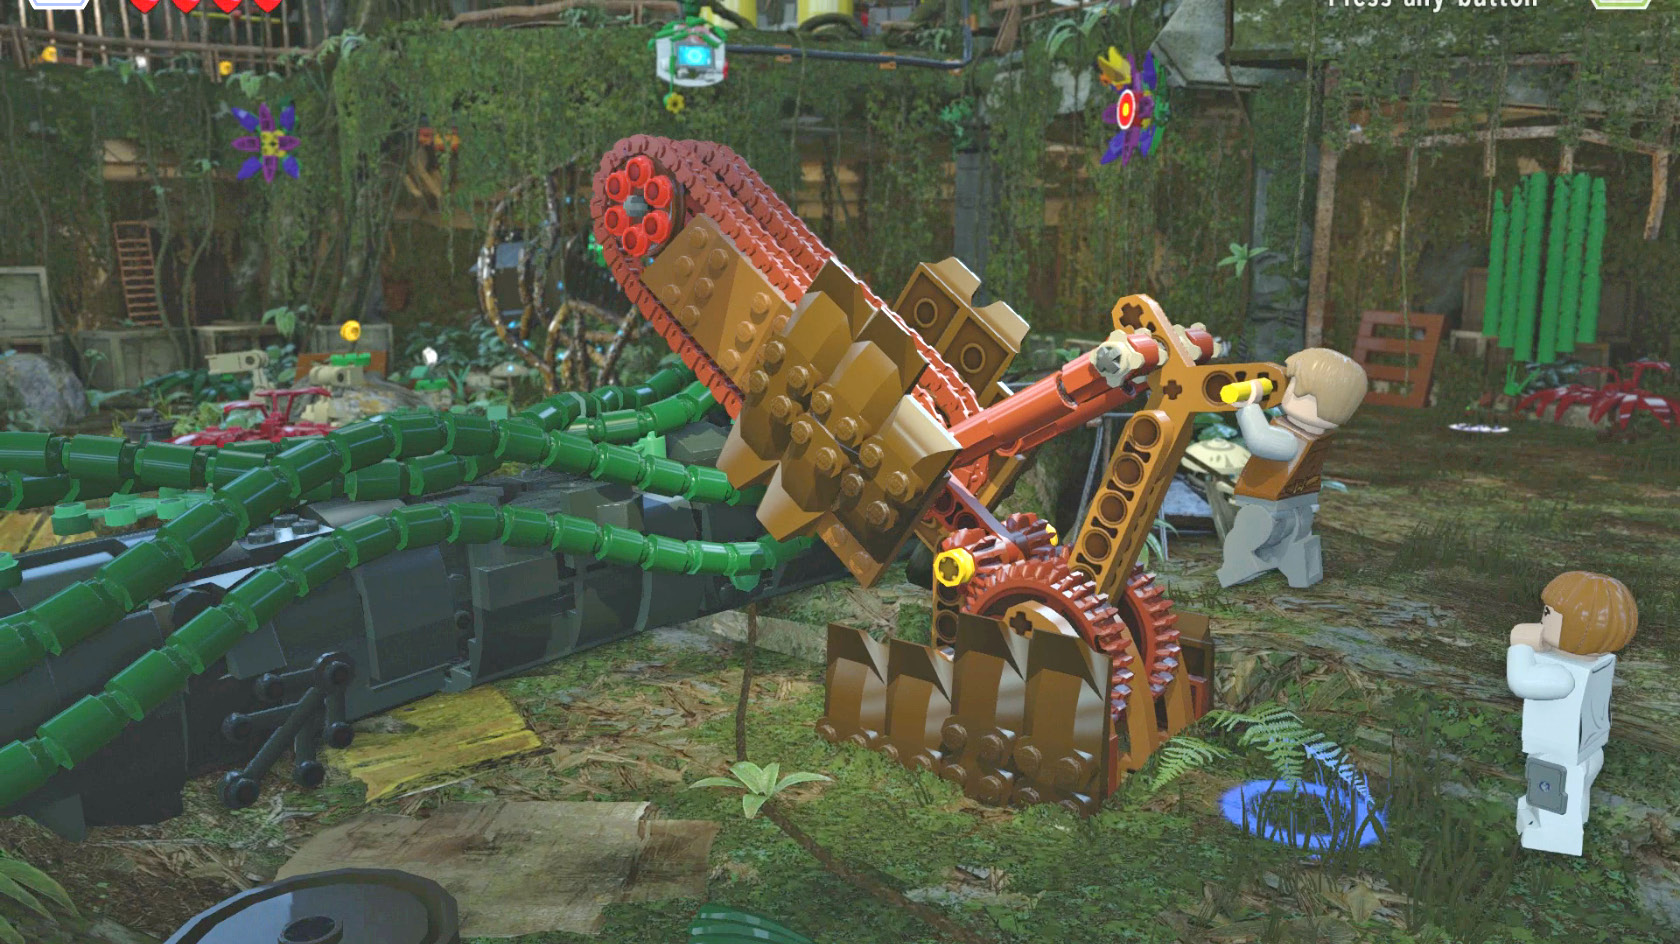
There’s another important reason to break everything that’s breakable. Very often you need a certain device or mechanism to advance the story, and the only way to get it is to assemble it from pieces of something you broke. These are called “build-it” pieces. So don’t be fooled by the current shape of any object you encounter. It could be the building blocks of something completely different. Smash it!
Use Things!
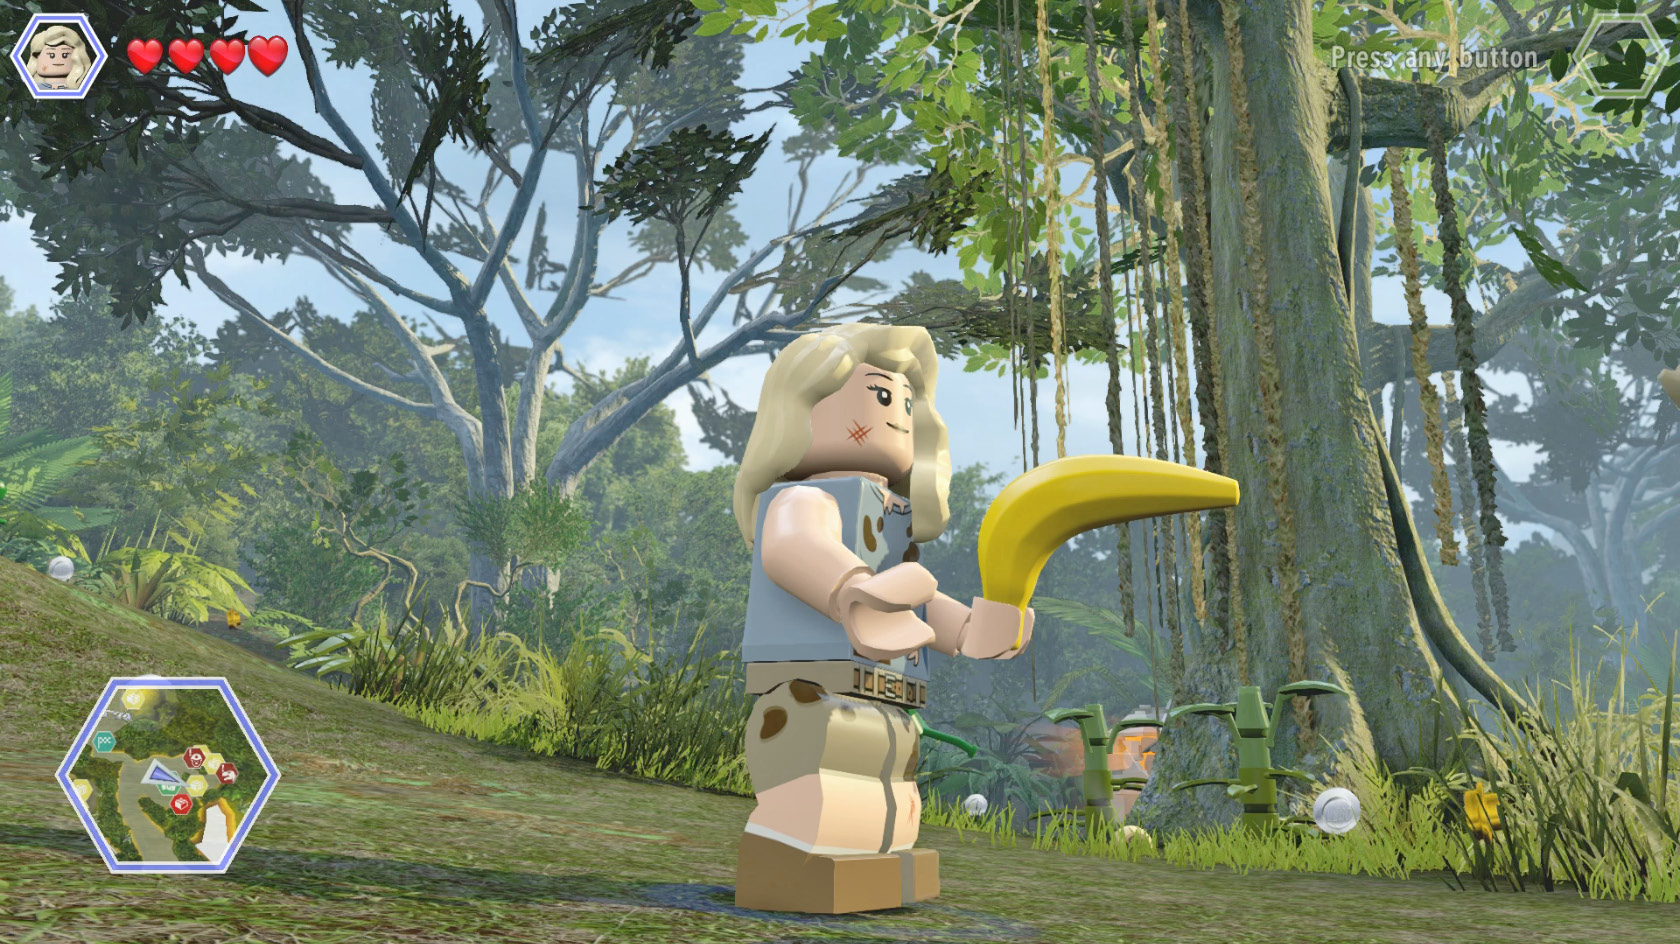
Sometimes you’ll find an item glowing on the ground: a crank switch, a leaf, a backpack, a bone, maybe even just a rock. If the item glows white, any character can pick it up and follow the objective arrow to the place where you use it. If the item has ghostly blue footprints rising from it, only a character with the Tracker ability can pick it up. In that case, follow the blue tracks that appear on the ground until your tracker unearths some interesting object.
Activate Stuff!
LEGO Jurassic World is full of switches, buttons, cranks, levers, access panels, computer terminals, and other devices that your characters may need to activate. In most cases, you simply step up to the object and press the Use/Activate button. Sometimes you need to rotate the left stick in order to turn a crank switch, or walk into a push-switch to rotate it around.
You’ll also encounter a few large objects like crates that sit on checkerboard slide tracks. Just walk into the object to push it down the track. (You may need to repair the track first with build-it pieces.)
Fight Things!
Sometimes life on a wild island comes down to survival of the fittest. When necessary, use your attack abilities to fight off swarms of hostile goons, whether of dino or human variety. Every playable character has a melee punch attack, and several characters (including the spitting Dilophosaurus) have ranged attacks too. Lex Murphy can even use a baseball as a projectile weapon!
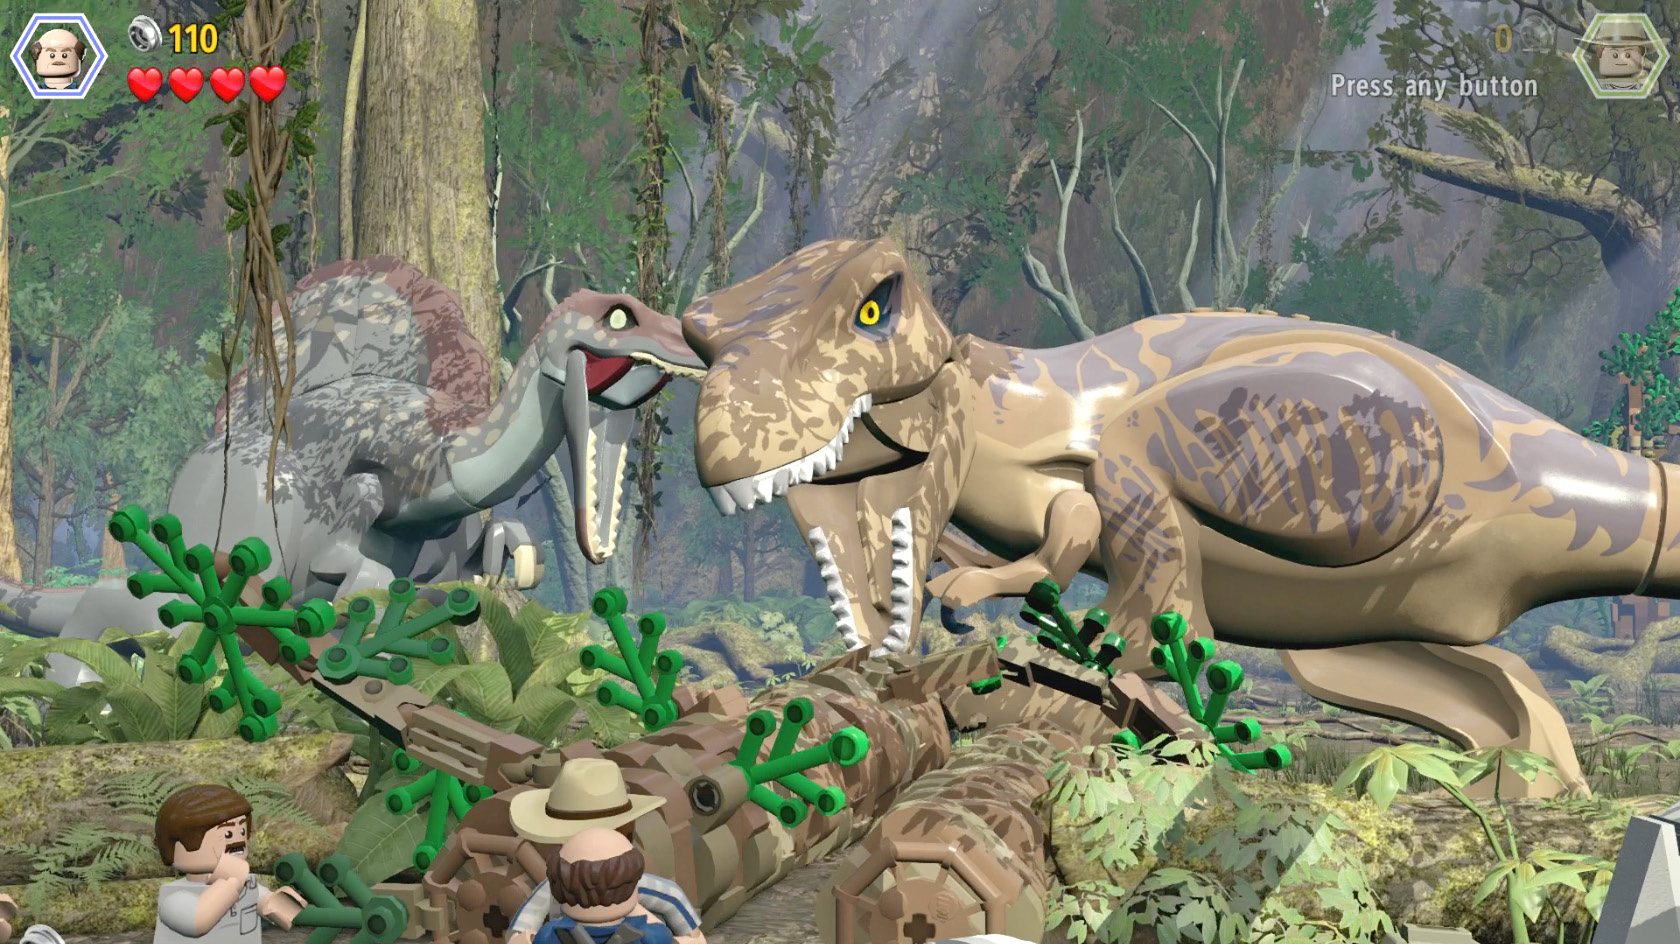
A few encounters require that you respond to a sequence of button-pushing prompts that appear onscreen. In these encounters, quickly tap or hold your controller buttons or move the left stick to match what is shown onscreen. It’s pretty straightforward…but be quick, or you may have to start the sequence all over again!
Shoot Stuff!
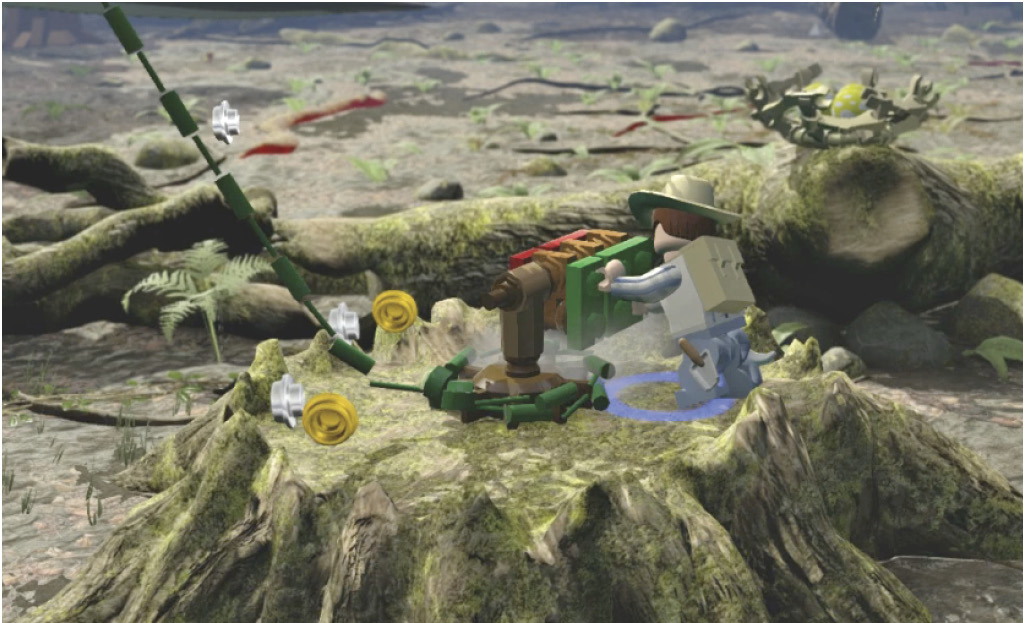
Ranged weapons also serve another purpose. The parkland areas feature a number of objects that only a projectile-wielding character can hit. Shooting certain objects may trigger an important story point, or produce build-it pieces or collectible items.
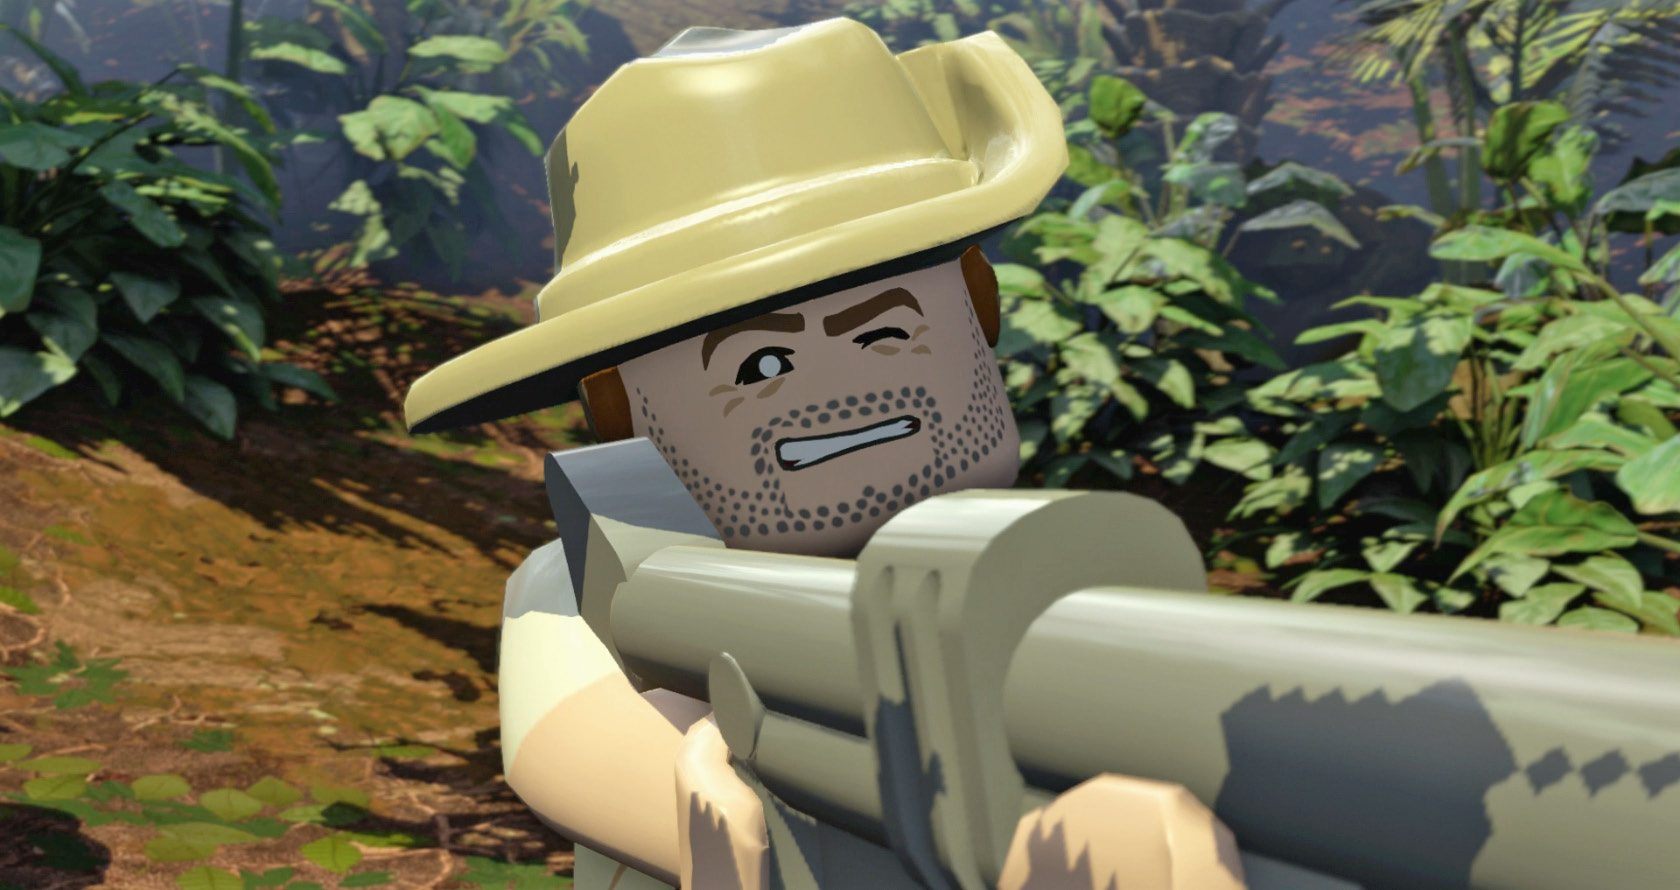
Important targets are usually marked with bull’s-eyes, but some “shootables” are unmarked. Tip: If you see something nested or fluttering in a tree or other high perch, or see a switch or beacon on a ceiling or atop a structure, try shooting it if you have a character with a ranged weapon. If the target is one of several things you must shoot to complete a series, a number appears above it—for example, “1/3” or “1/4”—that tells you how many other similar targets to look for in the mission.
Traverse Things!
Many times your character will face a vertical climb or jump to a higher terrace that seems impossible, or an obstacle in the path that seems impassable. If so, start breaking stuff until you find build-it pieces. Then assemble them into a device that aids your travel. These can be bounce or boost pads, seesaws, grab-bars, twirl-poles, handhold blocks, or vines/ropes for swinging.
Collect Souvenirs!
Some collectibles can be found during a first playthrough of the Story Mode’s levels. More become available if you replay the levels in Free Play Mode with a full cast of characters available. But most of the collectibles can be found in the hub areas.
Studs
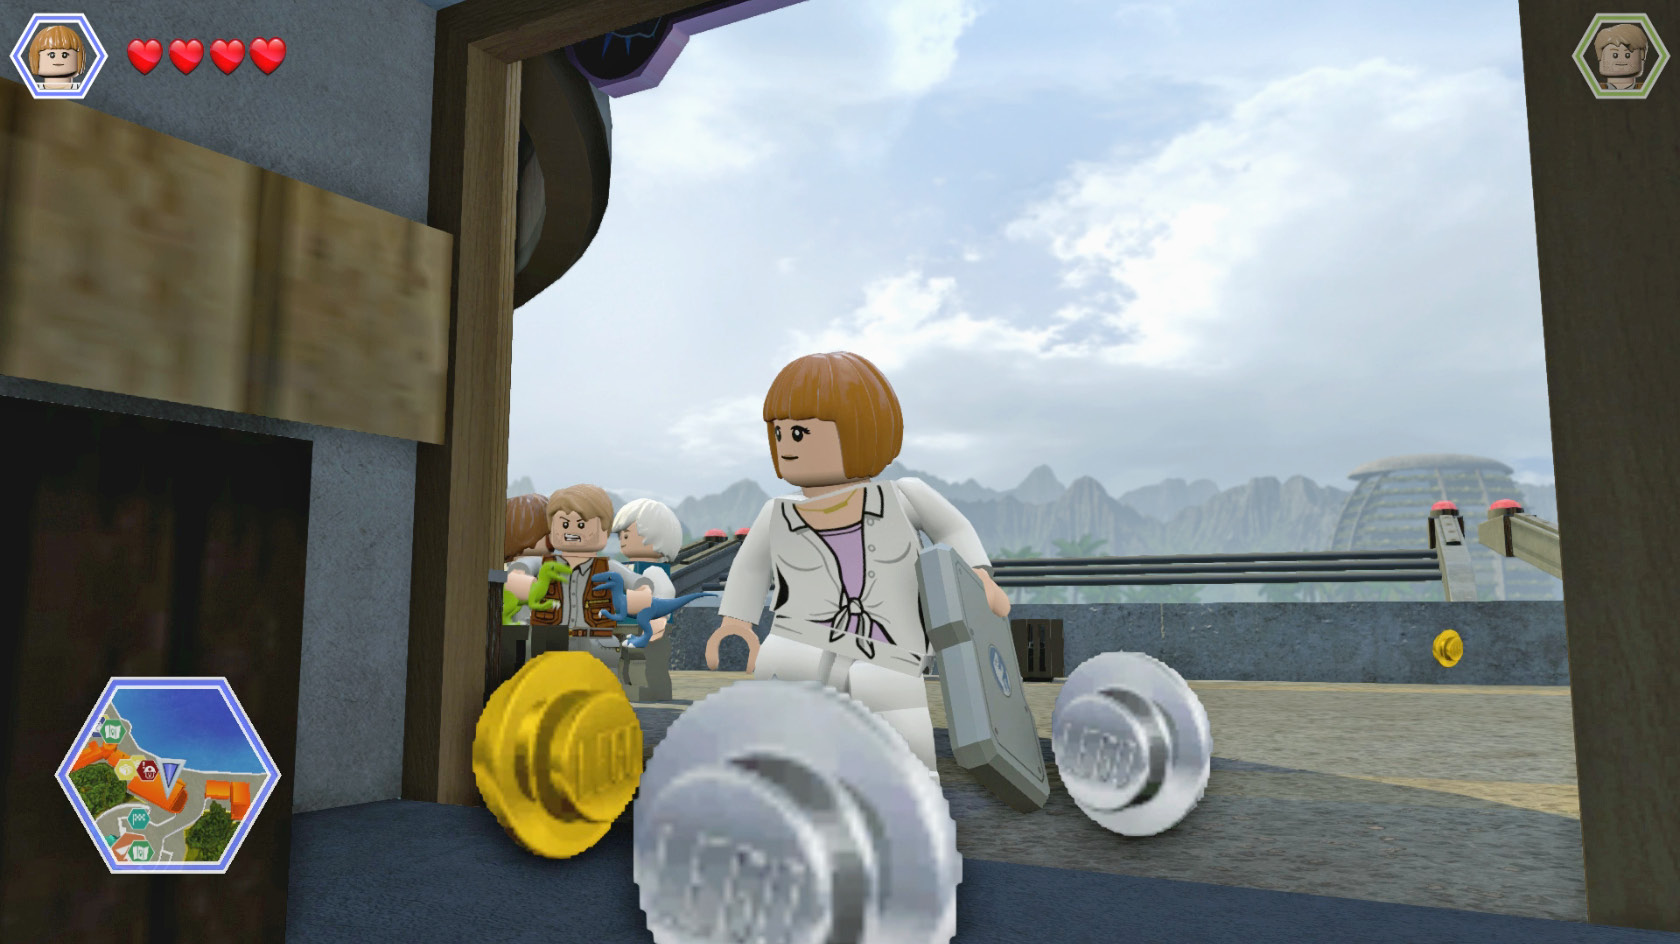
Studs serve as the “coins” of LEGO games. Every story level and hub area is loaded with studs. Some float right out in the open, waiting to be snatched up. Some are tucked into corners and alcoves, just out of sight. And a lot of studs are released when you break LEGO objects in each level. Studs are also released when you build objects.
Studs come in four colors. Each color has a different value:
- Silver stud = 10 studs
- Gold stud = 100 studs
- Blue stud = 1,000 studs
- Purple stud = 10,000 studs
It’s well worth the time spent to collect as many studs as you can find. Use your stash to purchase new characters, vehicles, and special Red Brick abilities. In addition, every Story level features a stud total that unlocks “True Survivor” status when reached. You earn a Gold Brick every time you hit this total.
Gold Bricks

A total of 275 Gold Bricks are available in LEGO Jurassic World. These valuable collectibles give you access to the dinosaur paddocks in the hub areas. Some Gold Bricks are hidden or placed out of reach and require special abilities accessed in Free Play Mode. Others are awarded for completing specific tasks, including:
- Beat a story level or hub mission
- Achieve “True Survivor” status in a story level
- Collect all 10 Minikits in a story level
- Save a worker in peril
- Collect a Red Brick
- Heal a sick dinosaur
- Take photographs at all special photo spots in an area
- Successfully complete a gate-to-gate race
Story & Free Play Mode Collectibles
Minikits

Ten “bone-kits” called Minikits are scattered throughout each level of the story. Some can be collected during your first playthrough of the story, and the rest are available when you return to that area during a Free Play session.
The Minikit’s bones belong to a LEGO dinosaur skeleton unique to that Story level. As you collect each Minikit, its bones are added to the skeleton’s assembly in the Jurassic World Innovation Center. (You can watch the actual assembly steps when you complete the level.) Each level’s dinosaur skeleton is fully assembled once you collect all 10 Minikits for that level, plus you earn a Gold Brick!
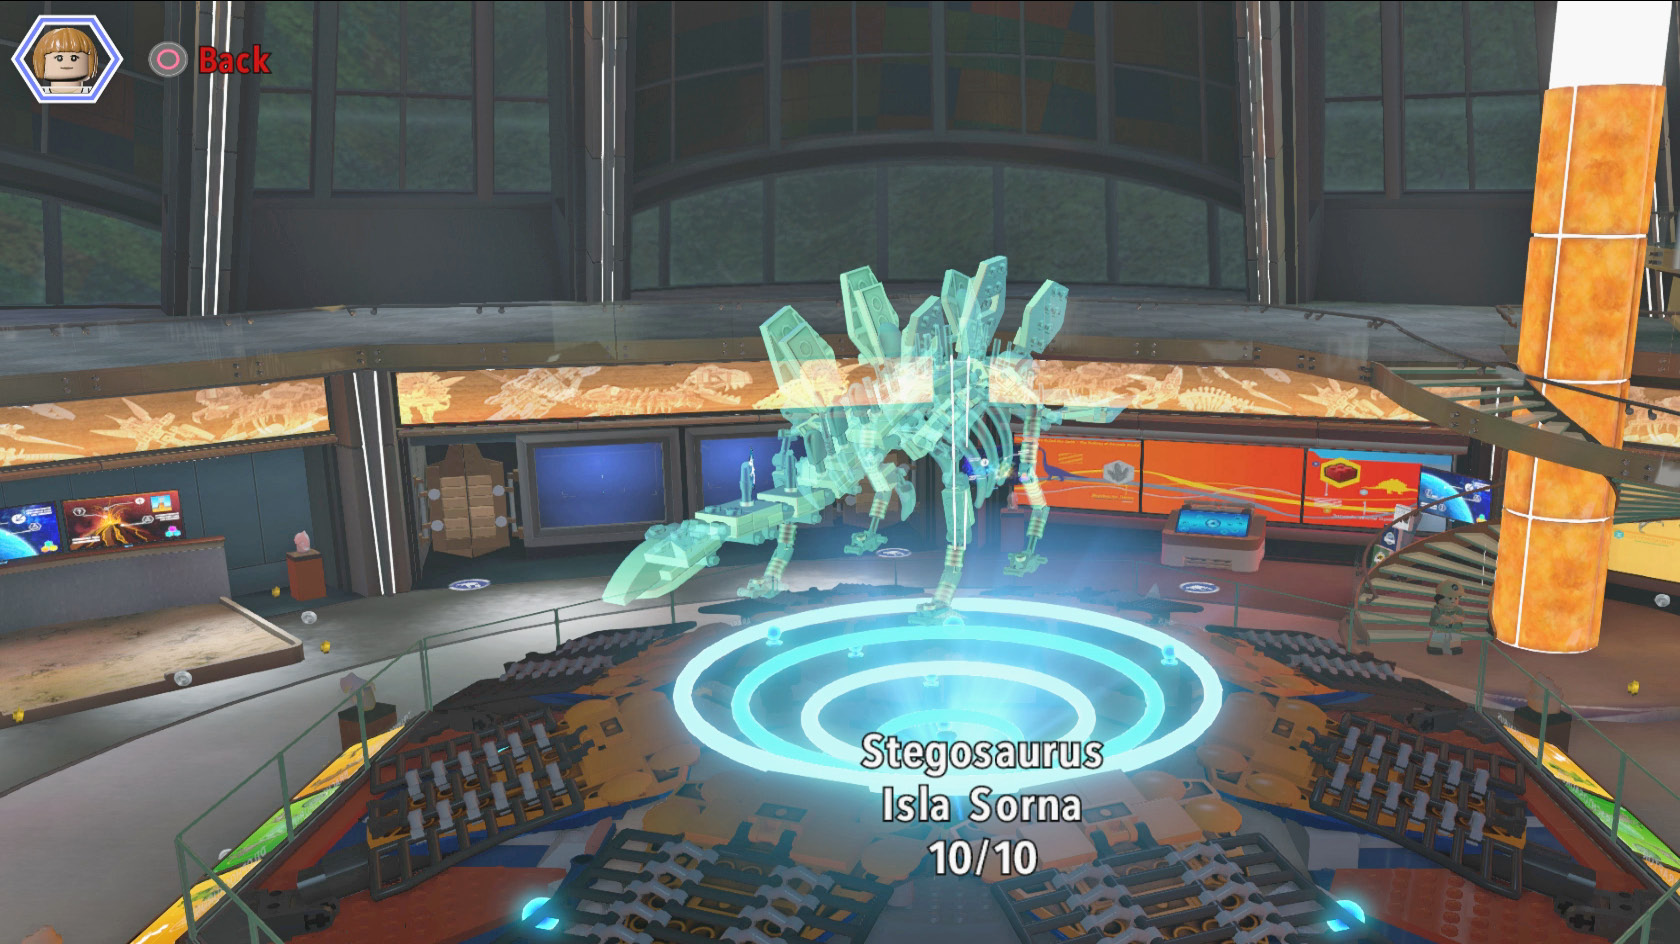
When you finally reach the Jurassic World Innovation Center (during Movie 4), you can open a Fossil Viewer there to view any skeletons you’ve fully assembled and hear audio facts about them.
Amber Bricks

One Amber Brick can be found in every story level. Each of these 20 special bricks encases a preserved mosquito in solid amber; each mosquito has a different dinosaur’s DNA inside. Snagging the brick unlocks the dinosaur type for that level. Once unlocked, the dinosaur becomes a playable character in Free Play Mode. This also lets you use that type’s DNA in the Dino Customizer.
Hub Area Collectibles
Red Bricks

Twenty rare Red Bricks are stashed in hard-to-find or hard-to-reach places in the hub areas. Once found, Red Bricks can bestow powerful (and sometimes amusing) abilities on your characters. See the “Cheats” section in our Checklists chapter to get a full list of the abilities that can be unlocked.
Activating one of these brick-bestowed abilities is a three-step process:
- First, search the hub area to find the Red Brick.
- Second, go to a Holoscape terminal and purchase the ability associated with that Red Brick. You find Holoscape terminals in the Visitor Center on Isla Nublar or in the Innovation Center on Isla Sorna.
- Finally, you must activate the purchased ability for your characters. Select “Extras” in the pause menu and then toggle on/off any Red Brick ability you’ve purchased.
Workers In Peril
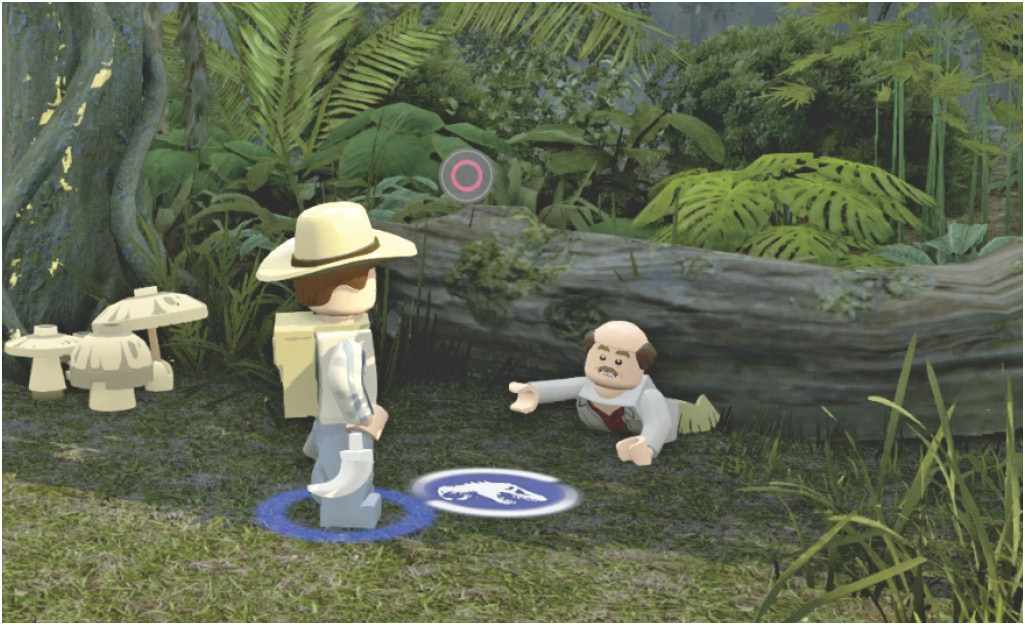
With dinosaurs running amok, it’s no surprise that a number of folks find themselves in tight spots around the park. Rescue these 20 workers in peril! You get a Gold Brick for every worker you save.
Photography Spots
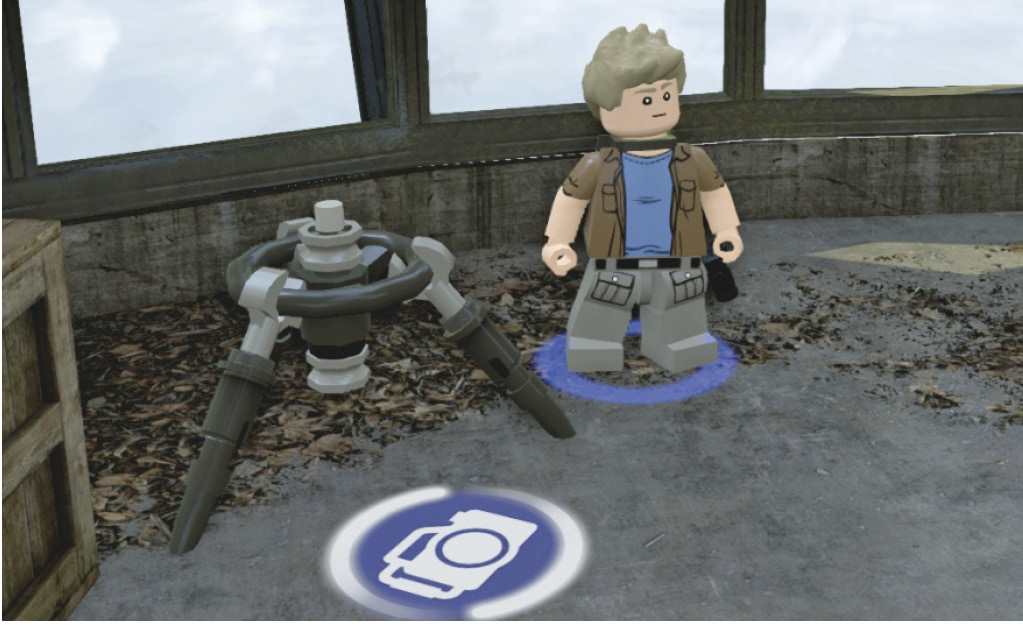
Certain areas feature special marked locations where any character with a camera can snap a photograph. These often amusing photos can be viewed in the hub area. Every photo at a marked spot earns you a Gold Brick. You can find 20 photos pots in the game.
Heal Dinos
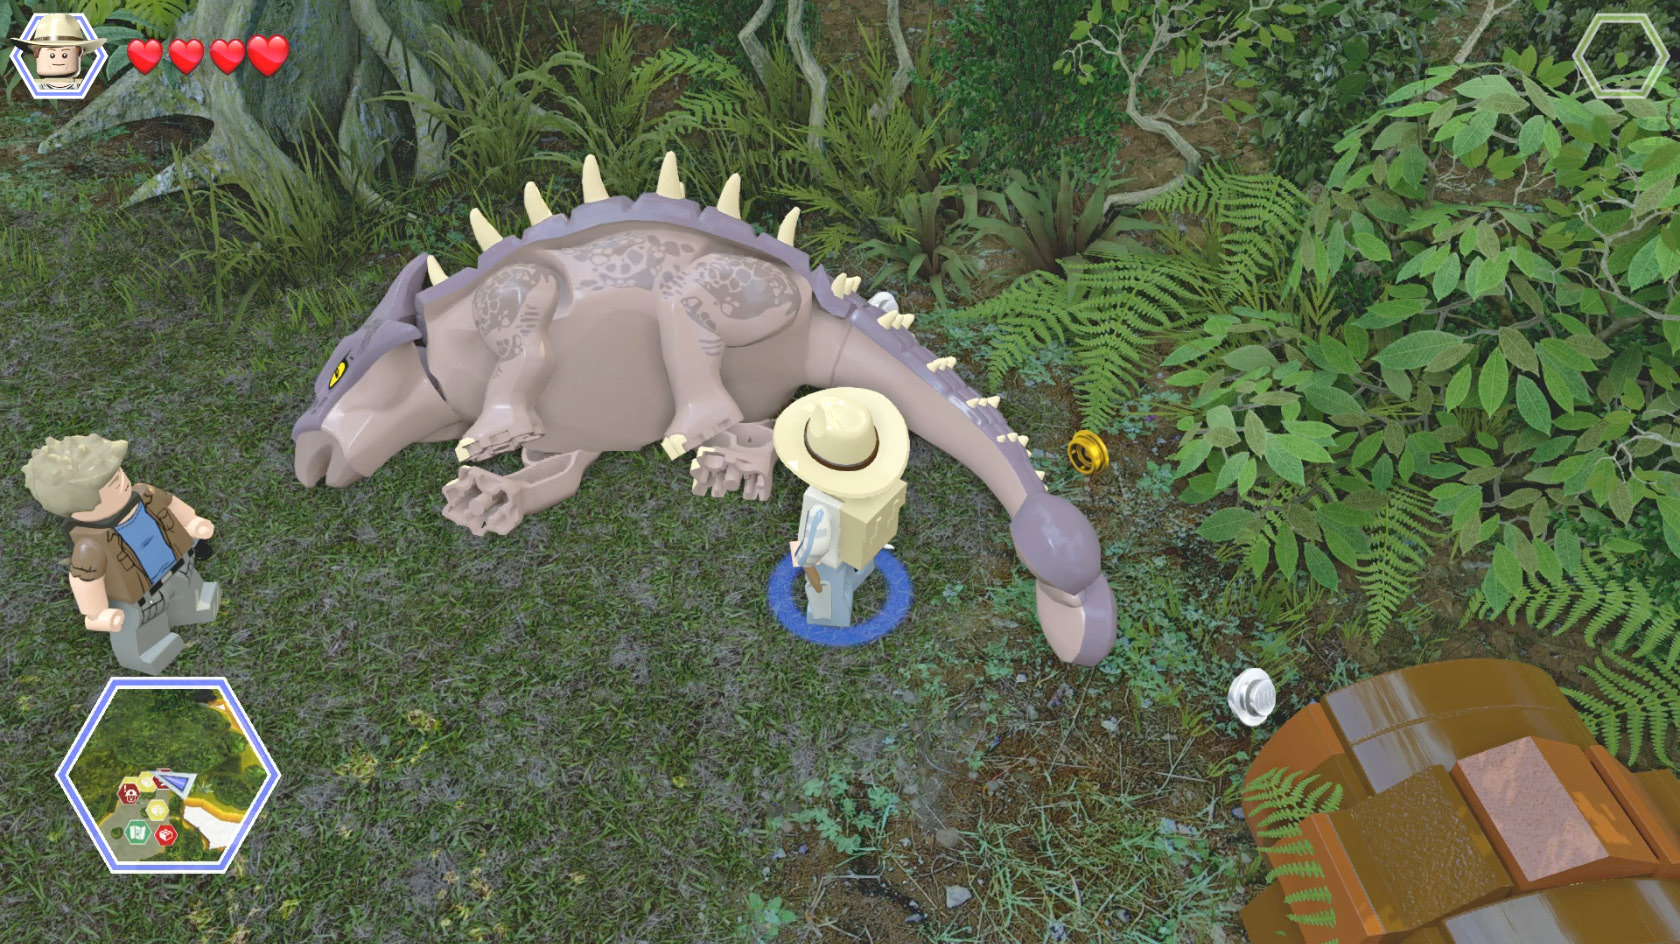
Ten sick dinosaurs lie in the hub areas. Each fallen creature needs a special set of edibles in order to recover. Find these items and deliver them to the poor beast to heal it. Every fully healed dinosaur earns you a Gold Brick.
Checkpoint Races
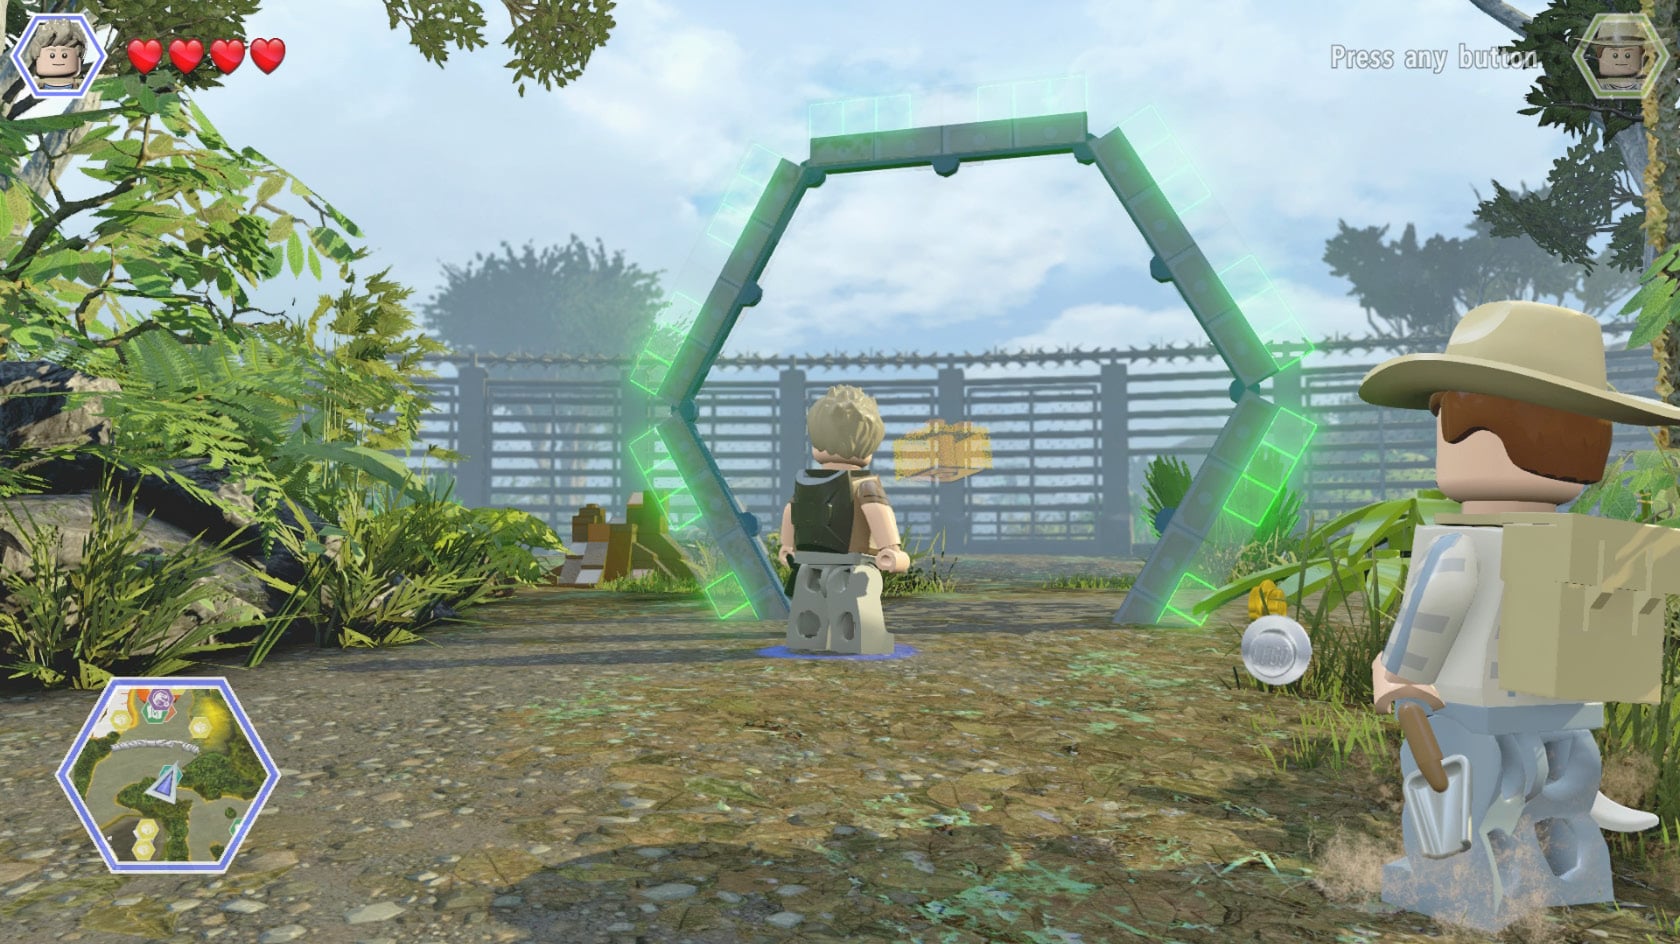
A total of 20 races for specific vehicles or dinosaurs can be found around the hub areas. Each race route runs through a series of checkpoint gates. You earn a Gold Brick for every race you successfully complete!
Customize Your Own Dinosaurs!
Dinosaurs are amazing enough in their original form, but the Jurassic World Dinosaur Customizer gives you the ability to design your own custom creatures. You can find a customizer in the Jurassic Park Visitor Center as well as in the Jurassic World Innovation Center, both on Isla Nublar.
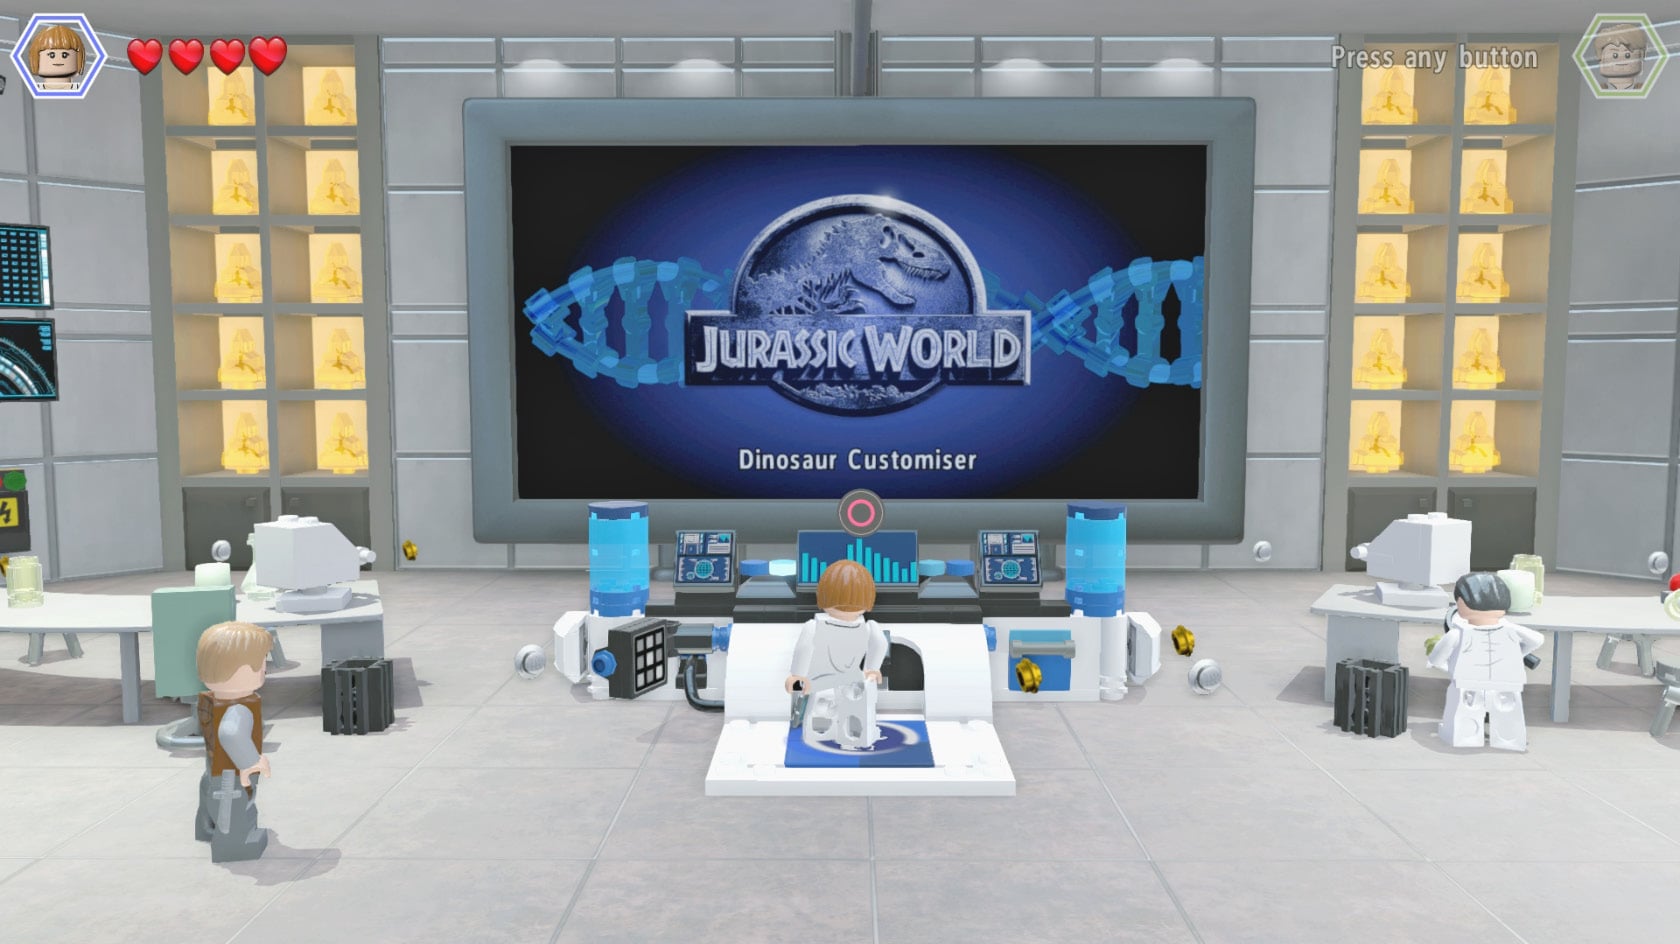
Just step up to the customizer console and pick a base model from the dinosaurs you’ve unlocked so far in the game. (Recall that you unlock dinosaurs by collecting the Amber Bricks that contain their DNA.) You can change its head, body features, tail type, skin pattern, and primary, secondary, and highlight colors. There’s also a randomizer button that picks random traits for your base model.
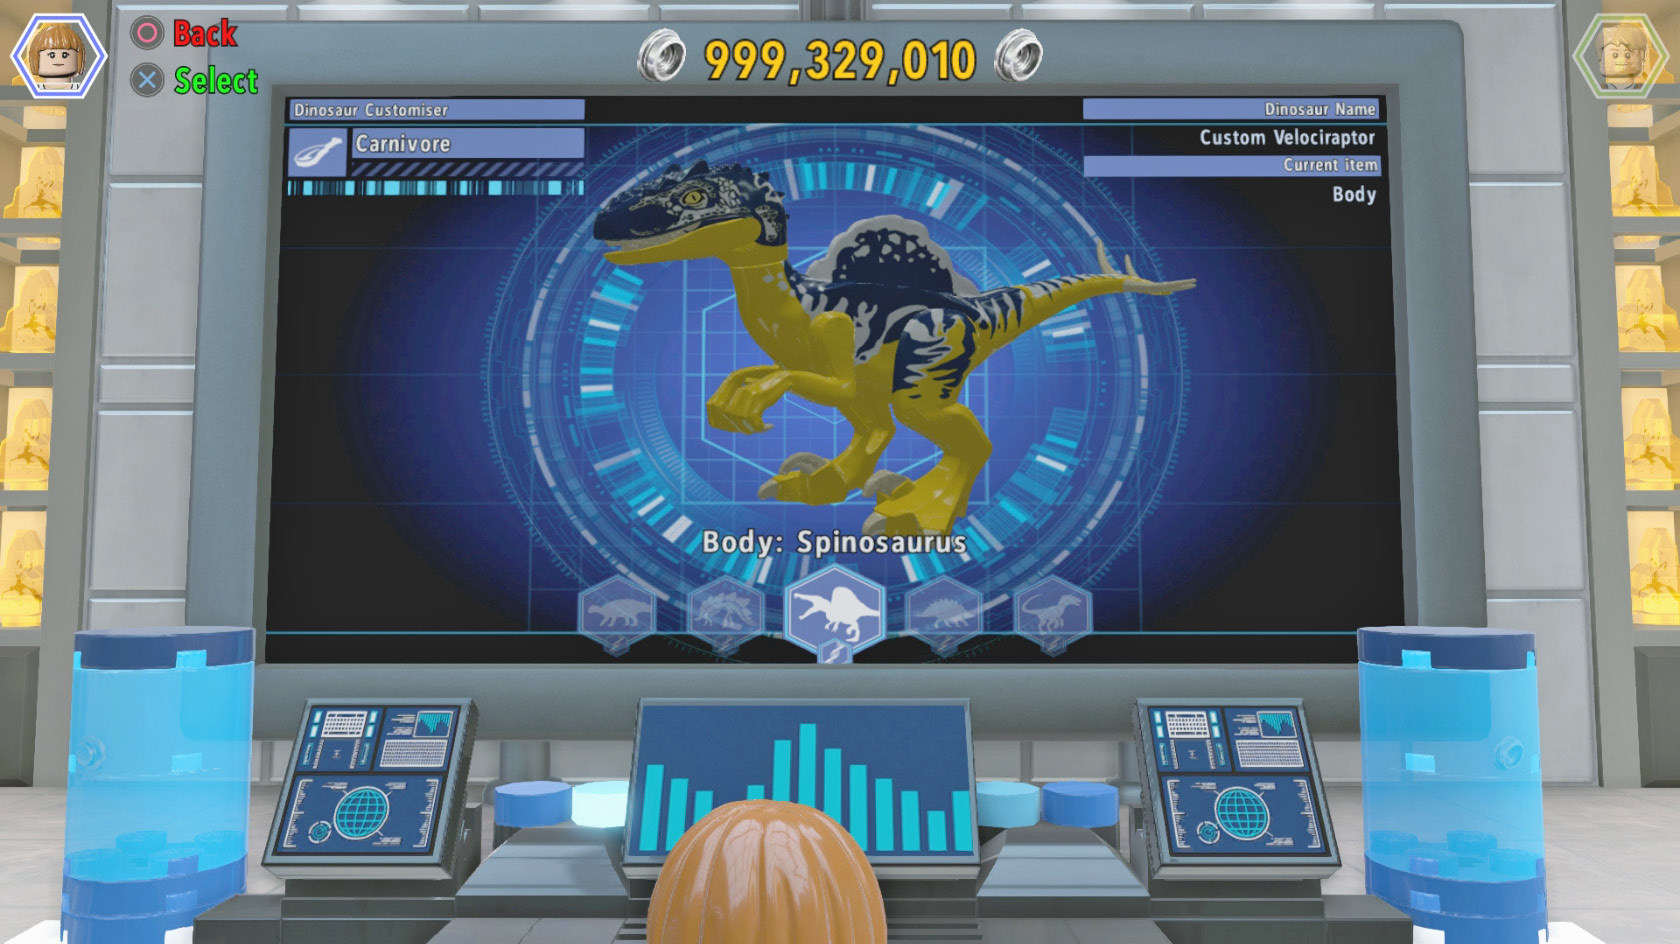
The nice thing about custom critters is the mix of special abilities you can create. A base model Velociraptor can always use its Pounce ability to leap up raptor rails, but if you give it a Triceratops head, your dino can charge and shatter cracked LEGO surfaces too.