
LEGO Jurassic World Guide Console Walkthrough: Movie 3
Level 14: Eric Kirby
Another Raptor attack sends the party running yet again; this time split up in multiple directions. Udesky ends up caught in a cunning Raptor trap. Alan Grant gets separated from the others too.


| True Survivor Stud Requirement |
|---|
| 84,000 studs |
Eric’s Hideout
Dr. Grant gets cornered and nearly becomes food, but a small masked fellow saves him. Who could it be?


| Icon | Story Characters | Abilities |
|---|---|---|
 |
Alan Grant (Isla Sorna) | Dig, Rope/Vine Cutter, Bone-Build |
 |
Eric Kirby (Disguise) | Camouflage, Droppings Rummage, Small Access |
Sneak Past the Raptors
Tag to Eric and head right until you spot the Raptor. Hold down the Use button until the meter fills to activate Eric’s Camouflage ability. Walk down the path past the Raptor until you reach the overgrown truck. Tap the Use button to deactivate Eric’s camouflage. Then smash the two crates by the truck and assemble the pieces into a hot dog car that lures away the Raptor!

Tag to Alan Grant and slice away the vines on the truck. Then grab the pulley hook and attach it to the latch on the nearby tree. Activate the pulley to reveal a small-access opening in the trunk. Tag to Eric and use his Small Access ability to enter the opening.
Eric ends up on a high branch of the tree. Smash the nearby pile of stuff into build-it pieces and assemble a ladder for Dr. Grant. Tag to Grant, climb up, and slash through the foliage to create a hanging vine. Tag back to Eric and use the vine to swing across the gulley. Proceed to the right.

When you reach the compound, activate Eric’s Camouflage ability again and sneak to the power generator switch to the right. Deactivate camouflage and pump up the generator to zap the Raptor and chase him away. Go to the end of the lane and crawl into the small-access vent to reach the compound yard. Eric finds a sick Ankylosaurus…and a very large pile of droppings.


Heal the Ankylosaurus
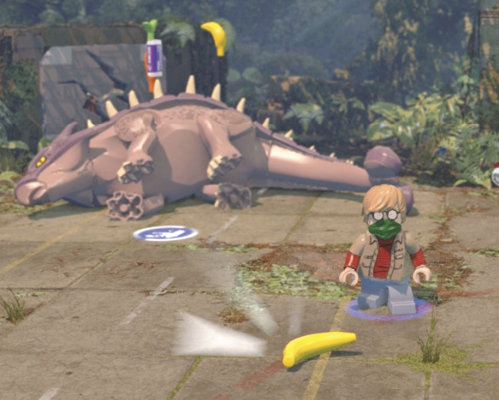
Before you diagnose the dino’s illness, turn the red crank switch on the nearby control mechanism to open the gate and let Dr. Grant into the yard. Then use Eric’s Droppings Rummage ability to dive into the stinky pile and reveal the three healing ingredients you need. (They appear circling over the dinosaur.) One of them emerged from the droppings. Pick up the banana and give it to the Ankylosaurus. One down, two to go!
Tag to Alan Grant, head towards the camera, and dig up the loose dirt to find a carrot. Feed it to the sick dinosaur. Then find the vending machine in the shelter at the far end of the enclosure. Cut through the vines and use the machine to produce a candy bar. Pick up the candy and go feed it to the Ankylosaurus. The beast recovers and becomes a playable character. And just in time!

Fight Off the Raptor Pack
Tag to the Ankylosaurus. Suddenly, a pack of Velociraptors descends on the compound yard. The odds seem stacked against your guy, but he has an immensely powerful tail-bash attack that can KO a Raptor with just two or three hits. Move around in circles and keep his tail swinging to clear out the yard.

MINIKIT: Tail-Bash the Corner BlockA big concrete block with a crack sits in the back-left corner of the compound yard. Hit the crack with one solid Ankylosaurus tail-bash to smash it open. Inside, you find a Minikit. 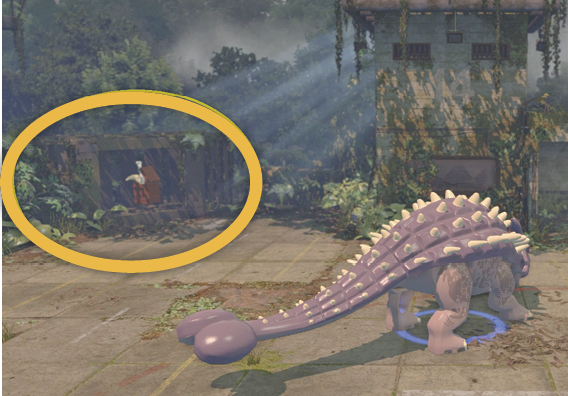 |
The pack attacks in two waves of three Raptors apiece. Once you knock out these six attackers, the Raptor leader (the scary green guy with red eyes) jumps into the fray. Watch the short scene as your heavily armored buddy whacks the leader right through the wall, opening an exit passage! Exit via the new opening and hop across the posts to reach the island.

MINIKIT: Eric Decoys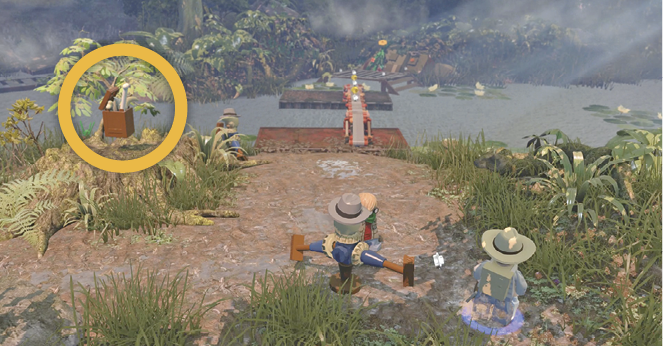 Dig up the loose dirt patch on the island to unearth some build-it pieces; then assemble them into an Eric decoy dummy. The camera shows you a new loose dirt patch. Go there to unearth and assemble a second decoy. Then repeat a third time. When all three Eric decoys are built, a Minikit appears on the big tree stump. |
Head up the path and smash the two crates into build-it pieces; then assemble them into a footbridge. (You need pieces from both crates.) Tag to Alan Grant and cross the bridge to find a wrecked truck wrapped in vines. Cut through the vines to trigger the mission-ending scene: The truck is Eric’s hideout. Eric shows Alan his secret weapon against dinosaur pests: jars of T. rex scent!


The Coast

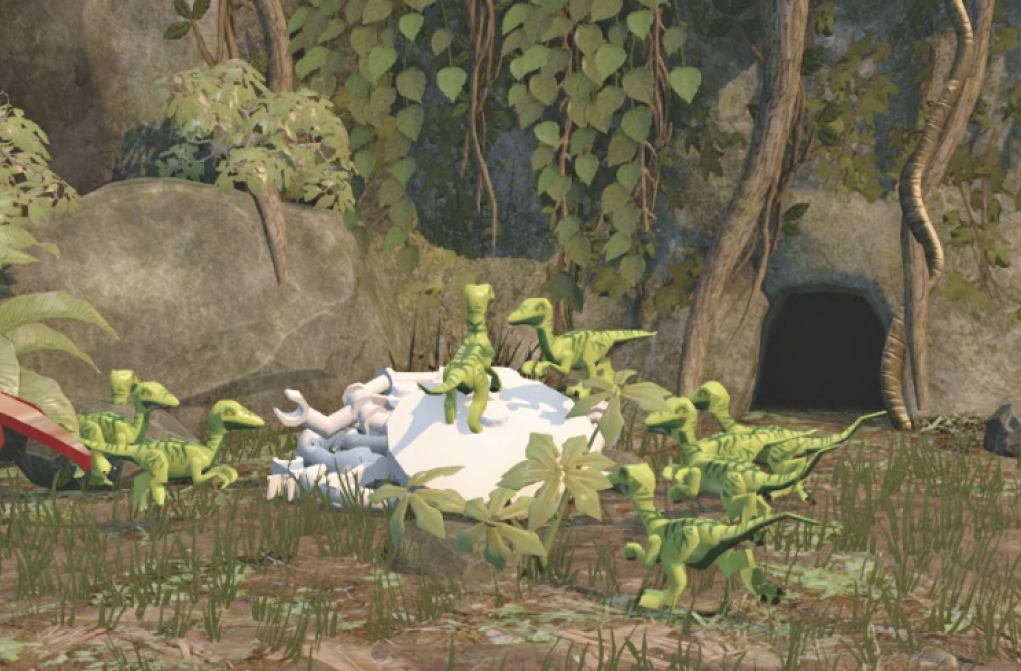
Time to get moving. Eric explains how the T. rex scent scares away Compsognathus packs. Across the water you can see a cluster of the little beasts swarming over an interesting bone pile.
| Icon | Story Characters | Abilities |
|---|---|---|
 |
Alan Grant (Isla Sorna) | Dig, Rope/Vine Cutter, Bone-Build |
 |
Eric Kirby | T-Rex Scent, Camouflage, Droppings Rummage, Small Access |
Climb the Terraces
Tag to Eric Kirby and hop across the water using the two lily pads. Hold down the Aim button and move the aiming reticle to the spot in the middle of the compsognathus pack to chase them away from the bone pile. Tag to Alan Grant and assemble the bone build-it pieces into a bounce pad. Before you move on, look for the power unit up high to the left and check out the next Minikit section! Then use the bounce pad to hop up to the next terrace.

MINIKIT: Short Out the Power UnitAt the start of the level, just after jumping across the first lily pads, find a power unit with a Sharpshoot target on your left. Use a character with a projectile to hit the target to earn the Minikit. |
Use Alan’s Raptor claw to cut through the rope on the tree trunk to the left. This slams a big log into the opposite tree, creating a shower of build-it pieces. (It also uncovers a climbing wall, but you don’t have a climber with you yet.) Assemble the pieces into a footbridge and walk across to the next terrace. Use Grant’s Raptor claw to cut through the vines blocking the passage and proceed through it.

Another Compy pack swarms over a loose dirt pile. Tag to Eric and toss another bottle of T. rex scent into their midst to chase them away. Tag to Dr. Grant and dig up the loose dirt to unearth some parts. Build them into a ladder and climb to the next terrace.

More Compys swarm around a blue/white “buddy boost” pad. Tag to Eric, move up the steps to the left of the Compys, and then toss a T. rex bottle at them. Tag to Alan Grant and use the boost pad to get in boosting position. Then tag to Eric and jump on the pad to get boosted to the next terrace.

MINIKIT: Sneak Past the Raptor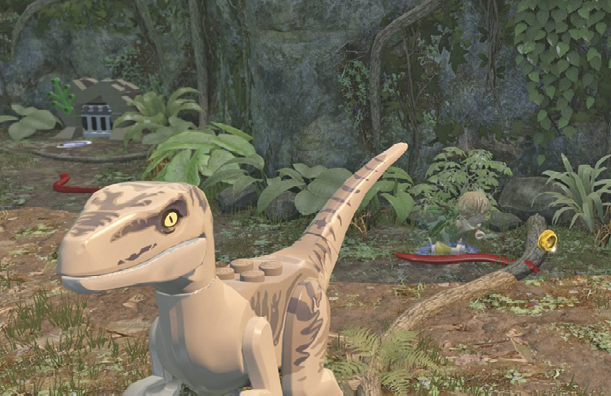 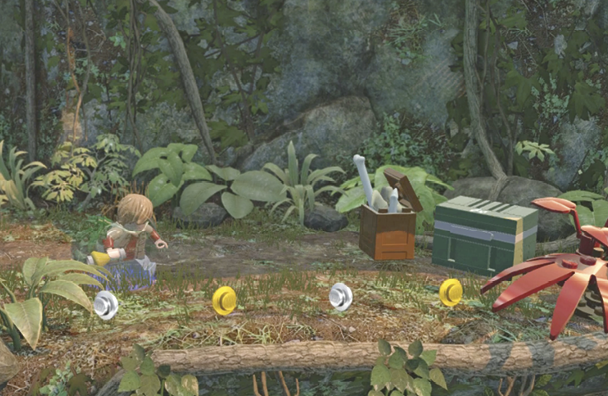 When you reach the terrace where the blue/white “buddy boost” pad is located, send Eric down to the small-access tunnel at lower right. He emerges across the canyon on another terrace where a Raptor hangs out. Activate Eric’s Camouflage ability and tiptoe past the deadly dinosaur to find a Minikit at the far right. |
Work over to the big droppings pile and use Eric’s ability to dive in and rummage for build-it pieces. Assemble them into a ladder for Alan to climb. Walk up the dirt ramp and toss another bottle of T. rex scent to scatter the Compsognathus pack on the loose dirt. Tag to Alan and dig up the build-it pieces. Assemble them into a binoculars stand and use it to trigger the level-ending cinematics: Hey, there’s a boat out on the water, and then there’s a happy family reunion. But the coast is not yet clear.


Hub Transit 14
The sight of a sleeping Spinosaurus is not comforting, so the newly reconfigured party moves up the coast hoping to make contact with the ship they spotted. A building on a cliff looks to offer a way down to the shoreline.

| Icon | Story Characters | Abilities |
|---|---|---|
 |
Alan Grant (Isla Sorna) | Dig, Rope/Vine Cutter, Bone-Build |
 |
Eric Kirby | T-Rex Scent, Camouflage, Droppings Rummage, Small Access |
 |
Paul Kirby | Repair, Grapple |
 |
Amanda Kirby | Scream, Agile |
 |
Billy Brennan | Climb, Photography, Glide |
Get Inside
Cross the clearing to the building overlooking the ocean. Tag to Alan Grant and cut the vines on the broken blue mechanism to the right of the door. Tag to Paul Kirby and repair the device. One of the door’s lock-bars is retracted.

Tag to Amanda Kirby and use the glowing jump circle to hop atop the scaffold to the door’s left. Turn the red crank switch to retract the other lock-bar and open the door. Enter the structure to trigger the next level’s opening cutscene.

