
LEGO Jurassic World Guide Console Walkthrough: Movie 1
Level 02: Welcome to Jurassic Park
Now it’s time to get out and mix with the locals a bit. This level brings you in close contact with some of the park’s amazing inhabitants, including a terrifying encounter with its main attraction.

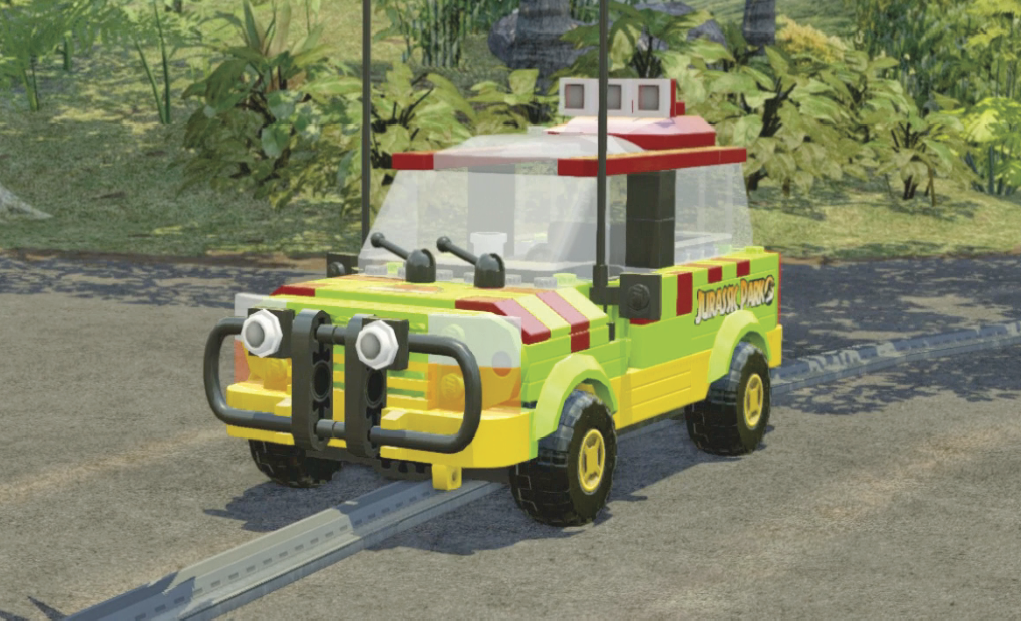
| True Survivor Stud Requirement |
|---|
| 70,000 studs |
Raptor Enclosure
You start back at the raptor pen. Robert Muldoon and his crew need to feed the hungry herd. As a truck loaded with live beef backs into the yard, Muldoon explains how Velociraptors are highly lethal hunters that move 50-60 miles per hour over open terrain. Good thing they’re safely penned up in that paddock, eh?


| Icon | Story Characters | Abilities |
|---|---|---|
 |
Robert Muldoon | Tracker, Sharpshoot, InGen Access |
 |
Dino Handler Vic | Electric Charge |
Build a Cow Cage

Walk Muldoon downstairs to the cages on the ground. As the handler points out, they’re too small. Fortunately, they’re LEGO cages, so they’re easy to modify! Smash them and reassemble the build-it pieces into a bigger cage. When you finish, part of the paddock control panel is flung from the new cage. A hint marker springs up next to it.
MINIKIT: Kill the Cameras!Four annoying security cameras watch your every move as you go about your business in the yard. Use Muldoon’s rifle to blast all four cameras and earn a Minikit. One camera is on the tower at the back of the enclosure; another is next to the security panel in front. Two more cameras overlook the lower yard. 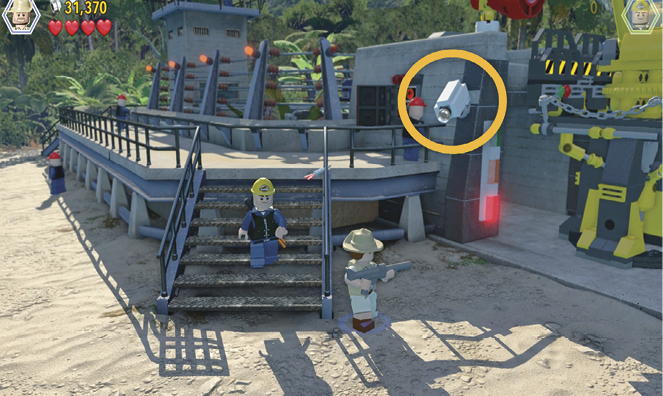 |
Get the Cow into the Cage

Tag to Robert Muldoon and pick up the control panel, which becomes a tracking item. Follow the blue tracks until Muldoon unearths more pieces of the paddock control panel. Use them to fix the panel. Then step onto the dino icon and activate the InGen panel. Enter the three-button code that appears onscreen. (If you enter an incorrect code, just reactivate the panel and try again.) When the gate opens, enter the delivery yard.
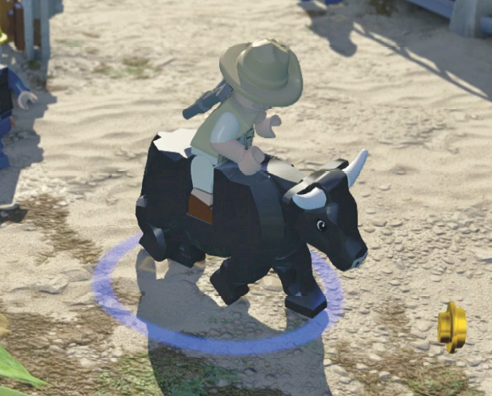
Tag to Dino Handler Vic and use his stun rod on the charging slot in the truck. This releases the cow from the truck bed. Walk either character to the cow and press the Use button to mount the beast. Then guide the cow onto the cage platform you built earlier and dismount.

Suddenly, the crane operator has a nasty fall and cannot do his job. Tag to Muldoon, press the Aim button, and use the left stick to move the targeting reticle over the bull’s-eye on the crane platform. Release the button to shoot the target, which lowers the ladder. Climb the ladder to the platform; then hop into the operator’s seat.
Move the Cow Cage into the Raptor Pen
Use your left controller stick to guide the crane over the cow cage. It automatically snags the cage and lifts it. Use the stick again to swing the cage over the opening in the pen.

This triggers a cutscene: John Hammond arrives with his guests just as bovine chaos breaks loose in the enclosure. Then Hammond’s beloved grandchildren, Lex and Timmy Murphy, arrive to join the park tour.

Triceratops Recovery


Now the group is ushered into driverless touring cars for transit into the park interior. The electric vehicles follow a system of tracks that run through various habitats. But just inside the main gate, the tourists spot a dino handler named Gerry Harding tending to a fallen dinosaur, a Triceratops.
| Icon | Story Characters | Abilities |
|---|---|---|
 |
Ellie Sattler | Droppings Rummage, Dino Heal, Plant Grow, Agile |
 |
Gerry Harding | Tracker, Sharpshoot, InGen Access |
 |
Triceratops | Charge |
Heal the Triceratops
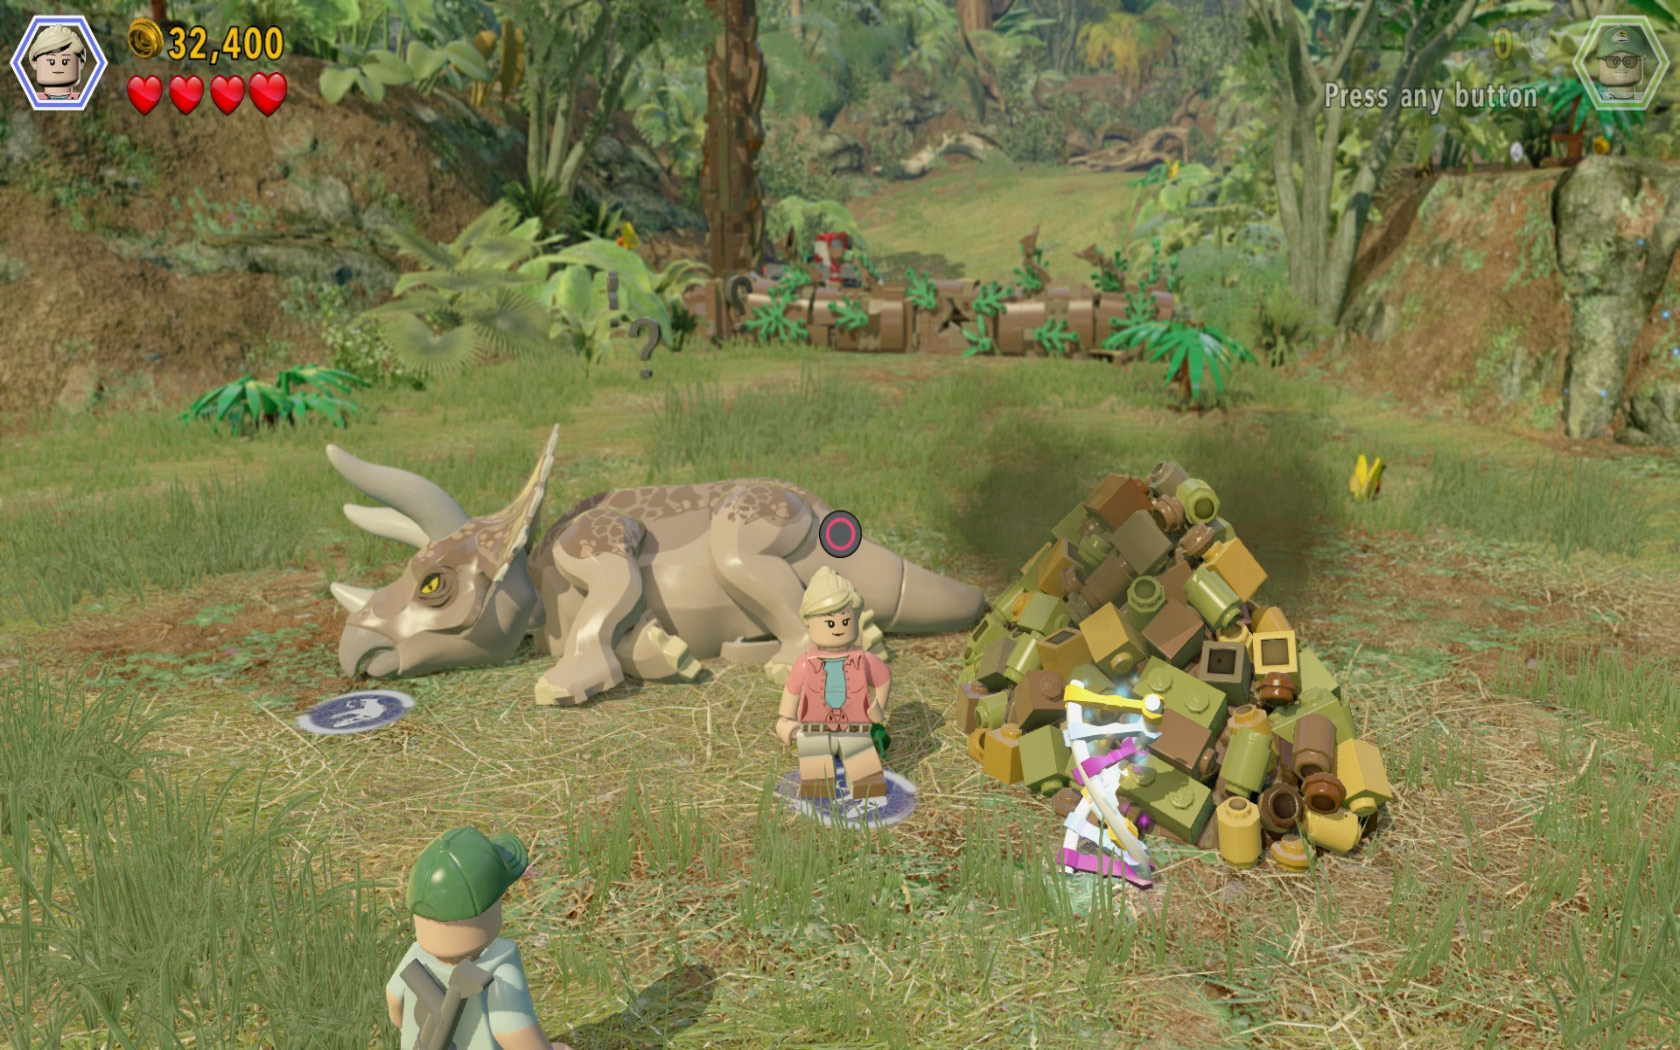
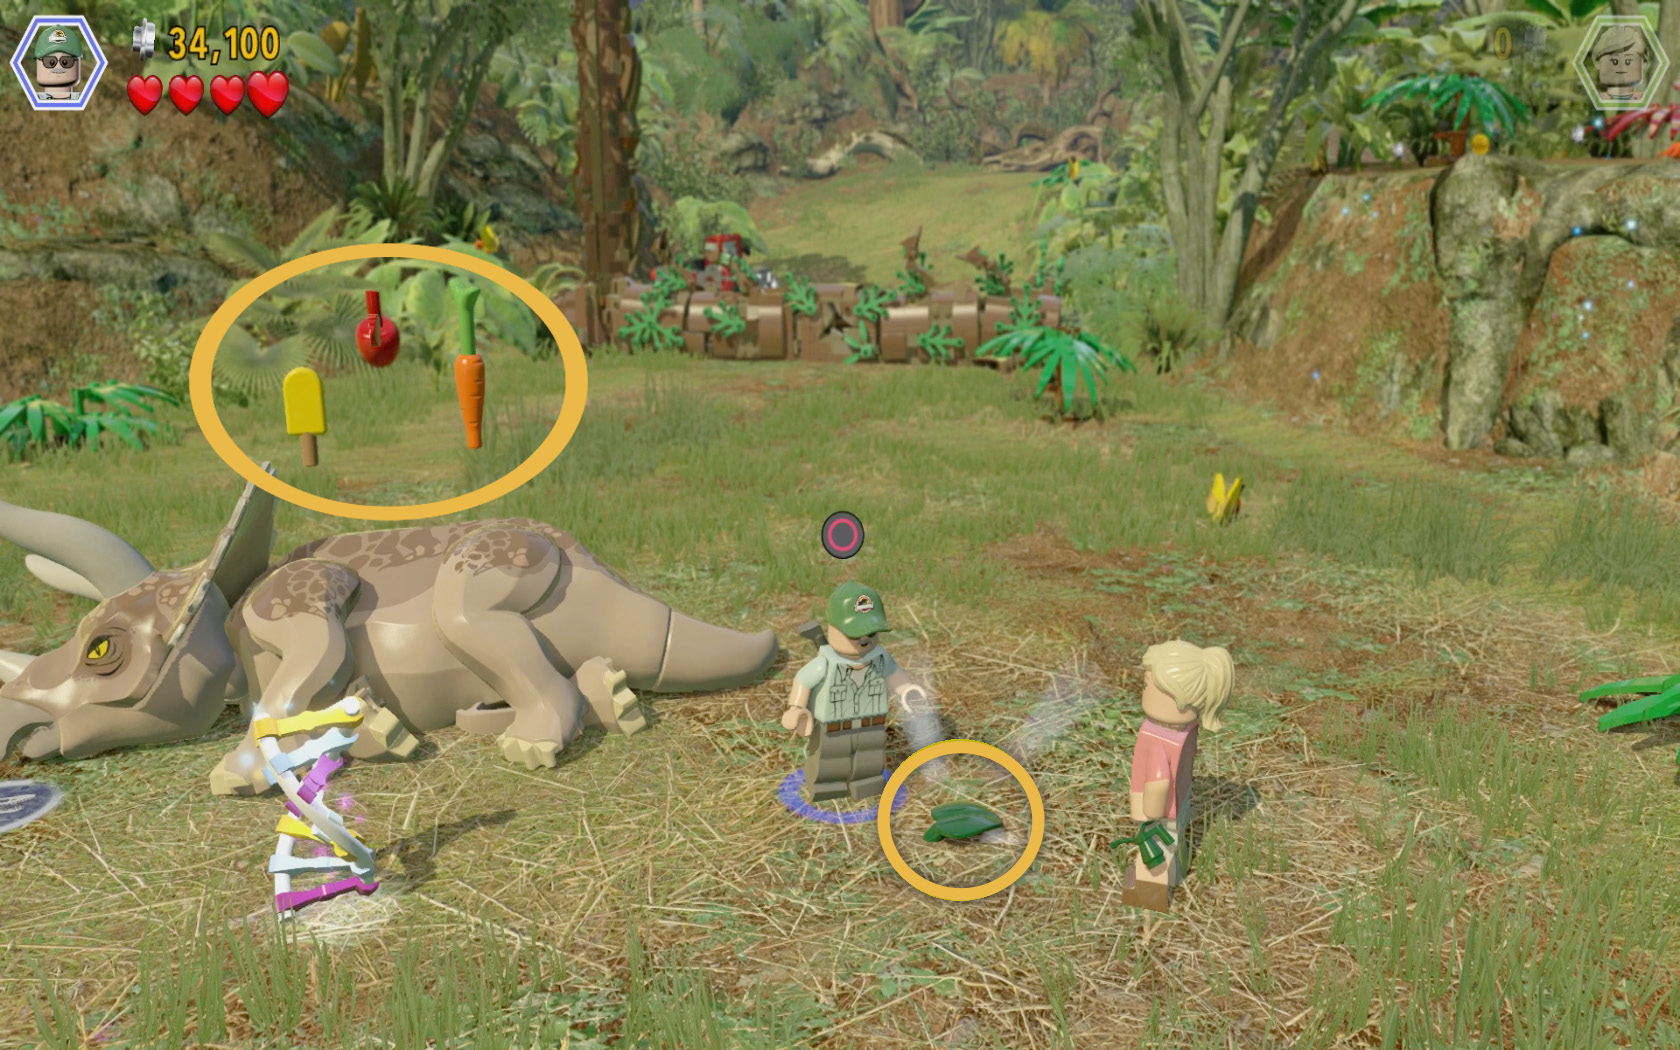
Dr. Ellie Sattler insists on helping Harding with the sick creature. The first step is a fun one: Walk Ellie behind the dinosaur and leap headfirst into a massive pile of its droppings. This reveals a green leaf the creature has eaten—a very bad leaf, as it turns out. It also reveals the curative items the Triceratops needs—the three items spinning above the prone beast.

Tag to Gerry Harding and pick up the leaf to learn that it’s West Indian Lilac, toxic to animals. It’s also a tracking item, and Harding is a tracker. Follow the blue tracks until Harding unearths the roots of a plant near a rock wall. Tag to Ellie and use her special ability to grow plants. She pours water on the roots and they spring up into a gigantic lilac. Climb the plant and hop over to the ledge.

Rummage in the big droppings pile with Ellie again. Amazingly, she pulls out a yellow ice pop. Go back and feed it to the Triceratops.
The dino eats it and the item disappears from the swirl above the dinosaur. Ellie notes that she’s suffering from Melia toxicity. One ingredient down, two to go! Now head left to find another big droppings pile. Dive in with Ellie to find a carrot. Return and feed the carrot to the Triceratops. Two down, one to go!

Find the plant root marked by a dino icon at the back of the area and use Ellie’s ability to water it into a three-flowered plant. Use the flowers as jumping pads to bounce onto the ledge. Tag to Harding, target the bull’s-eye above the cave, and shoot it to release a rope. Climb the rope and hop across to the next ledge. Smash the LEGO tree with a berry in it. Tag to Harding and pick up the berry—it’s another tracking item! Follow the blue trail until Gerry unearths another plant root. Tag to Ellie and grow the plant into a towering LEGO apple tree.
Smash the tree to knock its lone apple to the ground. Pick up the apple and take it to the Triceratops. When all three curatives have been delivered, the dinosaur hops to its feet feeling 100 percent better! The Triceratops also becomes a playable character, added to your character choice wheel.

MINIKIT: Boulder ChargeThree big boulders can be found in the area around the Triceratops. Tag to the dinosaur and charge the rocks to shatter them. Smashing all three boulders earns a Minikit. Two boulders are in the clearing where you first meet the Triceratops. One more is just across the river.  |
MINIKIT: Cave Mouth SmashRight after you heal the triceratops, tag to the creature and use its Charge ability to smash open the cracked LEGO cave opening at the far right. |
Get to the Northeast Compound
Gerry Harding notices a storm approaching. Time to hustle back to the Visitor Center. A cracked, fallen tree blocks the way out of the clearing to Harding’s vehicle. Tag to the Triceratops and charge into the crack in the fallen tree’s center. Unfortunately, the fearsome charge knocks debris into the vehicle, destroying it too.


Keep control of the Triceratops and lumber across the next clearing. Charge into the crack in the tall dead tree at the river’s edge. This knocks it down and forms a bridge across the river. Tag to Harding and use the build-it pieces to finish the bridge. Then move across the fallen tree to the other side. Tag to Ellie Sattler and grow the plant roots on the riverbank. This forms a bridge for the dinosaur.

Tag to the Triceratops, cross the new plant-bridge, and then find the area’s exit gate. A fallen tree has disabled the gate control panel. Charge into the crack on the fallen tree. Tag to Harding and use the build-it pieces to fix the control panel. Then use Harding’s InGen Access ability on the panel, enter the three-button code that appears, and enter the caged area: the northeast compound.
Find a Shortcut to the Visitor Center
The compound is deserted and the walkway ladder is raised. But you can tag to Harding and shoot the bull’s-eye target to lower the ladder. (Don’t miss the growable plant root in the front-left corner before you move on.) Climb to the walkway and move into the next cage. Here you learn that the car is gone!
MINIKIT: Water the PlantSend Ellie Sattler to water the plant root in the first cage of the northeast compound. It grows into a flower with a Minikit inside! Jump up and grab the kit for your collection. 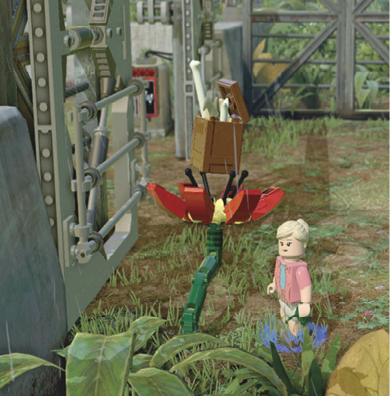 |


Tag to Ellie and head across the cage to the glowing jump point. Hop up the crate stack to the gadget-filled box at the top and push it off the checkerboard slide platform. Jump down and use the build-it pieces to repair the nearby twirl switch. Hop onto the platform and push the twirl switch in a circle until the stall gate opens.
Send Ellie into the stall and droppings rummage for the crank handle. Place the handle in the gate winch next to the ladder; then rotate your controller stick as indicated onscreen to turn the crank and open the gate. Your Triceratops buddy gallops into the corral. Tag to the Triceratops and charge into the cracked wall section (circled in our shot) to smash it open.

Then tag to Harding and exit the compound via the new hole. This triggers the level-ending cinematic. Watch Jurassic Park’s computer specialist, Dennis Nedry, scheme with a shadowy phone contact as the park cameras show the touring cars enter the Tyrannosaurus paddock.

AMBER BRICK: Complete the Level!Completing the “Triceratops Recovery” level automatically earns you the Amber Brick (nabbed as you exit the compound) that contains the DNA for the Triceratops! Now you can spawn that powerful tri-horned breed in the island’s Dino Spawners. 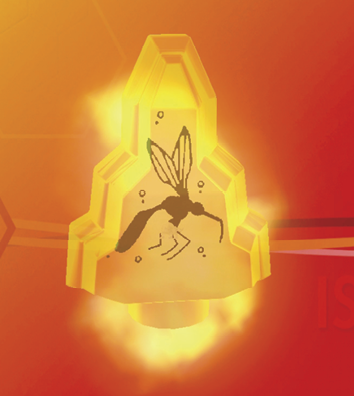 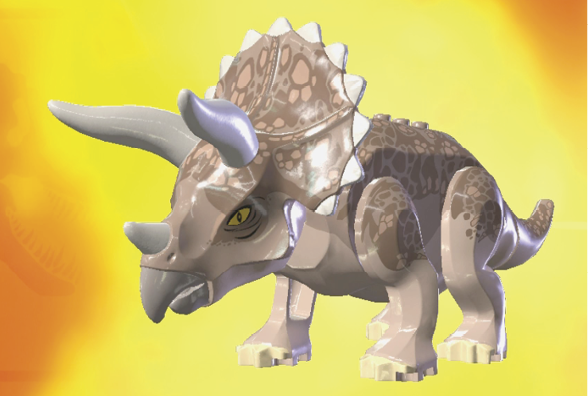 |
Hub Transit 2

Alan Grant and Ian Malcolm stand next to one of the Jurassic Park electric touring cars. They’re a short distance behind another car that transports Hammond’s grandkids, Lex and Timmy. The sky is slowly darkening as the powerful storm approaches.
| Icon | Story Characters | Abilities |
|---|---|---|
 |
Alan Grant | Excavate, Rope/Vine Cutter, Bone-Build |
 |
Ian Malcolm | None yet |
Work Around the Rockslide

Hop in the touring car and drive forward until you reach the other car, which is stalled by a rockslide that blocks passage. Hop out and use the nearby staircase to descend into the enclosure. Follow the calls for help to find a worker hanging by one foot from a rope. Tag to Dr. Grant (if you haven’t already), step onto the dino icon, and use the raptor Claw to slice the rope.
WORKER IN PERIL: Cut Down the Worker!Every time you rescue a worker in peril, you earn a Gold Brick. Cut down the fellow caught in the rope to pick up the reward.  |

The freed worker offers to return the favor by letting you use the paddock’s Dino Spawner. Follow him to the blue/white platform and assemble the build-it pieces into a control console. Then use the console to spawn a dinosaur. Right now, the only one available is the Triceratops. She’ll do nicely for the next couple of tasks.
K.O. the Dilophosauruses!

Tag to the Triceratops and smash through the cracked part of the fallen tree blocking off the rest of the enclosure. Proceed as dinosaur into the arena and use your charge to attack the three green Dilophosauruses running loose. (One good strike knocks out each foe.)

When the final Dilophosaurus drops, the trapped worker on the platform drops a ladder into the enclosure. Climb the ladder and the stairs to the road; then head left toward the other side of the rockslide.

Send Alan Grant to the loose dirt pile on the rockslide’s left end. Use his Excavate ability to dig up the build-it pieces, and then assemble them into a jackhammer. Gary the worker grabs it and hammers the rockslide into pebbles and dust. As he puts it: “Rock zero, Gary one.”

Now go back to your touring car and hop in. Follow the car with the kids down the rail and through the gate into the T. rex enclosure to trigger the next level’s opening cinematic. The rain sure is falling harder now, isn’t it?