
LEGO Jurassic World Guide Console Hub Area Challenges: Isla Sorna
Isla Sorna Aviary
Isla Sorna Aviary
This huge space is unlike anything you’ve seen before. It calls for a lot of flying—far more than any of your humans can do with a mere parachute. But the dino spawner here lets you produce Pteranodons and Dimorphodons, so you’re all prepared.
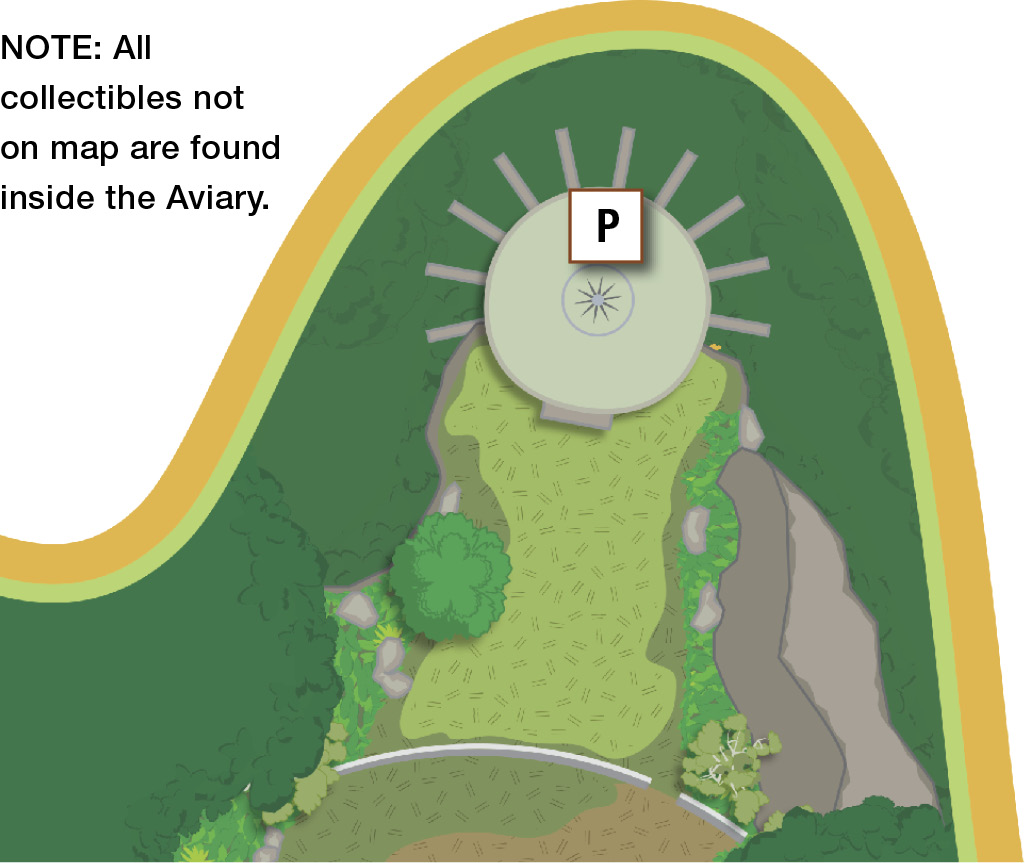
Isla Sorna Aviary Challenges
| Icon | Type | Notes |
|---|---|---|
| P | Photograph | Find the photo spot near the window on the entry level before you descend the stairs into the aviary. |
| G1 | Gold Brick | Fly a dino through the rock arch to snag a Gold Brick floating in the center. |
| G2 | Gold Brick | Smash three skeleton crews: a band directly across from the spawner; a lone picnicker on the low, small outcropping; and a bony tennis match on the narrow peninsula sticking out from the side opposite the spawner. |
| G3 | Gold Brick | Defeat Troodons defending their eggs down on a lower plateau. Knock out the enemies and win the brawl to pick up a Gold Brick in the middle of the three eggs. |
| G4 | Gold Brick | Fly a Pteranodon to the center bridge and pull then release the walkway switch to smash the debris blocking the way. Glide Billy across the bridge gap; then switch to a crowbar character and pry open the gate. Walk left to the closed gate; you can see the Gold Brick just beyond it. Switch to the Pteranodon and pull then release the switch above the walkway to open the gate. Switch back to your human character to walk in and grab the brick. |
| G5 | Gold Brick | Walk Billy Brennan onto the diving board and press Use. Fly through the stud circles and land on the small platform to get the Gold Brick. |
| R | Race | Just above the spawner is the first gate of an aerial checkpoint race. Hit all the gates in time to earn a Gold Brick. |
| RB | Red Brick | See “Pulling Switches.” |