
Nintendo Playing with Power Guide The Legend of Zelda The Underworld
Labyrinth 8: Lion
Attack of the Stone Statues!
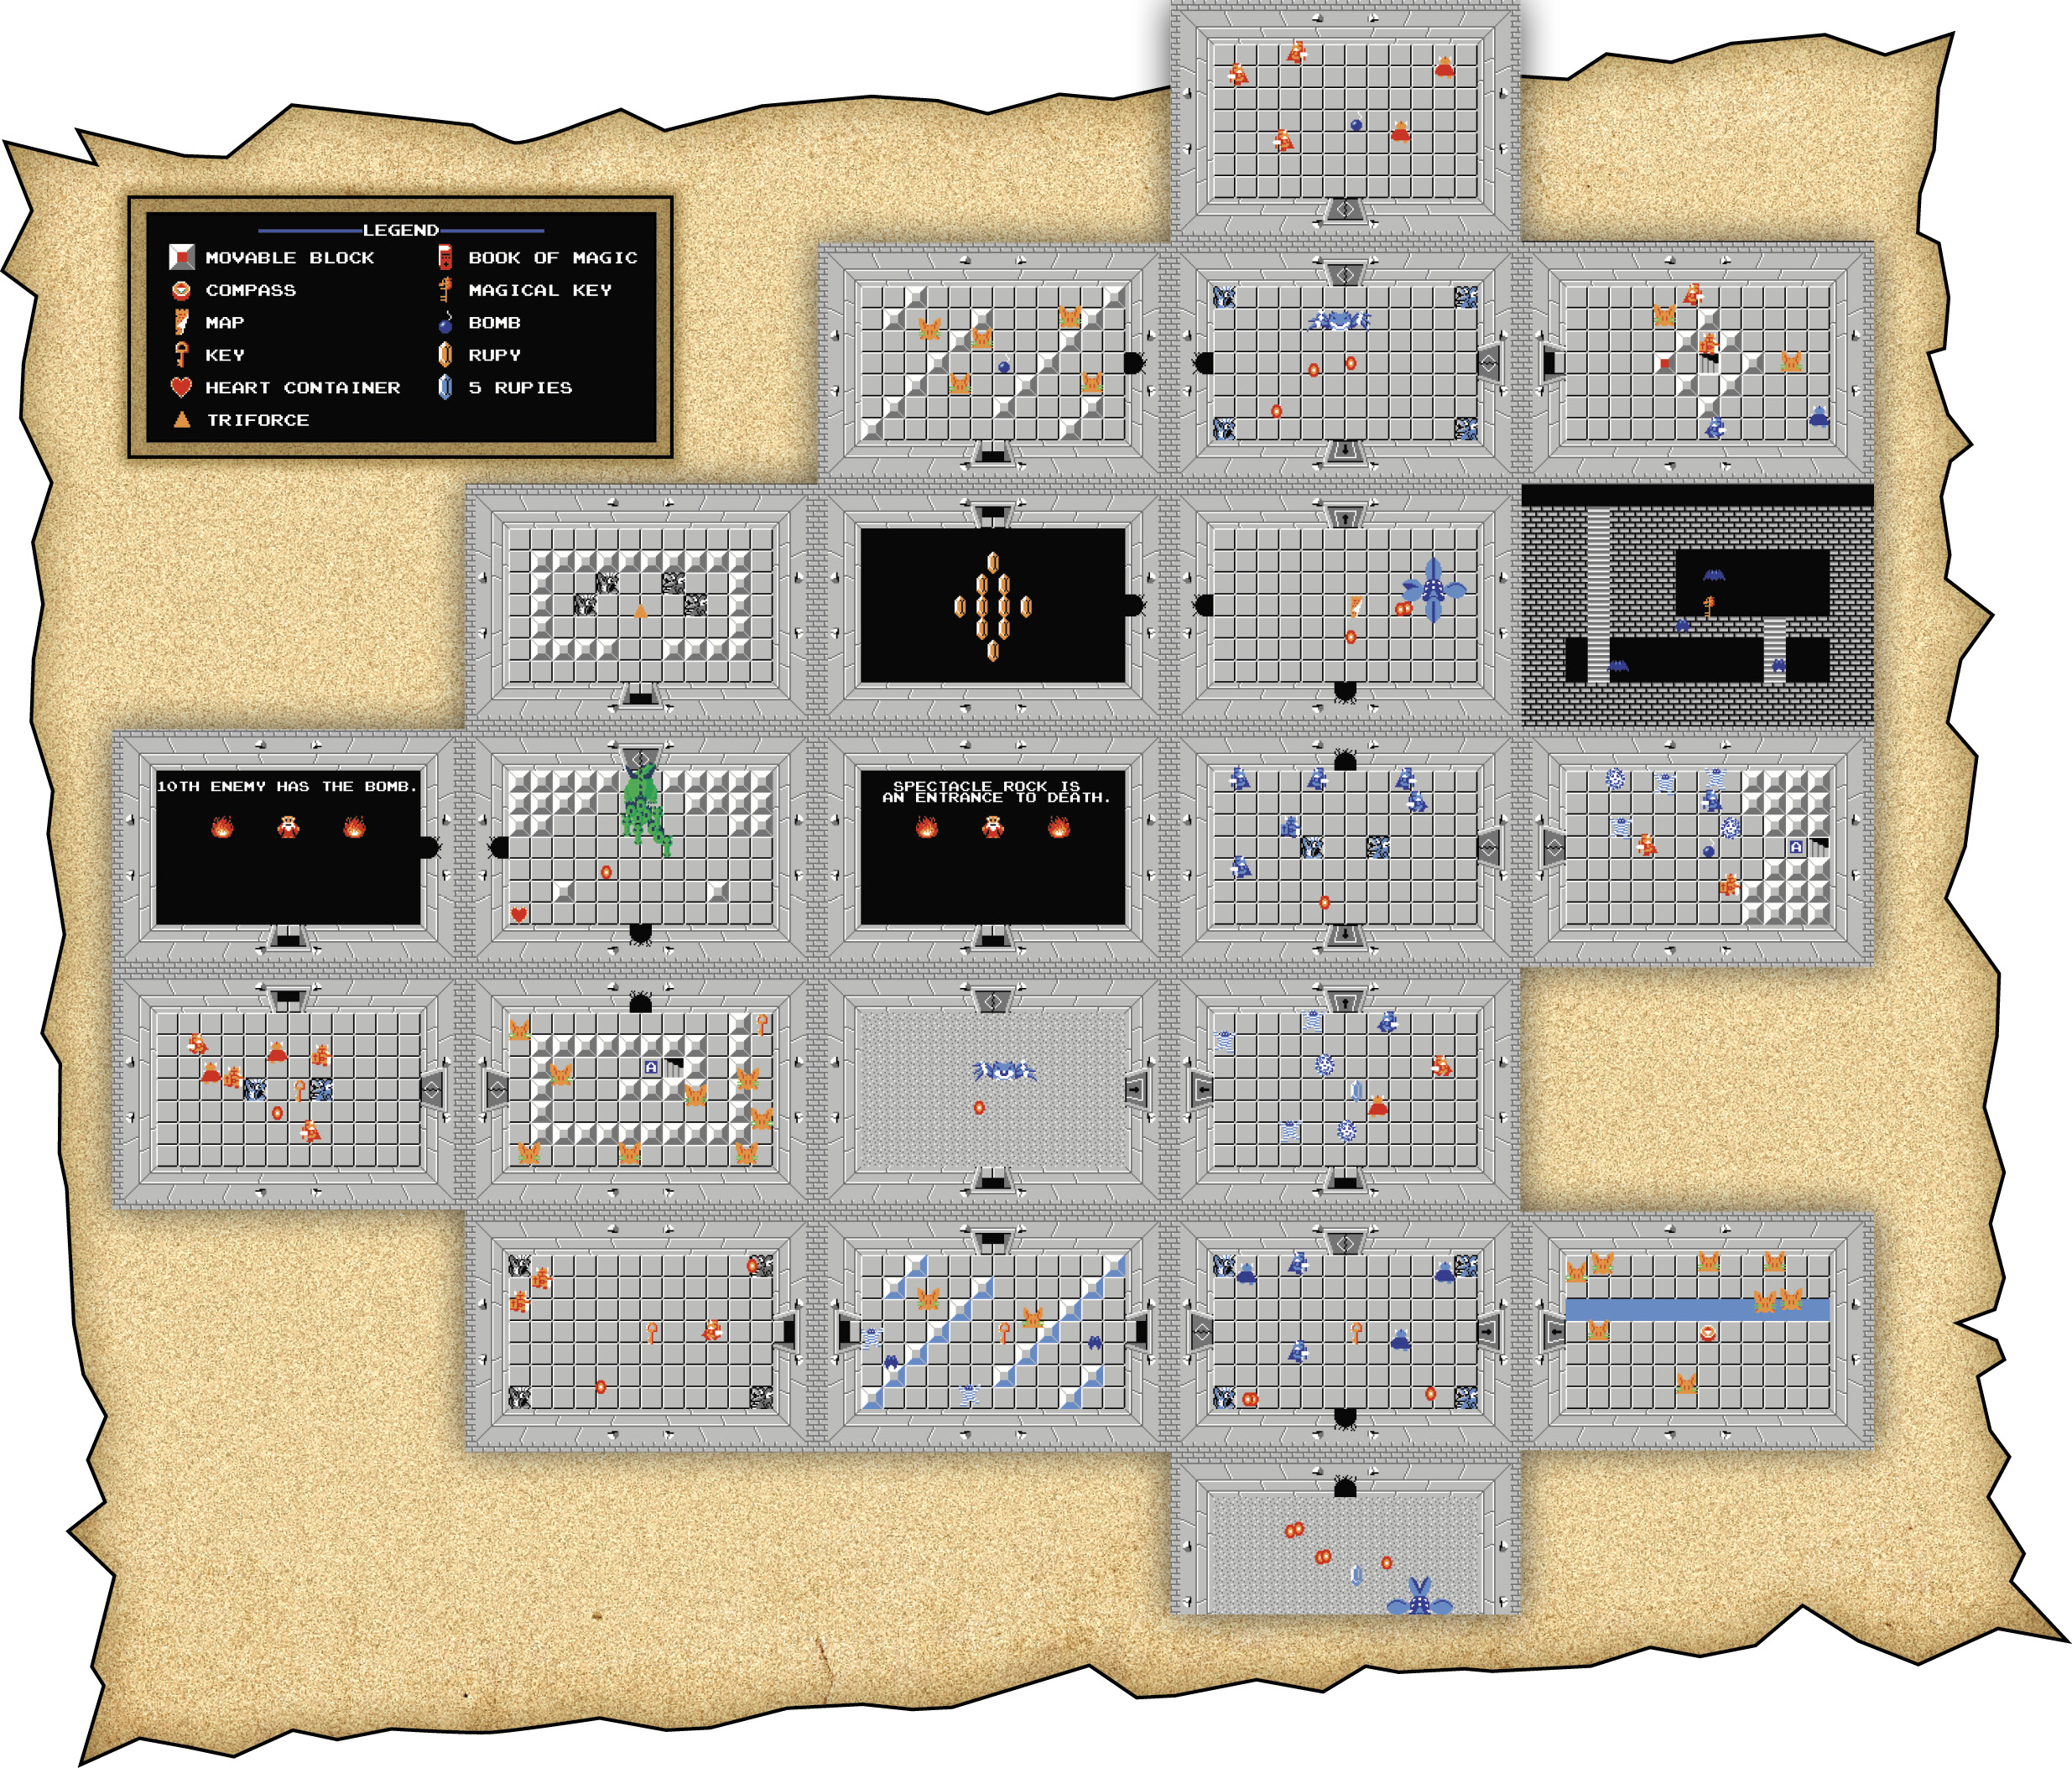
The eighth Underworld labyrinth has a simple layout, so there’s no need to worry about getting lost. Its overall shape is similar to the profile of a lion’s head.
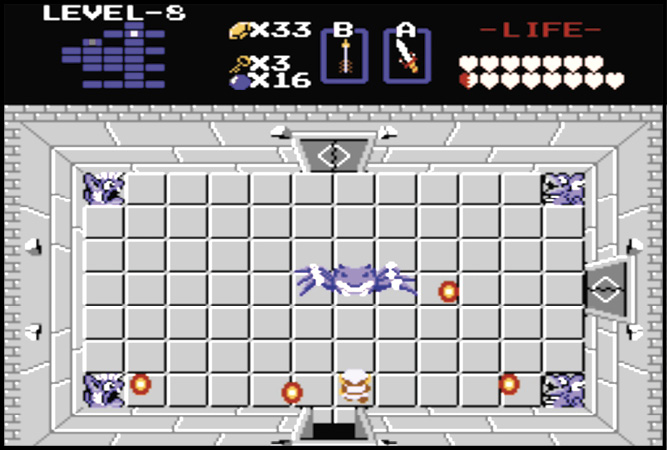
Though the level may appear straightforward, beware, as there are a lot of rooms with beam-shooting stone statues. You should already have the Magic Shield with you, but remember, while you fight your enemy, you must also dodge the statue’s beams. It could get tough, but overall Level 8 is of medium difficulty.
The Darknut Labyrinth
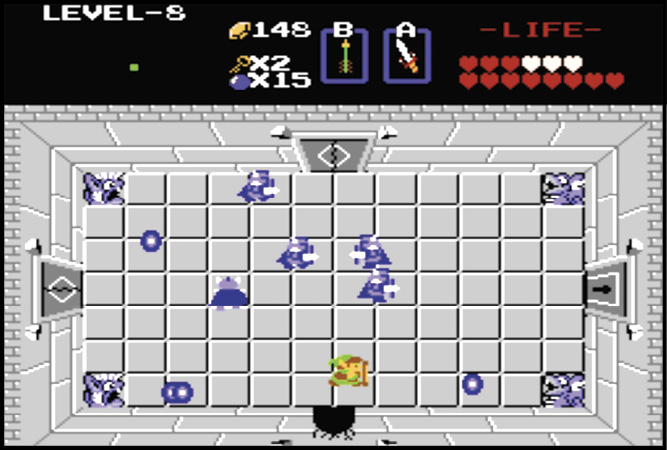
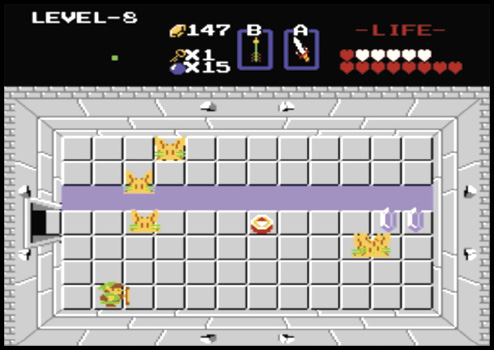
This labyrinth is absolutely packed with peril, but one of the most common sights here is the groups of Darknuts littering several of the rooms. Taking these foes on can really drain your health and Bombs, so play it smart and use your resources carefully. There are a ton of foes who used to be bosses in this labyrinth as well, and the last thing you need is to drain all your health and items trying to take out Darknuts.
A Boss Bonanza
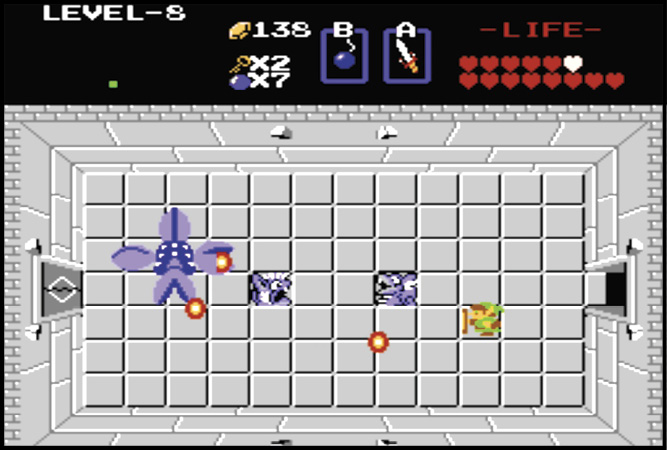
This labyrinth contains five total boss enemies, including the guardian of the Triforce piece, Gleeok. You must face three Manhandlas and Gohma while traversing the dungeon. One Manhandla inhabits one room west of the starting room, and another one room north of the starting area. There’s another Manhandla five rooms north of the starting zone, and a Gohma can be found one room north of that; one more Gohma is in the third room in the second row of rooms. Needless to say, you’ve got a lot of boss-busting to do in this Underworld labyrinth.
Remember that Gohma can only be wounded when you hit it with its weakness while its eye is open. For Manhandla, racing up and planting a Bomb as near to its center as possible can make for a one-hit KO. Keep these tips in mind while dealing with these foes, and you’ll get through just fine.
Obtaining the Map and Compass
As always, the Map and Compass are incredibly useful to exploring the Underworld labyrinths, so make a point to get your hands on them as early as possible.
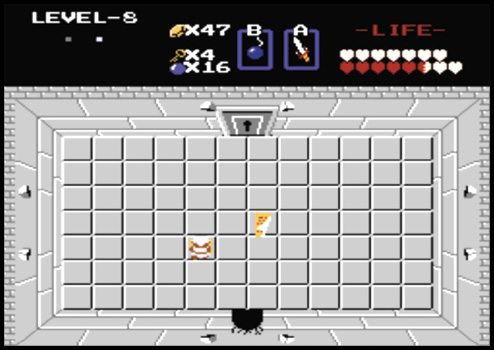
The Compass can be found two rooms north and one room west of the starting area, while the Map is located five rooms north of the starting area. Go in expecting a battle! Defeat Manhandla in that room to obtain the Map.
The Secret of Death Mountain
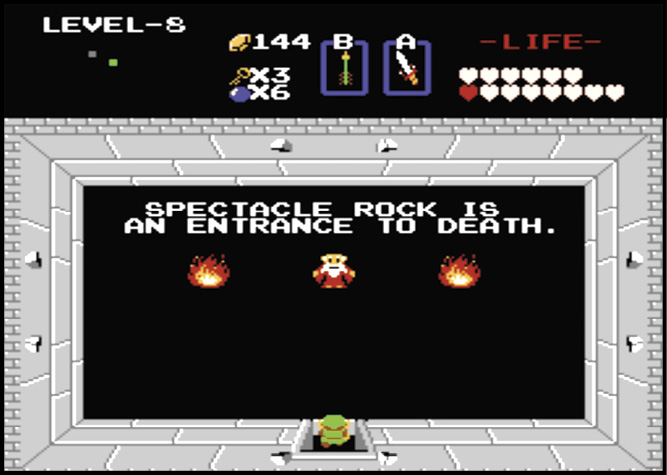
An Old Man hides in the fourth room in the second row of rooms in this labyrinth, and he’s got some pretty important information to share with a brave adventurer. That brave adventurer just happens to be Link in this case, and the information relates to the location of Level 9. The final labyrinth of the game can be a real challenge to find without assistance, so speak with the Old Man to make your search that much shorter.
The Magic Book
The treasure for this labyrinth is the Magic Book. This item combines with the Magic Wand to make a magical set with flame-throwing power—you can use them as a Candle too.
Find the Magic Book in the bottom-left corner of the labyrinth. Clear the room of enemies, then investigate the blocks to access the entrance to the treasure room. You must also fight Manhandla before gaining access to the room, so expect some trouble on your way to the treasure.
Reaching the Triforce Piece
Like the labyrinths before this one, in order to reach the Triforce piece and its guardian, you need to find a shortcut. The boss’s room is tucked away on the left side of the labyrinth, but reaching it requires you to find a secret passage on the right side of the Map. The secret passage is in the third room in the rightmost row of rooms.
Once you head through the passage and reach the other side of the labyrinth, Bomb the north wall to open a passage to Gleeok’s lair.

The Key to End All Keys
There’s actually one more treasure item you can find in Level 8: the Magic Key. This Key is hidden in a treasure room inside the room in the top-right corner of the labyrinth. The Magic Key has the ability to unlock all locked doors without the need for multiple Keys. This extremely useful item makes the rest of the game much easier.
