
Nintendo Playing with Power Guide Metroid
Completing Metroid
General Tips
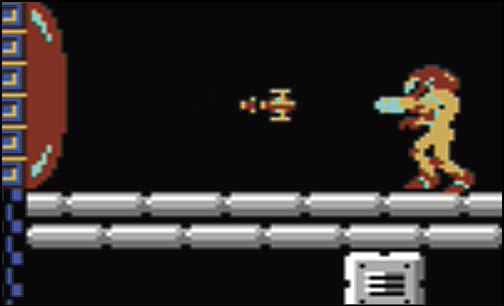
A door’s color indicates how it must be opened. To open a blue door, shoot it with any weapon. To open a red door, shoot it with five missiles. To open an orange door, shoot it with 10 missiles.
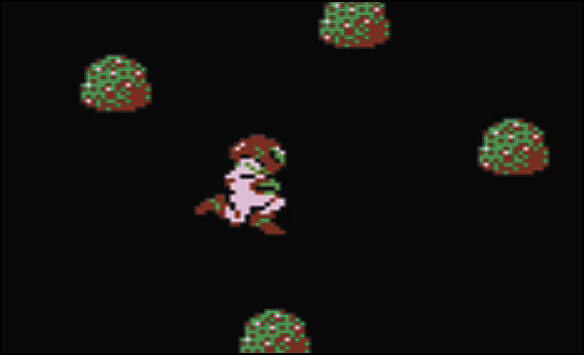
Standard jumps are much easier to control than spinning jumps or Screw Attacks. When you need to land on a narrow platform, jump from a standing position—the moment Samus leaves the ground, steer her toward the target platform.
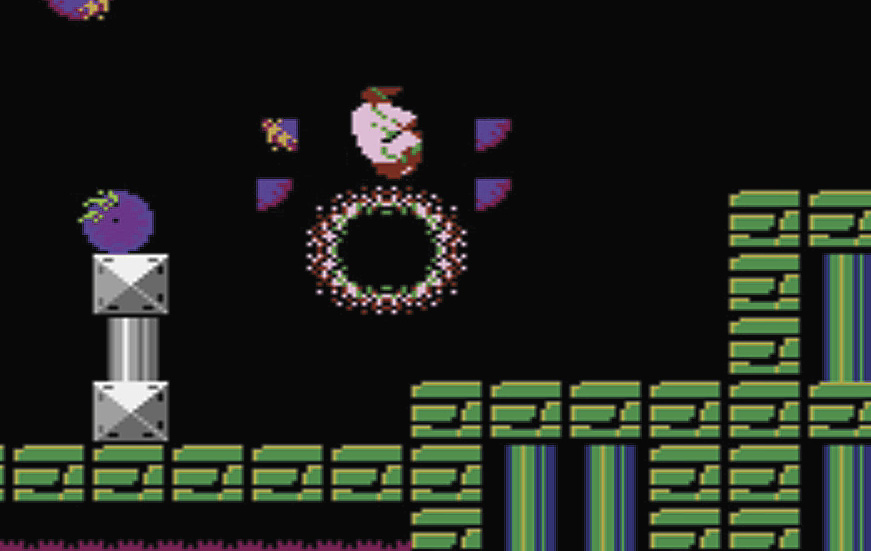
Unless you need to stock up on energy or missiles, it’s usually best to avoid unnecessary combat. It can take a significant amount of time to clear a room full of enemies, and all your hard work is undone as soon as you leave the area.
If an enemy blocks your path or is likely to attack, take it out. Otherwise, use jumps and Screw Attacks to move through each area as quickly as possible.
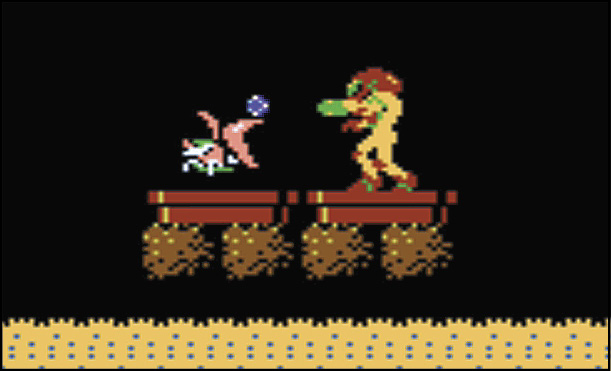
When you do need to stock up on energy or missiles, keep an eye out for enemy-infested air vents. A single active air vent serves as an endless supply of enemies more than happy to fly into your line of fire. Better yet, find two active air vents to defeat enemies at an even faster rate. Stand on one vent and defeat the creatures that emerge from the other. When one of the creatures drops an item, slide over to collect it, then turn around and shoot at the enemies that emerge from the vent you just left. Repeat the process as needed.
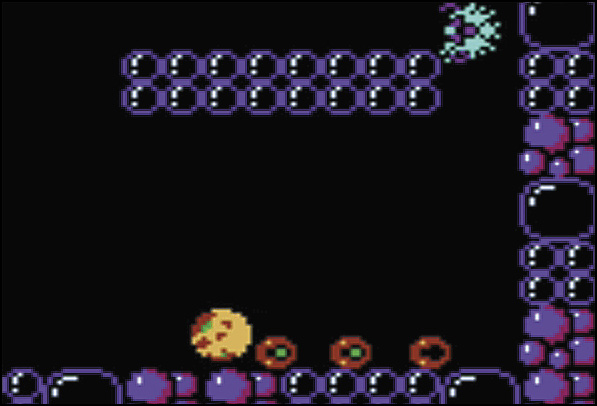
The fortress is riddled with hidden passages. Many of these secret passages serve as shortcuts, but some lead to important areas that are otherwise inaccessible. When you suspect a hidden passage is nearby, check for weak spots in the surrounding terrain. Use your beam weapon to shoot walls and ceilings, and use bombs to test for hidden passages in floors.
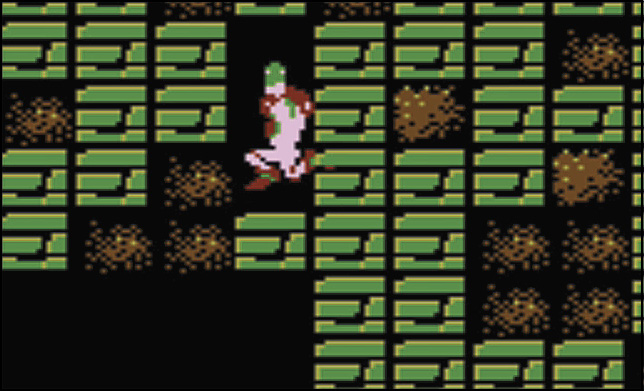
Blocks of destructible terrain regenerate soon after they vanish. If Samus is in the way when a block reappears, she’s knocked back and suffers a bit of damage. In many cases, a reappearing block serves as a vital foothold. Learn to anticipate exactly when a destroyed block will be replaced—it’s a skill that serves you well in some of the fortress’s more challenging corridors.
Recommended Route
The recommended route aims to provide new players with every possible advantage in the quest to defeat Mother Brain. Each numbered step specifies a Power Item to be collected or a powerful enemy that must be defeated, and the location of each step is marked on the related zone map.
If maximizing Samus’s combat abilities is your priority, it’s recommended that you complete each step in the order shown. Steps marked with asterisks (*) are considered optional. If speed is your priority, consider forgoing some (or all) optional steps as you work your way through the list.
Start in Brinstar
1. Maru Mari
2. Missile Rocket
3. Long Beam
4. Energy Tank
5. Bomb
6. Ice Beam
Enter Norfair
7. High Jump
Return to Brinstar
8. Energy Tank
9. Varia
10. Missile Rocket*
11. Energy Tank*
Return to Norfair
12. Missile Rocket*
13. Missile Rocket*
14. Missile Rocket*
15. Missile Rocket*
16. Missile Rocket*
17. Missile Rocket*
18. Missile Rocket*
19. Missile Rocket*
20. Missile Rocket*
21. Screw Attack
22. Energy Tank*
23. Missile Rocket*
24. Missile Rocket*
25. Wave Beam
26. Missile Rocket*
Enter Ridley’s Hideout
27. Missile Rocket*
28. Energy Tank*
29. Missile Rocket*
30. Ridley (Mini-Boss)
31. Energy Tank
32. Missile Rocket*
Enter Kraid’s Hideout
33. Missile Rocket*
34. Missile Rocket*
35. Energy Tank
36. Missile Rocket*
37. Kraid (Mini-Boss)
38. Energy Tank
39. Missile Rocket*
Return to Brinstar
40. Ice Beam
Enter Tourian
41. Mother Brain (Boss)
Brinstar
Points of Interest: Brinstar
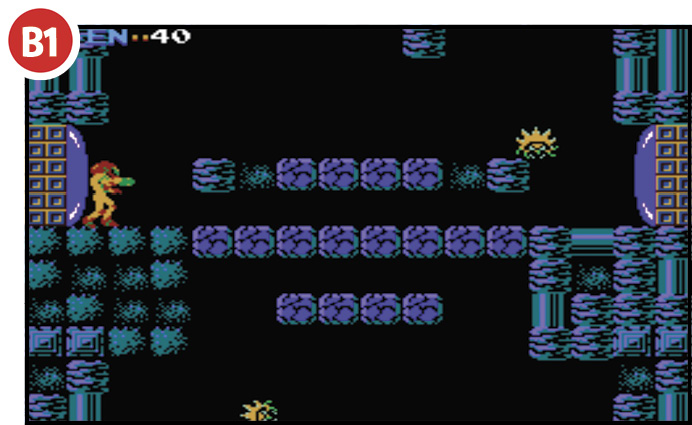
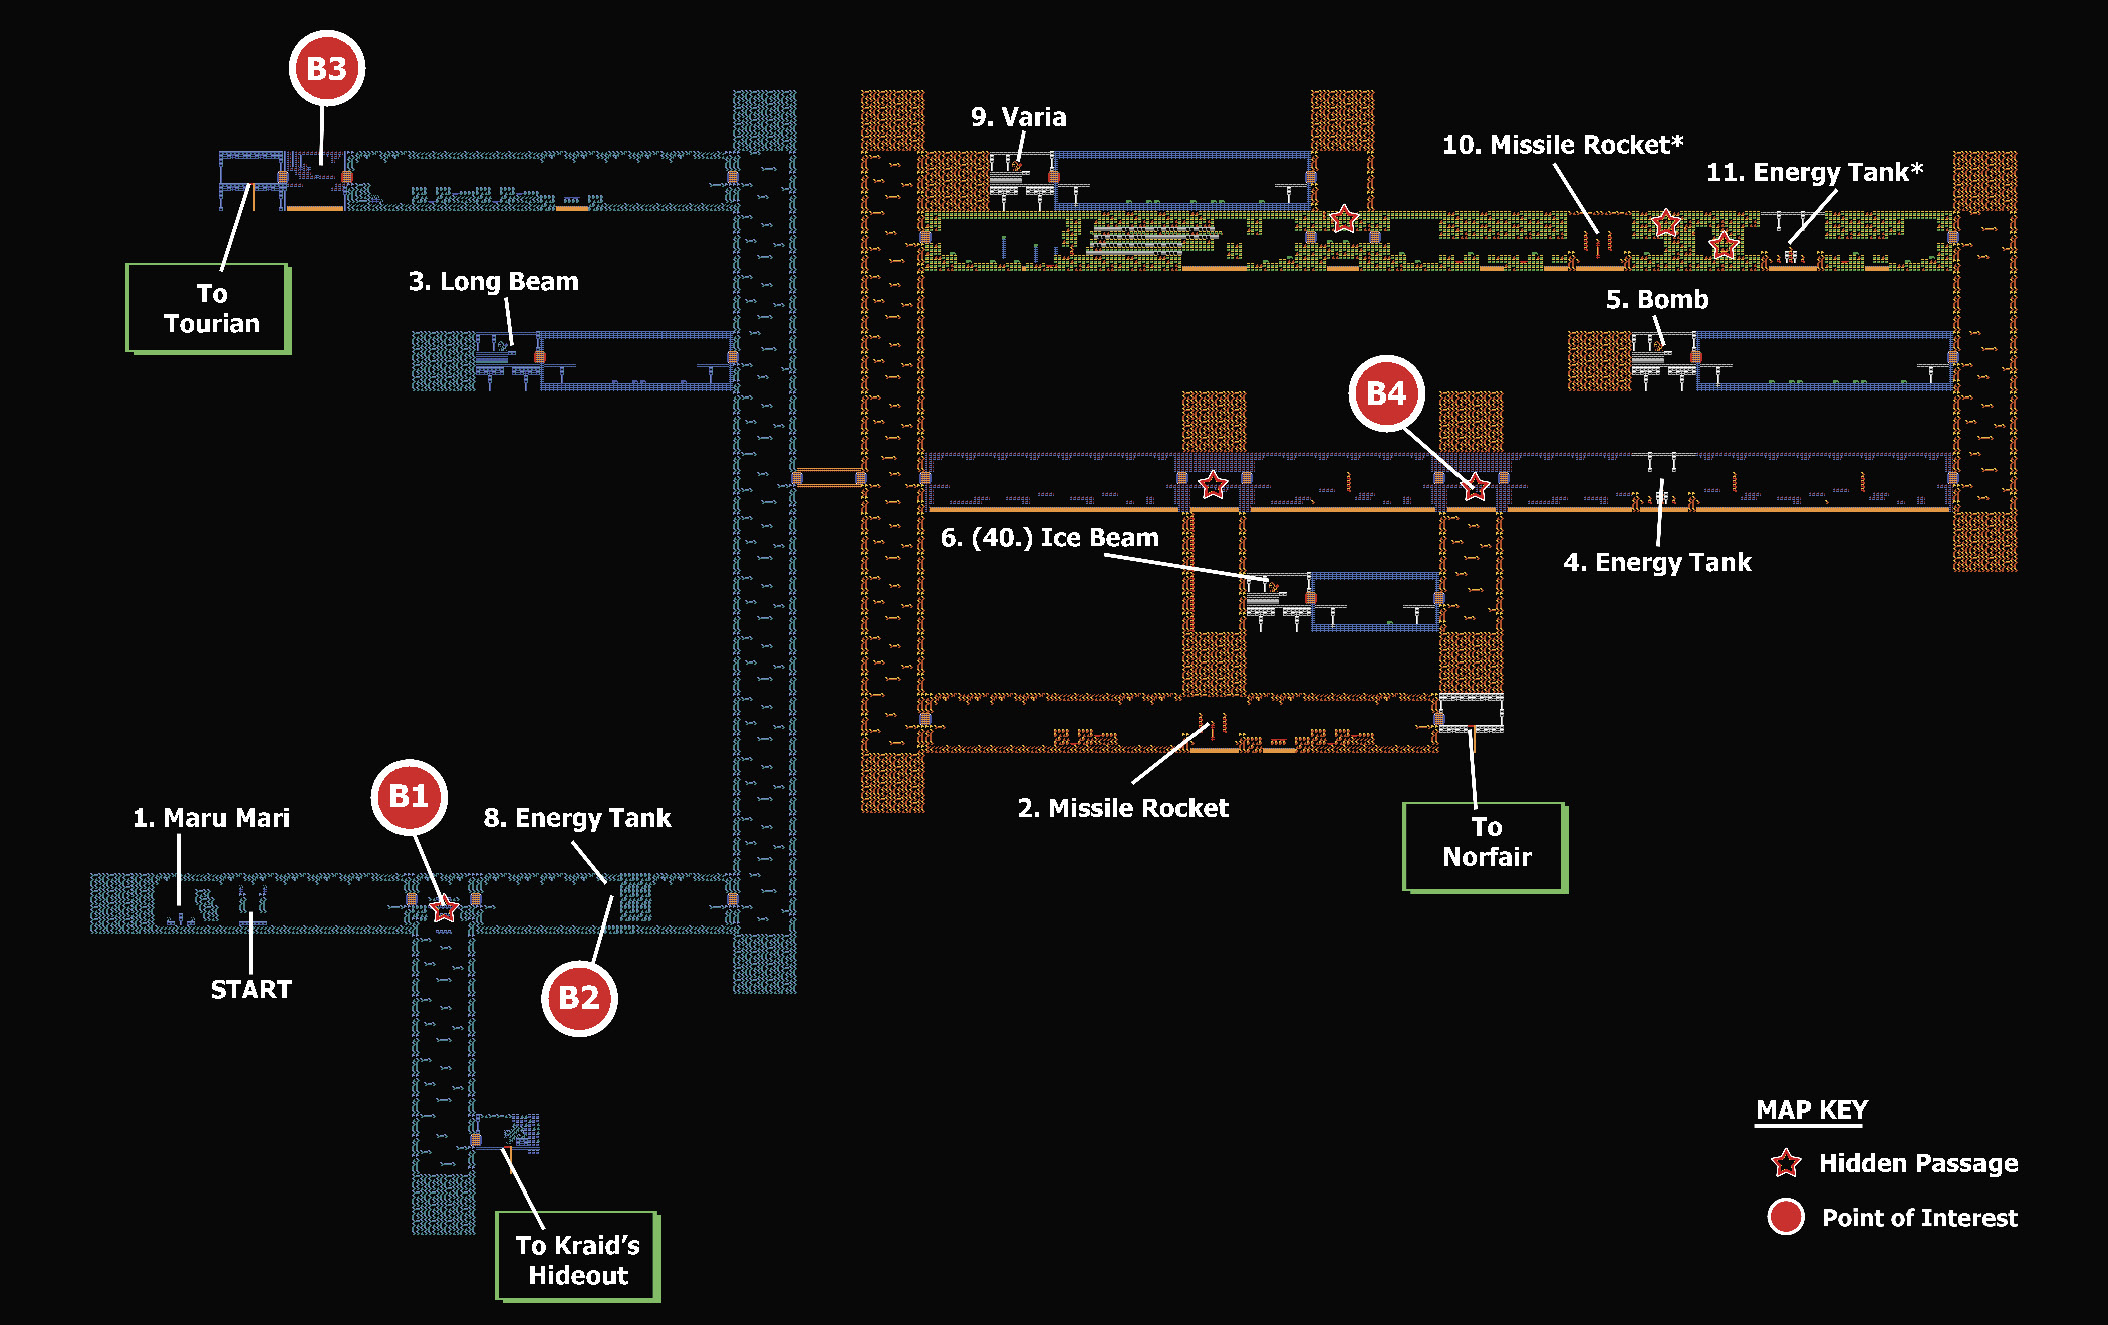
The entrance to Kraid’s hideout is near the game’s starting point. You can blast through the floor at Point B1 as soon as you collect the Bomb Power Item, but that doesn’t necessarily mean you’re ready to face Kraid. This powerful Mini-Boss is one of the fortress’s most dangerous creatures. To maximize your chances of survival, collect as many Power Items as you can before heading into Kraid’s hideout.
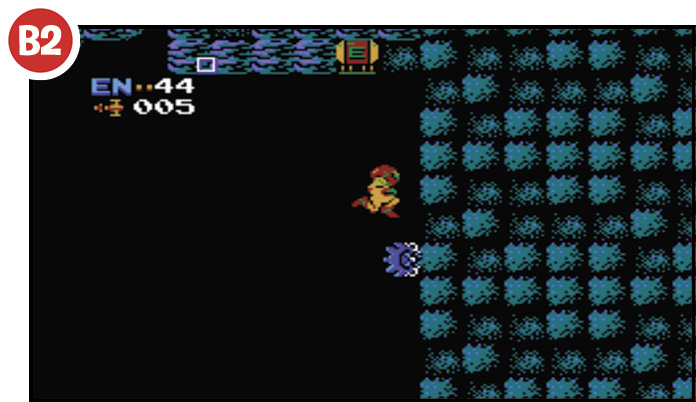
The Energy Tank at Point B2 is hidden in the ceiling. To reach it, you need to collect the Ice Beam and the High Jump Power Items. Shoot at the ceiling to reveal the hidden Energy Tank, use the Ice Beam to freeze an enemy located about halfway between Samus and the tank, then jump onto the enemy and collect this elusive Power Item.
Depending on the available enemies, you can freeze a Skree as it dives toward you, or you can allow a Zoomer to climb across the ceiling until it reaches the wall to the right of the Energy Tank.
If there are no suitable enemies left in the area, leave the corridor and head back in to make another attempt.
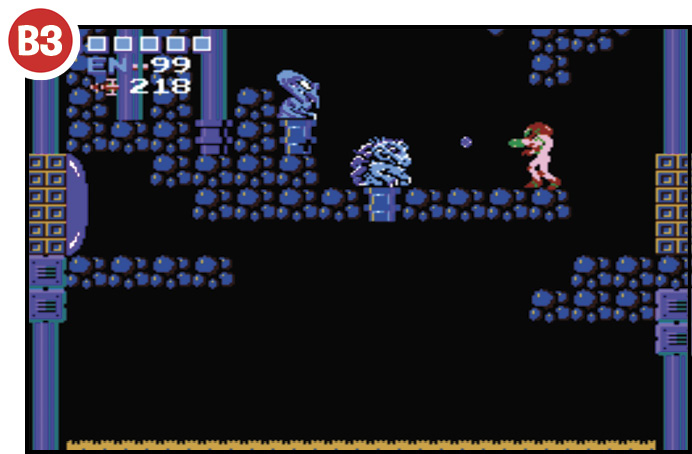
The entrance to Tourian is located beyond the statues at Point B3. After you’ve defeated Ridley and Kraid, shoot both of these statues to create a path across the room.
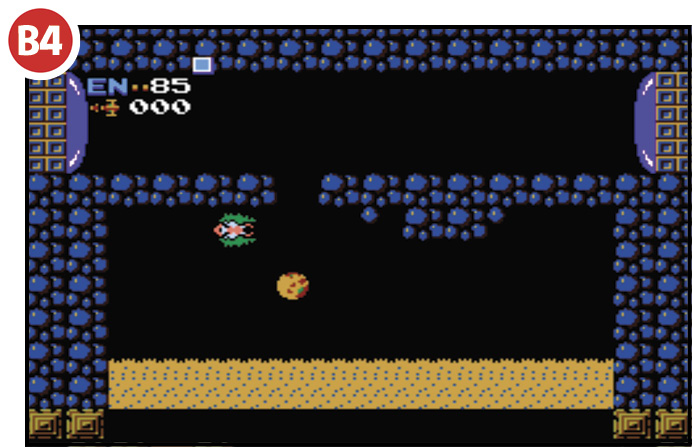
The fortress contains two Ice Beam Power Items. The Ice Beam in Brinstar (Step 6 and Step 40 of the recommended path) is well-hidden, but it’s also conveniently located. To reach it, use a bomb to reveal the hidden passage at Point B4.
After you collect the Ice Beam, exit this hidden area the same way you entered it. If you’ve already collected the High Jump, this shouldn’t be a problem. To escape this passage without the High Jump, shoot the destructible block, and then jump up to the gap just as the block reappears. You lose a bit of energy in the process, but the impact knocks you back into the corridor.
Norfair
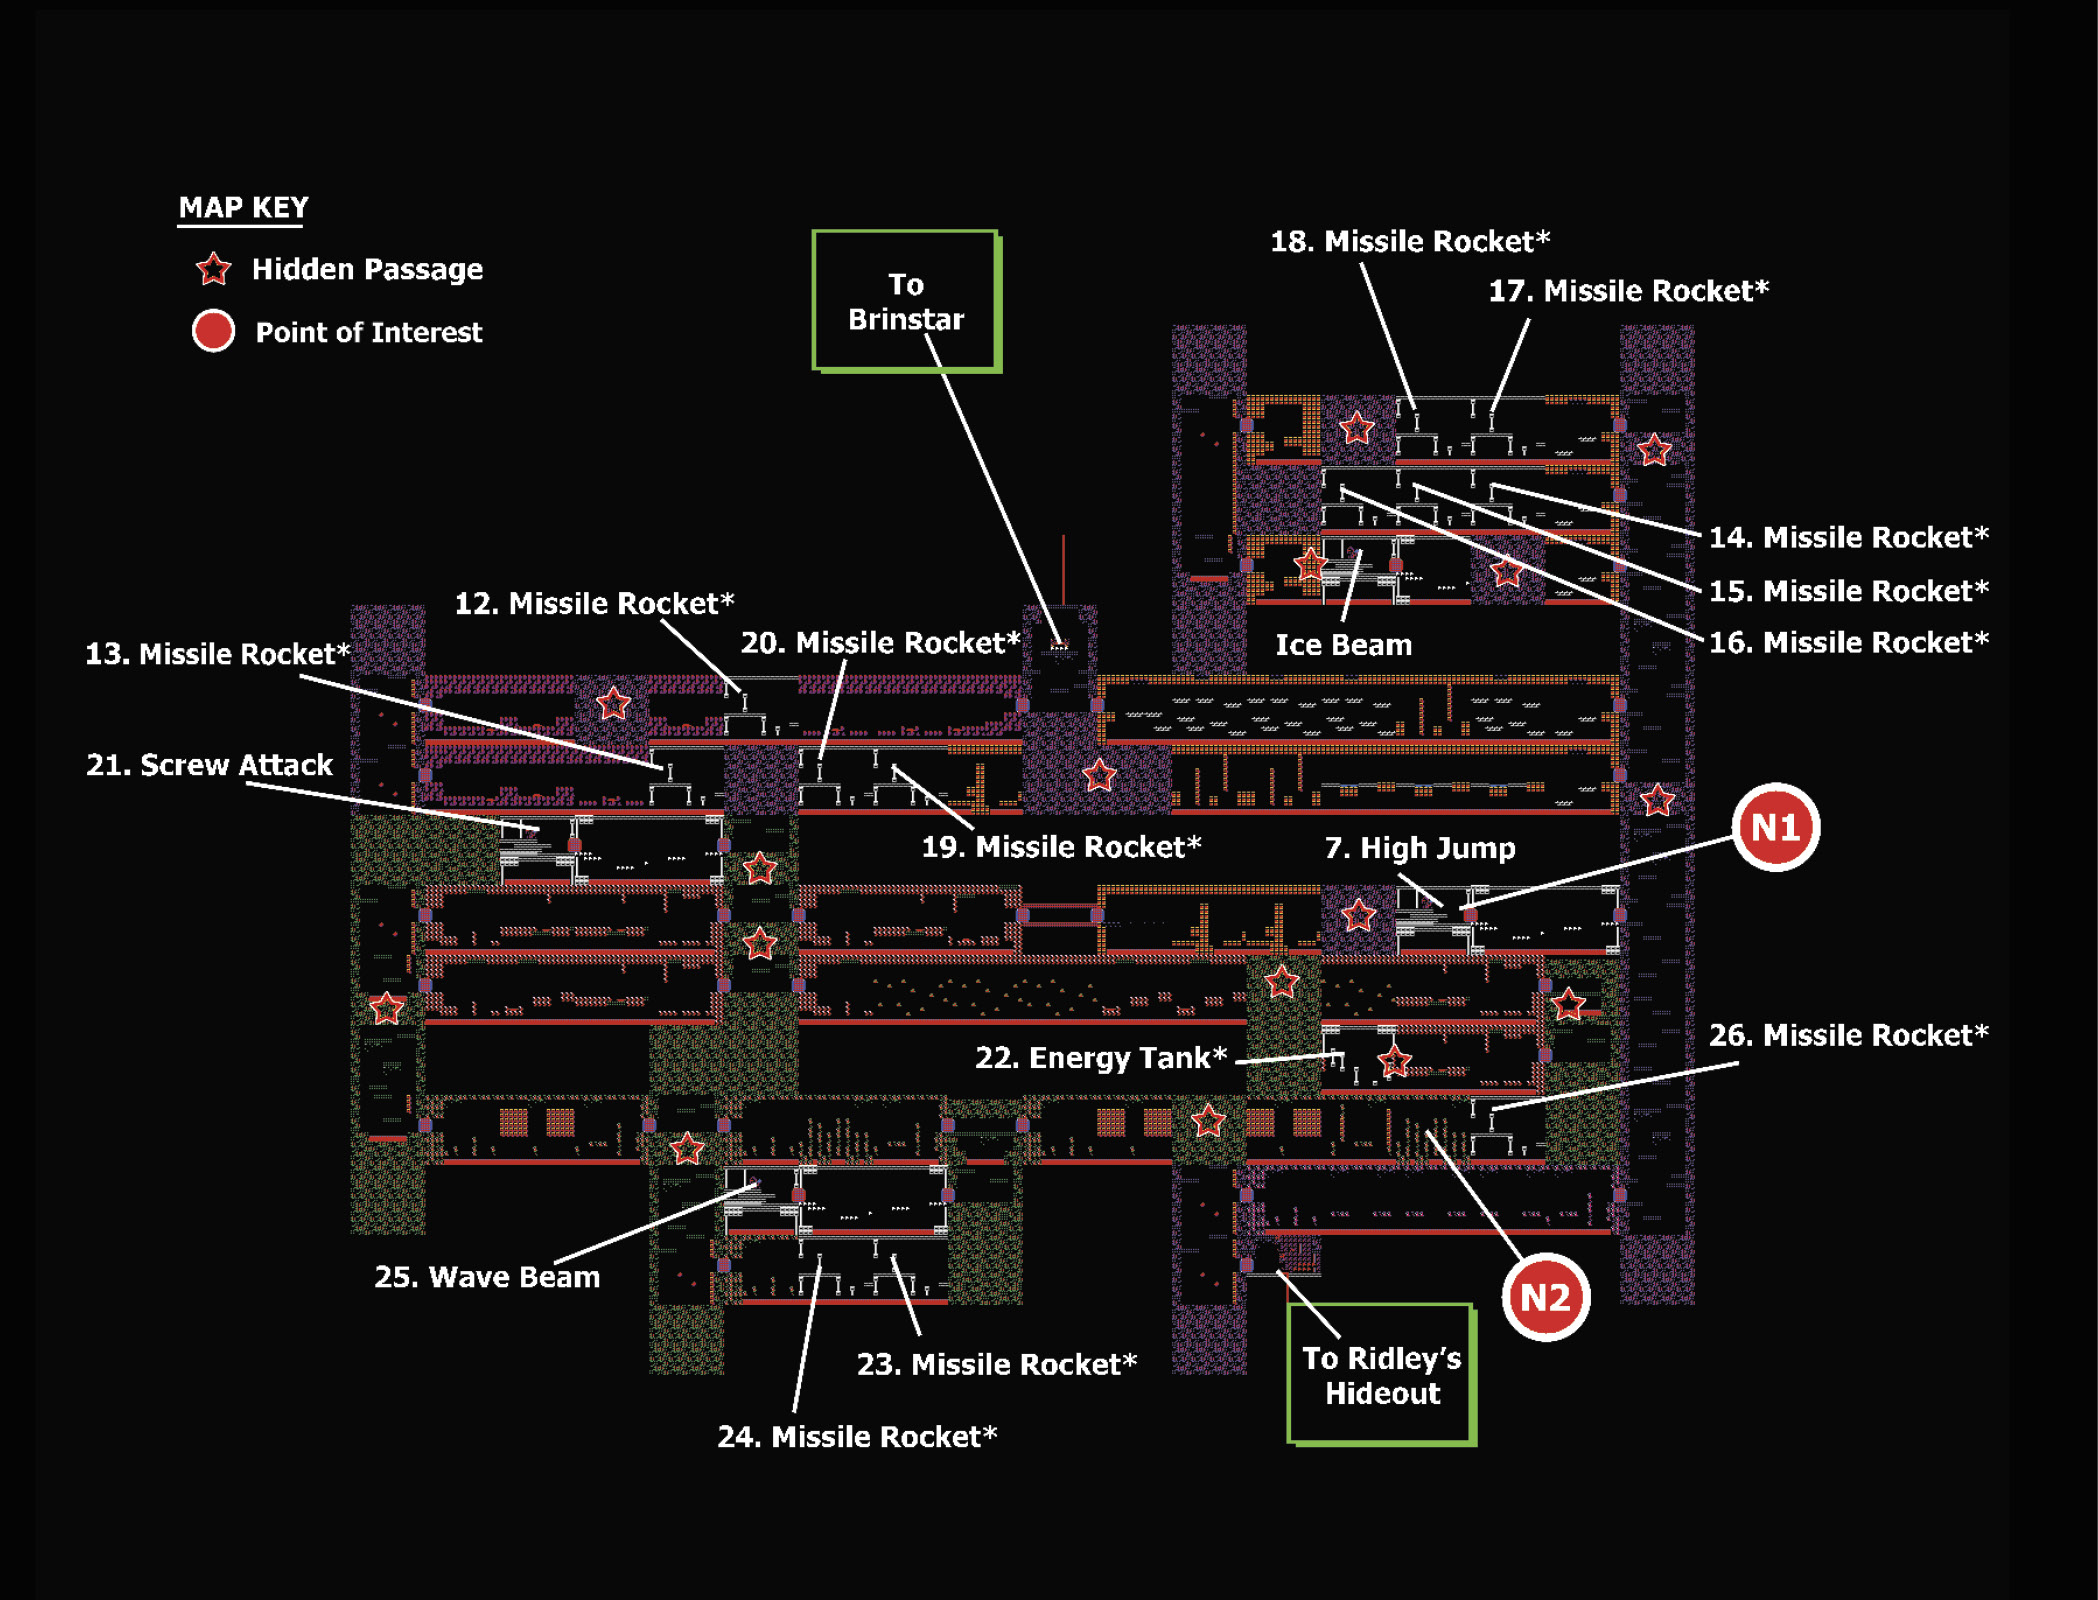
Points of Interest: Norfair
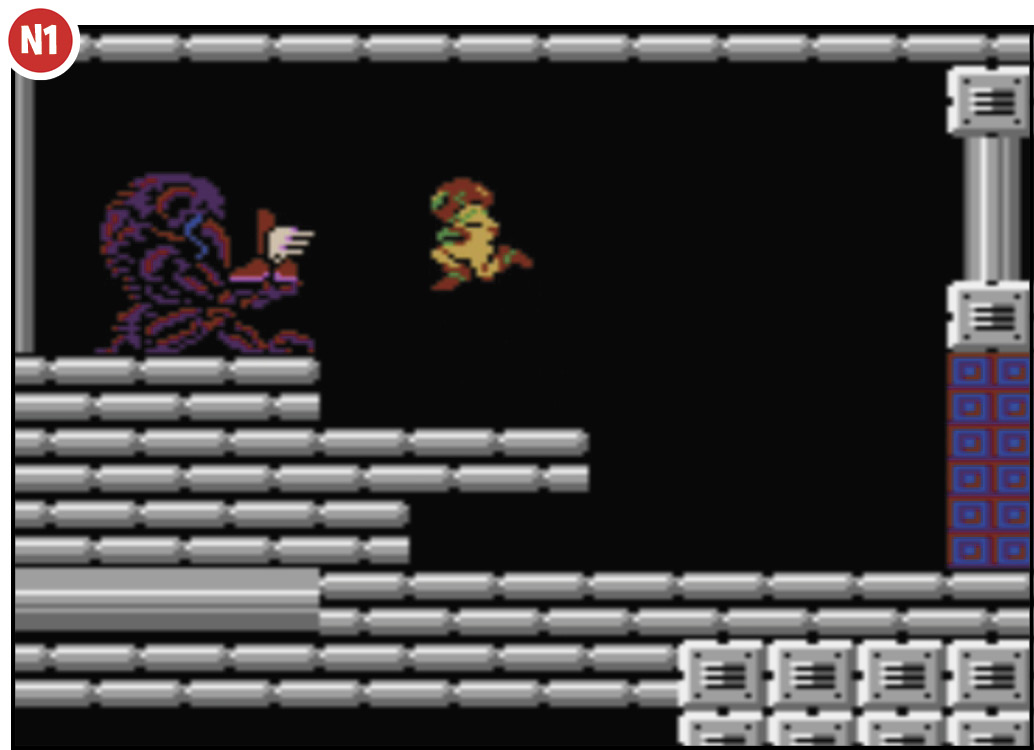
Once you collect the High Jump Power Item, you have everything you need to reach the Varia Power Item back in Brinstar. Norfair has some very challenging areas—you’d be well-advised to head back and collect the Varia before you head deeper into this fiery zone.
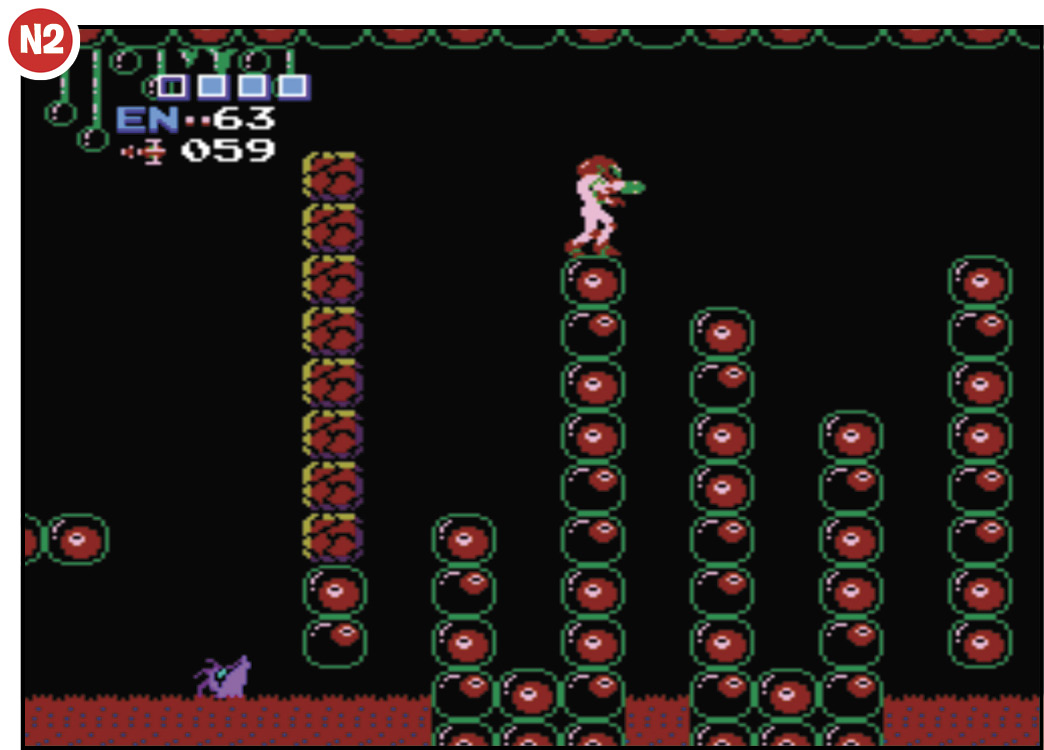
The pillars at Point N2 can be difficult to traverse—especially if an enemy baits you into using Screw Attacks. Be patient, and be careful. If you fall between two of the taller pillars, curl up and use bombs to climb back out of the lava. It’s a difficult escape to pull off, so watch your step and stay in control.
Ridley’s Hideout
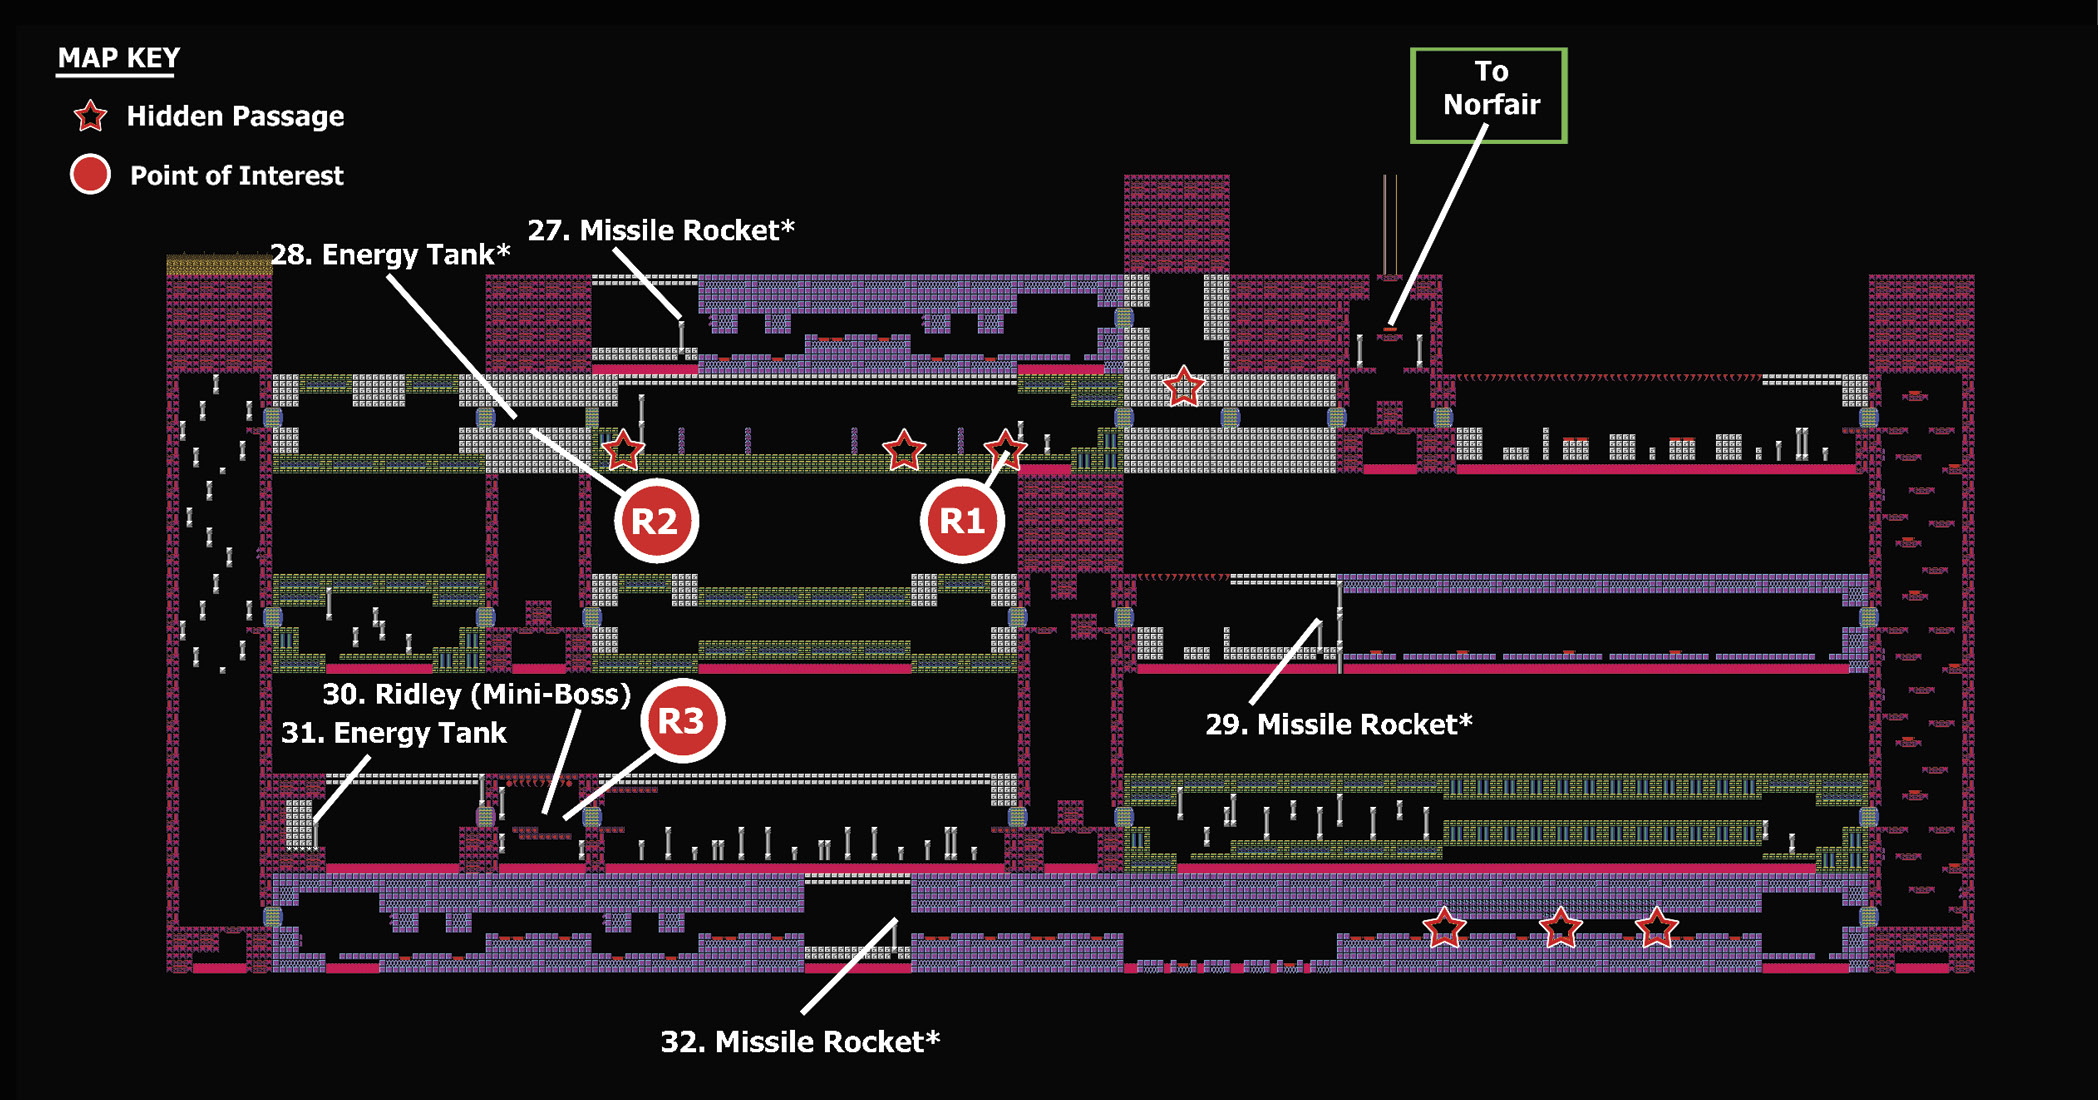
Points of Interest: Ridley’s Hideout
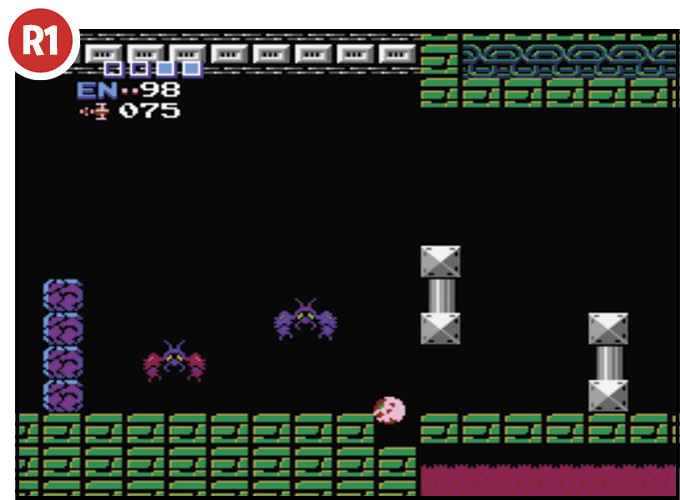
Curl up and use a bomb to reveal the hidden passage at Point R1. Drop down into the opening and move left to follow the passage to the end of the corridor.
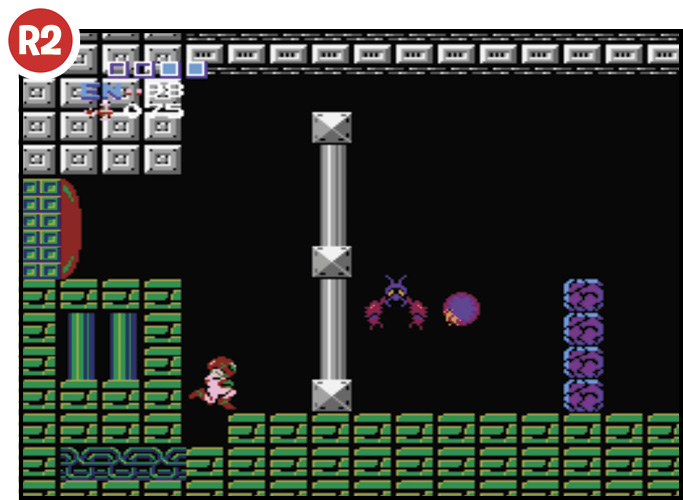
This hidden passage not only allows you to bypass some tough enemies—it also lets you slip under a particularly tall pillar. When you reach the end of the passage, use a bomb to blast your way back into the corridor.
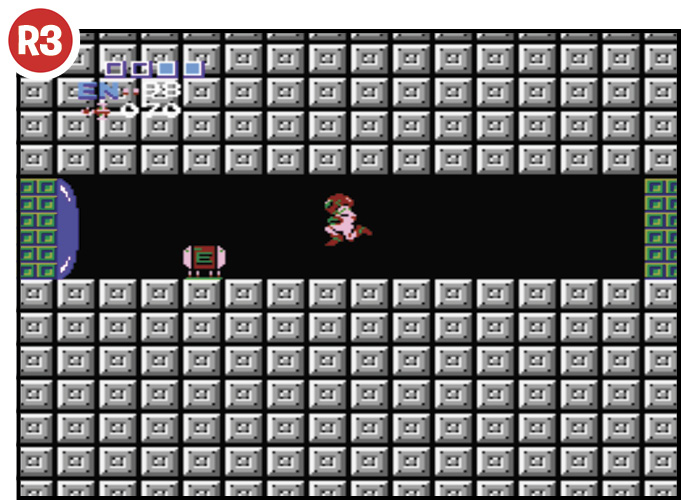
There’s a pitfall hidden at Point R2—the floor may look solid, but there are two rows of false blocks to the right of the Energy Tank. Running straight to this Power Item results in a costly fall. Instead, make a running leap onto the block just to the right of the Energy Tank.
Mini-Boss: Ridley
Ridley is a formidable foe, so bring plenty of missiles and energy into this battle. The most straightforward way to defeat Ridley is to fire a stream of missiles at point-blank range. Use Screw Attacks to force your way past each cluster of fireballs, then fire off as many missiles as possible until the next cluster appears. Repeat the process as many times as needed.
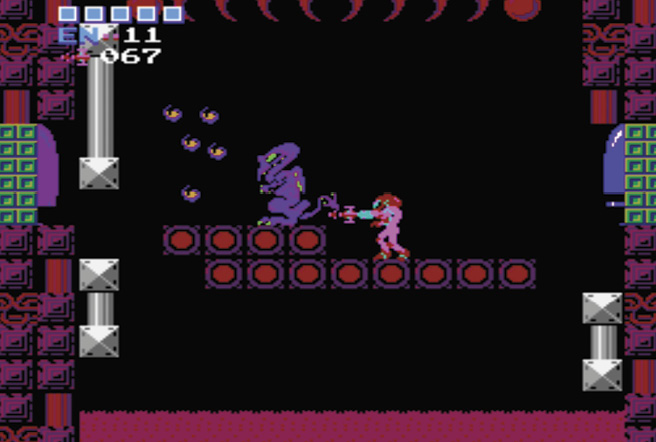
You can also use the Wave Beam to attack from the pool of lava below Ridley’s platform. Stand below Ridley, fire upward, and keep jumping to minimize the damage you take from the lava.
Kraid’s Hideout
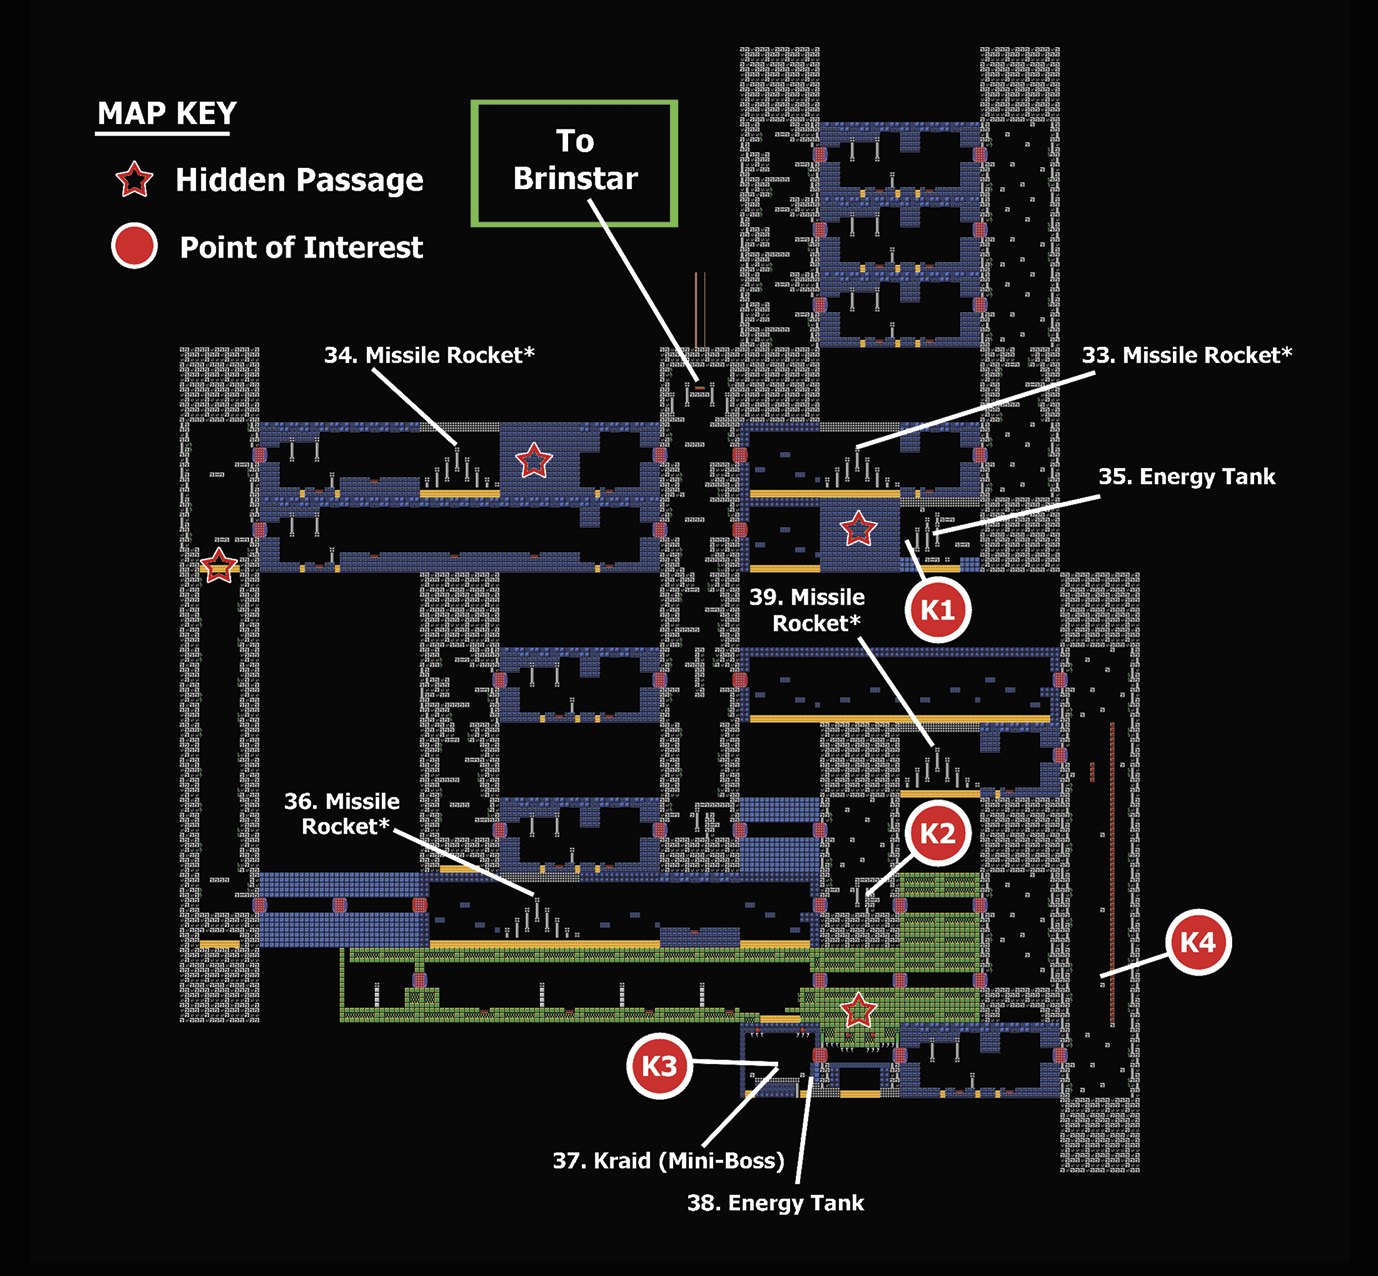
Points of Interest: Kraid’s Hideout
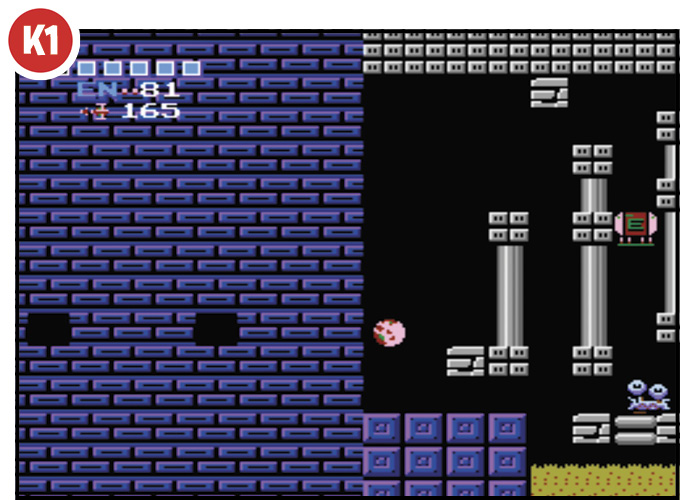
There’s more than one hidden passage at Point K1. After you collect the Energy Tank from this room, curl up and use bombs to bounce to the upper passage—the lower passage is blocked by a platform in the adjoining room.
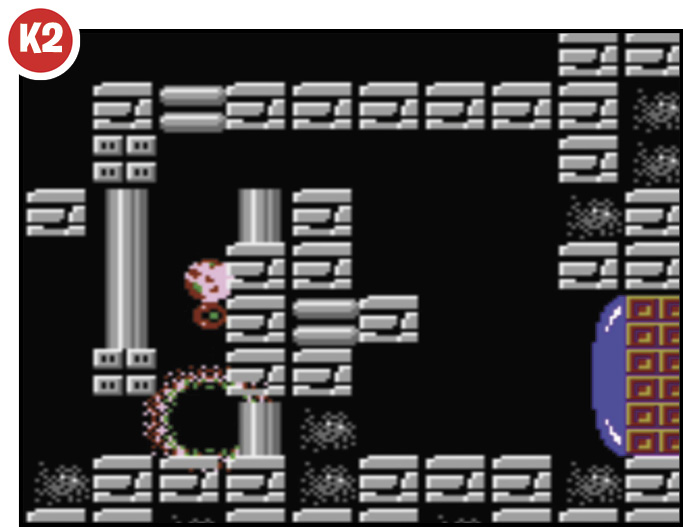
To get past the pipes at Point K2, curl up and use a series of bombs to climb up through the space between them. As you approach the top of the gap, press Right on the Directional Pad to avoid falling back down. The timing is difficult to pull off, but overcoming this obstacle allows you to reach the hidden passage above Kraid’s room.
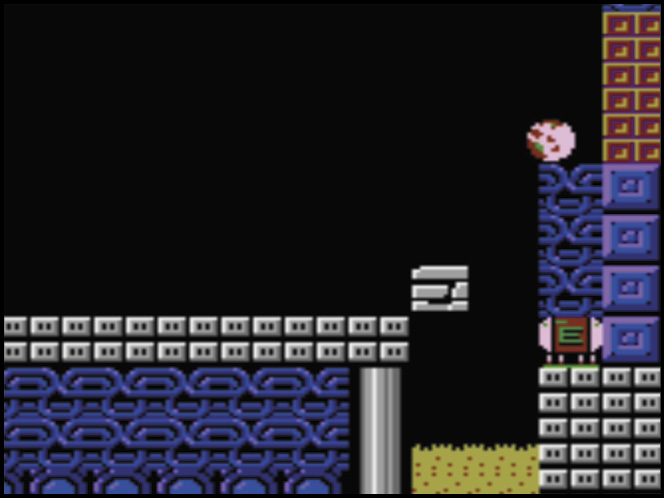
After you defeat Kraid, collect the hidden Energy Tank from his room. Grabbing this Power Item is a two-part process. First, you must reveal the tank—drop down into the lava below the door, and shoot the blocks to the right as you fall. While the Energy Tank is exposed, jump up to the blocks near the door, curl up, and drop back into the lava. As you fall, press Right on the Directional Pad to collect the Power Item.
Mini-Boss: Kraid
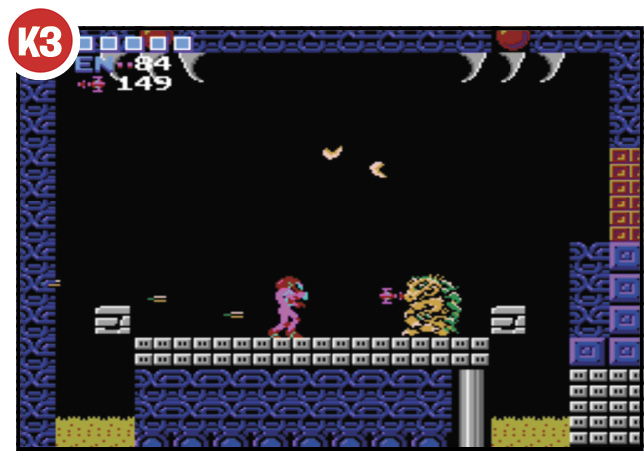
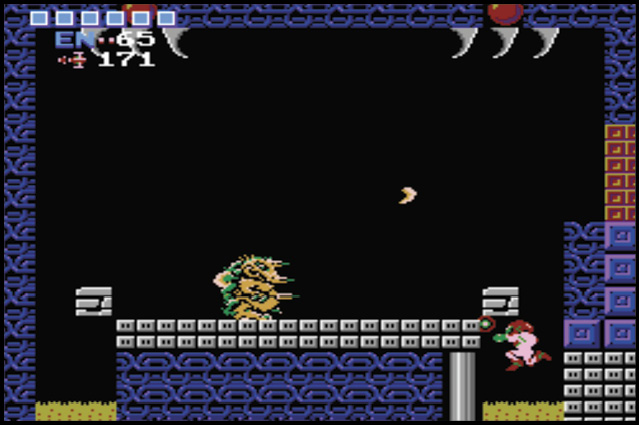
Kraid’s a tough opponent, and his spikes do considerable damage—enter this battle with a full supply of energy and plenty of missiles. To end the encounter quickly, it’s usually best to keep the fight on Kraid’s platform. Dodge his spikes, and fire a missile every time you have an opening.
You can also use the Wave Beam to attack Kraid from the pools of lava on either side of his platform. Keep jumping to minimize the damage you take, and fire off a few shots from the Wave Beam each time Kraid is in your sights.
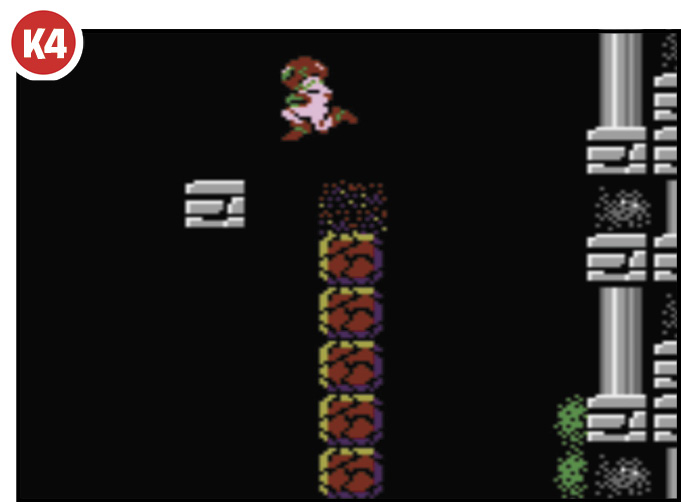
Once you’ve dealt with Kraid, use the column of destructible blocks at Point K4 to reach the doors at the top of the shaft. Use your beam to clear out several blocks at a time, and then jump up to land on the blocks as they reappear. As you make your way up the column, look for the scattered footholds floating off to the left—if a reappearing block is likely to knock you out of position, reach one of these footholds as quickly as possible.
Tourian
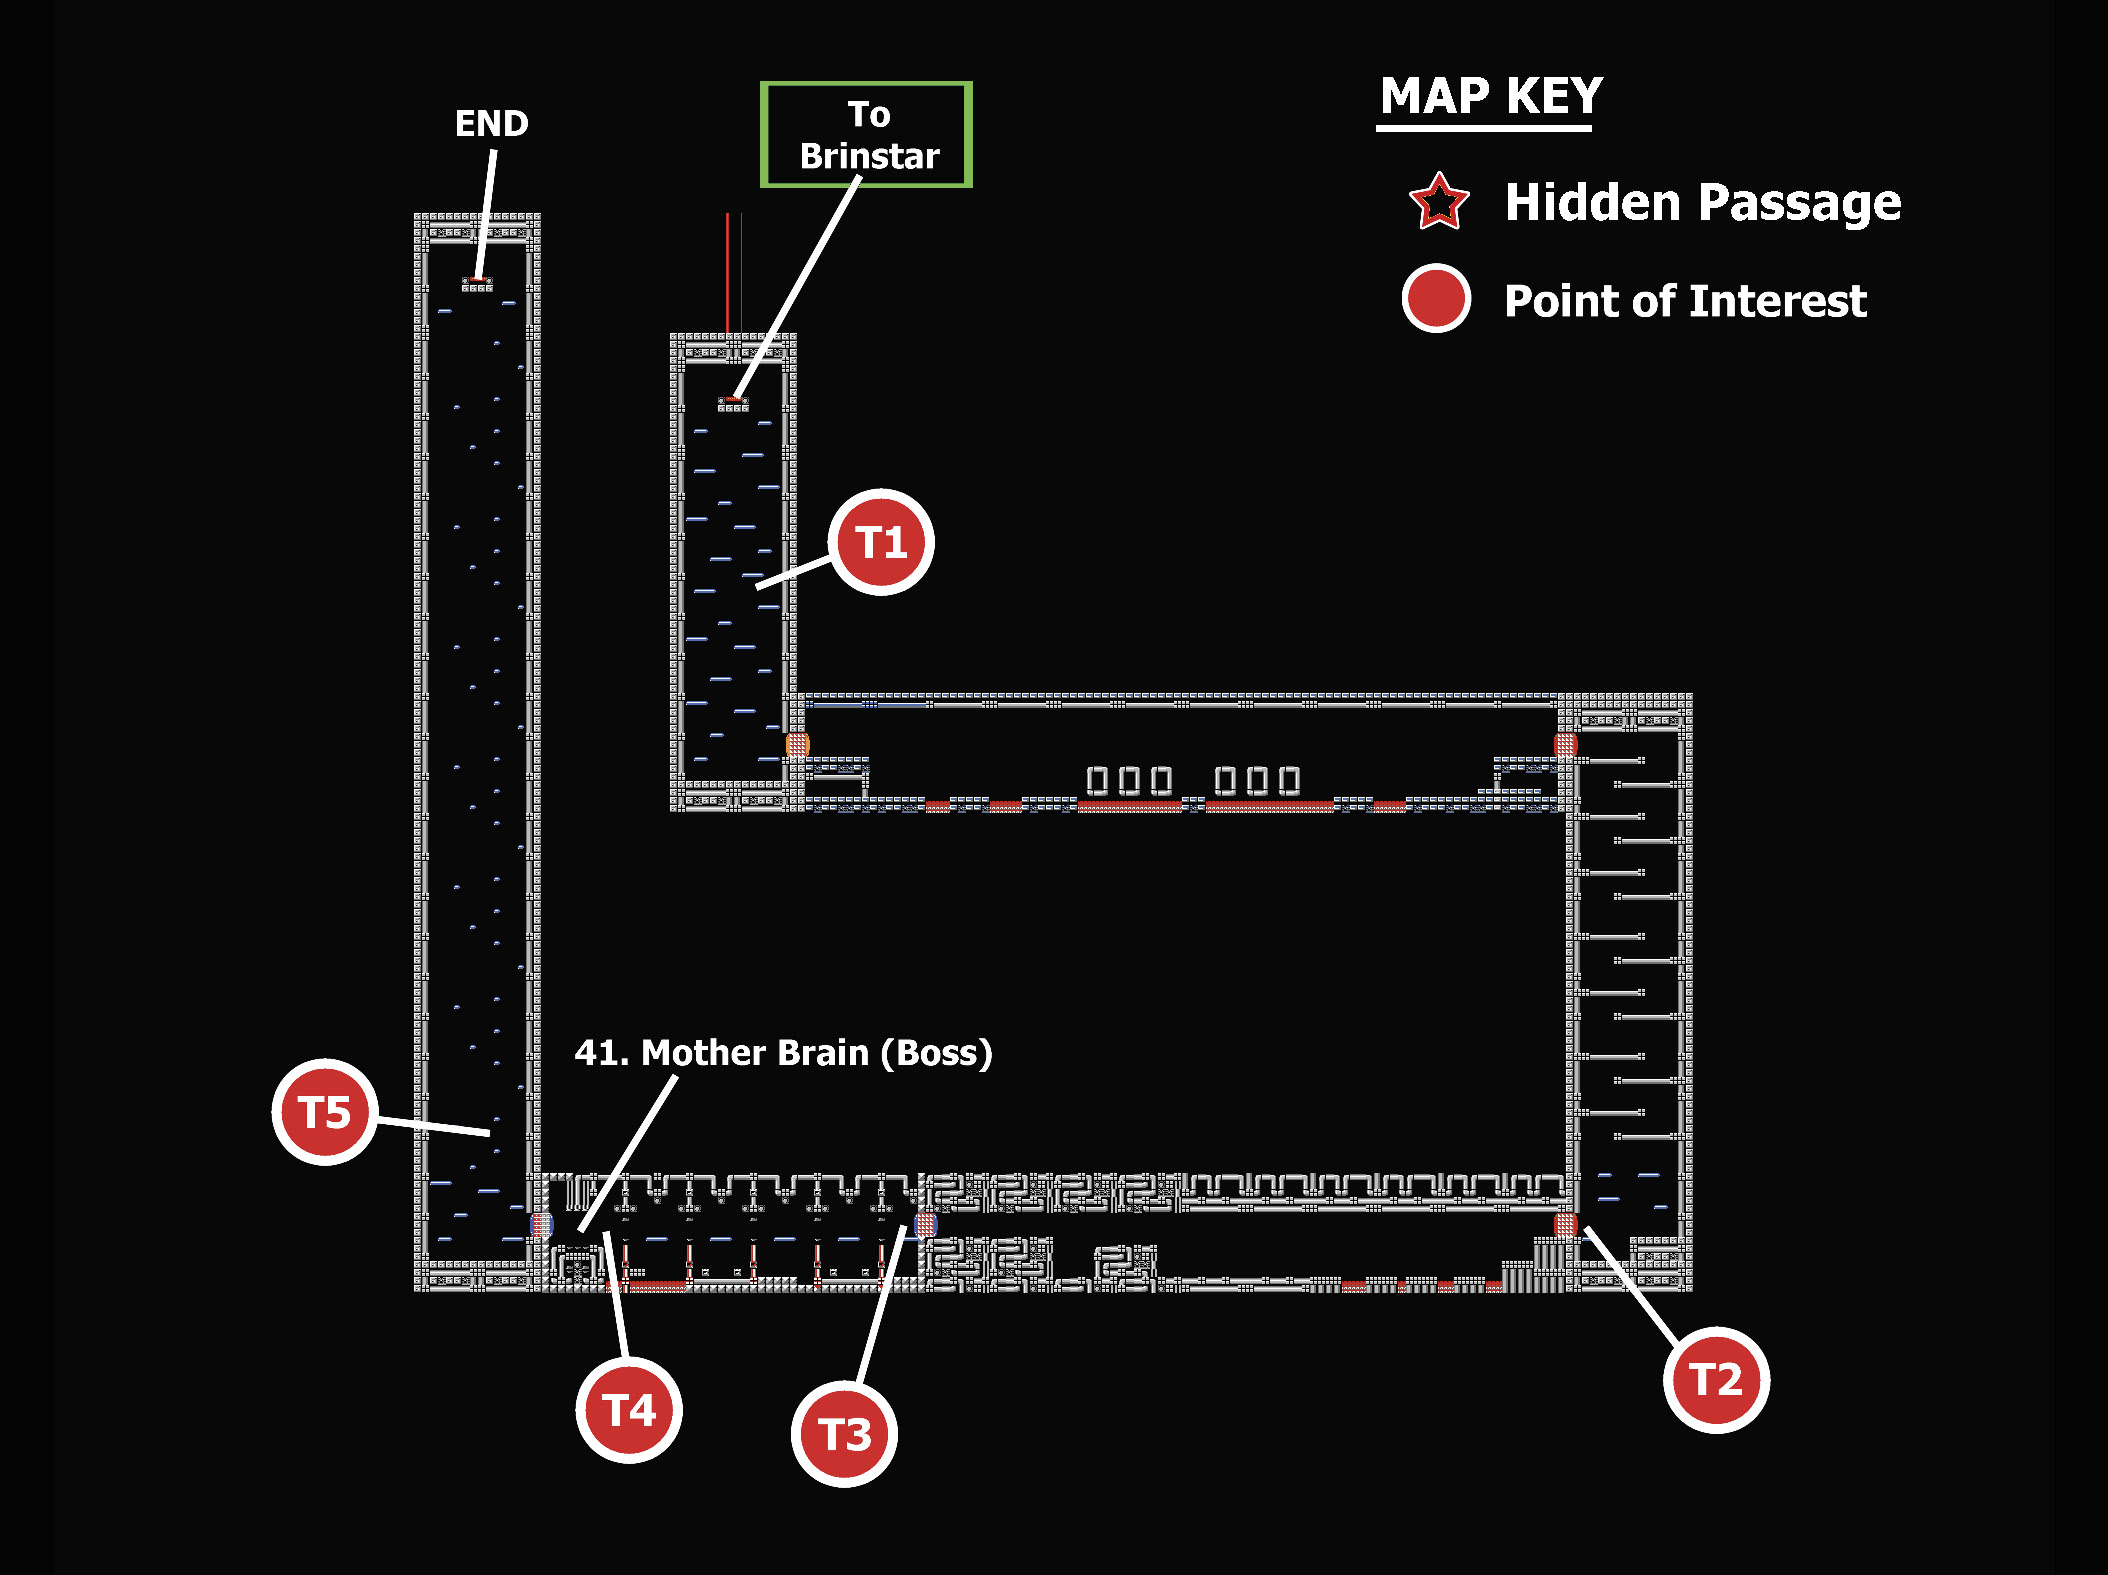
Points of Interest: Tourian
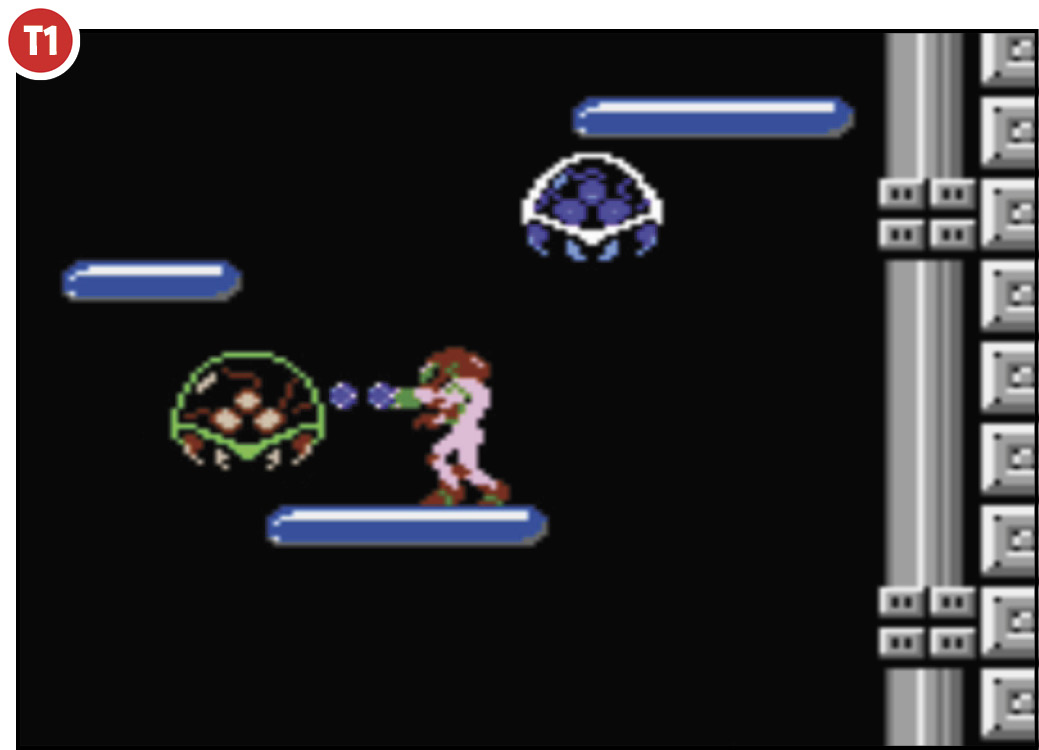
Remember that defeating a Metroid is a two-step process. First, use the Ice Beam to freeze a Metroid; then hit it with five missiles. If multiple Metroids attack at once, freeze all of them before you switch weapons. If a Metroid manages to latch on to you, curl up and set bombs until you break free.
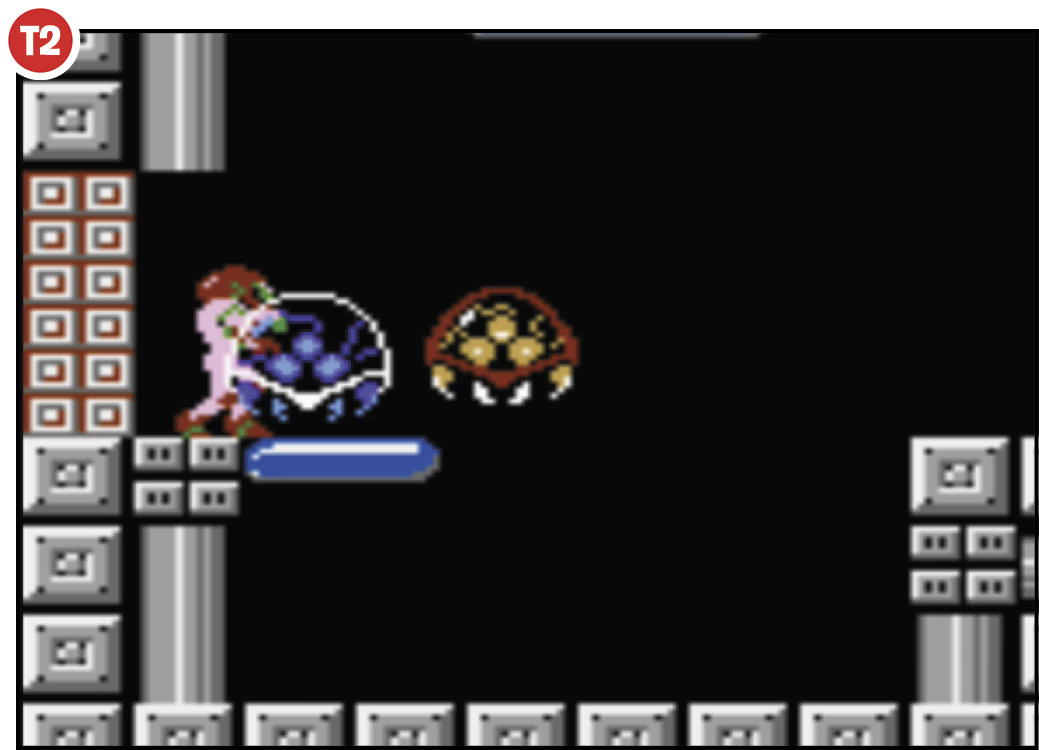
Like most enemies, Metroids can be used to restock your missiles or replenish your energy. If you need to fill up your reserves before you confront Mother Brain, take advantage of the Metroids at Point T2. Use the Ice Beam and missiles to dispatch these enemies, gather any items they drop, and head through the nearby door. Turn around and head back through the door to find new Metroids waiting for you. Repeat the process as many times as needed.
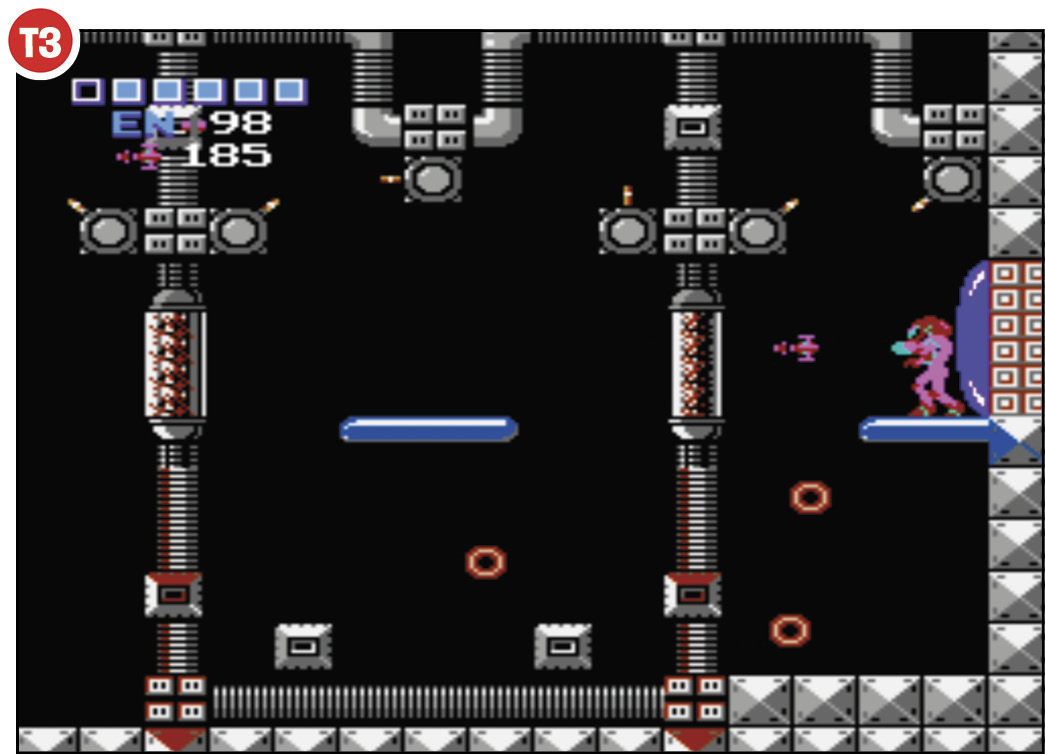
The Zeebetites not only provide Mother Brain with power, they also serve as effective barriers. To destroy a Zeebetite, hit it with a barrage of missiles. Dodge incoming Rinkas and turret fire, but don’t let these threats distract you for long—it only takes a few seconds for a weakened Zeebetite to regenerate. Keep attacking a Zeebetite until it’s completely destroyed, then jump through the resulting gap and begin attacking the next Zeebetite. A total of five Zeebetites sustain Mother Brain, and you need to destroy them all before you can reach your main objective.
Final Objective: Mother Brain
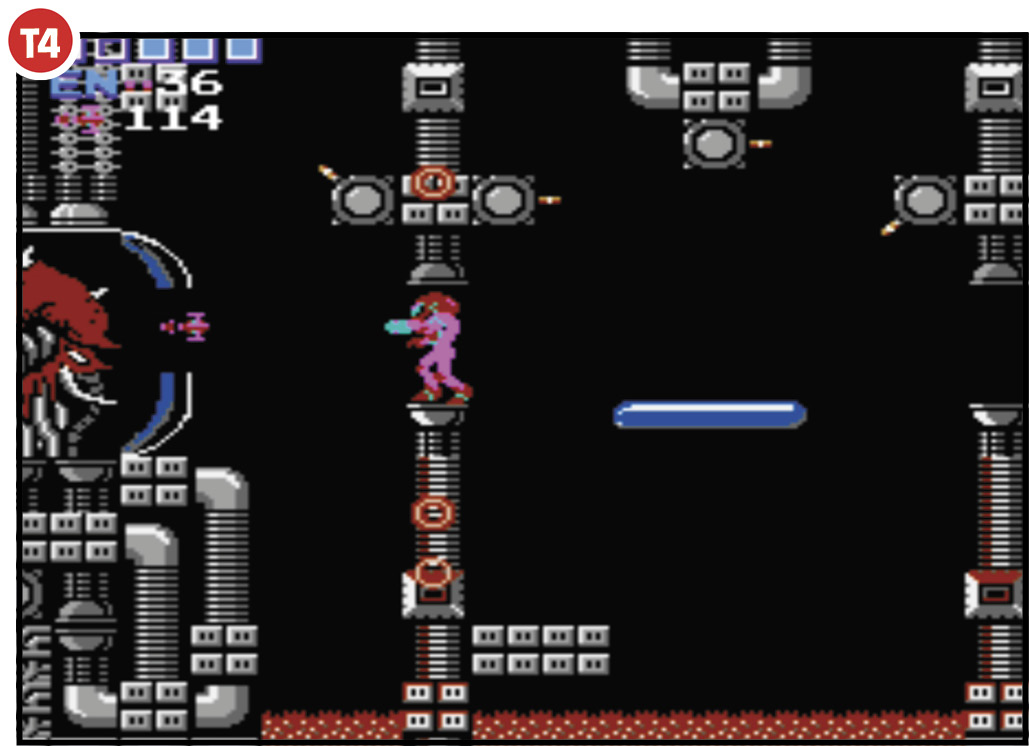
Mother Brain can only be damaged by missiles, so have plenty of them on hand when you begin this encounter. Jump onto the small platform left by the final Zeebetite, and then fire a stream of missiles straight into Mother Brain’s tank.
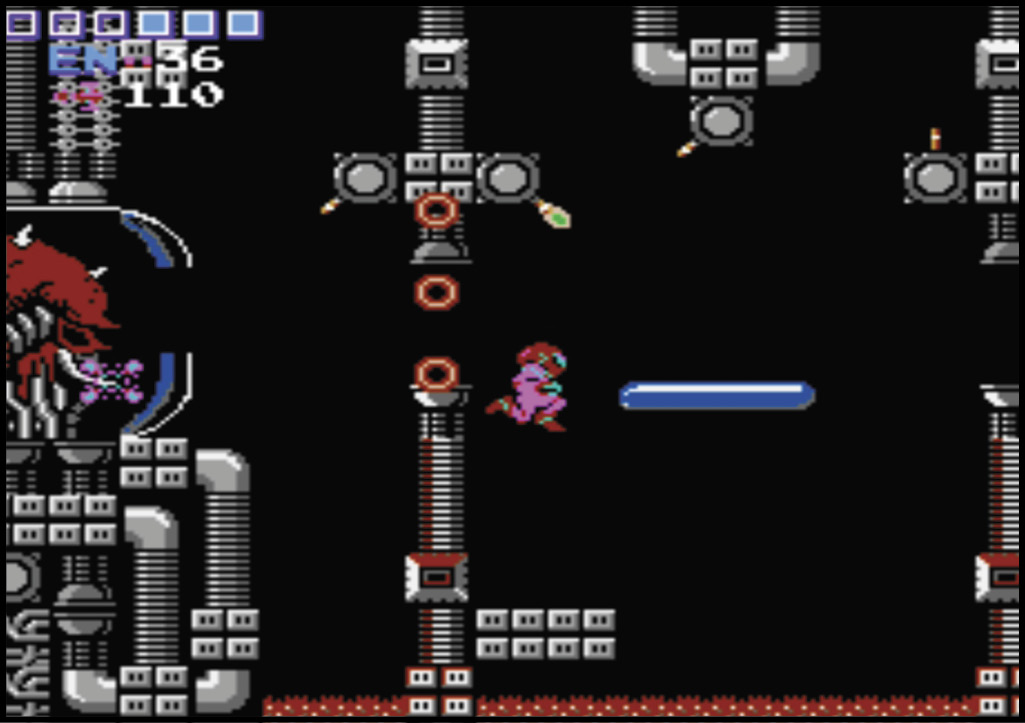
As you attack Mother Brain, keep an eye on the Rinkas that emerge from the nearby nozzles. Just before the Rinkas reach you, drop down to the right. Wait on the lower platform until the Rinkas clear the gap, then jump back up and resume your attack. Repeat the process until Mother Brain is destroyed.
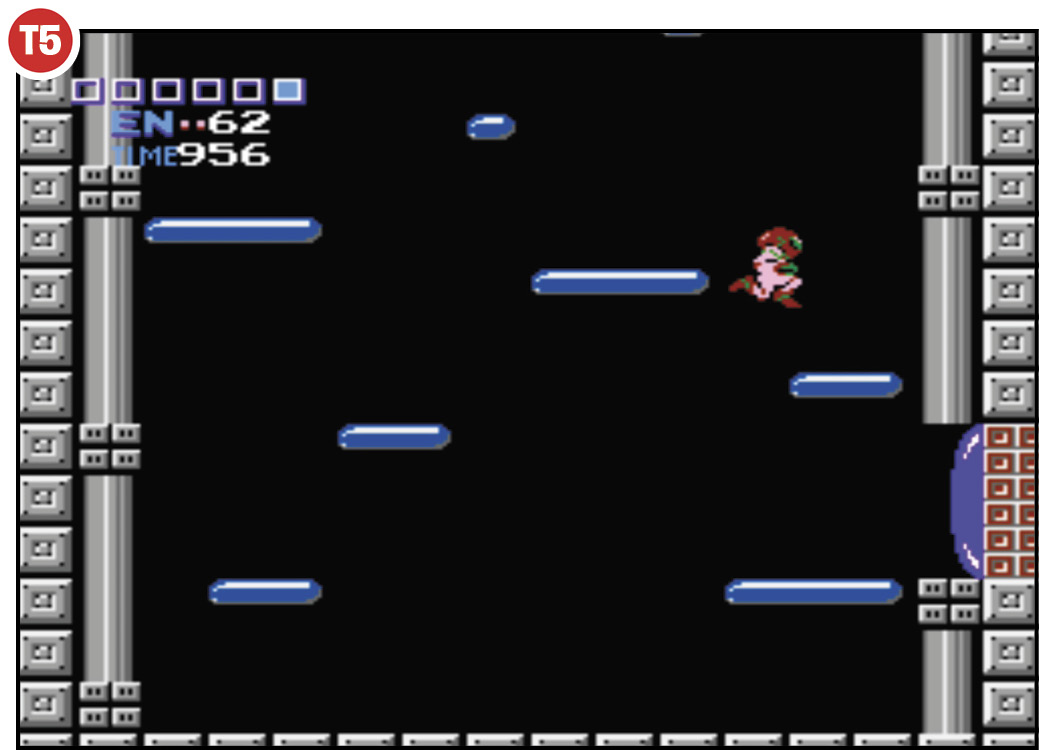
Once you’ve defeated Mother Brain, a countdown begins. Head through the door past Mother Brain, and use the available platforms to escape the fortress.
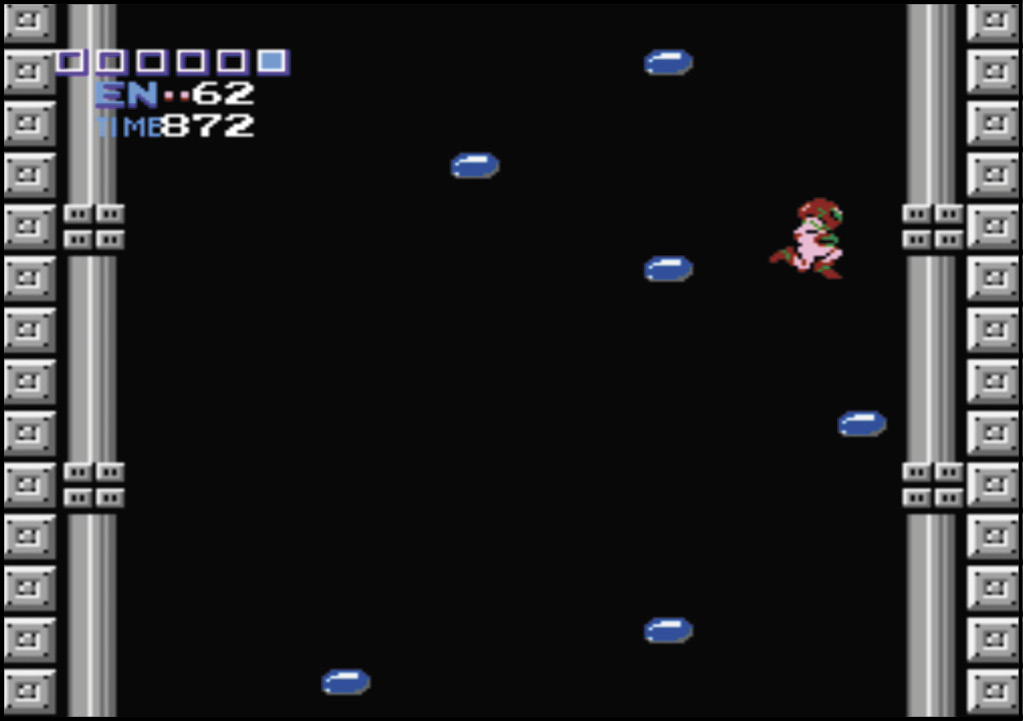
You have a limited amount of time to escape the fortress, but try not to rush. Some of the available platforms are extremely small, so avoid performing any spinning jumps or Screw Attacks; stick to standard jumps to help ensure precision landings. When you reach the top of the shaft, use the elevator to leave the fortress and complete the game.