
Nintendo Playing with Power Guide The Legend of Zelda The Underworld
Labyrinth 7: Demon
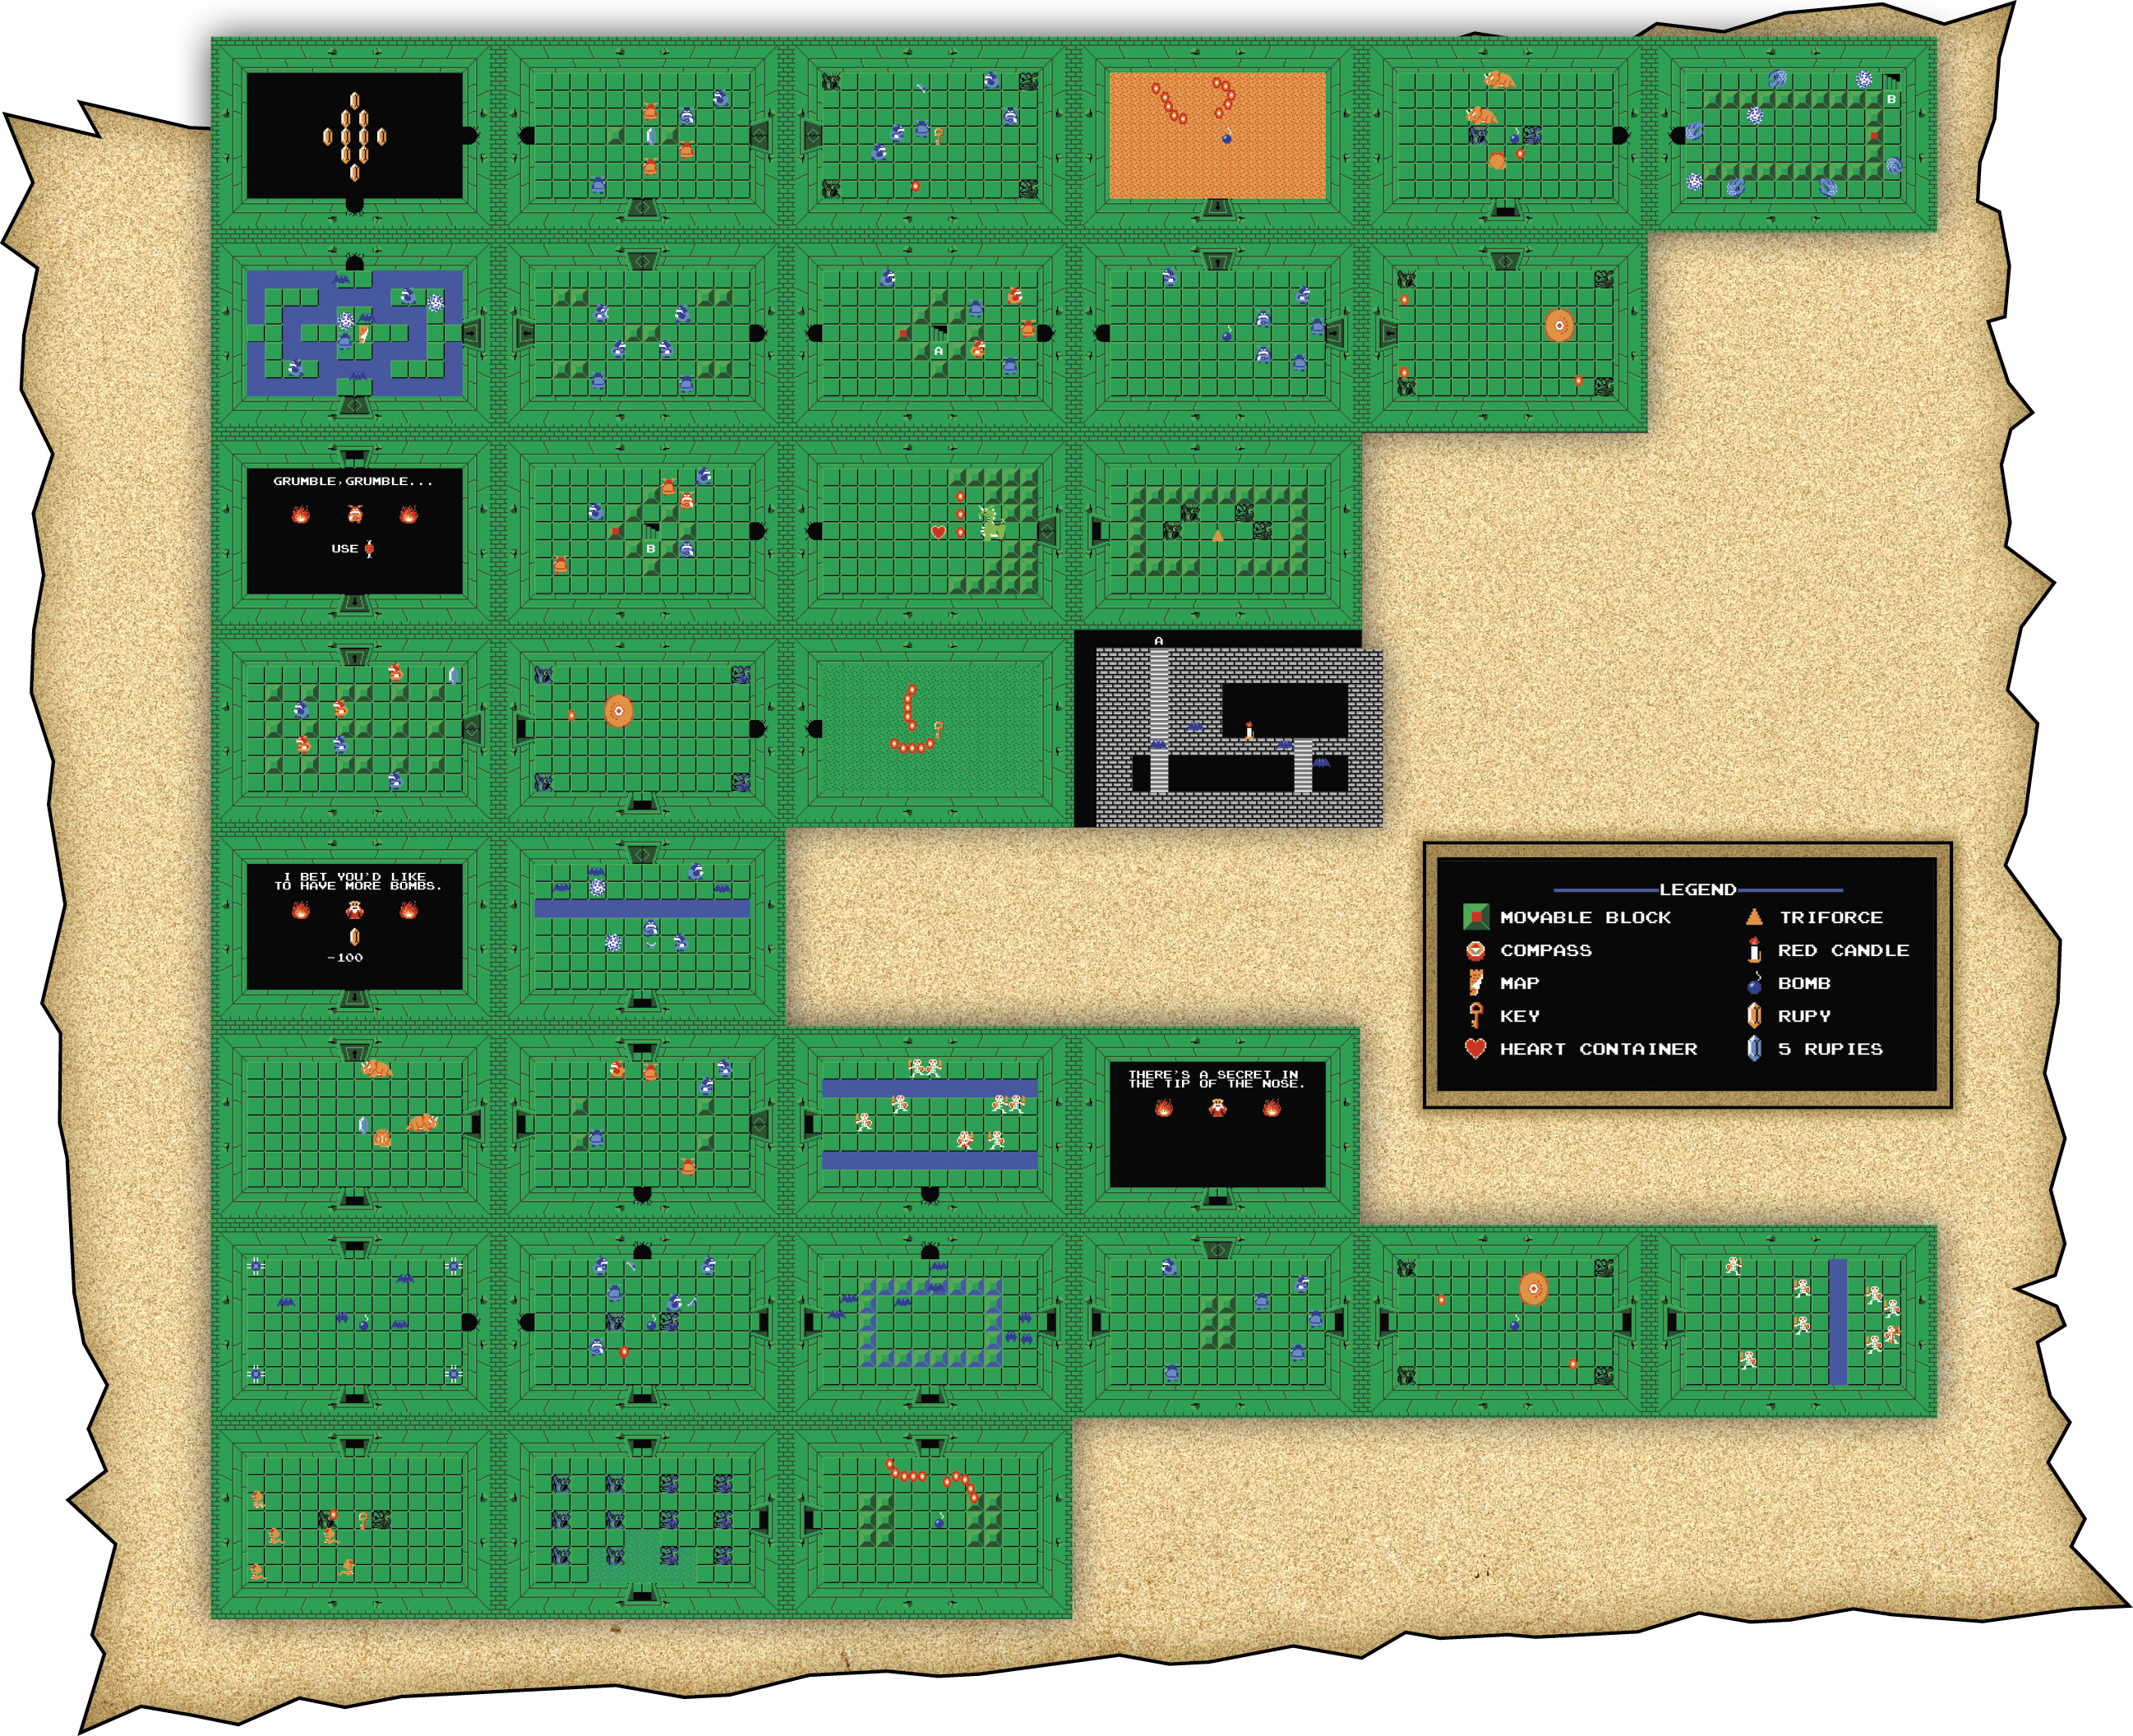
Level 7: A Nest of Goriyas
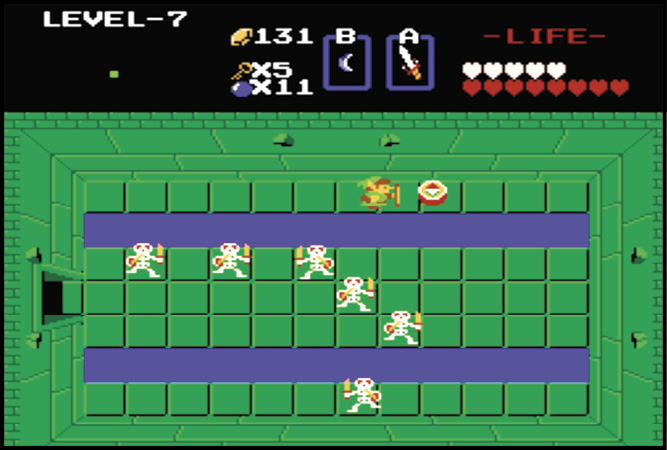
One thing to note about Level 7 is that there are an awful lot of boomerang-wielding Goriyas. They aren’t very strong enemies, and they can be beaten easily. Aquamentus, who guards the Triforce chamber, isn’t particularly powerful either; defeating him is a breeze.
As you can see, Level 7 isn’t all that difficult, relatively speaking. You might say it’s of medium-range difficulty.

Getting the Map and Compass
Level 7 is a very large labyrinth, meaning a Compass and Map are even more useful here than in other labyrinths. Find the Compass two rooms north and one room east of the starting area; the Map can be found in the room second from the top of the first row of rooms.
Holy Hidden Rupees!
While you’re off to get the Map for this level, also look for a hidden treasure trove of Rupees. Make sure you have a Bomb or two handy to get them, and you’re ready to go!
In the top-left corner of the labyrinth is a hidden room. Blowing up the wall in the Map room opens the passage to this secret treasury.

The Secret Treasure of Level 7
The secret treasure for Level 7 is the Red Candle—an updated version of the Blue Candle that can be used as many times per room as you want! That means you can use it in fights nonstop!

To find the Red Candle, head to the room second from the top of the third row of rooms. Experiment with the blocks in the center of the room to gain access to the treasure room. One of the blocks gives you access, but first, defeat all the enemies in the room!
Increase Your Bombs
One of the Old Men hiding in this labyrinth offers a very special service to Link. That is, if you can find him. If you pay this Old Man 100 Rupees, he increases your Bomb-holding capacity, which means you run out of Bombs less frequently.
To find this Old Man, head to the room fourth from the bottom of the first row of rooms. You need a Key to get in.

Digdogger’s Revenge!
Digdogger’s back for another chance to defeat Link. You find him lurking throughout this maze! And don’t be surprised if he’s picked up a new trick. Both Digdoggers are located in the fifth row of rooms, one in the bottom room and one in the second room. Remember: you can’t damage Digdogger while he’s big, so produce the sound he hates in order to shrink him down to size. Once he’s on your level, take him on in earnest.
Triple Strike: Dodongo’s Motley Crew!
After you defeat Digdogger in the room second from the top of the fifth row, a Dodongo fight immediately follows. Easy enough, right? We beat Dodongo labyrinths ago! Well, it would be, but Dodongo refuses to go quietly this time and has brought along some friends—two of them, to be precise!
You face off with three Dodongos in this room, but the strategy remains the same: place a Bomb in front of his mouth, and he eats it like a greedy pig. Repeat this method until each of the three Dodongos has been blown back to the Cretaceous period.

On the Tip of the Nose
You’ll never find Aquamentus, the guardian of the labyrinth, without first finding the hidden passage to his lair. The entrance to this secret passage is in the room at the top-right corner of the labyrinth, but simply getting there won’t be enough! Avoid Bubbles and defeat Wall Masters while inspecting each of the blocks.
We’ll give you a hint: the block you’re looking for is on the right side of the room. Once you open the passage, you gain access to Aquamentus and the Triforce piece.