
Nintendo Playing with Power Guide StarTropics Chapters
Chapter 3: Storm and Calm
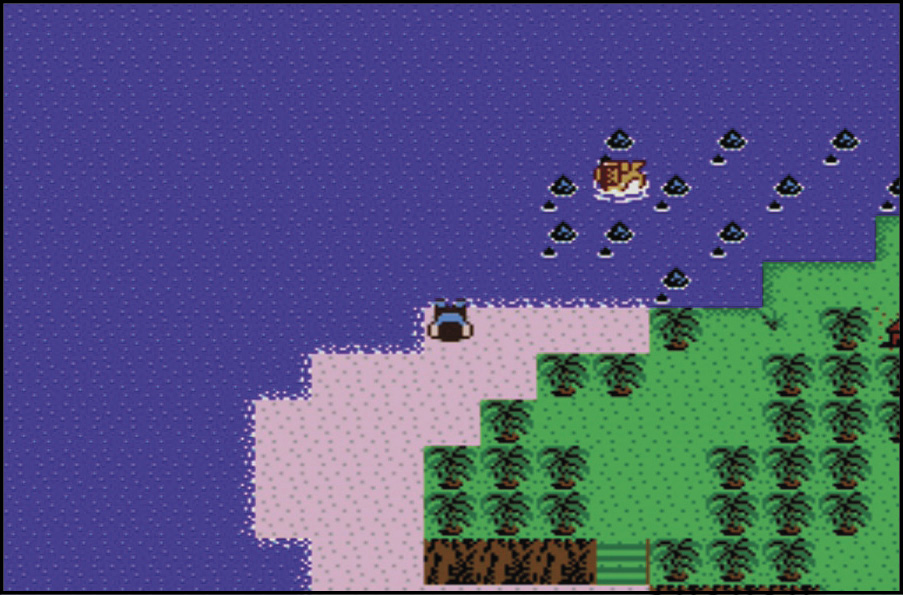
The dangers of Coralcola and Lighthouse Island are behind you. Now, even more difficult challenges lie ahead. A violent storm tosses the Sub-C into a coral reef. You’re landlocked until you find a way to repair it and sail on to continue your search for Dr. J.
The Tunnel of Miracola
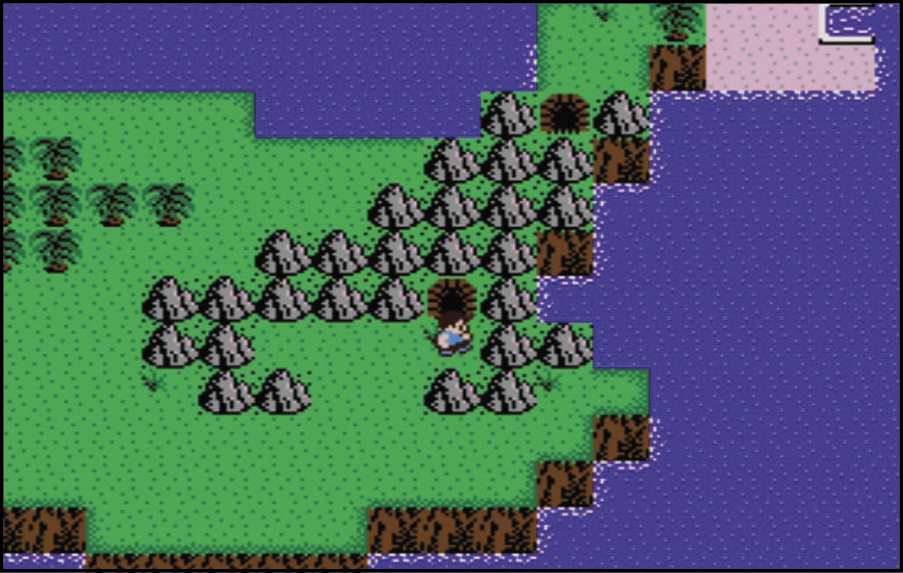
A short but dangerous tunnel lies between you and the village of Miracola. Fight your way through, and you may find someone at the Sub-C.
Treasure Trip
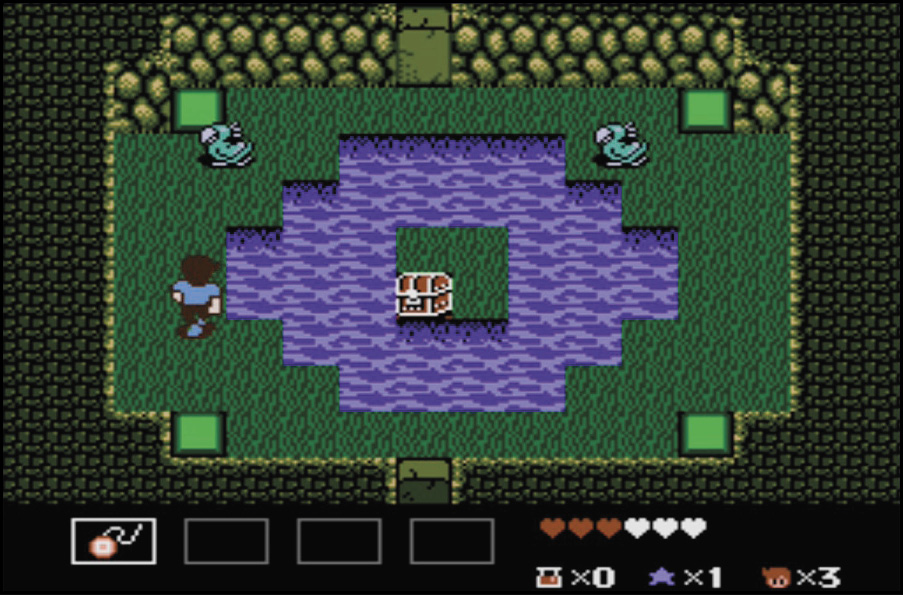
The Treasure Chest in the center of the room may seem out of reach, but you can reach it with a little finesse. Hit one of the corner Tiles, and a Trigger Tile appears in the water. Hop onto the Trigger Tile and jump to the center. The Treasure Chest opens to reveal a Bola. Use it to knock out the Dodos and keep moving.
Clear the Way
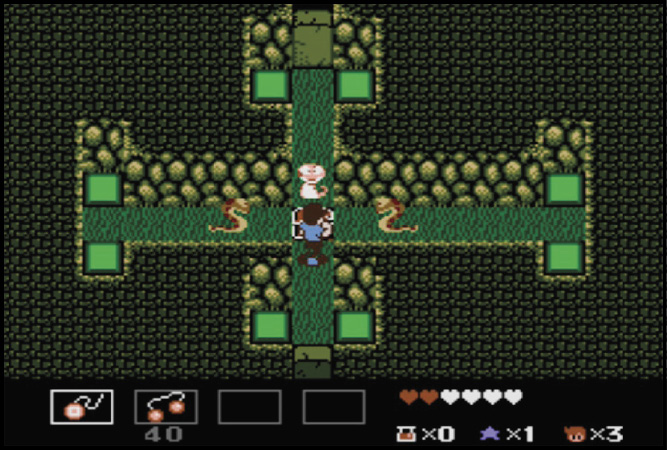
The Loopers in this room can’t slither past the Treasure Chest in the room’s center. Before you think about opening it, take out the top Looper with a few shots from the Bola, then Tile-hop to open the Chest and run straight up as the other Loopers head away from the center of the room. Open the exit by hitting the Tiles near the top of the room.
Ya Gotta Have Hearts
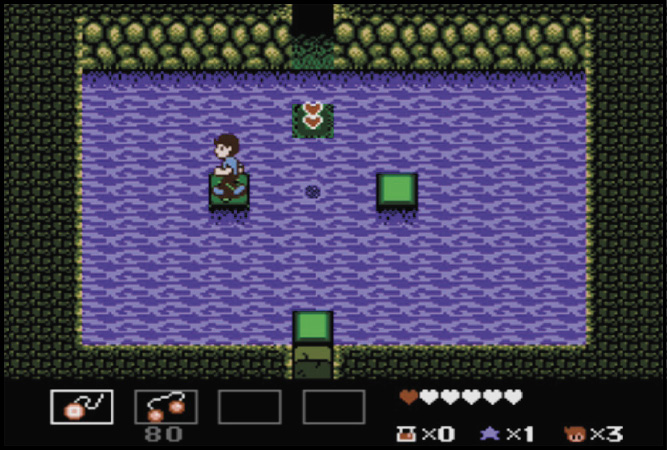
Hit the correct Tiles in this room, and a set of Double Small Hearts appear in the center. Study the movement of the Up/Down Tile where the Hearts rest, and jump quickly as the Tile is on its way up. After you grab the Hearts, hop off the Tile before you take a plunge.
Don’t Move!
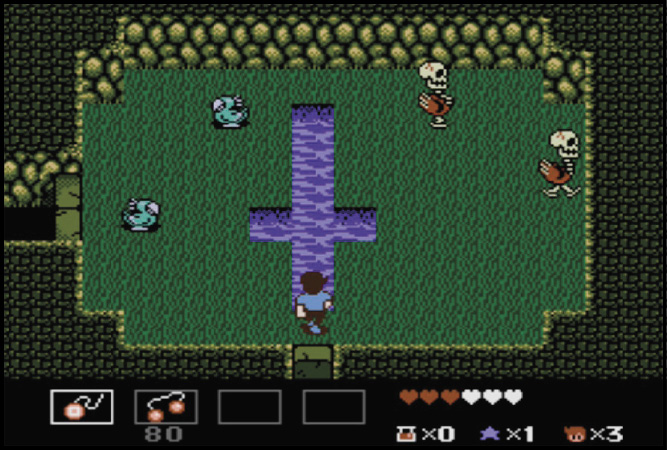
When you enter this room, stop and stand near the Gate. The Boneheads don’t approach, and a few swift shots from the Yo-yo fend off the Dodos. Once the Dodos are gone, deal with the Boneheads. Stay on the other side of the water from these odd birds and reach them with the Bola or Yo-yo.
Choose Wisely
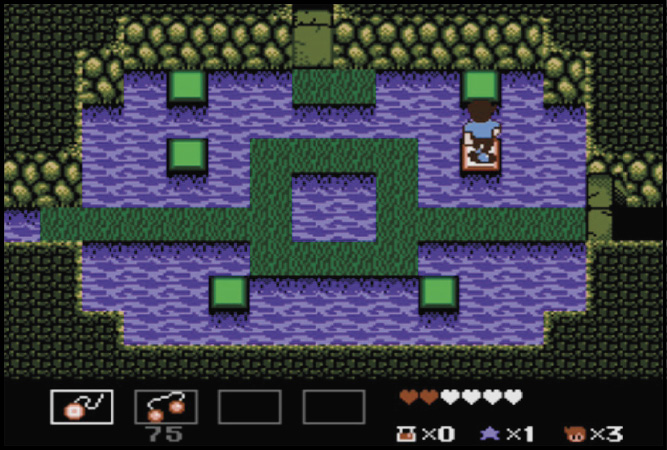
There are two exits from this tunnel. One leads to the village, and the other leads back to the shore. If you choose the wrong exit, you have to start the entire tunnel over from the beginning. The correct path is the northern passage. Jump on the Tile closest to the eastern door to light the room. Now jump on the Tile just above that to reveal the Switch to open the door.
Miracola
Miracola is a mysterious village. Its inhabitants are not very friendly to outsiders right now—not since the village Chief’s daughter fell under a 100-day sleep. Unless you can find a way to help the Chief’s daughter, the Miracolans won’t help Mike.
After you visit the Chief, visit her by finding a hidden entrance in the north side of the Chief’s hut.
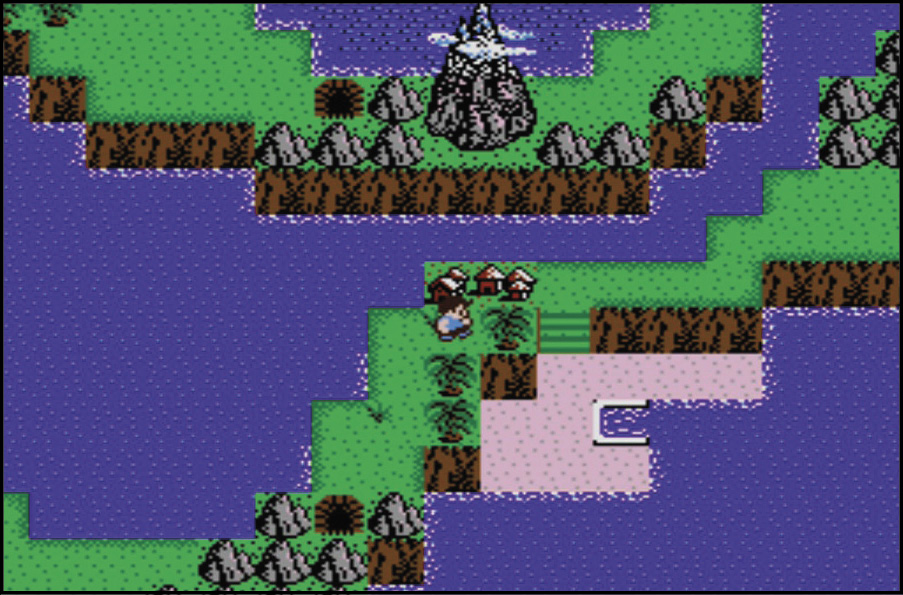
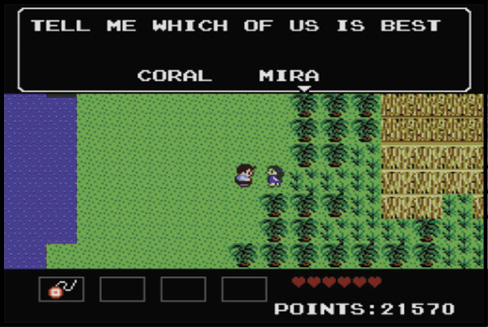
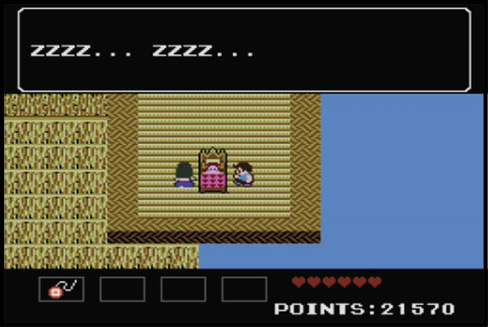
 “Welcome to Miracola, Mike. We Miracolans are very handy when it comes to repairing sea vessels. Before we can help repair your Sub-C, though, please find a cure for my daughter, Bananette. She has fallen asleep and will not wake without a spell from the Hermit on the mountain.” |
Magma’s Molten Tunnel
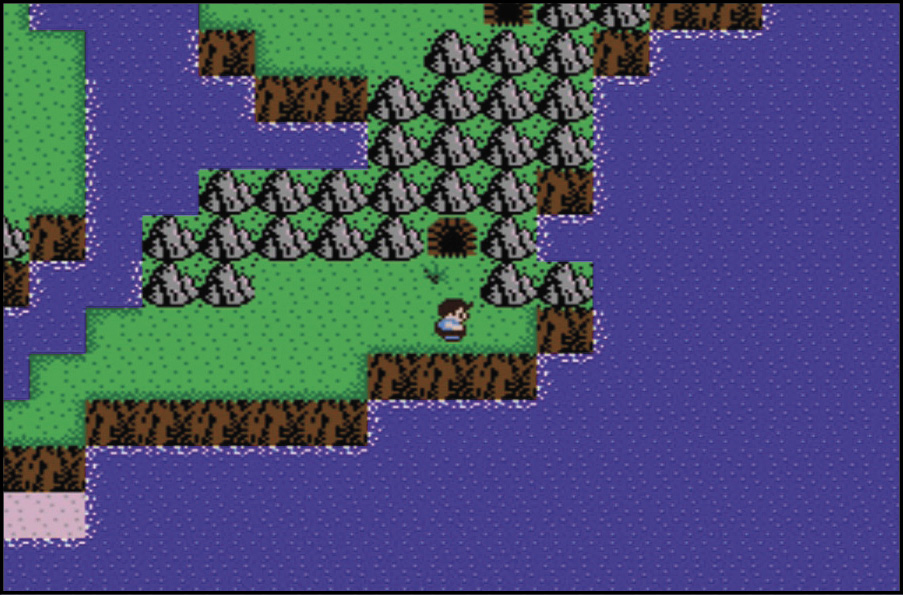
To help the Chief’s daughter, you must travel through the deadly Magma’s Molten Tunnel. Things get tricky from here on out.
Looper Leap
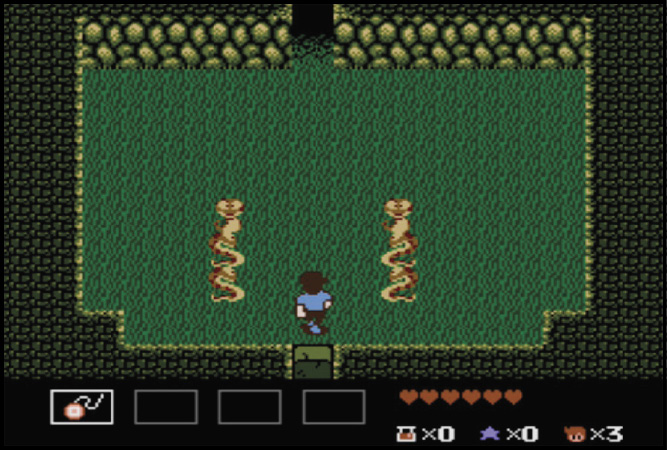
A set of six Loopers wait here to cut Mike off at the pass. Head straight up the center and jump up as each pair of Loopers charges, then move up before they can charge again.
Beat the Boneheads
Use the water here to your advantage by hitting the Boneheads from the other side. When they jump over, run away and repeat the process.
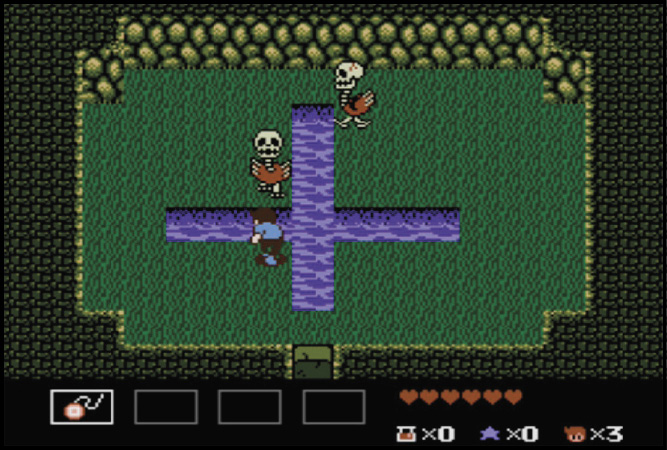
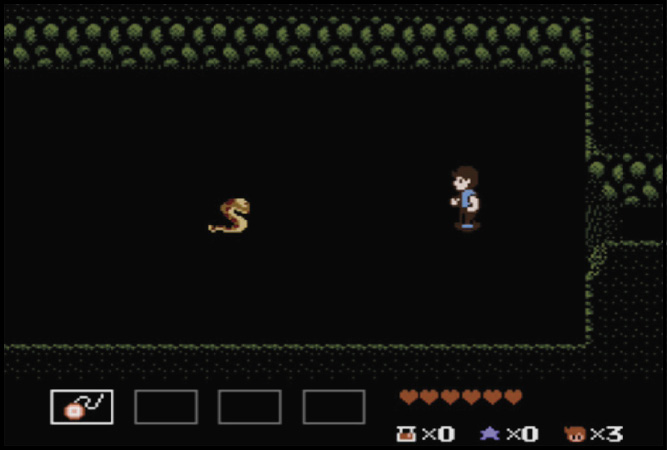
Dark Room
The lights are out, but somebody’s home. Watch the Loopers’ movements to determine where the land ends and the water begins, then blast ’em with your Yo-yo and move on unharmed.
Triple Play
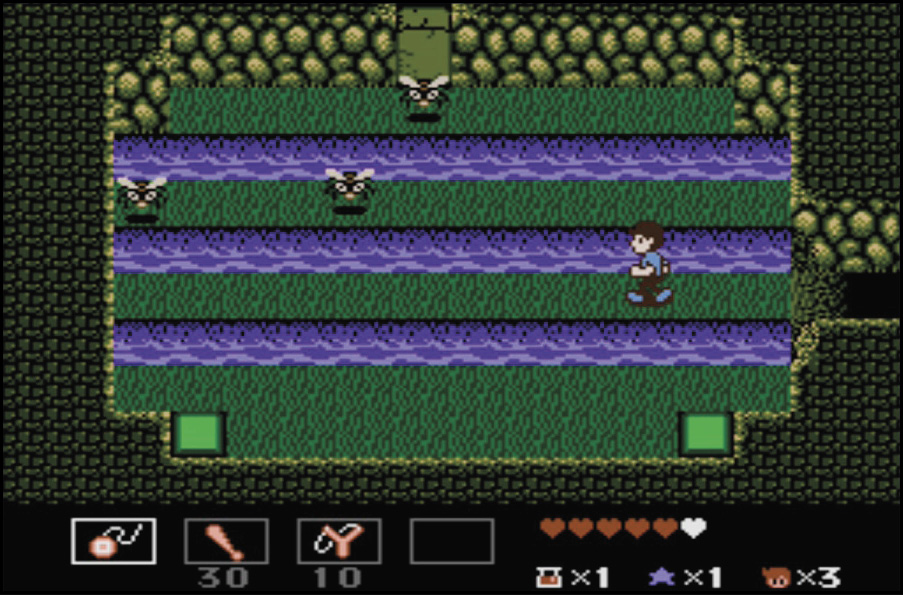
Three pesky Gadflies hang out in this room. Knock them for a loop with the Bat before they attack, then hit the Tiles on the bottom of the room to open the Gate at the top.
Helpful Hearts
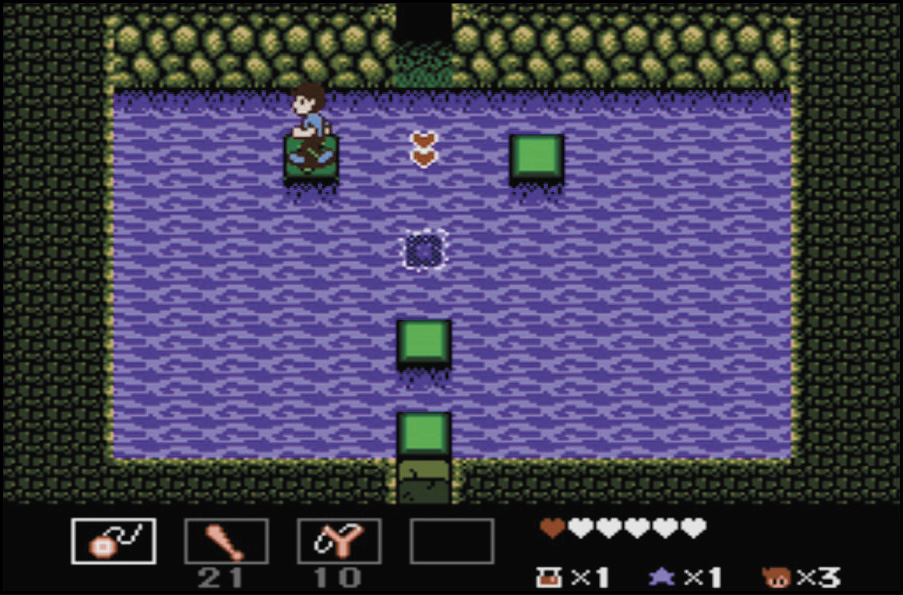
If you need to fill up your Life Meter, hit the Tiles on the sides and collect the Double Small Hearts that appear on the Up/Down Tiles.
Freeze the Flies
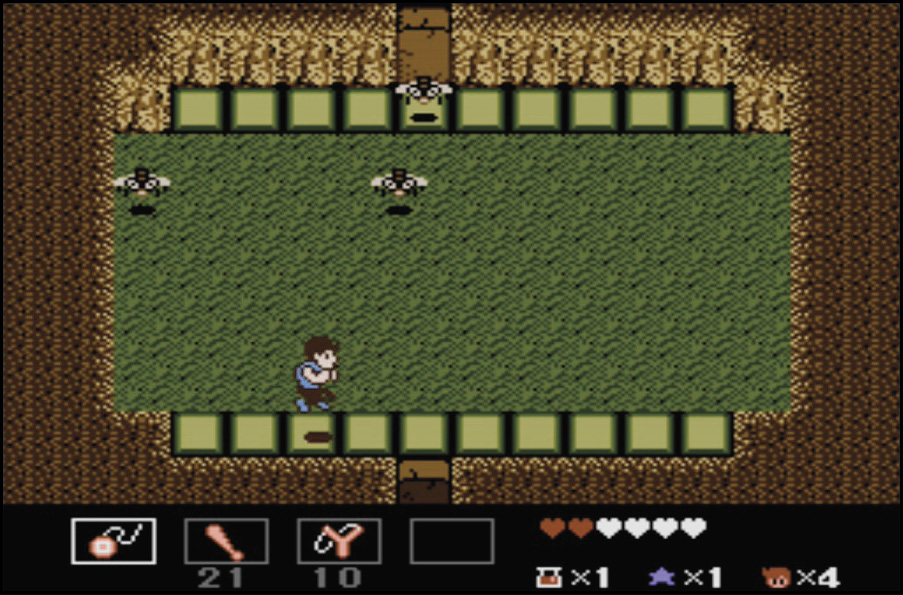
There’s a Stop/Slow on the lower row of Tiles. Trigger it to the left and collect it to the right, then clean the clocks of the frozen Gadflies.
Hit and Hop
Mad Muddy attacks when you get to the Trigger Tile on the side. Whack Muddy with your Yo-yo and hop straight up to avoid the mudballs he sends your way, then hop to the left and open the Gate before Muddy returns.
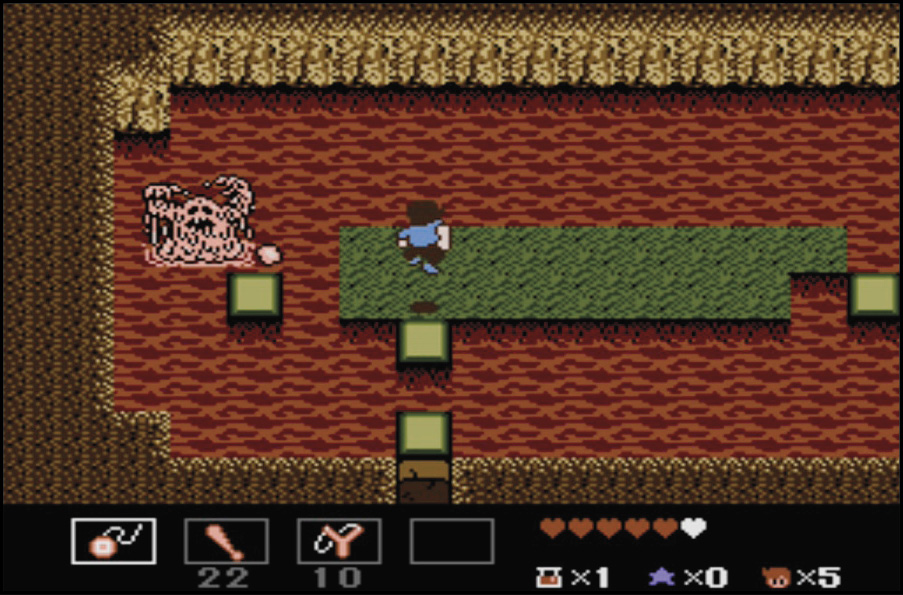
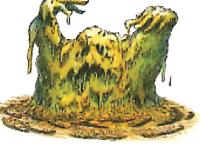 Mad Muddy
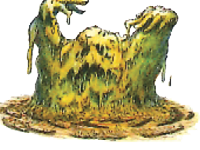
 Gadfly

Don’t Dive
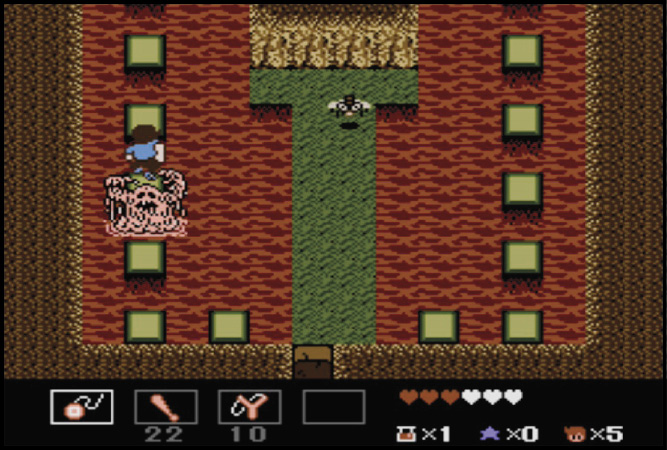
Brave the attacks of Mad Muddy and the Gadflies in this room. If you need Hearts, go around to the left first, but stop before you hit the mud. From there, work around the right side and hop to the exit.
Magma the Fierce
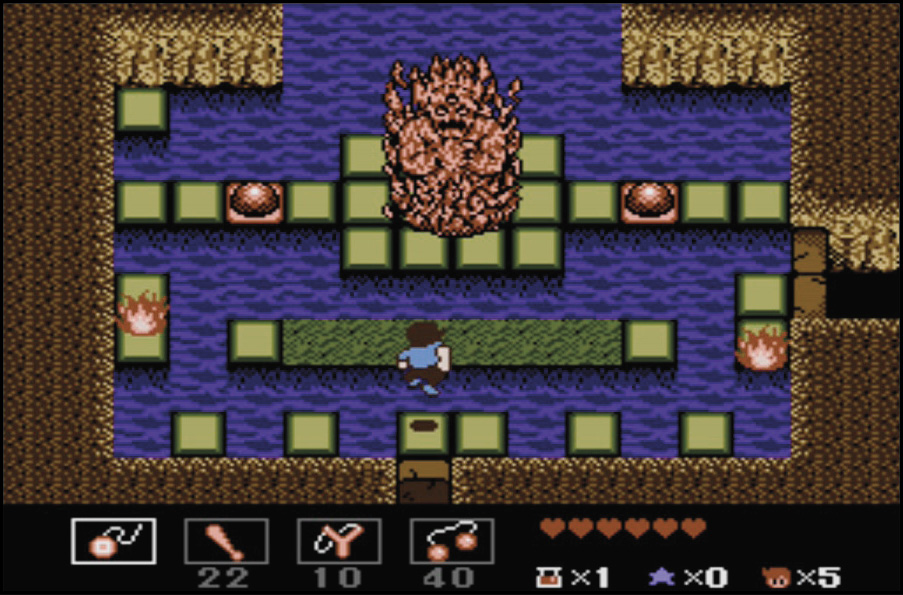
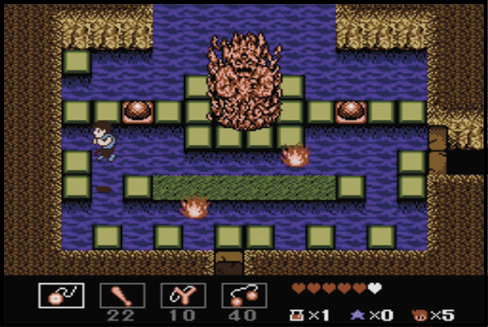
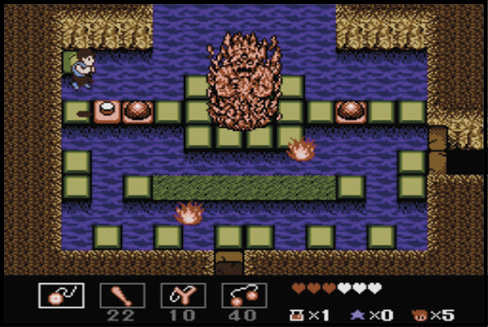
The molten mass of this fiery fiend absorbs shots from your weapons without taking damage. The only way to extinguish his flame is to stick him into the muck.
No Admittance
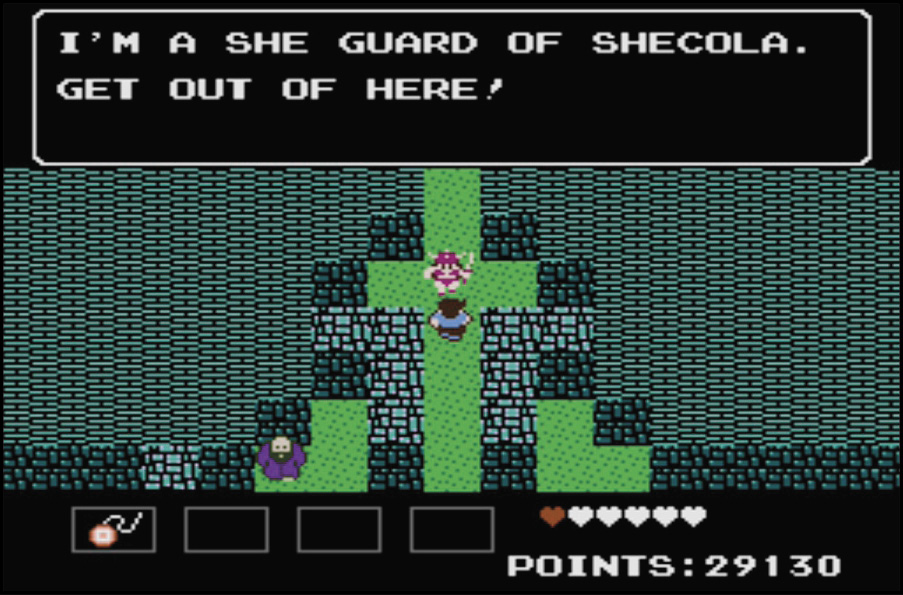
The warriors of Shecola know the secret of getting to the west side of the island where the Hermit lives. Only women are allowed to enter the castle to speak to the warriors. Find a way to trick them into letting you in.
Queen Shecola admits only women into the castle. Search the grounds to find a solution to this dilemma.
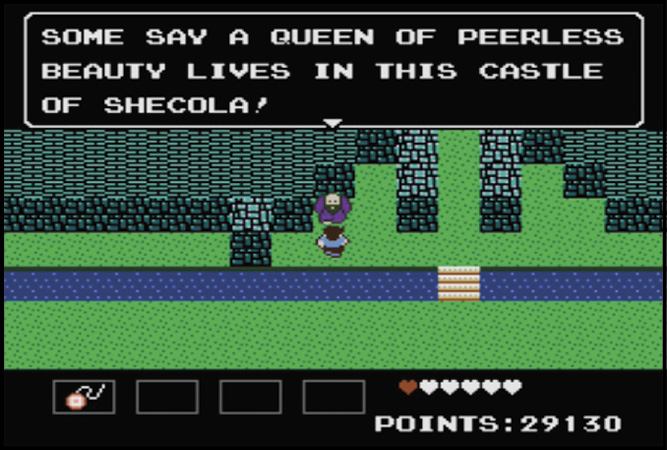
A Fortune Teller lives in a chamber on the side of the castle. She helps you enter if you find her Crystal Ball in the Ghost Village.
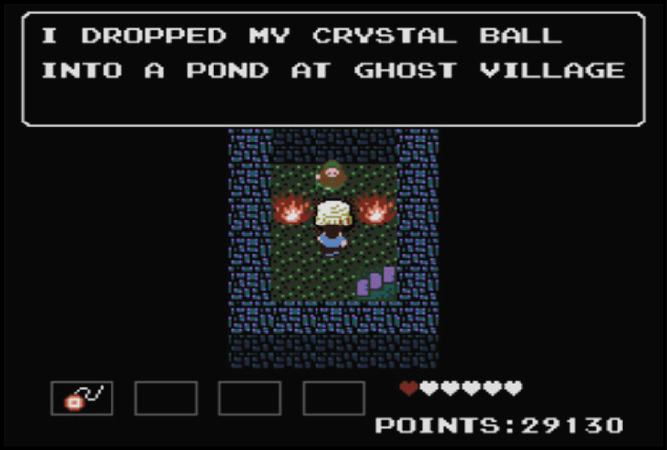
Ghost Village and the Ghost Tunnel
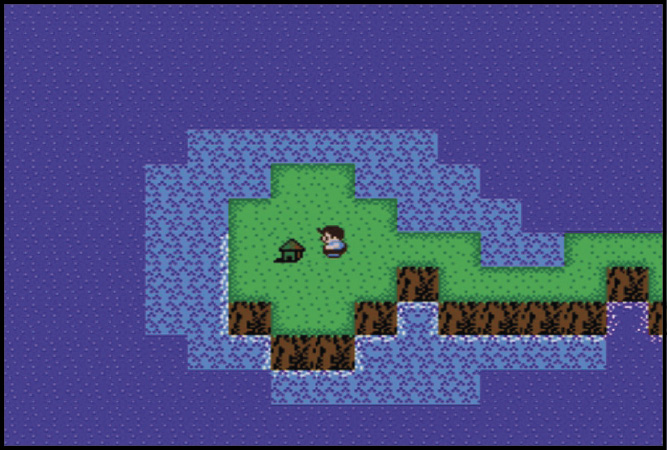
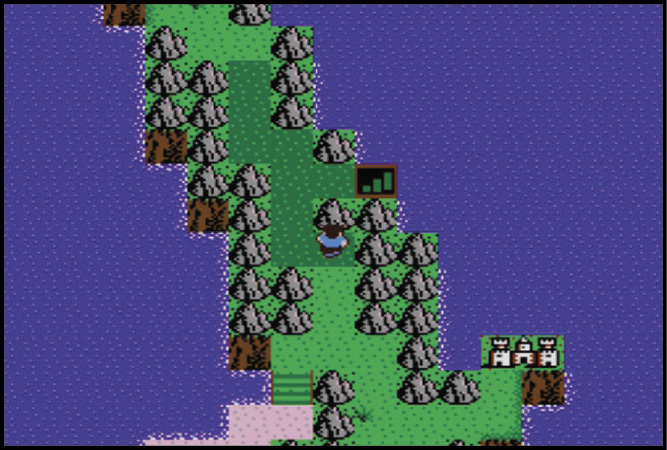
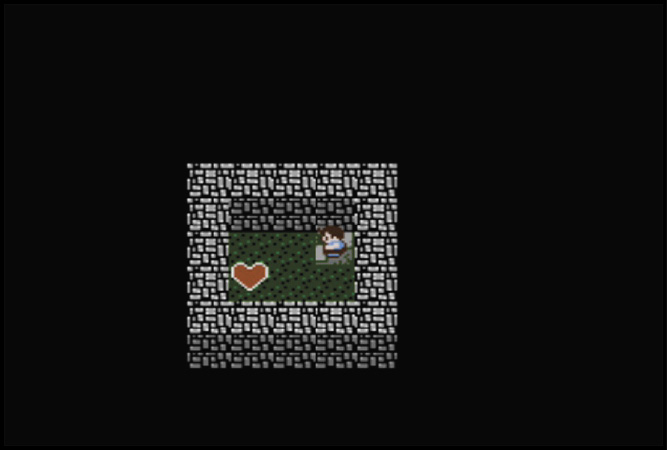
On your way to the Ghost Village, find a Big Heart in a hidden underground passage. The extra energy is invaluable in the coming fight.
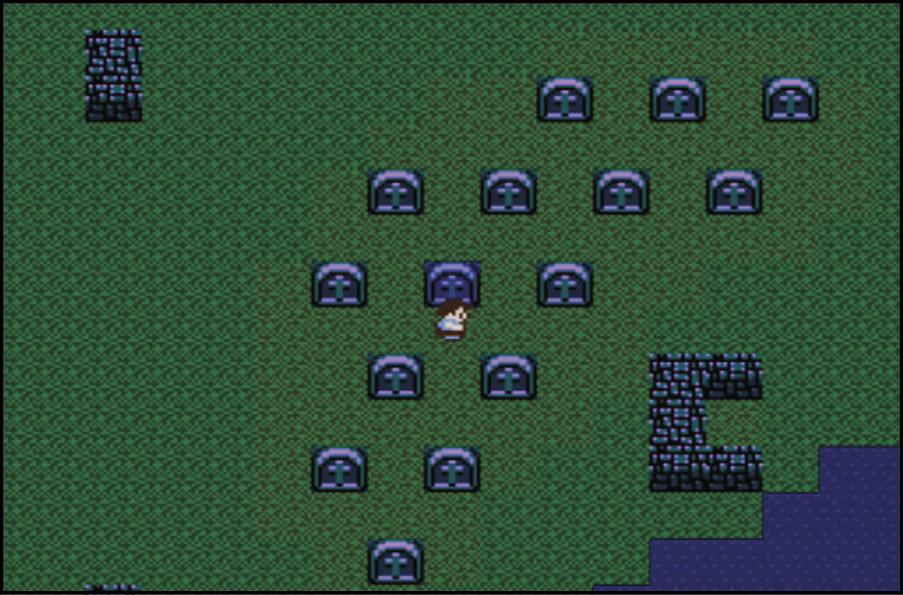
The entrance to the Ghost Tunnel is not immediately visible. Find it by walking into the headstones around the Ghost Village. Once you find the right headstone, note that it is a slightly different color from the others. Crawl down below and get ready for a challenging battle.
Bonedog Bonanza
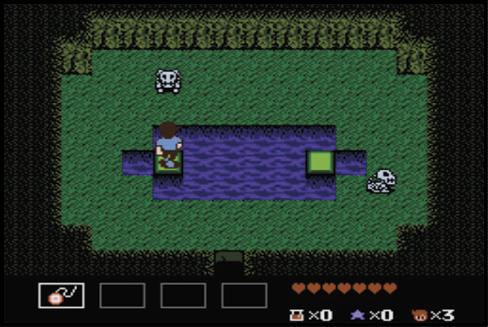
The Bonedogs won’t know what hit them if you play it safe and knock them with the Yo-yo from one of the Tiles in the water. It may take a little longer to get them this way, but it saves Hearts.
Heart Haven
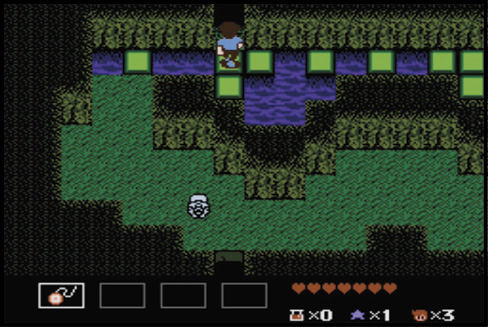
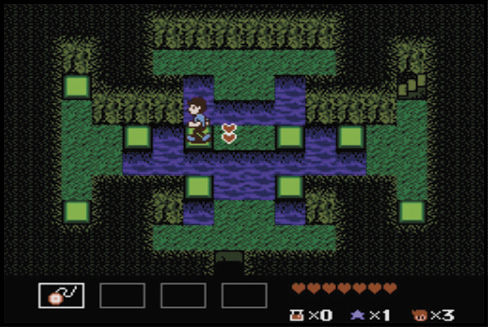
After you collect these Hearts, you’re forced to exit the tunnel and start from the beginning. Keep collecting them until your Life Meter is full, then move on.
Jump Quick
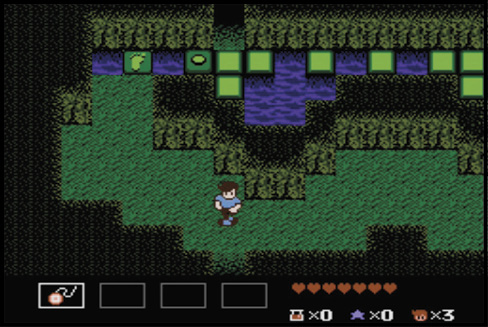
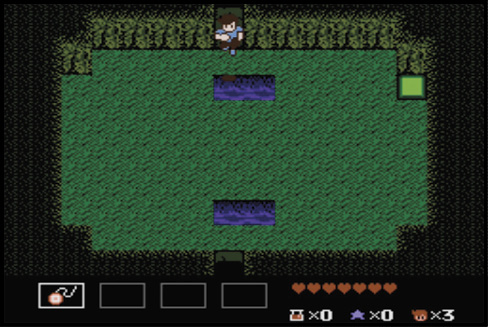
As soon as you enter this room, jump over the small section of water to avoid being hit by an invisible enemy.
See the Sights
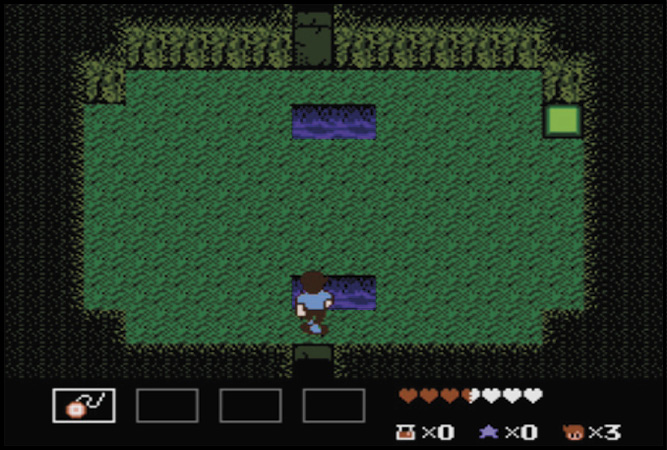
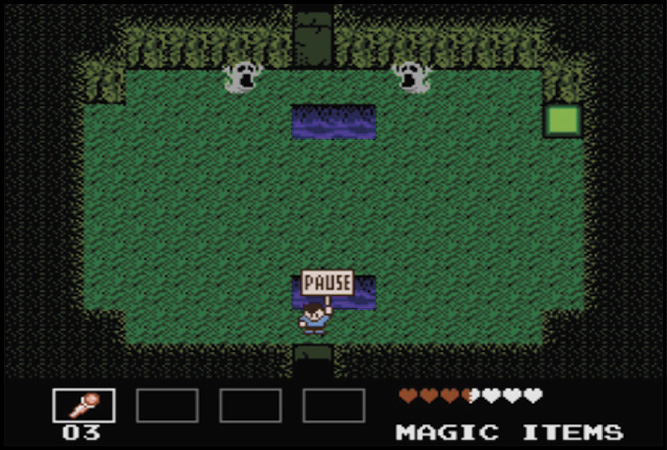
When you get into this room, use the Rod of Sight to see a band of Minies flying back and forth. Blast them with a few hits from the Yo-yo so you don’t have to avoid them when you hit the Tile and double back to the Switch.
Another Set of Hearts, Another Exit
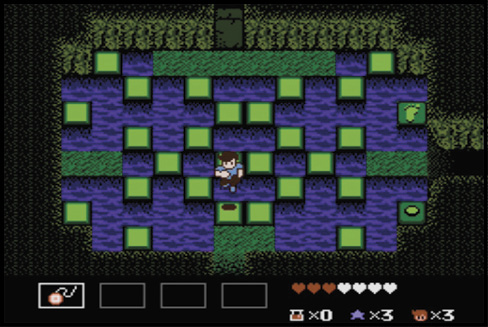
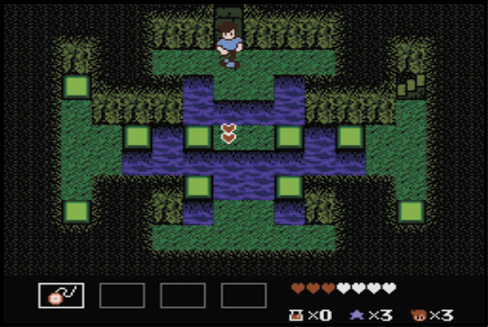
Don’t head through the south exit of this room unless you want a set of Double Hearts and are willing to start the dungeon over again. Going into this room forces you back out into the Ghost Village.
The Rod of Sight Sees All!
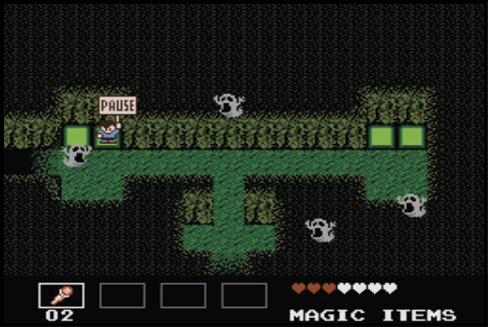
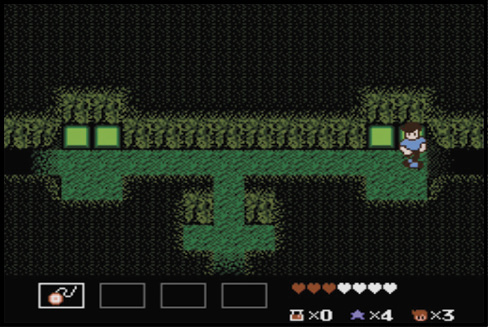
Use the Rods of Sight here as well to unveil hidden Minies. Defeating all the Minies unlocks a passage in the east side of the room. Find a set of Double Hearts in this east passage.
Slug It
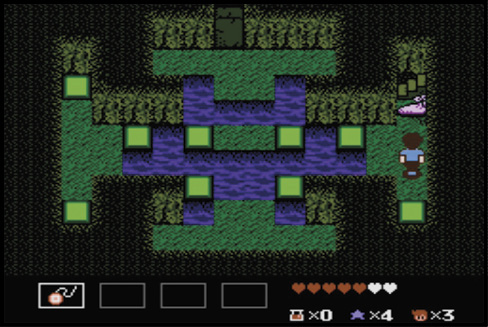
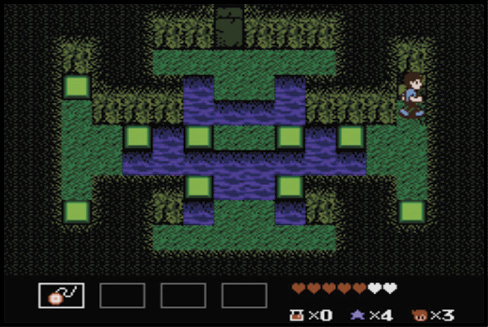
Don’t climb the stairs unless you want to exit the tunnel. Instead, take out the Slime and crawl through the passage where the Slime was. This one is easy to miss.
Rods of Sight? All right!
Use the Rods of Sight in this room to uncover more Minies. Defeating all of them unlocks a passage to the south that helps you avoid unnecessary damage if you decide to go for the Double Hearts. What’s inside the south passage? Two sets of Double Hearts! Not bad, huh?
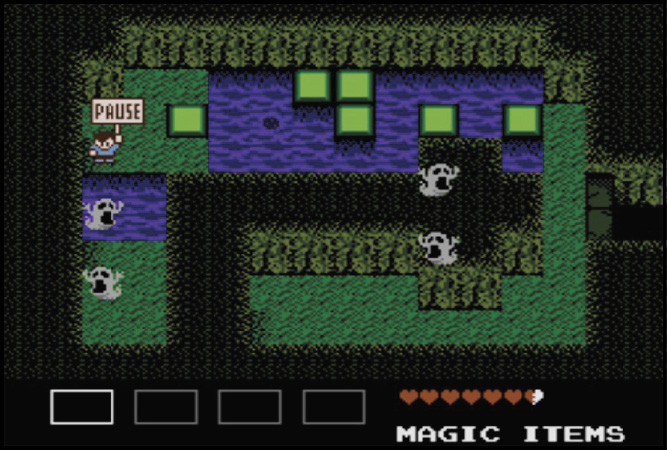
Watch for Fire
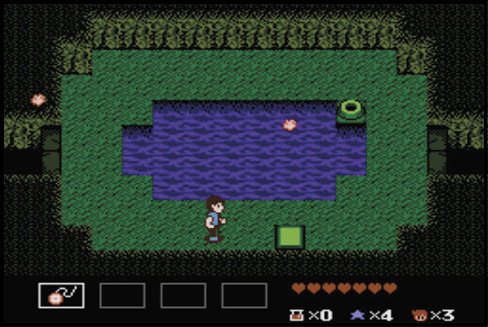
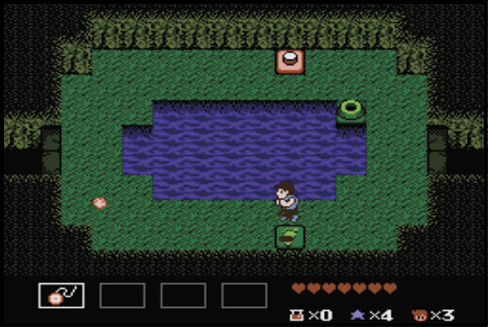
The blasts of the Mini-Volcano in this room are few and far between. You should be able to avoid them easily as you open the Gate.
Take the Low Road
Before you ultimately go through the wall on the right side of this dark room, explore the area you can reach by hopping through the Hidden Hole at the bottom of the room.
More Minies!
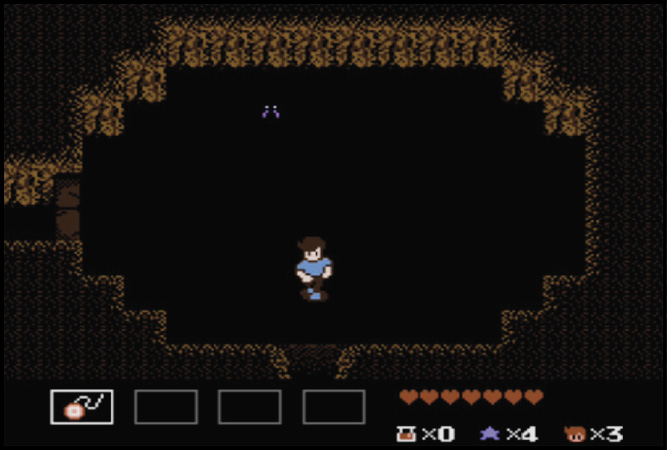
Use the Rods of Sight in this room to reveal more Minies. Defeat them to open a passage on the east side of the room. Hit the Tile on the bottom-left side of the room to uncover a Lantern—you want that for the upcoming rooms.
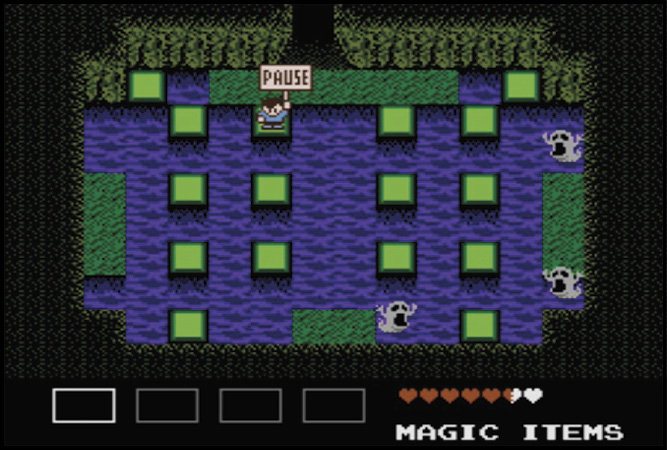
Light It Up
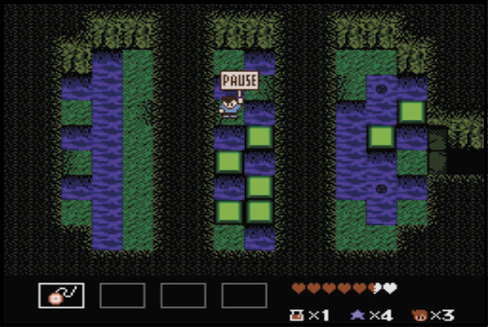
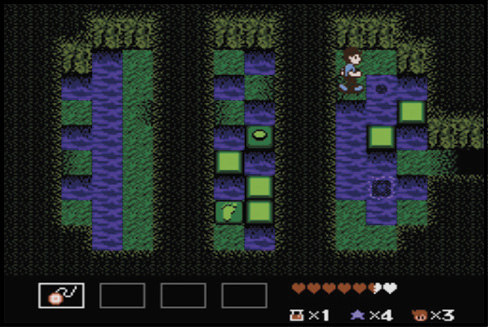
This series of three small rooms is dark when you enter, and unless you have a Lantern, they are difficult to clear. Use a Lantern and pause the game to keep the room lit while you plan your strategy. Once you feel confident in your ability to clear the room, resume the game and time the Up/Down Tiles so that you stay afloat.
Out of Reach
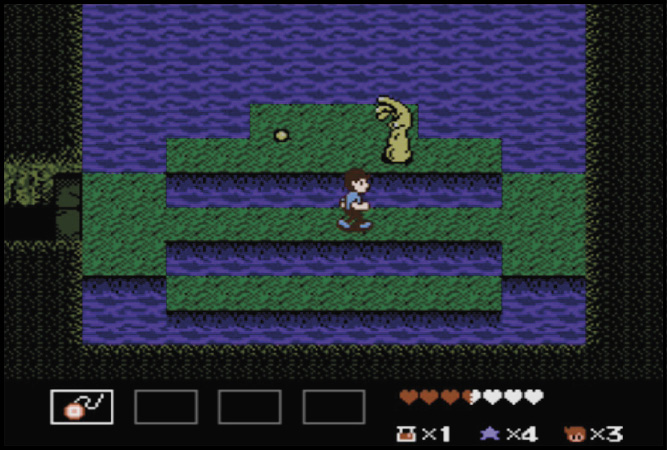
As soon as Mr. Armstrong breaks out of the ground, jump to an area above or below him and approach him from the side. This allows you to defeat him without getting pelted.
Get out of Here!
When you enter this room, go straight up and avoid any contact with the Muumus and Mini-Volcanoes. Water appears to surround you, but there is dry land ahead.
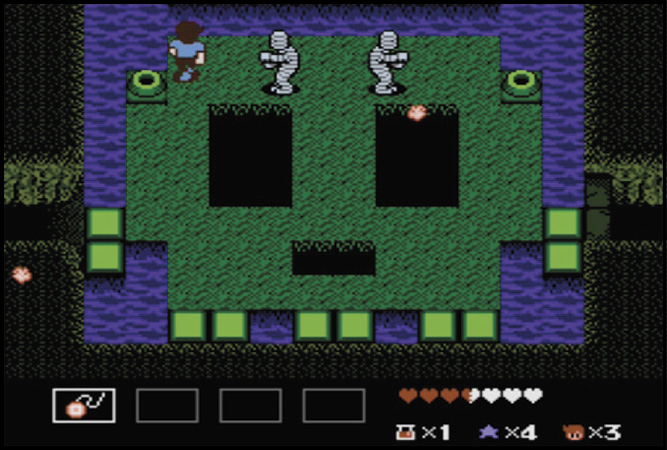
Safe Spot
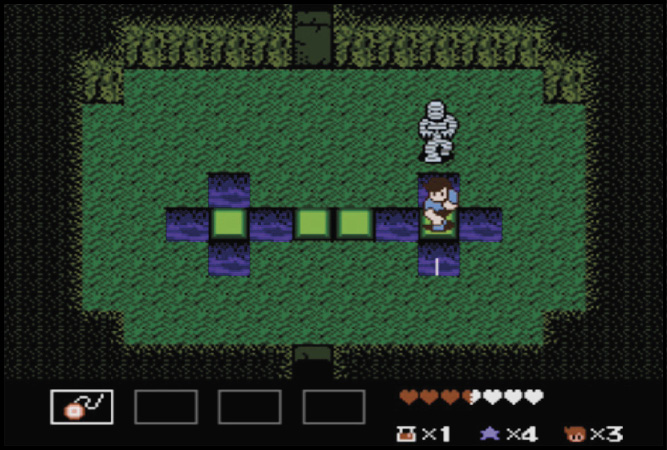
In order to avoid any unnecessary damage, jump to safety on one of the side Tiles and wait for the Muumus to get within Yo-yo distance. Or find the hidden Stop/Slow and get them while they’re frozen.
Fight for Sight
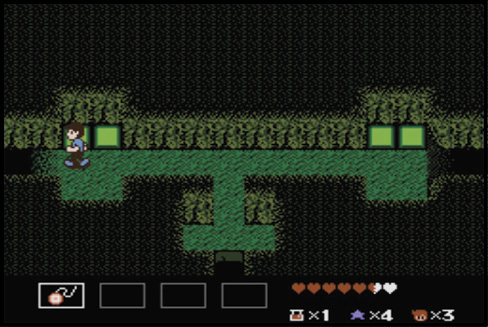
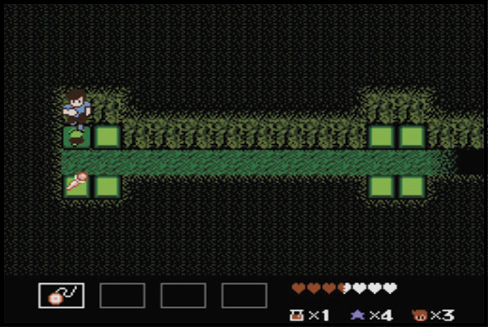
If you are low on Rods of Sight, take this short detour and fight off Mr. Armstrong. Hit the Tiles after Mr. Armstrong bites the dust to grab a Rod.
Bounce Back
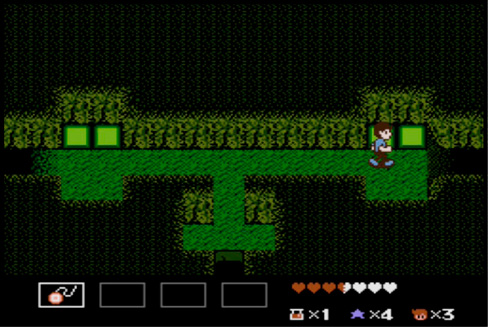
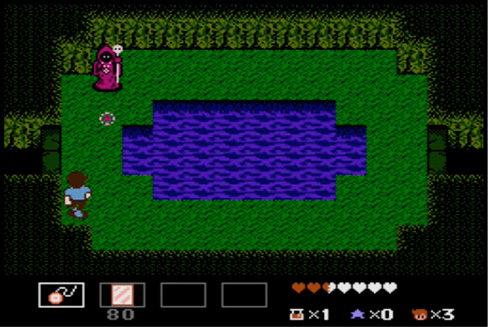
Dimhag alert! Wait for these merciless magicians to conjure up a blast, then turn their magic against them with a Magic Mirror. The Mirror only lasts a moment. Time it right.
Minie Haunt
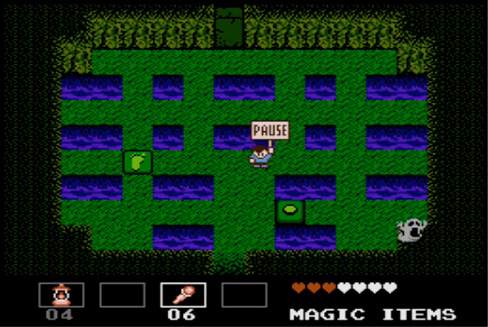
A Minie waits in one corner of this room. You could easily pass it by. Use a Rod of Sight and defeat the Minie for a pleasant surprise.
Maxie Attack!
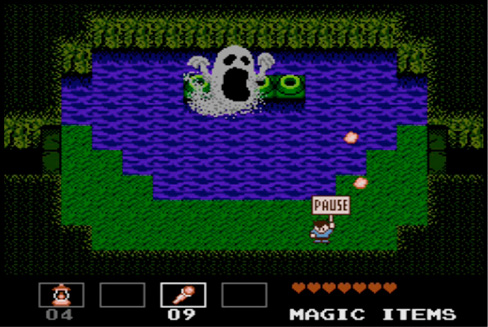
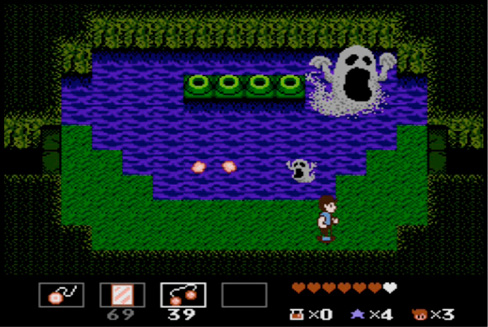
It’s not apparent that Maxie is in the room until you use a Rod of Sight to reveal this enormous ghostly entity. As soon as you see it, avoid the Minies and aim for it with a round of Bolas. Use the Bolas sparingly, though. You have only a few of them, and the Bola is the only weapon that reaches Maxie.
Unless you use a Rod of Sight to reveal Maxie and the Minies circling around, you’ll be hopelessly attacked by an invisible enemy
Don’t waste your Bolas on Minies. Avoid these pests and aim for the big ghost.
Smash Maxie with the fiery Bola and step quickly to avoid the Minies and blasts from the Mini-Volcano. The only weapon that reaches Maxie is the Bola. Aim carefully.
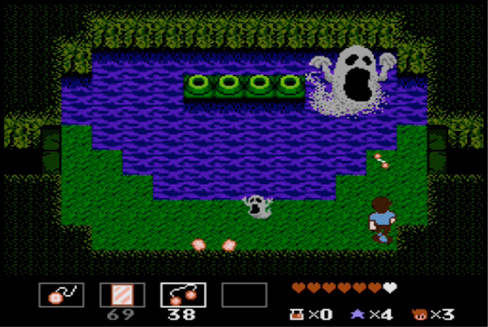
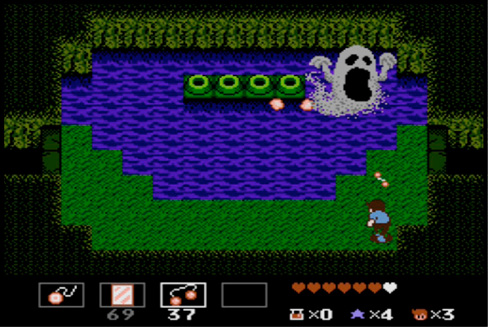
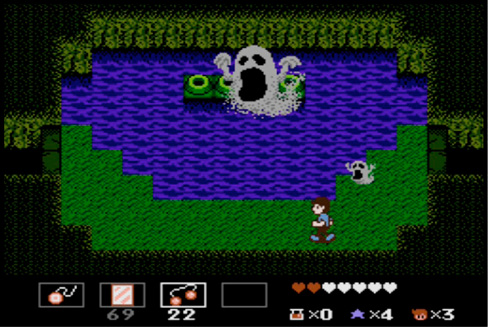
When Maxie is damaged, it quickens its pace and becomes a more difficult target. Don’t be hasty, or you risk wasting shots.
Drain the Lake!
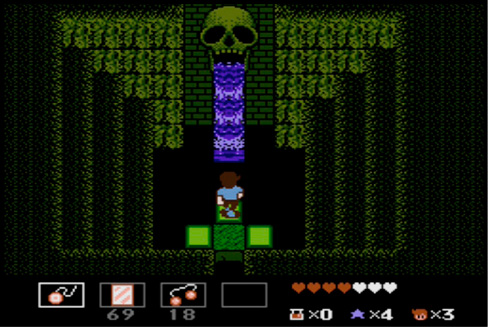
Once you reach the lake stopper, hit the head Tile three times to make water pour from the skull. The Ghost Village lake drains, and you easily recover the Fortune Teller’s Crystal Ball from the lake bed. Good job!
Shecola
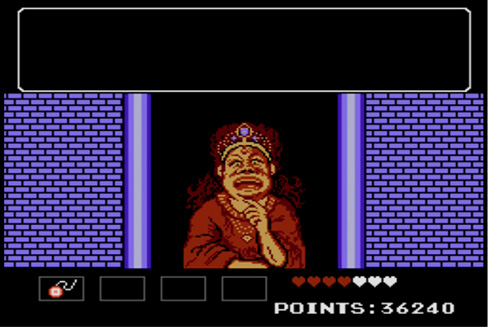
Using the Fortune Teller’s magic lets you enter Shecola and find out the secret of the West Tunnel.
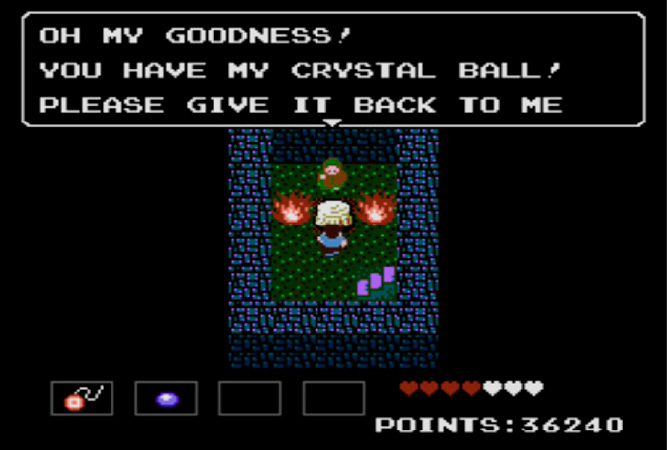
 “Welcome, Warrior! Let me replace that outdated Yo-yo with something much more powerful!” |
Talk to all the Shecolans. The warriors give you clues about the journey ahead, and the queen grants you a new weapon. You’re then tasked with finding a Hermit who holds the key to waking Bananette, the Miracolan Chief’s daughter.
The West Tunnel
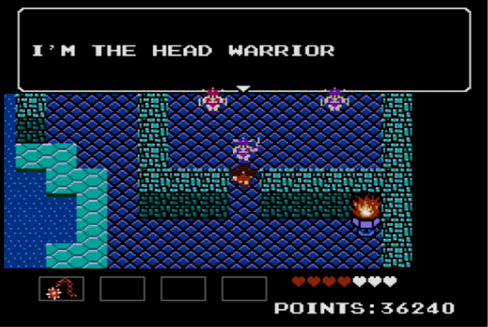
This is a short tunnel, so there isn’t too much to worry about here. Use the hint from the Shecolans to create a bridge across this gap. This allows you to move on and face a short battle to the other side of the island. Keep searching for the Hermit.
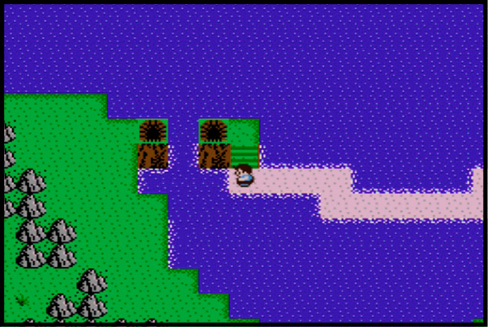
The Hermit’s Mountain
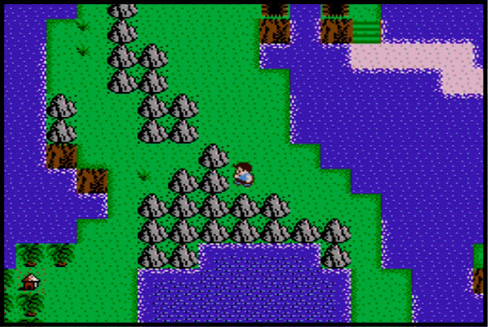
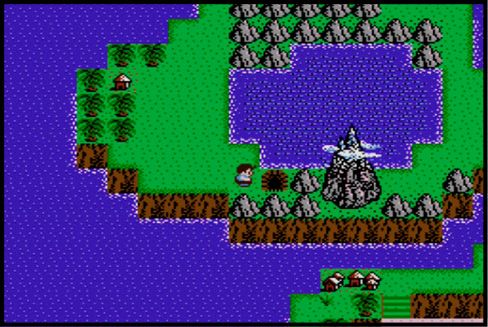
Finally! You make it to the side of the island where the Mountain Hermit lives. Now, of course, you face the chore of getting to the top of the mountain. Fight on, and find out what challenges lie ahead.
Phantom Tiles
Some Tiles appear only if you faithfully leap out into the water. At the last second, the Tiles rise from below and save you from a mishap.
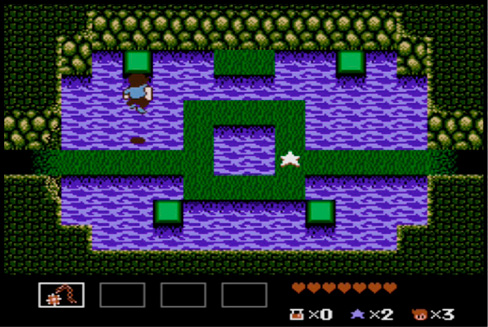
Boneheads from Abroad
A couple of straggling Boneheads have made it to the west side of the island. Just as you’ve done before, take on these Boneheads from the other side of the water.
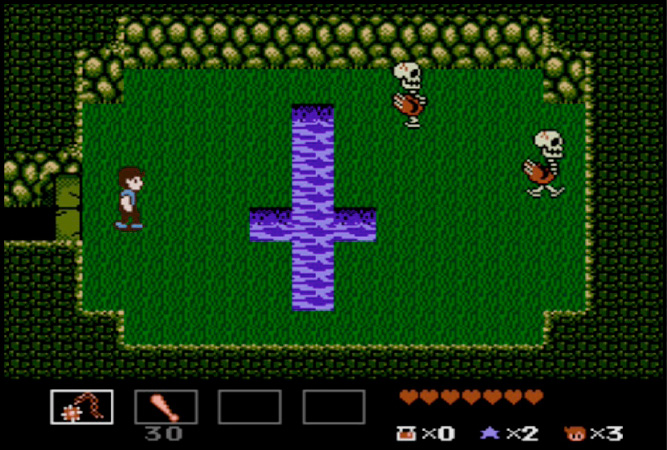
Keep Hopping
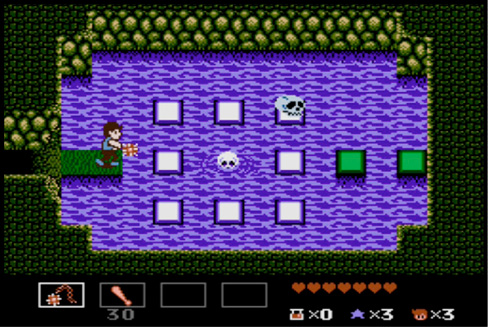
Treasure Trick
The Treasure Chest on the right side of this room looks unreachable. You can get it, though. Just jump off and have faith!
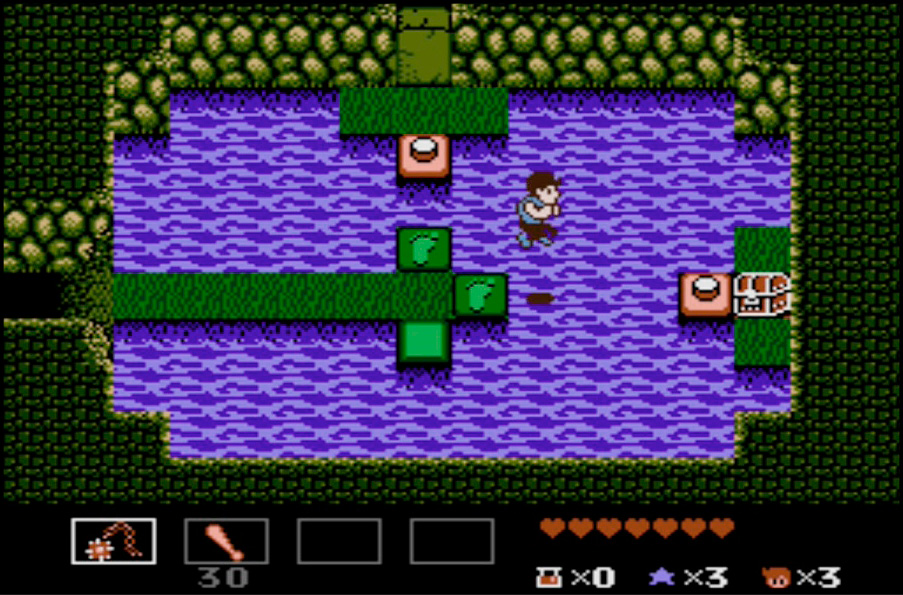
Look Out!
Froppas leap from the muck in this room and jump in your way. Look out!
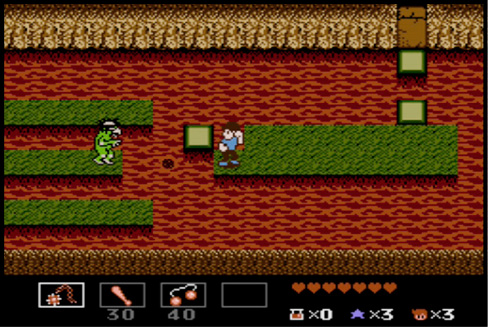
Mad Muddy
Hit Mad Muddy with a couple of quick lashes as soon as you get close to him.
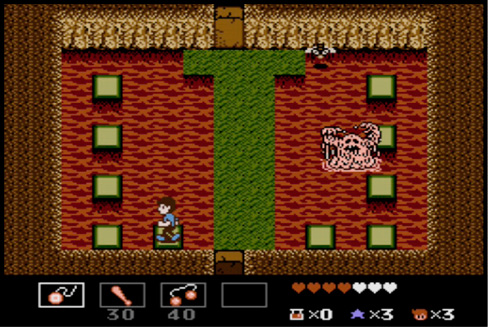
Stomp the Tiles
Stomp the Tile on the left to make Hearts appear. Now get the Stop/Slow on the right Tile and freeze the Up/Down Tiles when they are up.
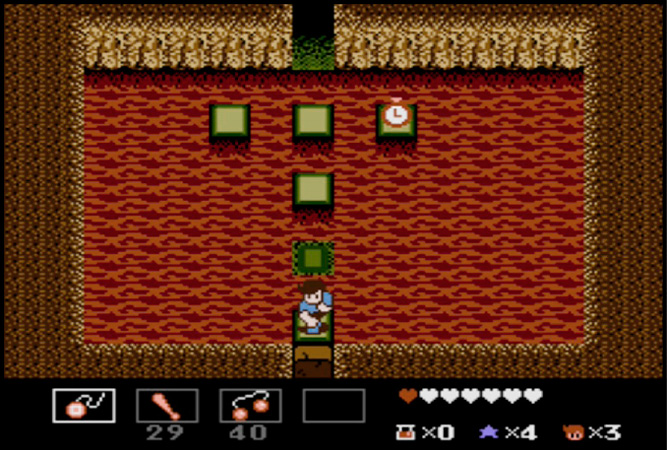
Touchy Tiles
You find Up/Down Tiles and Sink Tiles in this room. As soon as you land on the Sink Tiles, they start to submerge. Jump straight up and down on them and wait for the Up/Down Tiles to go up. Hop to the Hidden Hole on the left side of the room for a set of Double Hearts and a Potion; the right side of the room is the way to go next.
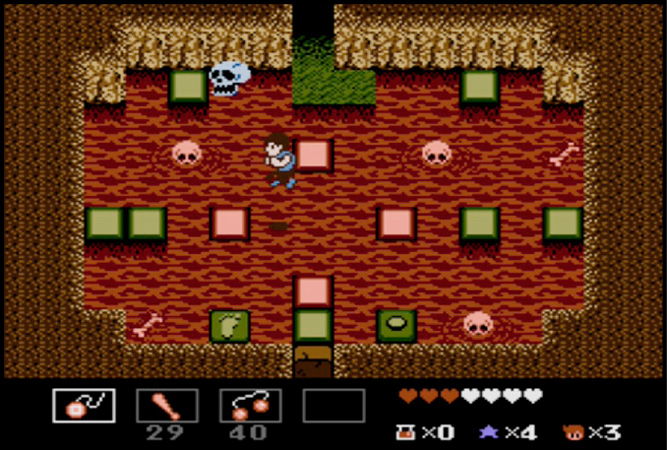
 Froppa

 Gogglin

 Big Bully

Stand in the Center!
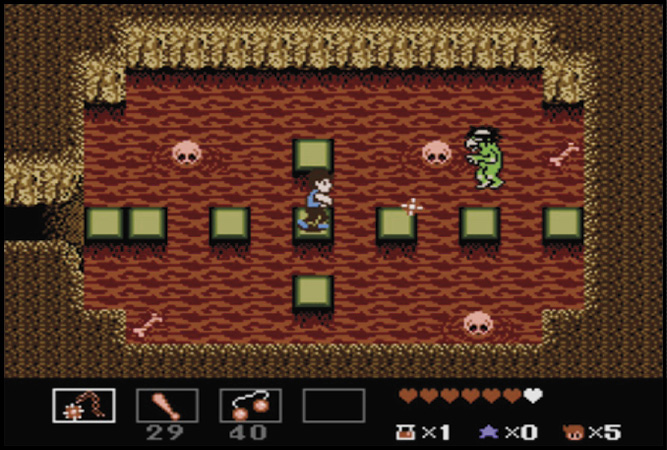
Defeat a handful of Froppas to exit this room. Head to the center and attack them as they approach you. This is the safest location to defend yourself from.
Get the Gogglin
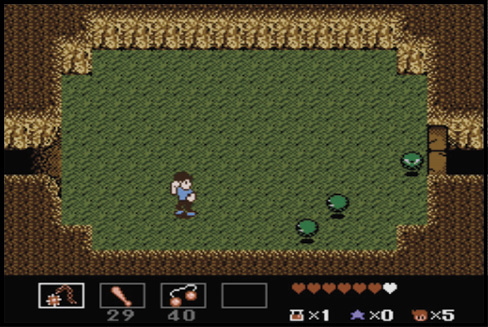
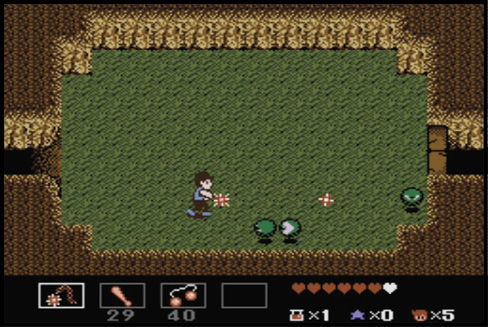
The Gogglin is a single-minded creature. As soon as you hit it, the Gogglin makes a beeline in the direction the shot came from. Jump to the side and hit it again as it zips by. With some practice, you should be able to defeat it without being harmed.
Remember Po’s Poem
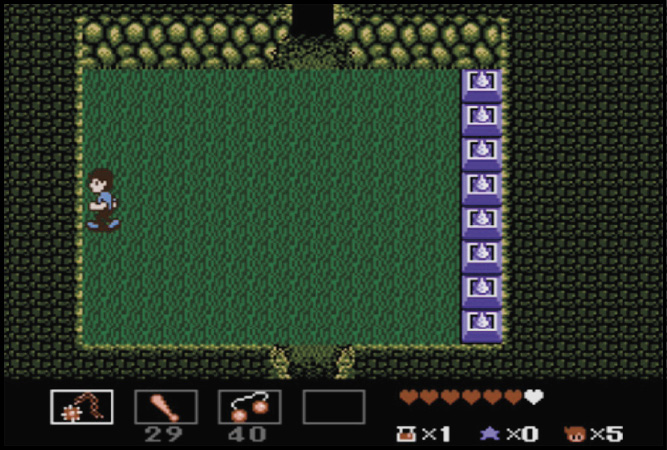
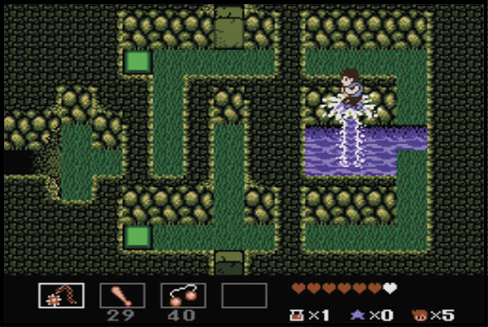
Po’s poem explains what you must know to get to the top of the mountain without any climbing gear. A geyser can push you up to the top. Find a way to get to it. Notice there is no Gate to the geyser. Look for a hidden passage in the room to the right of the geyser.
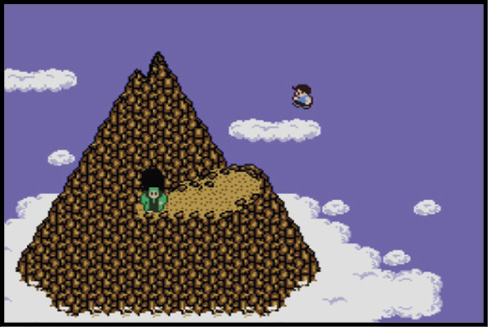
At Last! The Hermit!
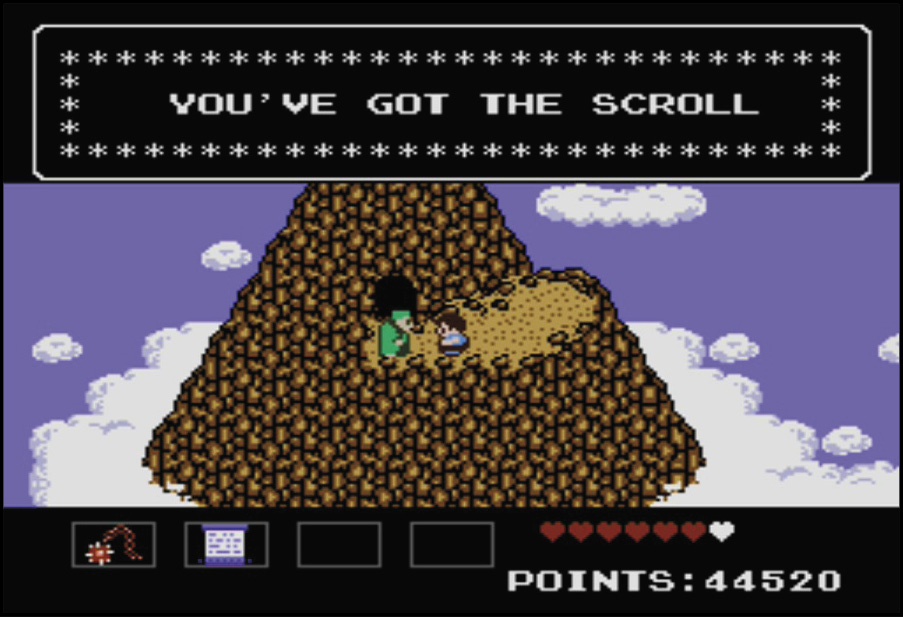
The Hermit makes his home in a cave at the mountain’s peak. Get the Scroll with the magic chant from him and hurry back to Miracola. Bananette is waiting!
A Miracle in Miracola
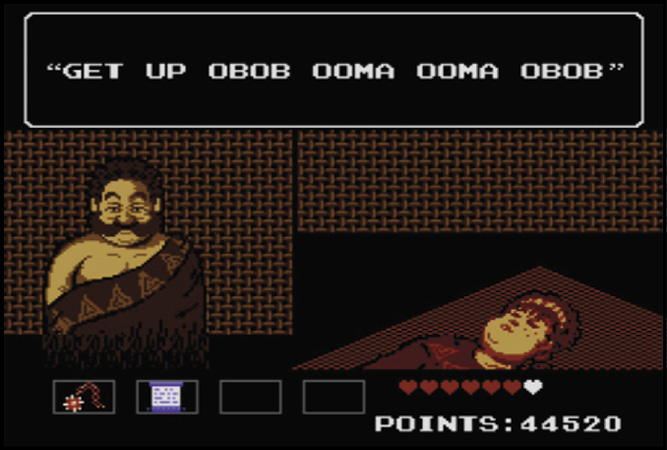
Chant the spell from the Hermit’s Scroll. Banenette awakens from her trance. The Miracolans rejoice and repair the Sub-C!
 “Good Morning! Did I miss breakfast? I’m starving!” |
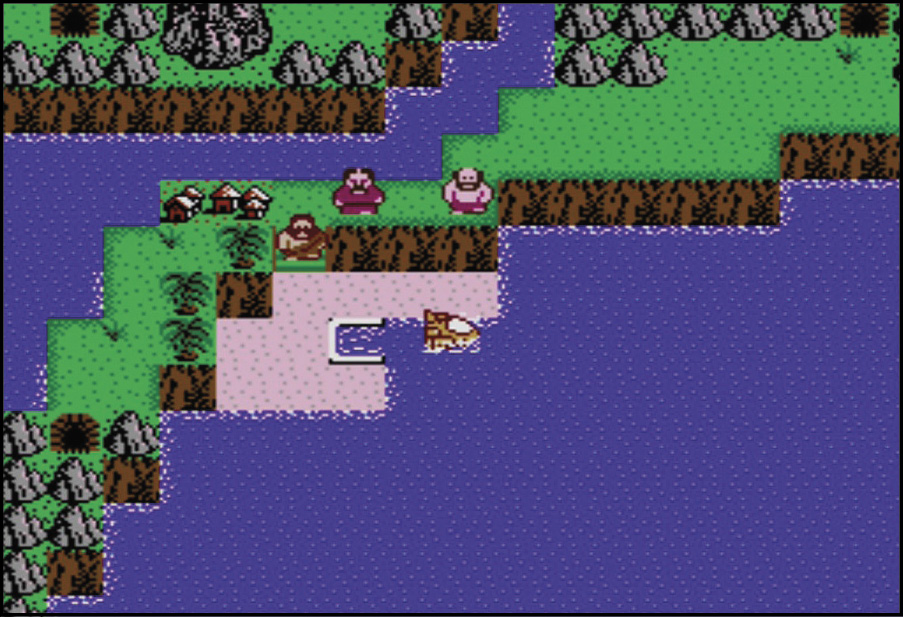
You saved Bananette! Now you can leave Miracola as a hero and, with a repaired Sub-C, continue on with your search for Dr. J.