Nintendo Playing with Power Guide StarTropics Chapters
Chapter 5: Captain Bell
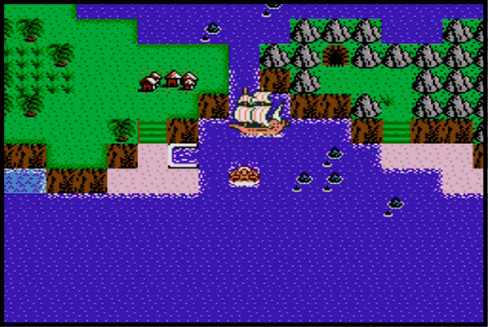
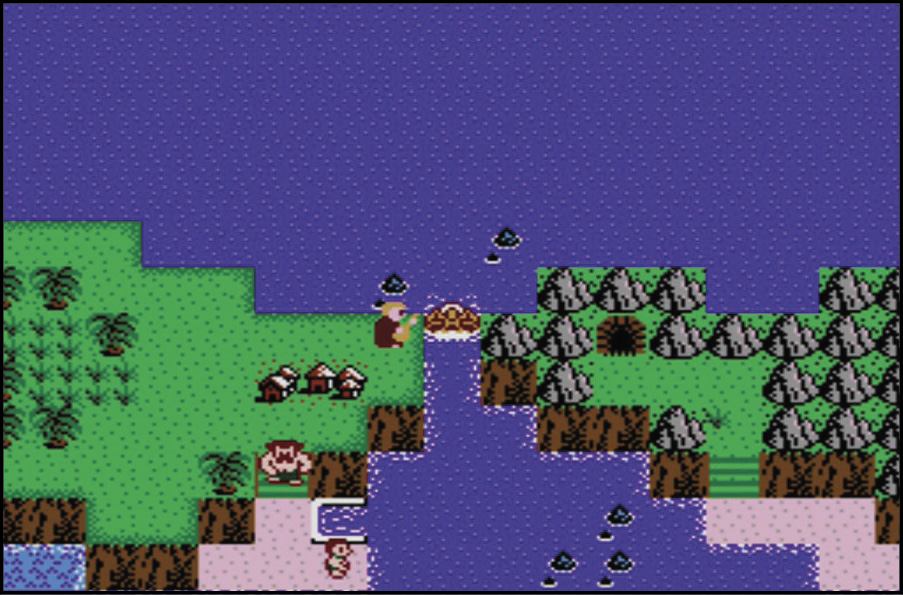
You’re still shaking the salt water from your shoes after the Whale episode when you come across yet another obstacle. This one is in the shape of an ancient Ship that blocks a strait between halves of an island. Where to now?
Bellcola
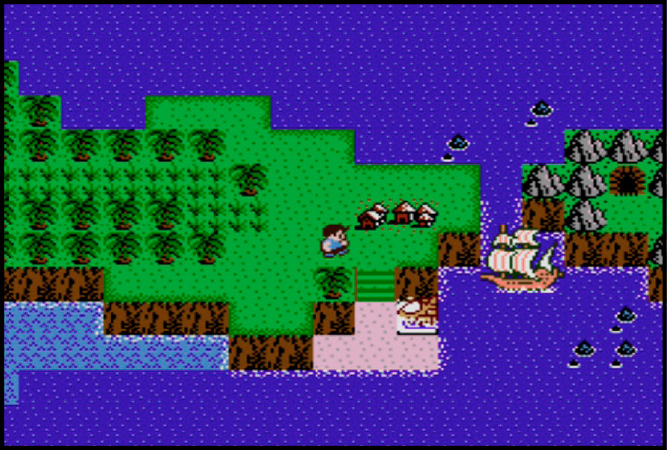
Enter the village to discover some way around the giant ship blocking the strait.
Bellcola was named after a sailor who long ago anchored his Ship in the middle of the strait to block an invading fleet.
 “I am Chief Bellcola. I can see that you’d like to sail through the straits. Pete the Parrot may be able to help.” |
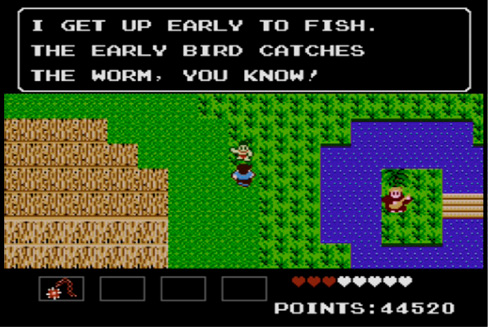
This villager has a clue that may help you figure out how to befriend Pete the Parrot.
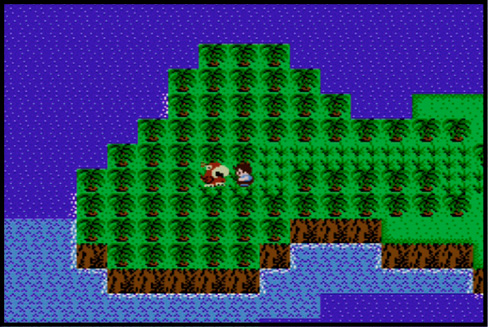
Chief Bellcola hints that talking to Pete the Parrot is a good idea. Pete is the descendant of Captain Bell’s parrot. He could have a clue.
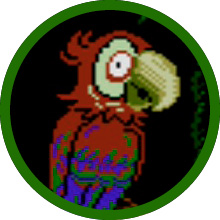 “Braaack! Braaack! No gift, no chat! Braaack! No gift, no chat!” |

The greedy parrot doesn’t talk without a gift. This fisherman on the east side may have what Pete wants.
Captain Bell’s Memorial
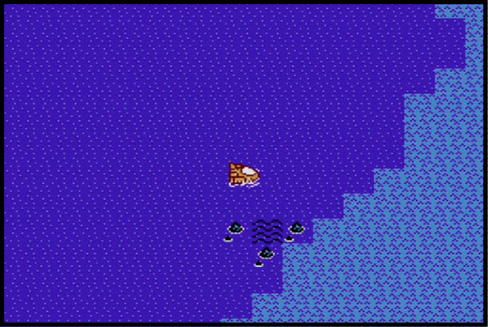
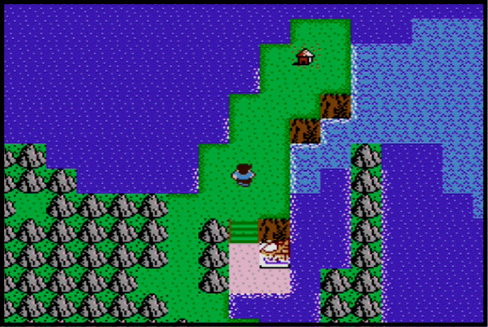
Navigate the passages on the lower-east side of the ocean to get to Captain Bell’s Memorial. Stop off at the hut on the northeast side of the island and talk to the fisherman who inhabits it. He gives you a special gift that might just get Pete to part with the secret of Captain Bell’s Memorial.
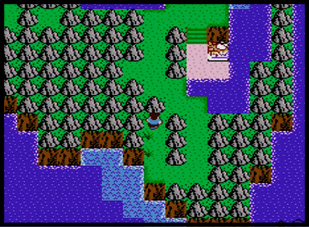
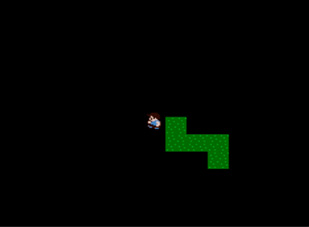
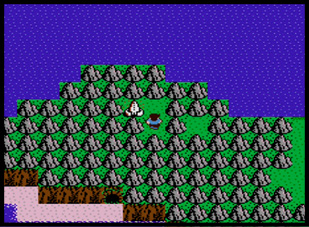
After Captain Bell saved the island from pirates, the people built this memorial based on his plans. Some say it holds the secret of the Ship.
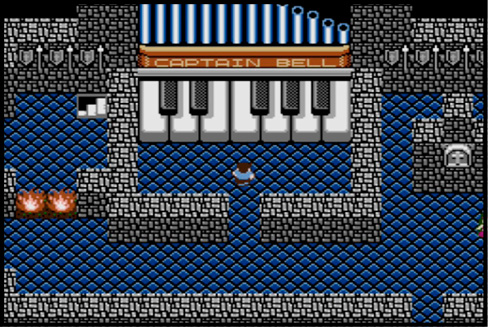
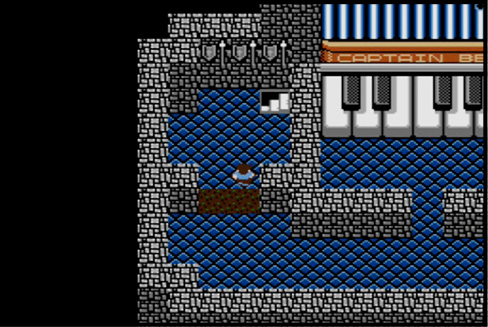
That’s some Pipe Organ! Apparently Captain Bell was a fan of the instrument. If you know the right tune, you might play your way into the underground passage. Perhaps Pete could hum a few bars.
This part is a bit tricky. According to the song Pete teaches, the correct key order is as follows: 1, 3, 5, 4, 1, 3. If you make a mistake at any point, leave the Memorial, then come back.
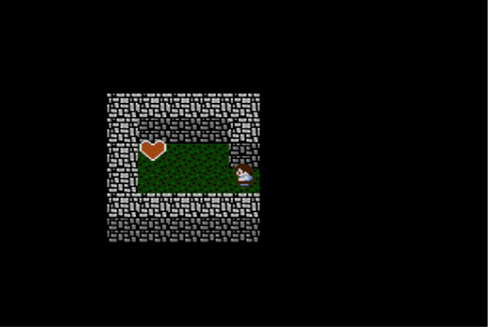
Captain Bell’s Cave
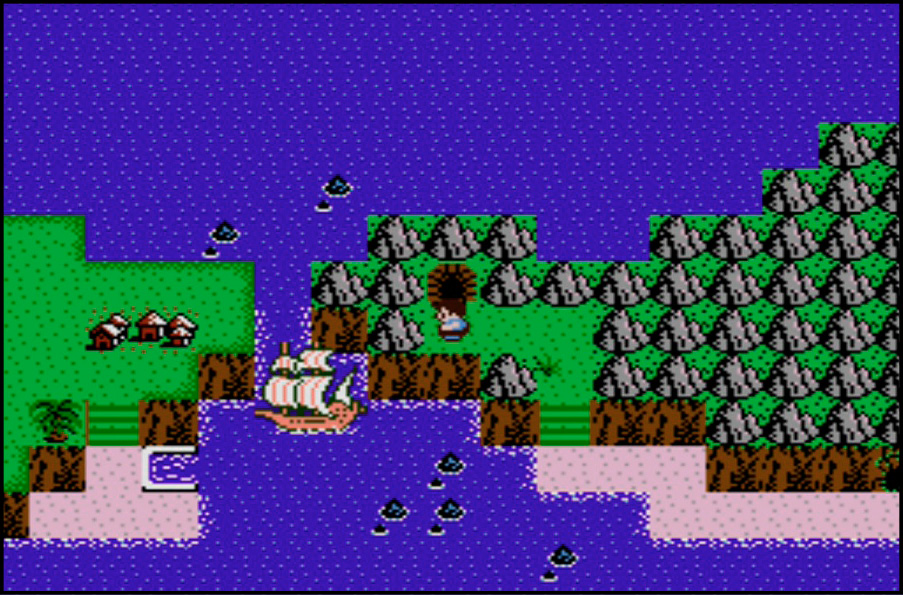
Captain Bell designed this cave to drive pirates away from the mechanism that keeps his ship afloat. The traps he set are ingenious. Nevertheless, getting through this cave is the only way to sink the Ship.
Hidden Hearts
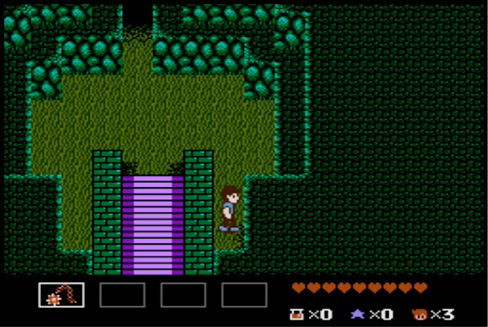
Find a couple Double Small Hearts in a hidden passage to the right of the entrance stairs. Not a bad way to start this area off, huh?
Earthquake!
When you reach the center, the ground shakes and Tiles begin to sink. Jump over the gap on the left to give yourself more time.
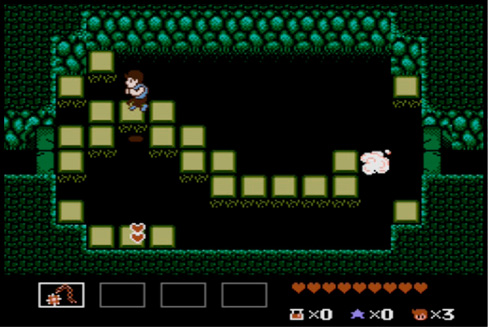
Get the Point?
Arrows shoot out of the walls as you run across this room. To avoid them, either jump out of the way or keep running.
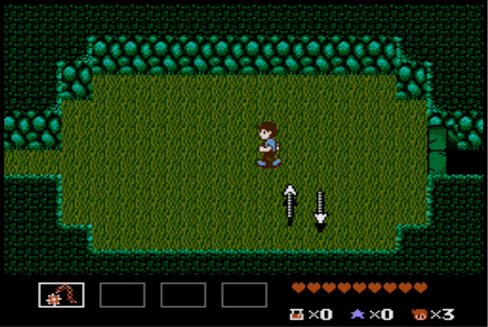
Jump and Run
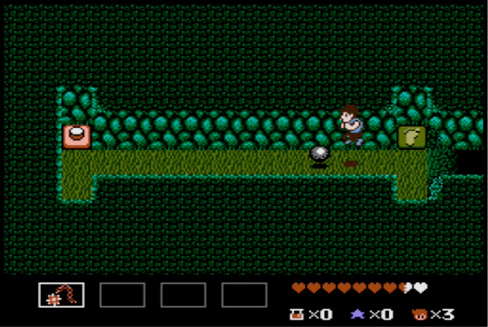
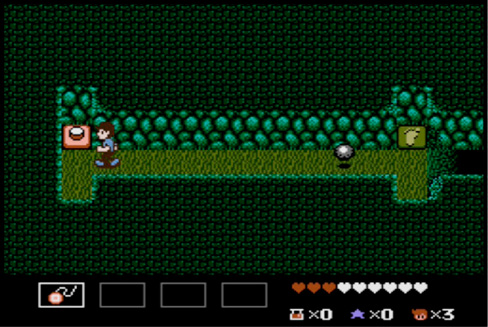
When you hit the Silver Ball, it slides back and forth. Jump as it approaches and run to the other side.
Which Route to Take?
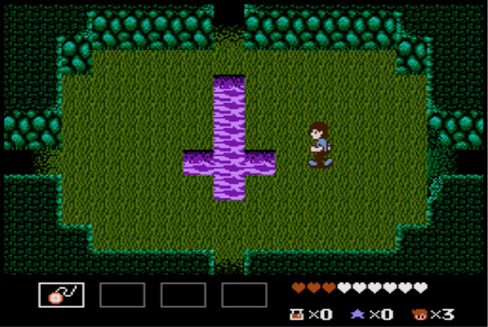
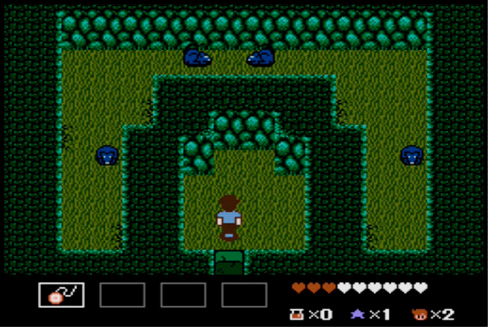
Three different paths await exploration. Ultimately your quest leads you down and to the left, but to get there, head up through a passage on the left wall, then down from the next room. Continue left from here.
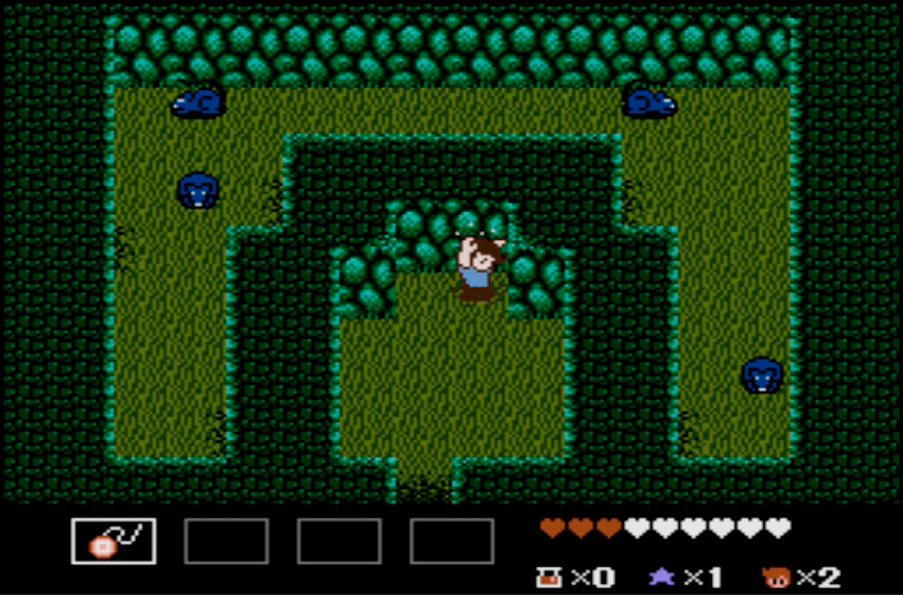
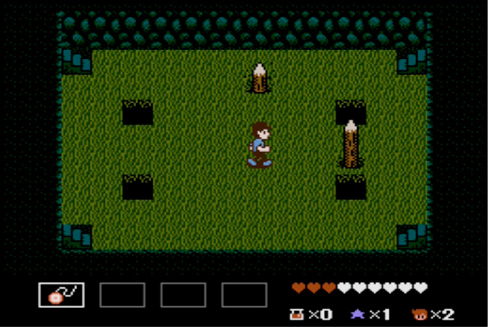
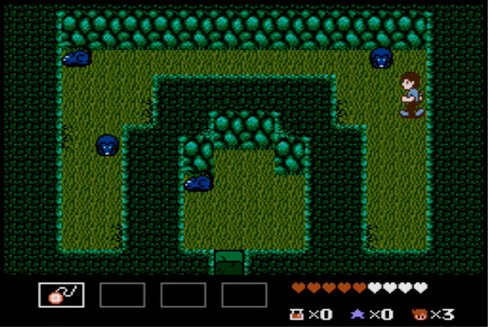
The north room is particularly tricky. Stop on the spot in the top-right corner of the small alcove of the room you enter from. Fall through the floor and deal with the deadly gauntlet of Pencil Traps. Head through the stairs in the bottom-right corner of the room, then head north and stop when you’re in-line with the secret path to your left. Head through the path, then step left once, south once, then left, and head through the secret passage to exit the room.
Whew! That was brutal!
Another Ground Shaker!
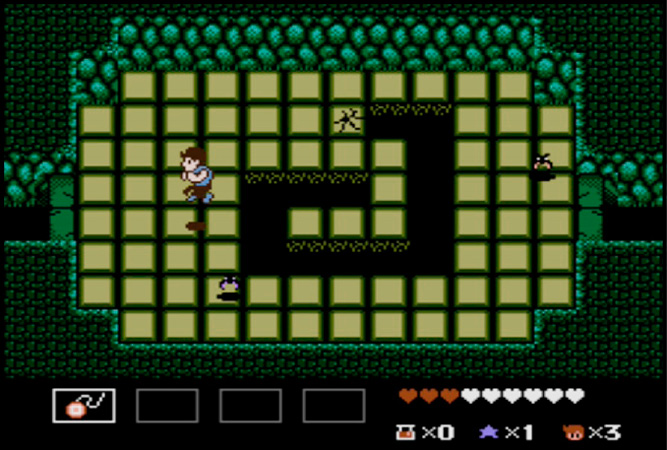
The Tiles break in a spiral pattern in this earthquake chamber. Jump straight to the left and look for a Trigger Tile there.
Strike!
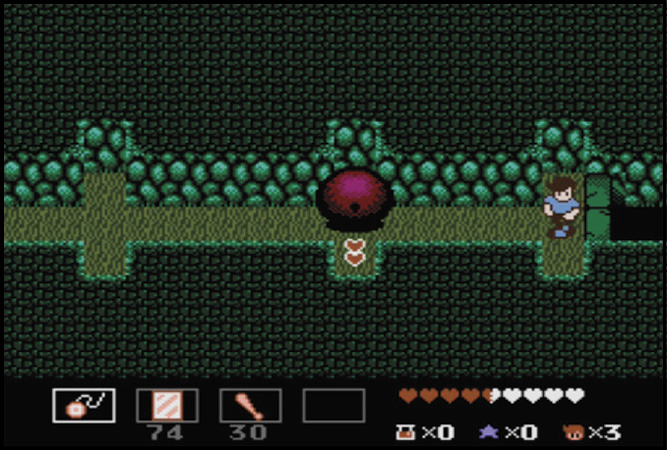
Captain Bell was a bit of a bowler. When his giant Megaton strikes, it knocks down everything in its path. Use the alcoves in this hall to avoid this destructive orb.
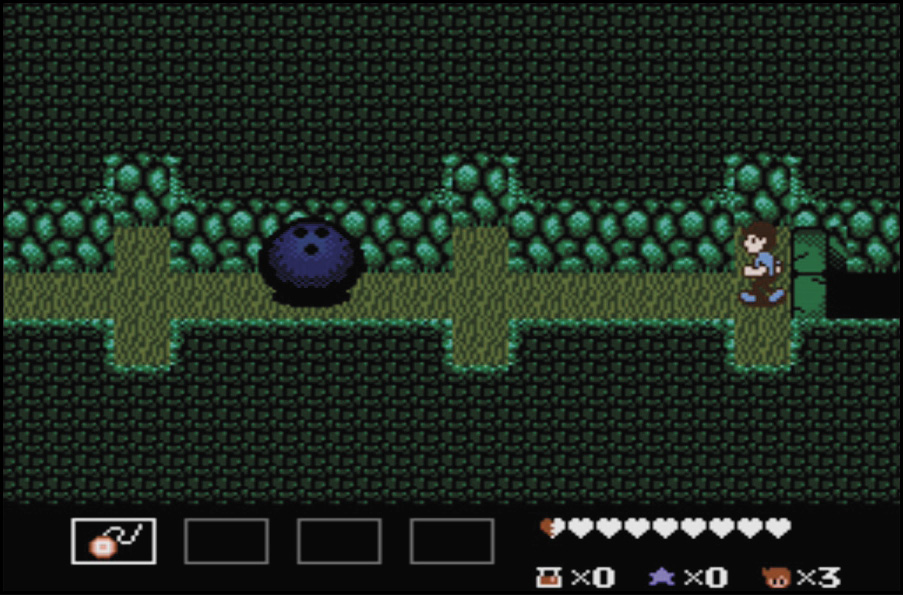
You also find a Magic Mirror in this room, if you’re up for a bit of investigating.
Crossroads
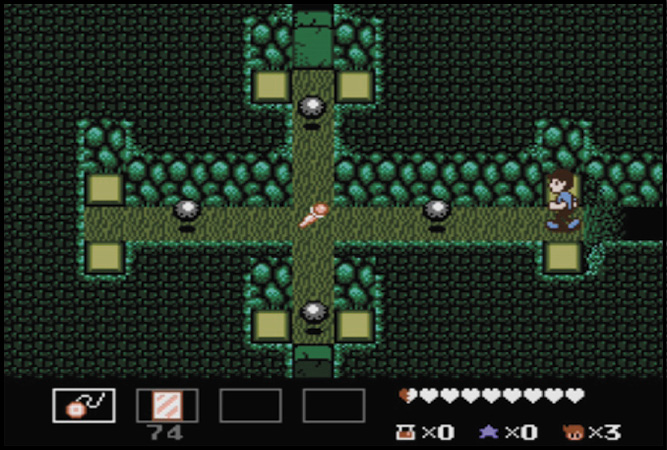
You locate another set of crossroads after fighting through Muumus and a Looper. The northern path leads to two sets of Double Small Hearts, but you have to jump along Sink Tiles to survive.
The western room leads to a Bat and eventually a Potion. Use a Rod of Sight in this room to track down a wandering Minie.
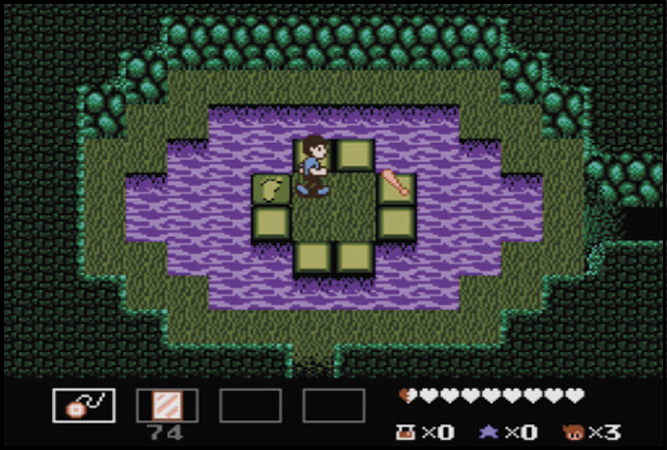
The path you ultimately want here is to the south, so if you don’t need a Potion, a Bat, or a couple sets of Double Hearts, feel free to head south.
Minie Madness
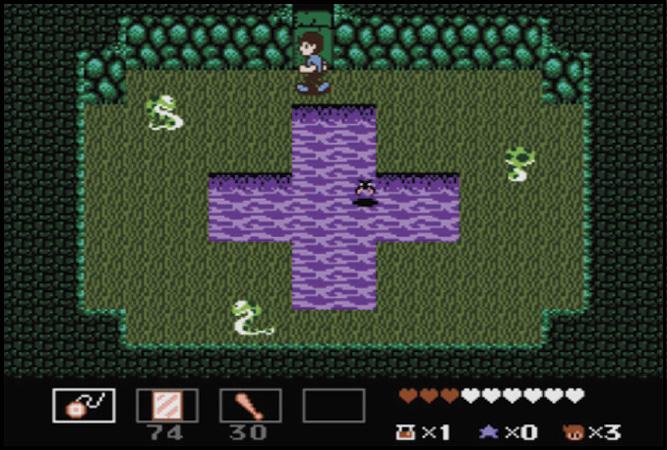
When you reach the room with two Big Bullies, use a Rod of Sight to uncover a hidden Minie. Defeating the Minie opens a passage on the left side of the room.
Twice the Trouble
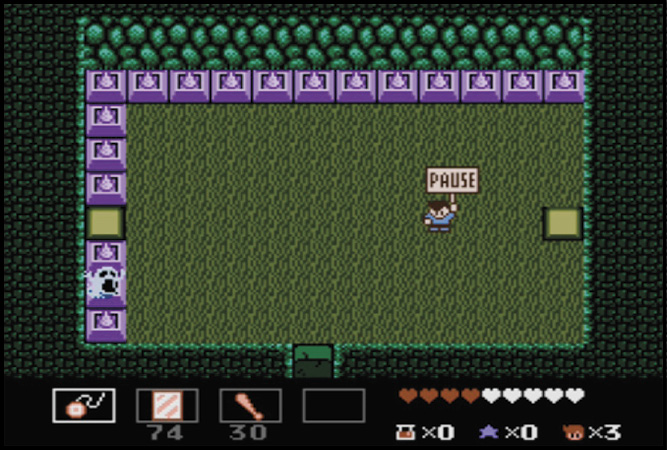
The dual attack of the Silver Balls in this room keeps you jumping. Hit the second one so that it moves with the first.
Sharp Attack
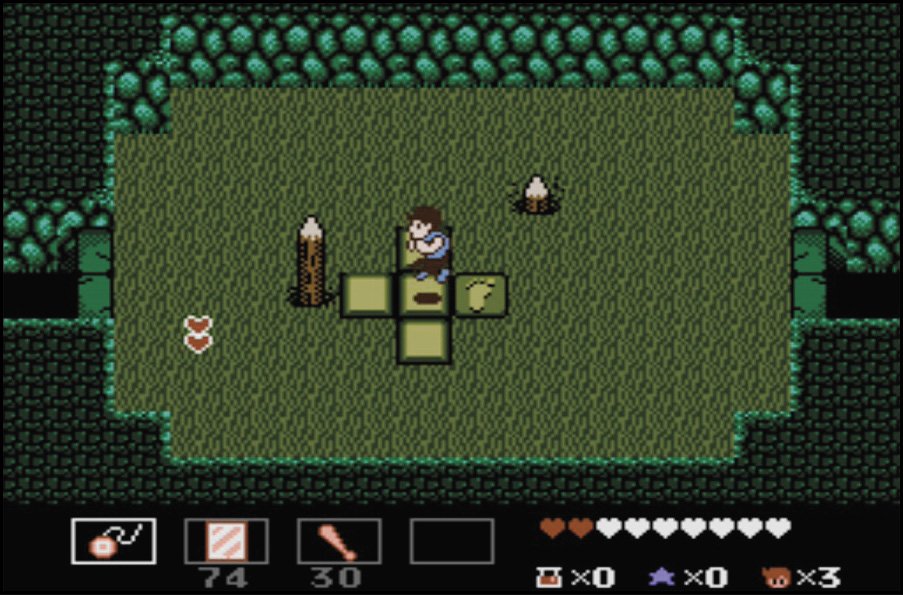
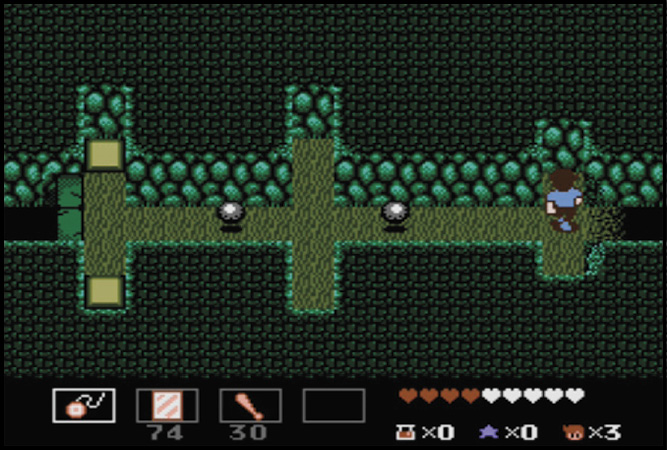
The Pencil Traps push up from underground to put holes through Mike. Avoid them and keep running.
Double Danger
Arrows and an Up/Down Tile combine for a serious situation here. Avoid the arrows until the Tile is on its way up. Now jump!
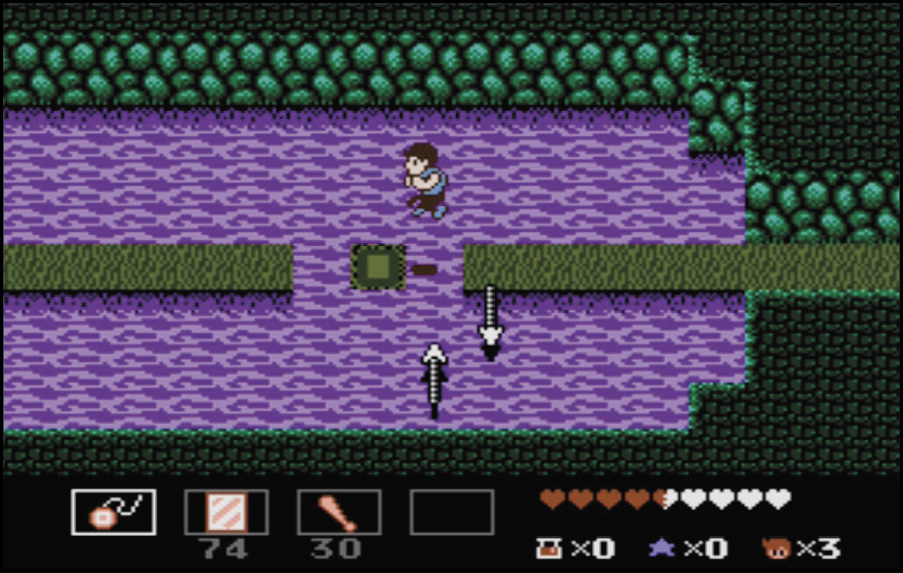
Gutter Ball
This Megaton is even faster than the first. It comes right back at you after it passes. Slap it with the Yo-yo to temporarily freeze it. When it comes rolling back, freeze it again.
Go for the Ghouls
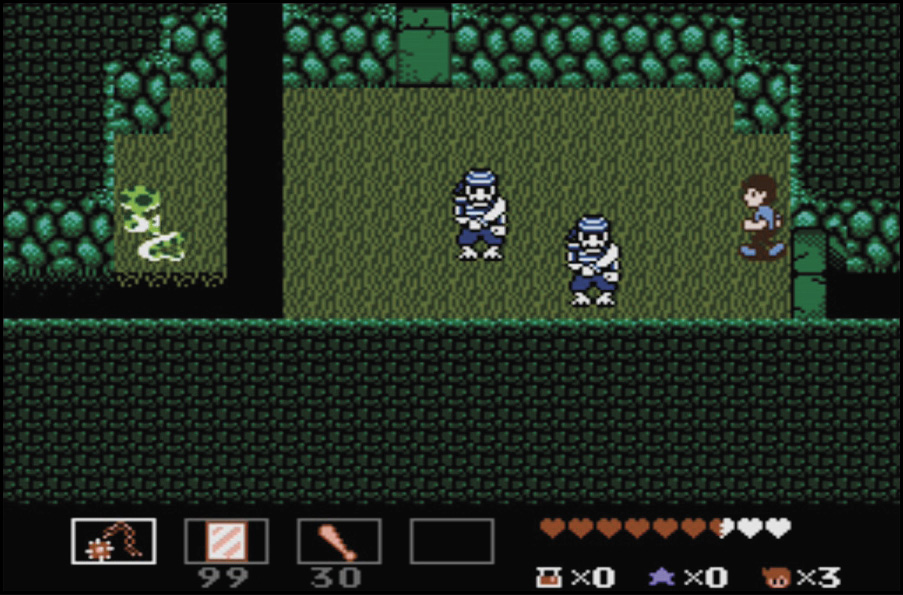
Knock out all the Pirate Ghouls and Loopers, including the ones across the gap, and the Gate opens.
Sink It!
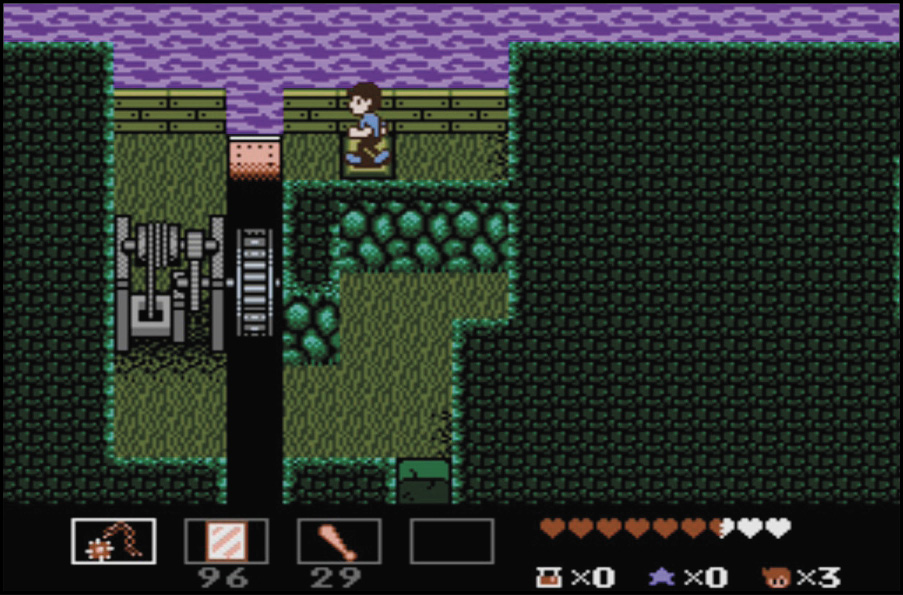
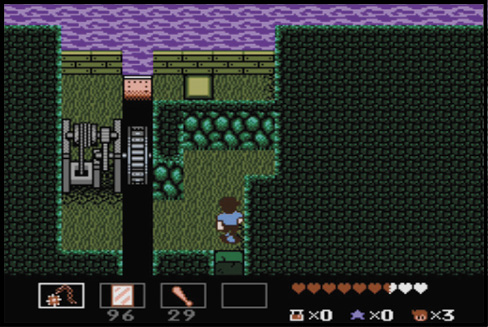
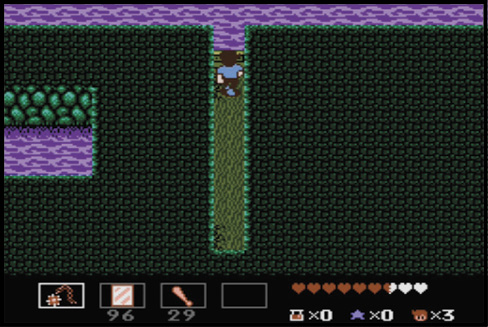
This room houses the mechanism required to sink the Ship, but you need to use a couple of secret passages to reach it.
Captain Bell’s Ship Sinks
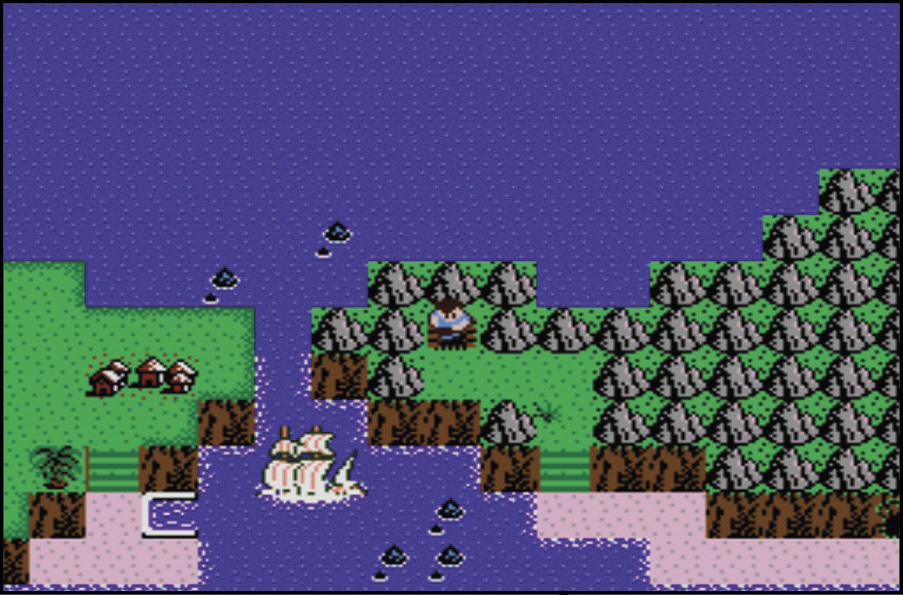
With a hull full of water, Captain Bell’s Ship heads for Davy Jones’s Locker and clears the way for the Sub-C.