Prima Games eGuides
primagames.com Browse Redeem a code Help
Nintendo Playing with Power eGuide
Sign in My Guides

Sign in or create an account

We'll email you a link. No password needed, and if you don't have an account yet, the link makes one.

By creating an account or signing in, you agree to our Terms of Service and Privacy Policy.

Have a password?

Had an account on the old eGuides site, or a code from a printed guide? Help and troubleshooting

Sign in with a password

By signing in, you agree to our Terms of Service and Privacy Policy.

Check your email

A sign-in link is on its way. It works once and expires in 15 minutes. Open it and you're in, with an account if you didn't already have one.

Contents

  • Playing with Power
    • Foreword
    • Introduction
    • The Inside Story of the NES
    • The Launch of the Nintendo Entertainment System
    • First-Party NES Titles: Launch Day
    • The Early Period (1986)
    • An Inside Look at Game Paks
    • The Middle Period (1987-1989)
    • Classified Information
    • Behind the Scenes with Shigeru Miyamoto
    • The Late Period (1990-1994)
    • Counselors’ Corner
    • NES Peripherals
  • Excitebike
    • Summary
    • How To
    • Tracks
  • Ice Climber
    • Summary
    • How to Play
    • Characters and Objects
    • Terrain
    • Scoring
    • Tips and Tricks
  • Super Mario Bros.
    • Summary
    • Levels
      • World 7
      • World 3
      • World 5
      • World 4
      • World 6
      • World 8
      • World 1
      • World 2
  • Balloon Fight
    • Summary
    • How-To
  • Donkey Kong
    • Summary
    • Playing Donkey Kong
    • Characters and Collectibles
  • Donkey Kong Jr.
    • Summary
    • How to Play
    • Cast & Items
    • Scoring
    • Recommended Tactics
  • Mario Bros.
    • Summary
    • How to Play
    • Characters and Items
    • Tips and Tricks
  • Kid Icarus
    • The Tale of Kid Icarus
    • Getting Started
    • How to Play
    • Exploring Angel Land
    • Powering Up
    • Items
    • Enemies
    • Completing Kid Icarus
    • Stages
      • Underworld
      • Overworld
      • Skyworld
      • Palace in the Sky
  • Metroid
    • The Metroid Story
    • Summary
    • Getting Started
    • How to Play
    • Power Items
    • Enemies
    • Completing Metroid
  • The Legend of Zelda
    • Summary
    • The Legend of Hyrule
    • Hero Training
    • Items
    • Characters
    • The Overworld
    • The Underworld
      • Labyrinth 1: Eagle
      • Labyrinth 2: Moon
      • Labyrinth 3: Manji
      • Labyrinth 4: Snake
      • Labyrinth 5: Lizard
      • Labyrinth 6: Dragon
      • Labyrinth 7: Demon
      • Labyrinth 8: Lion
      • Labyrinth 9: Death Mountain
    • The Second Quest
      • The Second Quest
      • Story
      • Conquering the Underworld
  • Punch-Out!!
    • Summary
    • Story
    • Roadwork
    • Minor Circuit
    • Major Circuit
    • World Circuit
    • The Dream Fight
  • Super Mario Bros. 2
    • Story
    • Characters
    • Welcome to Subcon
    • Know Your Enemies
    • Worlds
      • World 1
      • World 2
      • World 3
      • World 4
      • World 5
      • World 6
      • World 7
  • Zelda II: The Adventure of Link
    • Summary
    • The Story of the Adventure of Link
    • Hyrule
  • Super Mario Bros. 3
    • A Message From Mario
    • Story
    • Being Mario
    • Worlds
      • World 1: Grass Land
      • World 2: Desert Land
      • World 3: Water Land
      • World 4: Giant Land
      • World 5: Sky Land
      • World 6: Ice Land
      • World 7: Pipe Land
      • World 8: Castle of Koopa
  • StarTropics
    • Summary
    • A Letter From Uncle Steve
    • Chapters
      • Chapter 1: Prelude
      • Chapter 2: Dolphins
      • Chapter 3: Storm and Calm
      • Chapter 4: Confession
      • Chapter 5: Captain Bell
      • Chapter 6: Reunion
  • Dr. Mario
    • Summary
    • Dr. Mario’s Diagnosis
    • Dr. Mario’s Med School
  • Kirby’s Adventure
    • Summary
    • A Crisis in Dream Land!
    • Copy Abilities
    • Levels
      • Level 1: Vegetable Valley
      • Level 2: Ice Cream Island
      • Level 3: Butter Building
      • Level 4: Grape Garden
      • Level 5: Yogurt Yard
      • Level 6: Orange Ocean
      • Level 7: Rainbow Resort
      • Level 8: Fountain of Dreams

Nintendo Playing with Power Guide › StarTropics › Chapters

Chapter 1: Prelude

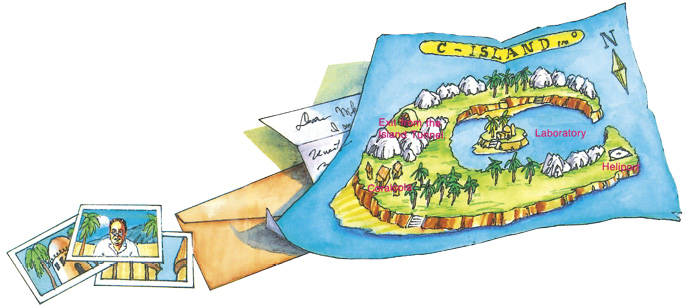
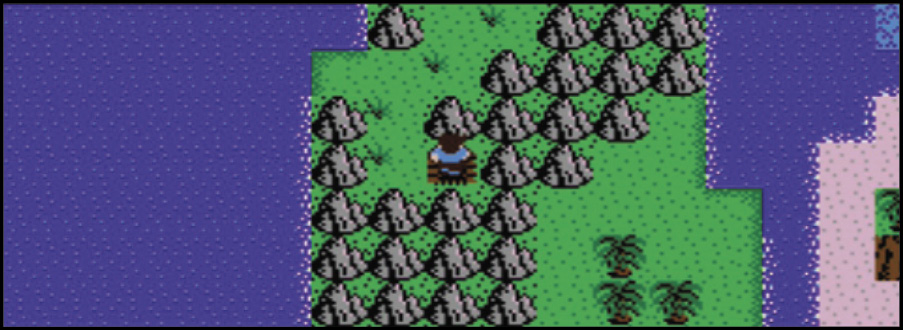
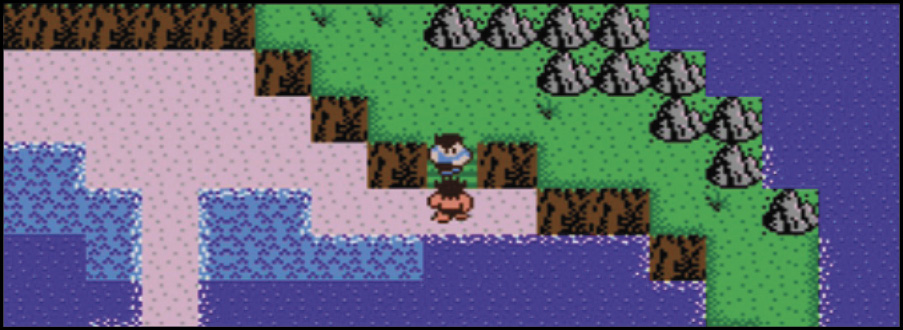
Coralcola is the only village on C-Island. The villagers know a lot about island lore and the creatures that lurk below the surface. Talk to all of them before you begin your search for Dr. J (That’s Dr. Jones’s name to the locals). You learn important clues about his disappearance.

Coralcolans are friendly, and some of them know about the events that led to Dr. J’s disappearance.
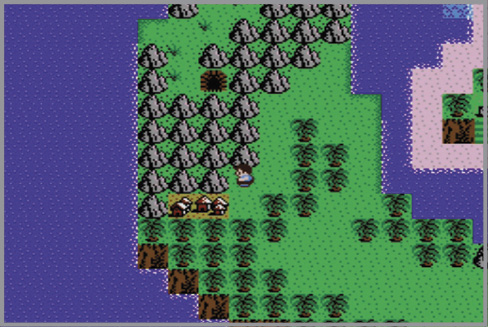
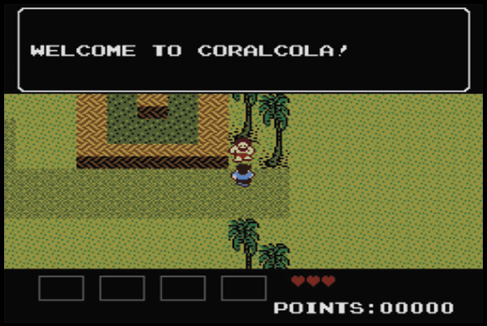
Coralcola

The most important resident of the village is Chief Coralcola. He is a good friend of Dr. J’s and a wise man. Begin your journey by entering his hut.
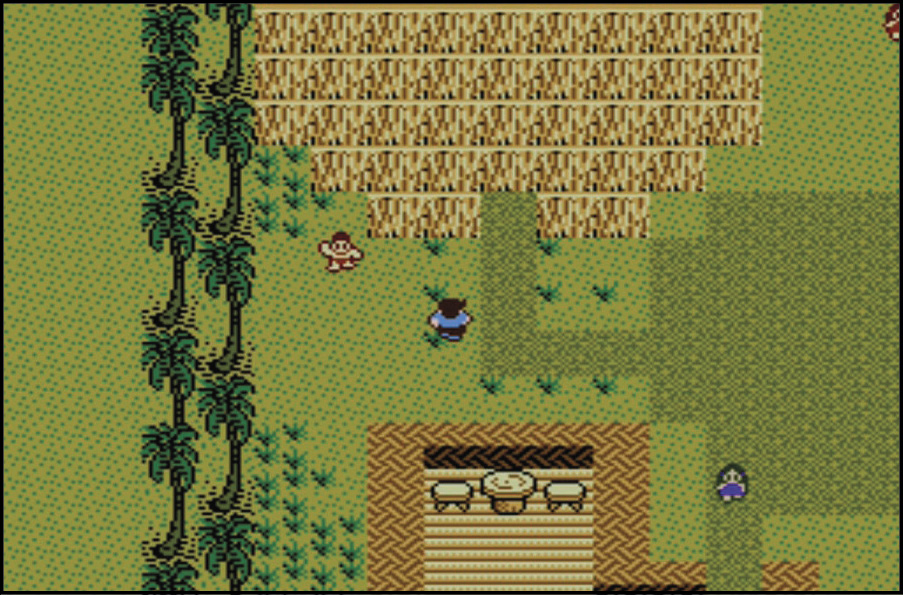
Chief Coralcola divulges some important clues about Dr. J’s disappearance and provides a valuable item. He sends you on your way.
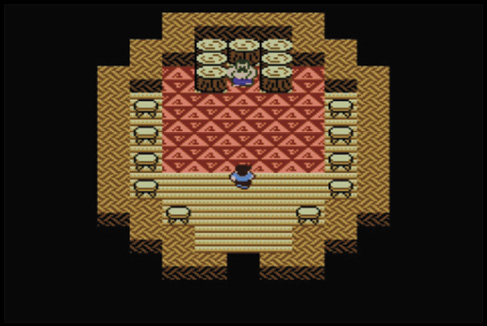

“I’m glad that you could make it to our island, Mike. I am Chief Coralcola. The news of your uncle’s disappearance is very disturbing. His assistant says that he was captured by aliens. This may have something to do with recent sightings in the night sky. I’m counting on you to get to the bottom of this and save Dr. J. Take the powerful Star Yo-yo and fight your way through the tunnel to Dr. J’s Lab. You’ll find help there.”

Master the Yo-yo

A Yo-yo may seem like an unlikely weapon, but the Chief’s Star Yo-yo has a long string and a powerful sting. With it, you can lash out at the enemies underground, and it will always come back. Since the Yo-yo slices through obstacles and stretches over gaps, it’s easy to defeat creatures from a safe distance.
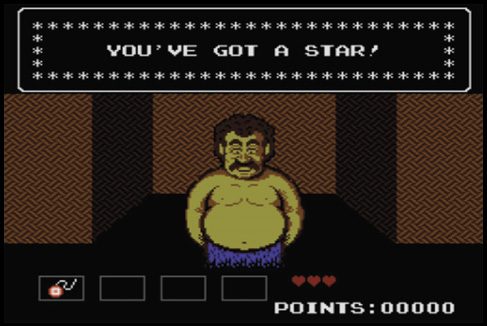
The keeper of the Star Yo-yo is Chief Coralcola. He gives it to you so that you can face the dangers ahead.

If you haven’t talked to all the villagers, the guard blocks the Island Tunnel.

Once all the villagers know you, the guard lets you enter. Many dangers await beyond the tunnel stairs.
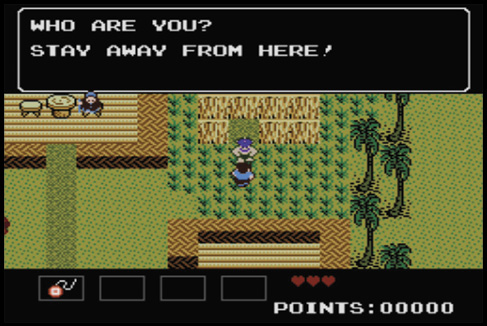
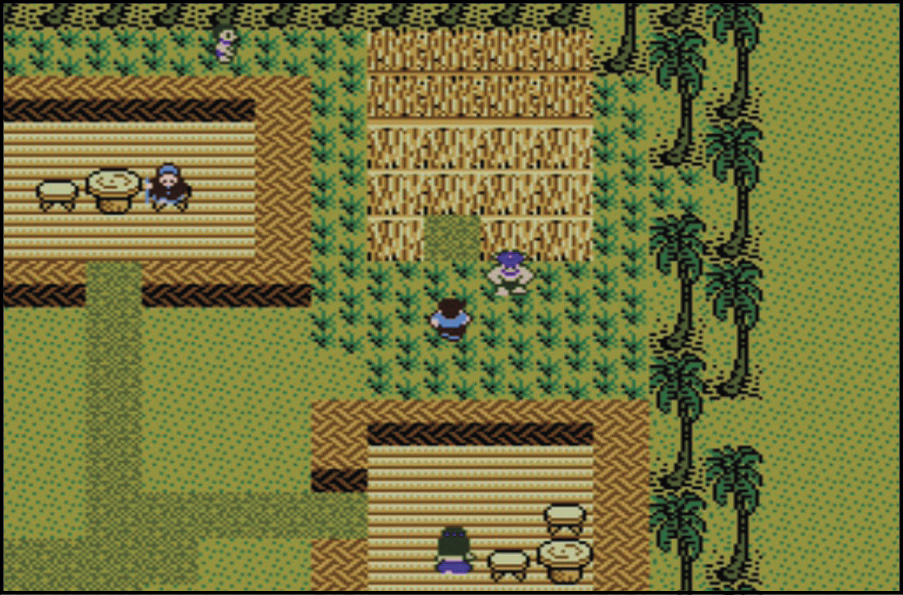
“I am the Shaman of Coralcola and sister of the Chief. I will provide you with support so that you may complete your journey. There are many challenges that await you in the underground tunnels. Recent meteor showers have caused a disturbance in the creatures below. Be careful, Mike.”

The Island Tunnel

The only way to get to Dr. J’s Laboratory is to pass through the tunnel at the edge of the village. The creatures in this tunnel are weak compared to what lies ahead.

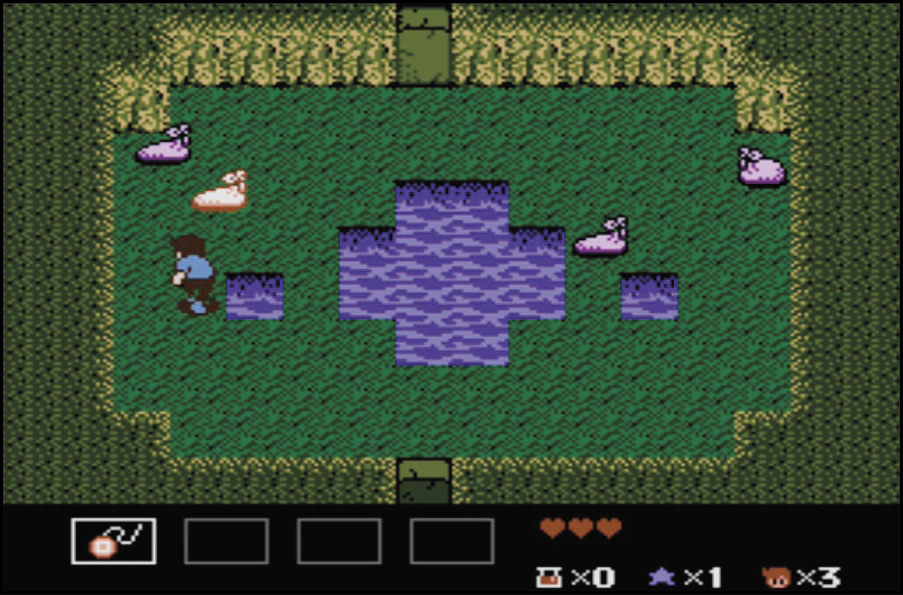
Jellies Are No Problem
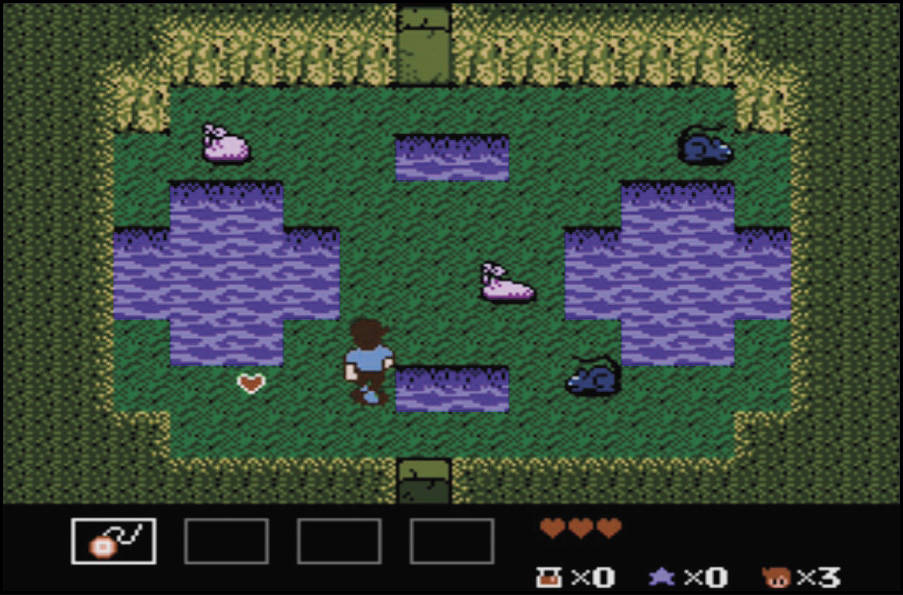
Jellies move slowly, so watch their movements and attack while they aren’t moving toward you.

Magic Items

Small Hearts

Some enemies leave behind life-replenishing Single Small Hearts after you defeat them.

Stars

Stars appear after you beat some enemies. Collect five to earn a Small Heart.

Potions

Use this powerful medicine to fill your Hearts when your Life Meter is low.

Get the Right Angle

Jellies move left and right. Approach them from below and knock ’em out.

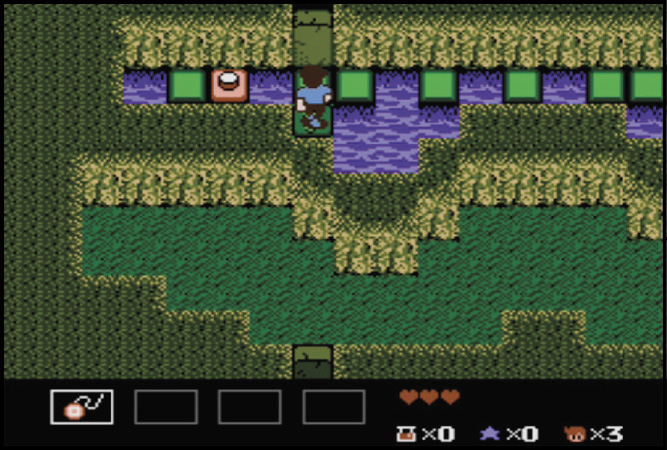
Hit the Switch
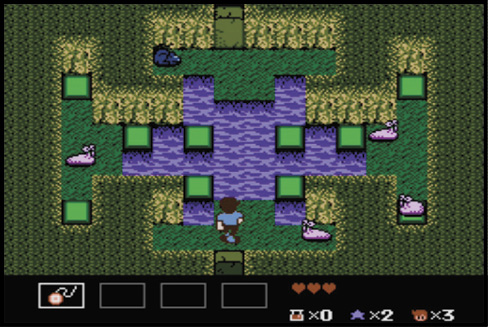
The Gate connects to a hidden Switch. Jump on the Tiles to trigger the Switch, and jump on the Switch to open the Gate. Before jumping to the Gate, beat the Rattus from the other side.
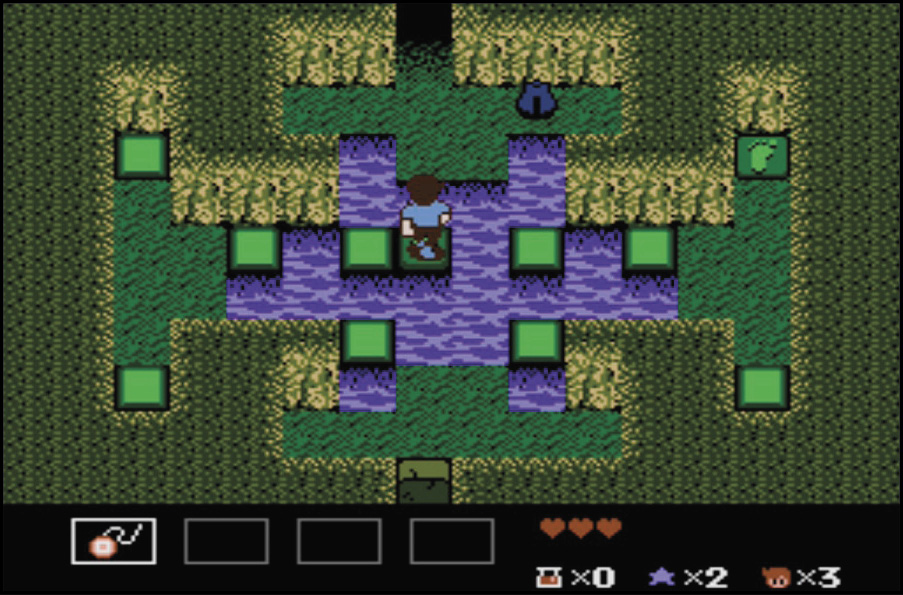
Jump on the upper-right Tile in this room to uncover the Switch that opens the Gate.

Tunnel Traps and Tools

Gate

Gates separate many of the tunnel rooms. Open them by finding a Switch or by defeating the right enemies.

Hidden Hole

Like Gates, Hidden Holes open after a Switch has been hit or enemies have been beaten. They blend into the wall before they’re opened.

Tile

Tile-hopping plays a big part in the underground exploration. Some Tiles can be used as safe spots, and some trigger items and Switches.

Footprint

When you hit a Trigger Tile, a Footprint appears. It’s important to know when you trigger something out of sight.

Switch

Once you uncover a Switch by hitting the right Tile, use it to open a Gate, Hidden Hole, or Treasure Chest.

Treasure Chest

Treasure Chest often contain special items. Find and trigger the correct Tiles to open them.

Work Around

Walk to the right in this Rattus-filled room, then Tile-hop to the left.

Straight Up
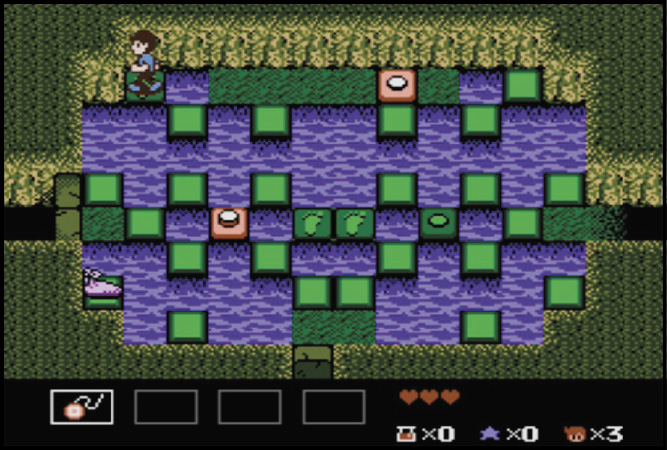
The rooms to the left and right are dead ends. Hit Tiles until you uncover a Hidden Hole on the north end of the room.

No Key Needed
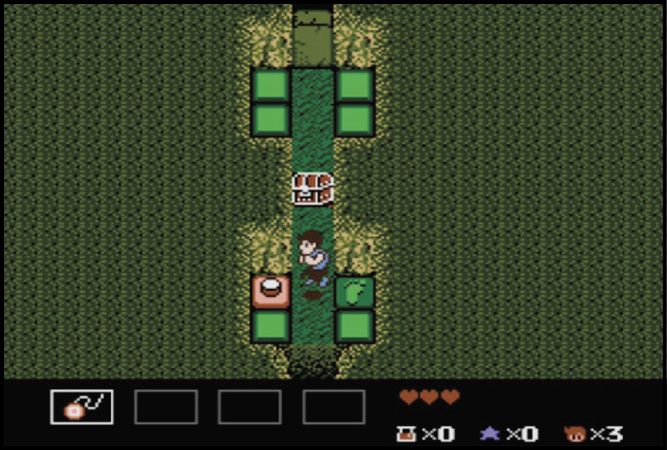
Open the Treasure Chest, collect the Fire inside, and move on!

The only way to move to the top half of this room is to open the Treasure Chest that blocks the way. Hit the Tiles to trigger the Treasure.

Special Weapon: Fire

Fling this flame to light up enemies from far away. It comes in handy in the final encounter of this first tunnel.

Toss Fire to beat enemies at a distance before they close in.

Just like the Yo-yo, Fire can be used both vertically and horizontally.

Stop Motion Attack

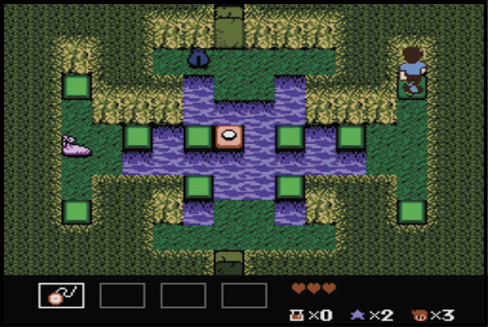
Noctos move quickly and unpredictably. Take cover as they fly across the room, then hit them when they stop momentarily.
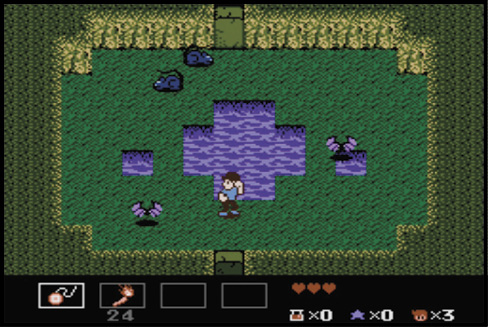
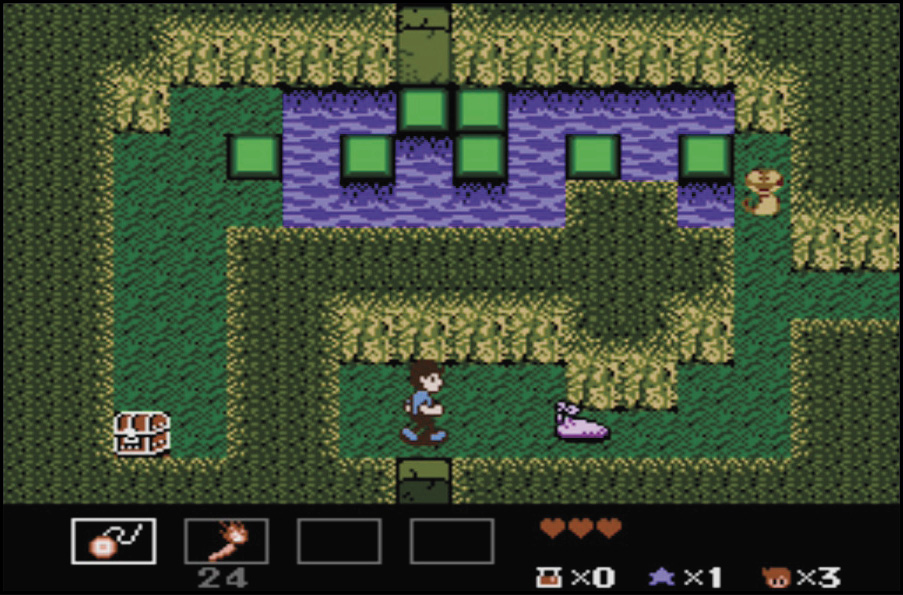
Wait until the Noctos stop, then give them a piece of your Yo-yo.

Enemies

Jelly

The slowest of the tunnel dwellers is no match for the fast Star Yo-yo. Take them out before they have a chance to catch you off guard.

Looper

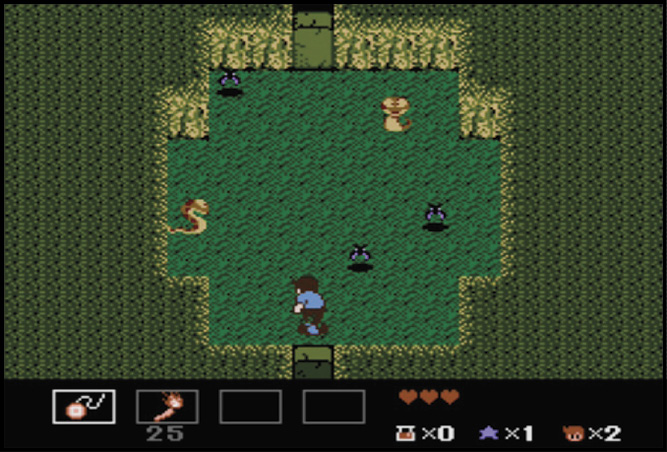
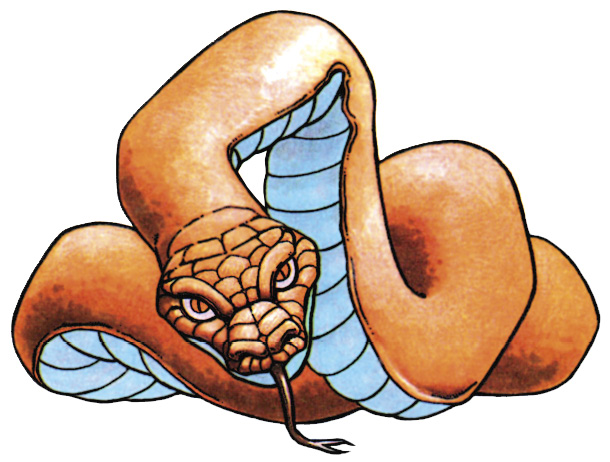
As soon as these snake-like creatures see you, they charge. Get ready!

Nocto

The winged Noctos stop to rest after flying. That’s your time to strike.

Rattus

These fast movers change directions quickly. Stand back and let them come toward you, then let ’em have it before they scurry away.

Surprise Attack

A Jelly makes a beeline for you as soon as you enter the room. Plan for an attack, and swing the Yo-yo out to the right as soon as you enter the room.
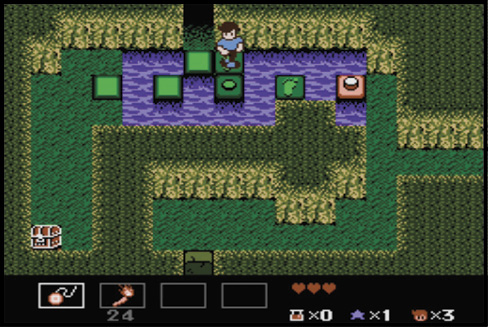
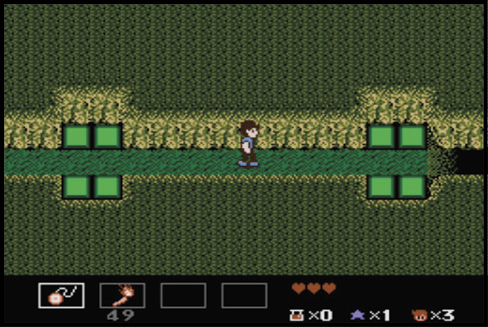
The Tile on the left opens the Hidden Hole on the right.

Potion Power

Hidden Holes lead to Potions, which refill your health when things are looking grim. Just don’t enter the third Hidden Hole, as it holds certain doom.
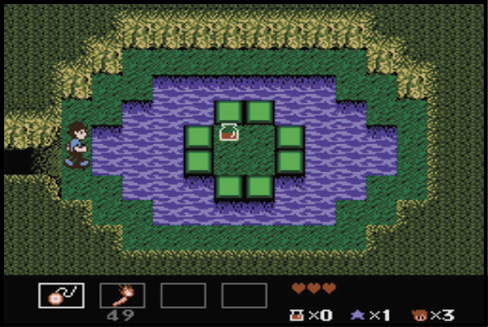
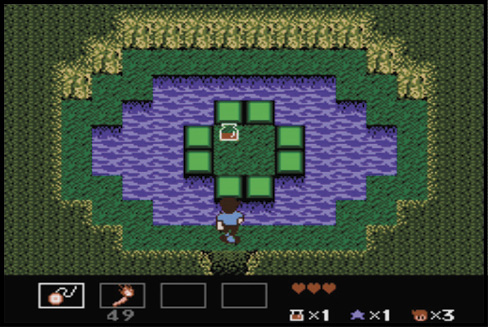
Mixed Company

Exit the Hidden Hole Potion rooms, then unlock the Hidden Hole at the northern part of the double-wide room. Both Noctos and Loopers lurk in this next room. Beat the Noctos without crossing the Loopers’ trail.
Take on the C-Serpent

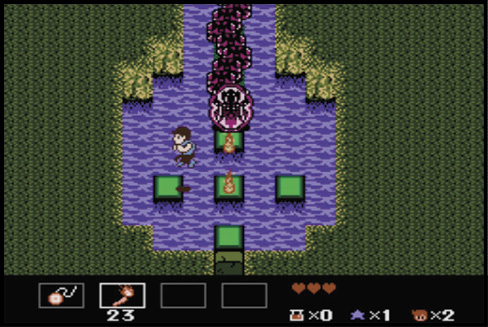
The huge C-Serpent blocks the exit of the Island Tunnel. Save the Fire for your encounter with this creature. When the C-Serpent opens its mouth, hit it with Fire, then jump out of the way of its fire counterattacks. Jump back in front of the scaly beast and repeat this method to defeat it. The C-Serpent picks up its attack speed, so be ready!
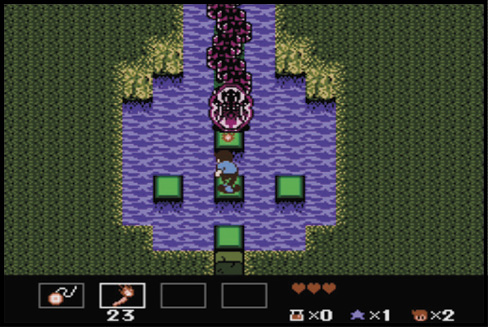
Send out Fire as soon as the C-Serpent opens its mouth.
Jump to the side to avoid the fireballs.

Find Help in the Laboratory!

You’ve cleared the Island Tunnel! Points totaled depend on your performance.
Baboo is just outside the Lab. Talk to him before you enter.

Now that you’ve made it through the Island Tunnel, find Dr. J’s Laboratory and meet his assistant, Baboo. He tells you what he knows about recent events in the night sky and their connection to Dr. J’s disappearance.

Dr. J’s Laboratory
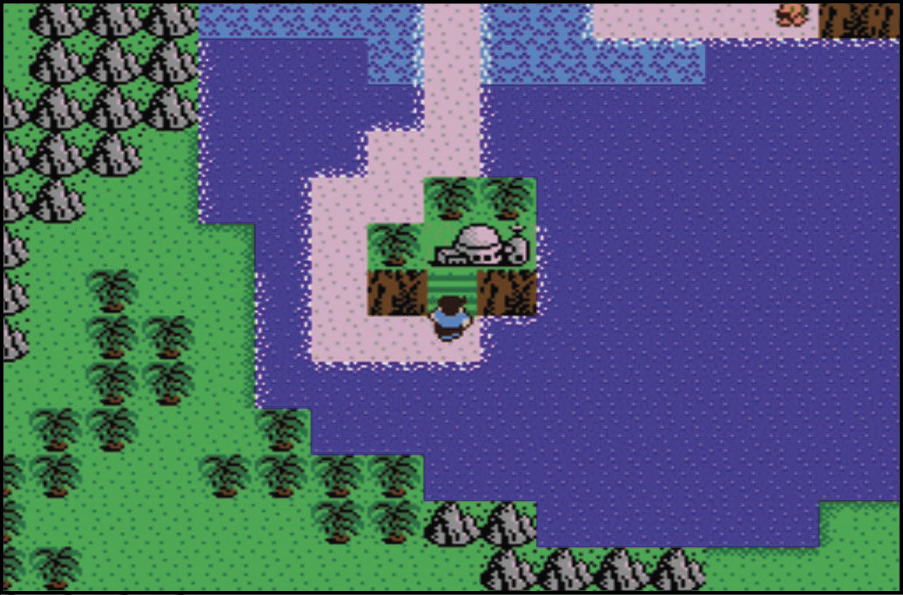
Dr. J’s Laboratory is equipped with all the latest in tropical archeological gear, including the amazing Sub-C. This super cool mini-sub cruises quickly and has the capacity for other useful features, if you can find the access codes. The Sub-C’s onboard robot, Nav-Com, helps you get where you’re going.
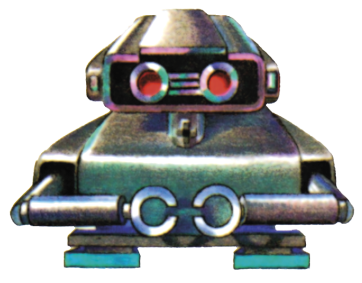
“Nav-Com here, reporting for duty. As soon as you enter the access codes you got from Baboo, I will be able to activate the Sub-C’s auto-detection and submergible systems. I recommend an easterly direction to begin.”
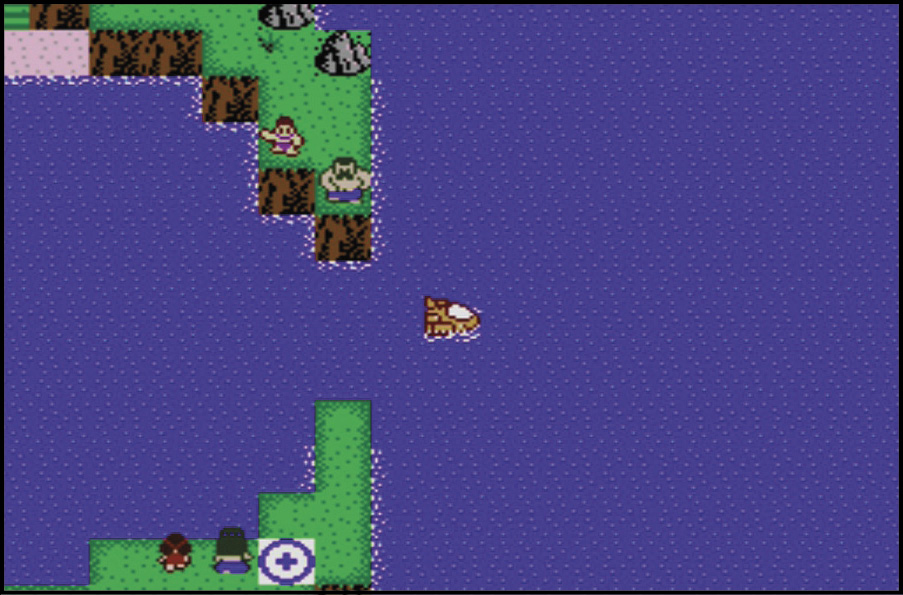
Set sail in the high-tech Sub-C on your adventure to find Dr. J.

Keep reading with a free account

The first 3 sections of Nintendo Playing with Power are open to everyone. An account opens the rest of it, and every other guide in the archive. It's free, and there's nothing to buy.

Bought guides on the old Prima Games site? Your account and every guide you own moved here, so there's nothing to buy again. Sign in.

Create a free account Or browse our free guides

PreviousA Letter From Uncle Steve NextChapter 2: Dolphins