
Nintendo Playing with Power Guide StarTropics Chapters
Chapter 6: Reunion
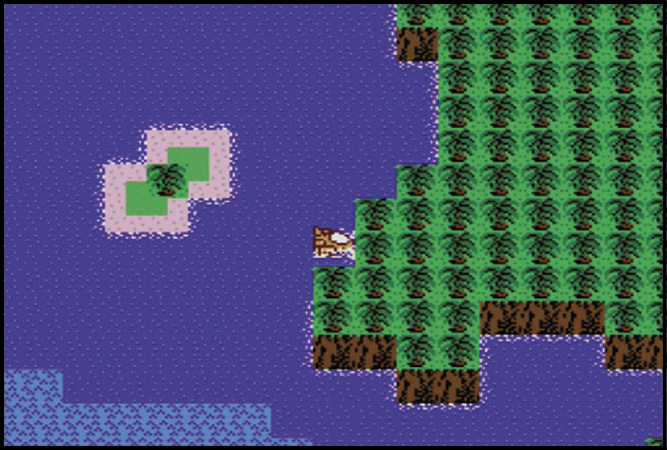
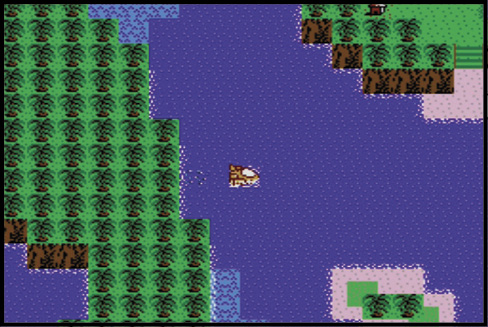
Nav-Com finally has a lock on Dr. J. Pilot the Sub-C through a maze-like series of islands and zero in on his location. A close signal doesn’t necessarily mean you’re on the right track. Search everywhere, and keep an eye open for secret passages.
Howdoyadu-Cola
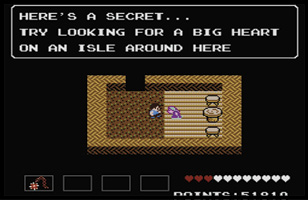
Search for the Lost Ruins
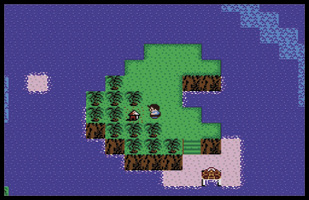
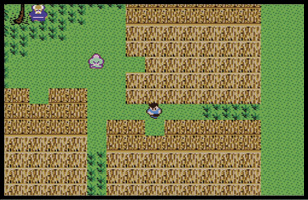
Dr. J was exploring the underwater ruins in this area. That must be where he’s held captive. Nav-Com still has a lock on Dr. J’s location. If you keep trying new passages, eventually you find him.
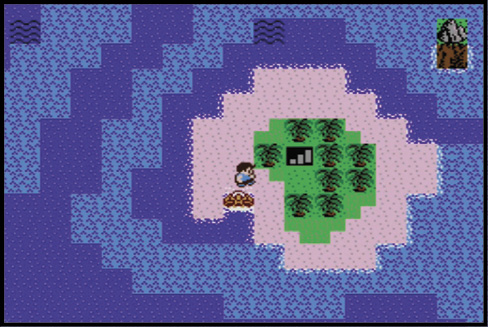
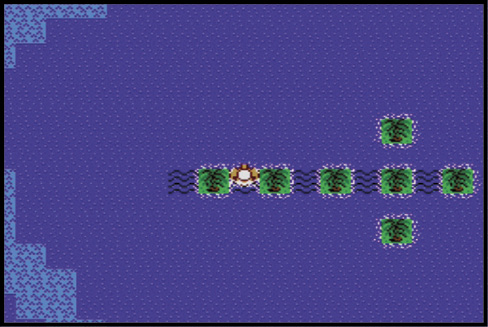
 “We’re closing in on Dr. J’s location. I have a positive ID that he is in the Lost Ruins.” |
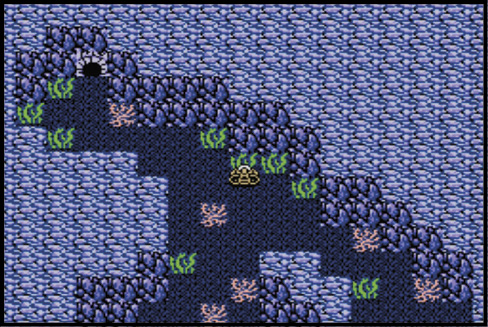
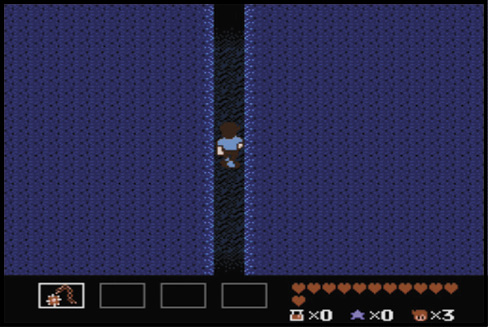
Long Jump
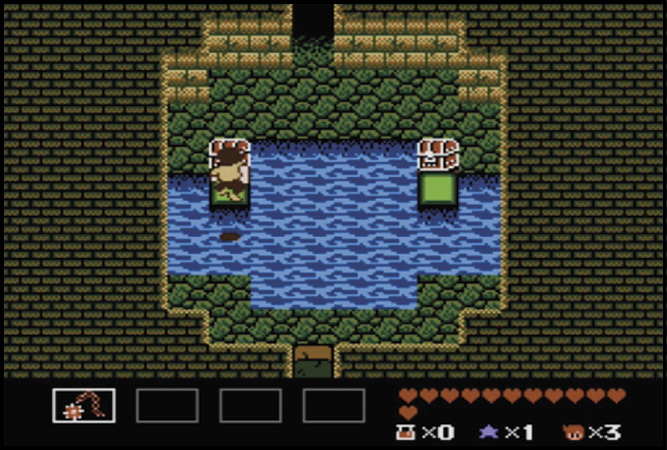
Once inside the ruins proper, you run into this room. Grab the Anklet and take a long leap to one of the Tiles. A Tile appears in the middle of the water. Jump to it and open the Treasure Chest for Double Small Hearts.
Muumu-Go-Round
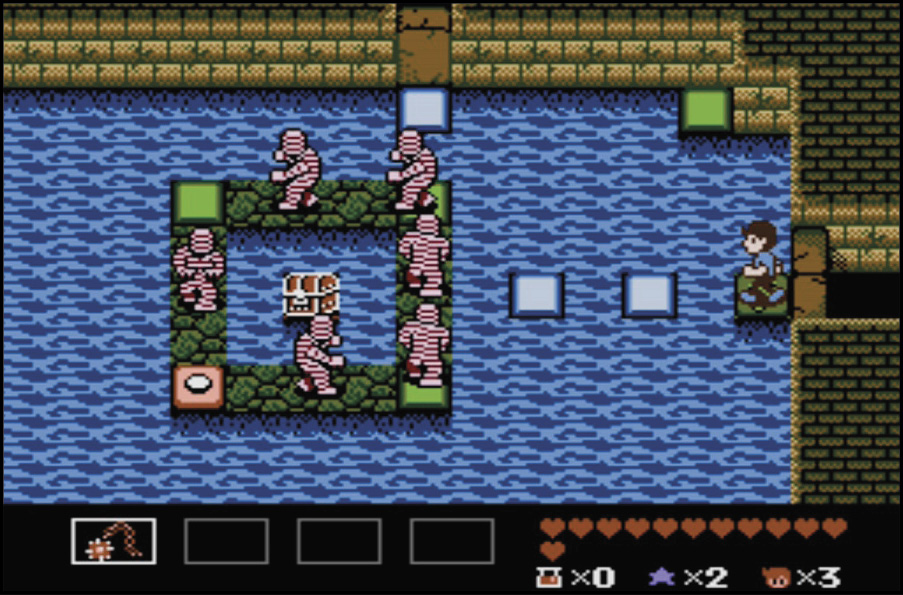
Hop on the biggest gap between the Muumus and follow them around until the Treasure Chest opens. Jump to the center for a perfectly safe place from which to defeat the Muumus.
Giant Turboss
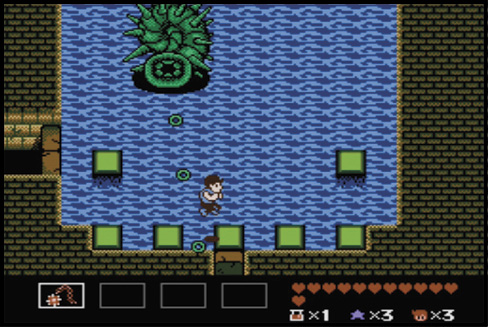
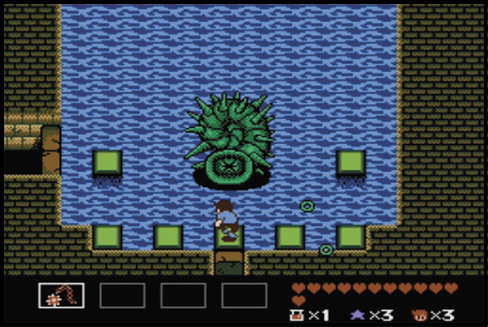
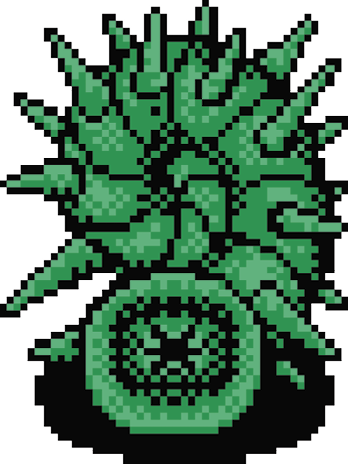
The Giant Turboss has an attack similar to that of Octo the Huge. This time, though, you can’t freeze the action. Jump left and right to avoid the shots, and when it moves in, hit it hard.
Three-Way Entry
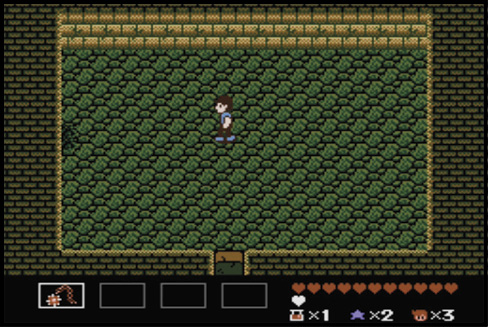
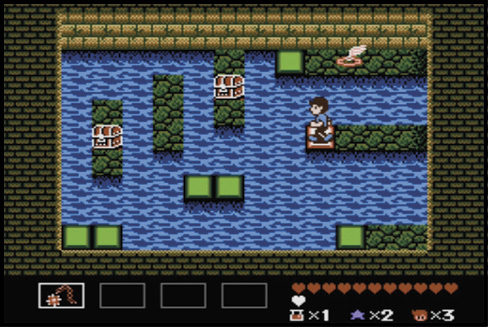
Three secret passages lead into this room. Enter through the bottom passage first and hit the Tile, then leave and re-enter through the top passage. Next, collect the Anklet and drop down to the area in the middle. Open the Chests and move on!
Spike ’Em
The Squidos are too numerous here to deal with individually. As soon as you get the Spikes, use them to take out all the Squidos before they get close. You’ll have Squidos on a stick, right quick!
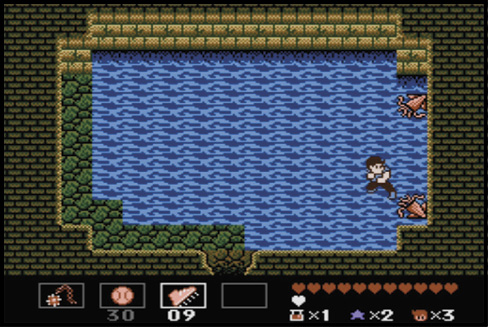
Heart Frenzy
There are several sets of Double Small Hearts in this room. Be careful to avoid all the enemies and collect all the Hearts, and you can really clean up.
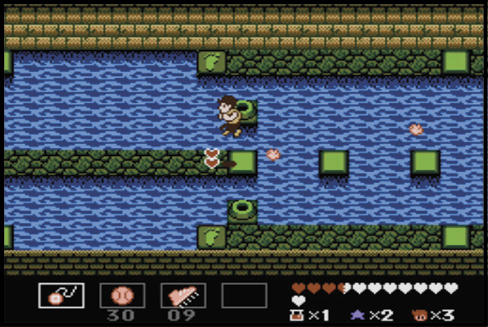
Muumu Mania
Muumus are abundant here. If you have Spikes, use them to hit all the Muumus at once. If you don’t, try to get the Muumus to follow you, then turn around and attack!
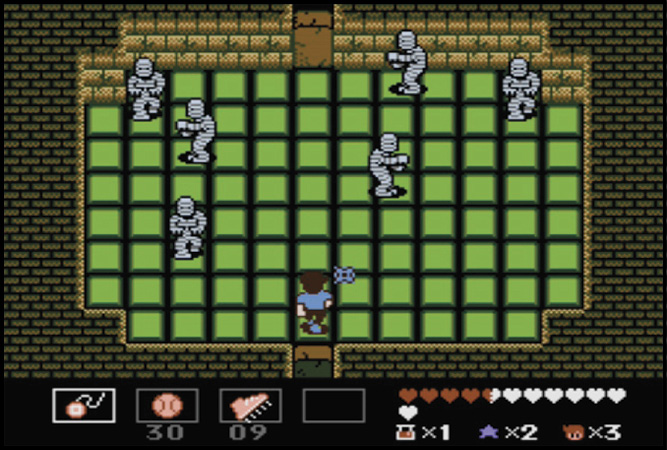
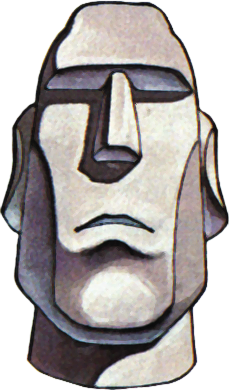
Break Broken Joe
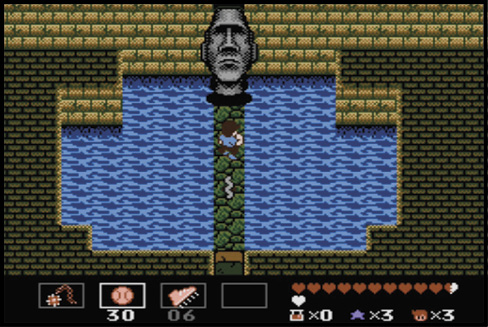
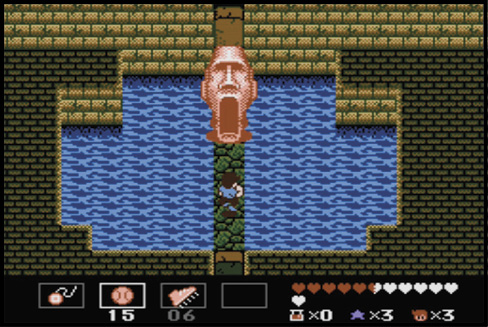
Direct from Easter Island, Broken Joe has taken his show on the road. His weak point? His wide-open mouth. As soon as he opens wide to send out a squiggly, tongue-like attack, jump straight up to avoid it and pitch a handful of Horse Hides right into his strike zone.
Big Rock
The mysterious meteor in the Lost Ruins may have something to do with recent events in the night sky. There are three holes of equal size in the rock. Items may have been removed from it after it landed.
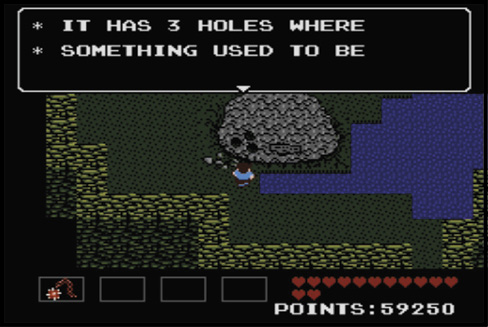
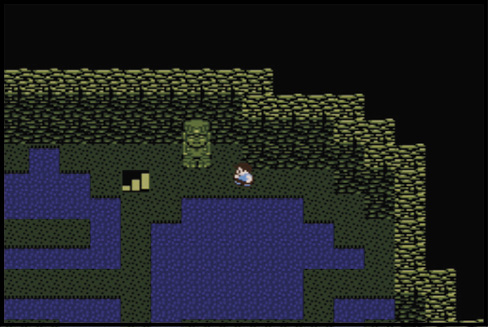
The Big Rock Tunnel
Walking straight up from the entrance of this challenging tunnel leads into a dead end. Look for a secret passage in the right wall of the entry.
Split ’Em
Instead of trying to get close to these Loopers, blast them with the Asterisk. It splits and takes out two Loopers at once.
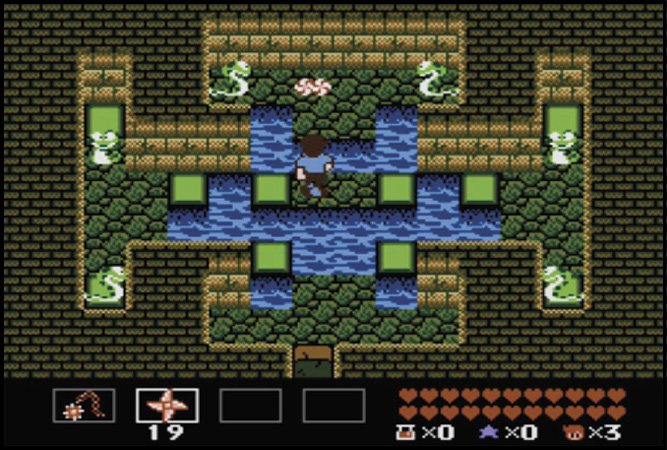
Avoid the Fuzz
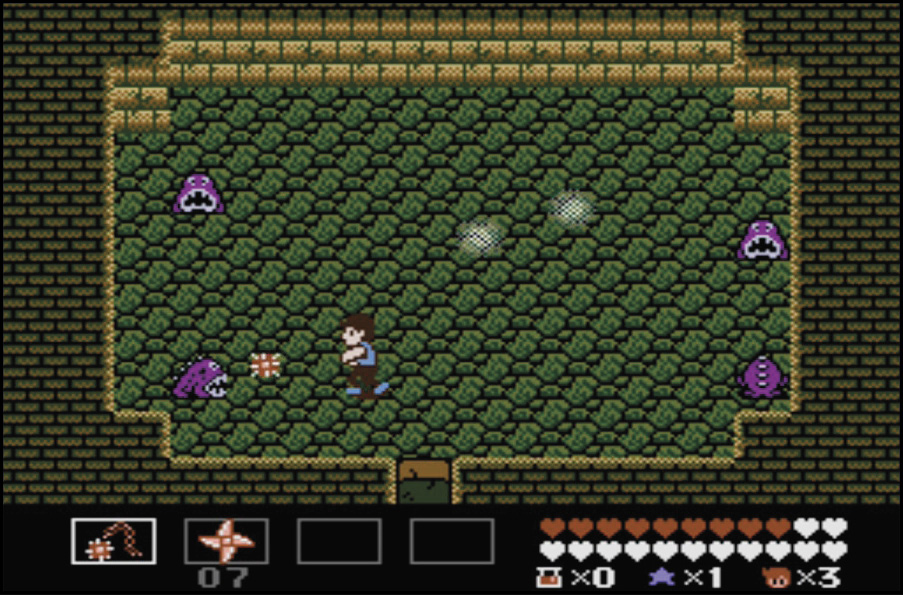
Coming into contact with the Fuzz causes you to lose your ability to attack for a few seconds. Run from it and aim for the other enemies.
Up and Around
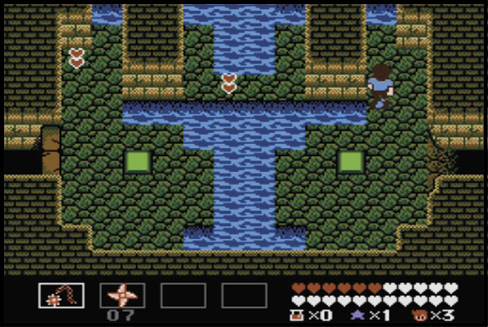
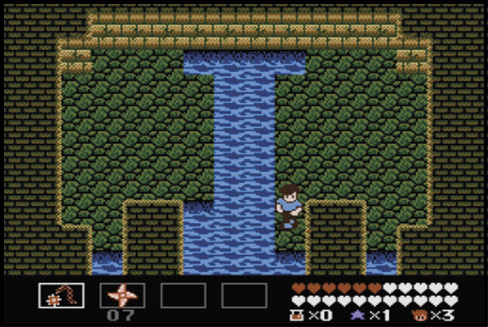
There’s nothing of note in this room. Walk around the wall on the right side and jump back into the lower room to find a secret passage.
Hoodoo Voodoo
The Hoodoo Doll fires in four directions. Use the Asterisk if you can, and stay as far away as possible. Direct contact is deadly.
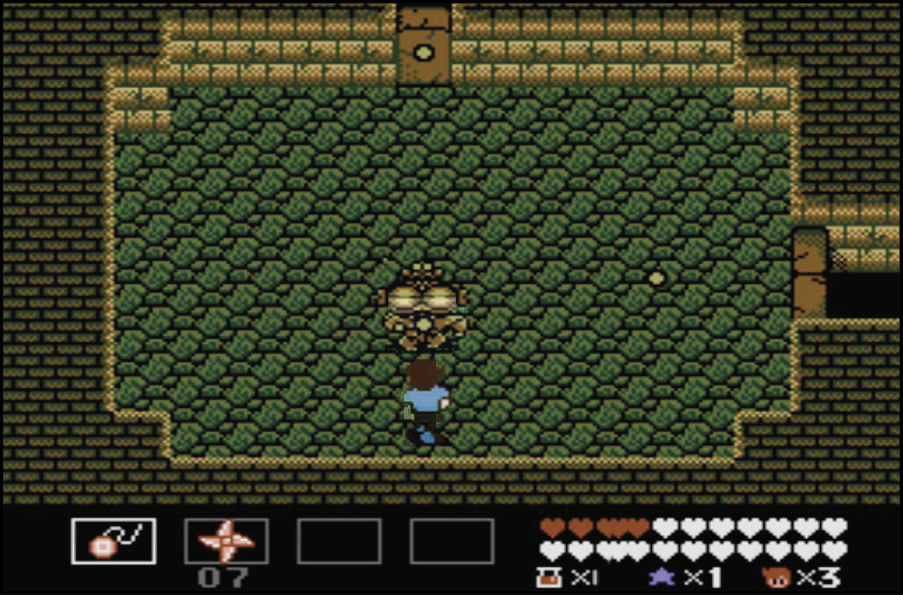
On the Side
Use the Asterisk while facing left or right to take out the Loopers. Avoid hitting the Urchin until it’s necessary. Once the room is clear, you can exit without a problem.
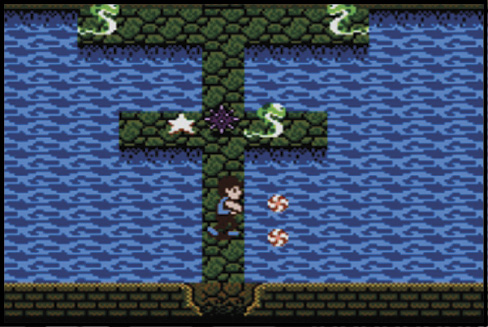
Knock out Rocky
Rockies are vulnerable to your attack only when they hit a wall. Get out of their way as they charge, then send out an Asterisk when they get close.
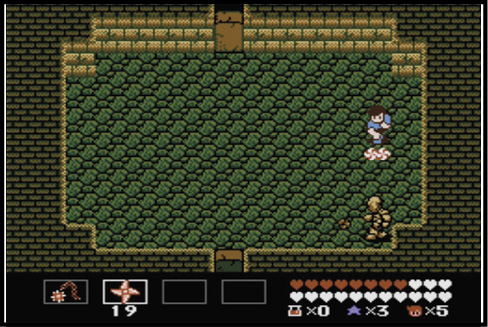
Skip It
Don’t bother with the enemies in this room. As soon as you enter, head for the left wall and find a secret passage to the next room. You can get through without taking any damage.
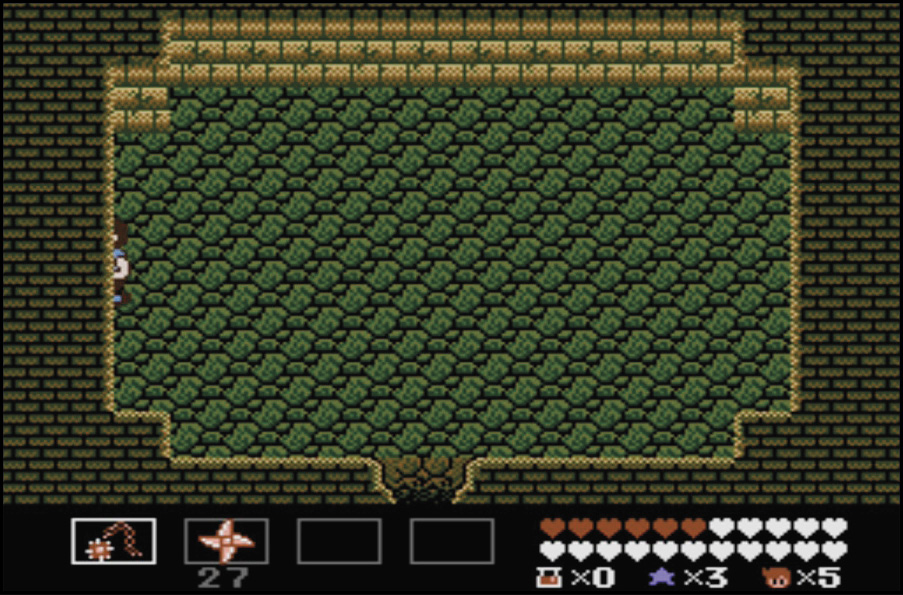
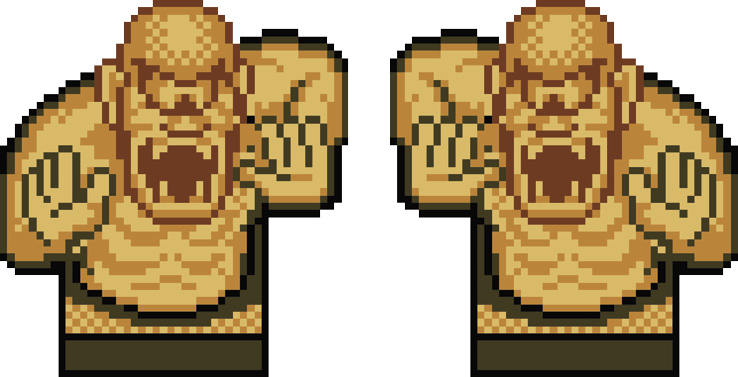
The Statues of Twin Sumocho
The weapon of choice against this duo is definitely the Asterisk. Stay near the center of the room and hit both Statues at once. After you beat them, you find Dr. J!
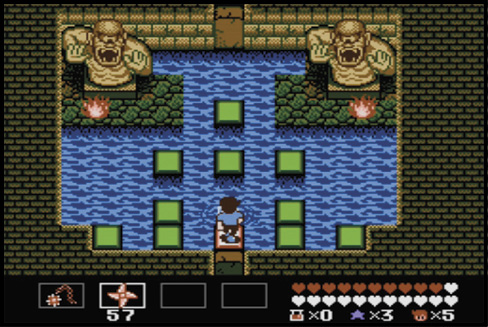
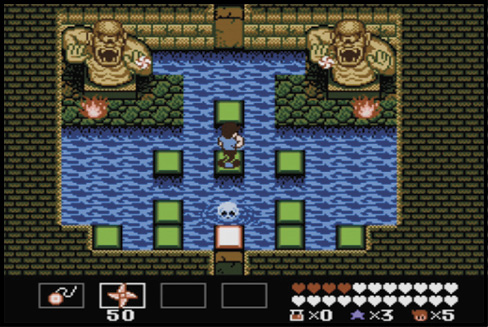
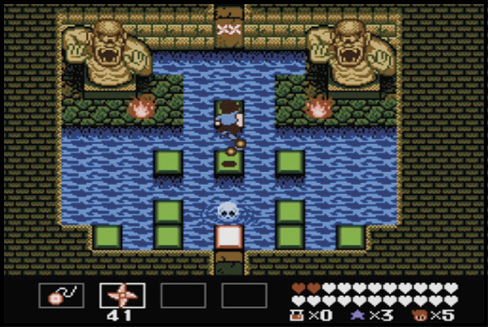
 “Mike! You found me! I was beginning to think that I would never get out of these Ruins alive. Aliens have taken the three Crystals that were imbedded in the meteor that landed here. You’ve got to board their Ship and retrieve the Crystals!” |
Mike’s Journey Continues…
Dr. J tells Mike the importance of taking the three Crystals back from the aliens, and like a true hero, Mike volunteers. To complete his journey, he must board an alien craft and challenge an alien overlord.
We’ve shown you the ropes and told you how to get a complete Life Meter. You’re ready to take on anything that’s thrown at you! Go get ’em!